Embed Size (px)
Citation preview
Published by National Vocational and Technical Training Commission Government of Pakistan Headquarter Plot 38, Kirthar Road, Sector H-9/4, Islamabad, Pakistan www.navttc.org Responsible Director General Skills Standard and Curricula, National Vocational and Technical Training Commission National Deputy Head, TVET Sector Support Programme, Deutsche Gesellschaft für Internationale Zusammenarbeit (GIZ) GmbH Layout & design SAP Communications Photo Credits TVET Sector Support Programme URL links Responsibility for the content of external websites linked in this publication always lies with their respective publishers. TVET Sector Support Programme expressly dissociates itself from such content. This document has been produced with the technical assistance of the TVET Sector Support Programme, which is funded by the European Union, the Federal Republic of Germany and the Royal Norwegian Embassy and has been commissioned by the German Federal Ministry for Economic Cooperation and Development (BMZ). The Deutsche Gesellschaft für Internationale Zusammenarbeit (GIZ) GmbH in close collaboration with the National Vocational and Technical Training Commission (NAVTTC) as well as provincial Technical Education and Vocational Training Authorities (TEVTAs), Punjab Vocational Training Council (PVTC), Qualification Awarding Bodies (QABs)s and private sector organizations. Document Version September, 2019 Islamabad, Pakistan
Q9_Trainer's Guide Lev 4 Page | 1
Introduction Competence-based training helps to bridge the gap between what is taught in training and what tasks will be performed on the job. Training trainees to perform actual job functions helps to ensure that future front-line workers have the skills, knowledge and abilities required to perform their jobs properly, safely and effectively. In addition to competence-based training, assessment based on the performance of actual work competencies helps to ensure that:
trainees are performing their work tasks as safely as possible
performance gaps are recognized prior to serious incidents
Training can be implemented to improve competence.
There are significant benefits to competence-based training:
1. Cost effectiveness
Since training activities and assessments in a competence-based approach are goal-oriented, trainers focus on clearly defined areas of skills, knowledge and understanding that their own industry has defined in the competence standards. At the same time, trainees are more motivated to learn when they realize the benefits of improved performance.
2. Efficiency
The transfer gap between the training environment and working on the job is reduced substantially in a competence-based approach. This is because training and assessment are relevant to what needs to be done on the job. As a result, it takes less time for trainees to become competent in the required areas. This, in turn, contributes to improved efficiency where training and assessment are concerned.
3. Increased productivity
When trainees become competent in the competence standards that their own industry has defined, when they know what the performance expectations are and receive recognition for their abilities through successful assessments, they are likely to be more motivated and experience higher job satisfaction. The result is improved productivity for organizations. The communication and constructive feedback between future employers and employees will improve as a result of a competence-based approach, which can also increase productivity.
4. Reduced risk
Using a competence-based approach to training, development, and assessment, employers are able to create project teams of people with complementary skills. A trainee’s record of the skills, knowledge and understanding relating to the competence standards they have achieved can be used by a future employer to identify and provide further relevant training and assessment for new skills areas. Competence standards can shape employee development and promotional paths within an organization and give employees the opportunity to learn more competencies beyond their roles. It can also provide organizations with greater ability to scale and flex as needed, thereby reducing the risk they face.
Q9_Trainer's Guide Lev 4 Page | 2
5. Increased customer satisfaction
Employees who have been trained and assessed using a competence-based approach are, by the definition of the relevant competence standards, able to perform the required tasks associated with a job. The knock-on effect is that, in service-related industries, they are able to provide high service levels, thereby increasing customer satisfaction. In production or manufacturing industries, they are able to work closely to industry standards in a more effective and efficient way.
Lesson plans This manual provides a series of lesson plans that will guide delivery of each module for the Pipe Fitter qualification. It is important for trainers to be flexible and be ready to adapt lesson plans to suit the context of the subject and the needs of their trainees.
Good teachers acknowledge that CBT means each and every trainee in the class learns at a different speed. The good teacher is prepared to throw aside the day’s lesson plan and do something different (and unplanned) for the class even if it means ‘writing’ a lesson plan for each trainee to match their learning pace for that day or week.
Learning by doing is different from learning theory and then applying it. To learn to do something, trainees need someone looking over their shoulder saying ‘it’s not quite like that, it’s like this’, and ‘you do it like this because …’, or even ‘tell me why you chose to do it like this?’
In this way, trainees learn that theoretical knowledge is meaningless if it is not seen in the context of what they are doing. In other words, if a trainee doesn’t know why they do something, they will not do it competently (skills underpinned by knowledge = competent performer).
This is how a Pipe Fitter acquires a practical grasp of the standards expected. It’s not by learning it in theory, but because those standards are acquired through correction by people who show what the standards are, and correct the trainee where they do not meet those standards, and where they repeat it correction until they have internalized those standards.
Demonstration of skill Demonstration or modeling a skill is a powerful tool, which is used, in vocational training. The instructions for trainers for demonstration are as under:
a) Read the procedure mentioned in the Trainer Guide for the relevant Learning Unit before demonstration. b) Arrange all tools, equipment and consumable material, which are required for demonstration of a skill. c) Practice the skill before demonstration to trainees, if possible. d) Introduce the skill to trainees clearly at the commencement of demonstration. e) Explain how the skill relates to the skill(s) already acquired and describe the expected results or show the objects to trainees. f) Carry out demonstration in a way that can be seen by all trainees. g) Use the same tools and materials that the learner will be using.
h) Go through EACH of the steps involved in performing the skill.
i) Go SLOWLY - describe each step as it is completed.
j) Encourage the learners to move around and watch what you are doing from a number of different angles.
Q9_Trainer's Guide Lev 4 Page | 3
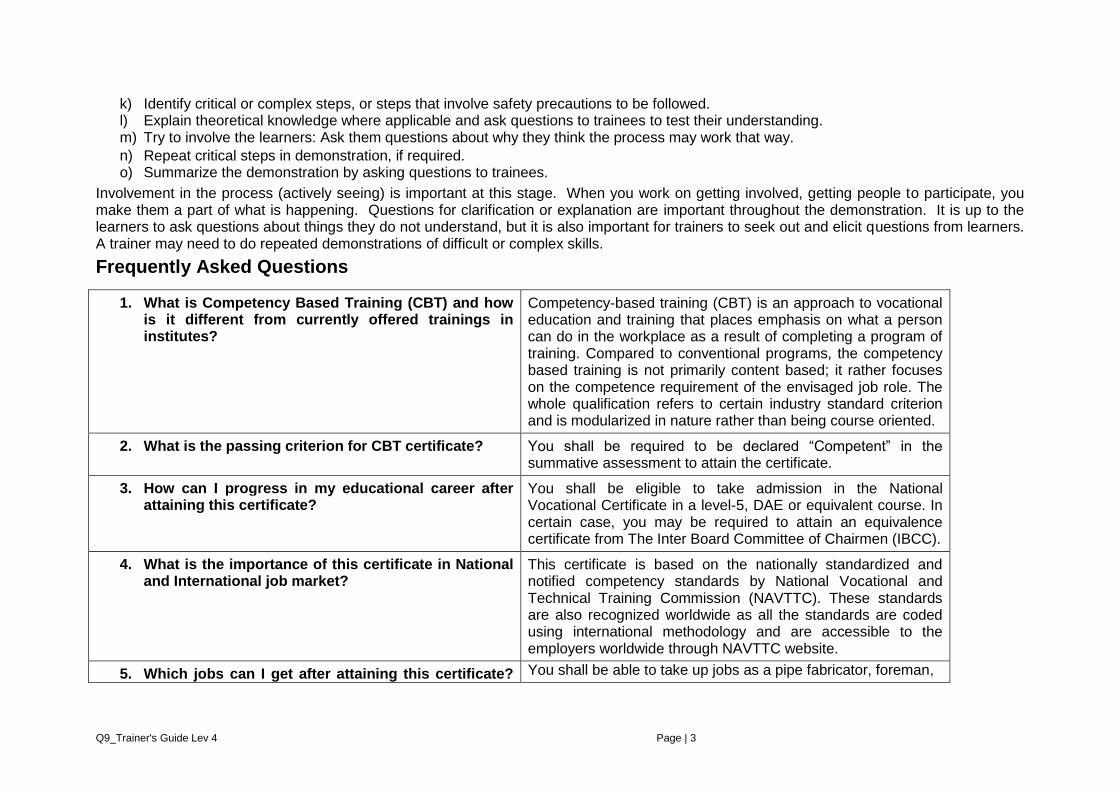
k) Identify critical or complex steps, or steps that involve safety precautions to be followed. l) Explain theoretical knowledge where applicable and ask questions to trainees to test their understanding. m) Try to involve the learners: Ask them questions about why they think the process may work that way.
n) Repeat critical steps in demonstration, if required. o) Summarize the demonstration by asking questions to trainees.
Involvement in the process (actively seeing) is important at this stage. When you work on getting involved, getting people to participate, you make them a part of what is happening. Questions for clarification or explanation are important throughout the demonstration. It is up to the learners to ask questions about things they do not understand, but it is also important for trainers to seek out and elicit questions from learners. A trainer may need to do repeated demonstrations of difficult or complex skills.
Frequently Asked Questions
1. What is Competency Based Training (CBT) and how is it different from currently offered trainings in institutes?
Competency-based training (CBT) is an approach to vocational education and training that places emphasis on what a person can do in the workplace as a result of completing a program of training. Compared to conventional programs, the competency based training is not primarily content based; it rather focuses on the competence requirement of the envisaged job role. The whole qualification refers to certain industry standard criterion and is modularized in nature rather than being course oriented.
2. What is the passing criterion for CBT certificate? You shall be required to be declared “Competent” in the summative assessment to attain the certificate.
3. How can I progress in my educational career after attaining this certificate?
You shall be eligible to take admission in the National Vocational Certificate in a level-5, DAE or equivalent course. In certain case, you may be required to attain an equivalence certificate from The Inter Board Committee of Chairmen (IBCC).
4. What is the importance of this certificate in National and International job market?
This certificate is based on the nationally standardized and notified competency standards by National Vocational and Technical Training Commission (NAVTTC). These standards are also recognized worldwide as all the standards are coded using international methodology and are accessible to the employers worldwide through NAVTTC website.
5. Which jobs can I get after attaining this certificate? You shall be able to take up jobs as a pipe fabricator, foreman,
Q9_Trainer's Guide Lev 4 Page | 4
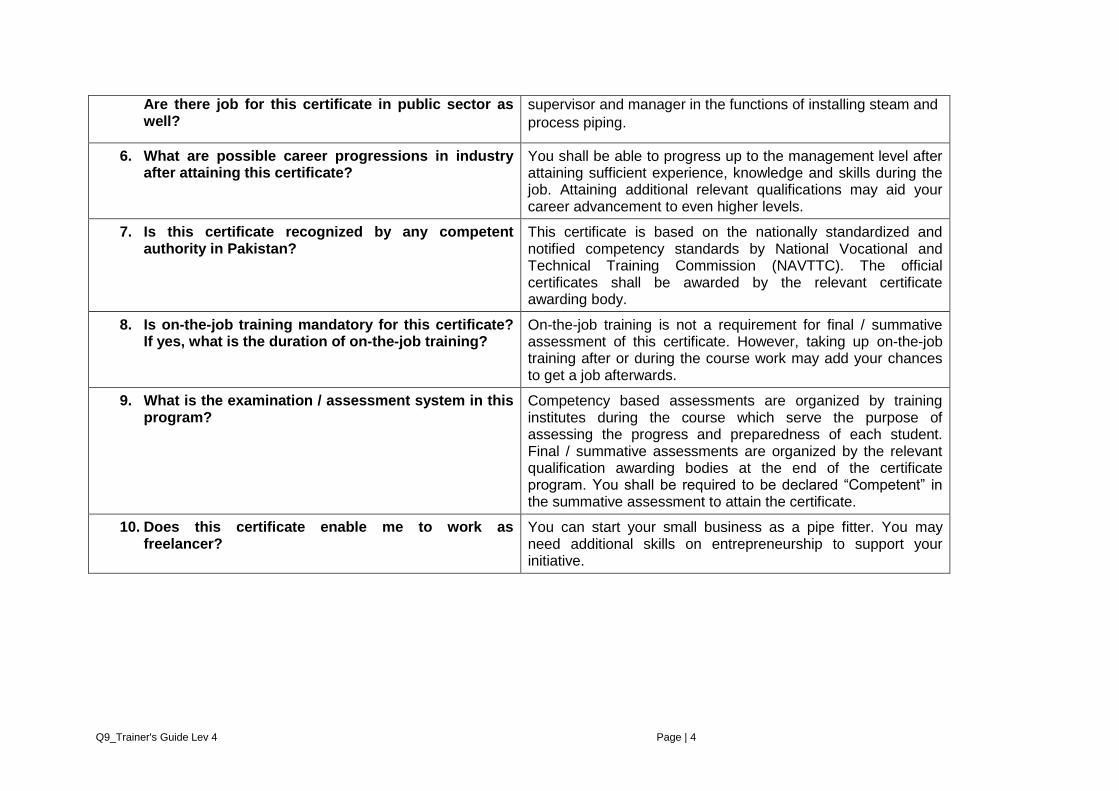
Are there job for this certificate in public sector as well?
supervisor and manager in the functions of installing steam and
process piping.
6. What are possible career progressions in industry after attaining this certificate?
You shall be able to progress up to the management level after attaining sufficient experience, knowledge and skills during the job. Attaining additional relevant qualifications may aid your career advancement to even higher levels.
7. Is this certificate recognized by any competent authority in Pakistan?
This certificate is based on the nationally standardized and notified competency standards by National Vocational and Technical Training Commission (NAVTTC). The official certificates shall be awarded by the relevant certificate awarding body.
8. Is on-the-job training mandatory for this certificate? If yes, what is the duration of on-the-job training?
On-the-job training is not a requirement for final / summative assessment of this certificate. However, taking up on-the-job training after or during the course work may add your chances to get a job afterwards.
9. What is the examination / assessment system in this program?
Competency based assessments are organized by training institutes during the course which serve the purpose of assessing the progress and preparedness of each student. Final / summative assessments are organized by the relevant qualification awarding bodies at the end of the certificate program. You shall be required to be declared “Competent” in the summative assessment to attain the certificate.
10. Does this certificate enable me to work as freelancer?
You can start your small business as a pipe fitter. You may need additional skills on entrepreneurship to support your initiative.
Q9_Trainer's Guide Lev 4 Page | 5
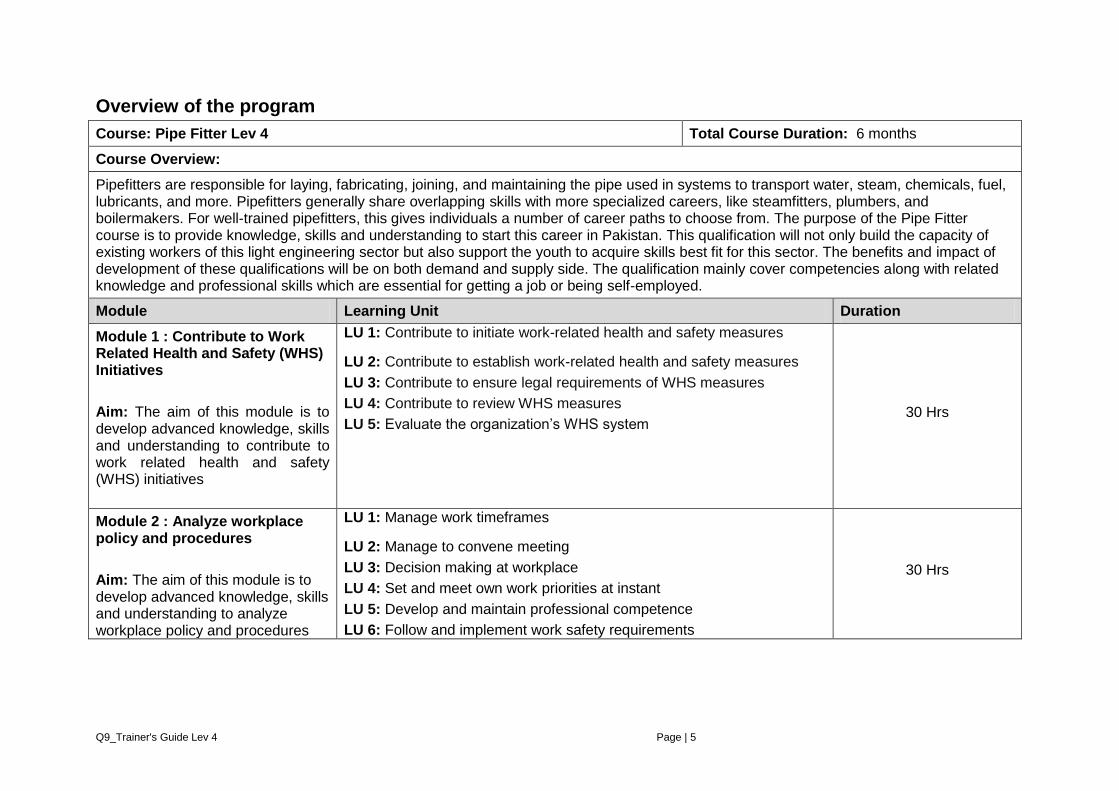
Overview of the program
Course: Pipe Fitter Lev 4 Total Course Duration: 6 months
Course Overview:
Pipefitters are responsible for laying, fabricating, joining, and maintaining the pipe used in systems to transport water, steam, chemicals, fuel, lubricants, and more. Pipefitters generally share overlapping skills with more specialized careers, like steamfitters, plumbers, and boilermakers. For well-trained pipefitters, this gives individuals a number of career paths to choose from. The purpose of the Pipe Fitter course is to provide knowledge, skills and understanding to start this career in Pakistan. This qualification will not only build the capacity of existing workers of this light engineering sector but also support the youth to acquire skills best fit for this sector. The benefits and impact of development of these qualifications will be on both demand and supply side. The qualification mainly cover competencies along with related knowledge and professional skills which are essential for getting a job or being self-employed.
Module Learning Unit Duration
Module 1 : Contribute to Work Related Health and Safety (WHS) Initiatives
Aim: The aim of this module is to develop advanced knowledge, skills and understanding to contribute to work related health and safety (WHS) initiatives
LU 1: Contribute to initiate work-related health and safety measures
LU 2: Contribute to establish work-related health and safety measures
LU 3: Contribute to ensure legal requirements of WHS measures
LU 4: Contribute to review WHS measures
LU 5: Evaluate the organization’s WHS system
30 Hrs
Module 2 : Analyze workplace policy and procedures
Aim: The aim of this module is to develop advanced knowledge, skills and understanding to analyze workplace policy and procedures
LU 1: Manage work timeframes
LU 2: Manage to convene meeting
LU 3: Decision making at workplace
LU 4: Set and meet own work priorities at instant
LU 5: Develop and maintain professional competence
LU 6: Follow and implement work safety requirements
30 Hrs
Q9_Trainer's Guide Lev 4 Page | 6
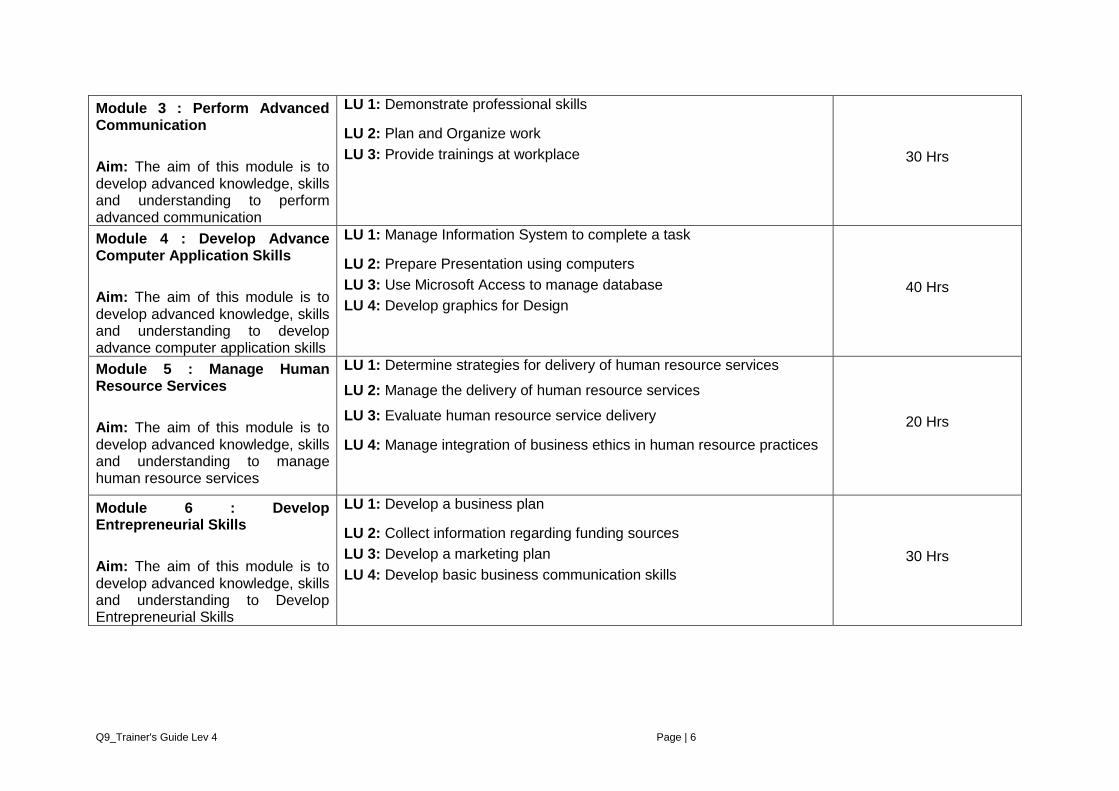
Module 3 : Perform Advanced Communication
Aim: The aim of this module is to develop advanced knowledge, skills and understanding to perform advanced communication
LU 1: Demonstrate professional skills
LU 2: Plan and Organize work
LU 3: Provide trainings at workplace
30 Hrs
Module 4 : Develop Advance Computer Application Skills
Aim: The aim of this module is to develop advanced knowledge, skills and understanding to develop advance computer application skills
LU 1: Manage Information System to complete a task
LU 2: Prepare Presentation using computers
LU 3: Use Microsoft Access to manage database
LU 4: Develop graphics for Design
40 Hrs
Module 5 : Manage Human Resource Services
Aim: The aim of this module is to develop advanced knowledge, skills and understanding to manage human resource services
LU 1: Determine strategies for delivery of human resource services
LU 2: Manage the delivery of human resource services
LU 3: Evaluate human resource service delivery
LU 4: Manage integration of business ethics in human resource practices
20 Hrs
Module 6 : Develop Entrepreneurial Skills
Aim: The aim of this module is to develop advanced knowledge, skills and understanding to Develop Entrepreneurial Skills
LU 1: Develop a business plan
LU 2: Collect information regarding funding sources
LU 3: Develop a marketing plan
LU 4: Develop basic business communication skills
30 Hrs
Q9_Trainer's Guide Lev 4 Page | 7
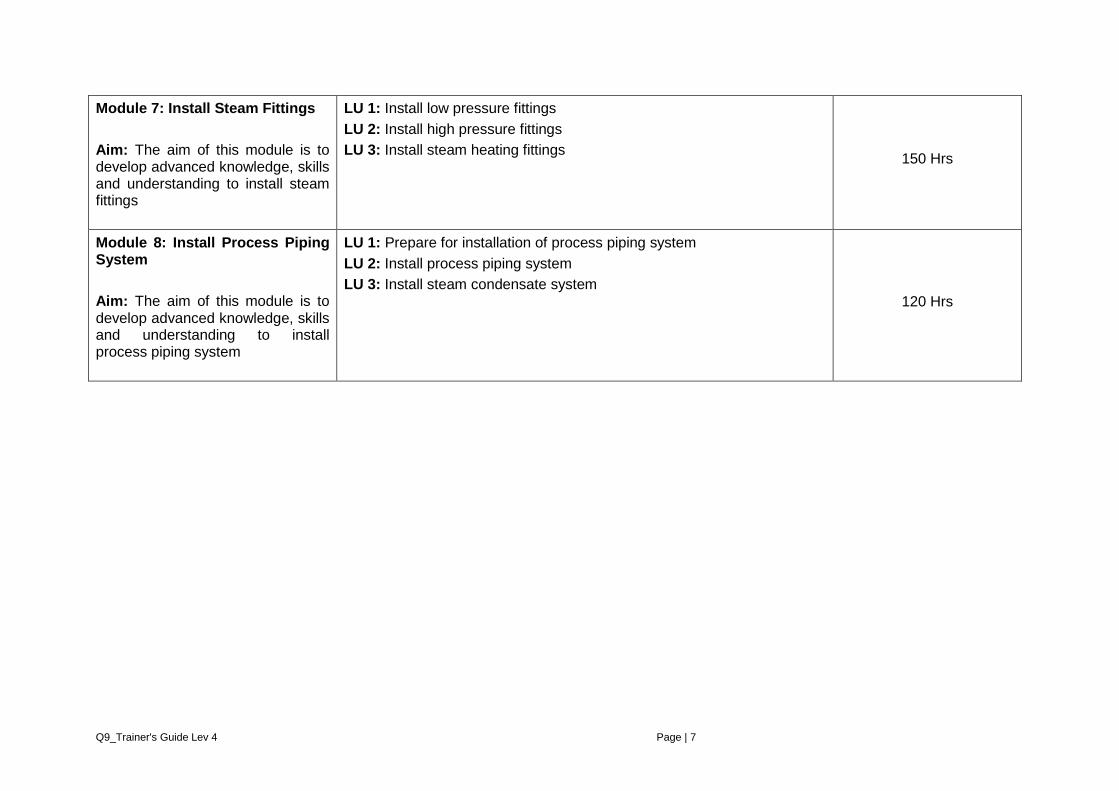
Module 7: Install Steam Fittings
Aim: The aim of this module is to develop advanced knowledge, skills and understanding to install steam fittings
LU 1: Install low pressure fittings
LU 2: Install high pressure fittings
LU 3: Install steam heating fittings
150 Hrs
Module 8: Install Process Piping System
Aim: The aim of this module is to develop advanced knowledge, skills and understanding to install process piping system
LU 1: Prepare for installation of process piping system
LU 2: Install process piping system
LU 3: Install steam condensate system
120 Hrs
Q9_Trainer's Guide Lev 4 Page | 8
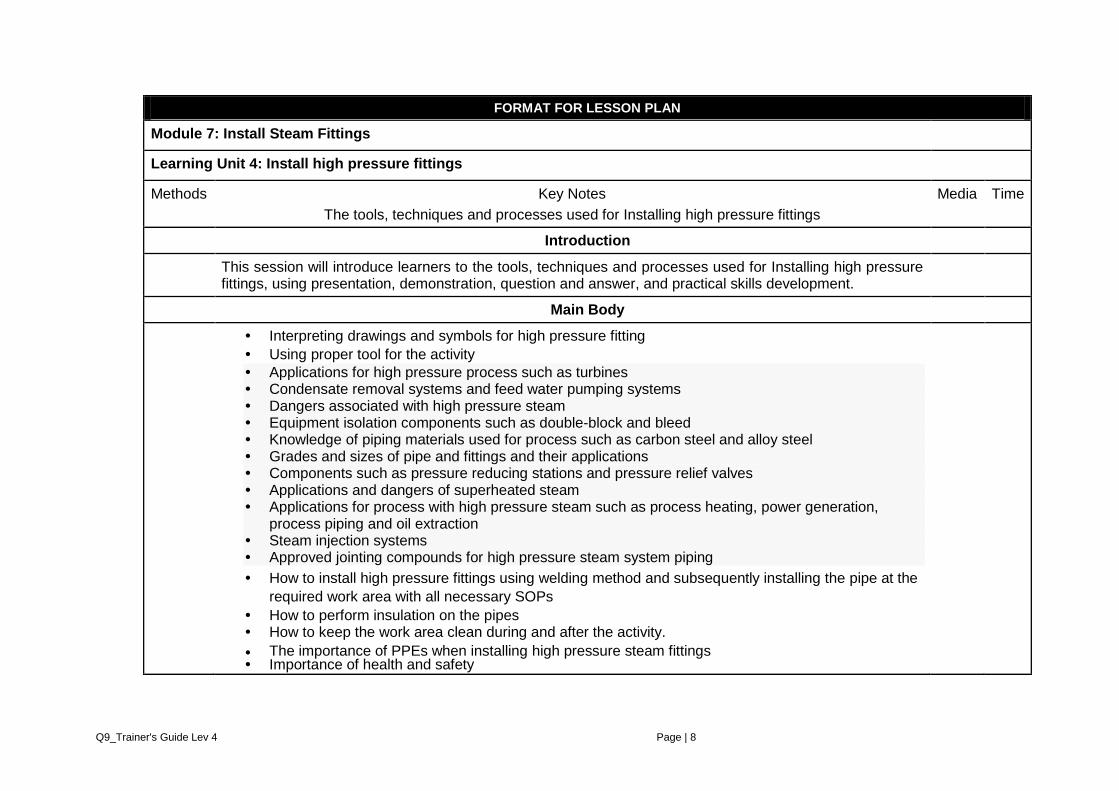
FORMAT FOR LESSON PLAN
Module 7: Install Steam Fittings
Learning Unit 4: Install high pressure fittings
Methods Key Notes
The tools, techniques and processes used for Installing high pressure fittings
Media Time
Introduction
This session will introduce learners to the tools, techniques and processes used for Installing high pressure fittings, using presentation, demonstration, question and answer, and practical skills development.
Main Body
• Interpreting drawings and symbols for high pressure fitting
• Using proper tool for the activity
• Applications for high pressure process such as turbines • Condensate removal systems and feed water pumping systems • Dangers associated with high pressure steam • Equipment isolation components such as double-block and bleed • Knowledge of piping materials used for process such as carbon steel and alloy steel • Grades and sizes of pipe and fittings and their applications • Components such as pressure reducing stations and pressure relief valves • Applications and dangers of superheated steam • Applications for process with high pressure steam such as process heating, power generation,
process piping and oil extraction • Steam injection systems • Approved jointing compounds for high pressure steam system piping
• How to install high pressure fittings using welding method and subsequently installing the pipe at the
required work area with all necessary SOPs
• How to perform insulation on the pipes • How to keep the work area clean during and after the activity.
•
The importance of PPEs when installing high pressure steam fittings
Importance of health and safety•
Q9_Trainer's Guide Lev 4 Page | 9
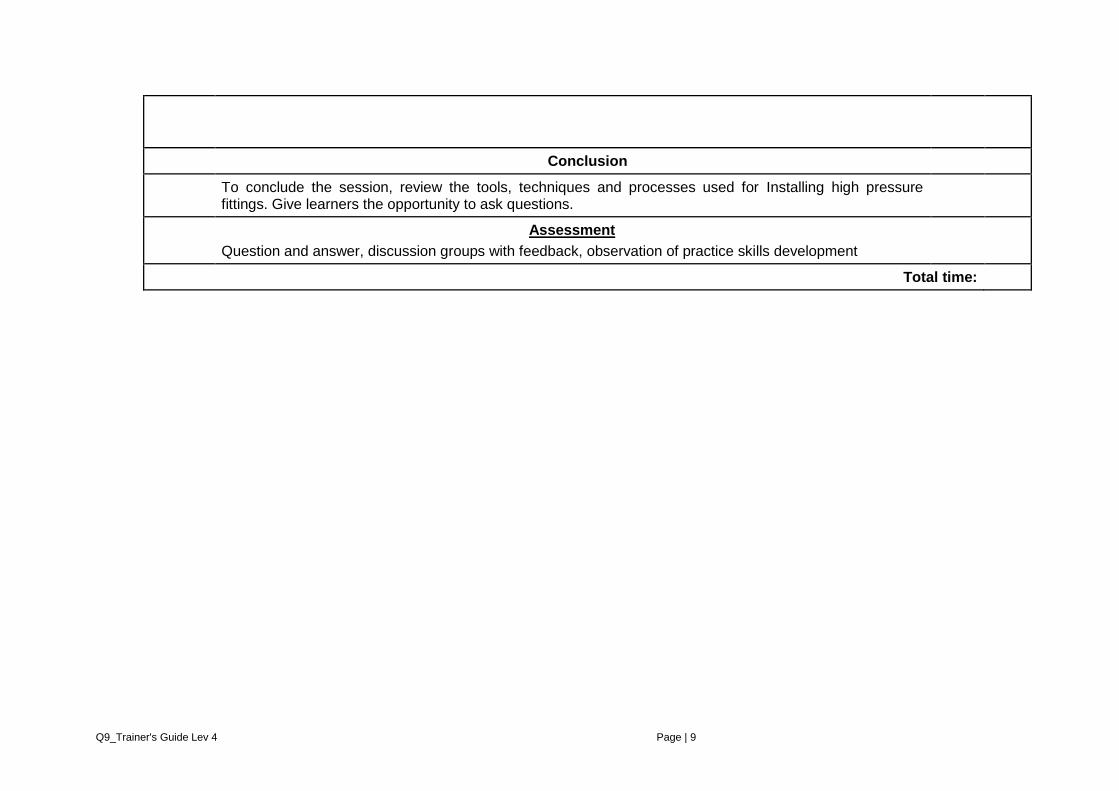
Conclusion
To conclude the session, review the tools, techniques and processes used for Installing high pressure fittings. Give learners the opportunity to ask questions.
Assessment
Question and answer, discussion groups with feedback, observation of practice skills development
Total time:
Q9_Trainer's Guide Lev 4 Page | 10
Trainer’s guidelines
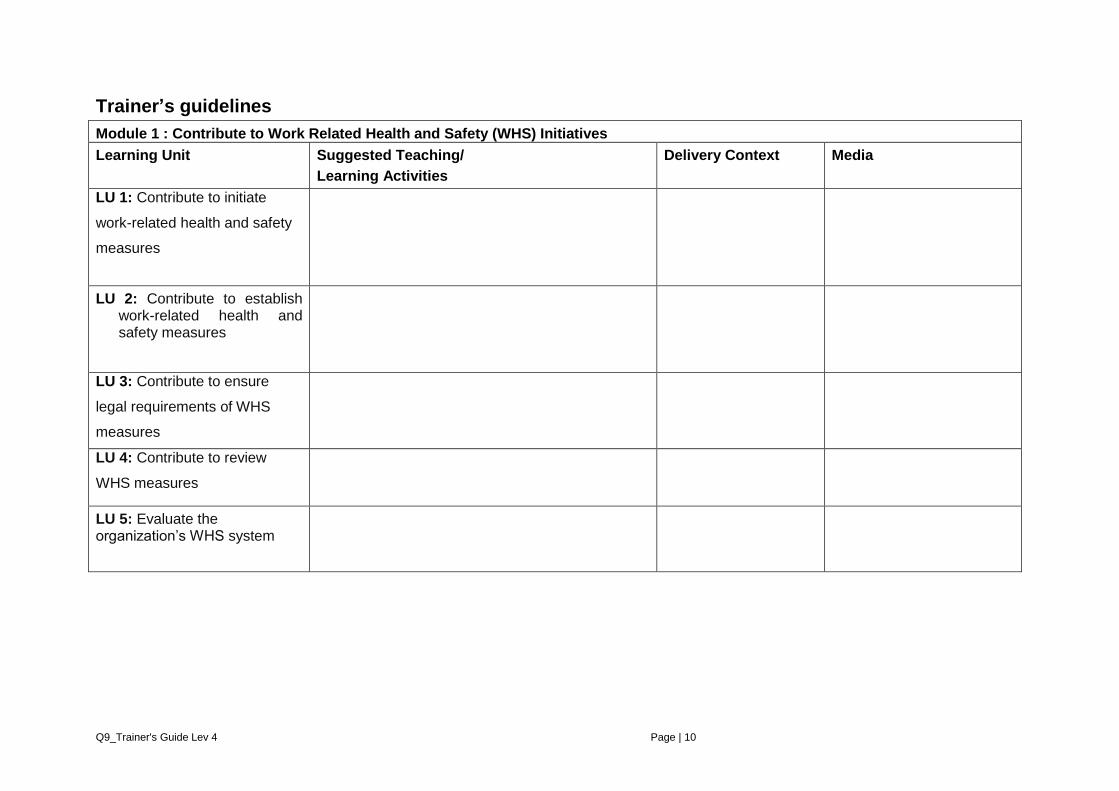
Module 1 : Contribute to Work Related Health and Safety (WHS) Initiatives
Learning Unit Suggested Teaching/
Learning Activities
Delivery Context Media
LU 1: Contribute to initiate
work-related health and safety
measures
LU 2: Contribute to establish work-related health and safety measures
LU 3: Contribute to ensure
legal requirements of WHS
measures
LU 4: Contribute to review
WHS measures
LU 5: Evaluate the organization’s WHS system
Q9_Trainer's Guide Lev 4 Page | 11
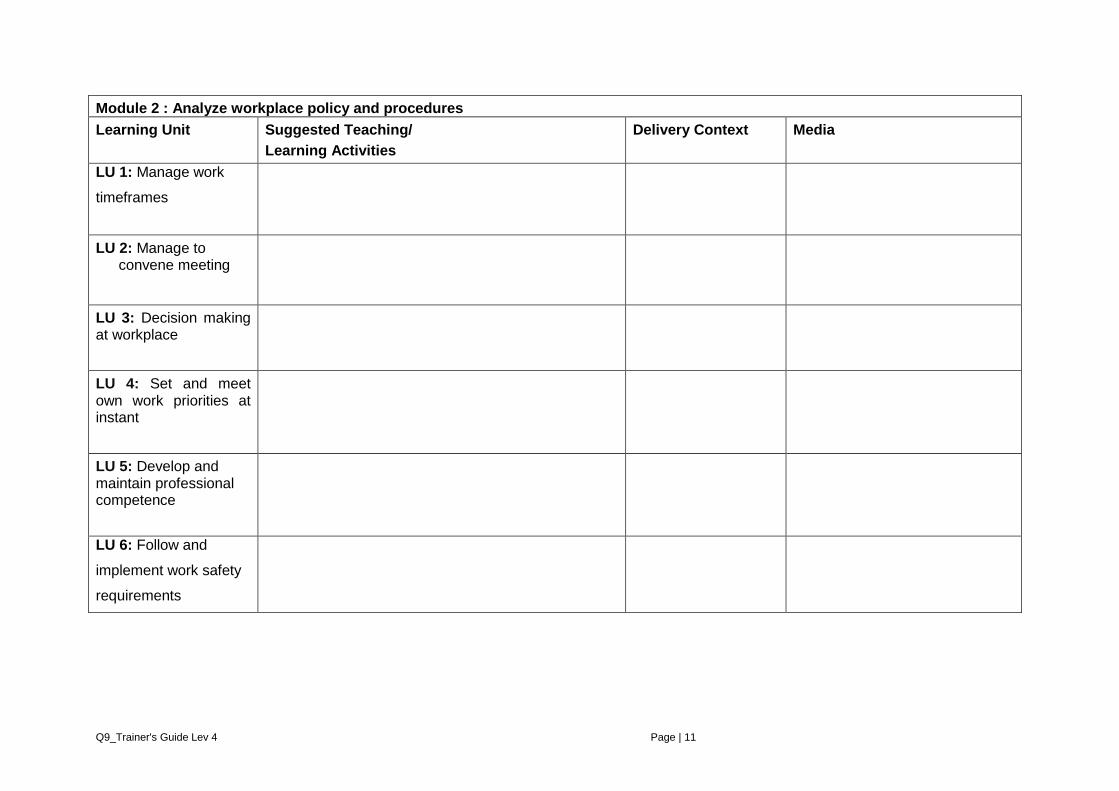
Module 2 : Analyze workplace policy and procedures
Learning Unit Suggested Teaching/
Learning Activities
Delivery Context Media
LU 1: Manage work
timeframes
LU 2: Manage to convene meeting
LU 3: Decision making at workplace
LU 4: Set and meet own work priorities at instant
LU 5: Develop and maintain professional competence
LU 6: Follow and
implement work safety
requirements

Q9_Trainer's Guide Lev 4 Page | 12
Module 3 : Perform Advanced Communication
Learning Unit Suggested Teaching/
Learning Activities
Delivery Context Media
LU 1: Demonstrate
professional skills
LU 2: Plan and Organize work
LU 3: Provide trainings at workplace
Q9_Trainer's Guide Lev 4 Page | 13
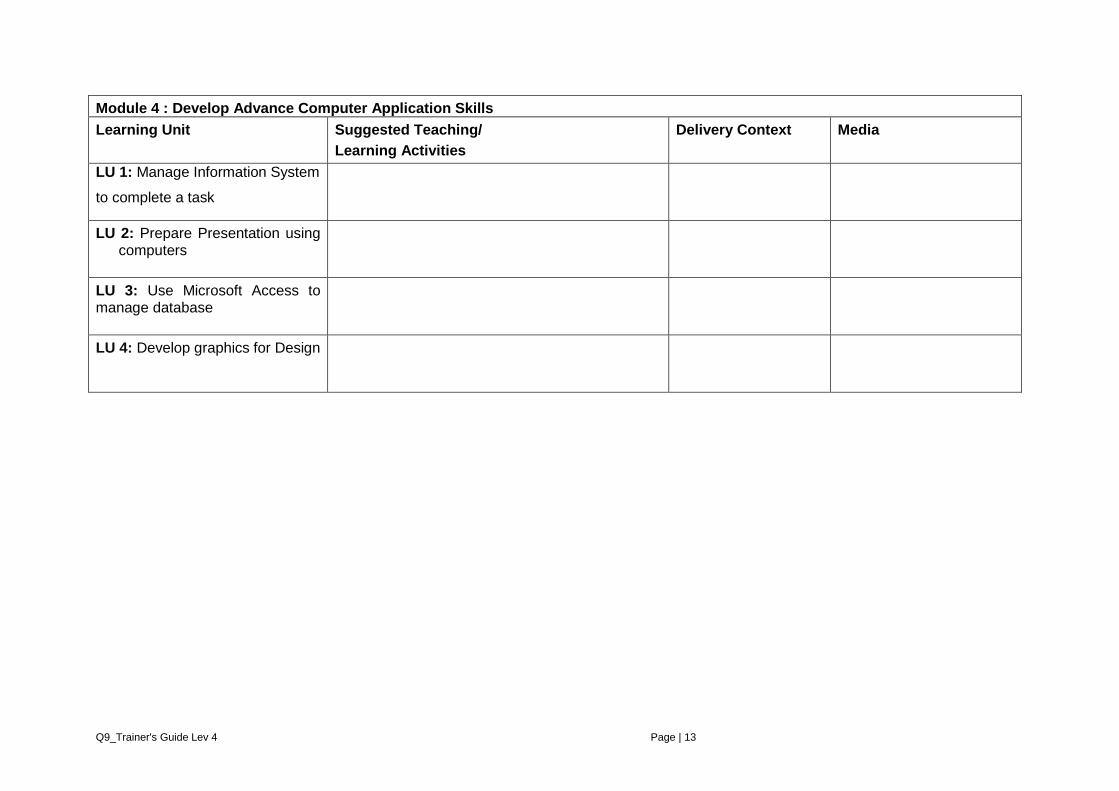
Module 4 : Develop Advance Computer Application Skills
Learning Unit Suggested Teaching/
Learning Activities
Delivery Context Media
LU 1: Manage Information System
to complete a task
LU 2: Prepare Presentation using computers
LU 3: Use Microsoft Access to manage database
LU 4: Develop graphics for Design
Q9_Trainer's Guide Lev 4 Page | 14
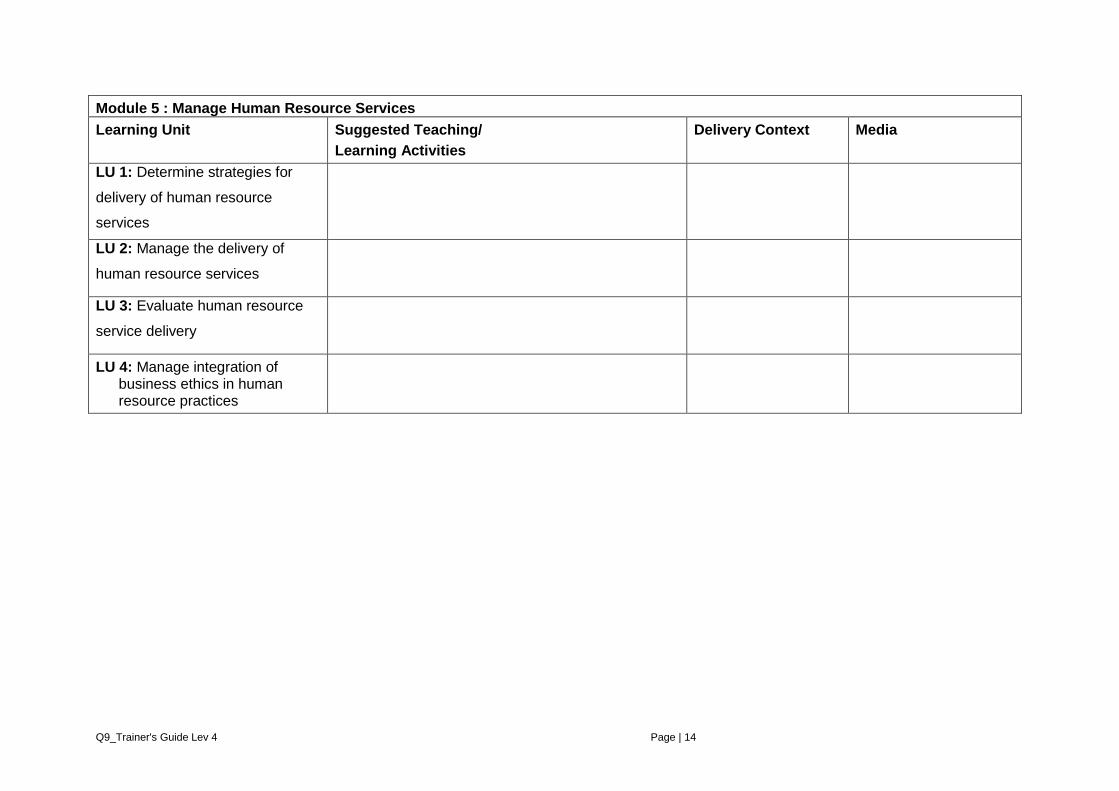
Module 5 : Manage Human Resource Services
Learning Unit Suggested Teaching/
Learning Activities
Delivery Context Media
LU 1: Determine strategies for
delivery of human resource
services
LU 2: Manage the delivery of
human resource services
LU 3: Evaluate human resource
service delivery
LU 4: Manage integration of business ethics in human resource practices
Q9_Trainer's Guide Lev 4 Page | 15
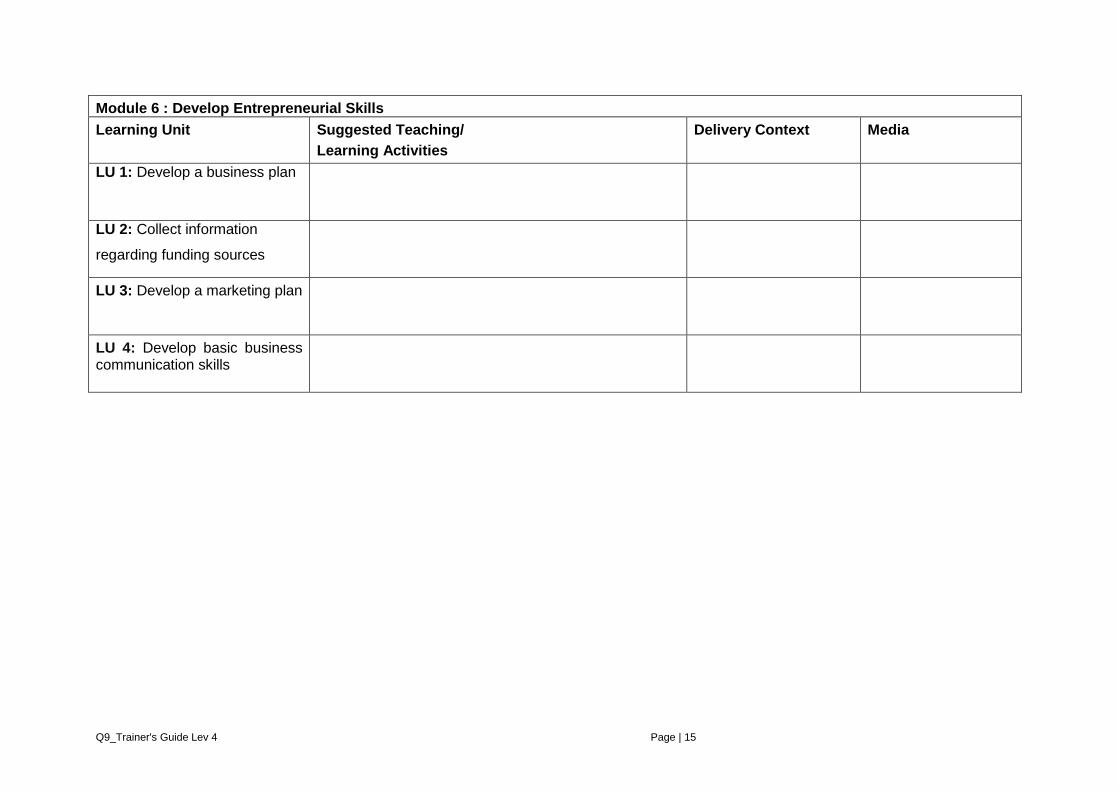
Module 6 : Develop Entrepreneurial Skills
Learning Unit Suggested Teaching/
Learning Activities
Delivery Context Media
LU 1: Develop a business plan
LU 2: Collect information
regarding funding sources
LU 3: Develop a marketing plan
LU 4: Develop basic business communication skills

Q9_Trainer's Guide Lev 4 Page | 16
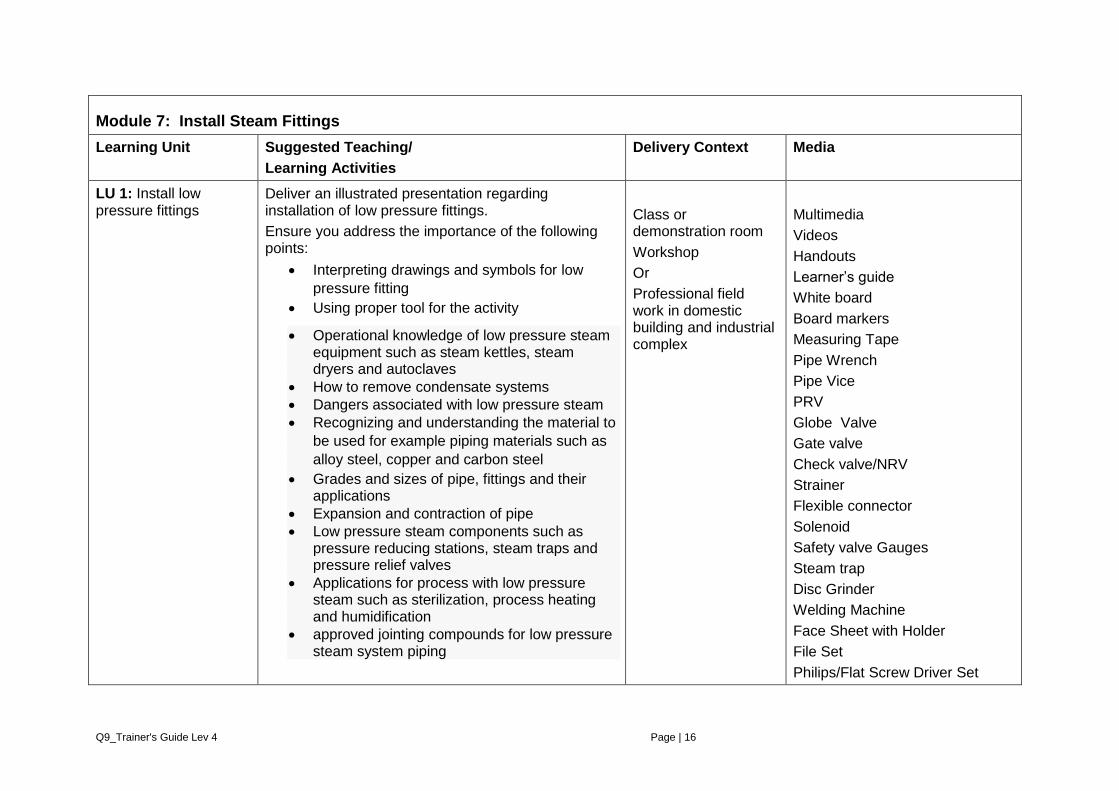
Module 7: Install Steam Fittings
Learning Unit Suggested Teaching/
Learning Activities
Delivery Context Media
LU 1: Install low pressure fittings
Deliver an illustrated presentation regarding installation of low pressure fittings.
Ensure you address the importance of the following points:
Interpreting drawings and symbols for low
pressure fitting
Using proper tool for the activity
Operational knowledge of low pressure steam equipment such as steam kettles, steam dryers and autoclaves
How to remove condensate systems
Dangers associated with low pressure steam
Recognizing and understanding the material to
be used for example piping materials such as
alloy steel, copper and carbon steel
Grades and sizes of pipe, fittings and their applications
Expansion and contraction of pipe
Low pressure steam components such as pressure reducing stations, steam traps and pressure relief valves
Applications for process with low pressure steam such as sterilization, process heating and humidification
approved jointing compounds for low pressure steam system piping
Class or demonstration room
Workshop
Or
Professional field work in domestic building and industrial complex
Multimedia
Videos
Handouts
Learner’s guide
White board
Board markers
Measuring Tape
Pipe Wrench
Pipe Vice
PRV
Globe Valve
Gate valve
Check valve/NRV
Strainer
Flexible connector
Solenoid
Safety valve Gauges
Steam trap
Disc Grinder
Welding Machine
Face Sheet with Holder
File Set
Philips/Flat Screw Driver Set
Q9_Trainer's Guide Lev 4 Page | 17
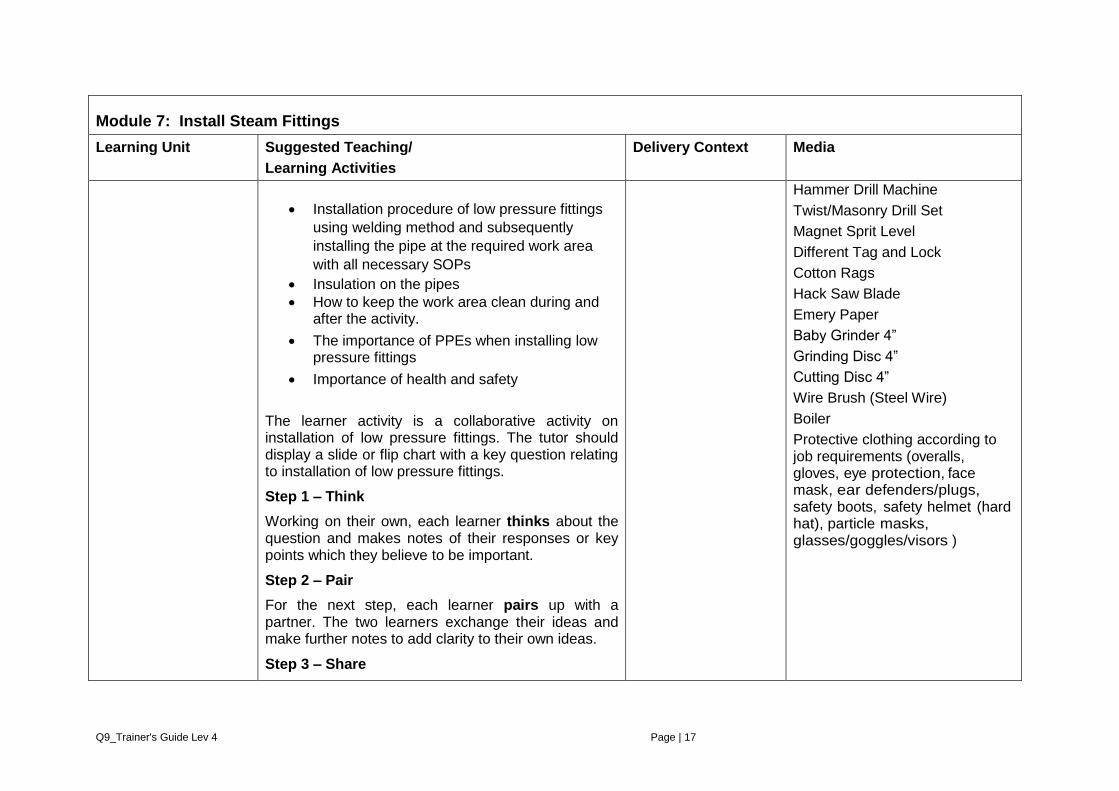
Module 7: Install Steam Fittings
Learning Unit Suggested Teaching/
Learning Activities
Delivery Context Media
Installation procedure of low pressure fittings
using welding method and subsequently
installing the pipe at the required work area
with all necessary SOPs
Insulation on the pipes
How to keep the work area clean during and after the activity.
The importance of PPEs when installing low pressure fittings
Importance of health and safety
The learner activity is a collaborative activity on installation of low pressure fittings. The tutor should display a slide or flip chart with a key question relating to installation of low pressure fittings.
Step 1 – Think
Working on their own, each learner thinks about the question and makes notes of their responses or key points which they believe to be important.
Step 2 – Pair
For the next step, each learner pairs up with a partner. The two learners exchange their ideas and make further notes to add clarity to their own ideas.
Step 3 – Share
Hammer Drill Machine
Twist/Masonry Drill Set
Magnet Sprit Level
Different Tag and Lock
Cotton Rags
Hack Saw Blade
Emery Paper
Baby Grinder 4”
Grinding Disc 4”
Cutting Disc 4”
Wire Brush (Steel Wire)
Boiler
Protective clothing according to job requirements (overalls, gloves, eye protection, face mask, ear defenders/plugs, safety boots, safety helmet (hard hat), particle masks, glasses/goggles/visors )
Q9_Trainer's Guide Lev 4 Page | 18
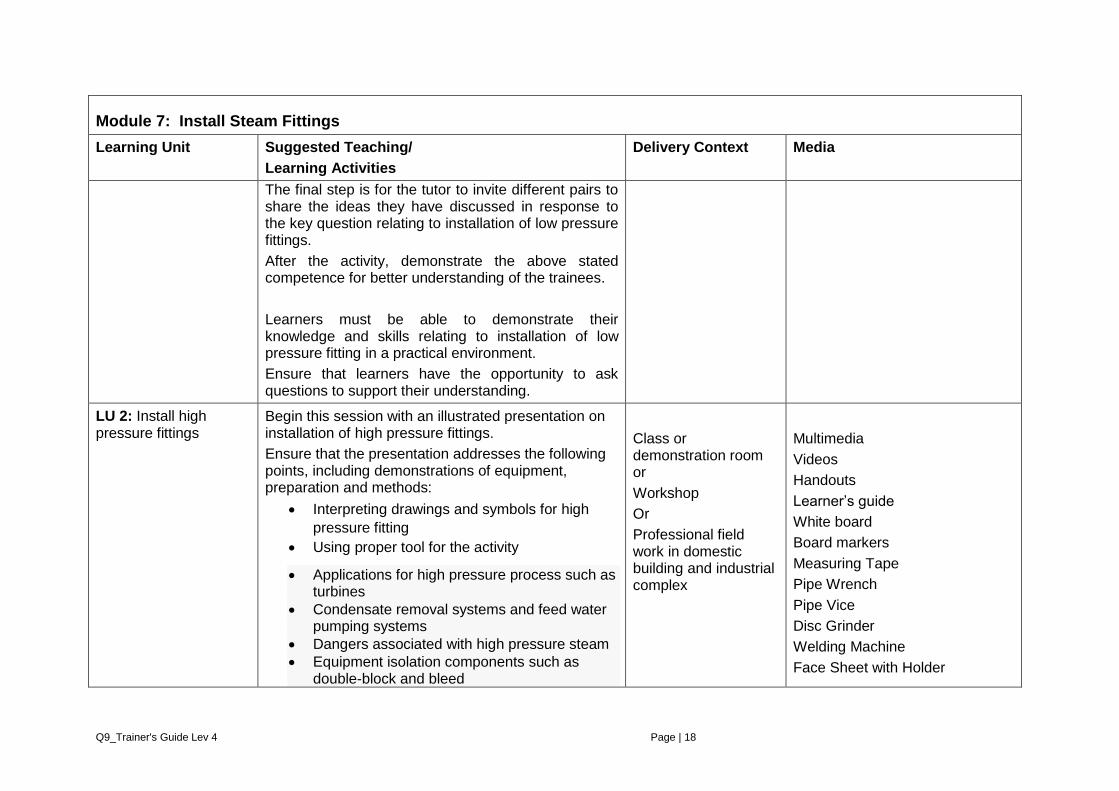
Module 7: Install Steam Fittings
Learning Unit Suggested Teaching/
Learning Activities
Delivery Context Media
The final step is for the tutor to invite different pairs to share the ideas they have discussed in response to the key question relating to installation of low pressure fittings.
After the activity, demonstrate the above stated competence for better understanding of the trainees.
Learners must be able to demonstrate their knowledge and skills relating to installation of low pressure fitting in a practical environment.
Ensure that learners have the opportunity to ask questions to support their understanding.
LU 2: Install high pressure fittings
Begin this session with an illustrated presentation on installation of high pressure fittings.
Ensure that the presentation addresses the following points, including demonstrations of equipment, preparation and methods:
Interpreting drawings and symbols for high
pressure fitting
Using proper tool for the activity
Applications for high pressure process such as turbines
Condensate removal systems and feed water pumping systems
Dangers associated with high pressure steam
Equipment isolation components such as double-block and bleed
Class or demonstration room or
Workshop
Or
Professional field work in domestic building and industrial complex
Multimedia
Videos
Handouts
Learner’s guide
White board
Board markers
Measuring Tape
Pipe Wrench
Pipe Vice
Disc Grinder
Welding Machine
Face Sheet with Holder
Q9_Trainer's Guide Lev 4 Page | 19
Module 7: Install Steam Fittings
Learning Unit Suggested Teaching/
Learning Activities
Delivery Context Media
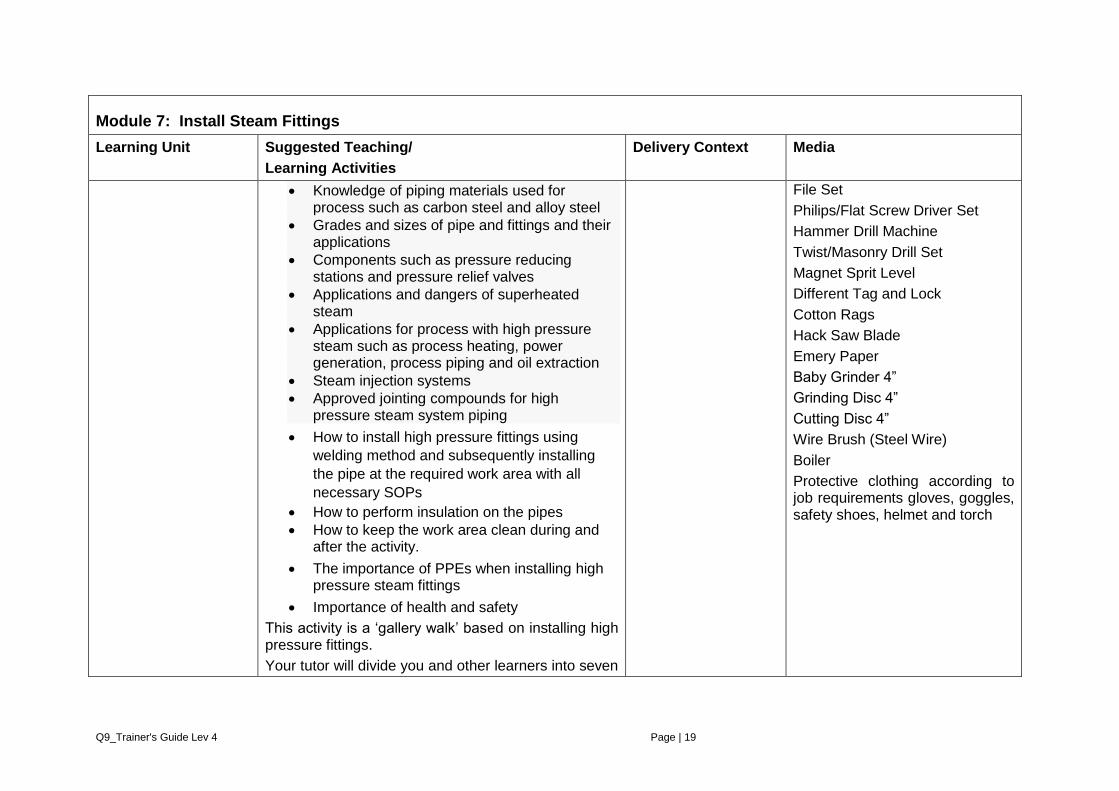
Knowledge of piping materials used for process such as carbon steel and alloy steel
Grades and sizes of pipe and fittings and their applications
Components such as pressure reducing stations and pressure relief valves
Applications and dangers of superheated steam
Applications for process with high pressure steam such as process heating, power generation, process piping and oil extraction
Steam injection systems
Approved jointing compounds for high pressure steam system piping
How to install high pressure fittings using
welding method and subsequently installing
the pipe at the required work area with all
necessary SOPs
How to perform insulation on the pipes
How to keep the work area clean during and after the activity.
The importance of PPEs when installing high pressure steam fittings
Importance of health and safety
This activity is a ‘gallery walk’ based on installing high pressure fittings.
Your tutor will divide you and other learners into seven
File Set
Philips/Flat Screw Driver Set
Hammer Drill Machine
Twist/Masonry Drill Set
Magnet Sprit Level
Different Tag and Lock
Cotton Rags
Hack Saw Blade
Emery Paper
Baby Grinder 4”
Grinding Disc 4”
Cutting Disc 4”
Wire Brush (Steel Wire)
Boiler
Protective clothing according to job requirements gloves, goggles, safety shoes, helmet and torch
Q9_Trainer's Guide Lev 4 Page | 20
Module 7: Install Steam Fittings
Learning Unit Suggested Teaching/
Learning Activities
Delivery Context Media
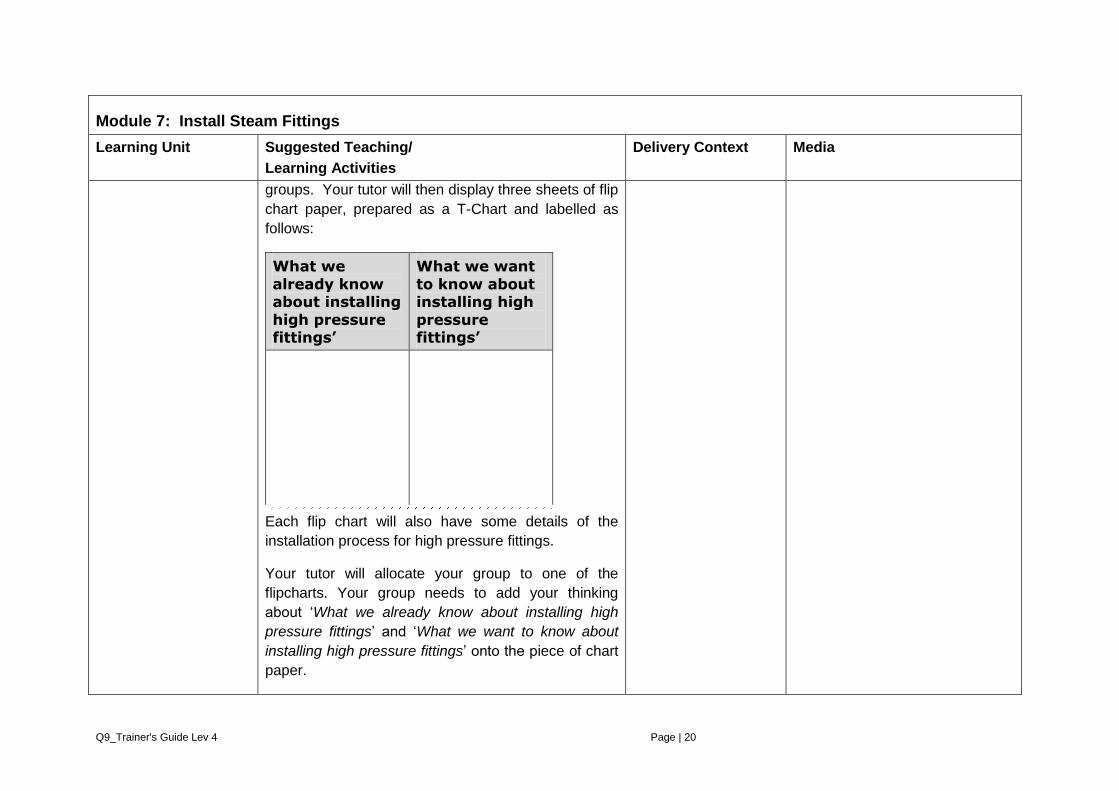
groups. Your tutor will then display three sheets of flip
chart paper, prepared as a T-Chart and labelled as
follows:
What we
already know about installing
high pressure fittings’
What we want
to know about installing high
pressure fittings’
Each flip chart will also have some details of the
installation process for high pressure fittings.
Your tutor will allocate your group to one of the
flipcharts. Your group needs to add your thinking
about ‘What we already know about installing high
pressure fittings’ and ‘What we want to know about
installing high pressure fittings’ onto the piece of chart
paper.
Q9_Trainer's Guide Lev 4 Page | 21
Module 7: Install Steam Fittings
Learning Unit Suggested Teaching/
Learning Activities
Delivery Context Media
When your group has completed adding what you
know or want to know to the chart paper, you will be
asked to move to the next sheet of flip chart paper.
Your group should review the thinking of the previous
group and add any additional thinking to it. Your
group should rotate further until you have covered all
the flipcharts.
To finish, write at least one question you still have
about installing high pressure fittings onto a sticky
note. The question can be related to a topic on one of
the charts, or may be a question that you have
personally about installing high pressure fittings. Post
your final questions on one of the flip charts.
After the activity, demonstrate the above stated competence for better understanding of the trainees.
Learners must be able to demonstrate their knowledge and skills relating to installation of high pressure fittings in a practical environment.
Ensure that learners have the opportunity to ask questions to support their understanding.
Q9_Trainer's Guide Lev 4 Page | 22
Module 7: Install Steam Fittings
Learning Unit Suggested Teaching/
Learning Activities
Delivery Context Media
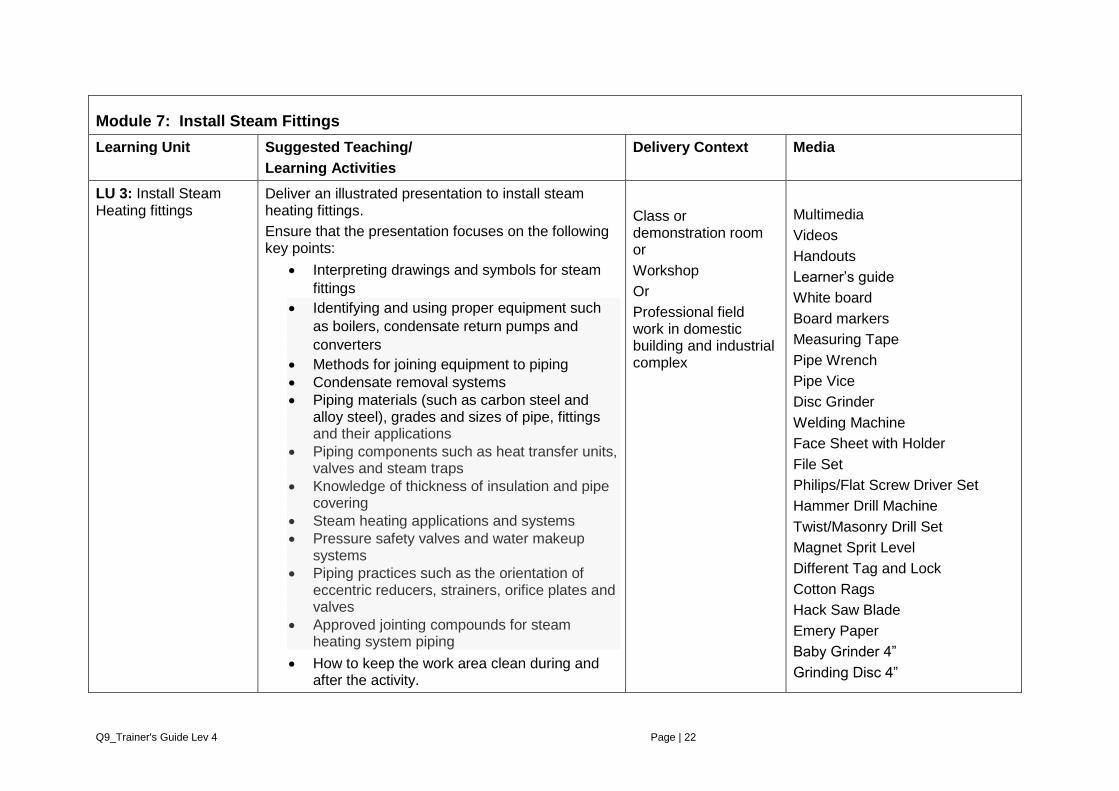
LU 3: Install Steam Heating fittings
Deliver an illustrated presentation to install steam heating fittings.
Ensure that the presentation focuses on the following key points:
Interpreting drawings and symbols for steam
fittings
Identifying and using proper equipment such
as boilers, condensate return pumps and
converters
Methods for joining equipment to piping
Condensate removal systems
Piping materials (such as carbon steel and alloy steel), grades and sizes of pipe, fittings and their applications
Piping components such as heat transfer units, valves and steam traps
Knowledge of thickness of insulation and pipe covering
Steam heating applications and systems
Pressure safety valves and water makeup systems
Piping practices such as the orientation of eccentric reducers, strainers, orifice plates and valves
Approved jointing compounds for steam heating system piping
How to keep the work area clean during and after the activity.
Class or demonstration room or
Workshop
Or
Professional field work in domestic building and industrial complex
Multimedia
Videos
Handouts
Learner’s guide
White board
Board markers
Measuring Tape
Pipe Wrench
Pipe Vice
Disc Grinder
Welding Machine
Face Sheet with Holder
File Set
Philips/Flat Screw Driver Set
Hammer Drill Machine
Twist/Masonry Drill Set
Magnet Sprit Level
Different Tag and Lock
Cotton Rags
Hack Saw Blade
Emery Paper
Baby Grinder 4”
Grinding Disc 4”
Q9_Trainer's Guide Lev 4 Page | 23
Module 7: Install Steam Fittings
Learning Unit Suggested Teaching/
Learning Activities
Delivery Context Media
The importance of PPEs when carrying out installation of steam fittings.
Importance of health and safety
Use examples from the Media column to reinforce various points.
The tutor needs to prepare either:
A flip chart
A PowerPoint slide
A handout
…showing the key topics about installation of steam heating fittings.
. Go through all the key topics briefly and then allocate one key topic to each group.
Learners need to work in their small groups discussing the key topic that has been allocated to their group. Each group should use a sheet of flip chart paper to record three main points from their discussions that relate to their key topic.
After the discussion, begin the feedback session. Ask one group to come to the front of the class with their flipchart. Put up the flipchart where it can be easily seen by other learners. Ask the group to share the main points they have recorded for their key topic for installation of steam heating fittings.
Discuss these main points briefly with the whole group. Learners should make additional notes on the flip chart to record additional points their group had
Cutting Disc 4”
Wire Brush (Steel Wire)
Boiler
Protective clothing according to job requirements gloves, goggles, safety shoes, helmet and torch
Q9_Trainer's Guide Lev 4 Page | 24
Module 7: Install Steam Fittings
Learning Unit Suggested Teaching/
Learning Activities
Delivery Context Media
not identified.
Then ask the next group to share their flipchart showing the main points they have recorded for the next key topic. Repeat the discussion process. Continue until you have covered all the key topics.
End the group discussion activity with a summary. Photograph or scan all the flipcharts and use these to create a handout to distribute to all learners.
After the activity, demonstrate the above stated competence for better understanding of the trainees.
Learners must be able to demonstrate their knowledge and skills relating to install steam heating fittings in a practical environment.
After the practical sessions are completed, lead a feedback session.
Ask questions to confirm their understanding. Provide opportunities for trainees to ask their own questions.

Q9_Trainer's Guide Lev 4 Page | 25
Module 8: Install Process Piping System
Learning Unit Suggested Teaching/
Learning Activities
Delivery Context Media
LU 1: Prepare for installation of process piping system
Deliver an illustrated presentation about preparation of process piping.
Ensure that the presentation focuses on the following key points:
Interpreting drawings and symbols for process
piping.
Recognizing and using relevant tools and
materials.
Knowledge of pipe threads & weld pipe joints
as per SOP.
Using different types of valves, flanges,
couplings, gaskets and pipe supports.
Tools Knowledge understanding and
identification.
Importance of health and safety
Prepare either:
A flip chart
A PowerPoint slide
A handout
…showing the key topics about preparing of installation of process piping system. Go through all the key topics briefly and then allocate one key topic to each group.
Learners need to work in their small groups discussing the key topic that has been allocated to their group.
Classroom or demonstration room
Workshop
Professional field work in domestic building and industrial complex
Multimedia
Videos
Handouts
Learner’s guide
White board
Board markers
Piping layout
Drawings
Measuring Tools
Protective clothing according to job requirements gloves, goggles, safety shoes, helmet and torch
Q9_Trainer's Guide Lev 4 Page | 26
Module 8: Install Process Piping System
Learning Unit Suggested Teaching/
Learning Activities
Delivery Context Media
Each group should use a sheet of flip chart paper to record three main points from their discussions that relate to their key topic.
After the discussion, begin the feedback session. Ask one group to come to the front of the class with their flipchart. Put up the flipchart where it can be easily seen by other learners. Ask the group to share the main points they have recorded for their key topic for preparing of installation of process piping system. Discuss these main points briefly with the whole group. Learners should make additional notes on the flip chart to record additional points their group had not identified.
Then ask the next group to share their flipchart showing the main points they have recorded for the next key topic. Repeat the discussion process. Continue until you have covered all the key topics.
End the group discussion activity with a summary. Photograph or scan all the flipcharts and use these to create a handout to distribute to all learners.
Use appropriate resources (see Media column) to reinforce various points.
Learners must be able to demonstrate their knowledge and skills relating to how to prepare for process piping in a practical environment.
Ensure that learners have the opportunity to ask
Q9_Trainer's Guide Lev 4 Page | 27
Module 8: Install Process Piping System
Learning Unit Suggested Teaching/
Learning Activities
Delivery Context Media
questions to support their understanding.
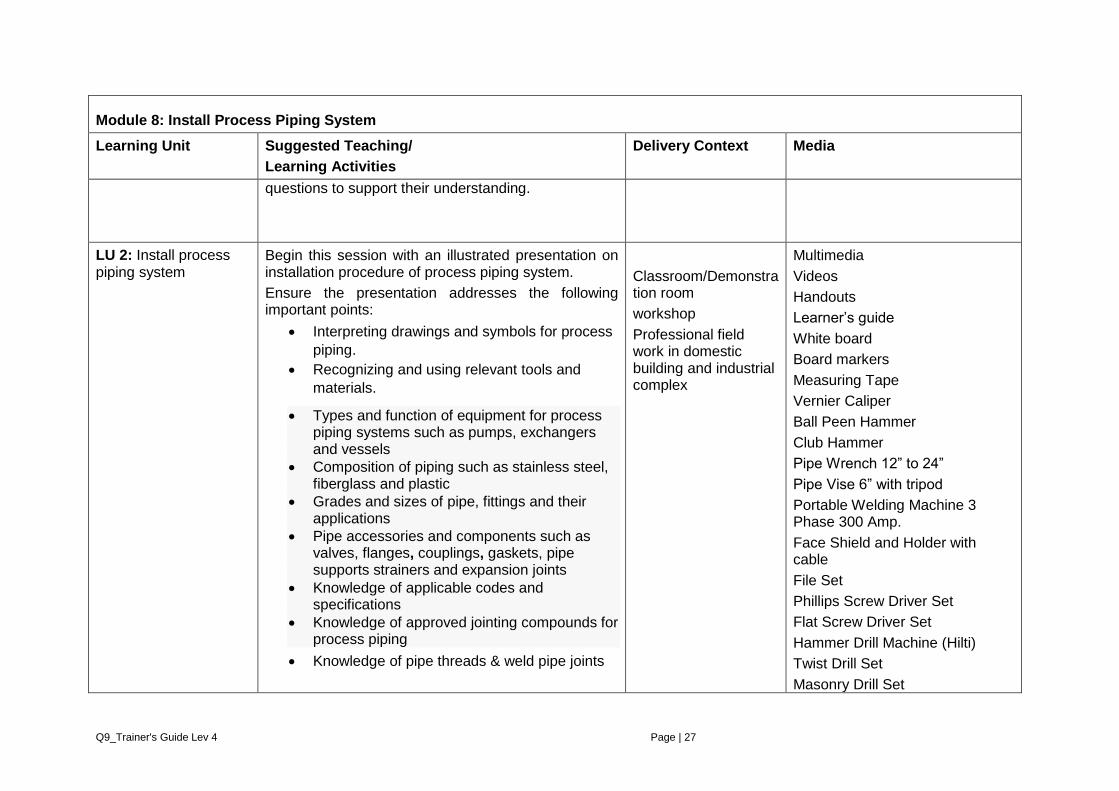
LU 2: Install process piping system
Begin this session with an illustrated presentation on installation procedure of process piping system.
Ensure the presentation addresses the following important points:
Interpreting drawings and symbols for process
piping.
Recognizing and using relevant tools and
materials.
Types and function of equipment for process piping systems such as pumps, exchangers and vessels
Composition of piping such as stainless steel, fiberglass and plastic
Grades and sizes of pipe, fittings and their applications
Pipe accessories and components such as valves, flanges, couplings, gaskets, pipe supports strainers and expansion joints
Knowledge of applicable codes and specifications
Knowledge of approved jointing compounds for process piping
Knowledge of pipe threads & weld pipe joints
Classroom/Demonstration room
workshop
Professional field work in domestic building and industrial complex
Multimedia
Videos
Handouts
Learner’s guide
White board
Board markers
Measuring Tape
Vernier Caliper
Ball Peen Hammer
Club Hammer
Pipe Wrench 12” to 24”
Pipe Vise 6” with tripod
Portable Welding Machine 3 Phase 300 Amp.
Face Shield and Holder with cable
File Set
Phillips Screw Driver Set
Flat Screw Driver Set
Hammer Drill Machine (Hilti)
Twist Drill Set
Masonry Drill Set
Q9_Trainer's Guide Lev 4 Page | 28
Module 8: Install Process Piping System
Learning Unit Suggested Teaching/
Learning Activities
Delivery Context Media
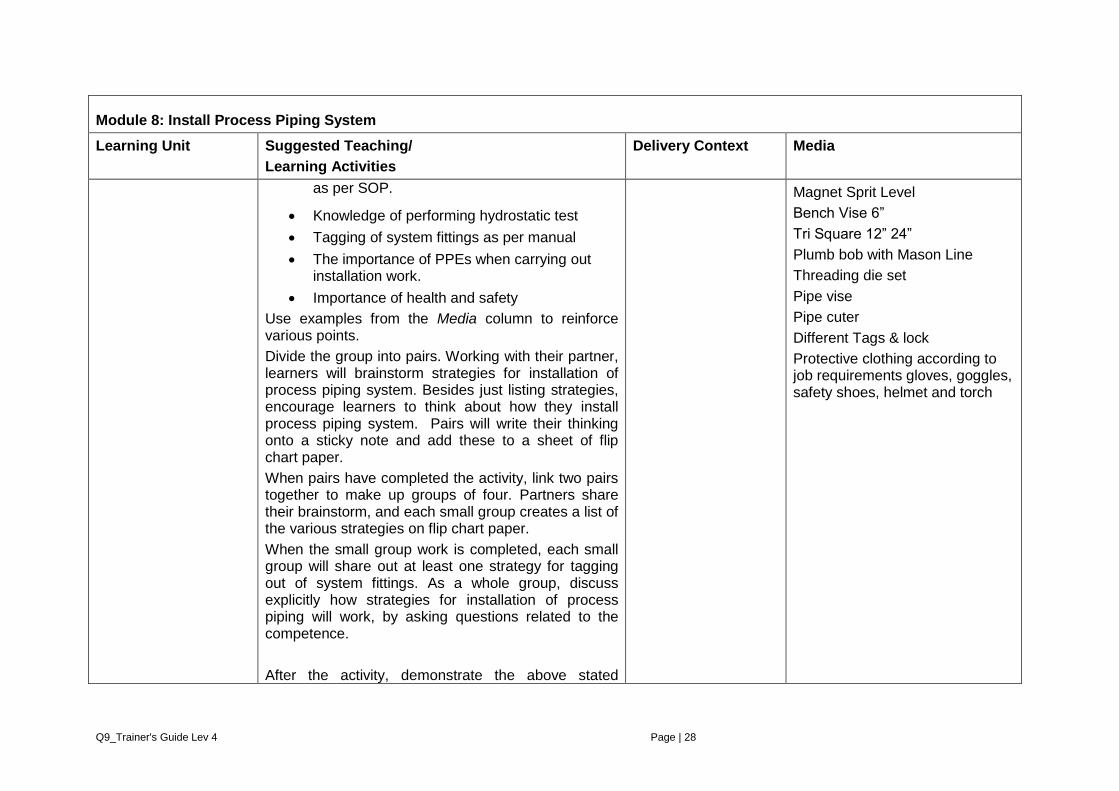
as per SOP.
Knowledge of performing hydrostatic test
Tagging of system fittings as per manual
The importance of PPEs when carrying out installation work.
Importance of health and safety
Use examples from the Media column to reinforce various points.
Divide the group into pairs. Working with their partner, learners will brainstorm strategies for installation of process piping system. Besides just listing strategies, encourage learners to think about how they install process piping system. Pairs will write their thinking onto a sticky note and add these to a sheet of flip chart paper.
When pairs have completed the activity, link two pairs together to make up groups of four. Partners share their brainstorm, and each small group creates a list of the various strategies on flip chart paper.
When the small group work is completed, each small group will share out at least one strategy for tagging out of system fittings. As a whole group, discuss explicitly how strategies for installation of process piping will work, by asking questions related to the competence.
After the activity, demonstrate the above stated
Magnet Sprit Level
Bench Vise 6”
Tri Square 12” 24”
Plumb bob with Mason Line
Threading die set
Pipe vise
Pipe cuter
Different Tags & lock
Protective clothing according to job requirements gloves, goggles, safety shoes, helmet and torch
Q9_Trainer's Guide Lev 4 Page | 29
Module 8: Install Process Piping System
Learning Unit Suggested Teaching/
Learning Activities
Delivery Context Media
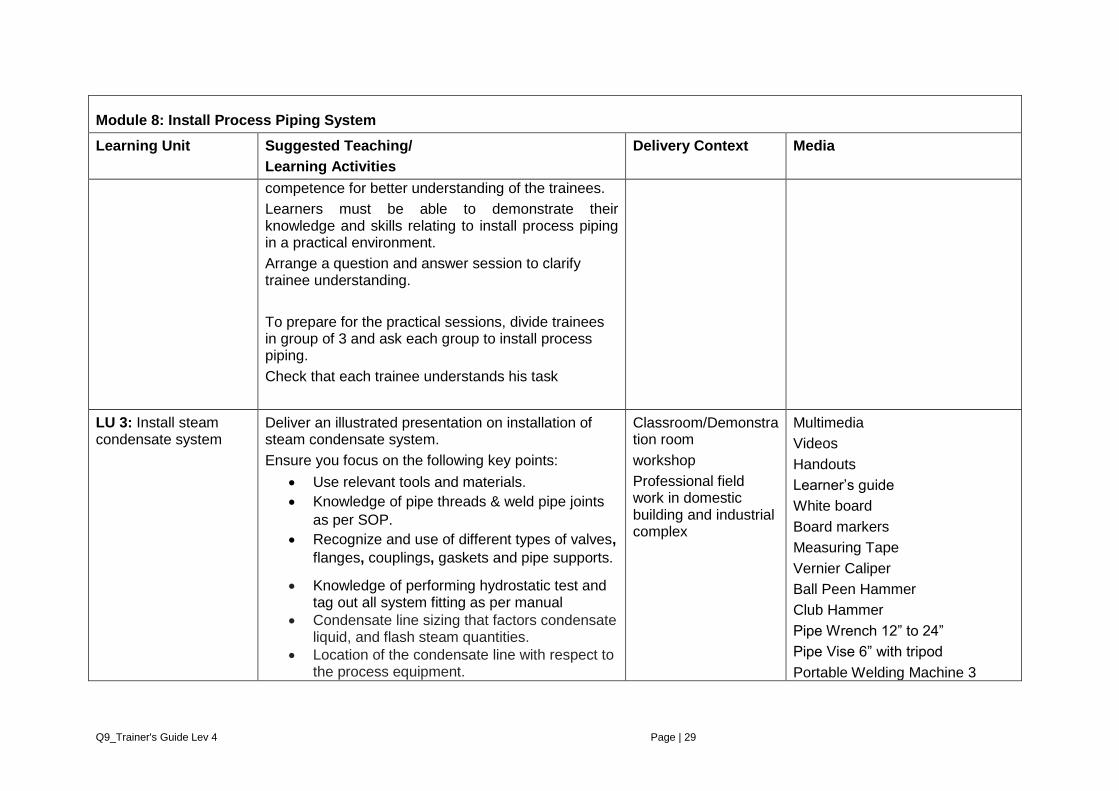
competence for better understanding of the trainees.
Learners must be able to demonstrate their knowledge and skills relating to install process piping in a practical environment.
Arrange a question and answer session to clarify trainee understanding.
To prepare for the practical sessions, divide trainees in group of 3 and ask each group to install process piping.
Check that each trainee understands his task
LU 3: Install steam condensate system
Deliver an illustrated presentation on installation of steam condensate system.
Ensure you focus on the following key points:
Use relevant tools and materials.
Knowledge of pipe threads & weld pipe joints
as per SOP.
Recognize and use of different types of valves,
flanges, couplings, gaskets and pipe supports.
Knowledge of performing hydrostatic test and tag out all system fitting as per manual
Condensate line sizing that factors condensate liquid, and flash steam quantities.
Location of the condensate line with respect to the process equipment.
Classroom/Demonstration room
workshop
Professional field work in domestic building and industrial complex
Multimedia
Videos
Handouts
Learner’s guide
White board
Board markers
Measuring Tape
Vernier Caliper
Ball Peen Hammer
Club Hammer
Pipe Wrench 12” to 24”
Pipe Vise 6” with tripod
Portable Welding Machine 3
Q9_Trainer's Guide Lev 4 Page | 30
Module 8: Install Process Piping System
Learning Unit Suggested Teaching/
Learning Activities
Delivery Context Media
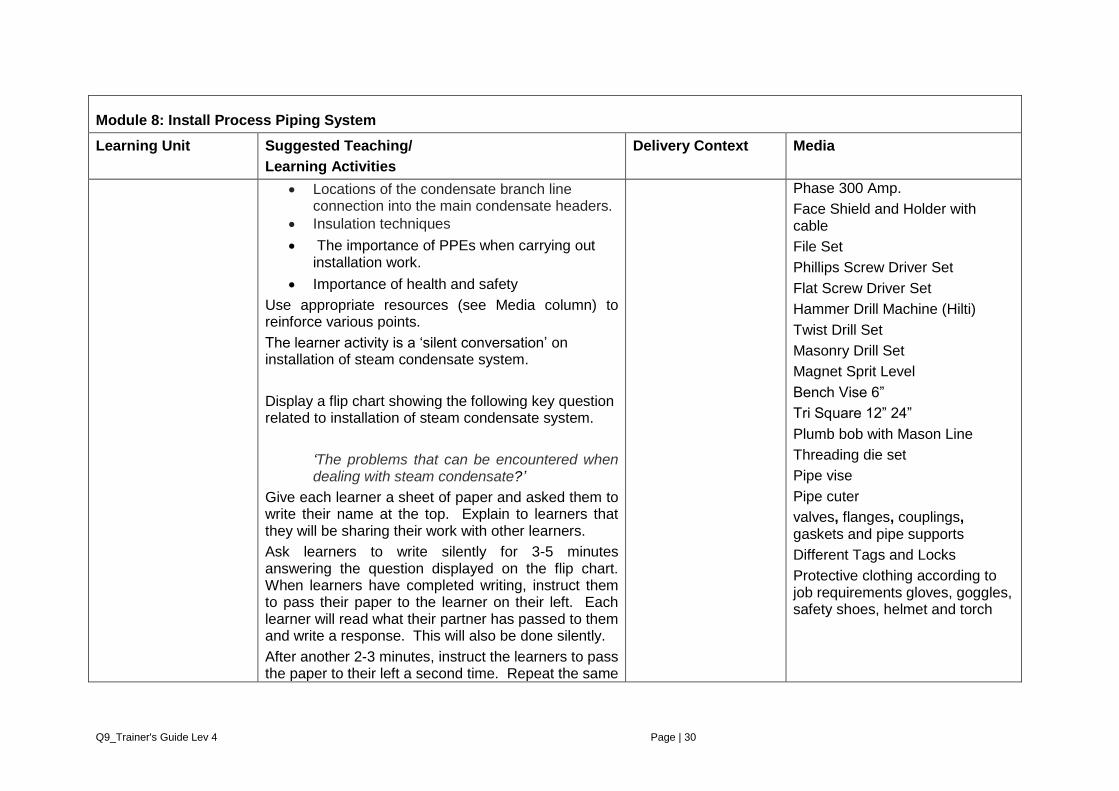
Locations of the condensate branch line connection into the main condensate headers.
Insulation techniques
The importance of PPEs when carrying out installation work.
Importance of health and safety
Use appropriate resources (see Media column) to reinforce various points.
The learner activity is a ‘silent conversation’ on installation of steam condensate system.
Display a flip chart showing the following key question related to installation of steam condensate system.
‘The problems that can be encountered when dealing with steam condensate?’
Give each learner a sheet of paper and asked them to write their name at the top. Explain to learners that they will be sharing their work with other learners.
Ask learners to write silently for 3-5 minutes answering the question displayed on the flip chart. When learners have completed writing, instruct them to pass their paper to the learner on their left. Each learner will read what their partner has passed to them and write a response. This will also be done silently.
After another 2-3 minutes, instruct the learners to pass the paper to their left a second time. Repeat the same
Phase 300 Amp.
Face Shield and Holder with cable
File Set
Phillips Screw Driver Set
Flat Screw Driver Set
Hammer Drill Machine (Hilti)
Twist Drill Set
Masonry Drill Set
Magnet Sprit Level
Bench Vise 6”
Tri Square 12” 24”
Plumb bob with Mason Line
Threading die set
Pipe vise
Pipe cuter
valves, flanges, couplings, gaskets and pipe supports
Different Tags and Locks
Protective clothing according to job requirements gloves, goggles, safety shoes, helmet and torch
Q9_Trainer's Guide Lev 4 Page | 31
Module 8: Install Process Piping System
Learning Unit Suggested Teaching/
Learning Activities
Delivery Context Media
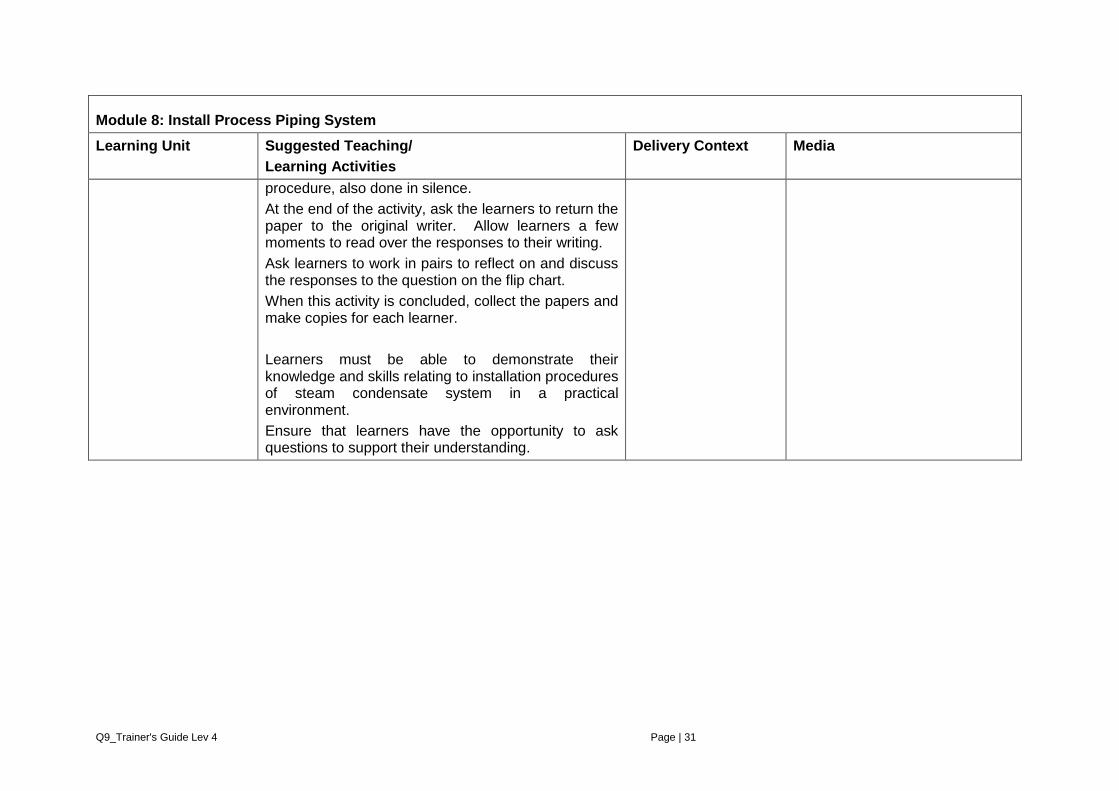
procedure, also done in silence.
At the end of the activity, ask the learners to return the paper to the original writer. Allow learners a few moments to read over the responses to their writing.
Ask learners to work in pairs to reflect on and discuss the responses to the question on the flip chart.
When this activity is concluded, collect the papers and make copies for each learner.
Learners must be able to demonstrate their knowledge and skills relating to installation procedures of steam condensate system in a practical environment.
Ensure that learners have the opportunity to ask questions to support their understanding.
Q9_Trainer's Guide Lev 4 Page | 32
Short Questions/Answers
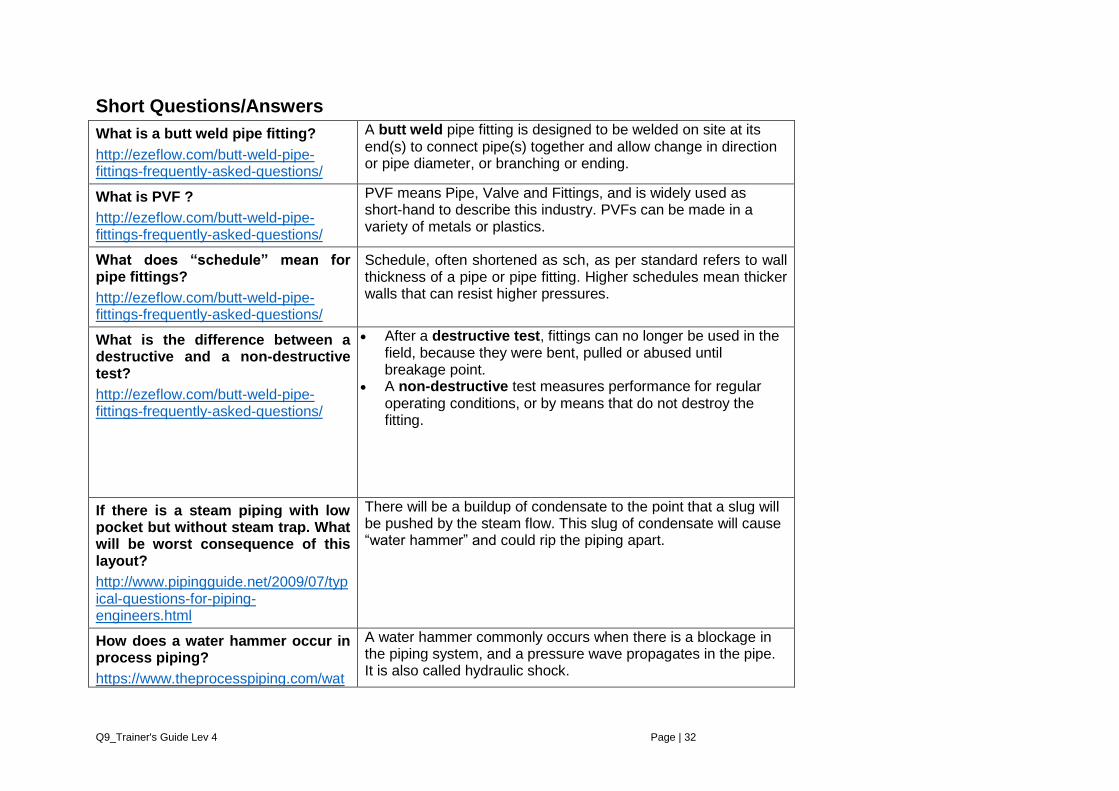
What is a butt weld pipe fitting?
http://ezeflow.com/butt-weld-pipe-fittings-frequently-asked-questions/
A butt weld pipe fitting is designed to be welded on site at its end(s) to connect pipe(s) together and allow change in direction or pipe diameter, or branching or ending.
What is PVF ?
http://ezeflow.com/butt-weld-pipe-fittings-frequently-asked-questions/
PVF means Pipe, Valve and Fittings, and is widely used as short-hand to describe this industry. PVFs can be made in a variety of metals or plastics.
What does “schedule” mean for pipe fittings?
http://ezeflow.com/butt-weld-pipe-fittings-frequently-asked-questions/
Schedule, often shortened as sch, as per standard refers to wall thickness of a pipe or pipe fitting. Higher schedules mean thicker walls that can resist higher pressures.
What is the difference between a destructive and a non-destructive test?
http://ezeflow.com/butt-weld-pipe-fittings-frequently-asked-questions/
After a destructive test, fittings can no longer be used in the field, because they were bent, pulled or abused until breakage point.
A non-destructive test measures performance for regular operating conditions, or by means that do not destroy the fitting.
If there is a steam piping with low pocket but without steam trap. What will be worst consequence of this layout?
http://www.pipingguide.net/2009/07/typical-questions-for-piping-engineers.html
There will be a buildup of condensate to the point that a slug will be pushed by the steam flow. This slug of condensate will cause “water hammer” and could rip the piping apart.
How does a water hammer occur in process piping?
https://www.theprocesspiping.com/wat
A water hammer commonly occurs when there is a blockage in the piping system, and a pressure wave propagates in the pipe. It is also called hydraulic shock.
Q9_Trainer's Guide Lev 4 Page | 33
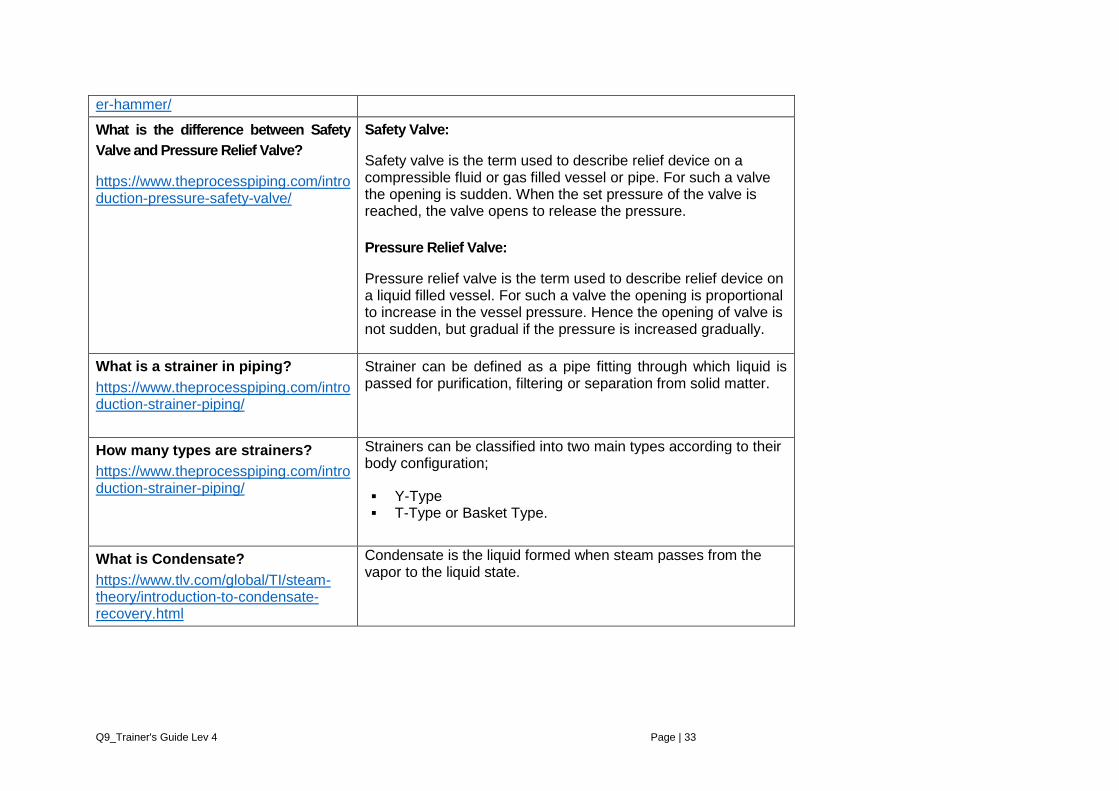
er-hammer/
What is the difference between Safety
Valve and Pressure Relief Valve?
https://www.theprocesspiping.com/introduction-pressure-safety-valve/
Safety Valve:
Safety valve is the term used to describe relief device on a compressible fluid or gas filled vessel or pipe. For such a valve the opening is sudden. When the set pressure of the valve is reached, the valve opens to release the pressure.
Pressure Relief Valve:
Pressure relief valve is the term used to describe relief device on a liquid filled vessel. For such a valve the opening is proportional to increase in the vessel pressure. Hence the opening of valve is not sudden, but gradual if the pressure is increased gradually.
What is a strainer in piping?
https://www.theprocesspiping.com/introduction-strainer-piping/
Strainer can be defined as a pipe fitting through which liquid is passed for purification, filtering or separation from solid matter.
How many types are strainers?
https://www.theprocesspiping.com/introduction-strainer-piping/
Strainers can be classified into two main types according to their body configuration;
Y-Type T-Type or Basket Type.
What is Condensate?
https://www.tlv.com/global/TI/steam-theory/introduction-to-condensate-recovery.html
Condensate is the liquid formed when steam passes from the vapor to the liquid state.
Q9_Trainer's Guide Lev 4 Page | 34
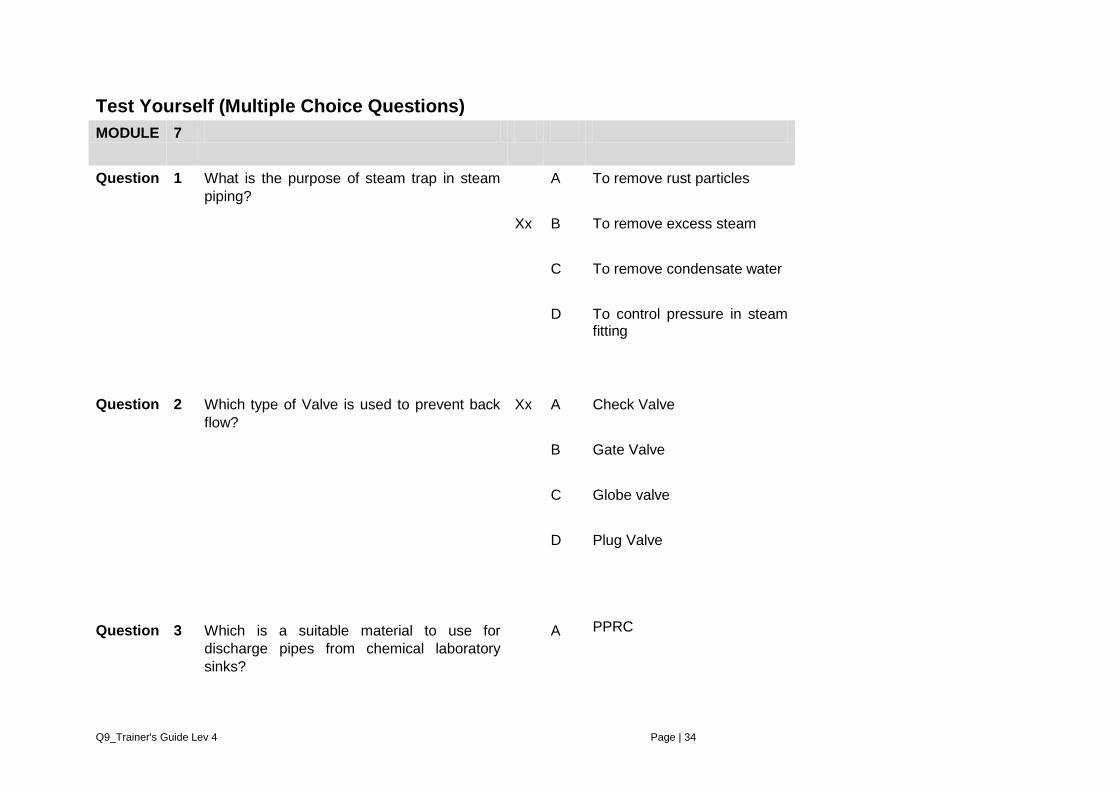
Test Yourself (Multiple Choice Questions)
MODULE 7
Question 1 What is the purpose of steam trap in steam
piping?
A To remove rust particles
Xx B To remove excess steam
C To remove condensate water
D To control pressure in steam fitting
Question 2 Which type of Valve is used to prevent back
flow?
Xx A Check Valve
B Gate Valve
C Globe valve
D Plug Valve
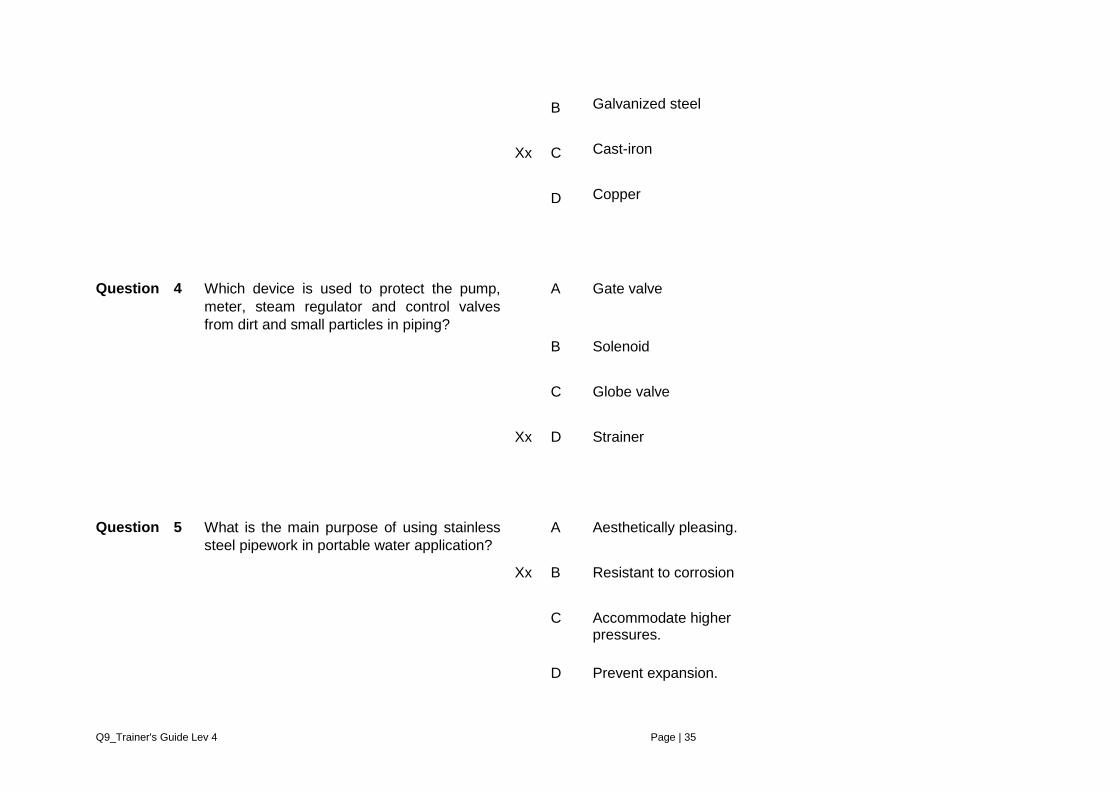
Question 3 Which is a suitable material to use for
discharge pipes from chemical laboratory
sinks?
A PPRC
Q9_Trainer's Guide Lev 4 Page | 35
B Galvanized steel
Xx C Cast-iron
D Copper
Question 4 Which device is used to protect the pump,
meter, steam regulator and control valves
from dirt and small particles in piping?
A Gate valve
B Solenoid
C Globe valve
Xx D Strainer
Question 5 What is the main purpose of using stainless
steel pipework in portable water application?
A Aesthetically pleasing.
Xx B Resistant to corrosion
C Accommodate higher pressures.
D Prevent expansion.
Q9_Trainer's Guide Lev 4 Page | 36
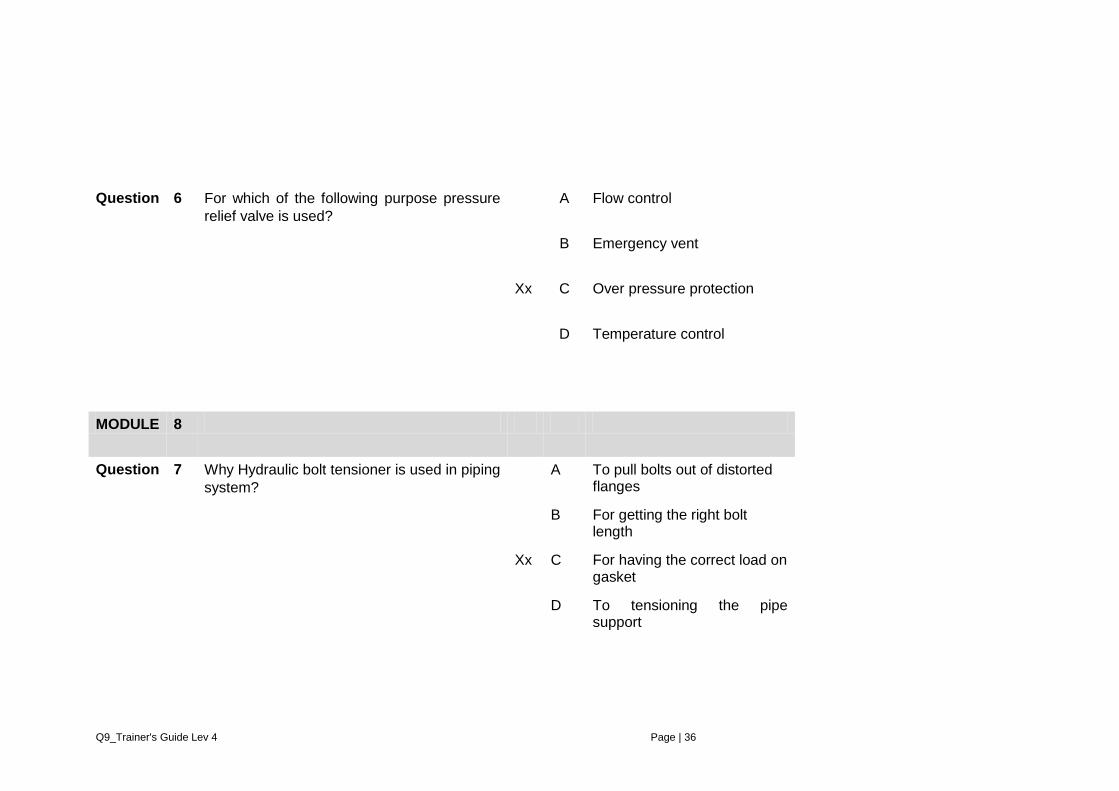
Question 6 For which of the following purpose pressure
relief valve is used?
A Flow control
B Emergency vent
Xx C Over pressure protection
D Temperature control
MODULE 8
Question 7 Why Hydraulic bolt tensioner is used in piping
system?
A To pull bolts out of distorted flanges
B For getting the right bolt length
Xx C For having the correct load on gasket
D To tensioning the pipe support
Q9_Trainer's Guide Lev 4 Page | 37
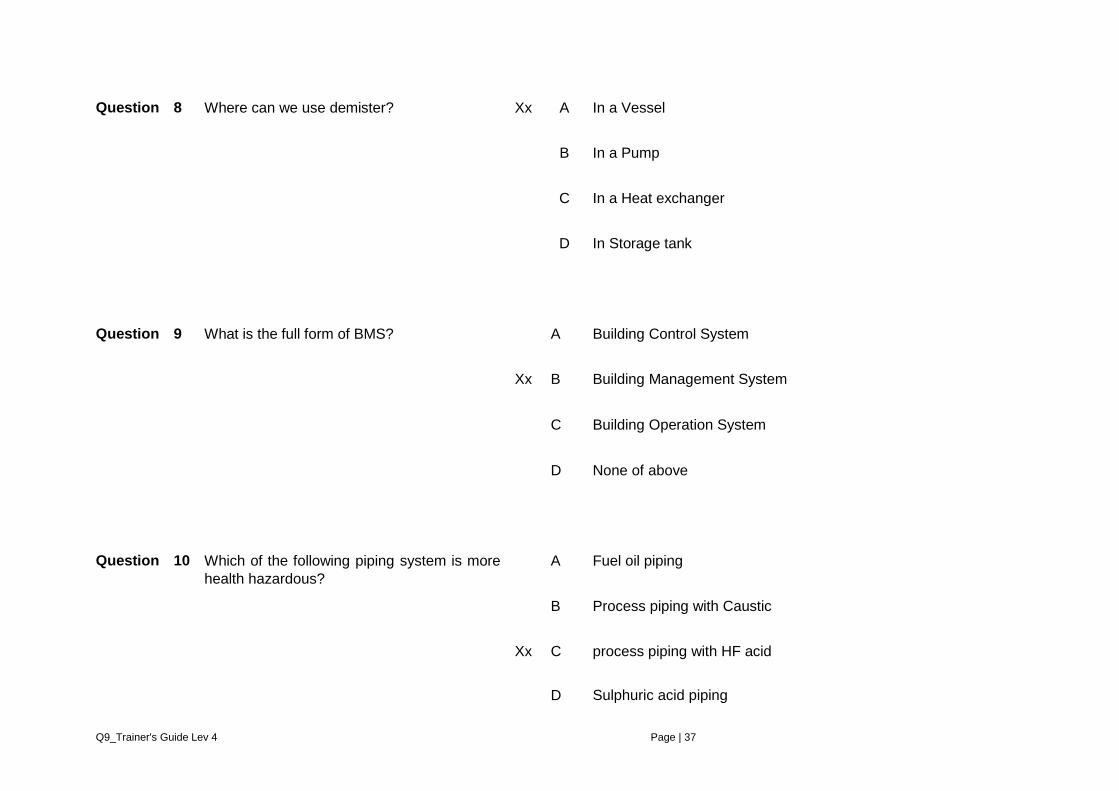
Question 8 Where can we use demister? Xx A In a Vessel
B In a Pump
C In a Heat exchanger
D In Storage tank
Question 9 What is the full form of BMS? A Building Control System
Xx B Building Management System
C Building Operation System
D None of above
Question
10 Which of the following piping system is more
health hazardous?
A Fuel oil piping
B Process piping with Caustic
Xx C process piping with HF acid
D Sulphuric acid piping

Q9_Trainer's Guide Lev 4 Page | 38
Question 11 Which type of device is a solenoid valve? A Electrical
Xx B Electromechanical
C Mechanical
D Mechatronic
Q9_Trainer's Guide Lev 4 Page | 39
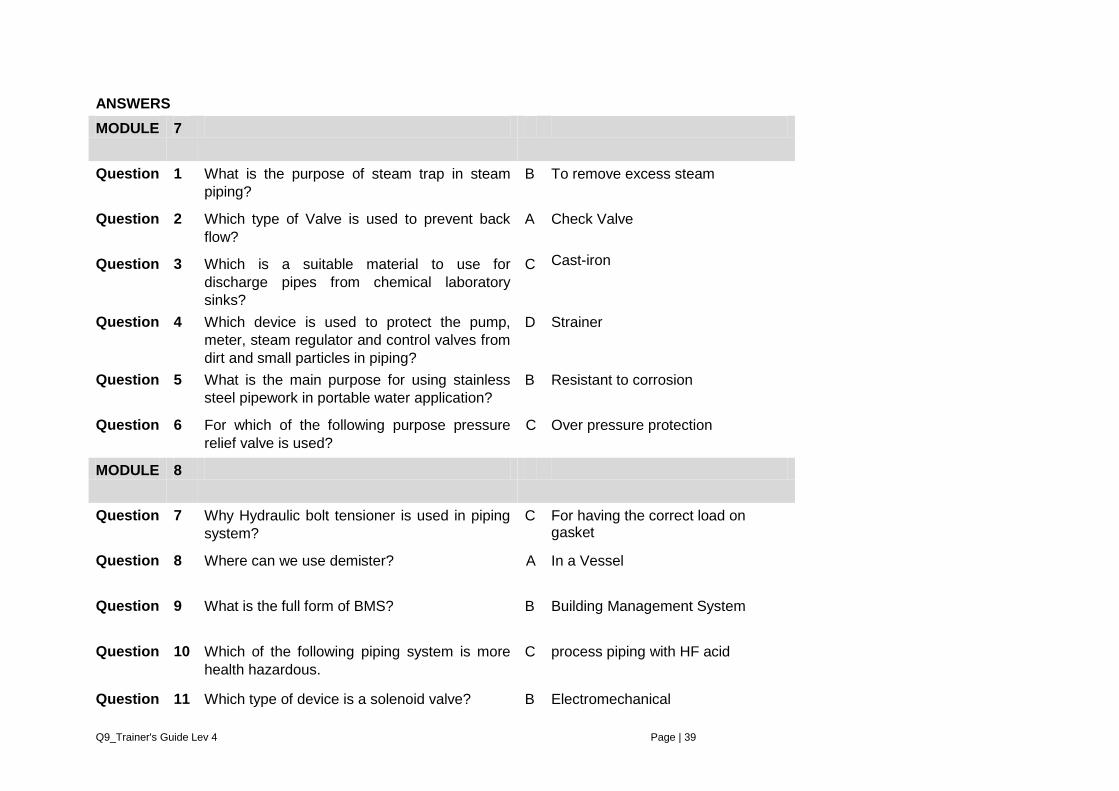
ANSWERS
MODULE 7
Question 1 What is the purpose of steam trap in steam
piping?
B To remove excess steam
Question 2 Which type of Valve is used to prevent back
flow?
A Check Valve
Question 3 Which is a suitable material to use for
discharge pipes from chemical laboratory
sinks?
C Cast-iron
Question 4 Which device is used to protect the pump,
meter, steam regulator and control valves from
dirt and small particles in piping?
D Strainer
Question 5 What is the main purpose for using stainless
steel pipework in portable water application?
B Resistant to corrosion
Question 6 For which of the following purpose pressure
relief valve is used?
C Over pressure protection
MODULE 8
Question 7 Why Hydraulic bolt tensioner is used in piping
system?
C For having the correct load on gasket
Question 8 Where can we use demister? A In a Vessel
Question 9 What is the full form of BMS? B Building Management System
Question 10 Which of the following piping system is more
health hazardous.
C process piping with HF acid
Question 11 Which type of device is a solenoid valve? B Electromechanical