Embed Size (px)
Citation preview
在 Windows 以 Wi-Fi 連接安裝 E3370 驅動程式步驟(以 Windows 10 作示範)
E3370 printer driver Installation Guide for Windows via Wi-Fi (Windows 10 as example)
*請開啟打印機並確保電腦已連接互聯網
*Please turn on the printer and make sure computer already connected to the internet
請參考以下簡易無線連接方法設定印表機的無線功能
Please refer to following Easy wireless connect to setup the Wi-Fi of printer
簡易無線連接
Easy wireless connect
1. 在智慧型手機或平板電腦安裝 Canon PRINT Inkjet/SELPHY
Install Canon PRINT Inkjet/SELPHY on smartphone or table
Android:
https://play.google.com/store/apps/details?id=jp.co.canon.bsd.ad.pixmaprint
iOS:
https://apps.apple.com/us/app/pixma-printing-solutions/id664425773
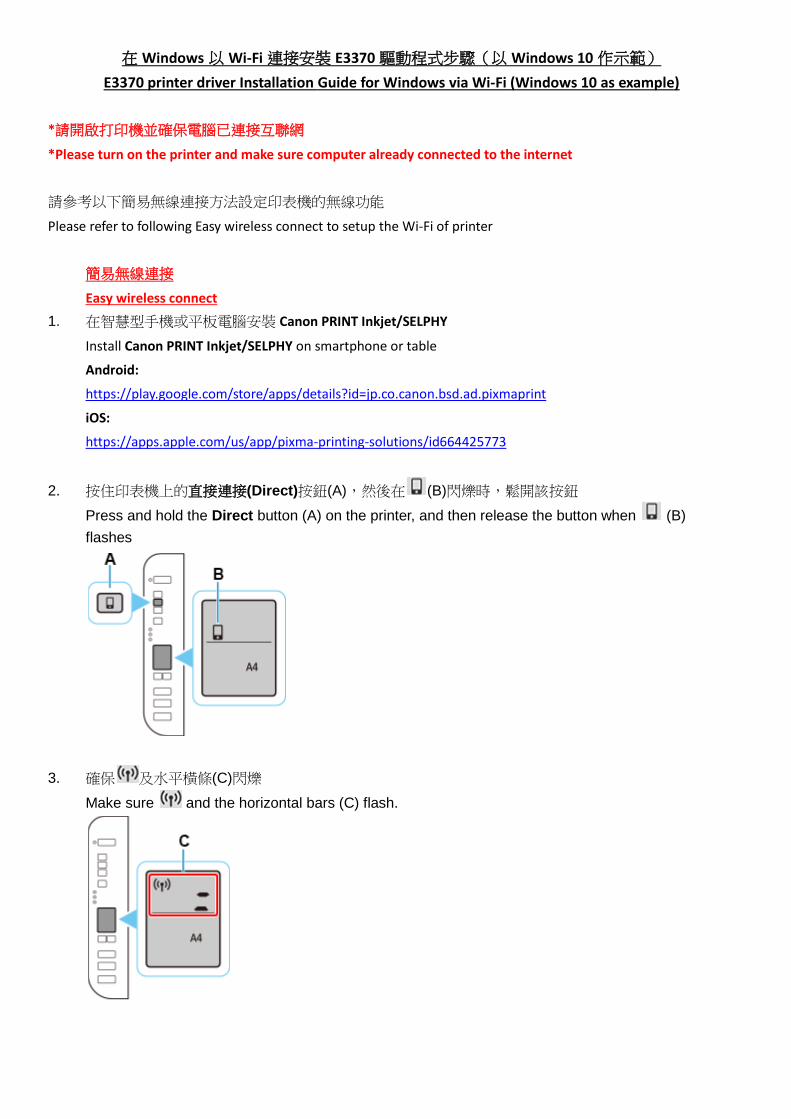
2. 按住印表機上的直接連接(Direct)按鈕(A),然後在 (B)閃爍時,鬆開該按鈕
Press and hold the Direct button (A) on the printer, and then release the button when (B)
flashes
3. 確保 及水平橫條(C)閃爍
Make sure and the horizontal bars (C) flash.
4. 按照智慧型手機或平板電腦上的說明進行操作。
Follow instructions on your smartphone or tablet.
按此參考詳細操作步驟
Click here for detail instructions
下載及安裝步驟
Driver download and installation procedure
安裝前請確保電腦及印表機已連到相同路由器
Please make sure the computer and printer are connected to the same router before installation
1. 點擊以下連結下載有關之驅動程式:
https://ugp01.c-
ij.com/ij/webmanual/WebGS/WGS/wgs_connect.html?lng=tc&type=setup&area=as_grp&mdl=E337
0&os=w
Click below link to download printer driver:
https://ugp01.c-
ij.com/ij/webmanual/WebGS/WGS/wgs_connect.html?lng=en&type=setup&area=as_grp&mdl=E33
70&os=w
2. 按一下“下載”,下載完成後開啟該檔案安裝
Click “Download”, and open the file after download completed
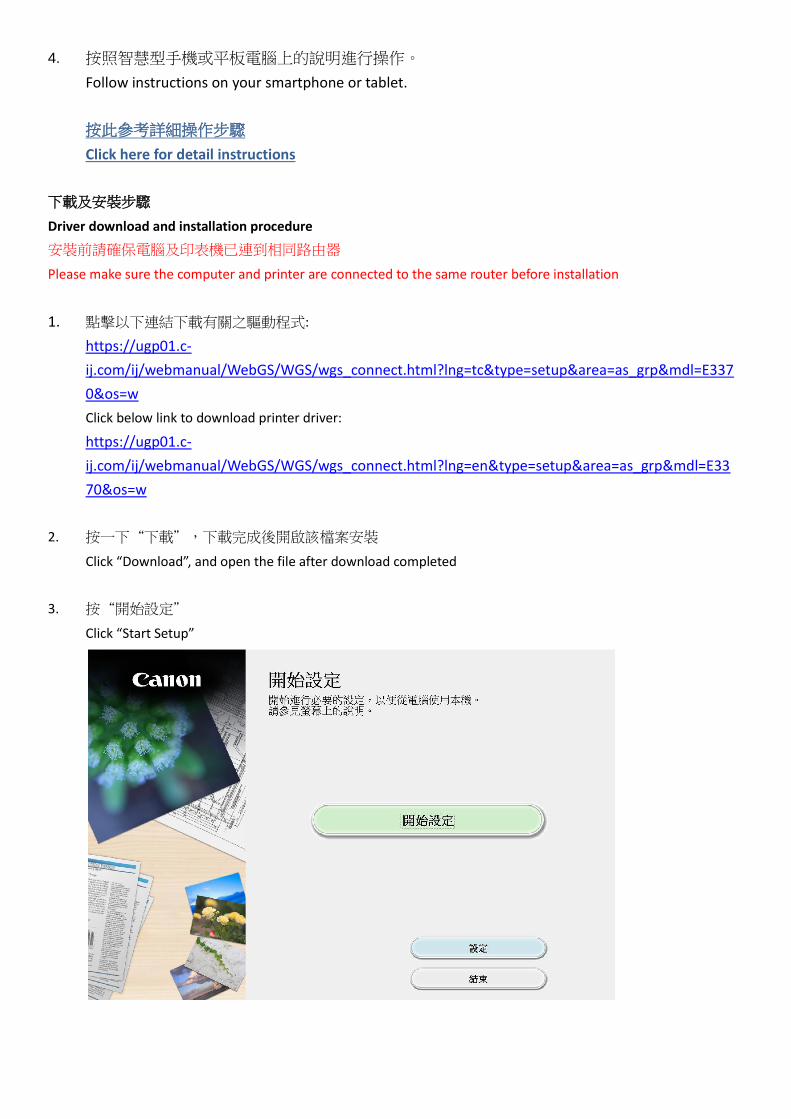
3. 按“開始設定”
Click “Start Setup”
4. 按“下一步”
Click “Next”
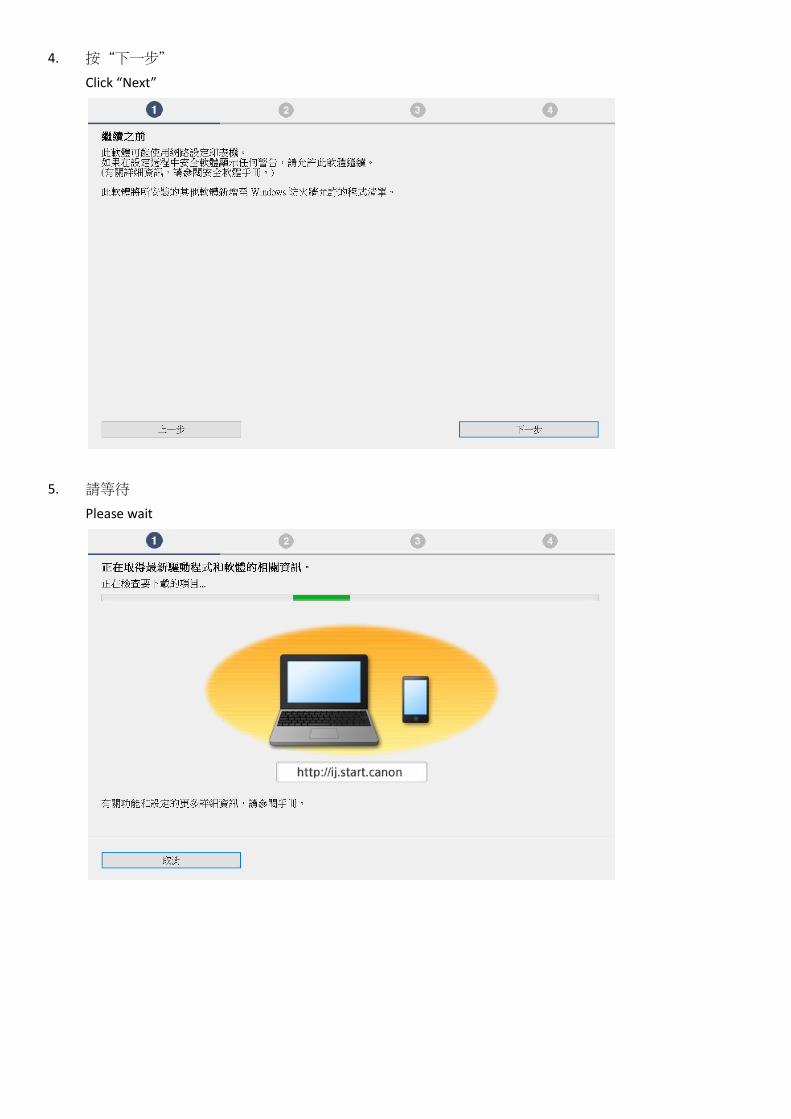
5. 請等待
Please wait
6. 閱讀許可拹定,然後按“是"
Press “Yes” after read the License Agreement
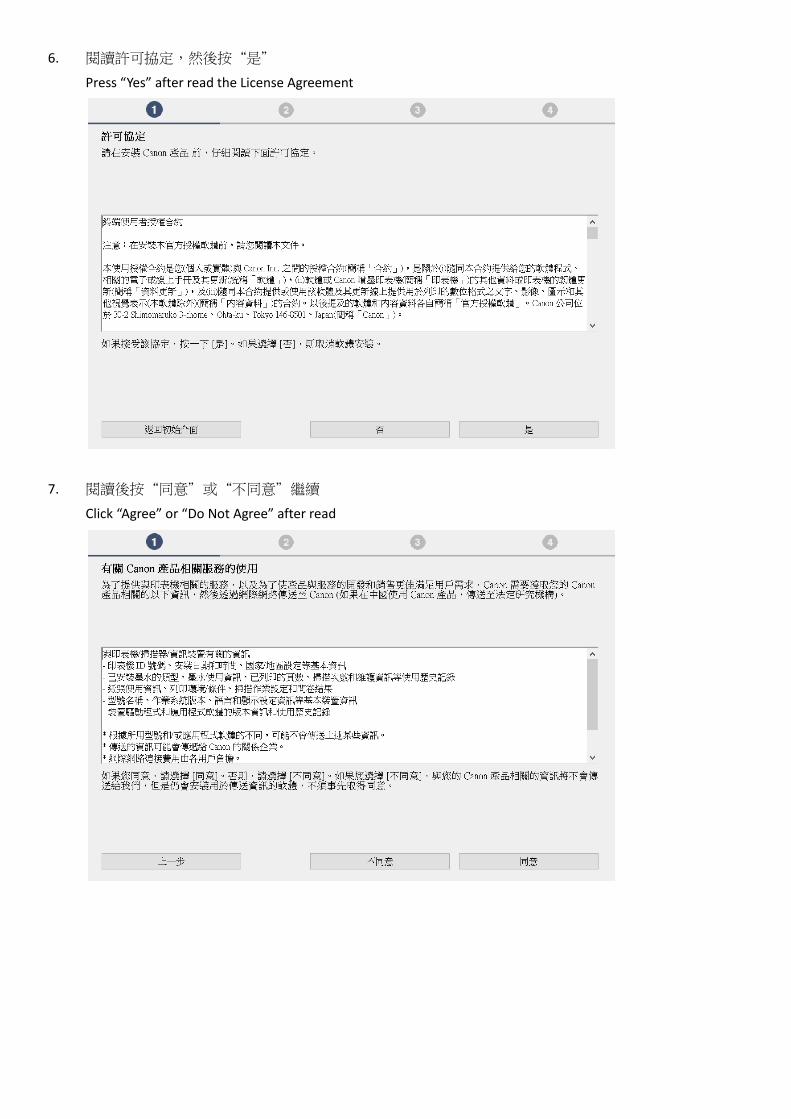
7. 閱讀後按“同意”或“不同意”繼續
Click “Agree” or “Do Not Agree” after read
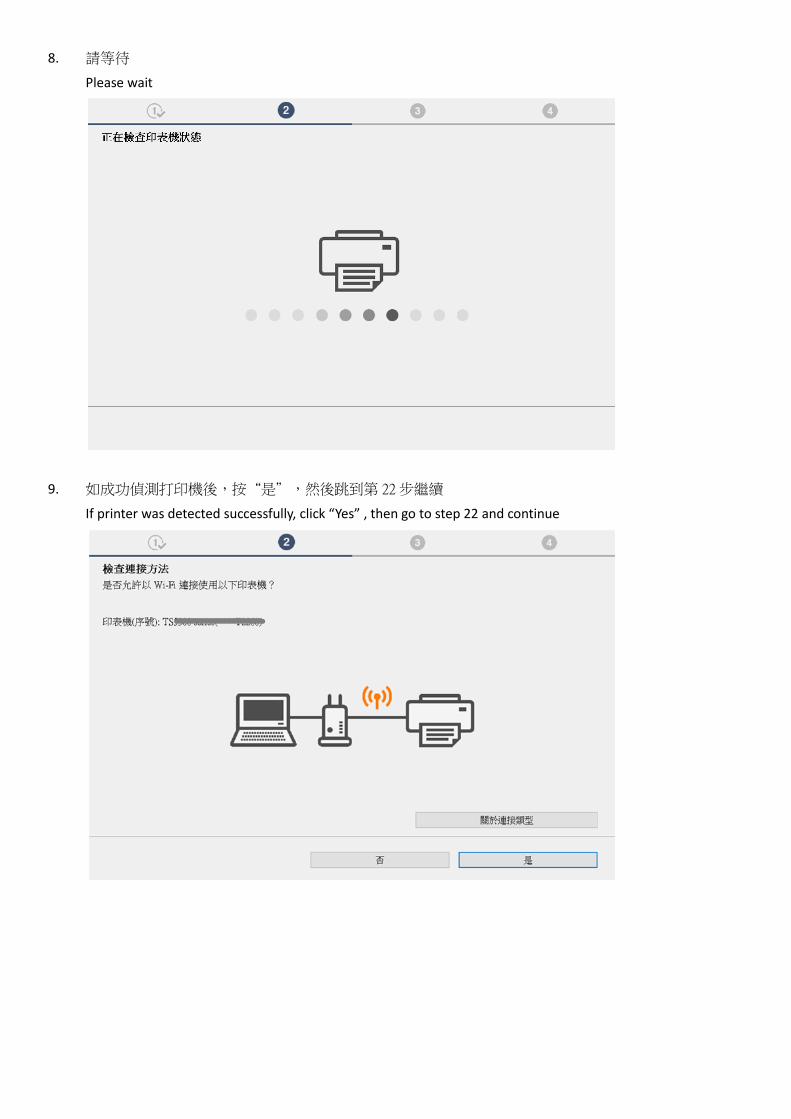
8. 請等待
Please wait
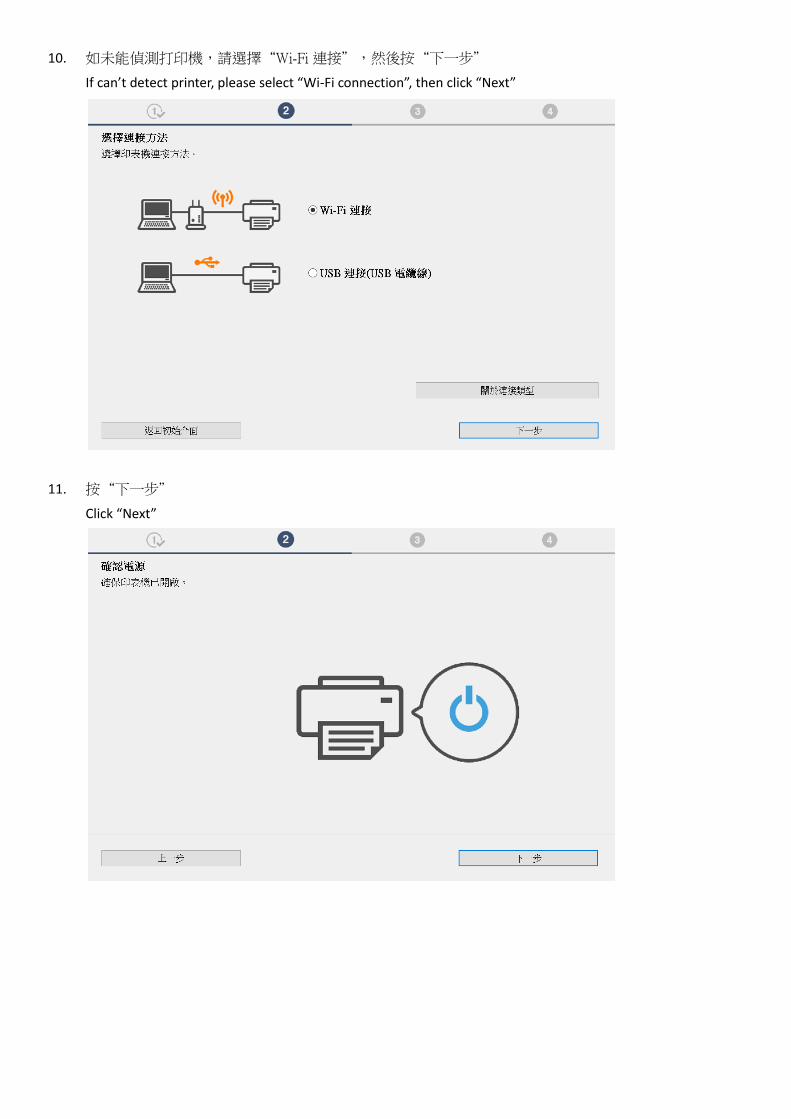
9. 如成功偵測打印機後,按“是”,然後跳到第 22 步繼續
If printer was detected successfully, click “Yes” , then go to step 22 and continue
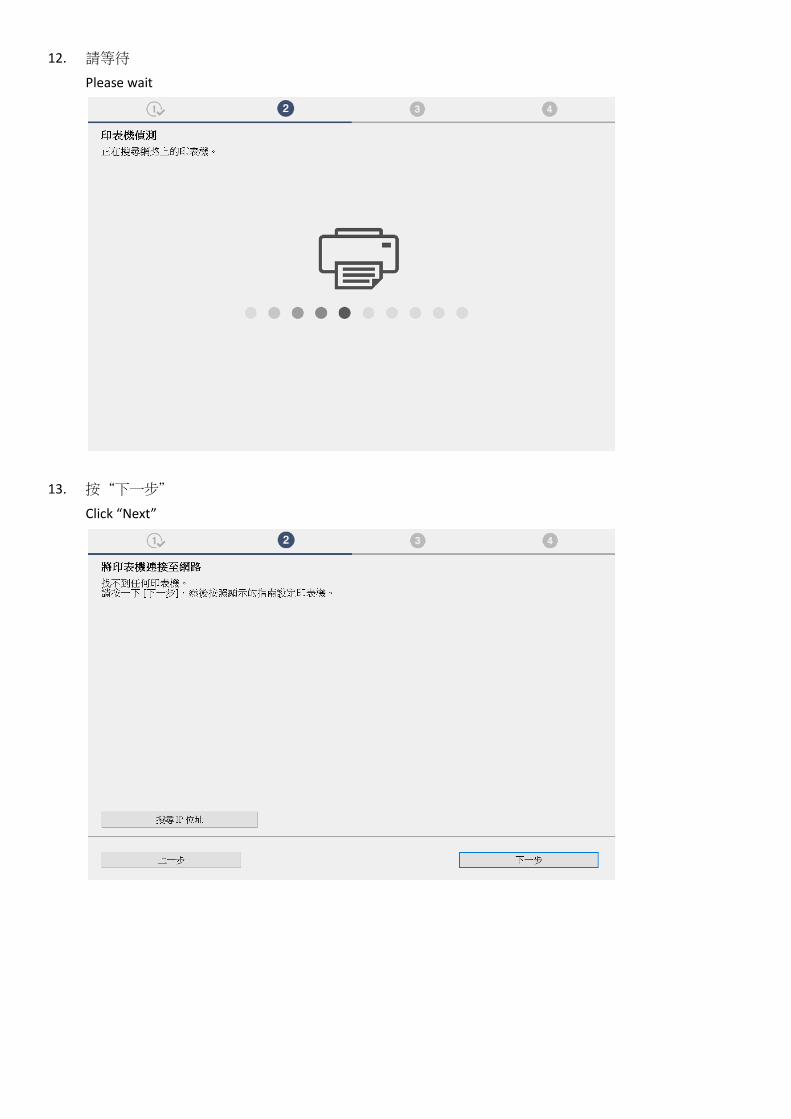
10. 如未能偵測打印機,請選擇“Wi-Fi 連接”,然後按“下一步”
If can’t detect printer, please select “Wi-Fi connection”, then click “Next”
11. 按“下一步”
Click “Next”
12. 請等待
Please wait
13. 按“下一步”
Click “Next”
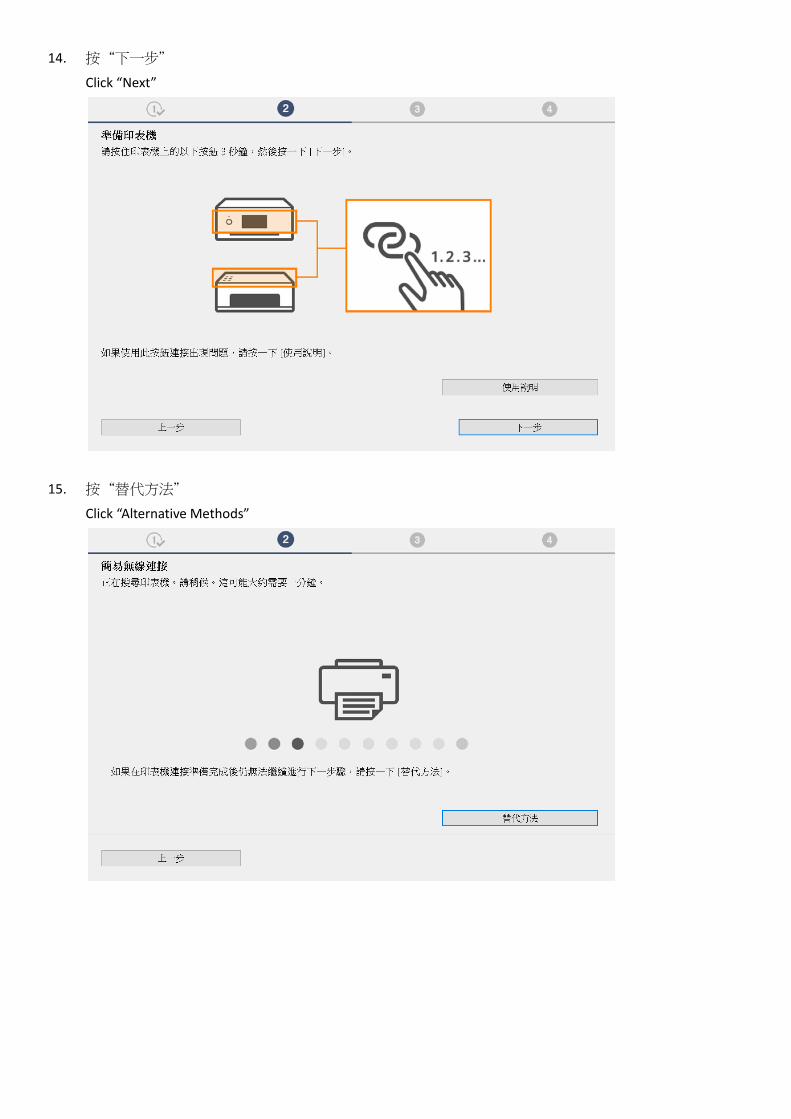
14. 按“下一步”
Click “Next”
15. 按“替代方法”
Click “Alternative Methods”
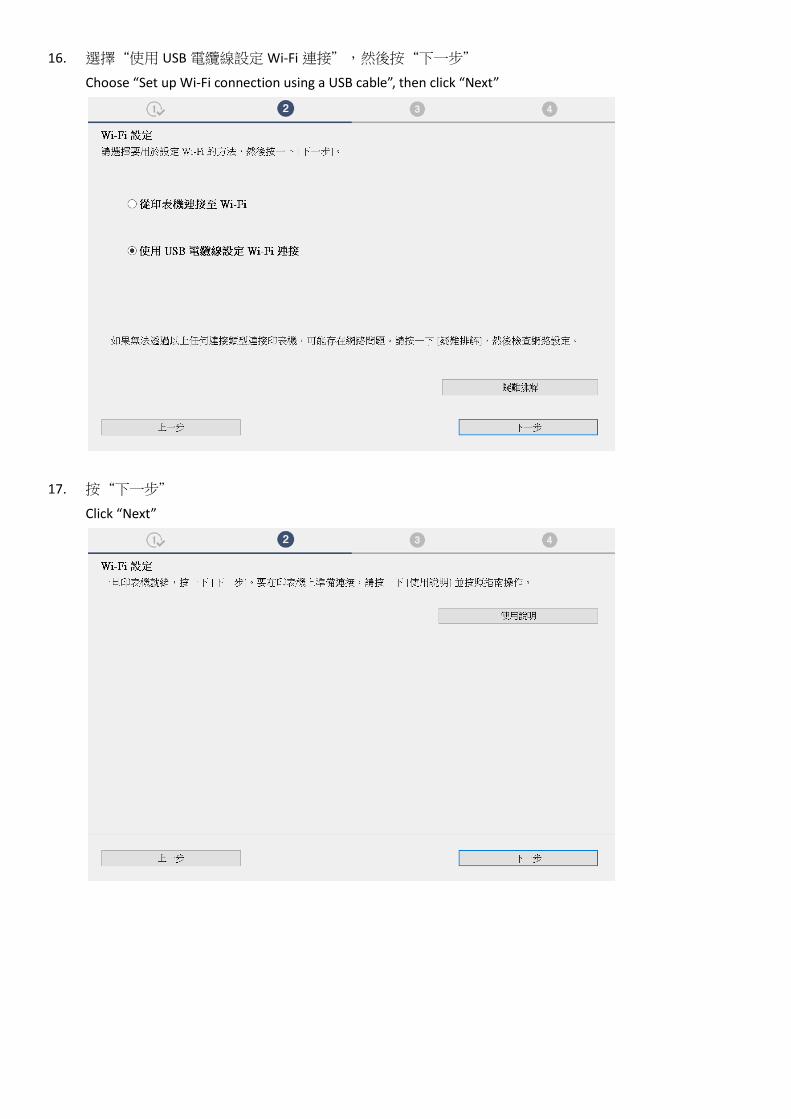
16. 選擇“使用 USB 電纜線設定 Wi-Fi 連接”,然後按“下一步”
Choose “Set up Wi-Fi connection using a USB cable”, then click “Next”
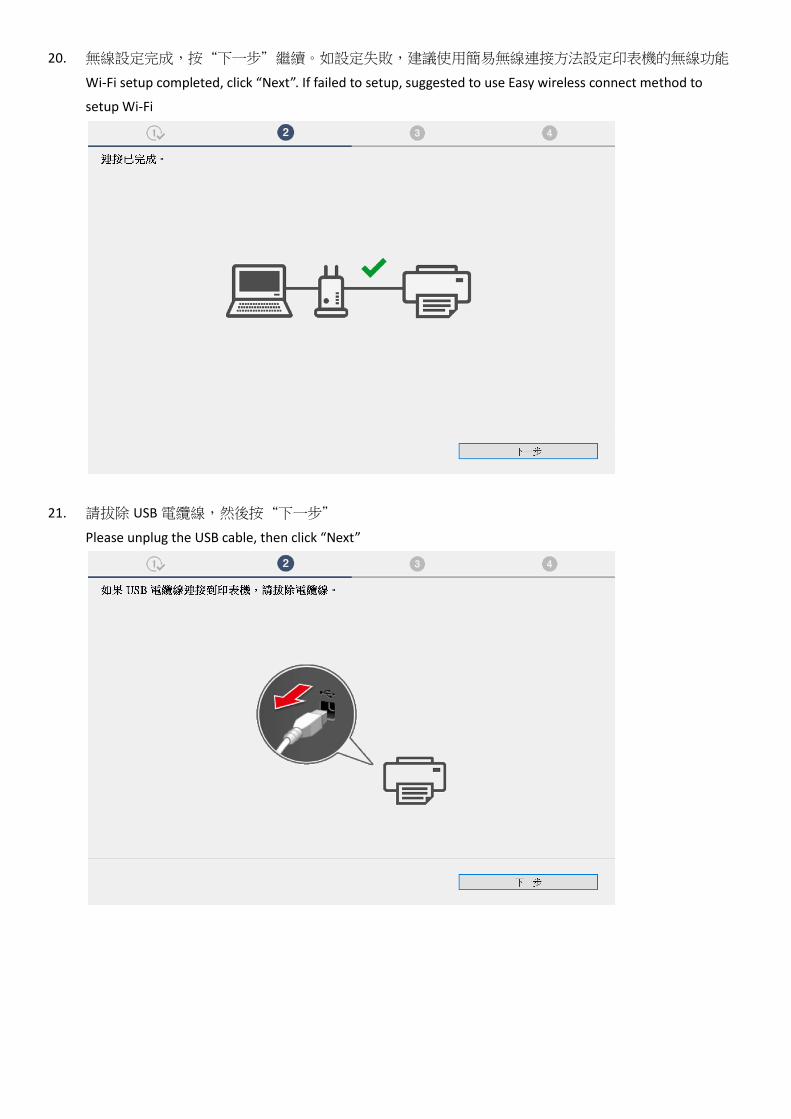
17. 按“下一步”
Click “Next”

18. 使用 USB 電纜線連接打印機和電腦
Connect printer and computer with USB cable
19. 請等待
Please wait
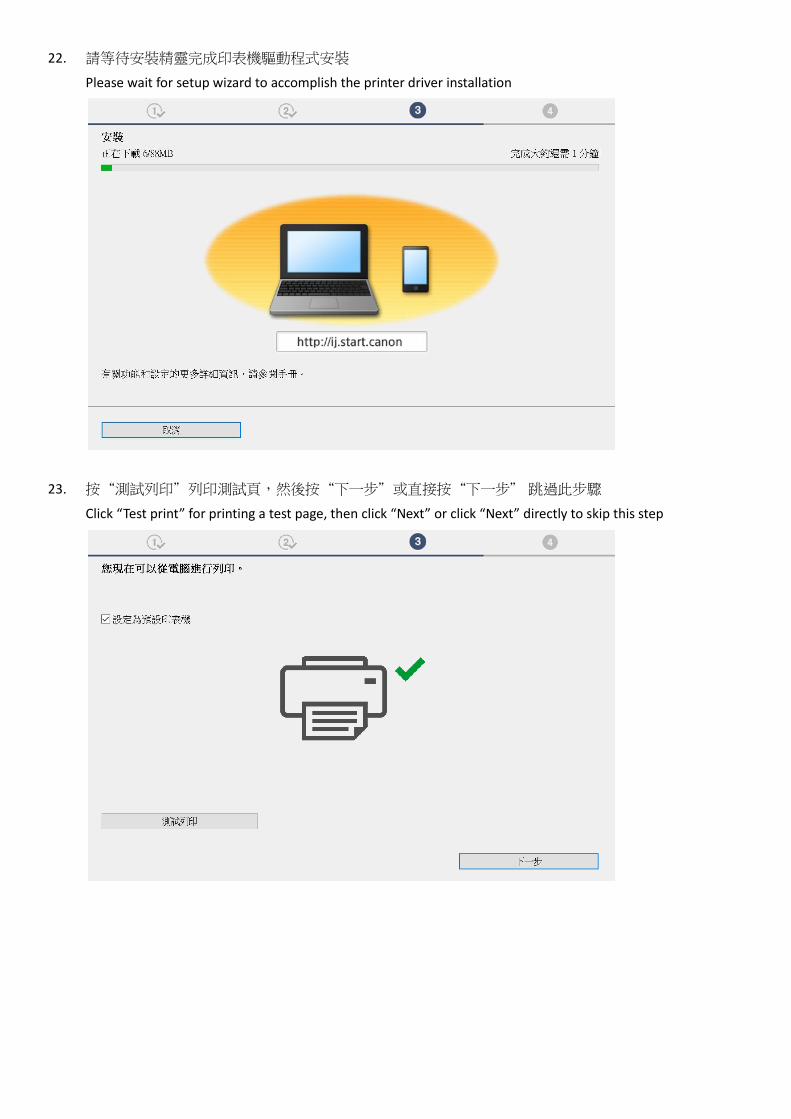
20. 無線設定完成,按“下一步”繼續。如設定失敗,建議使用簡易無線連接方法設定印表機的無線功能
Wi-Fi setup completed, click “Next”. If failed to setup, suggested to use Easy wireless connect method to
setup Wi-Fi
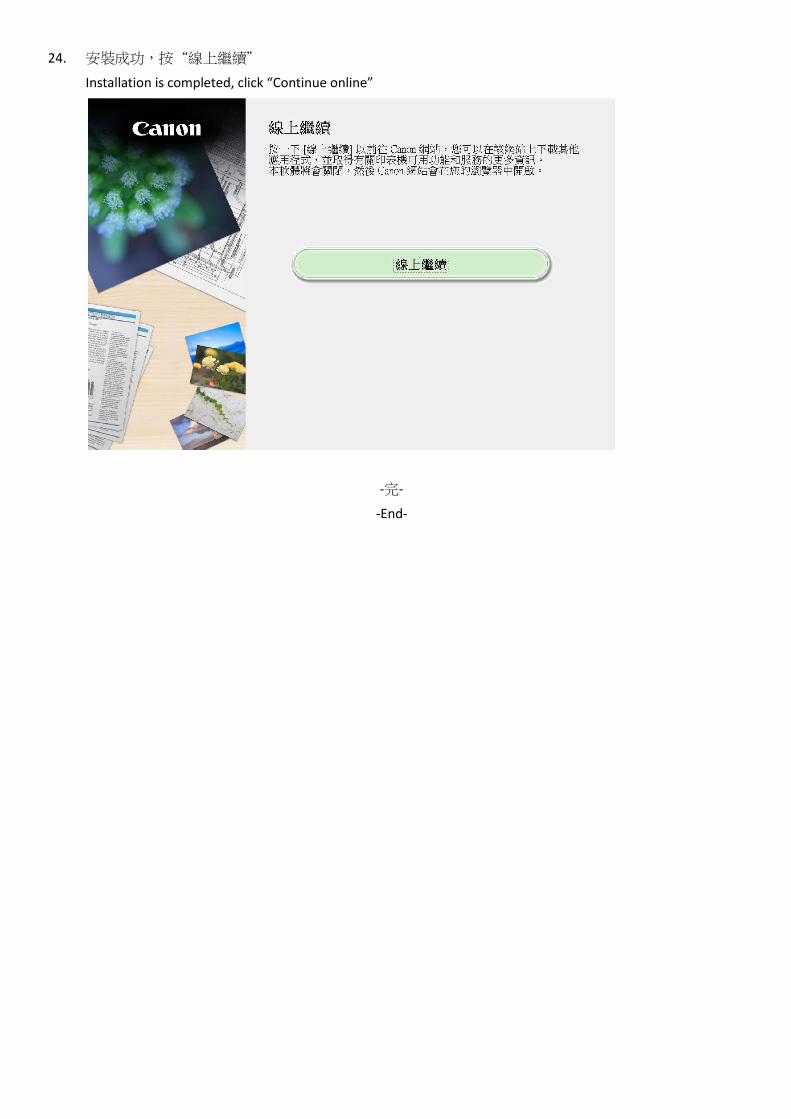
21. 請拔除 USB 電纜線,然後按“下一步”
Please unplug the USB cable, then click “Next”
22. 請等待安裝精靈完成印表機驅動程式安裝
Please wait for setup wizard to accomplish the printer driver installation
23. 按“測試列印”列印測試頁,然後按“下一步”或直接按“下一步” 跳過此步驟
Click “Test print” for printing a test page, then click “Next” or click “Next” directly to skip this step
24. 安裝成功,按“線上繼續”
Installation is completed, click “Continue online”
-完-
-End-


