Embed Size (px)
Citation preview

© 2008 The McGraw-Hill Companies, Inc. All rights reserved.
WORD2007
M I C R O S O F T ®
THE
PROFESSIONAL
APPROACH
S E R I E S
Lesson 9
Margins and Print Options

THE PROFESSIONAL APPROACH SERIES © 2008 The McGraw-Hill Companies, Inc. All rights reserved.
2
Objectives
• Change margins.
• Preview a document.
• Change paper size and orientation.
• Print envelopes and labels.
• Choose print options.

THE PROFESSIONAL APPROACH SERIES © 2008 The McGraw-Hill Companies, Inc. All rights reserved.
3
Margins
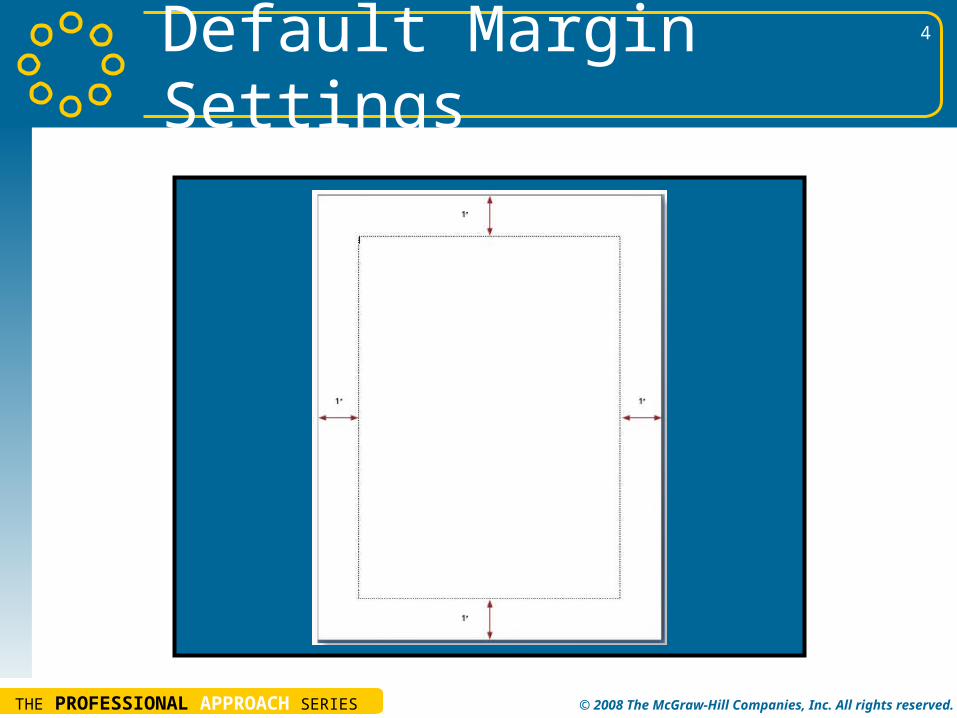
• Margins are the spaces between the edges of the text and the edges of the paper.
• Word’s default margin settings are one inch for the top, bottom, right, and left margins.
• The actual text area (workspace) for standard-size paper is 6.5 by 9 inches.
THE PROFESSIONAL APPROACH SERIES © 2008 The McGraw-Hill Companies, Inc. All rights reserved.
4
Default Margin Settings

THE PROFESSIONAL APPROACH SERIES © 2008 The McGraw-Hill Companies, Inc. All rights reserved.
5
Workspace

THE PROFESSIONAL APPROACH SERIES © 2008 The McGraw-Hill Companies, Inc. All rights reserved.
6
Changing Margins
• Change margins using the Page Setup dialog box.
• Change margins by dragging the horizontal and vertical rulers in Print Layout view.
• Change margins by dragging the horizontal and vertical rulers in Print Preview.

THE PROFESSIONAL APPROACH SERIES © 2008 The McGraw-Hill Companies, Inc. All rights reserved.
7
Page Setup Dialog Box

THE PROFESSIONAL APPROACH SERIES © 2008 The McGraw-Hill Companies, Inc. All rights reserved.
8
Page Setup Dialog Box Launcher

THE PROFESSIONAL APPROACH SERIES © 2008 The McGraw-Hill Companies, Inc. All rights reserved.
9
Change Margins for Selected Text

THE PROFESSIONAL APPROACH SERIES © 2008 The McGraw-Hill Companies, Inc. All rights reserved.
10
View Buttons

THE PROFESSIONAL APPROACH SERIES © 2008 The McGraw-Hill Companies, Inc. All rights reserved.
11
Rulers in Print Layout View

THE PROFESSIONAL APPROACH SERIES © 2008 The McGraw-Hill Companies, Inc. All rights reserved.
12
Drag to Adjust Margins
THE PROFESSIONAL APPROACH SERIES © 2008 The McGraw-Hill Companies, Inc. All rights reserved.
13
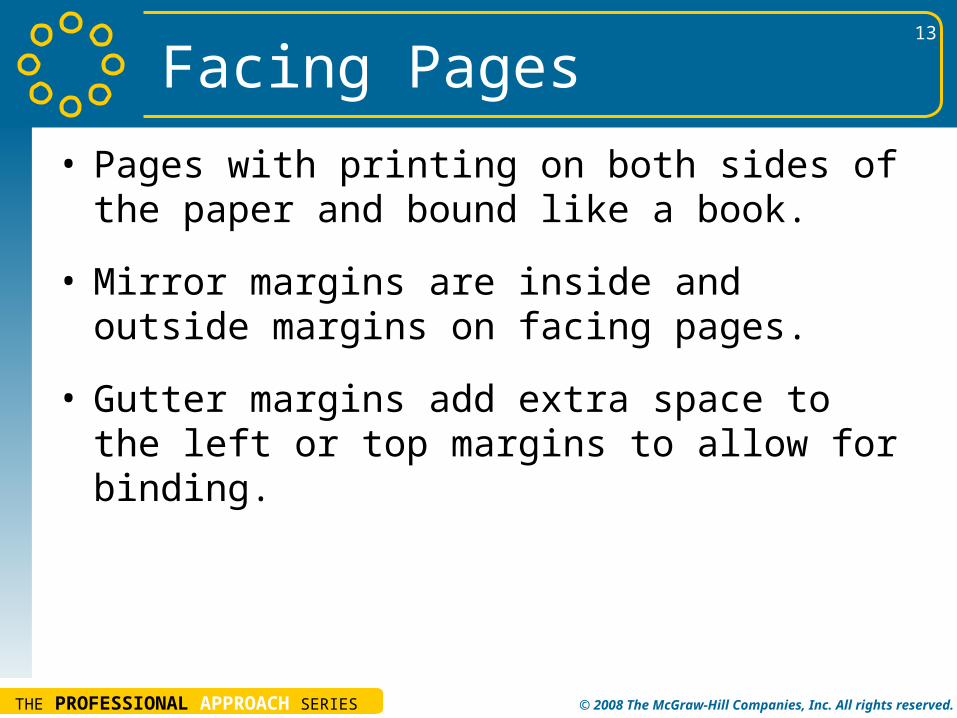
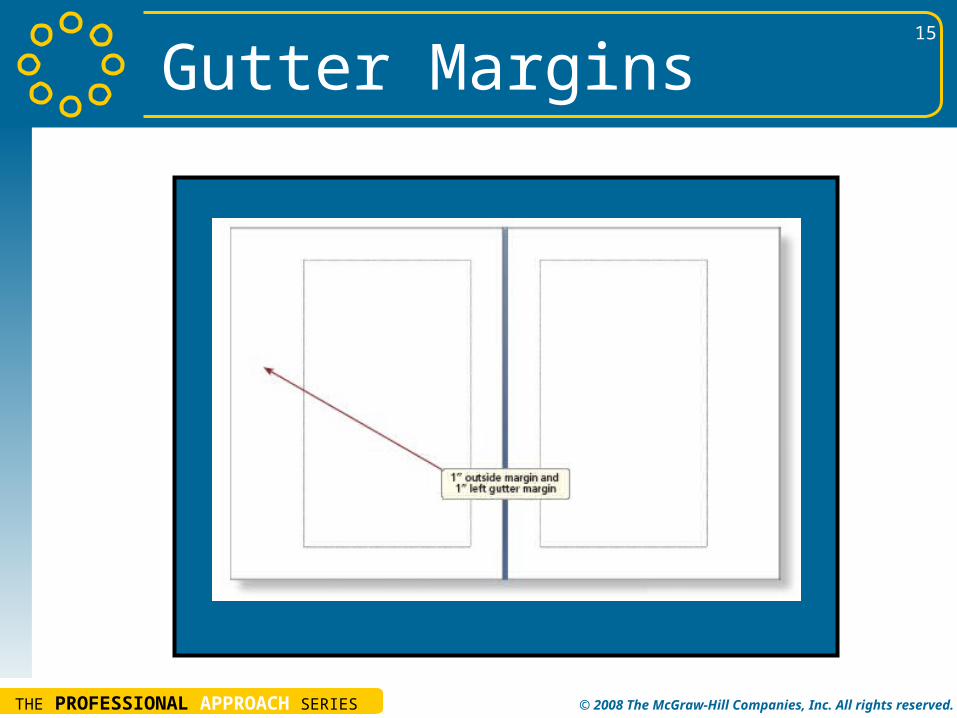
Facing Pages
• Pages with printing on both sides of the paper and bound like a book.
• Mirror margins are inside and outside margins on facing pages.
• Gutter margins add extra space to the left or top margins to allow for binding.

THE PROFESSIONAL APPROACH SERIES © 2008 The McGraw-Hill Companies, Inc. All rights reserved.
14
Mirror Margins
THE PROFESSIONAL APPROACH SERIES © 2008 The McGraw-Hill Companies, Inc. All rights reserved.
15
Gutter Margins

THE PROFESSIONAL APPROACH SERIES © 2008 The McGraw-Hill Companies, Inc. All rights reserved.
16
Print Preview
• Switch to Print Preview to verify the format and appearance of a document before printing.
• Displays entire pages of a document in a reduced size.
• View multiple pages, adjust margins, and edit text.
• Click the Microsoft Office Button, click the arrow beside the Print command, and click Print Preview.
• Press [Alt]+[Ctrl]+[I].
• Press [Ctrl]+[F2].

THE PROFESSIONAL APPROACH SERIES © 2008 The McGraw-Hill Companies, Inc. All rights reserved.
17
Print Preview

THE PROFESSIONAL APPROACH SERIES © 2008 The McGraw-Hill Companies, Inc. All rights reserved.
18
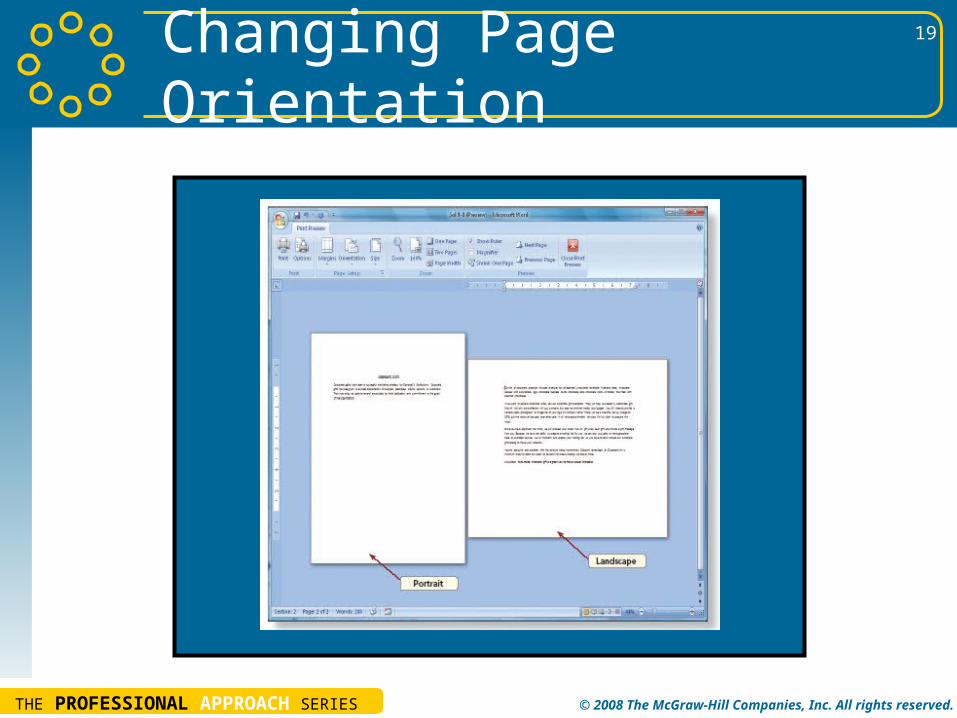
Paper Size and Orientation
• Default paper size is 8.5 by 11 inches.
• Default page orientation is portrait.Apply page orientation changes to a section of a document or the entire document.
• Open the Page Setup dialog box to change paper size and page orientation.
THE PROFESSIONAL APPROACH SERIES © 2008 The McGraw-Hill Companies, Inc. All rights reserved.
19
Changing Page Orientation

THE PROFESSIONAL APPROACH SERIES © 2008 The McGraw-Hill Companies, Inc. All rights reserved.
20
Envelopes• Create envelopes by clicking the Mailings tab and
clicking the Envelopes button.
• Envelopes can be saved with the document for future printing.
• Envelopes appear as a separate section at the beginning of the document.
• Key delivery address information or select an address or verify that the address that appears automatically is correct.
• Return address information is optional.
• Envelope options include envelope size and font attributes.

THE PROFESSIONAL APPROACH SERIES © 2008 The McGraw-Hill Companies, Inc. All rights reserved.
21
Envelopes and Labels Dialog Box

THE PROFESSIONAL APPROACH SERIES © 2008 The McGraw-Hill Companies, Inc. All rights reserved.
22
Envelope Options

THE PROFESSIONAL APPROACH SERIES © 2008 The McGraw-Hill Companies, Inc. All rights reserved.
23
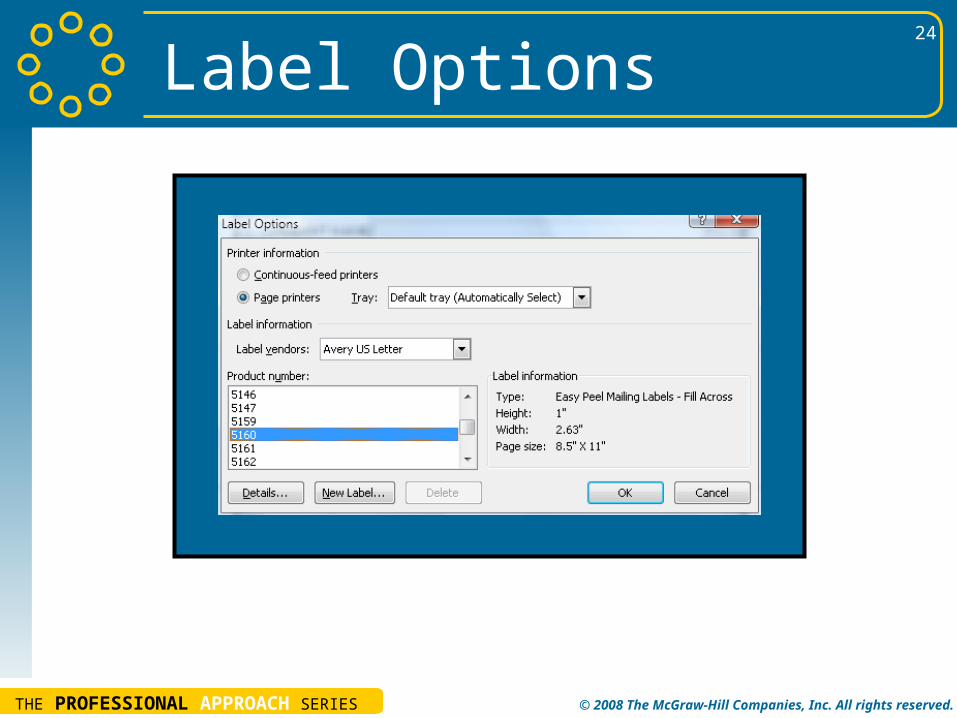
Labels
• Create labels by clicking the Mailings tab and clicking the Labels button.
• Print a single label or a full page of the same label.
• Click the Options button to select a label size and format.
• Change the font and other character formatting after a label appears in the document window.
THE PROFESSIONAL APPROACH SERIES © 2008 The McGraw-Hill Companies, Inc. All rights reserved.
24
Label Options

THE PROFESSIONAL APPROACH SERIES © 2008 The McGraw-Hill Companies, Inc. All rights reserved.
25
Print Options
• Page Range– All
– Current page
– Page range
– Selection
• Number of copies
• Pages per sheet
• Scale to paper size
• Collate

THE PROFESSIONAL APPROACH SERIES © 2008 The McGraw-Hill Companies, Inc. All rights reserved.
26
Print Dialog Box

THE PROFESSIONAL APPROACH SERIES © 2008 The McGraw-Hill Companies, Inc. All rights reserved.
27
Lesson 9 Summary• In a Word document, text is keyed and printed within the
boundaries of the document’s margins. Margins are the spaces between the edges of the text and the edges of the paper
• Change the space for text on a page by changing margins. You can key new margin settings in the Page Setup dialog box
• Changing margins for selected text results in a new section for the selected text. A section is a portion of the document that has its own formatting. When a document contains more than one section, you see double-dotted lines, or section breaks, between sections
• Print Layout view shows how text is positioned on the printed page. Use the View buttons on the right of the status bar to switch between Print Layout and Draft view

THE PROFESSIONAL APPROACH SERIES © 2008 The McGraw-Hill Companies, Inc. All rights reserved.
28
Lesson 9 Summary• Print Preview shows how an entire document looks
before printing. Use the One Page command, the Two Pages command, and the scroll bar to view all or part of the document. Change the Zoom as needed
• Change margins in Print Layout view or in Print Preview by positioning the pointer over a margin boundary on a ruler and dragging. Press Alt to see the exact ruler measurement as you drag
• Edit a document in Print Preview by clicking the Magnifier command to change the magnifier pointer to the I-beam pointer
• For bound documents, use mirror margins and gutter margins to allow for binding

THE PROFESSIONAL APPROACH SERIES © 2008 The McGraw-Hill Companies, Inc. All rights reserved.
29
Lesson 9 Summary• A document can print in either portrait or landscape
orientation. Choose an orientation in the Page Setup dialog box, Margins tab
• A document can be scaled to fit a particular paper size. Choose paper size options in the Page Setup dialog box, Paper tab
• Use Word to print different-size envelopes. You can change address formatting and make the envelope part of the document for future printing. Use Word to print address labels – either a single label or a sheet of the same label
• Choose print options such as printing only the current page, specified pages, selected text, collated copies of pages, and reduced pages by opening the Print dialog box