Embed Size (px)
Citation preview
Advanced BTA – (MOS) InstructionsWord 1 Activities 1-3
Activity 1—Utah
1. Create a Word 1 folder in your Word folder on your student drive if you don’t have one.
2. Open the document Utah Text file from the Shared Drive > Computer Tech Folder > Word 1 Folder>Data Files
3. Save the document in your Word 1 folder with a name following the following scheme: Period Lastname Firstname Activity 1 Utah .
4. Double-click at the top of the page to open the Header. Type your first and last name on the left, Tab to the center and type Utah, Tab to the right and type in your class period. Close the header.
5. Scroll to the bottom of the page, double-click in the footer. Insert the Page Number “Brackets 1” style from the Page number tool in the Insert Tab.
a. Click to the left of the page number, change to left align (ctrl + L) b. insert the current date and time, (you will have to type it),c. press the TAB key –arrow over to the right side of the right bracket d. Press Tab, type your teacher’s name. Close the footer
6. Make sure the Theme for this document is “Office”. Go to the Design tab and check in the theme gallery.
7. Click on the Home Tab Select the entire document, ctrl-A, assign the text style of “No Spacing” to the text in the document. Change the font to Cambria, size 11. Remove the tabs at the beginning of each paragraph. Put a space between each paragraph (blank lines-use the show/hide button).
8. Add a blank line at the top of the page by clicking in front of the heading, Northern Utah, and pressing enter.
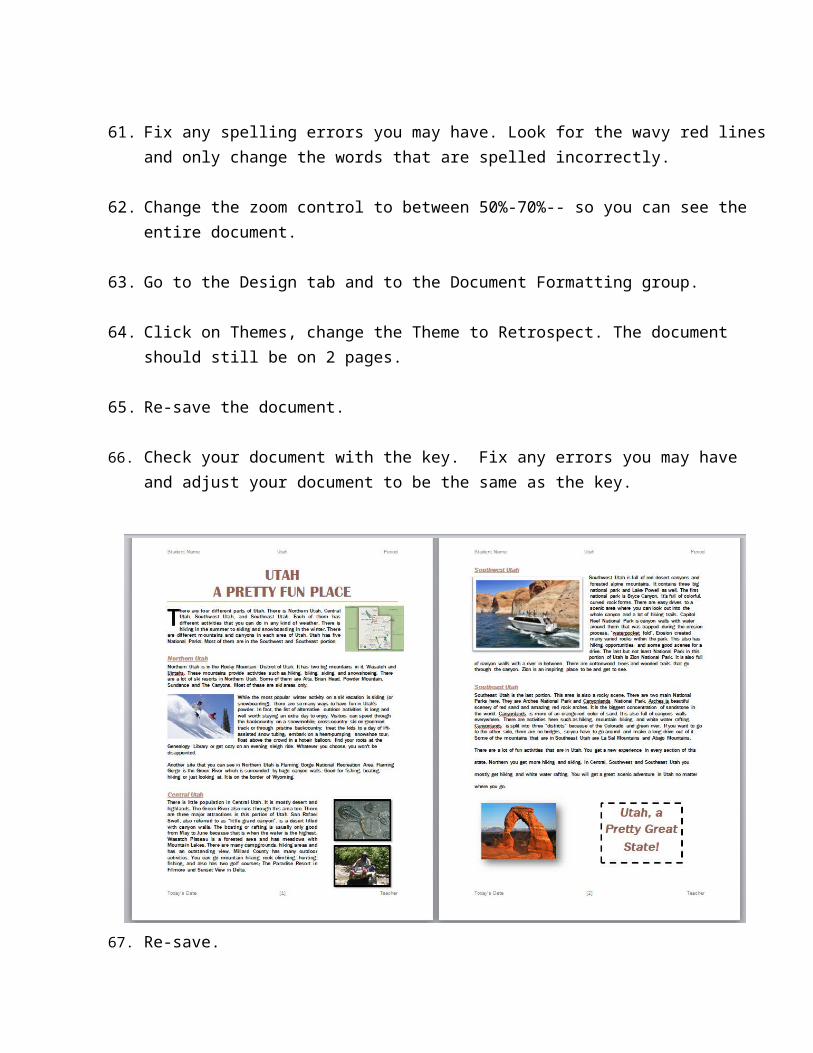
9. Type the title “Utah a Pretty Fun Place” as the top line of the document.
10. Triple-click somewhere in the title you just typed. This will select the whole title, assign the style “Title” to it. (Home>Styles>Title)
11. With the title selected, change the font to Britannic Bold, size 30 (you will have to type the size), and text color Green, Accent 3, darker 25%.
12. Change the title to All Caps using change case or Shift-F3.
13. Create a two line title by clicking after the word Utah and press the enter key.
14. Select the entire title, change the line spacing before the paragraph to 0 and make sure spacing after is 0. (Page Layout Tab, paragraph group)
15. Center the title (Home tab).
16. Press enter after the title.
17. Select the last paragraph in the document, the one starting with “There are four different…” move the entire paragraph to the top of the document using drag and drop. The paragraph should be below the title but before the heading “Northern Utah”.
18. Adjust the spacing so there is only one blank line between the title and the first paragraph and one blank line with no space between the first paragraph and the heading “Northern Utah” (turn on the show/hide button to see the paragraph markers)
19. On the first line of the first paragraph, if there is a tab before the word “There”, delete it, then highlight the “T” in the word “There”.
20. Insert a dropped cap by clicking on the Insert tab, go to the Text group, click on Drop Cap and choose Dropped.
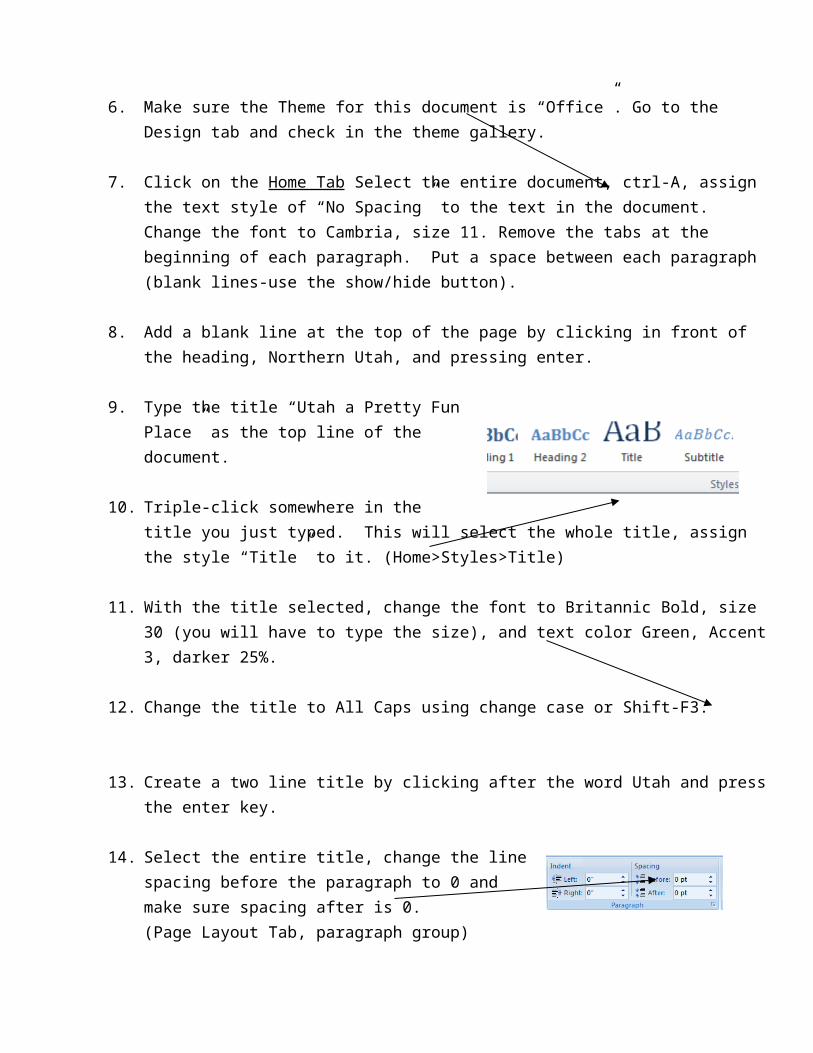
21. Click at the end of the first paragraph, insert a period.
Insert the picture “utahmap” from the Shared Drive > Computer Tech Folder > Word 1 Folder. (Insert tab, Picture, browse to folder and choose picture)
22. With the picture selected, change the wrapping to tight. (Format tab, text wrapping button, choose tight)
23. Change the picture size to 1.3” (you may have to go into the dialog box to change the height).
24. Set wrap to tight. Move the picture to the right side of the 1st paragraph. Look at the rulers to make sure the right edge of the picture doesn’t go past the 7 inch mark.
25. Change the text alignment to Justify for the first paragraph.
26. Highlight the subtitle “Northern Utah”. Select the Style Heading 2.
27. Change the font color to Green, Accent 6 —the one at the top of the list.
28. Change the font to italics and underline—remove any extra spaces that may follow the subtitle.
29. Highlight the subtitle Northern Utah, double click on the format painter to copy the format you just created.
30. With the Format Painter on, highlight the remaining subtitles “Central Utah”, Southwest Utah”, and “Southeast Utah”. They all should now be Olive Green, Italics and Underlined.
31. Click on the Format Painter to turn it off.
32. Save the file.
Dialog box launcher
33. Click to the left of the 3rd paragraph under “Northern Utah” (in front of the word “While”). Insert the “Ski Utah” picture from the shared drive --Resize the picture to be 1.25” high and change the Wrapping to be Tight.
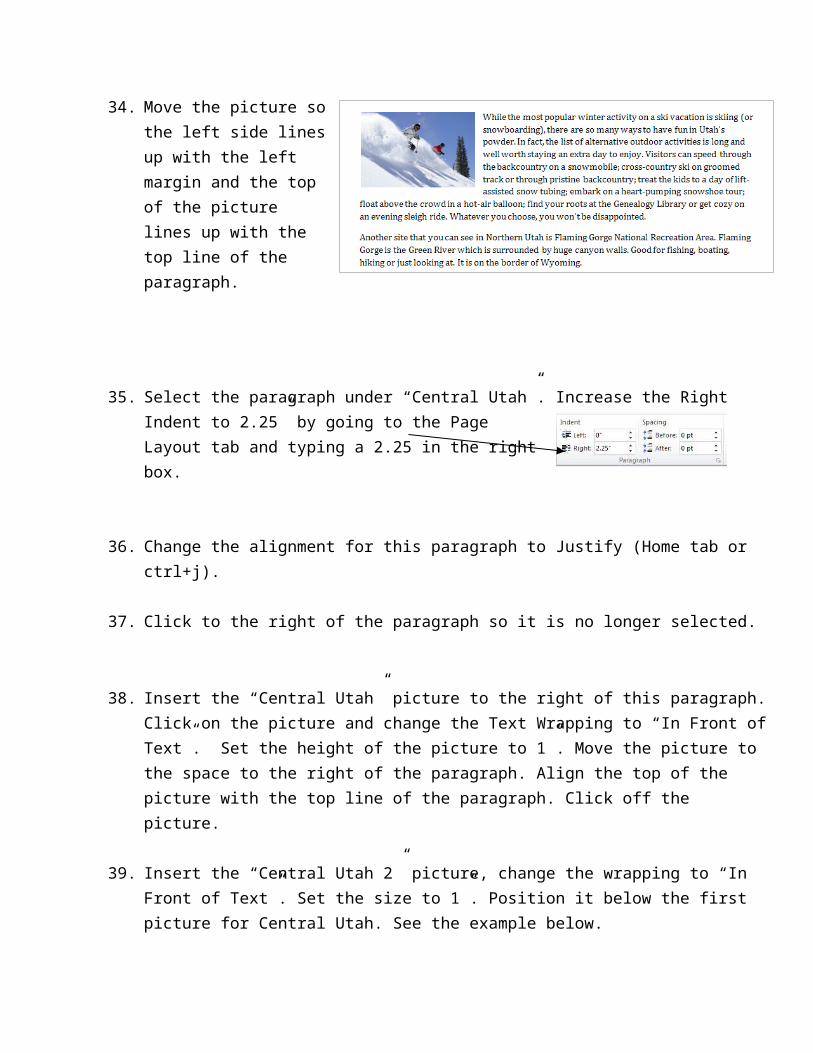
34. Move the picture so the left side lines up with the left margin and the top of the picture lines up with the top line of the paragraph.
35. Select the paragraph under “Central Utah”. Increase the Right Indent to 2.25” by going to the Page Layout tab and typing a 2.25 in the right box.
36. Change the alignment for this paragraph to Justify (Home tab or ctrl+j).
37. Click to the right of the paragraph so it is no longer selected.
38. Insert the “Central Utah” picture to the right of this paragraph. Click on the picture and change the Text Wrapping to “In Front of Text”. Set the height of the picture to 1”. Move the picture to the space to the right of the paragraph. Align the top of the picture with the top line of the paragraph. Click off the picture.
39. Insert the “Central Utah 2” picture, change the wrapping to “In Front of Text”. Set the size to 1”. Position it below the first picture for Central Utah. See the example below.
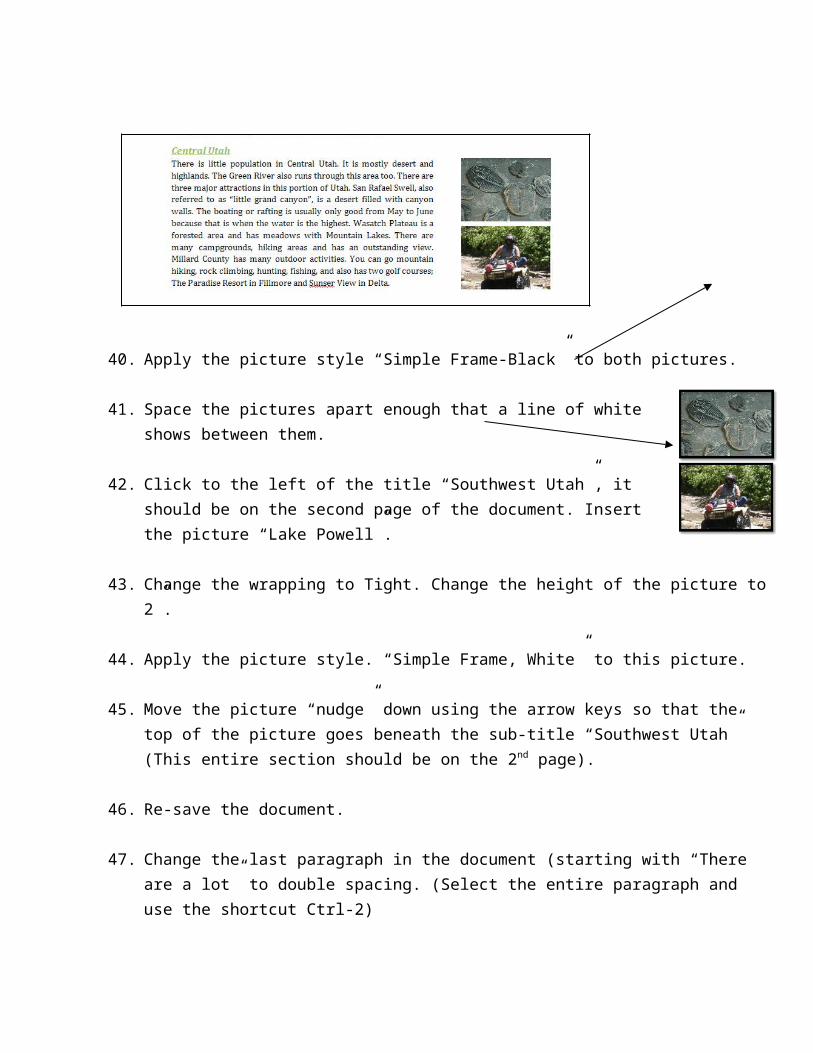
40. Apply the picture style “Simple Frame-Black” to both pictures.
41. Space the pictures apart enough that a line of white shows between them.
42. Click to the left of the title “Southwest Utah”, it should be on the second page of the document. Insert the picture “Lake Powell”.
43. Change the wrapping to Tight. Change the height of the picture to 2”.
44. Apply the picture style. “Simple Frame, White” to this picture.
45. Move the picture “nudge” down using the arrow keys so that the top of the picture goes beneath the sub-title “Southwest Utah” (This entire section should be on the 2nd page).
46. Re-save the document.
47. Change the last paragraph in the document (starting with “There are a lot” to double spacing. (Select the entire paragraph and use the shortcut Ctrl-2)
48. Click at the bottom of the document and insert the “Arches” picture.
49. Change the Text Wrapping for the picture to “In Front of Text”.
50. Change the height of the Arches picture to 1.6”.
51. Choose the Picture Style—Drop Shadow Rectangle—it’s on the top row of styles.
52. Re-position (if necessary) the picture even with the left margin, evenly spaced between the footer and the last line of the last paragraph.
53. Click at the end of the last sentence of the document.
54. Insert a text box, Insert tab, text box button, choose draw a text box. Click and drag a box to the right of the Arches picture. Make it about the same height and width of the picture.
55. Click inside the box and type “Utah, a Pretty Great State!”.
56. Select the text in the text box and apply the Heading 3 style (Home tab).
57. Change the spacing before and after the paragraphs to 0 (Page Layout tab, paragraph group).
58. Change the font size to 26pts, centered, bold, and italics.
59. Change the font color to color Green, Accent 6, darker 25%.
60. Click on the text box border and change the border style to a dashes style and weight of 3. (Format tab, shape outline, dashes)
61. Fix any spelling errors you may have. Look for the wavy red lines and only change the words that are spelled incorrectly.
62. Change the zoom control to between 50%-70%-- so you can see the entire document.
63. Go to the Design tab and to the Document Formatting group.
64. Click on Themes, change the Theme to Retrospect. The document should still be on 2 pages.
65. Re-save the document.
66. Check your document with the key. Fix any errors you may have and adjust your document to be the same as the key.
67. Re-save.
North State College Flyer – Exercise 2
North State College needs a meeting handout!Recreate a meeting handout that is similar in appearance to the key below.
1. Create a new document in Word.
2. “Save As” your document, title it: Period Last First Activity 2 North State in your Word 1 File Folder.
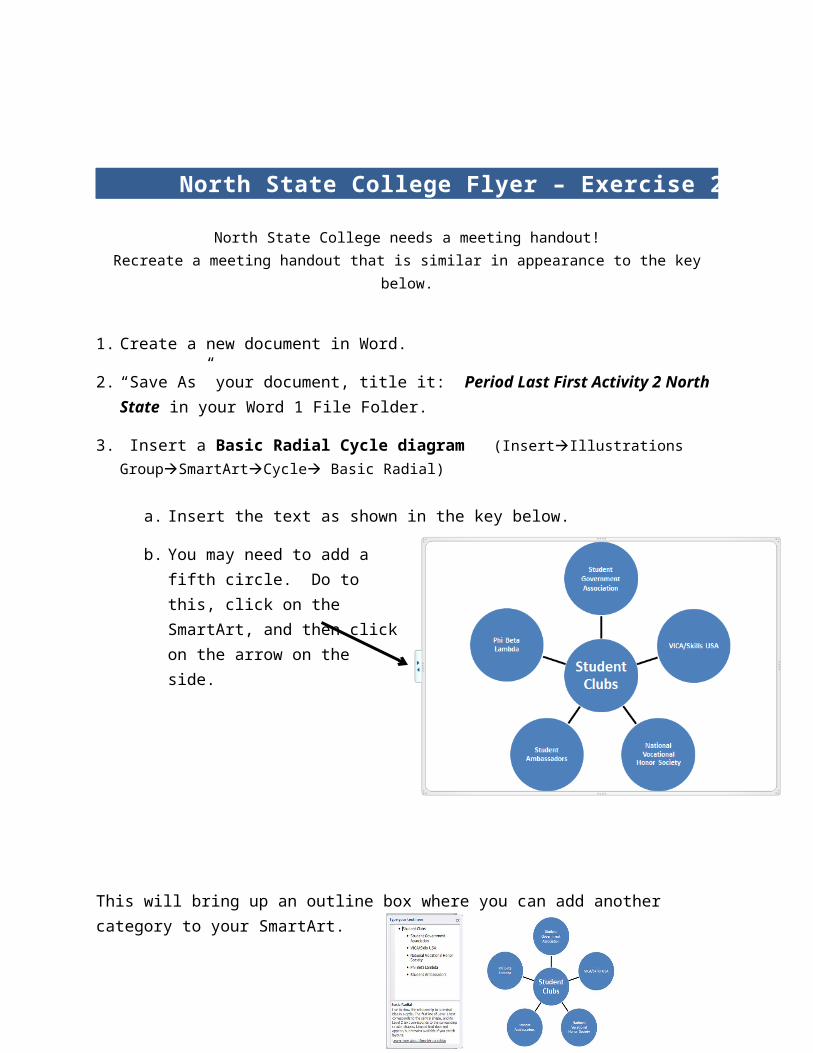
3. Insert a Basic Radial Cycle diagram (InsertIllustrations GroupSmartArtCycle Basic Radial)
a. Insert the text as shown in the key below.
b. You may need to add a fifth circle. Do to this, click on the SmartArt, and then click on the arrow on the side.
This will bring up an outline box where you can add another category to your SmartArt.
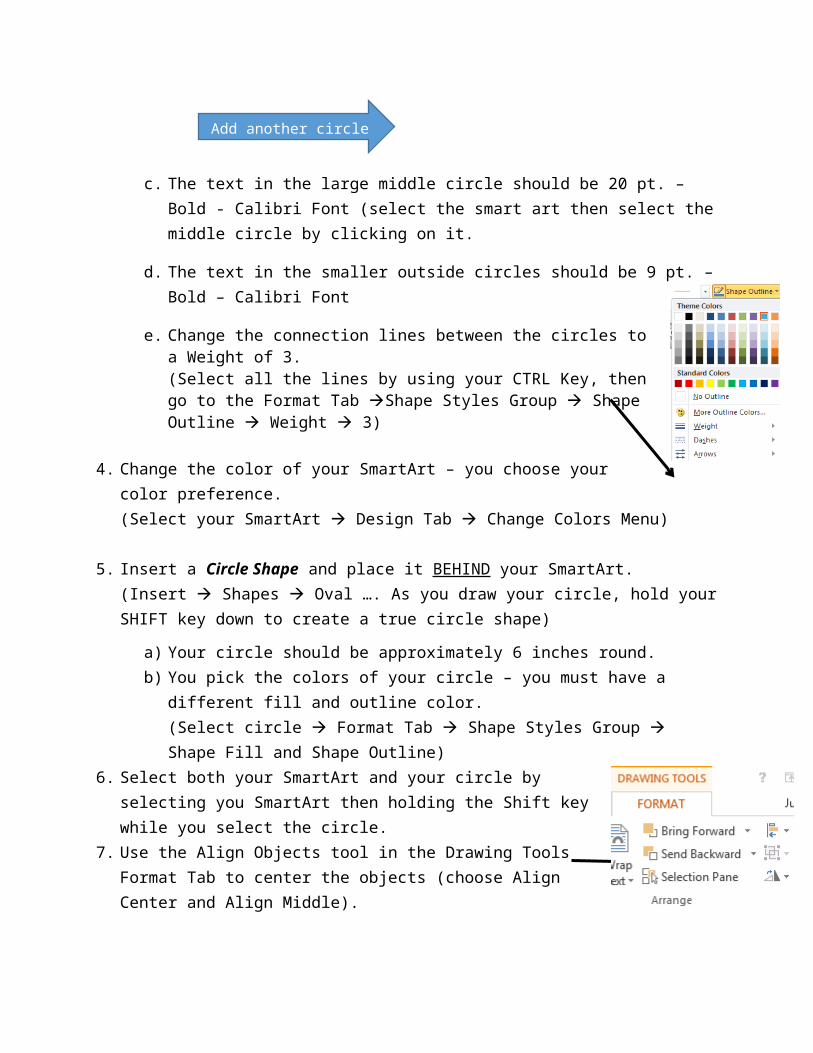
c. The text in the large middle circle should be 20 pt. – Bold - Calibri Font (select the smart art then select the middle circle by clicking on it.
d. The text in the smaller outside circles should be 9 pt. – Bold – Calibri Font
e. Change the connection lines between the circles to a Weight of 3. (Select all the lines by using your CTRL Key, then go to the Format Tab Shape Styles Group Shape Outline Weight 3)
4. Change the color of your SmartArt – you choose your color preference. (Select your SmartArt Design Tab Change Colors Menu)
5. Insert a Circle Shape and place it BEHIND your SmartArt. (Insert Shapes Oval …. As you draw your circle, hold your SHIFT key down to create a true circle shape)
a) Your circle should be approximately 6 inches round.b) You pick the colors of your circle – you must have a different fill and outline
color.(Select circle Format Tab Shape Styles Group Shape Fill and Shape Outline)
Add another circle here.
6. Select both your SmartArt and your circle by selecting you SmartArt then holding the Shift key while you select the circle.
7. Use the Align Objects tool in the Drawing Tools Format Tab to center the objects (choose Align Center and Align Middle).
8. With both items still selected, group them together using the Group Objects tool. Doing this makes them one object.
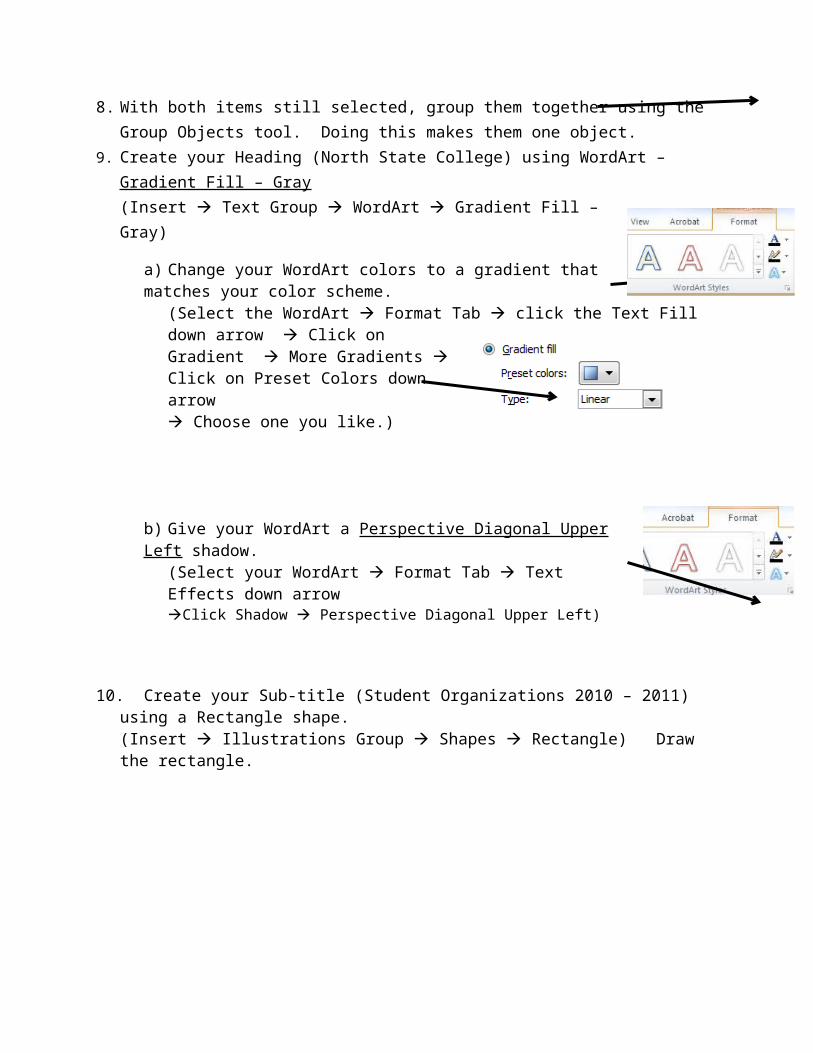
9. Create your Heading (North State College) using WordArt – Gradient Fill – Gray(Insert Text Group WordArt Gradient Fill – Gray)
a) Change your WordArt colors to a gradient that matches your color scheme.
(Select the WordArt Format Tab click the Text Fill down arrow Click on Gradient More Gradients Click on Preset Colors down arrow Choose one you like.)
b) Give your WordArt a Perspective Diagonal Upper Left shadow.
(Select your WordArt Format Tab Text Effects down arrowClick Shadow Perspective Diagonal Upper Left)
10.Create your Sub-title (Student Organizations 2010 – 2011) using a Rectangle shape. (Insert Illustrations Group Shapes Rectangle) Draw the rectangle.
a) Change your rectangle to No Fill. (Click on the rectangle Format Tab Shape Styles Group Shape Fill down arrow Choose NO FILL.
b) Choose an Outline color and make it a 3 pt weight. c) Click in your rectangle to add text. Select a font, color, and appropriate size.
11. Insert clip art as shown - Compass.(Insert Illustrations Group Online Pictures Search For: compass double click your choice)
12.Add a page border of your choice. (Design Page Borders)
13.Create a class header/footer.
14.Re-Save your document.
World of Coke Flyer – Exercise 3
1. Open the file “Text for Activity3” from the share drive.2. Save the file in your student drive in your Word 1 folder as: “ Period Last First Activity 3 World of Coke”
Using the things you have learned in Word 1—Create a similar flyer as the key below. The star shapes are filled with the picture “Coke Wave” The page border is an Art border—Look for small black dots—change the color to red and the
width to 22 pts. Check for compatibility mode if you don’t have picture options—you will need to convert the
file. When complete Save and then Save a PDF copy and upload to the edu20.org site.
File Management:
Open your Word 1 folder. Change the view to details. Take a screensnipping of the contents of your Word 1 folder. Paste in a blank Word document. Setup a class header and footer on the page, save to the Word 1 folder as: Word 1 file
management. Print— turn in your Word 1 Packet in the following order:
o Listening Guideo Print out of your file management screen shot
***Papers MUST be stapled together in this order!***
Turn in your Word 1 Listening Guide Packet.


![2 War in Korea and - PC\|MACimages.pcmac.org/SiSFiles/Schools/AL/MobileCounty/BurnsMiddle/Uploads... · mhe]](https://img.pdfslide.net/doc/110x75/604359a27e69523ab22e65ba/2-war-in-korea-and-pc-mhe-.jpg)