Embed Size (px)
DESCRIPTION
AGTI
Citation preview
Department of
Information TechnologyGTC HMAW BI
A.G.T.I PROJECTGroup 6
November, 2005
Supervisor Daw May Nwe Thwin
Memberships1. Toe Kyaw Kyar2. Linn Htet3. Aung Mon Htun4. Kyaw Htun5. Kyaw Zay Hein6. Soe Minn7. Ye Minn Oo8. Zin Mar Nu9. Wutt Ye Myint Thein10.Thin Nwe Soe
Computer Maintenance and Repairing
How To Maintain Your PC System
Components Maintenance How often
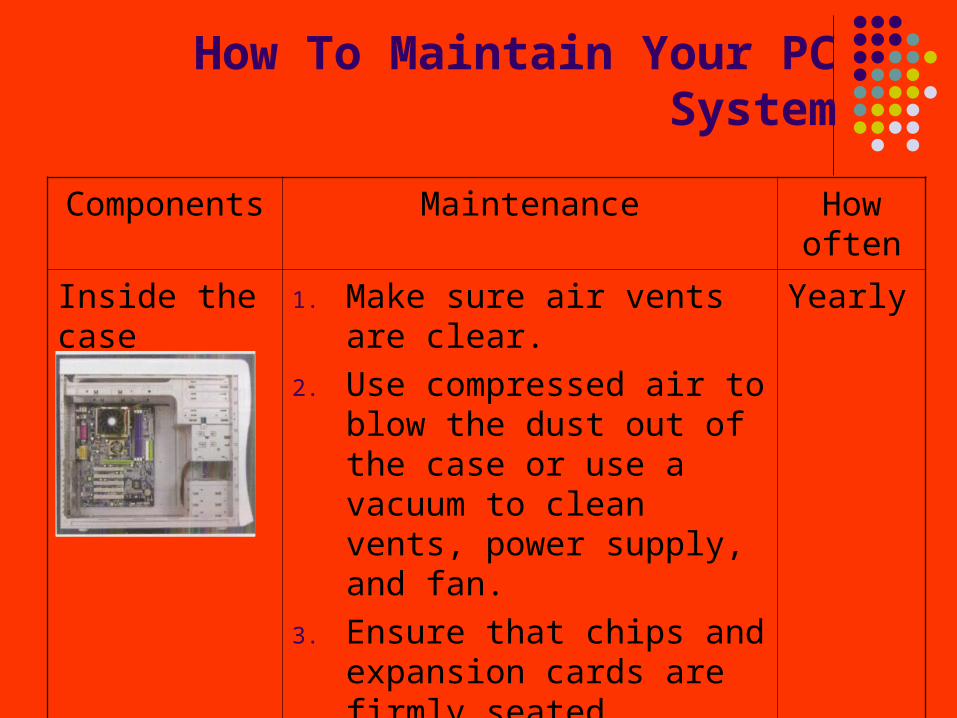
Inside the case 1. Make sure air vents are clear.
2. Use compressed air to blow the dust out of the case or use a vacuum to clean vents, power supply, and fan.
3. Ensure that chips and expansion cards are firmly seated.
4. Clean the contacts on expansion cards.
Yearly
Power Supply System
Components Maintenance How often
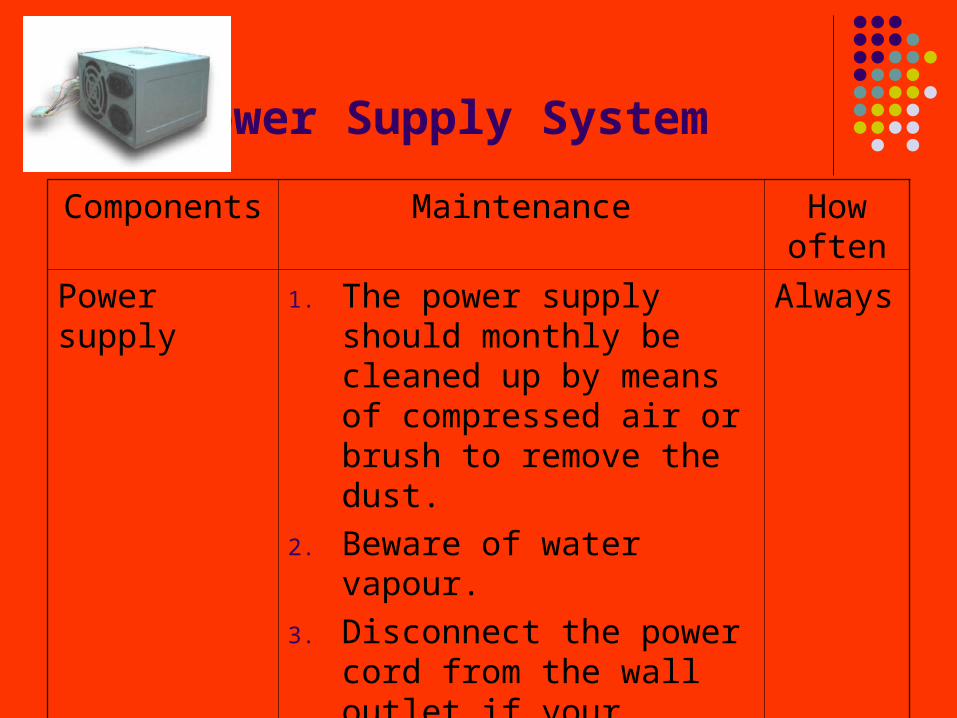
Power supply 1. The power supply should monthly be cleaned up by means of compressed air or brush to remove the dust.
2. Beware of water vapour.
3. Disconnect the power cord from the wall outlet if your system is in unused.
Always
Processor (CPU)
Components Maintenance How often
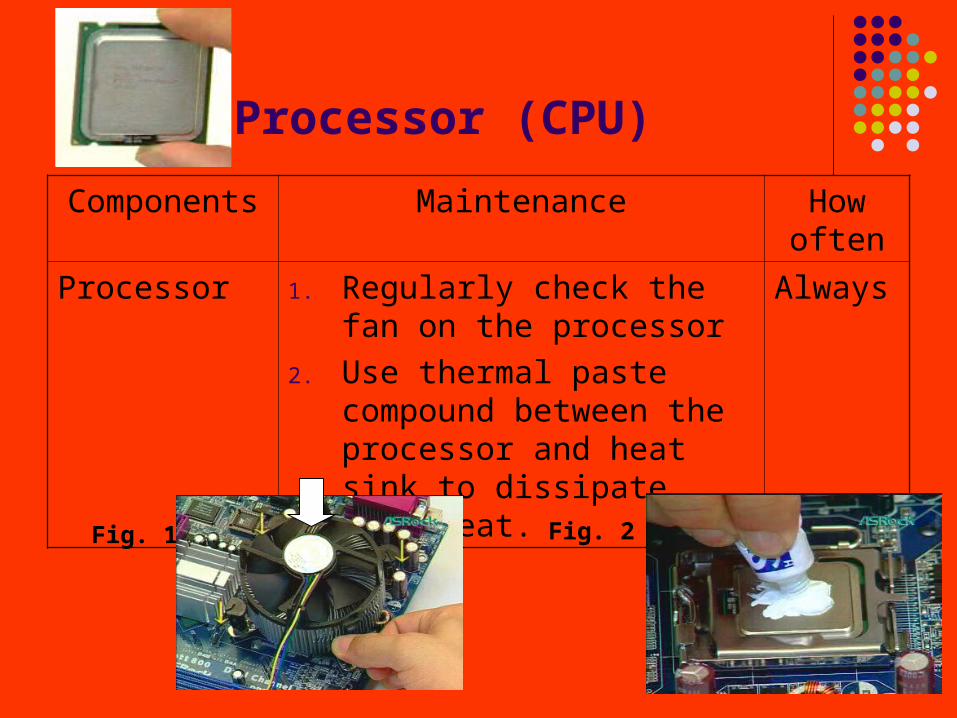
Processor 1. Regularly check the fan on the processor
2. Use thermal paste compound between the processor and heat sink to dissipate more heat.
Always
Fig. 1 Fig. 2

Motherboard
Components Maintenance How often
Motherboard 1. Remove any unused add in cards.
2. Ensure that chips and expansion cards are seated.
Always
Monitor
Components Maintenance How often
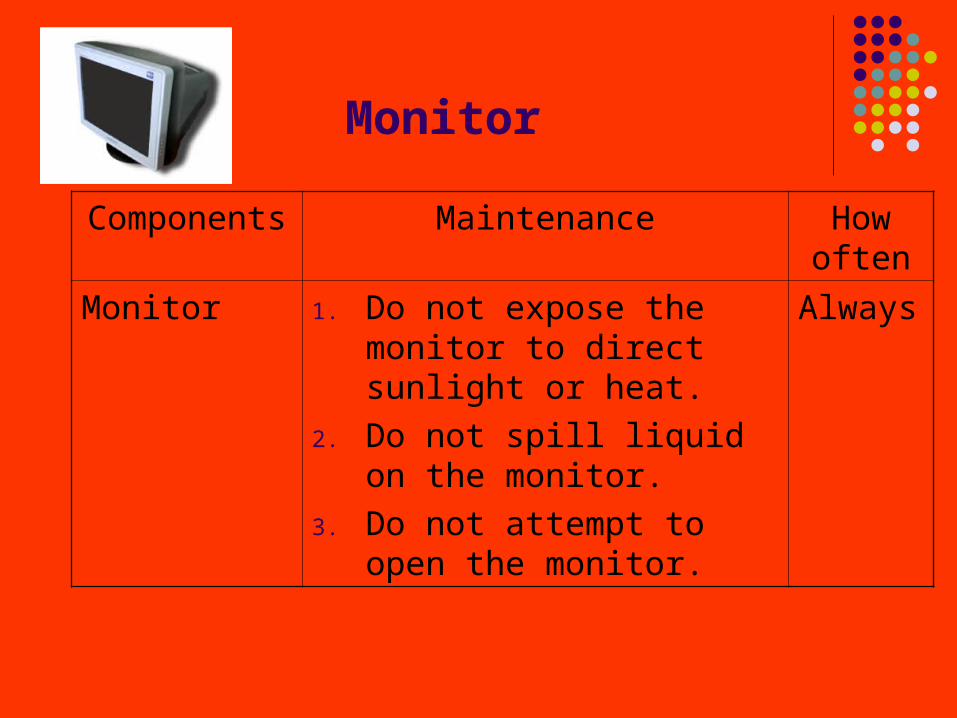
Monitor 1. Do not expose the monitor to direct sunlight or heat.
2. Do not spill liquid on the monitor.
3. Do not attempt to open the monitor.
Always
Monitor
Components Maintenance How often
Monitor 4. Do not use harsh chemicals or strong cleaning solvents to clean the monitor screen. Wipe it with clean, soft clothes.
5. Do not place anything on your monitor.
6. Bad ventilation may elevate temperature in the monitor.
Always
Keyboards
Components Maintenance How often
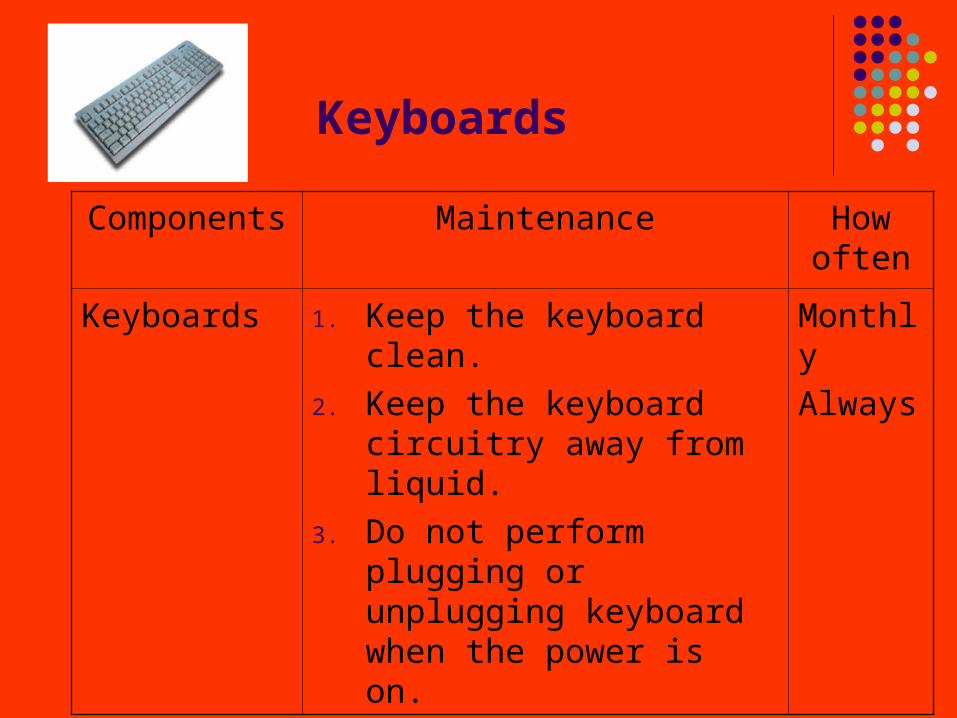
Keyboards 1. Keep the keyboard clean.
2. Keep the keyboard circuitry away from liquid.
3. Do not perform plugging or unplugging keyboard when the power is on.
Monthly
Always
Mice
Components Maintenance How often
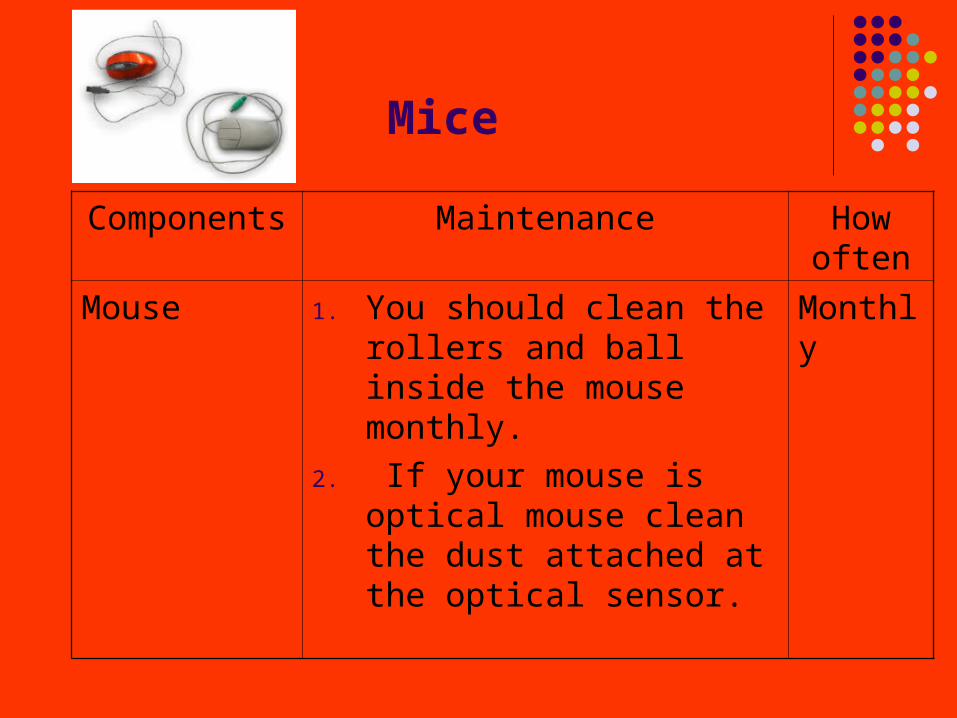
Mouse 1. You should clean the rollers and ball inside the mouse monthly.
2. If your mouse is optical mouse clean the dust attached at the optical sensor.
Monthly
Hard Disk Drives
Components Maintenance How often
Hard disk Drive
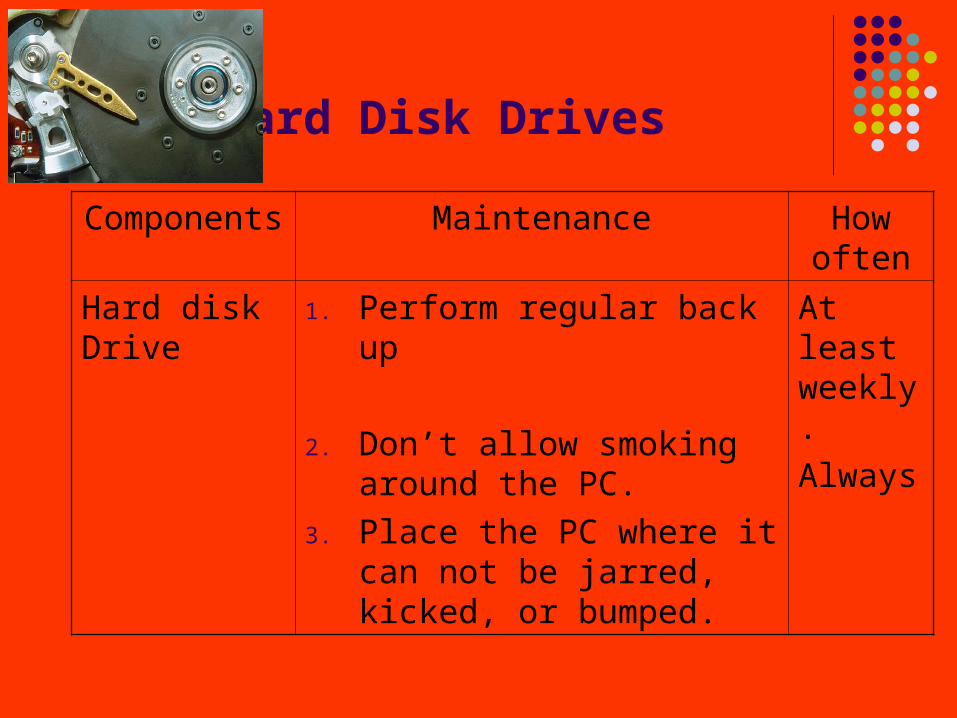
1. Perform regular back up
2. Don’t allow smoking around the PC.
3. Place the PC where it can not be jarred, kicked, or bumped.
At least weekly.
Always
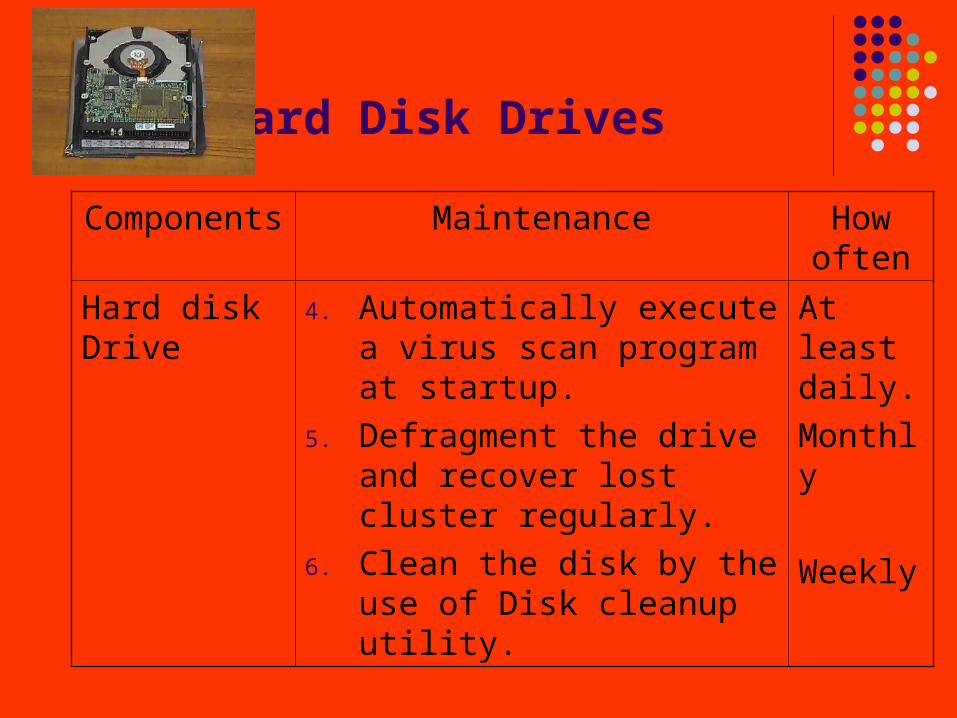
Hard Disk Drives
Components Maintenance How often
Hard disk Drive
4. Automatically execute a virus scan program at startup.
5. Defragment the drive and recover lost cluster regularly.
6. Clean the disk by the use of Disk cleanup utility.
At least daily.
Monthly
Weekly
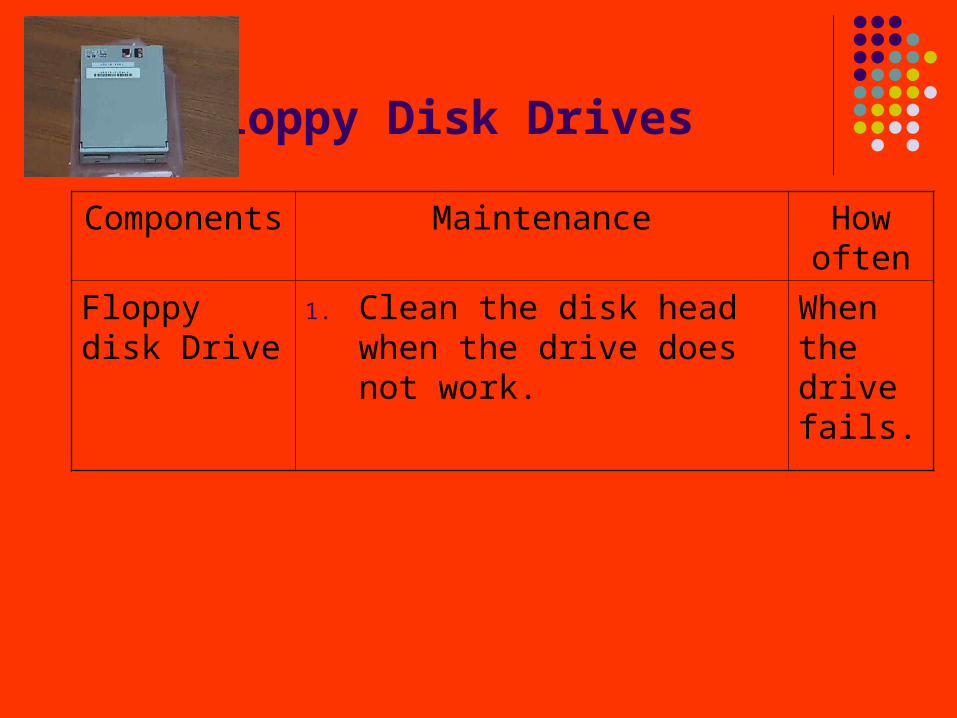
Floppy Disk Drives
Components Maintenance How often
Floppy disk Drive
1. Clean the disk head when the drive does not work.
When the drive fails.
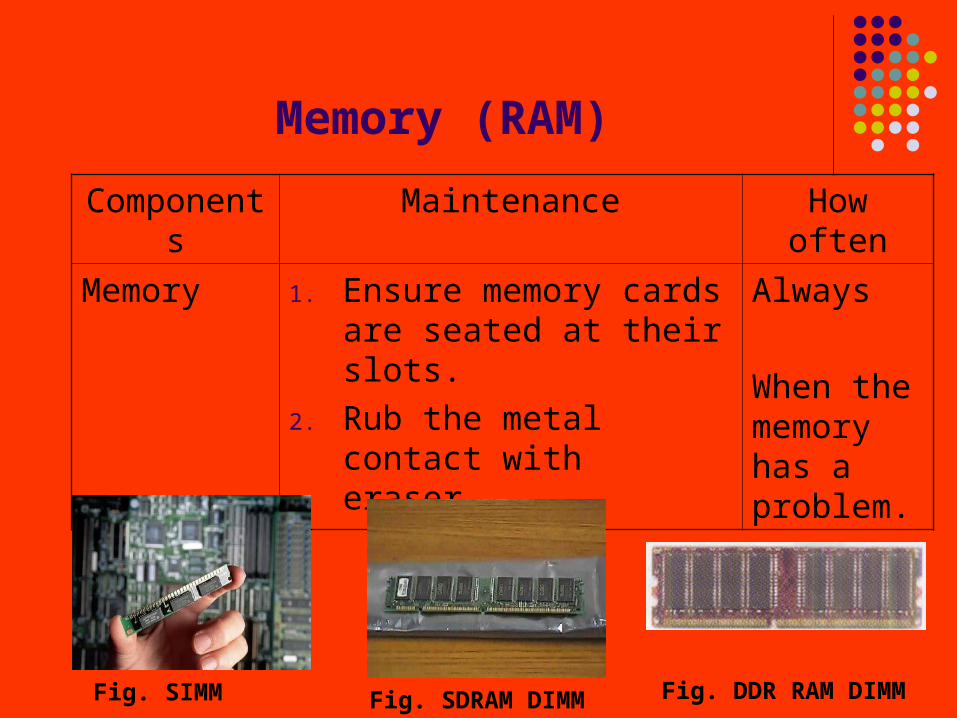
Memory (RAM)
Components Maintenance How often
Memory 1. Ensure memory cards are seated at their slots.
2. Rub the metal contact with eraser.
Always
When the memory has a problem.
Fig. SIMM Fig. SDRAM DIMM Fig. DDR RAM DIMM
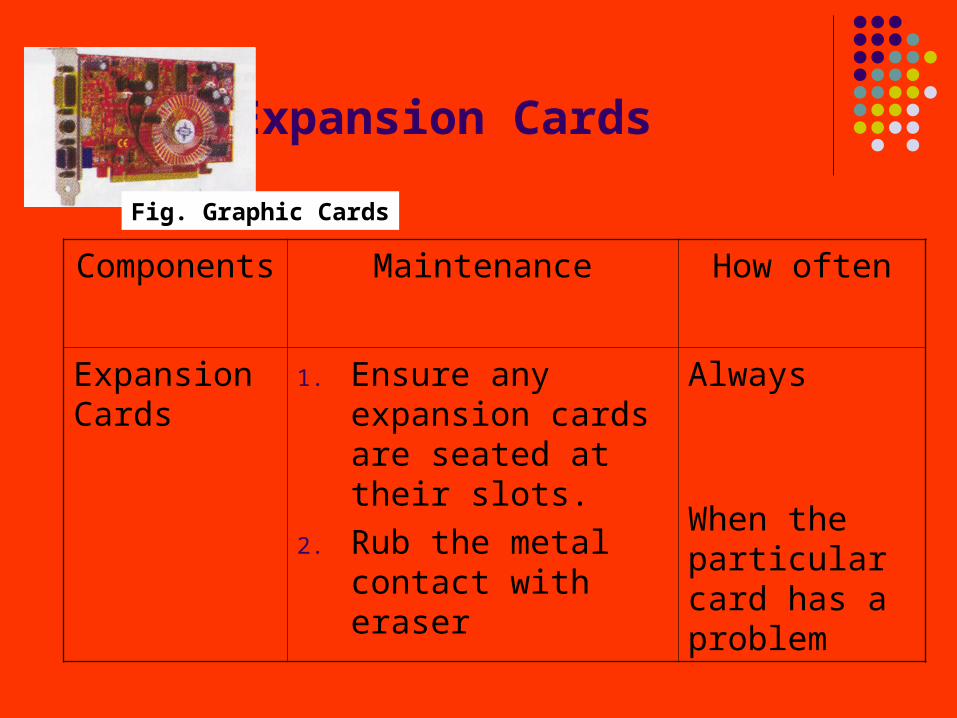
Expansion Cards
Components Maintenance How often
Expansion Cards
1. Ensure any expansion cards are seated at their slots.
2. Rub the metal contact with eraser
Always
When the particular card has a problem
Fig. Graphic Cards
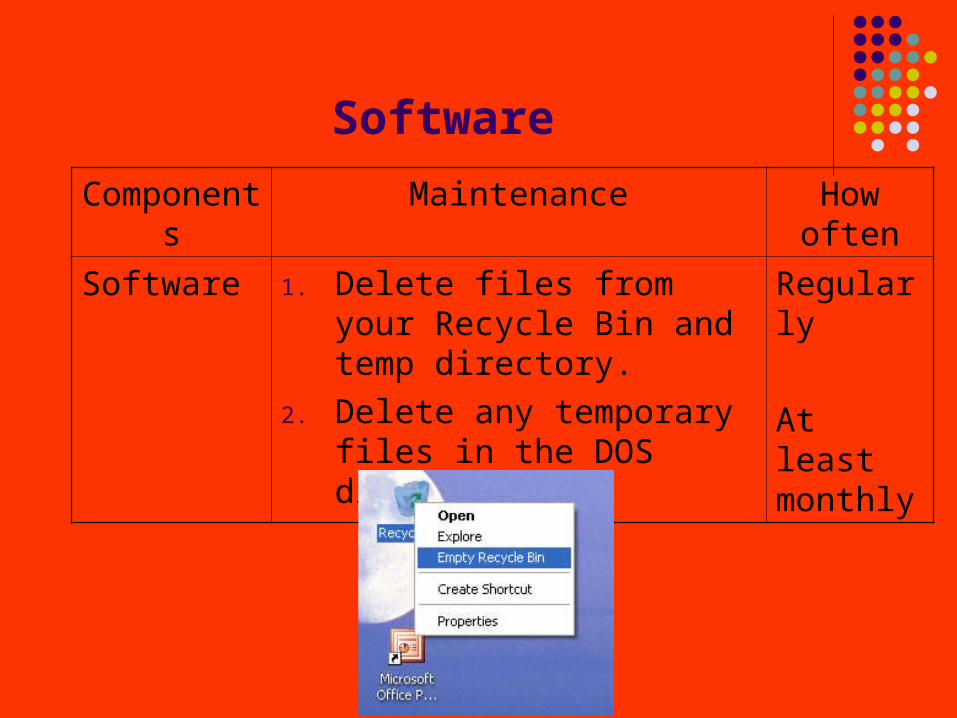
Software
Components Maintenance How often
Software 1. Delete files from your Recycle Bin and temp directory.
2. Delete any temporary files in the DOS directory.
Regularly
At least monthly
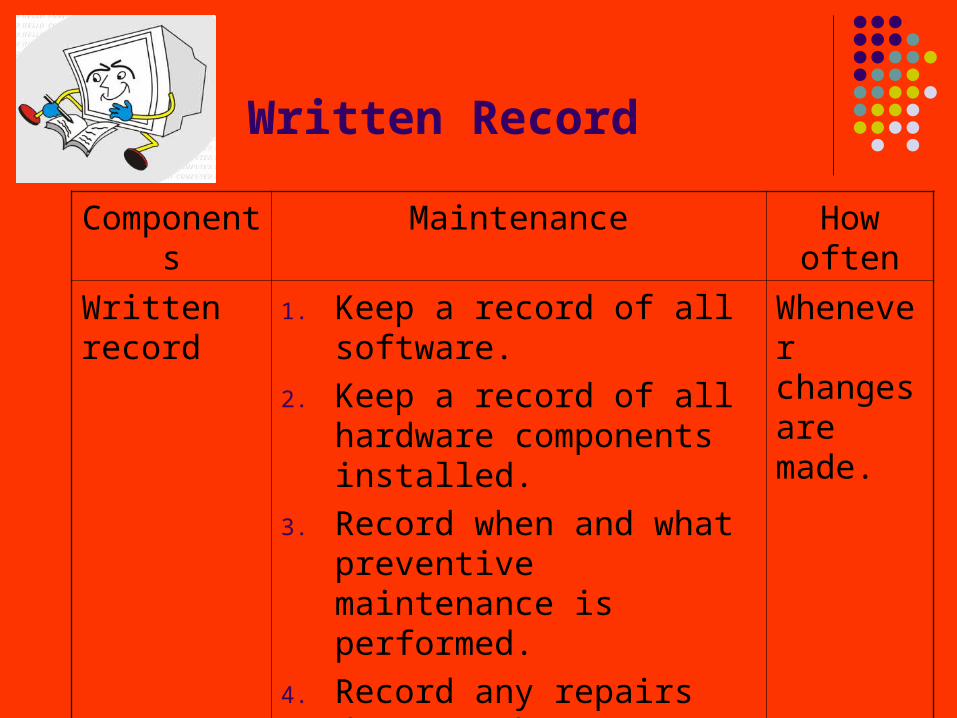
Written Record
Components Maintenance How often
Written record
1. Keep a record of all software.
2. Keep a record of all hardware components installed.
3. Record when and what preventive maintenance is performed.
4. Record any repairs done to the PC
Whenever changes are made.
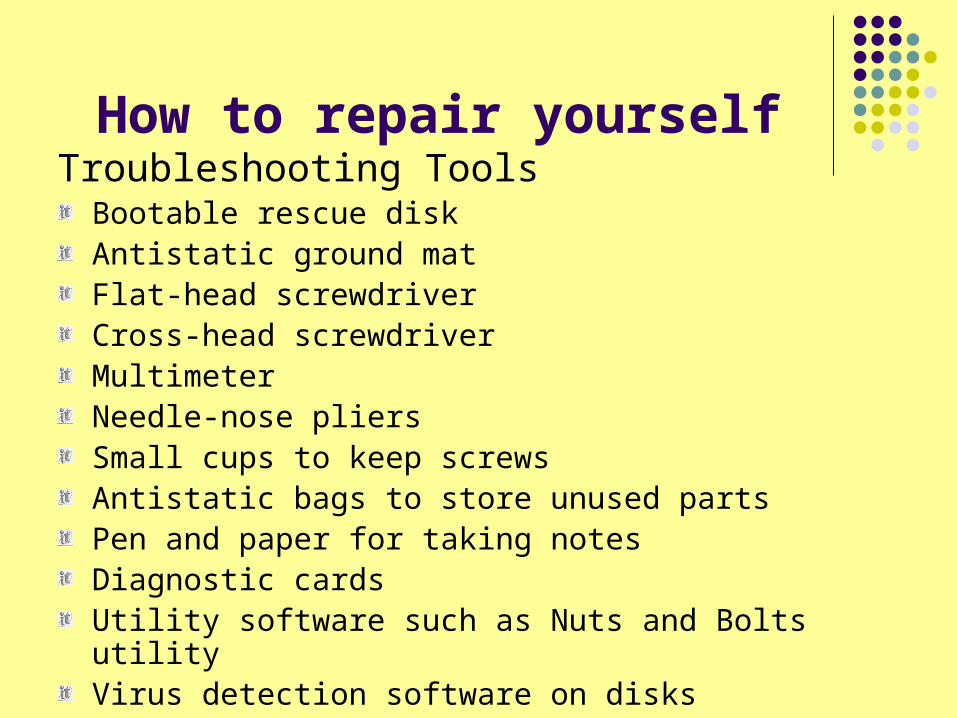
How to repair yourselfTroubleshooting Tools
Bootable rescue diskAntistatic ground matFlat-head screwdriverCross-head screwdriverMultimeter Needle-nose pliersSmall cups to keep screwsAntistatic bags to store unused partsPen and paper for taking notesDiagnostic cards Utility software such as Nuts and Bolts utilityVirus detection software on disks
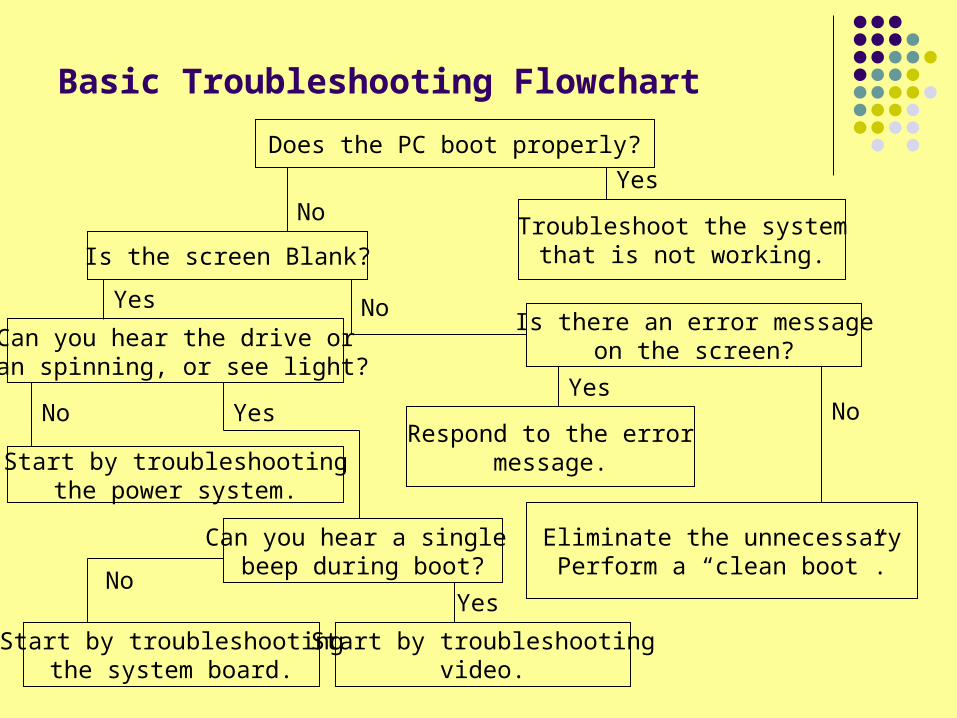
Basic Troubleshooting Flowchart
Does the PC boot properly?
NoYes
Is the screen Blank?Troubleshoot the system
that is not working.
Yes
Can you hear the drive orfan spinning, or see light?
NoIs there an error message
on the screen?
No
Start by troubleshootingthe power system.
Can you hear a single beep during boot?
Yes
Start by troubleshootingthe system board.
Yes
Start by troubleshootingvideo.
Respond to the errormessage.
Eliminate the unnecessaryPerform a “clean boot”.
No
NoYes
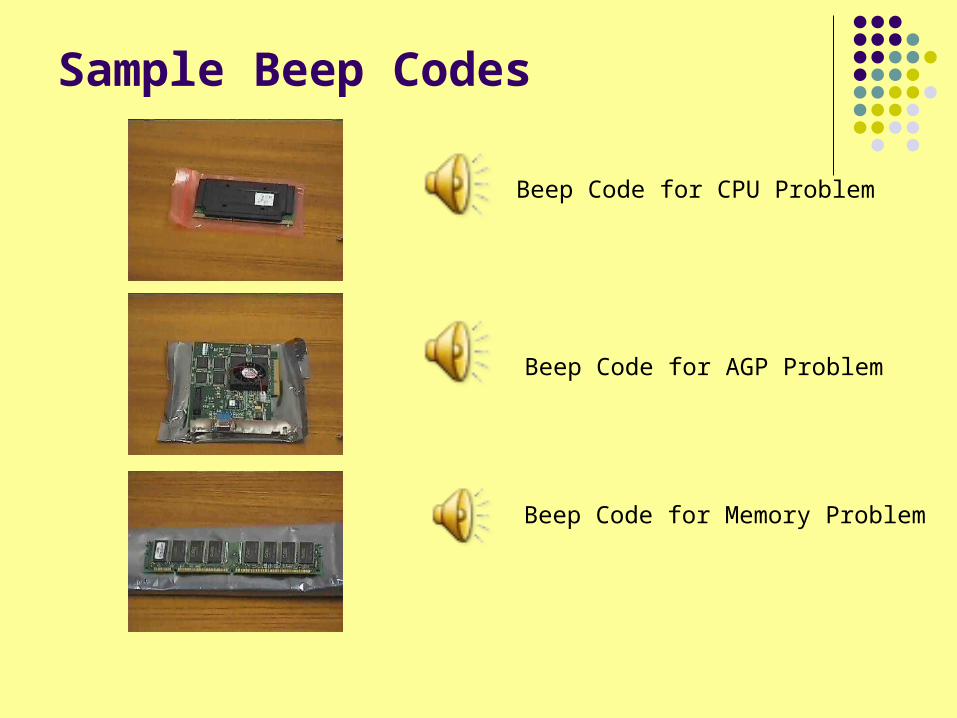
Sample Beep Codes
Beep Code for CPU Problem
Beep Code for AGP Problem
Beep Code for Memory Problem

Using Diagnostic ToolsPower off: Remove all the cards that plugged in expansion slots.
Insert the card into ISA or PCI slot
Power on: Make sure the LED runs properly.
Whether the error code is displayed
Power off: Insert the display card,I/O cards, keyboard, hard drive and
expansion cards.
Power on: whether the error code is displayed.
If it can’t boot an OS, problem may be software, drives, disk controller or DMA circuit.
Refer to descriptionof LED display
According to the error code table.
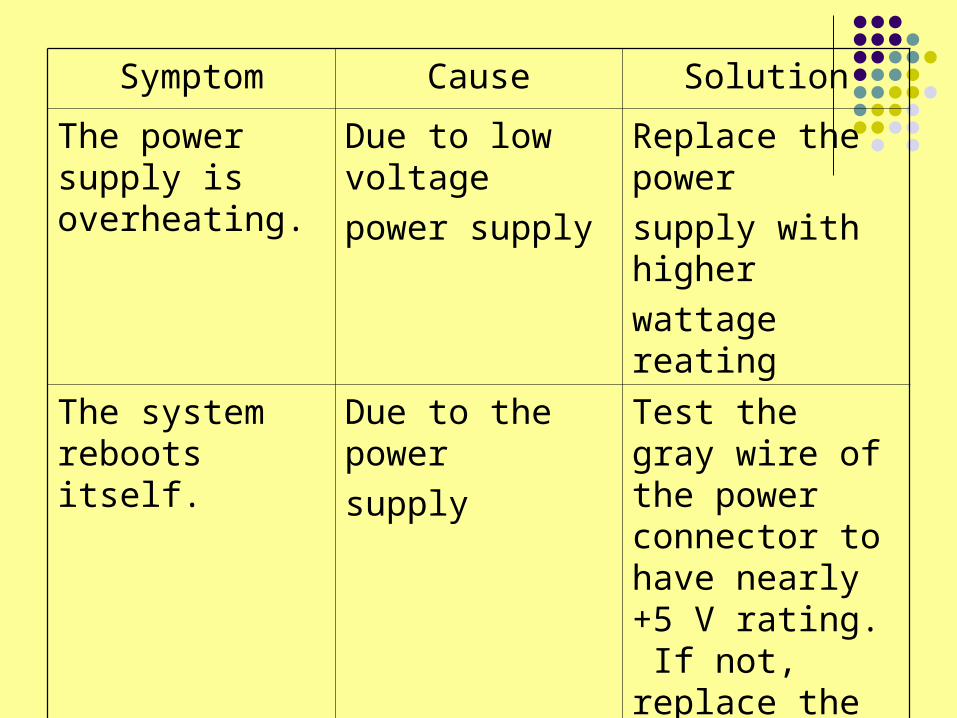
Symptom Cause Solution
The power supply is overheating.
Due to low voltage
power supply
Replace the power
supply with higher
wattage reating
The system reboots itself.
Due to the power
supply
Test the gray wire of the power connector to have nearly +5 V rating. If not, replace the failed power supply with higher wattage rating.
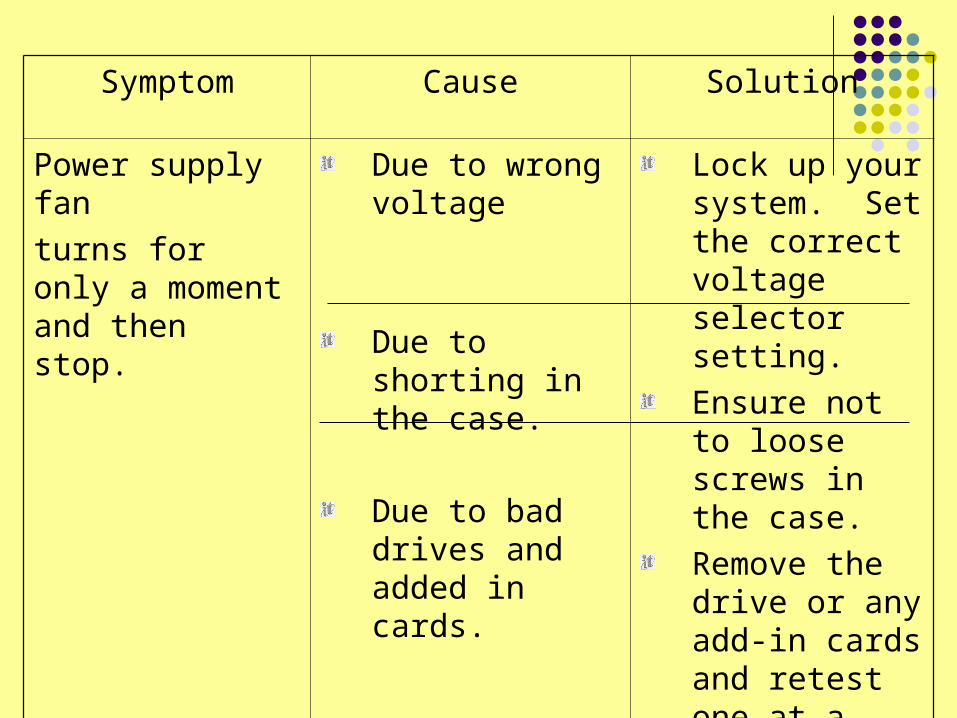
Symptom Cause Solution
Power supply fan
turns for only a moment and then stop.
Due to wrong voltage
Due to shorting in the case.
Due to bad drives and added in cards.
Lock up your system. Set the correct voltage selector setting.
Ensure not to loose screws in the case.
Remove the drive or any add-in cards and retest one at a time.
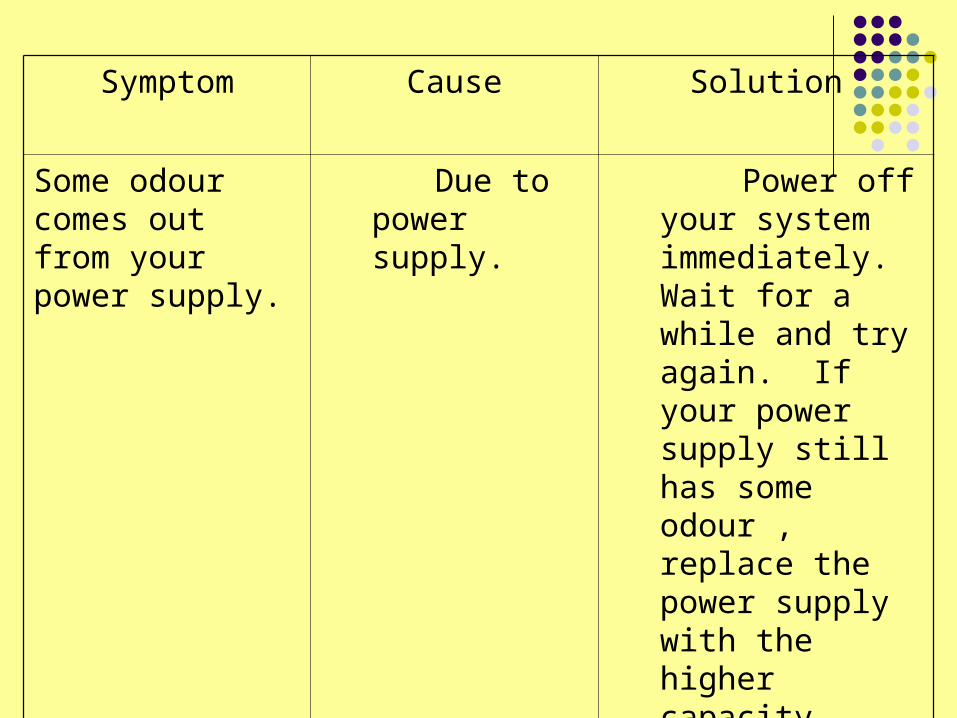
Symptom Cause Solution
Some odour comes out from your power supply.
Due to power supply.
Power off your system immediately. Wait for a while and try again. If your power supply still has some odour , replace the power supply with the higher capacity power supply.
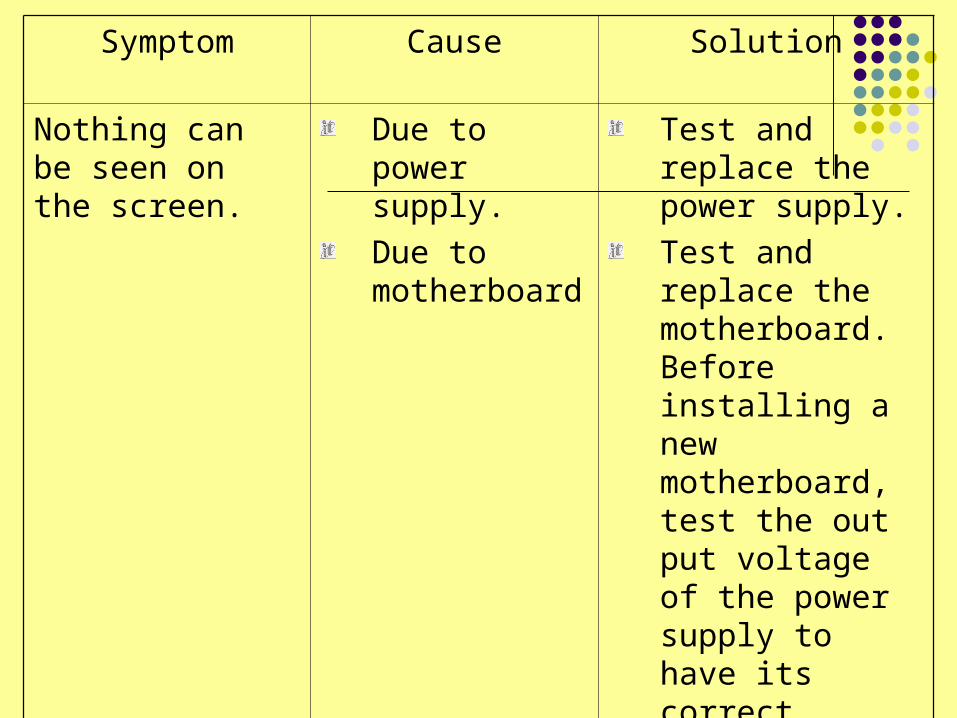
Symptom Cause Solution
Nothing can be seen on the screen.
Due to power supply.
Due to motherboard
Test and replace the power supply.
Test and replace the motherboard. Before installing a new motherboard, test the out put voltage of the power supply to have its correct voltage level. Wrong voltage can make motherboard damaging.
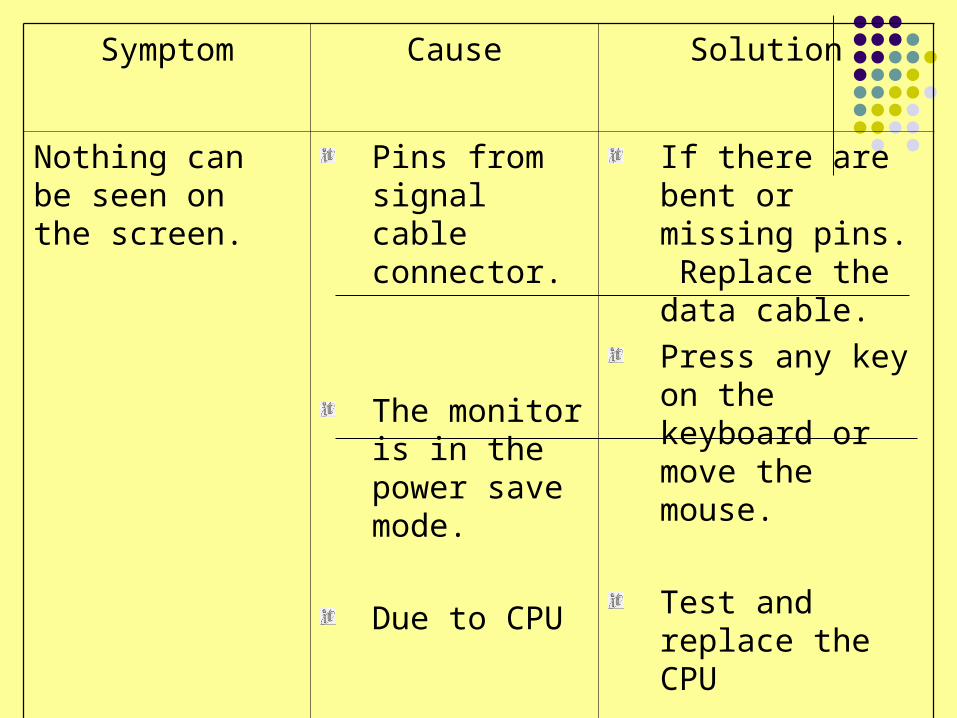
Symptom Cause Solution
Nothing can be seen on the screen.
Pins from signal cable connector.
The monitor is in the power save mode.
Due to CPU
If there are bent or missing pins. Replace the data cable.
Press any key on the keyboard or move the mouse.
Test and replace the CPU
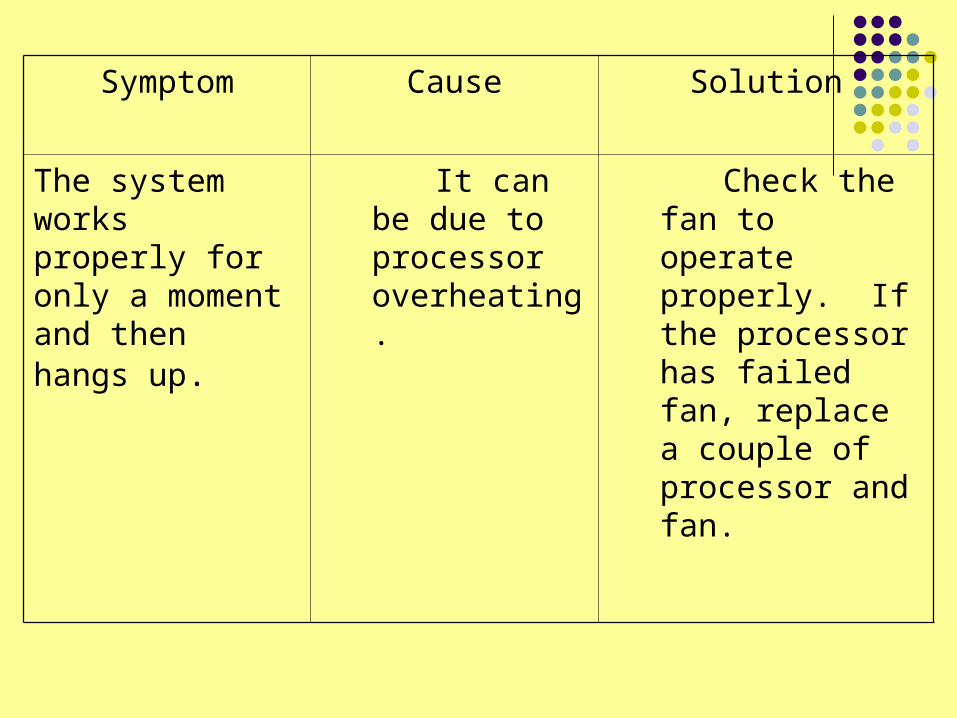
Symptom Cause Solution
The system works properly for only a moment and then hangs up.
It can be due to processor overheating.
Check the fan to operate properly. If the processor has failed fan, replace a couple of processor and fan.

Symptom Cause Solution
The system does not boot up properly.
It can be due to heat sink and fan on the processor.
Due to wrong voltage setting
It can be due to wrong bus speed.
It can be due to CPU clock multiplier.
Replace a pair of heat sink and fan with higher capability.
Set these setting to the correct configuration.

Symptom Cause Solution
Improper CPU identification during POST.
It can be because of old model of BIOS.
BIOS should be updated.
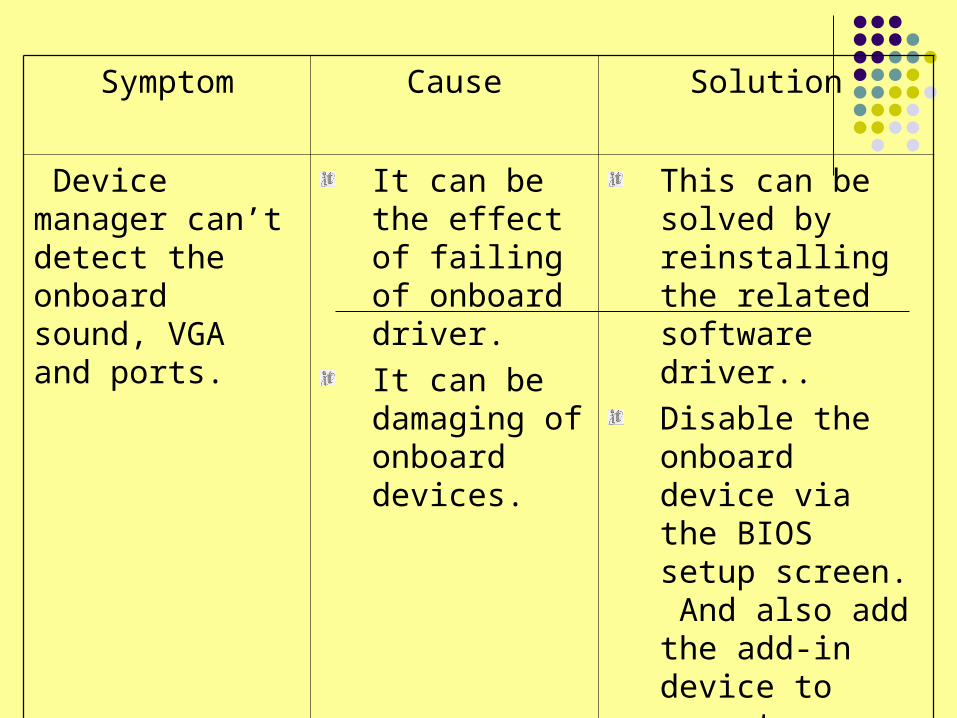
Symptom Cause Solution
Device manager can’t detect the onboard sound, VGA and ports.
It can be the effect of failing of onboard driver.
It can be damaging of onboard devices.
This can be solved by reinstalling the related software driver..
Disable the onboard device via the BIOS setup screen. And also add the add-in device to operate normally. On some condition, spoiled device can affect the board not to usable.
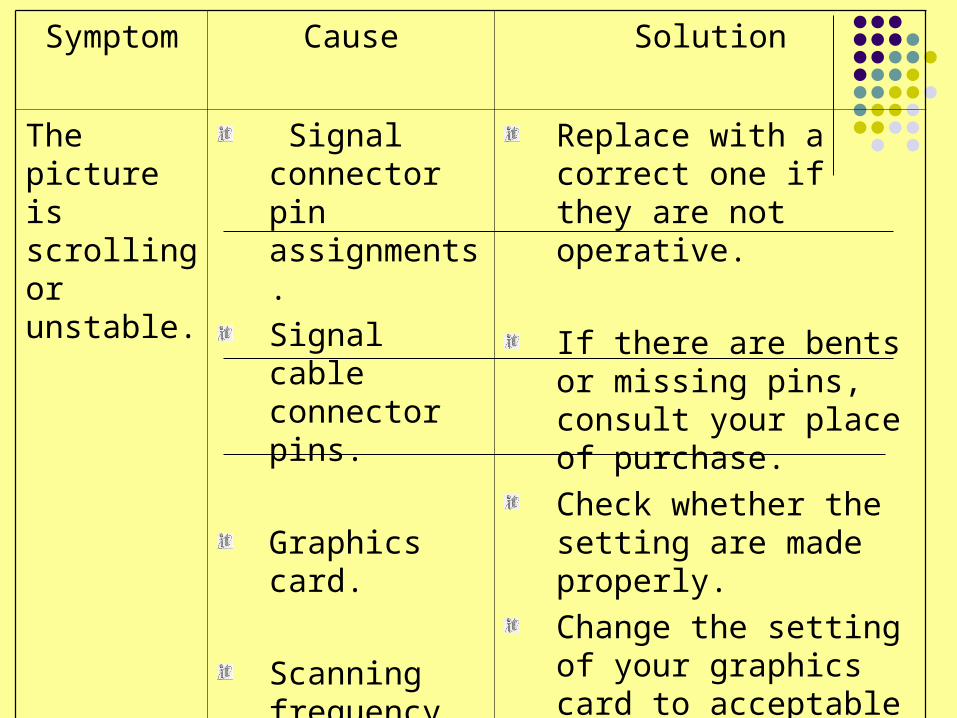
Symptom Cause Solution
The picture is scrolling or unstable.
Signal connector pin assignments.
Signal cable connector pins.
Graphics card.
Scanning frequency.
Replace with a correct one if they are not operative.
If there are bents or missing pins, consult your place of purchase.
Check whether the setting are made properly.
Change the setting of your graphics card to acceptable options.
Remove the magnetic objects near the monitor.
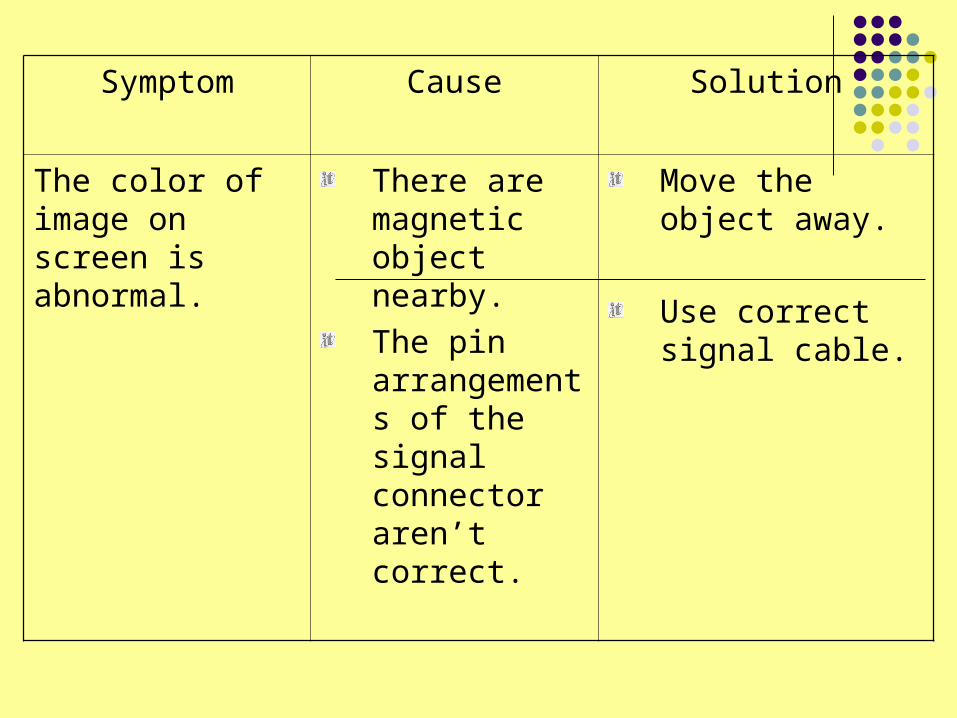
Symptom Cause Solution
The color of image on screen is abnormal.
There are magnetic object nearby.
The pin arrangements of the signal connector aren’t correct.
Move the object away.
Use correct signal cable.
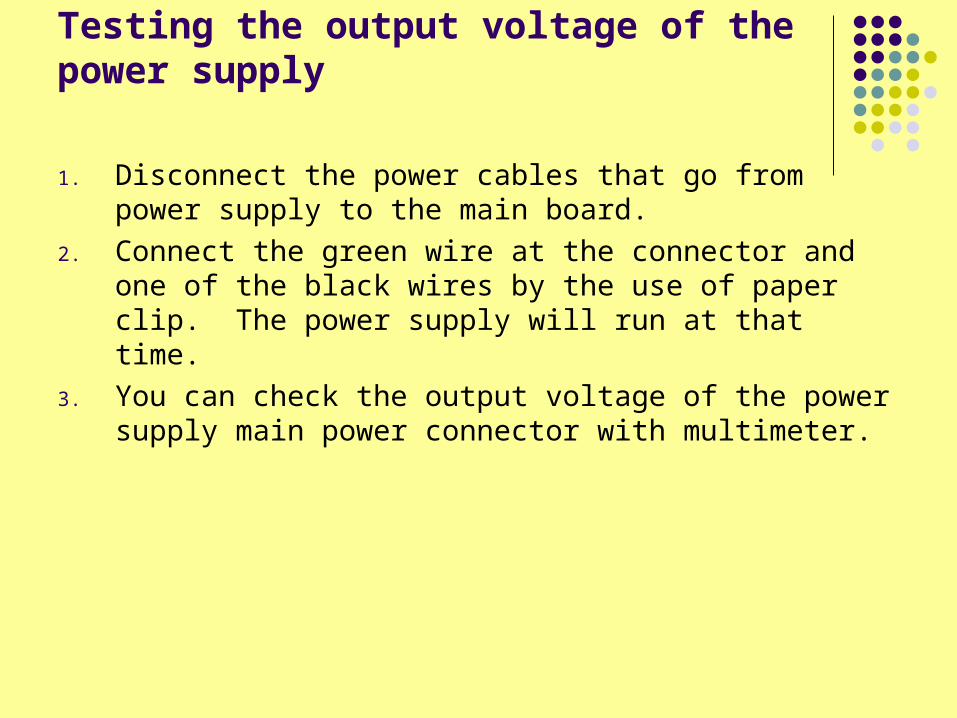
Testing the output voltage of the power supply
1. Disconnect the power cables that go from power supply to the main board.
2. Connect the green wire at the connector and one of the black wires by the use of paper clip. The power supply will run at that time.
3. You can check the output voltage of the power supply main power connector with multimeter.
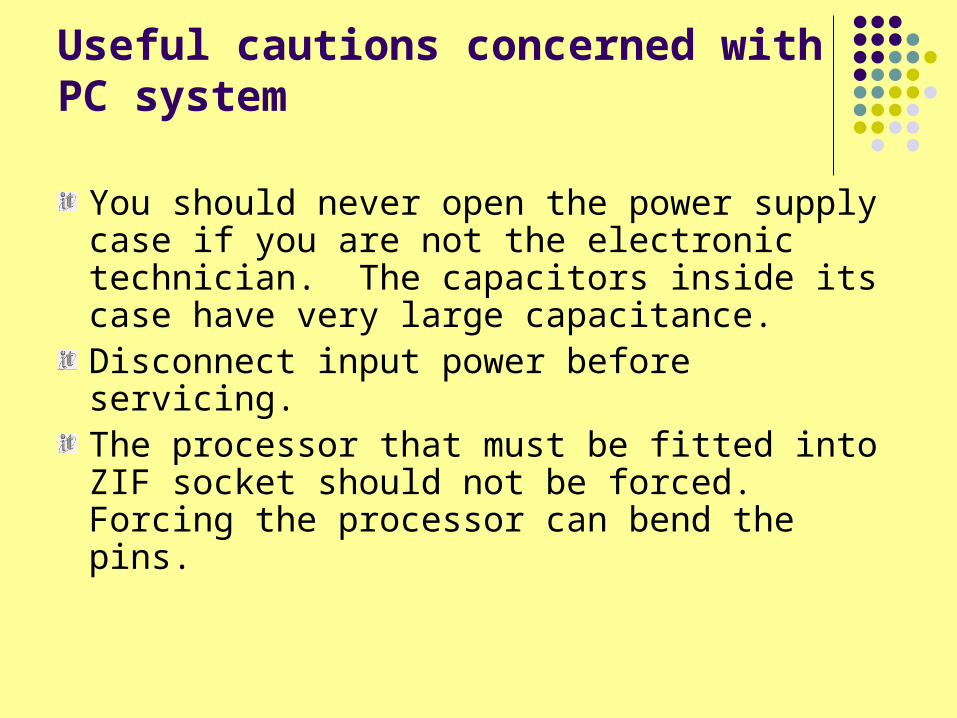
Useful cautions concerned with PC system
You should never open the power supply case if you are not the electronic technician. The capacitors inside its case have very large capacitance. Disconnect input power before servicing.The processor that must be fitted into ZIF socket should not be forced. Forcing the processor can bend the pins.

The pins and socket must be correctly adjusted to install the processor into the socket.The fan on the processor must turn on and connected to fan power connector on the motherboard whenever the system is operating.

Thanks are contributed to all of the audiences who attend to our
presentation.