Embed Size (px)
Citation preview

1
Slides on Drawing Lecture-1
Demonstration on drawing ‘Fittings and Fixture layouts’,
‘Conduit layouts’ and ‘Switchboard connection diagrams’ of simple architectural structures.

2
Electrical Design of a Civil Layout: Steps to be followed (0)
Civil Layout:
The input layout to the
Electrical Engineer to
perform Electrical
Design.
Door

3
Electrical Design of a Civil Layout: Steps to be followed (1)
Fittings &
Fixture Layout:
Demonstration of exact
location for different
fixtures to be used.
1F1
C1TS1
- -
TV1
F2A4
2
A2
A1
A3
SS3
SS1
SS2Let’s find out from the symbol sheet what different symbols represent and write it in your sheet

4
Electrical Design of a Civil Layout: Steps to be followed (2)
Conduit Layout:
Demonstration & optimization of the electrical connectivity between source of energy and loads.
1
2
FL L
S
S
F
LS
L
S
- -
L
C1
C2
C1
C6C1
C2
C1
C2
C4

5
Electrical Design of a Civil Layout: Steps to be followed (3)
Switchboard Connection Diagram:
Demonstration of
detailed connections
between each and
every loads under
a particular switchboard.SS1
SB 1
A2A1 F1
R
C1TS1SS2 A4
2x1.5mm2
A3 F2
R
SS3
SB 2
2x2.5mm2

6
Electrical Design of a Civil Layout: Steps to be followed (4)
Distribution BoardConnection Diagram:
Demonstration of detailed connection between main source of energy and different switchboards with proper safety equipments.
)
) ) )
SB 1 SB 2 SB 3
10 15 10
40

7
Exact location (3D information) for different Fixtures are demonstrated.
The input information is the ‘Purpose of use’ of a particular area in civil layout (i.e. whether it’s a bedroom or a kitchen).
Sufficient amount of lighting, cooling and connectivity for external loads (i.e. 2/3 pin sockets) need to be provided.
Location of the switchboard is an important issue as well. Keep the switch close to the entrance when people stay inside the
room For store and others you may keep it outside.
Fittings & Fixture Layout
8
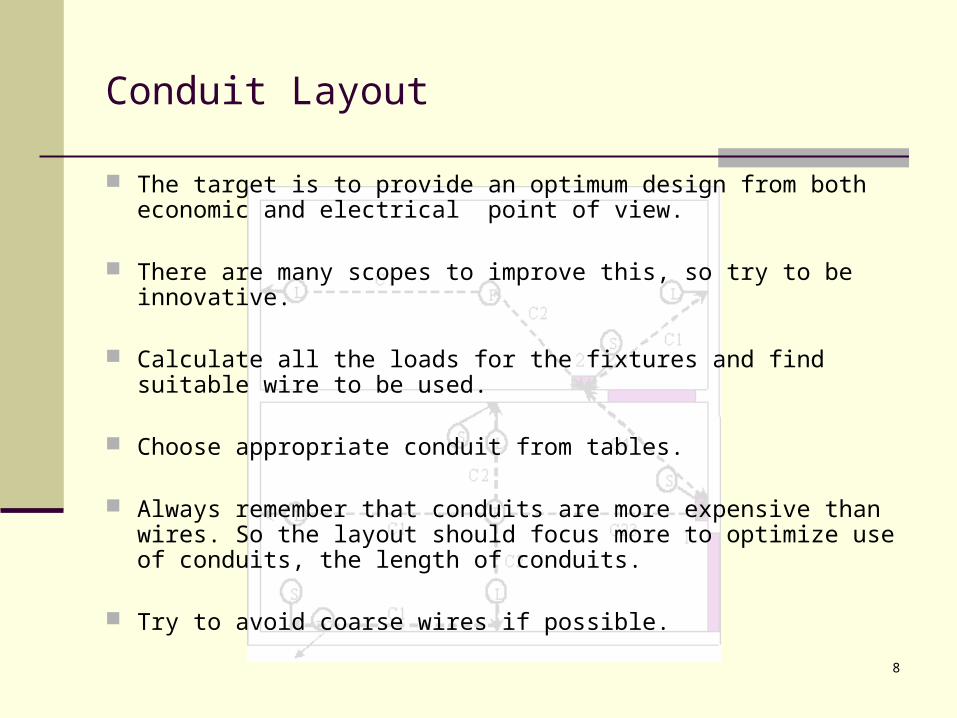
The target is to provide an optimum design from both economic and electrical point of view.
There are many scopes to improve this, so try to be innovative.
Calculate all the loads for the fixtures and find suitable wire to be used.
Choose appropriate conduit from tables.
Always remember that conduits are more expensive than wires. So the layout should focus more to optimize use of conduits, the length of conduits.
Try to avoid coarse wires if possible.
Conduit Layout
9
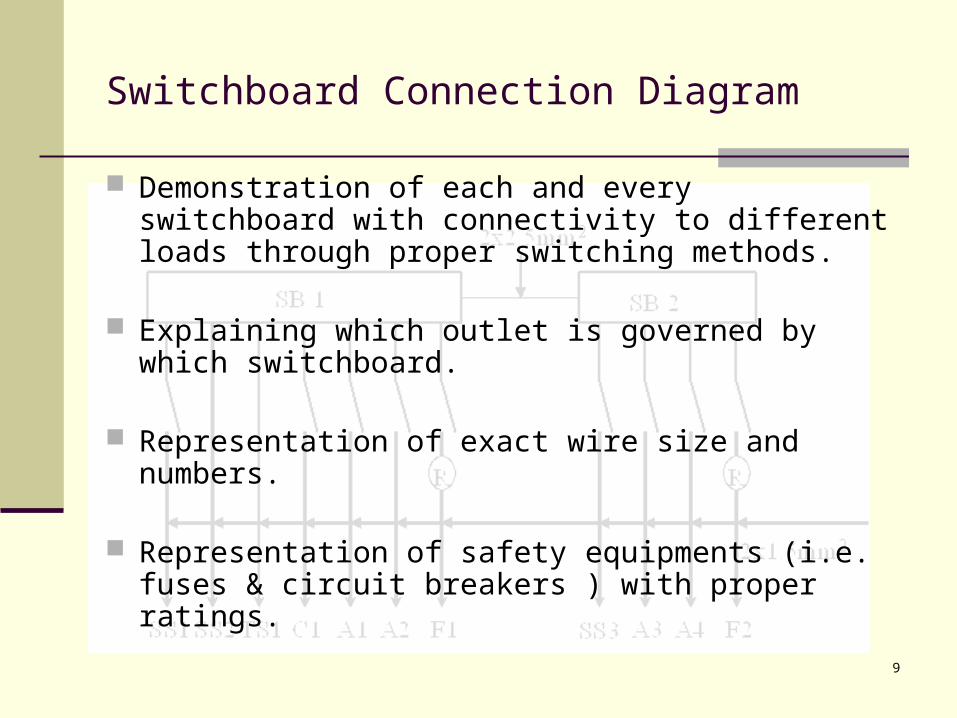
Demonstration of each and every switchboard with connectivity to different loads through proper switching methods.
Explaining which outlet is governed by which switchboard.
Representation of exact wire size and numbers.
Representation of safety equipments (i.e. fuses & circuit breakers ) with proper ratings.
Switchboard Connection Diagram

10
Demonstration of each and every switchboard with connectivity to the main Distribution Board.
It’s not necessary to draw conduits to each switchboard. In large designs, only one conduit may carry the wires for a group of swithcboards.
Demonstration of protective devices with proper current ratings.
Location of MDB/SDBs are significant issue.
Distribution Board Connection Diagram

Assignment 1
We’ll have to perform the electrical design of a single room which might be used as a store room.
04/18/23 11

12
Fittings and Fixture Layout (Example 1)
LEGEND
Switchboard (Concealed)
Wall Bracket Light at Lintel
Level
1
A1

13
Conduit Layout (Example 1)
LEGEND
Switchboard (Concealed)
Wall outlet at Lintel Level
L
C1
C1=2x1.5mm2
L
1Why arrow?

14
Switchboard Connection Diagram (Example 1)
SB 1
A1
2x1.5mm2

Assignment 2
Let’s add some additional fixtures so that the store of Assignment 1 can be used as living purpose as well.
04/18/23 15

04/18/23 16
Fittings and Fixture Layout (Example 2)
LEGEND
Switchboard (Concealed)
Wall Bracket Light at Lintel
Level
1
A1
A2
F1Ceiling Fan

04/18/23 17
Conduit Layout (Example 2)
1
L
L F
C3
C1
C1
LEGEND
Switchboard (Concealed)
Wall outlet at Lintel Level
C3=3x2x1.5mm2
L
F Ceiling Fan outlet
C1=2x1.5mm2

18
Switchboard Connection Diagram (Example 2)
SB 1
A2
2x1.5mm2
A1 F1
R

Assignment 3
Let’s modify the above room so that it can be used as a complete bed room.
04/18/23 19

20
Fittings and Fixture Layout (Example 3)
LEGEND
Switchboard (Concealed)
Wall Bracket Light at Lintel
Level
1
A1
A2
F1Ceiling Fan
T1ST1
TS1
- - TV1
Fluorescent Wall Light Fitting
ST 2-Pin 5A Socket at Table Height
Level
TS 2-Pin 5A Socket at Skirting Level
for TV
- -TV 2-Pin TV Antenna Socket

21
Conduit Layout (Example 3)
1
L
L F
C6
C1
C2
LT
S
- -
C1
C2
C1
LEGEND
Switchboard (Concealed)
Wall outlet at Lintel Level
C2=4x1.5mm2
L
F Ceiling Fan outlet
C1=2x1.5mm2
S
T
Socket outlet at Skirting Level
Socket outlet at Table Height Level
C23=6x(2x1.5mm2)
- - 2-Pin TV Antenna Socket

22
Switchboard Connection Diagram (Example 3)
SB 1
A2
2x1.5mm2
A1 F1
R
T1ST1TS1

Assignment 4
Now, let’s perform electrical design for the
two-room layout shown below.
04/18/23 23

24
Fittings and Fixture Layout (Example 4)
LEGEND
Switchboard (Concealed)
Wall Bracket Light at Lintel
Level
1F1
Ceiling Fan
T1
TS1
- -
TV1
Fluorescent Wall Light Fitting
SS 2-Pin 5A Socket at Switchboard
(SB) Level
TS 2-Pin 5A Socket at Skirting Level
for TV
- -TV 2-Pin TV Antenna Socket
F2A4
2
A2
A1
A3
SS3
SS1
SS2

25
Conduit Layout (Example 4)
1
2
FL L
S
S
F
LS
L
S
- -
L
C1
C2
C1
C23C1
C2
C1
C2
C4
LEGEND
Switchboard (Concealed)
Wall outlet at Lintel Level
C2=4x1.5mm2
L
F Ceiling Fan outlet
C1=2x1.5mm2
S Socket outlet at Skirting/SB Level
C4=2x2.5mm2
C23=2x(6x1.5mm2)

26
Switchboard Connection Diagram (Example 4)
SB 1
A2A1 F1
R
T1TS1SS2SS1 A4
2x1.5mm2
A3 F2
R
SS3
SB 2
2x2.5mm2

27
End of Slides on Drawing Lecture-1