Embed Size (px)
Citation preview

2008 KOP IR Sensor 2008 KOP IR Sensor Workshop Workshop
January 12, 2008Hauppauge High School
SPBLI - FIRSTMark McLeodMark McLeod
AdvisorAdvisorHauppauge Team 358Hauppauge Team 358
Northrop Grumman Corp.Northrop Grumman [email protected]@ngc.com

IR BoardIR Board

CautionsCautions
Beware Hooking Power Up Backwards!Beware Hooking Power Up Backwards!– Safer to test with 9v battery firstSafer to test with 9v battery first
Beware Static Electricity!Beware Static Electricity!– Place on non-conductive surface (the bag it comes in is Place on non-conductive surface (the bag it comes in is
conductive)conductive)– Ground yourself while touching the boardGround yourself while touching the board
Compatible IR RemoteCompatible IR RemoteMay need to test with several models of IR remotes to find May need to test with several models of IR remotes to find
a compatible frequency/protocol (universal remotes a compatible frequency/protocol (universal remotes should work)should work)
A few H/W failures have been reportedA few H/W failures have been reported– Failure to work at allFailure to work at all– Partial operationPartial operation– Broken while usingBroken while using
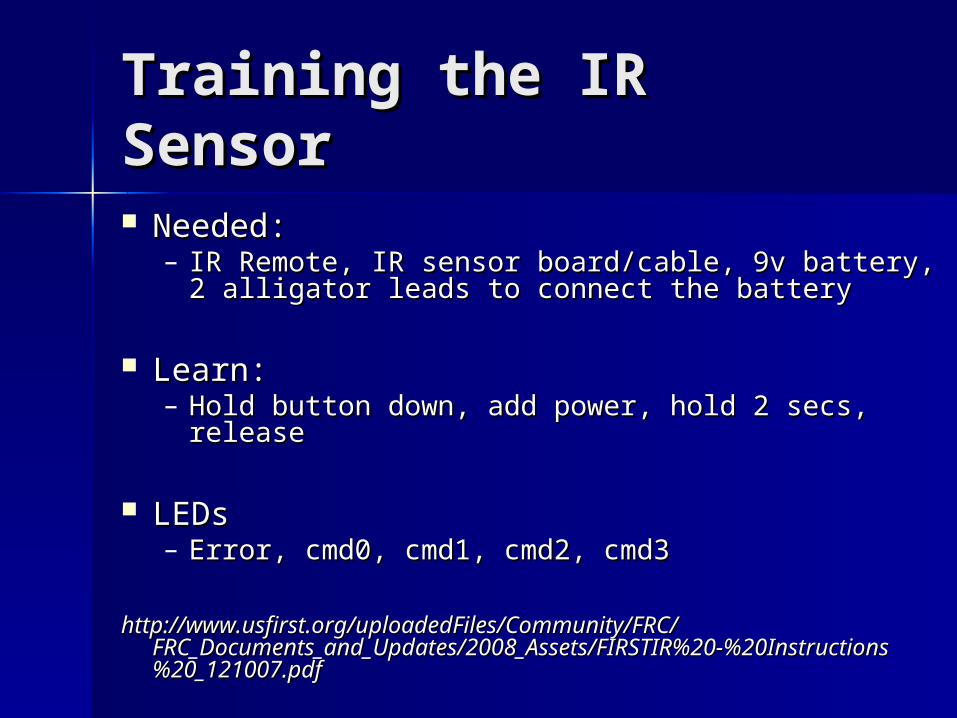
Training the IR SensorTraining the IR Sensor
Needed: Needed: – IR Remote, IR sensor board/cable, 9v battery, IR Remote, IR sensor board/cable, 9v battery,
2 alligator leads to connect the battery2 alligator leads to connect the battery
Learn:Learn:– Hold button down, add power, hold 2 secs, Hold button down, add power, hold 2 secs,
releaserelease
LEDsLEDs– Error, cmd0, cmd1, cmd2, cmd3Error, cmd0, cmd1, cmd2, cmd3
http://www.usfirst.org/uploadedFiles/Community/FRC/http://www.usfirst.org/uploadedFiles/Community/FRC/FRC_Documents_and_Updates/2008_Assets/FIRSTIR%20-FRC_Documents_and_Updates/2008_Assets/FIRSTIR%20-%20Instructions%20_121007.pdf%20Instructions%20_121007.pdf

Wiring to Robot Wiring to Robot ControllerController
12v power & ground12v power & ground– Go to breaker panel on robot--Recommend 9v battery to Go to breaker panel on robot--Recommend 9v battery to
practice with (less chance of accidental damage)practice with (less chance of accidental damage)– +7-15v --Pins 1/2+7-15v --Pins 1/2– Ground --Pins ¾Ground --Pins ¾– Possible to use fully charged 7.2v backup batteryPossible to use fully charged 7.2v backup battery
(4) RC Signal pins(4) RC Signal pins– Go to signal pins on Robot ControllerGo to signal pins on Robot Controller– Cmd0 --Pin 8Cmd0 --Pin 8– Cmd1 --Pin 6Cmd1 --Pin 6– Cmd2 --Pin 5Cmd2 --Pin 5– Cmd3 --Pin 7Cmd3 --Pin 7

CodeCode
Slow enough (.1 sec) to check from the Slow enough (.1 sec) to check from the slow loop (.026 sec)—active for 3 to 4 slow slow loop (.026 sec)—active for 3 to 4 slow loopsloops
Signals:Signals:– All 0’s if none are selectedAll 0’s if none are selected
If using a separate 9v battery then they are all 1’sIf using a separate 9v battery then they are all 1’s
– All 1’s if nothing is connected or connection is All 1’s if nothing is connected or connection is looseloose
– ““1” if selected by IR remote, “0” if not selected1” if selected by IR remote, “0” if not selected– Save selection, don’t use signal pin directly—Save selection, don’t use signal pin directly—
chance of half & half state and it will change chance of half & half state and it will change while using itwhile using it
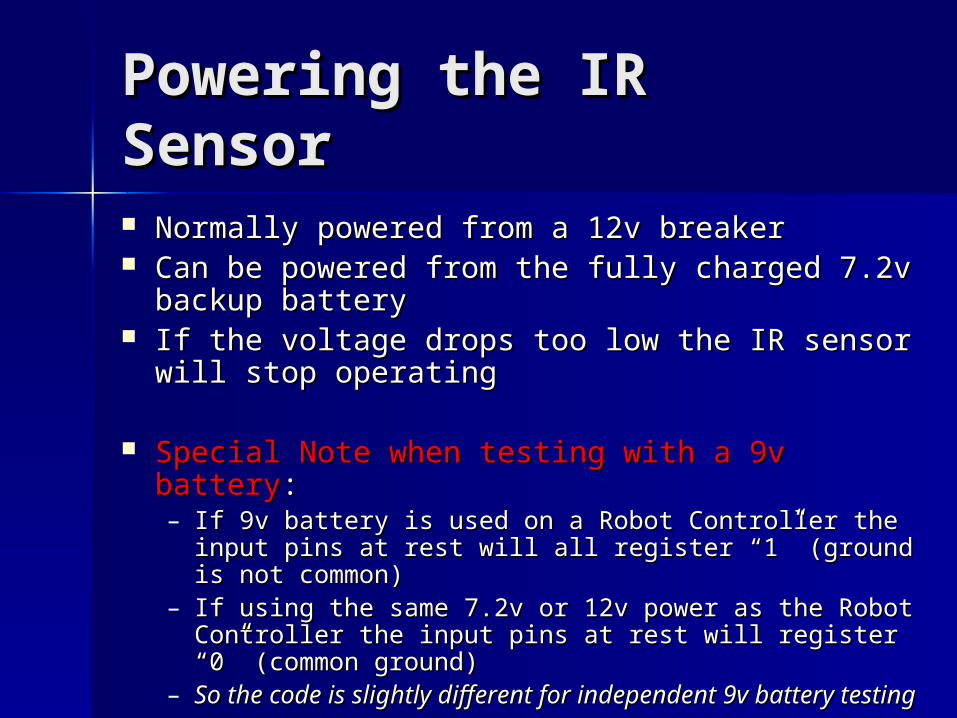
Powering the IR Powering the IR SensorSensor Normally powered from a 12v breakerNormally powered from a 12v breaker Can be powered from the fully charged 7.2v Can be powered from the fully charged 7.2v
backup batterybackup battery If the voltage drops too low the IR sensor will If the voltage drops too low the IR sensor will
stop operatingstop operating
Special Note when testing with a 9v batterySpecial Note when testing with a 9v battery::– If 9v battery is used on a Robot Controller the input If 9v battery is used on a Robot Controller the input
pins at rest will all register “1” (ground is not common)pins at rest will all register “1” (ground is not common)– If using the same 7.2v or 12v power as the Robot If using the same 7.2v or 12v power as the Robot
Controller the input pins at rest will register “0” Controller the input pins at rest will register “0” (common ground)(common ground)
– So the code is slightly different for independent 9v So the code is slightly different for independent 9v battery testingbattery testing
Coding NotesCoding Notes
The IR sensor signal will start and last The IR sensor signal will start and last for 3 or 4 of our slow loopsfor 3 or 4 of our slow loops
At the end of the signal there is a At the end of the signal there is a window where some pins can start to window where some pins can start to change & be in an intermediate statechange & be in an intermediate state
Capture the value of the pins all at Capture the value of the pins all at once or when they first start to be once or when they first start to be received and you’ll avoid any half & received and you’ll avoid any half & half stateshalf states

Sample Code -- version Sample Code -- version 11Checking individual Checking individual pinspinschar IR_cmd0=0, IR_cmd1=0, IR_cmd2=0, IR_cmd3=0; //declare as extern to use elsewherechar IR_cmd0=0, IR_cmd1=0, IR_cmd2=0, IR_cmd3=0; //declare as extern to use elsewhere
// Can use a single “IR_cmd” variable to indicate the command received // Can use a single “IR_cmd” variable to indicate the command received (1,2,3,4)(1,2,3,4)
void Process_Data_From_Local_IO(void)void Process_Data_From_Local_IO(void){{ static char latch=0;static char latch=0;
if (latch == 1)if (latch == 1) {{ //**** Use this check when an independent 9v battery to power the IR Sensor//**** Use this check when an independent 9v battery to power the IR Sensor// if (rc_dig_in15 == 1 && rc_dig_in16 == 1 && rc_dig_in17 == 1 && rc_dig_in18 == 1)// if (rc_dig_in15 == 1 && rc_dig_in16 == 1 && rc_dig_in17 == 1 && rc_dig_in18 == 1) // **** Use this check when the Robot Controller 7.2v or 12v powers the IR Sensor// **** Use this check when the Robot Controller 7.2v or 12v powers the IR Sensor
if (rc_dig_in15 == 0 && rc_dig_in16 == 0 && rc_dig_in17 == 0 && rc_dig_in18 == 0) // Normal common groundif (rc_dig_in15 == 0 && rc_dig_in16 == 0 && rc_dig_in17 == 0 && rc_dig_in18 == 0) // Normal common ground {{ latch = 0; // Avoid being caught by a half & half state of the IR sensor by taking the first changelatch = 0; // Avoid being caught by a half & half state of the IR sensor by taking the first change }} }} else if (rc_dig_in15 == 0 || rc_dig_in16 == 0 || rc_dig_in17 == 0 || rc_dig_in18 == 0)else if (rc_dig_in15 == 0 || rc_dig_in16 == 0 || rc_dig_in17 == 0 || rc_dig_in18 == 0) { // Checking the pins individually like this can leave a window for the IR sensor to change in the middle{ // Checking the pins individually like this can leave a window for the IR sensor to change in the middle // We avoid that problem by taking only the first change, but a better way would be to capture the pins all at once.// We avoid that problem by taking only the first change, but a better way would be to capture the pins all at once. //When the IR Sensor sends us a command it will stay steady for at least four or more times before the next change//When the IR Sensor sends us a command it will stay steady for at least four or more times before the next change IR_cmd0 = rc_dig_in15;IR_cmd0 = rc_dig_in15; IR_cmd1 = rc_dig_in17;IR_cmd1 = rc_dig_in17; IR_cmd2 = rc_dig_in18;IR_cmd2 = rc_dig_in18; IR_cmd3 = rc_dig_in16;IR_cmd3 = rc_dig_in16;
latch = 1;latch = 1; }}}}

Sample Code Use – Sample Code Use – version 1version 1extern char IR_cmd0, IR_cmd1, IR_cmd2, IR_cmd3;extern char IR_cmd0, IR_cmd1, IR_cmd2, IR_cmd3;
void Default_Routine(void)void Default_Routine(void){{ if (IR_cmd0 == 1)if (IR_cmd0 == 1) {{ pwm01 = 127;pwm01 = 127; pwm02 = 127;pwm02 = 127; }} else if (IR_cmd1 == 1)else if (IR_cmd1 == 1) {{ pwm01 = 254;pwm01 = 254; pwm02 = 0;pwm02 = 0; }} else if (IR_cmd2 == 1)else if (IR_cmd2 == 1) {{ pwm01 = 0;pwm01 = 0; pwm02 = 254;pwm02 = 254; }} else if (IR_cmd3 == 1)else if (IR_cmd3 == 1) {{ pwm01 = 254;pwm01 = 254; pwm02 = 254;pwm02 = 254; }}}}

Sample Code – Sample Code – Better Better VersionVersionGrabbing all the pins at Grabbing all the pins at onceonceVoid Default_Routine(void) Void Default_Routine(void) {{ static char latch=0;static char latch=0; unsigned char sensorReading;unsigned char sensorReading;
//**** Check the IR Sensor for a new command//**** Check the IR Sensor for a new command sensorReading = PORTJ>>4; // Combined digital inputs 15-sensorReading = PORTJ>>4; // Combined digital inputs 15-
1818
if (latch == 1) if (latch == 1) {{ if (sensorReading == 0)if (sensorReading == 0) {{ latch = 0; // Take only the 1st reading to avoidlatch = 0; // Take only the 1st reading to avoid // being caught by a half & half state of the // being caught by a half & half state of the
IR sensorIR sensor }} }} else if (sensorReading != 0)else if (sensorReading != 0) {{ latch = 1;latch = 1;
if (sensorReading == 8) IR_cmd = 1;if (sensorReading == 8) IR_cmd = 1; else if (sensorReading == 4) IR_cmd = 4;else if (sensorReading == 4) IR_cmd = 4; else if (sensorReading == 2) IR_cmd = 2;else if (sensorReading == 2) IR_cmd = 2; else if (sensorReading == 1) IR_cmd = 3;else if (sensorReading == 1) IR_cmd = 3;}}
switch(IR_cmd)switch(IR_cmd) case 1:case 1: pwm01 = 127;pwm01 = 127; pwm02 = 127;pwm02 = 127;
break;break;
case 2:case 2: pwm01 = 254;pwm01 = 254; pwm02 = 0;pwm02 = 0; break;break;
case 3:case 3: pwm01 = 0;pwm01 = 0; pwm02 = 254;pwm02 = 254; break;break;
case 4:case 4: pwm01 = 254;pwm01 = 254; pwm02 = 254;pwm02 = 254; }}}}

Potential UsePotential Use
Four Commands ONLY Four Commands ONLY (but can be a different set each match)(but can be a different set each match)
Basic Drive Control:Basic Drive Control:– forward, reverse, left, rightforward, reverse, left, right– forward, left, right, raise arm to hit ballforward, left, right, raise arm to hit ball– Left, right, arm up, arm downLeft, right, arm up, arm down
Autonomous Assist:Autonomous Assist:– Trackball position-left / center / rightTrackball position-left / center / right– Trigger to hit ballTrigger to hit ball– Stop current action and go to next pre-programmed actStop current action and go to next pre-programmed act
Driver Assist:Driver Assist:– Signals to help herd ball on far side of field, make turns, Signals to help herd ball on far side of field, make turns,
negotiate traffic jamsnegotiate traffic jams

IssuesIssues
Range of IR Remote (power)Range of IR Remote (power) Duplicate IR remotes/protocols/buttonsDuplicate IR remotes/protocols/buttons Repeat or once only IR signalRepeat or once only IR signal
– Repeat will case more interferenceRepeat will case more interference– Once only may be hard to drive byOnce only may be hard to drive by
IR Interference with partners and IR Interference with partners and opponentsopponents– Coordinate w/ Alliance partnersCoordinate w/ Alliance partners– May get through less frequently or not at allMay get through less frequently or not at all
Sensor blocked from Robocoach at timesSensor blocked from Robocoach at times– Turn is 180 degreesTurn is 180 degrees– Center wall may reflect IRCenter wall may reflect IR

SuggestionsSuggestions
Make sensor directional, E.g., tubeMake sensor directional, E.g., tube Closer / more power can override Closer / more power can override
interferenceinterference Plan for the IR commands to fail and still Plan for the IR commands to fail and still
have your robot accomplish something have your robot accomplish something during Hybrid, e.g.,during Hybrid, e.g.,– Basic auto command to drive straight to get Basic auto command to drive straight to get
the first 4 pointsthe first 4 points– Further action commanded by Robocoach at Further action commanded by Robocoach at
far end controlling the turn and backstretchfar end controlling the turn and backstretch Shield sensor from overhead ambient lightShield sensor from overhead ambient light Watch the FIRST Q&A for rulings that Watch the FIRST Q&A for rulings that
change thingschange things
AlternativesAlternatives
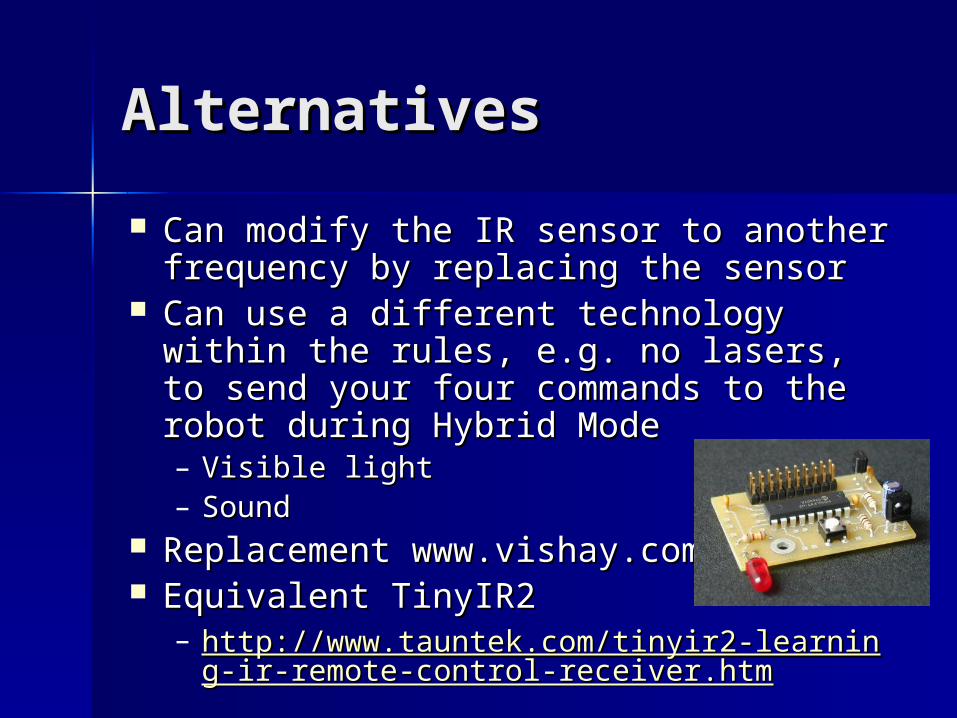
Can modify the IR sensor to another Can modify the IR sensor to another frequency by replacing the sensorfrequency by replacing the sensor
Can use a different technology within Can use a different technology within the rules, e.g. no lasers, to send your the rules, e.g. no lasers, to send your four commands to the robot during four commands to the robot during Hybrid ModeHybrid Mode– Visible lightVisible light– SoundSound
Replacement www.vishay.comReplacement www.vishay.com Equivalent TinyIR2Equivalent TinyIR2
– http://www.tauntek.com/tinyir2-learning-irhttp://www.tauntek.com/tinyir2-learning-ir-remote-control-receiver.htm-remote-control-receiver.htm

Lap CounterLap Counter
Mounts on your flag holder-- The top of the holder must be Mounts on your flag holder-- The top of the holder must be 51” high51” high
180 degree horizontal arc around the top of the flag holder 180 degree horizontal arc around the top of the flag holder must be kept clear within a 2-inch radius and be uncovered must be kept clear within a 2-inch radius and be uncovered and visible from above. and visible from above.
The LAP INDICATOR is powered via a standard three-wire The LAP INDICATOR is powered via a standard three-wire PWM cable. An easily accessible, powered, male PWM PWM cable. An easily accessible, powered, male PWM connector must be located at the top of the flag holder connector must be located at the top of the flag holder
Distributed for each matchDistributed for each match Details at http://www.rclapcounter.com/Details at http://www.rclapcounter.com/