Embed Size (px)
Citation preview
How to post to the Democracy in Action website
View-only: www.dia-cny.com/electionday
Create a post: http://www.dia-cny.com/electionday/wp-login.php
*Note: Students cannot publish directly to the site. Only editors/administrators can publish your content.
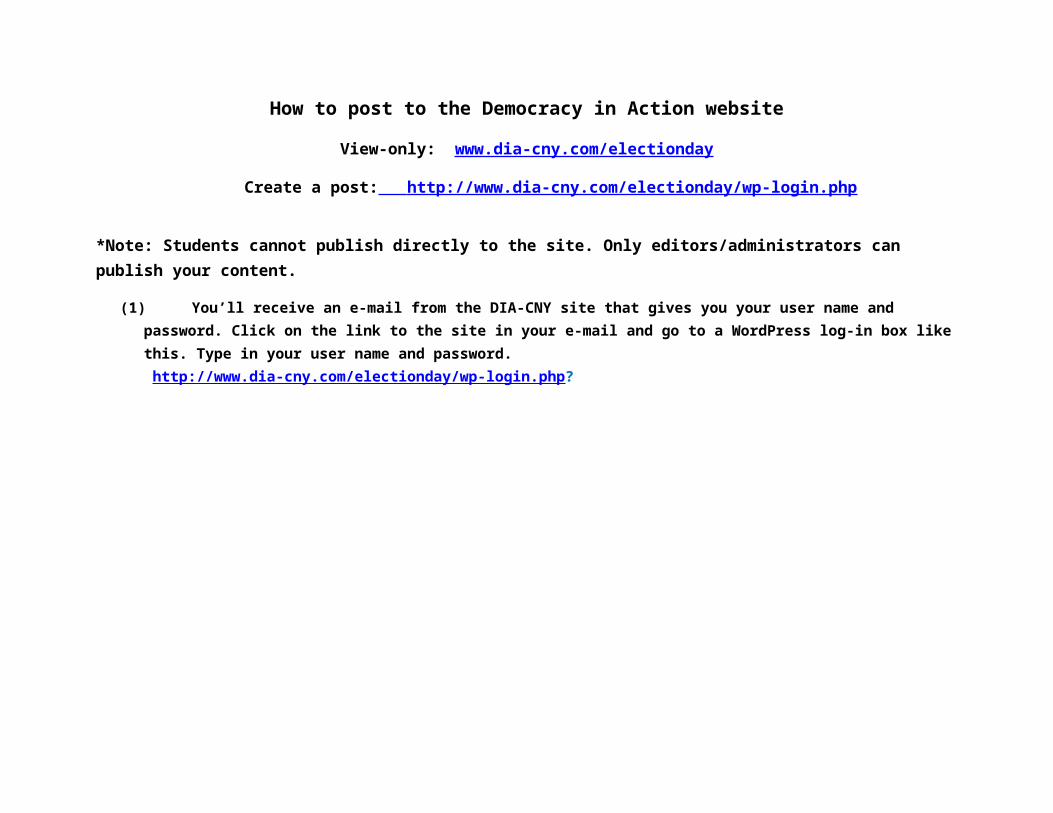
(1) You’ll receive an e-mail from the DIA-CNY site that gives you your user name and password. Click on the link to the site in your e-mail and go to a WordPress log-in box like this. Type in your user name and password. http://www.dia-cny.com/electionday/wp-login.php?
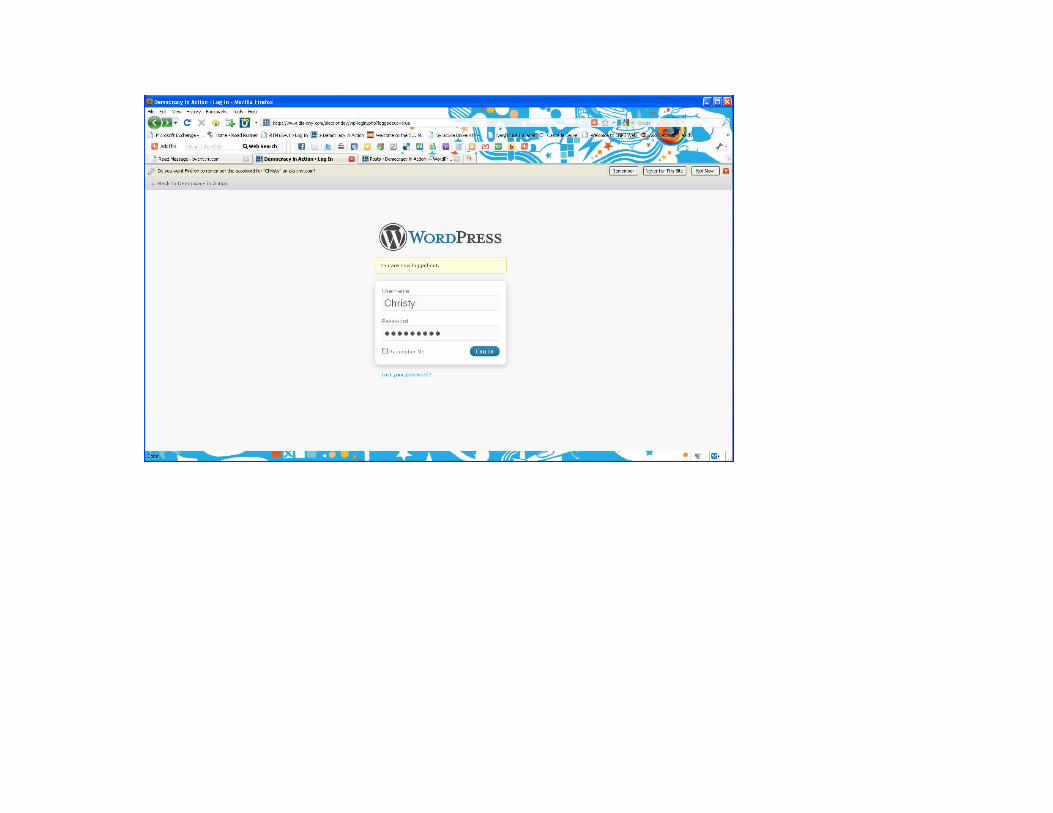
(2) When you sign in, you’ll get this WordPress dashboard. Click on “Posts” (or on the down arrow next to the word “Posts”) on the left
hand side of the page.
(3) Then click on “Add New.”

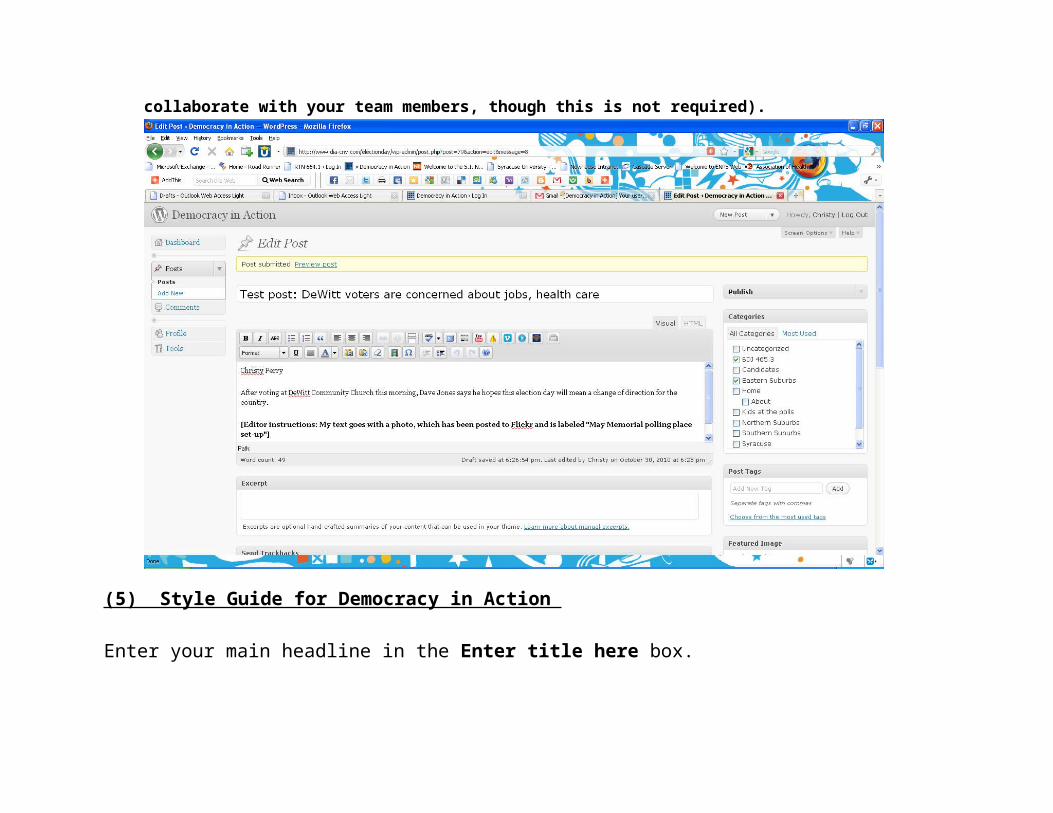
(4) You’ll get a content management box where you can write text. If you’re using audio, scroll down to the section of this manual titled “Posting Audio.” If you’re posting video, you’ll post directly to YouTube (see “Posting Video”). There are also instructions below for adding photos, galleries and slideshows. Be sure to check off the correct category for your story and also check your class title and section number and, also under category, check if the story has audio or video. IMPORTANT: LEAVE THE "Format" column on "Standard." (see image below). You also need to list below your post whether your submission – text, audio, photo or video – belongs with another student’s post (in case you collaborate with your team members, though this is not required).
(5) Style Guide for Democracy in Action
Enter your main headline in the Enter title here box.
The main headline should capitalize every first letter, except articles, coordinate conjunctions ("and", "or", "nor"), and prepositions (“of,” “in,” etc.)
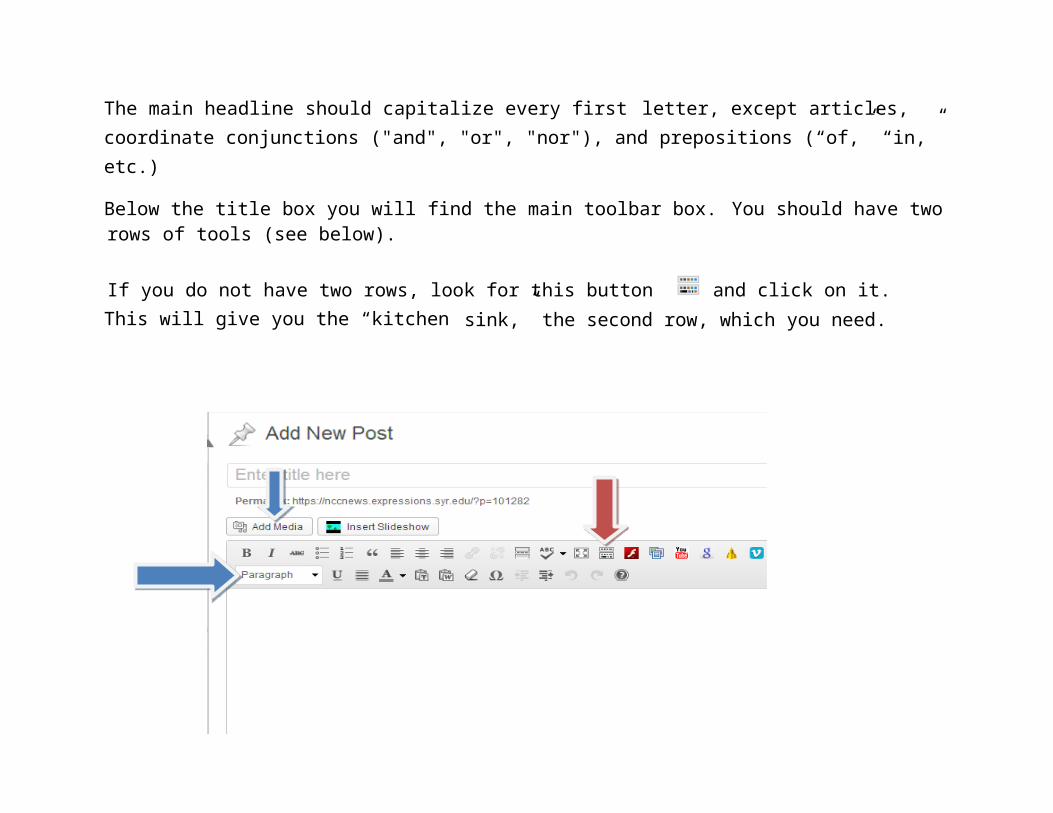
Below the title box you will find the main toolbar box. You should have two rows of tools (see below).
If you do not have two rows, look for this button and click on it. This will give you the “kitchen sink,” the second row, which you need.
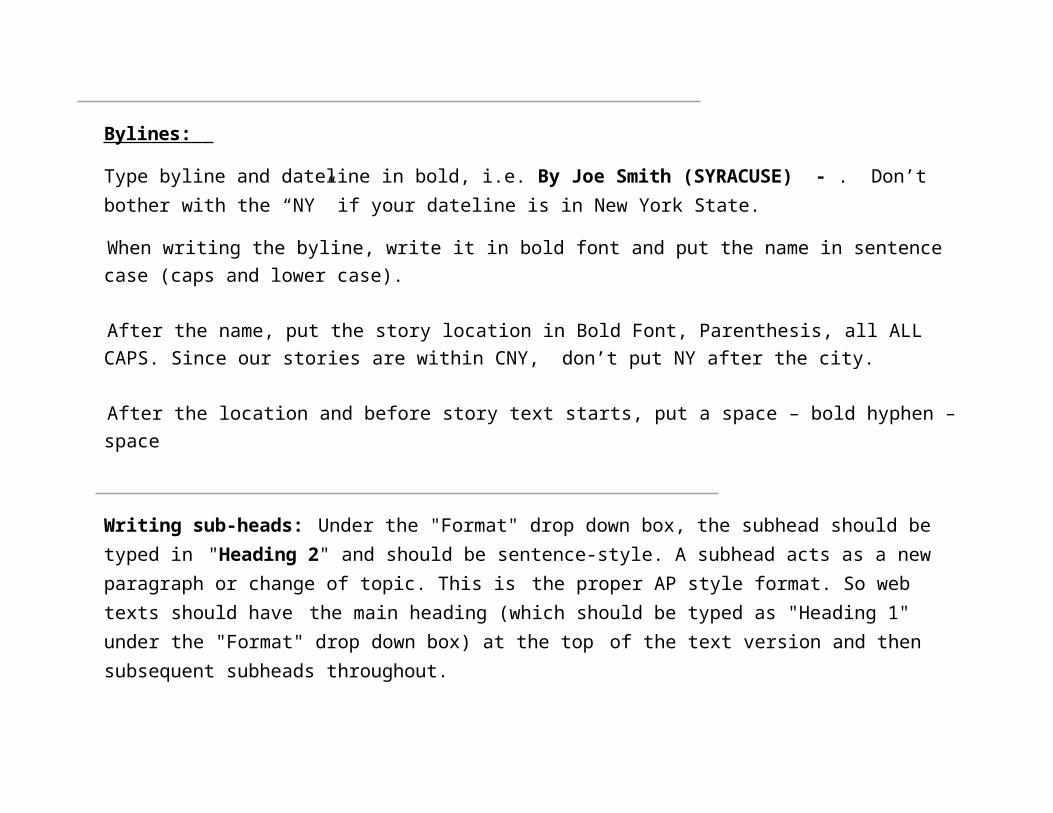
Bylines :
Type byline and dateline in bold, i.e. By Joe Smith (SYRACUSE) - . Don’t bother with the “NY” if your dateline is in New York State.
When writing the byline, write it in bold font and put the name in sentence case (caps and lower case).
After the name, put the story location in Bold Font, Parenthesis, all ALL CAPS. Since our stories are within CNY, don’t put NY after the city.
After the location and before story text starts, put a space – bold hyphen – space
Writing sub-heads: Under the "Format" drop down box, the subhead should be typed in "Heading 2" and should be sentence-style. A subhead acts as a new paragraph or change of topic. This is the proper AP style format. So web texts should have the main heading (which should be typed as "Heading 1" under the "Format" drop down box) at the top of the text version and then subsequent subheads throughout.
IMPORTANT!
As you are writing the post, save it as a DRAFT. But when you’ve finished writing your post, added audio/video/slideshows, etc., and you've made sure you selected all the appropriate categories on the lower, right hand side of the screen, click on the “Pending Review” button in the little drop down menu next to STATUS on the top of your post, on the right. You will not be able to publish your own post. It will be saved as a draft labeled “pending” and an editor will check your story, make changes, and then publish it.
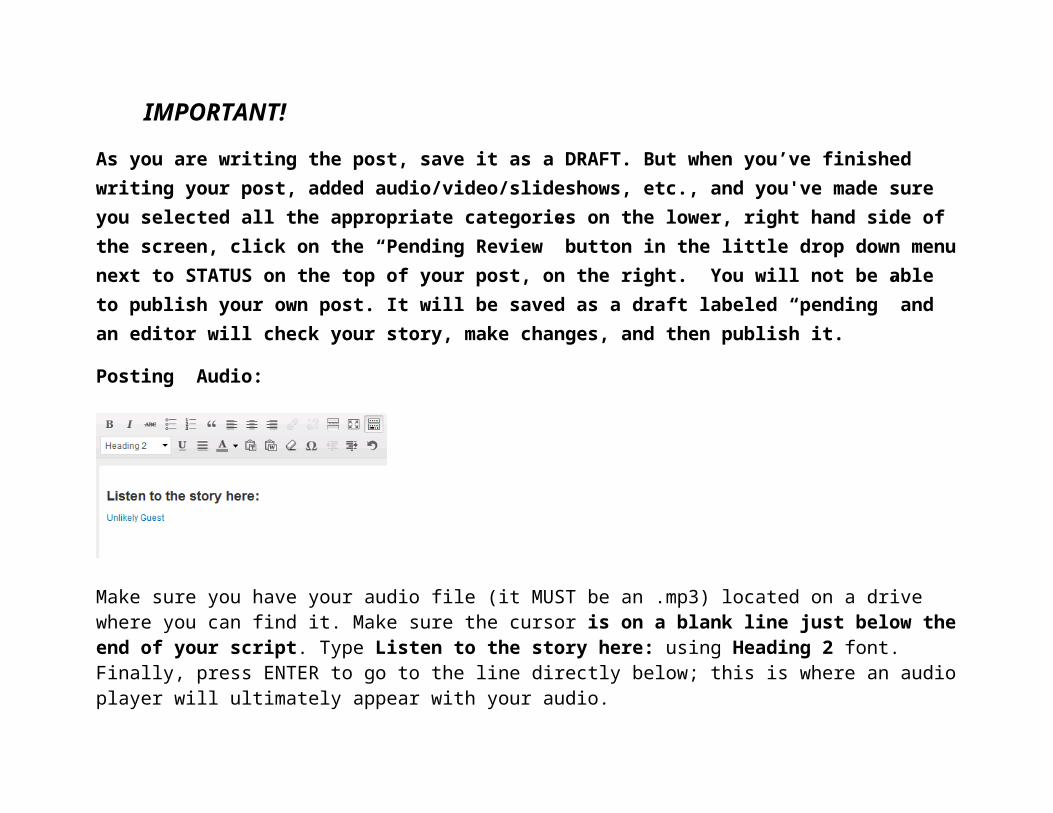
Posting Audio:
Make sure you have your audio file (it MUST be an .mp3) located on a drive where you can find it. Make sure the cursor is on a blank line just below the end of your script. Type Listen to the story here: using Heading 2 font. Finally, press ENTER to go to the line directly below; this is where an audio player will ultimately appear with your audio.
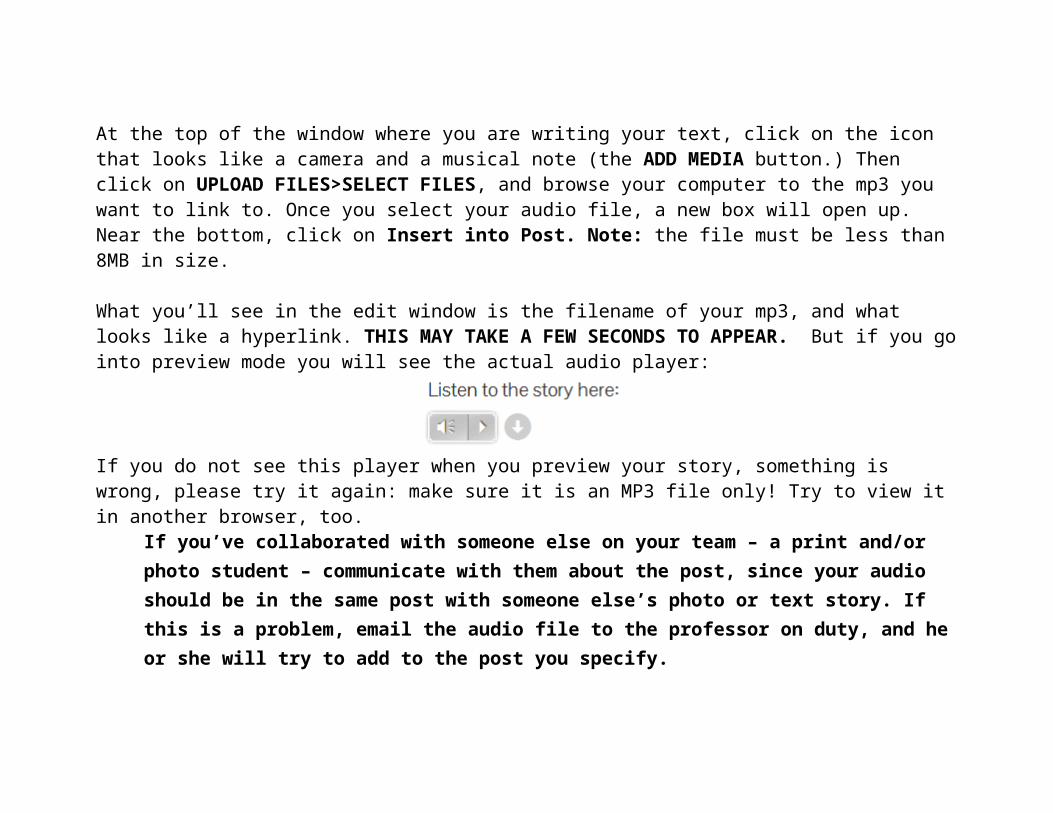
At the top of the window where you are writing your text, click on the icon that looks like a camera and a musical note (the ADD MEDIA button.) Then click on UPLOAD FILES>SELECT FILES, and browse your computer to the mp3 you want to link to. Once you select your audio file, a new box will open up. Near the bottom, click on Insert into Post. Note: the file must be less than 8MB in size.
What you’ll see in the edit window is the filename of your mp3, and what looks like a hyperlink. THIS MAY TAKE A FEW SECONDS TO APPEAR. But if you go into preview mode you will see the actual audio player:
If you do not see this player when you preview your story, something is wrong, please try it again: make sure it is an MP3 file only! Try to view it in another browser, too.
If you’ve collaborated with someone else on your team – a print and/or photo student – communicate with them about the post, since your audio should be in the same post with someone else’s photo or text story. If this is a problem, email the audio file to the professor on duty, and he or she will try to add to the post you specify.
Posting video: Broadcast & digital students will post video to YouTube. Use your own YouTube account and follow the same procedure you do for NCC News. If necessary, consult the NCCNewsOnline Posting manual or ask for help. An editor will review your video and check back with you if anything needs to be changed. The editor will publish the video post. NOTE: Anything running in a webcast must be exported using the Premiere HD video server export preset (you'll have to again export it "the usual way" for the web.) You'll also need to ftp the file to the video server (handout is in BDJ lab.)
Posting photos
(1) Log in and create a new post. See “Upload/Insert” on upper left above post and click on the “add media” icon (camera/musical note).
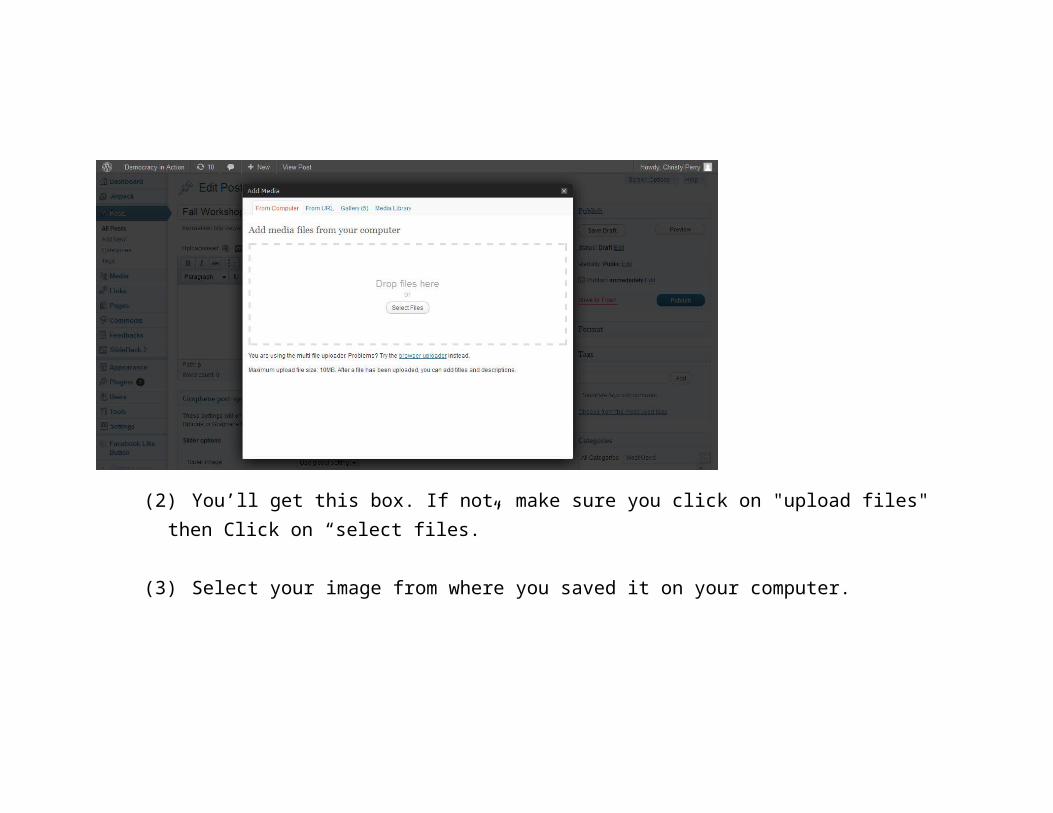
(2) You’ll get this box. If not, make sure you click on "upload files" then Click on “select files.”
(3) Select your image from where you saved it on your computer.
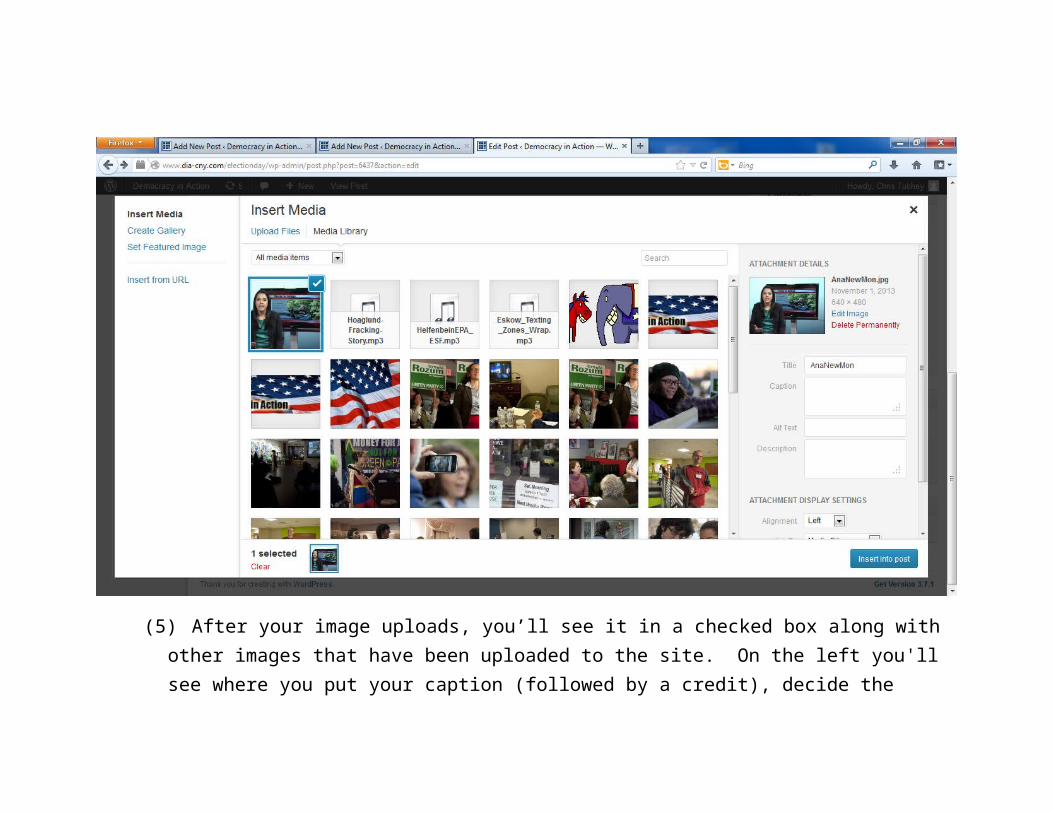
(5) After your image uploads, you’ll see it in a checked box along with other images that have been uploaded to the site. On the left you'll see where you put your caption (followed by a credit), decide the alignment in the post and size at the bottom. Then click on "insert into post." If you aren't happy with

the placement or size of the photo in the post, it's best to delete it from the post, change your options and insert it again.
Creating a multi-photo gallery that can be viewed as a slideshow on the DIA website
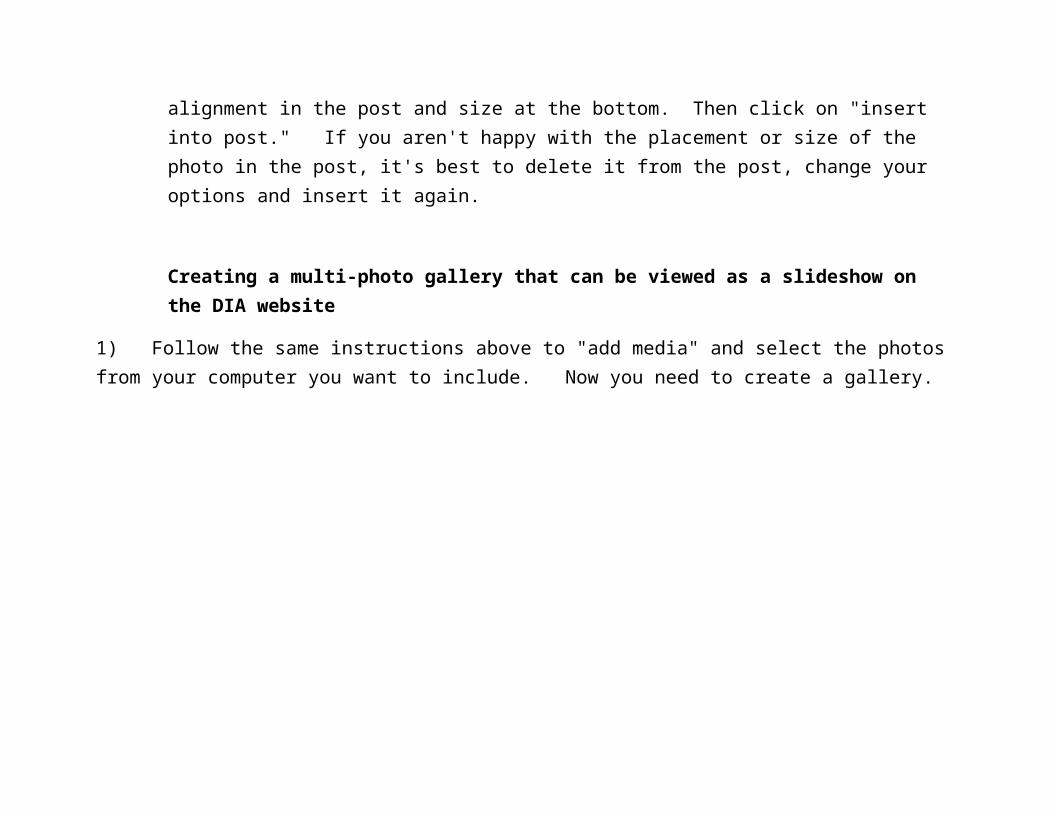
1) Follow the same instructions above to "add media" and select the photos from your computer you want to include. Now you need to create a gallery.
2) Click on “Create Gallery” in the upper left, then go through and click on the images you want to include. Click on Create Gallery. Then you can decided the layout by choosing the number of colums, then click on Insert
gallery. All you will see is a picture of a camera on the edit page, but you can preview to see what the images look like in the post. Also, make sure all your images have proper captioning as needed.
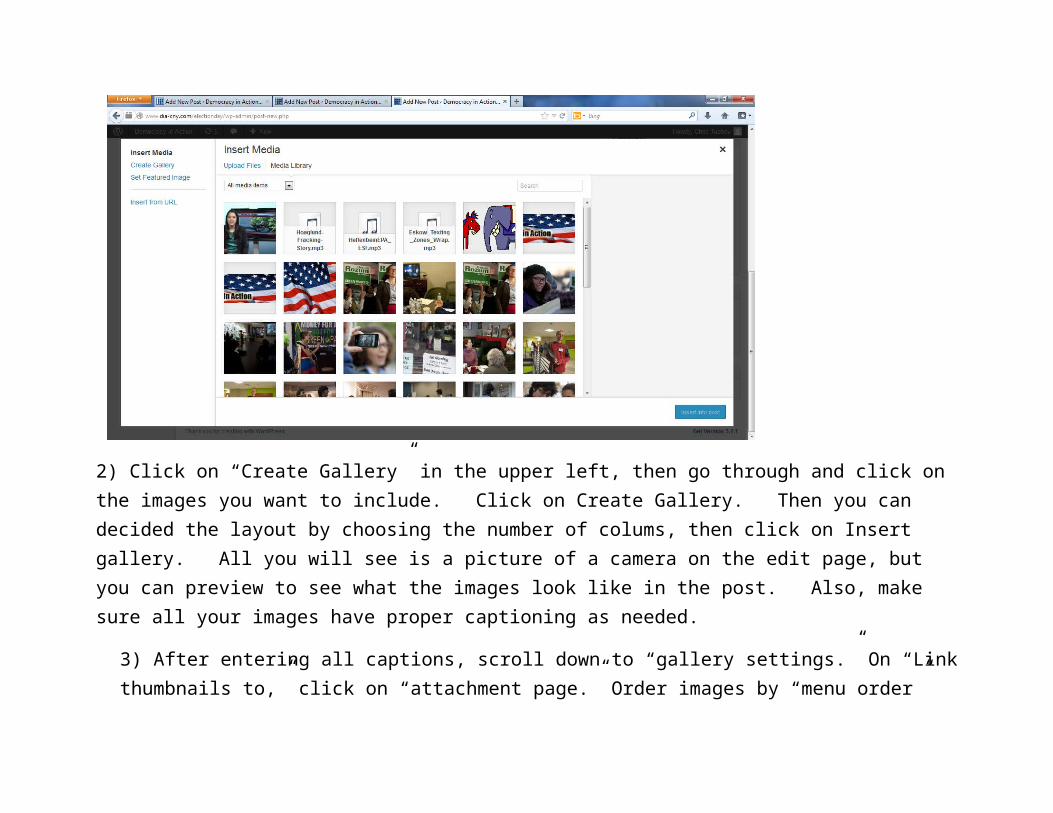
3) After entering all captions, scroll down to “gallery settings.” On “Link thumbnails to,” click on “attachment page.” Order images by “menu order” (default) and order “ascending.” You can change the number of columns your gallery will have.
Then click on “insert gallery.”
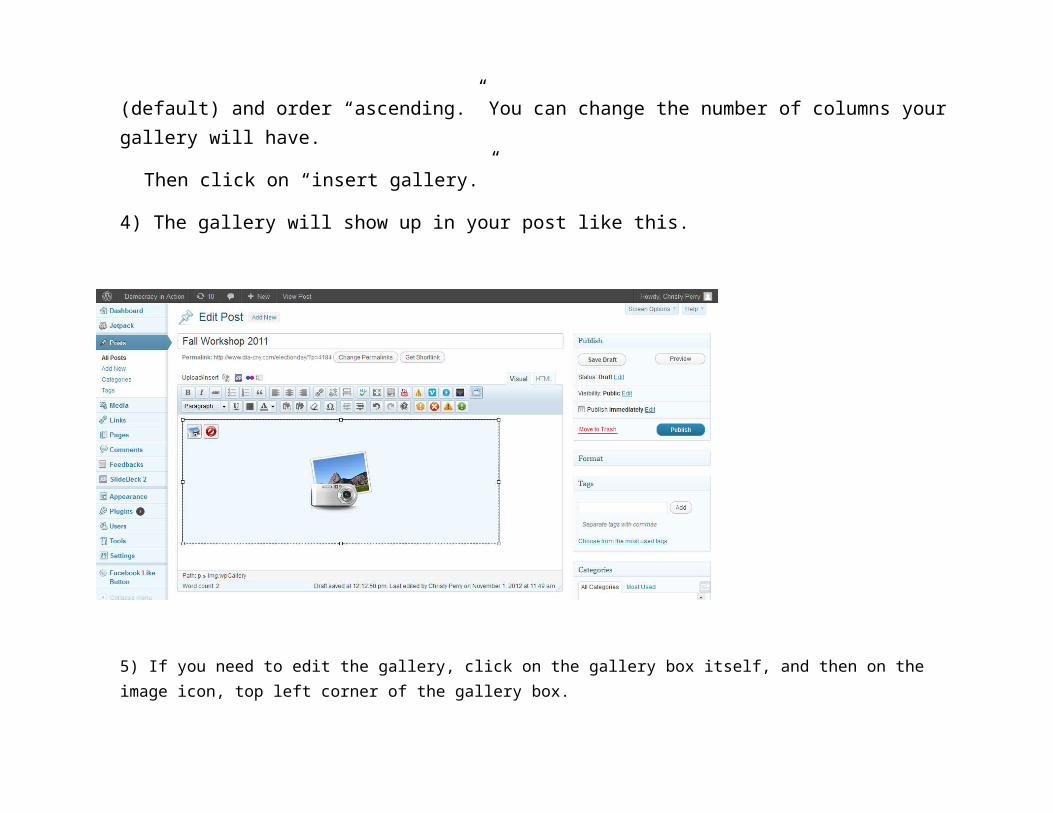
4) The gallery will show up in your post like this.
5) If you need to edit the gallery, click on the gallery box itself, and then on the image icon, top left corner of the gallery box.
6) Your gallery will look like this on the page.
Creating a Slide Show.
1) On the left hand column, click on the tab that says "Slide Shows” and then click "add new"
You will get this page:
Give the Slide Show a title in the box below "Add New Slideshow" On the right hand side there is a section labeled "Slides List"
Below "insert" click on "image slides" This will bring you to the media library where you should find the images you have already uploaded to word press. Again, making sure all the proper caption info is there, select the slides you want. You will go back and forth between the "Add Slide Show" page and "media library" until you have added all your images. There are options under "Slide Show Settings" you can choose if you would rather
use dissolves than a sliding motion, etc. But unless you really know what you are doing, don't go too crazy there.
Once you are done adding images, look at the Information block for a piece of short code, something like this [slideshow_deploy id='6474'] Copy that code. Make sure you "Save Draft" before leaving the Slide Show page. Return to your post, put the curser where you want the slideshow to appear. Click on "Insert Slide Show" right above the tool bar. Select the slideshow you just created and click on "Insert Slideshow." The short code will show up in your story, and, God willing, when you preview the story the Slideshow will be there. The title and caption will appear when the viewer rolls over the image.
If you have problems with anything, email your professor/editor and we will try to get you an answer ASAP.
Use this URL to get to your WordPress content management system:
http://www.diacny.com/electionday/wp-login.php