Embed Size (px)
Citation preview
bbc.co.uk/history
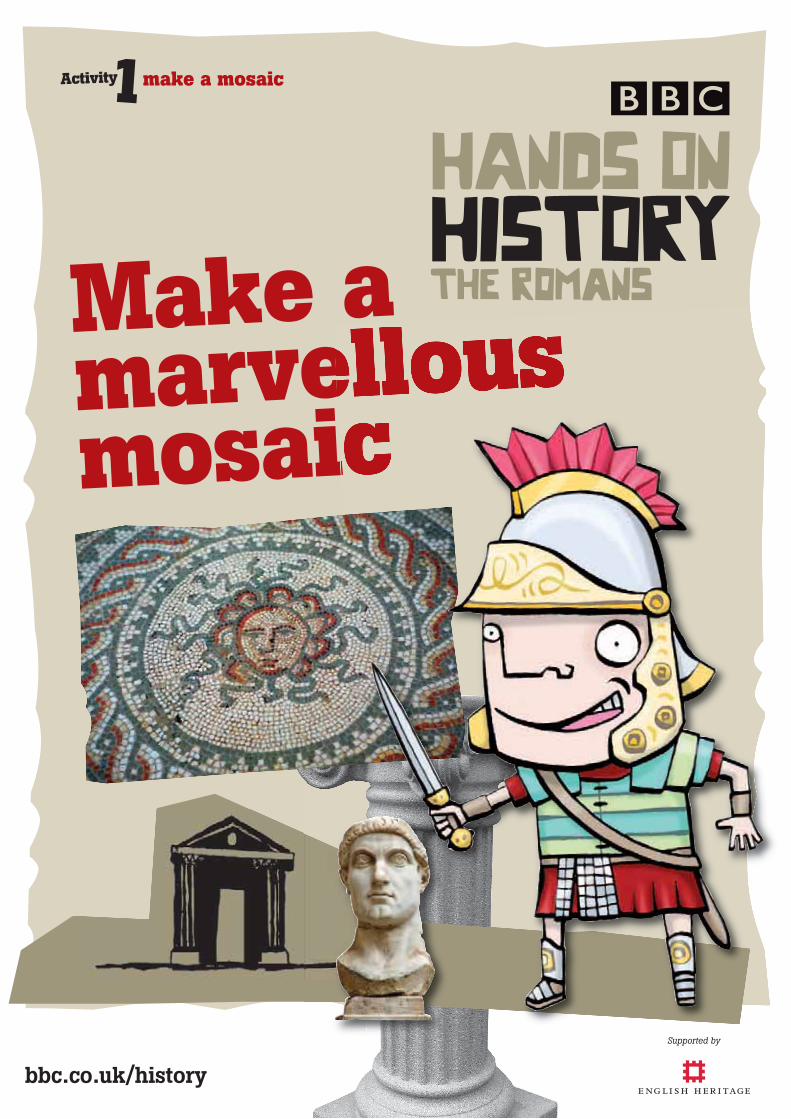
make a mosaic
Make amarvellousmosaic
Activity1
Supported by
2hours
Making your own mosaic is a great family activity with lots of different jobs.Share out the preparation so that one family member doesn’t have to cut upall the small pieces of card!
bbc.co.uk/history
2
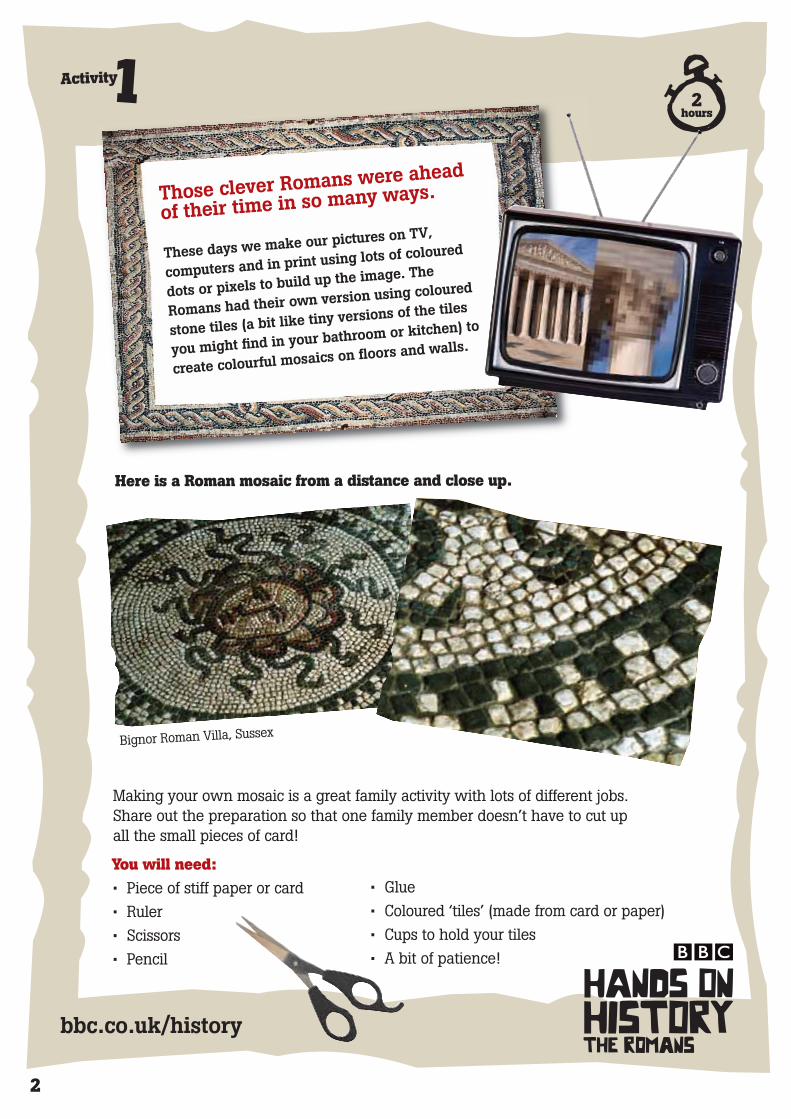
Those clever Romans were ahead
of their time in so many ways.
These days we make our pictures on TV,
computers and in print using lots of coloured
dots or pixels to build up the image. The
Romans had their own version using coloured
stone tiles (a bit like tiny versions of the tiles
you might find in your bathroom or kitchen) to
create colourful mosaics on floors and walls.
Bignor Roman Villa, Sussex
Here is a Roman mosaic from a distance and close up.
Activity1
You will need:• Piece of stiff paper or card• Ruler• Scissors• Pencil
• Glue• Coloured ‘tiles’ (made from card or paper)• Cups to hold your tiles• A bit of patience!
3
bbc.co.uk/history
Activity11. Make the baseStart by deciding how big you want your finished mosaic to be. A4 size works well to start with but you can go bigger if you want.
Use a piece of card or thick paper – the thicker the better, as the glue may makeyour base soggy.
Use a ruler and pencil to divide the page into a grid of 1cm squares. Romanswouldn’t have made a grid, but this is really useful for first-time mosaic makers.On an A4 sheet you will get 21 squares along the short edge and 30 along thelong edge creating a grid of 630 squares. So you’ll need 630 tiles for your finishedmosaic – plus a few spares.
Six hundred and thirty squares may seem like a lot, but on an ordinary-sizedRoman mosaic (around 6m x 8m) there might be half a million tiles in total, and bigger mosaics would have had many more.
2. Create your designA simple, clear design works best for mosaics. You can take a Romantheme – below are a few ideas to get you started. Alternatively, ageometric pattern using shapes and lines can be very effective. Youcould even make a mosaic of your name.
4
bbc.co.uk/history
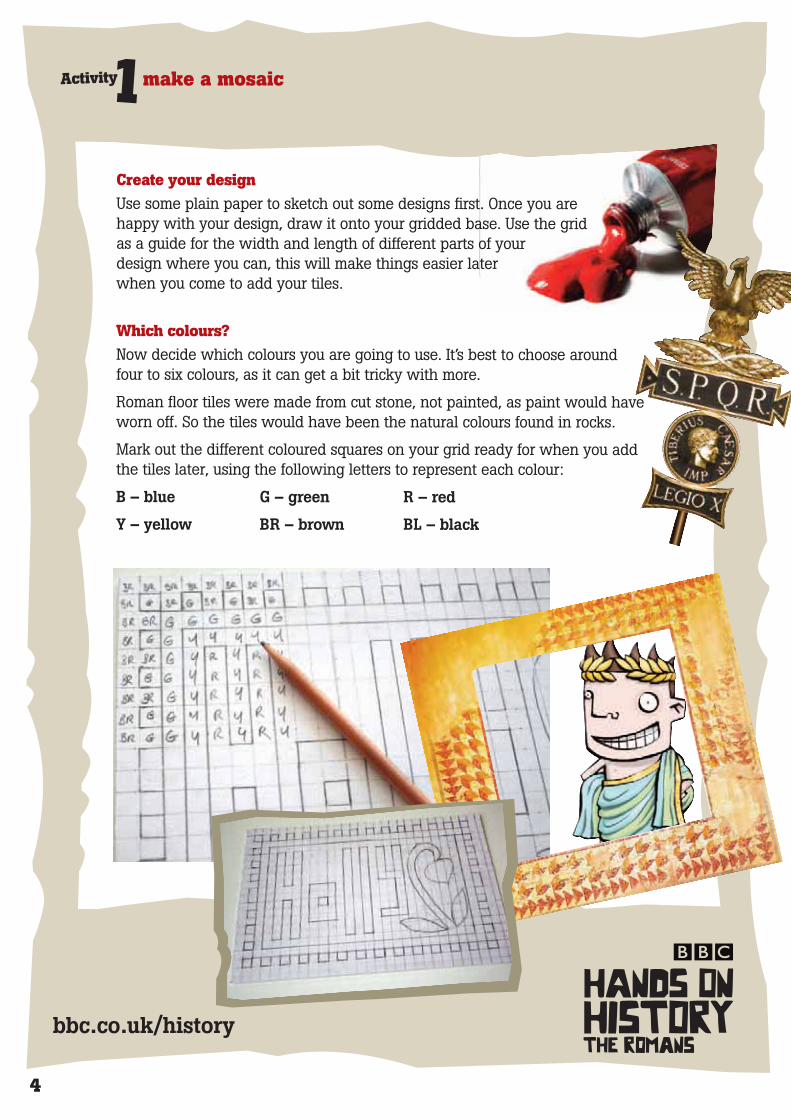
make a mosaicActivity1Create your designUse some plain paper to sketch out some designs first. Once you are happy with your design, draw it onto your gridded base. Use the grid as a guide for the width and length of different parts of your design where you can, this will make things easier later when you come to add your tiles.
Which colours?Now decide which colours you are going to use. It’s best to choose around four to six colours, as it can get a bit tricky with more.
Roman floor tiles were made from cut stone, not painted, as paint would haveworn off. So the tiles would have been the natural colours found in rocks.
Mark out the different coloured squares on your grid ready for when you add the tiles later, using the following letters to represent each colour:
B – blue G – green R – red
Y – yellow BR – brown BL – black
5
bbc.co.uk/history
3. Make the mosaic tiles You can make your tiles in a variety of ways:• Use paint, pens or coloured pencils to colour plain card before you cut it into tiles.• Use coloured card from craft shops, or from old files or other stationery.• Collect packaging boxes and cut the colours you need from the card.
Whatever you choose to use, make sure that it’s thick enough not to soak up all the glue.
Once you have your coloured card, use your ruler to draw another 1cm x 1cm gridto create tiles to match the size of the squares on your base grid. Use your scissorsto cut out the tiles carefully. You don’t have to be too precise with the edges – a slightly rough look is more authentic.
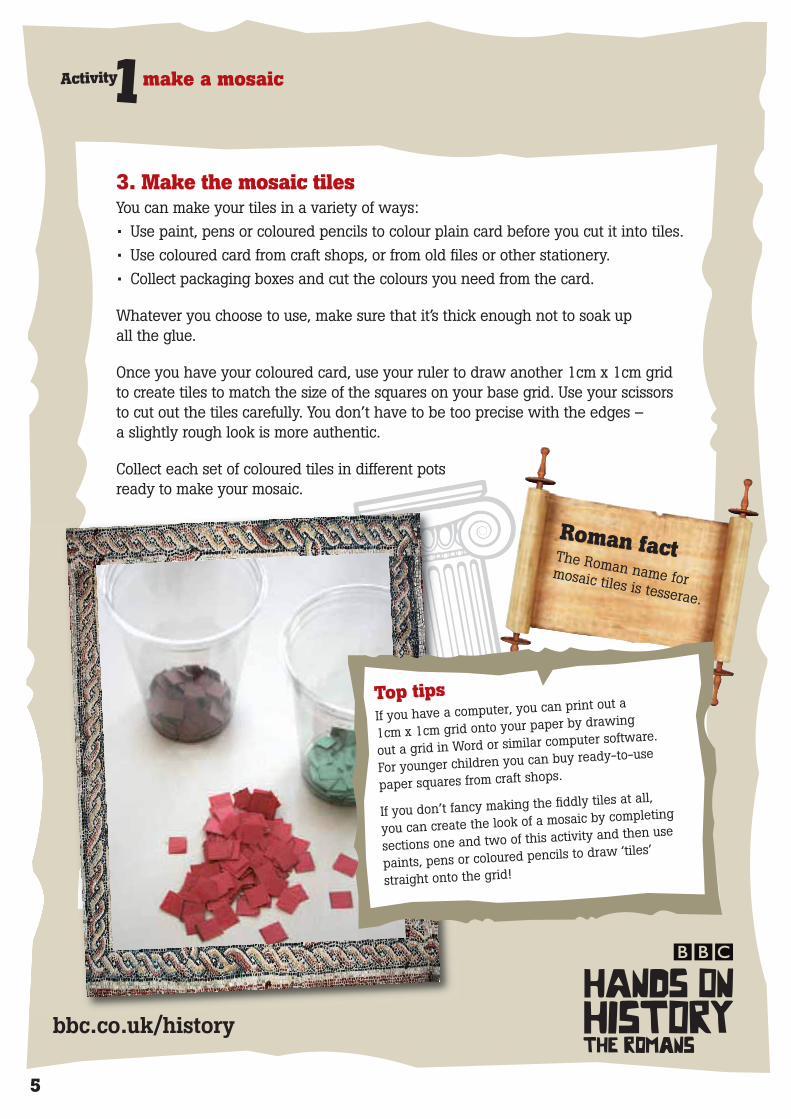
Collect each set of coloured tiles in different pots ready to make your mosaic.
make a mosaicActivity1
Roman factThe Roman name formosaic tiles is tesserae.
Top tipsIf you have a computer, you can print out a
1cm x 1cm grid onto your paper by drawing
out a grid in Word or similar computer software.
For younger children you can buy ready-to-use
paper squares from craft shops.
If you don’t fancy making the fiddly tiles at all,
you can create the look of a mosaic by completing
sections one and two of this activity and then use
paints, pens or coloured pencils to draw ‘tiles’
straight onto the grid!
6
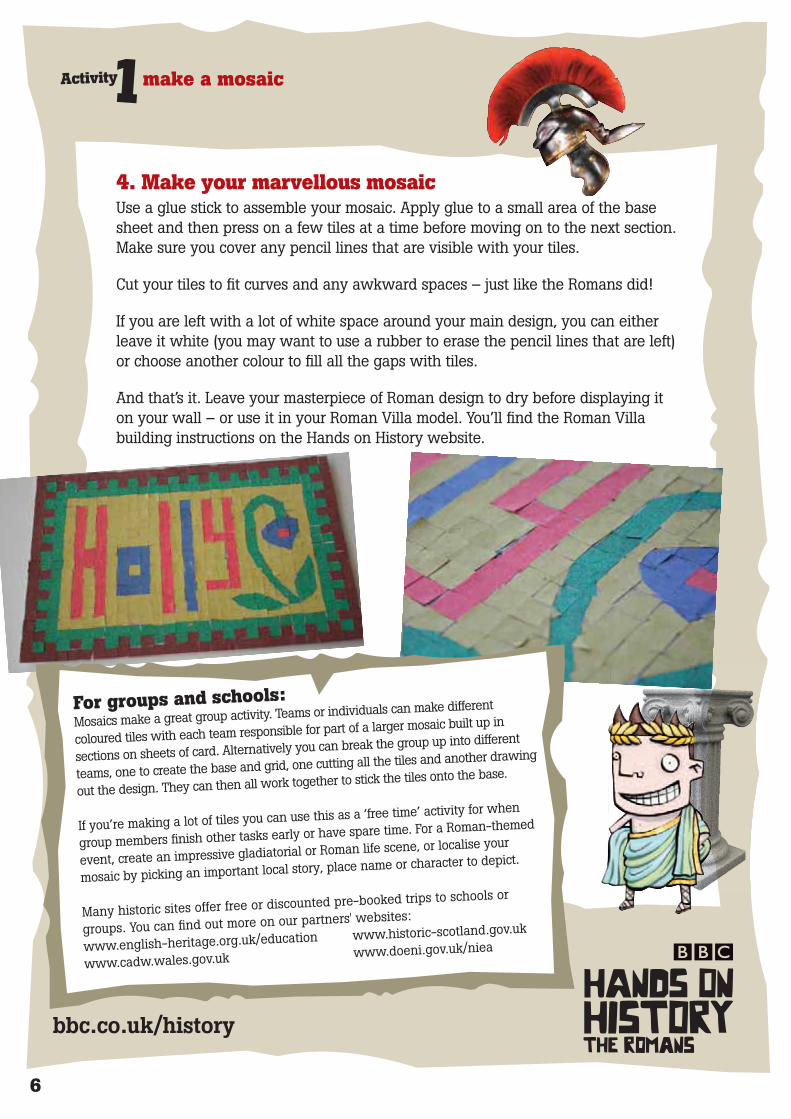
4. Make your marvellous mosaicUse a glue stick to assemble your mosaic. Apply glue to a small area of the basesheet and then press on a few tiles at a time before moving on to the next section.Make sure you cover any pencil lines that are visible with your tiles.
Cut your tiles to fit curves and any awkward spaces – just like the Romans did!
If you are left with a lot of white space around your main design, you can eitherleave it white (you may want to use a rubber to erase the pencil lines that are left)or choose another colour to fill all the gaps with tiles.
And that’s it. Leave your masterpiece of Roman design to dry before displaying iton your wall – or use it in your Roman Villa model. You’ll find the Roman Villabuilding instructions on the Hands on History website.
make a mosaicActivity1
bbc.co.uk/history
For groups and schools:Mosaics make a great group activity. Teams or individuals can make different
coloured tiles with each team responsible for part of a larger mosaic built up in
sections on sheets of card. Alternatively you can break the group up into different
teams, one to create the base and grid, one cutting all the tiles and another drawing
out the design. They can then all work together to stick the tiles onto the base.
If you’re making a lot of tiles you can use this as a ‘free time’ activity for when
group members finish other tasks early or have spare time. For a Roman-themed
event, create an impressive gladiatorial or Roman life scene, or localise your
mosaic by picking an important local story, place name or character to depict.
Many historic sites offer free or discounted pre-booked trips to schools or
groups. You can find out more on our partners' websites:
www.english-heritage.org.uk/education www.historic-scotland.gov.uk
www.cadw.wales.gov.uk www.doeni.gov.uk/niea