Embed Size (px)
Citation preview

Agriscience Toolbox
Plan of Procedure
1. Table Saw (equipment)
Rip the bottom of the toolbox to a width of 10 inches.
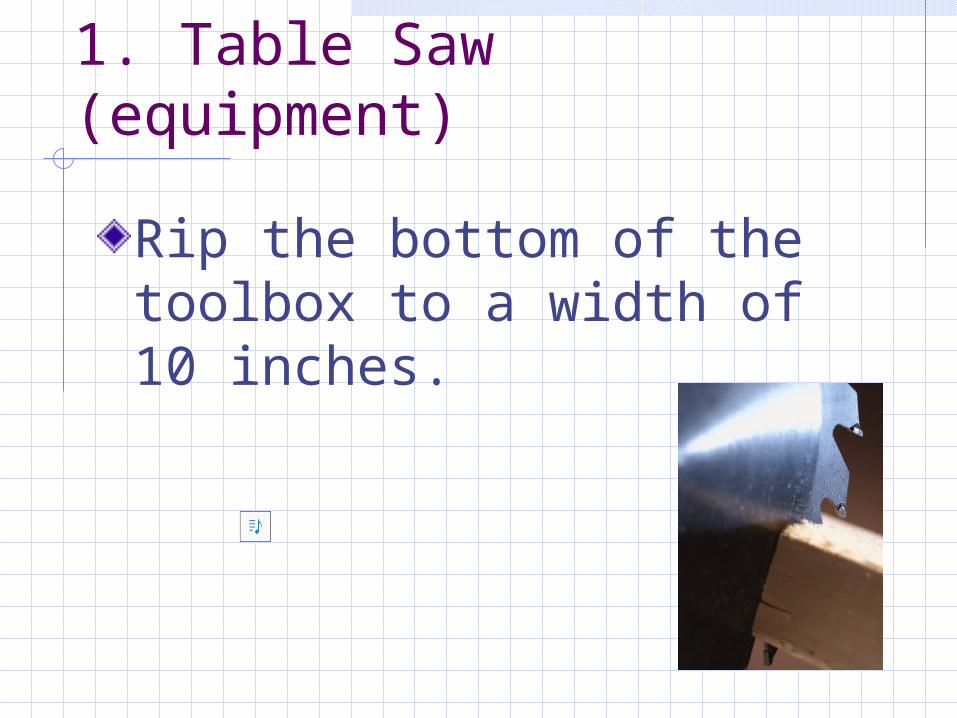
2. Radial Arm Saw
Cut the bottoms of the toolbox to a length of 16 inches.

3. Radial Arm Saw
Cut the handle of the toolbox on the radial arm saw to a length of 14 ½ inches.
4. Table Saw
Rip the handle of the toolbox on the table saw to a width of 6 inches.
5. Bench
Measure off the handle of the toolbox 3 ½ inches up to each side, center 4 inches across the top , and connect the dots.
5. Bench cont.Center 3 inches across the top, draw lines perpendicular (w/ try square) to the top of the handle a little over 1-½ inches down from these marks, measure down 1-½ inches, and put (+) signs to center the holes to be drilled for the handle.
6. Drill Press
Drill 1 inch diameter holes on the plus signs on the handle of the toolbox.
7. Bench
Connect the tops and bottoms of the holes.Use the Jig Saw to cut out the grip of the handle.
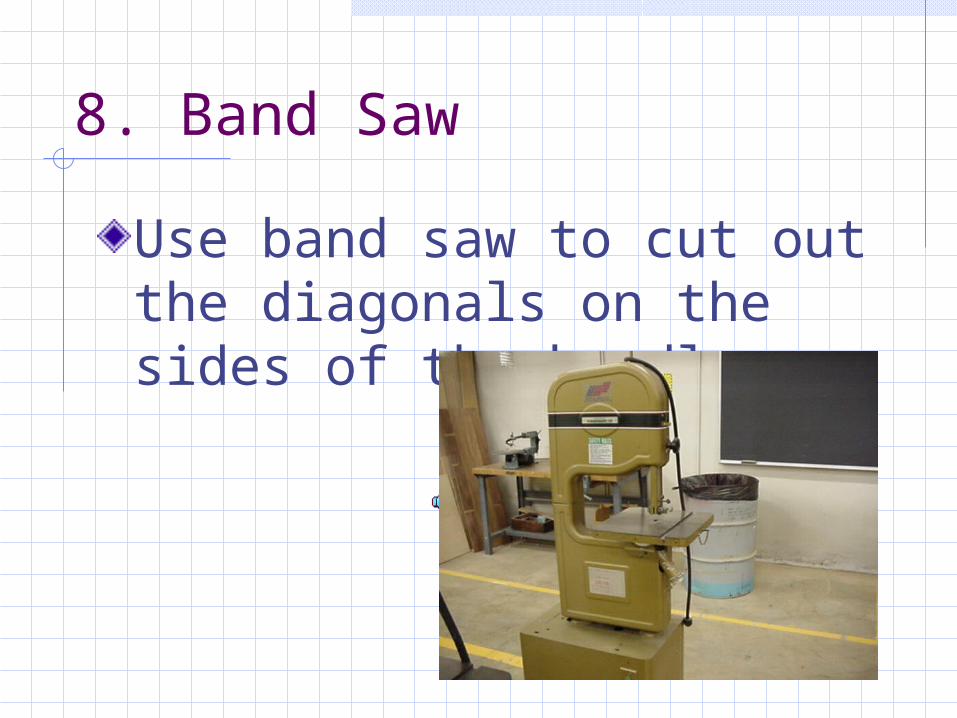
8. Band Saw
Use band saw to cut out the diagonals on the sides of the handles.

9. Bench
Use router to round top edge of handle and the inside grip of the handle
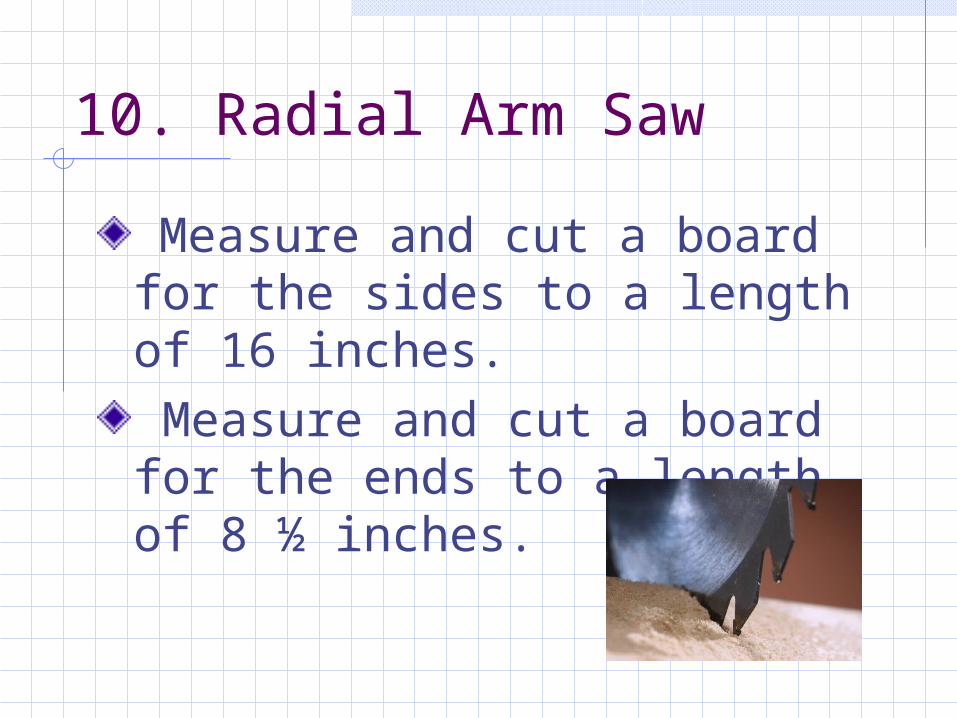
10. Radial Arm Saw
Measure and cut a board for the sides to a length of 16 inches. Measure and cut a board for the ends to a length of 8 ½ inches.
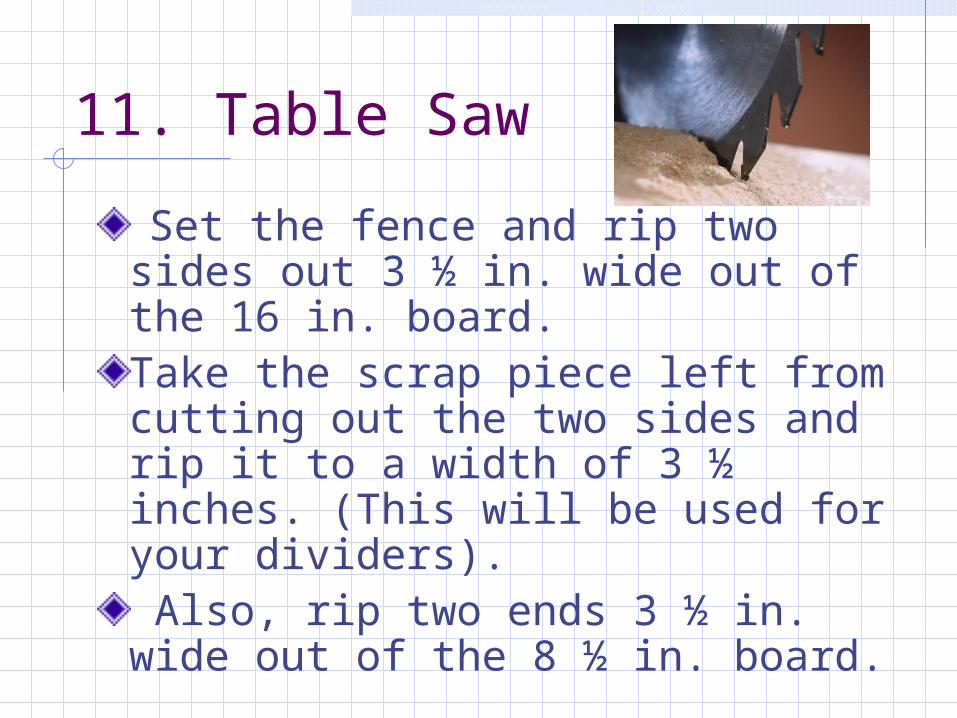
11. Table Saw
Set the fence and rip two sides out 3 ½ in. wide out of the 16 in. board. Take the scrap piece left from cutting out the two sides and rip it to a width of 3 ½ inches. (This will be used for your dividers). Also, rip two ends 3 ½ in. wide out of the 8 ½ in. board.
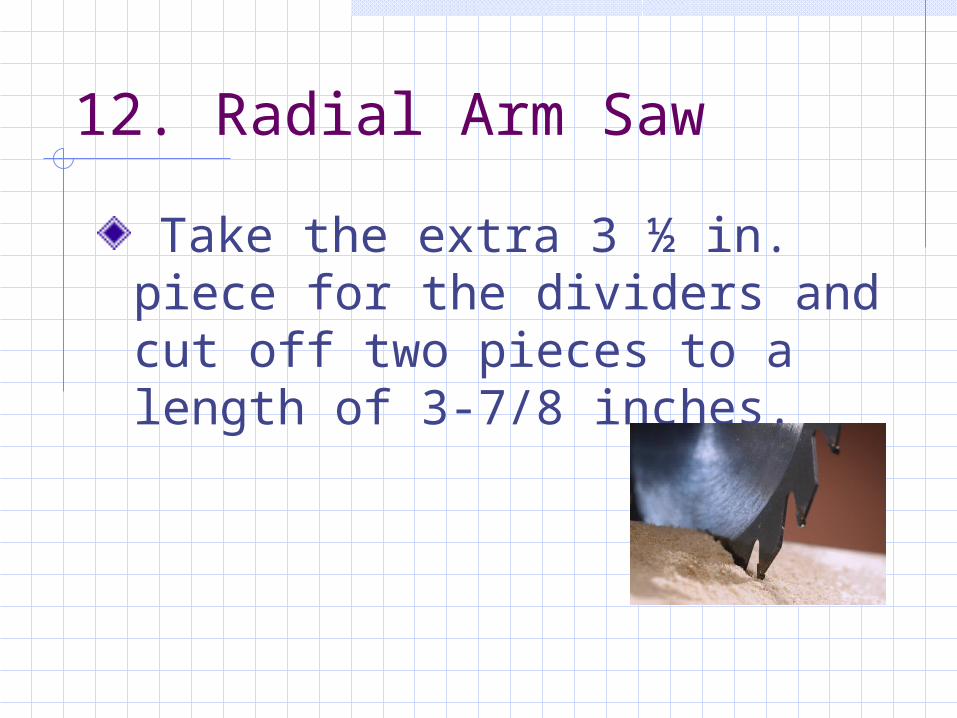
12. Radial Arm Saw
Take the extra 3 ½ in. piece for the dividers and cut off two pieces to a length of 3-7/8 inches.
13. Bench
Use sandpaper, sand pieces thoroughly, careful not to round edges.P.S. start with a coarse sandpaper (50 or 60 grit), then go to a fine sandpaper (100 or 120 grit).
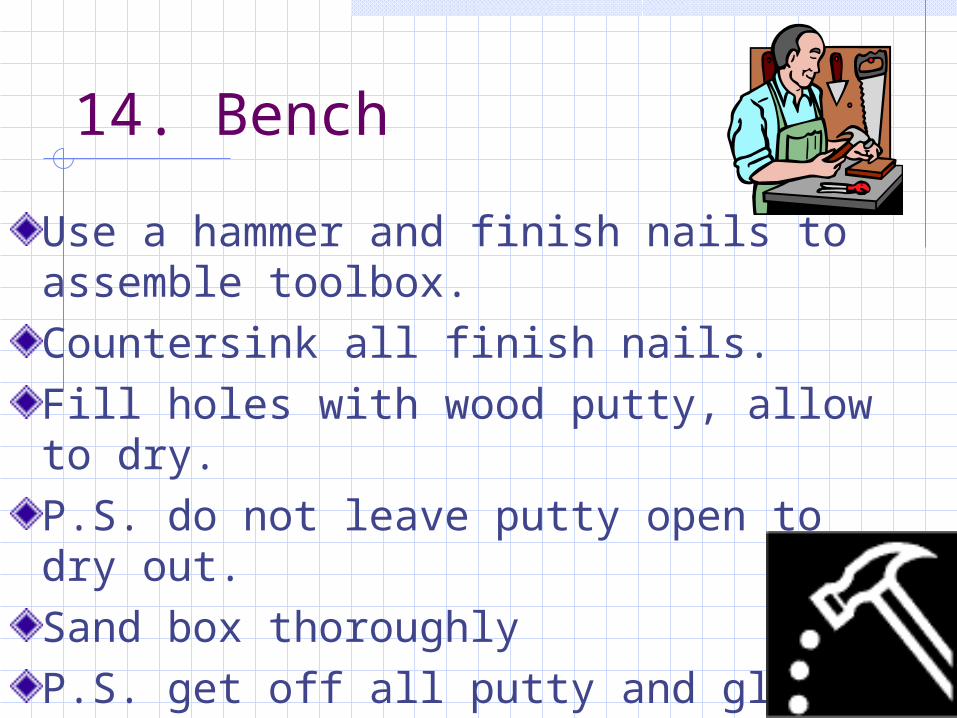
14. Bench
Use a hammer and finish nails to assemble toolbox. Countersink all finish nails.Fill holes with wood putty, allow to dry.P.S. do not leave putty open to dry out.Sand box thoroughlyP.S. get off all putty and glue
15. Paint Bench
Apply two coats of stain with a rag.P.S. – 30 minutes between coats. Shake can up well.
16. Paint Bench
Apply polyurethane evenly with an oil brush.Apply two coats. (30 minutes between coats)