Embed Size (px)
Citation preview
1
CMS is a program for communication between DVR and PC to control signal and video.
Insert the enclosed CD, and go to CD-ROM Drive and operate installer file, CMS Installer 32(64).msi, to operate the installer program.
After installation, a folder will be created on the program menu of windows.
CMS is possible to change setting up, playing a live video and searching a file of DVR to connect DVR and PC with LAN.
This program is supporting for Windows 7(32, 64bit) and 8(32, 64bit).
Client PC’s CPU and VGA affect absolutely in work of CMS.
You have to use verified VGA because it affects other parts .
※ Provided CMS Software can occur Windows errors, if you use CMS with any other application since large amounts of data over the network transmitting and receiving. In particular, the Live and playback functions may not work smoothly while you are running the system monitors and internet surveillance like antivirus programs.
Appendix A. CMS(Client Management Software)
A-1. Install CMS for Windows PC
Appendix. A
2
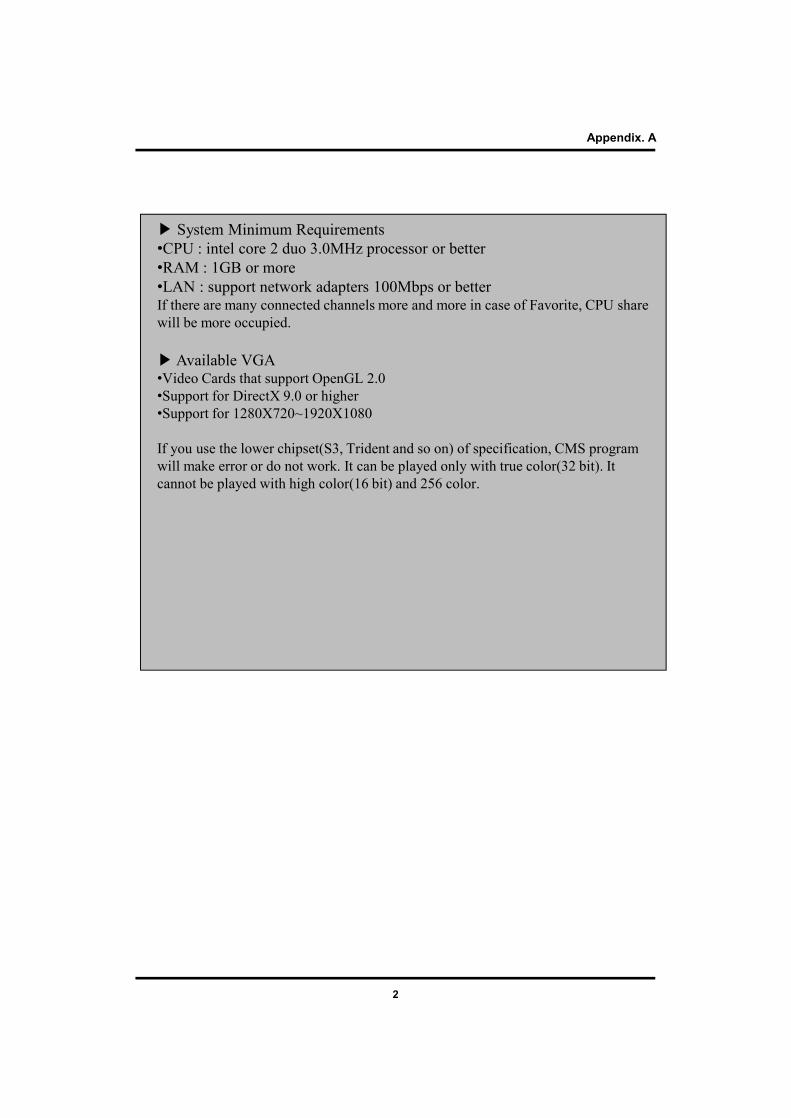
▶ System Minimum Requirements•CPU : intel core 2 duo 3.0MHz processor or better•RAM : 1GB or more•LAN : support network adapters 100Mbps or betterIf there are many connected channels more and more in case of Favorite, CPU share will be more occupied.
▶Available VGA •Video Cards that support OpenGL 2.0•Support for DirectX 9.0 or higher•Support for 1280X720~1920X1080
If you use the lower chipset(S3, Trident and so on) of specification, CMS program will make error or do not work. It can be played only with true color(32 bit). It cannot be played with high color(16 bit) and 256 color.
Appendix. A
3
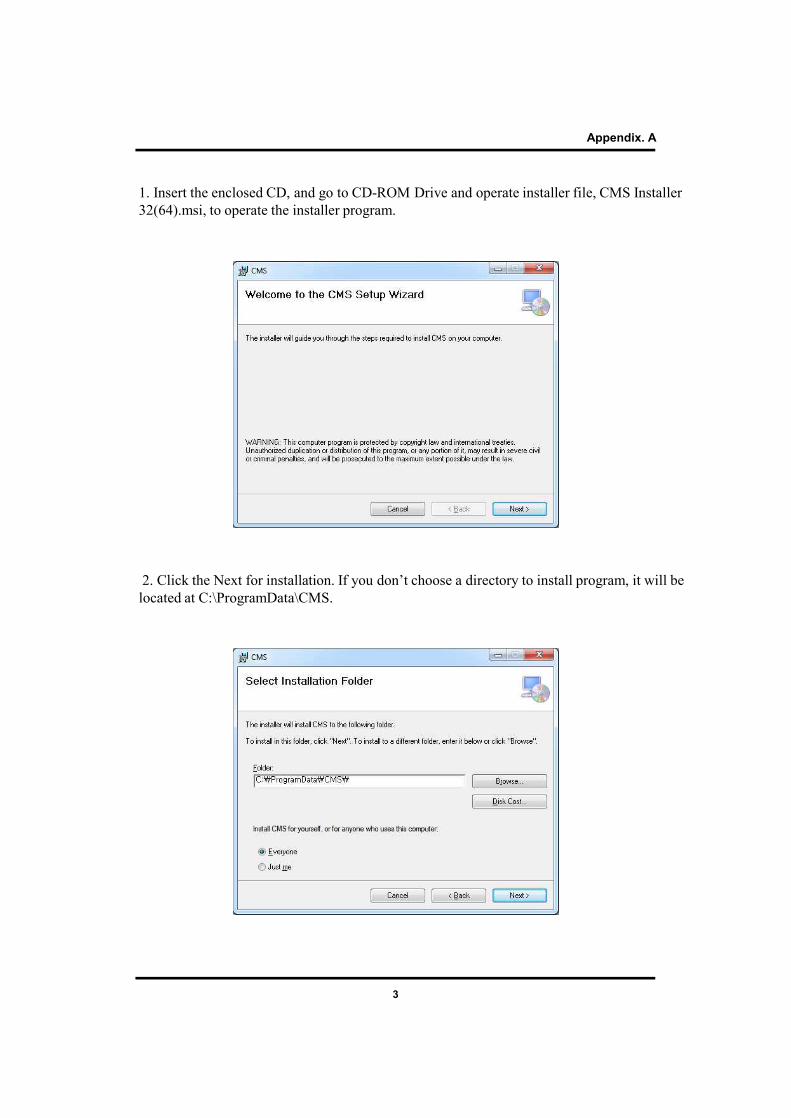
1. Insert the enclosed CD, and go to CD-ROM Drive and operate installer file, CMS Installer 32(64).msi, to operate the installer program.
2. Click the Next for installation. If you don’t choose a directory to install program, it will be located at C:\ProgramData\CMS.
Appendix. A

4
3. Select your language and click the Next for installation.
4. When CMS installation program is processing, you can see the message that CMS is being installed on the screen.
Appendix. A
5
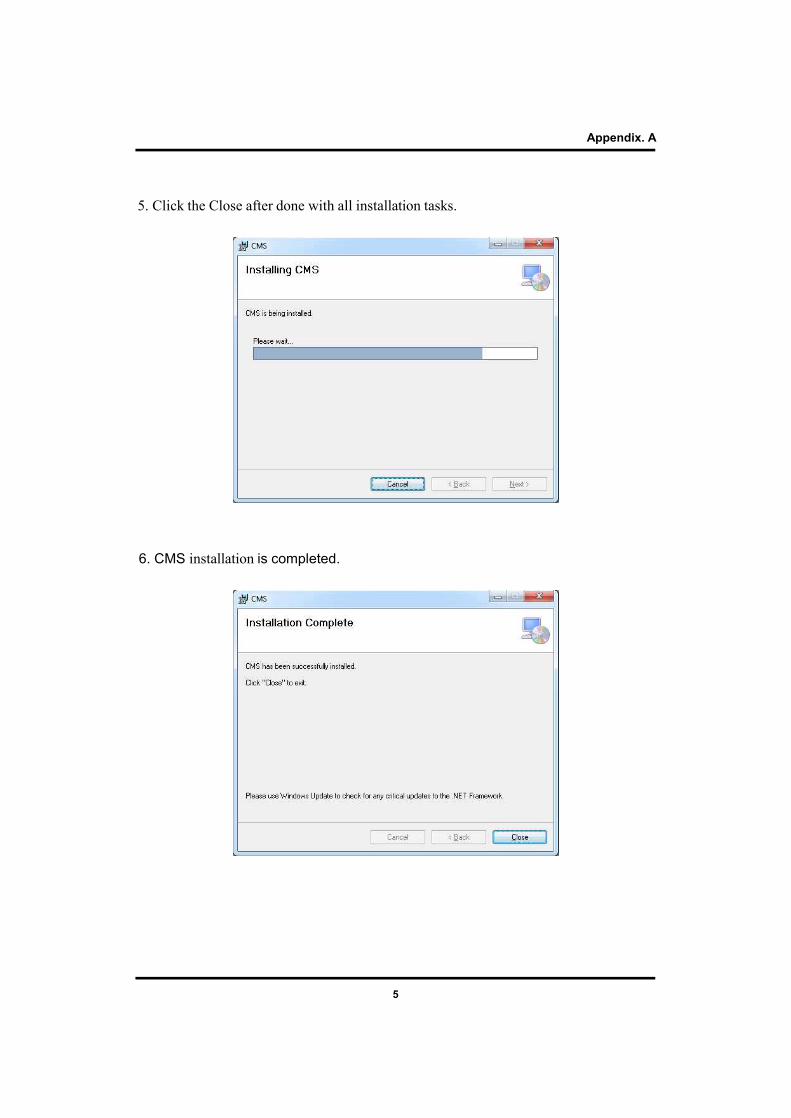
5. Click the Close after done with all installation tasks.
6. CMS installation is completed.
Appendix. A
6
This CMS supports Mac OS X 10.6.8 or later.For the first installation, you have to log in your Mac with an administrator account. If you log in with other account, it would be not installed t
A-2. Mac CMS Installation
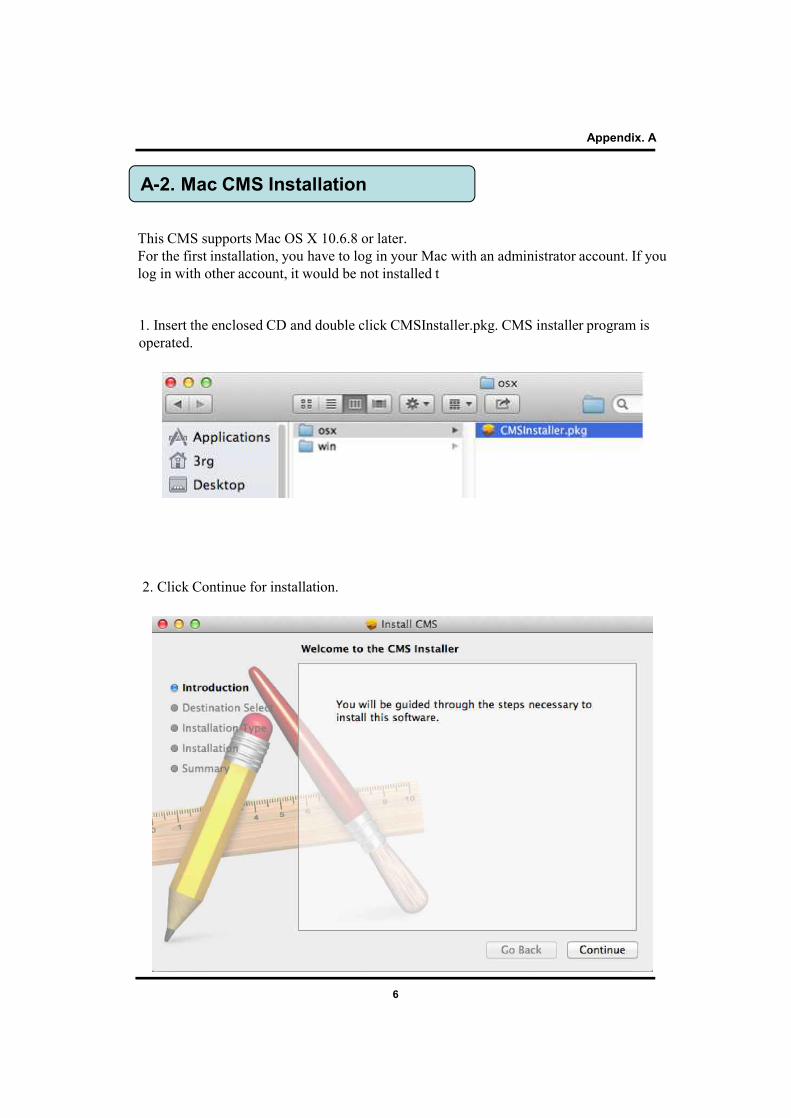
1. Insert the enclosed CD and double click CMSInstaller.pkg. CMS installer program is operated.
2. Click Continue for installation.
Appendix. A
7
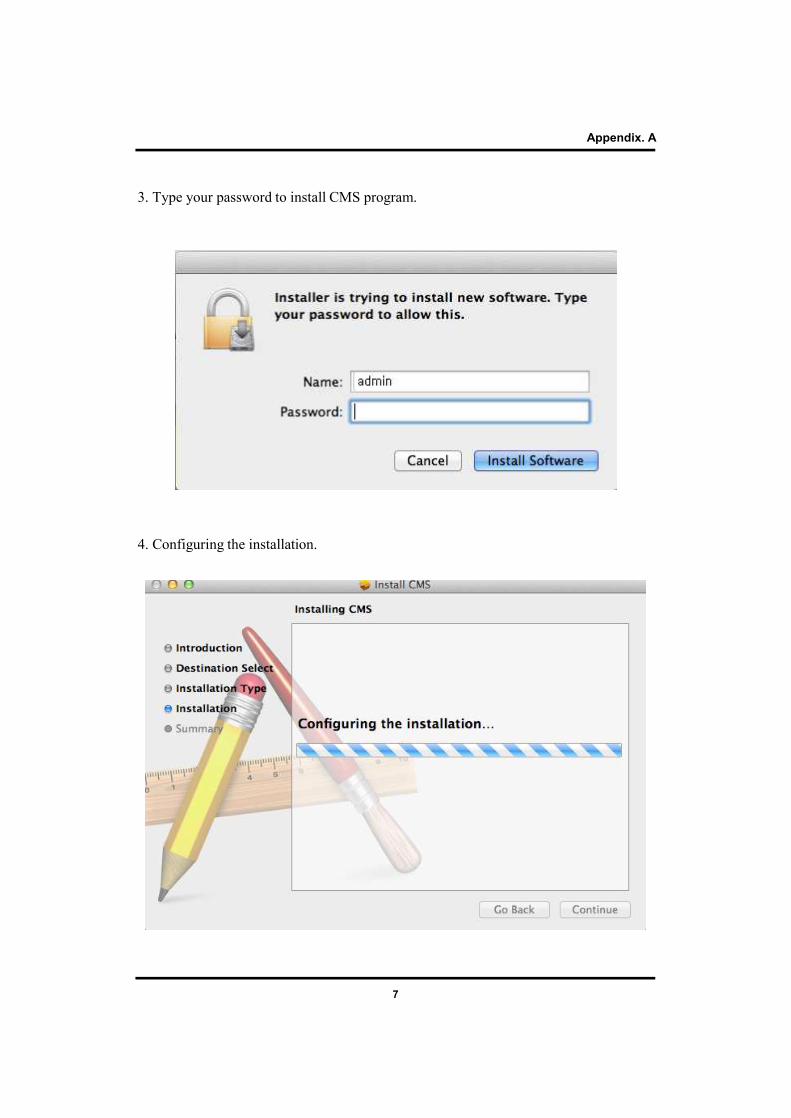
3. Type your password to install CMS program.
Appendix. A
4. Configuring the installation.
8
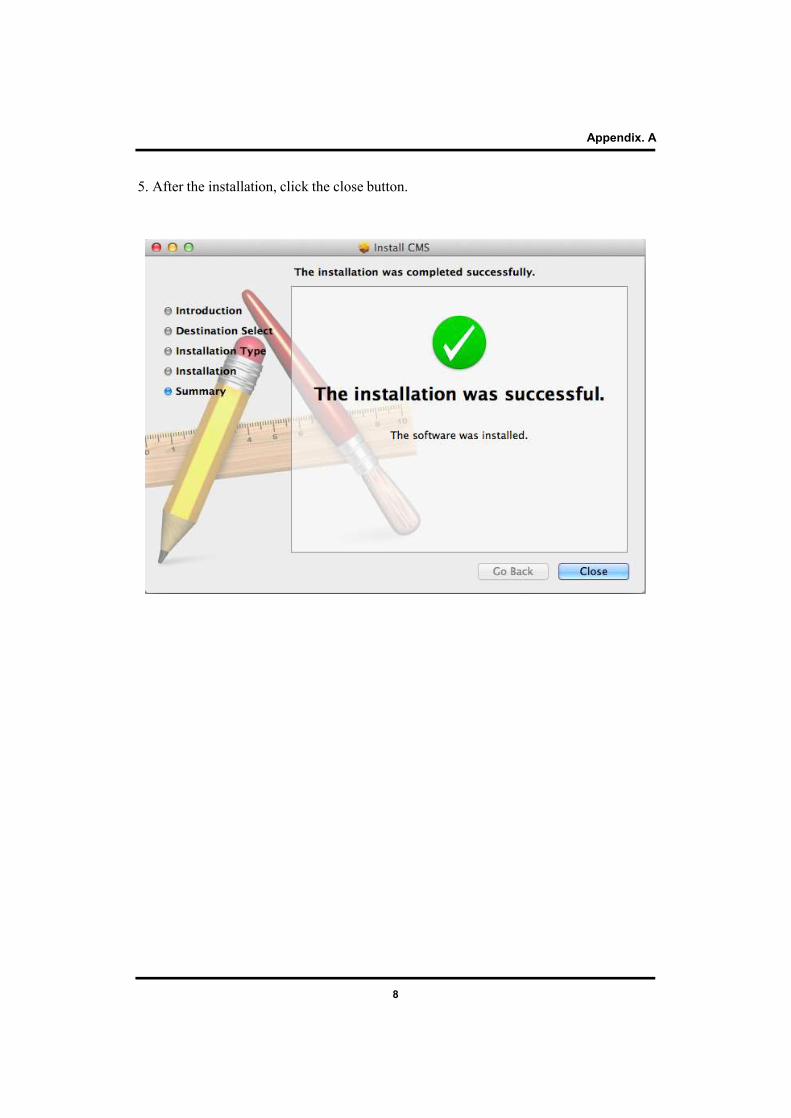
5. After the installation, click the close button.
Appendix. A

9
CMS web is a client program using web browser. It supports IE8 or higher.
A-3. CMS Web installation (CMS for windows)
1. Open internet browser on PC
2. Type the internet address to connect the DVR you want to connect.
Appendix. A
10
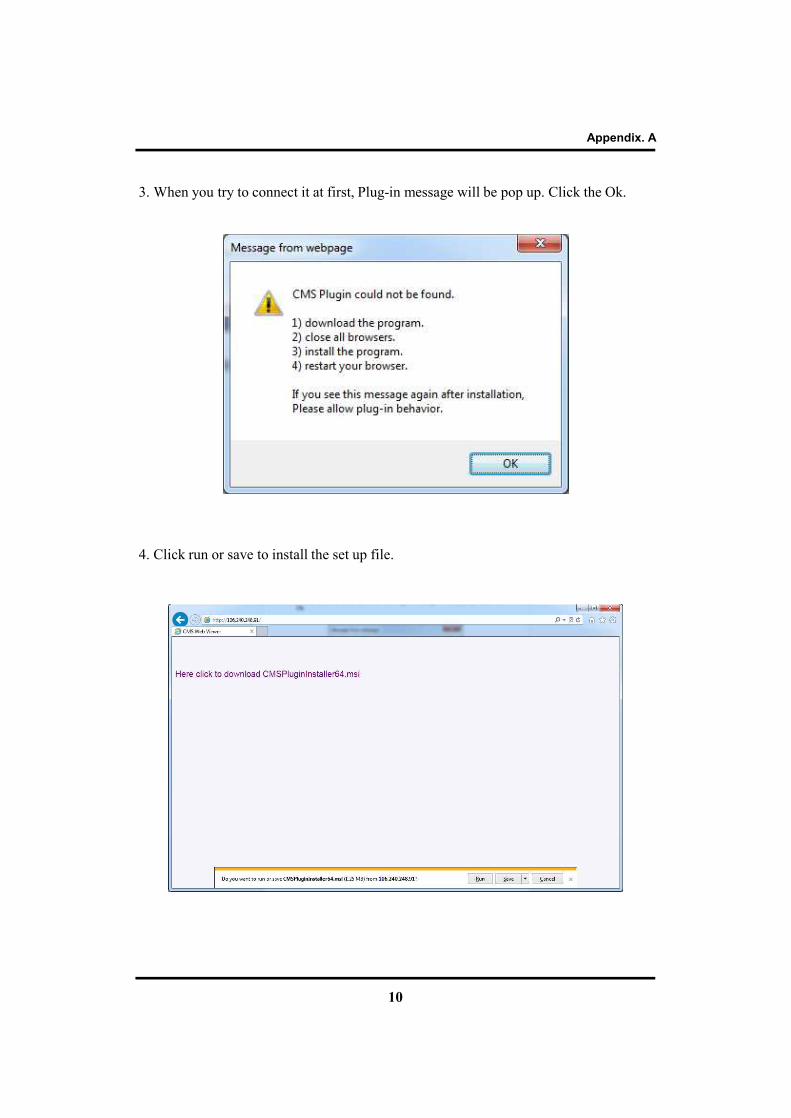
3. When you try to connect it at first, Plug-in message will be pop up. Click the Ok.
4. Click run or save to install the set up file.
Appendix. A
11
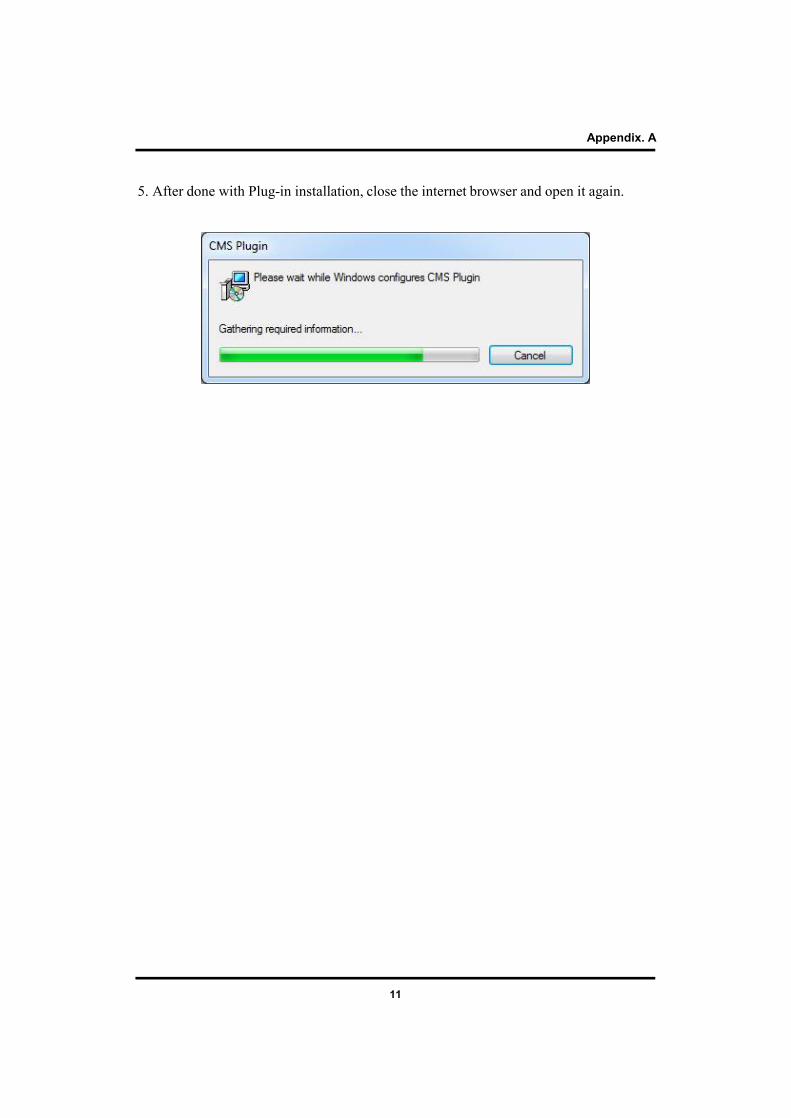
5. After done with Plug-in installation, close the internet browser and open it again.
Appendix. A
12
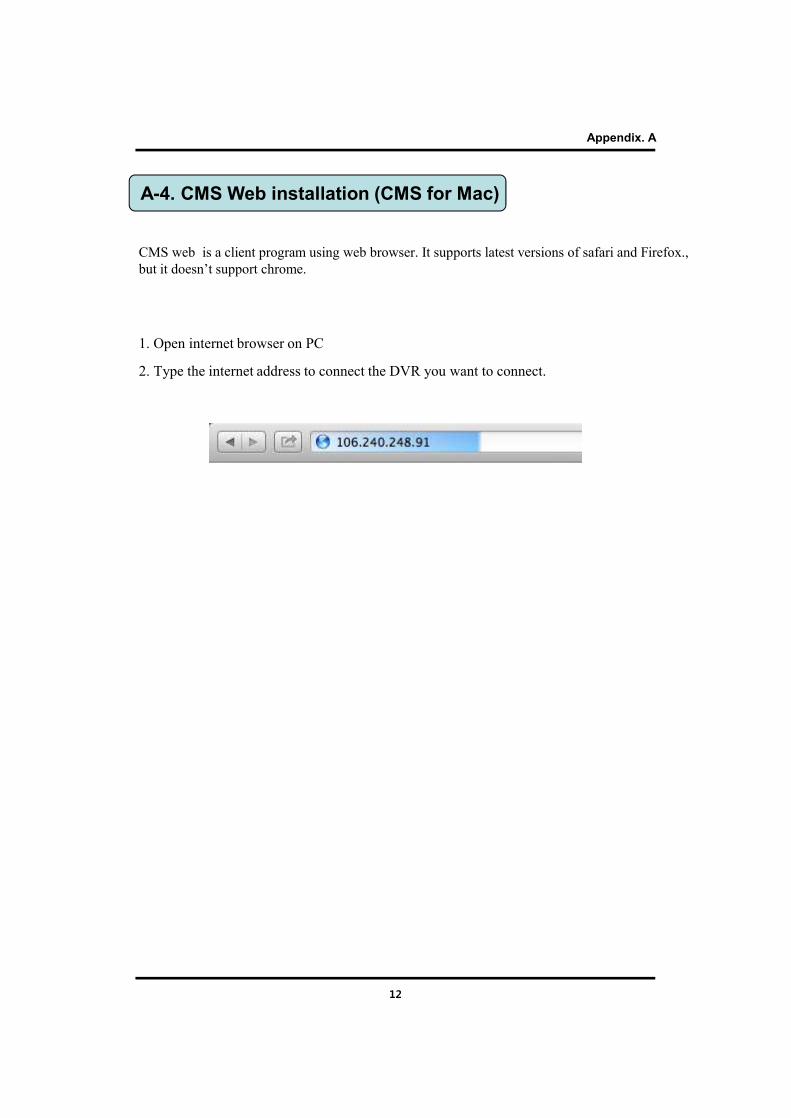
CMS web is a client program using web browser. It supports latest versions of safari and Firefox., but it doesn’t support chrome.
A-4. CMS Web installation (CMS for Mac)
1. Open internet browser on PC
2. Type the internet address to connect the DVR you want to connect.
Appendix. A
13
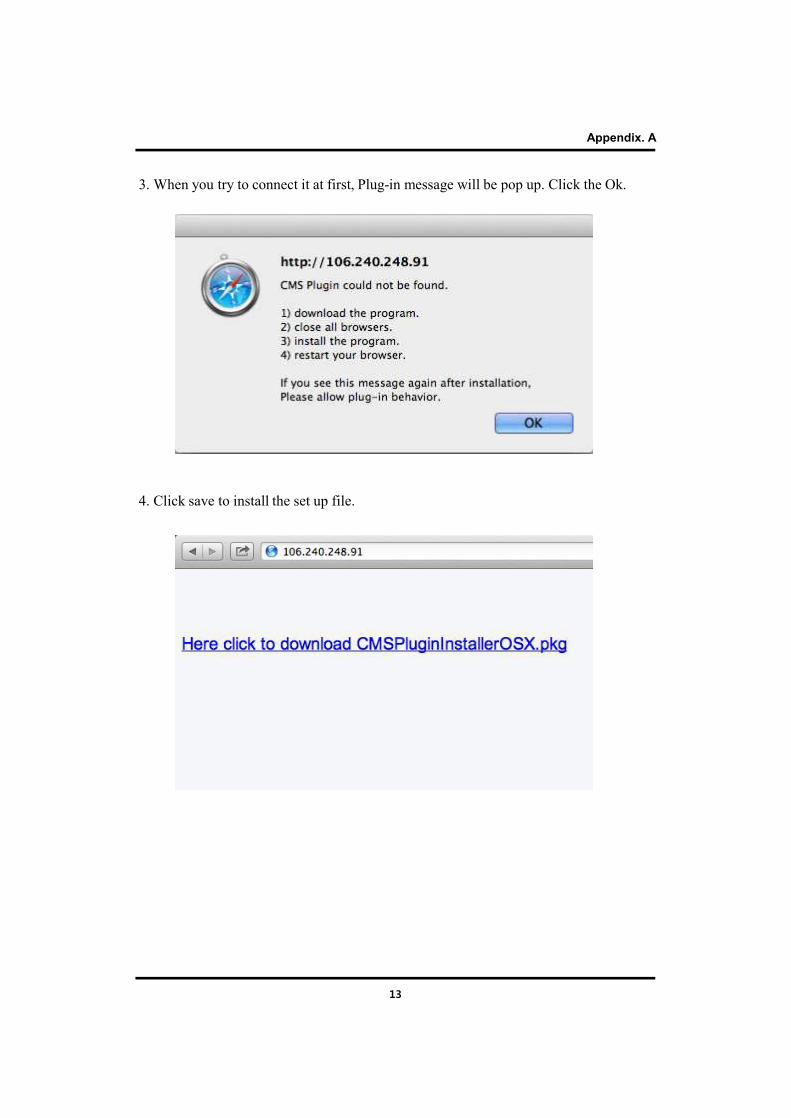
3. When you try to connect it at first, Plug-in message will be pop up. Click the Ok.
4. Click save to install the set up file.
Appendix. A
14
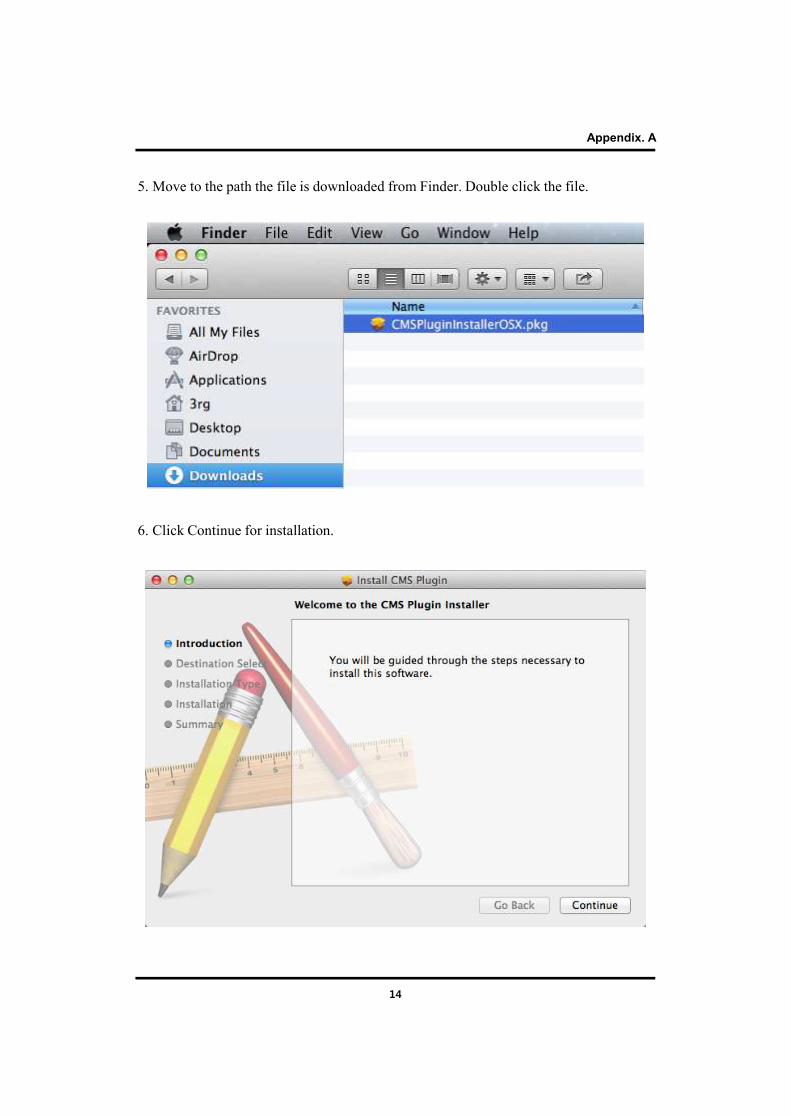
5. Move to the path the file is downloaded from Finder. Double click the file.
6. Click Continue for installation.
Appendix. A
15
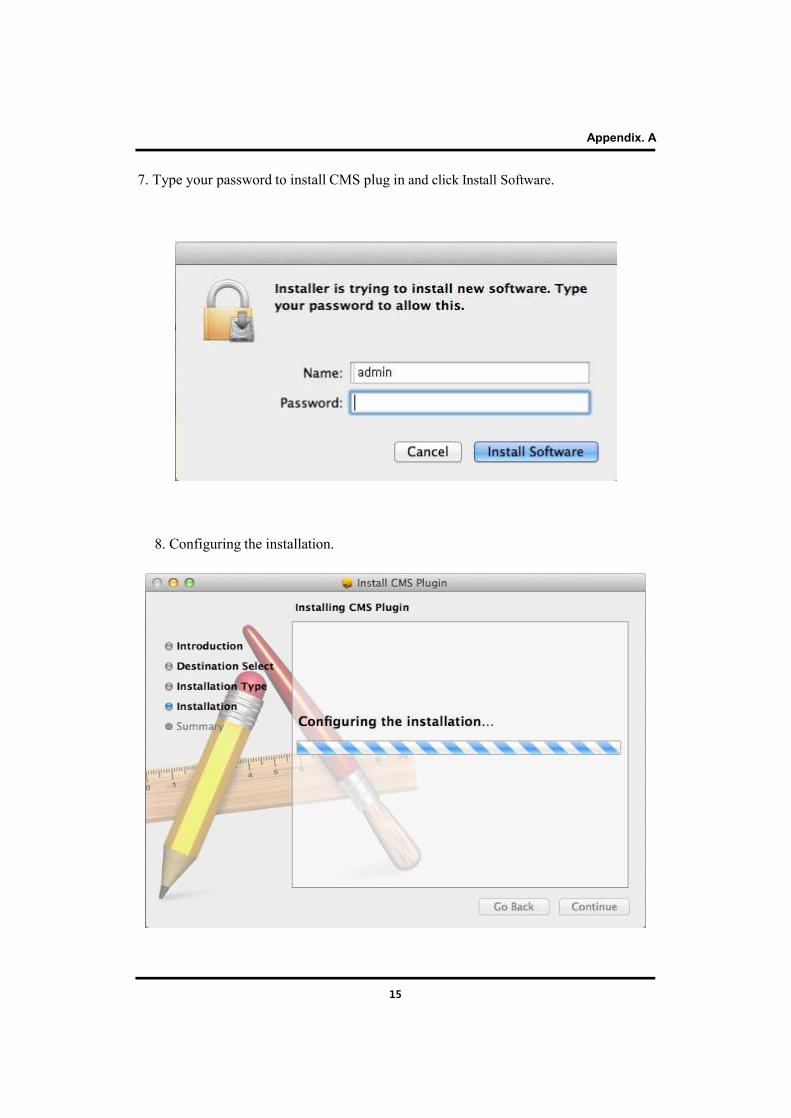
7. Type your password to install CMS plug in and click Install Software.
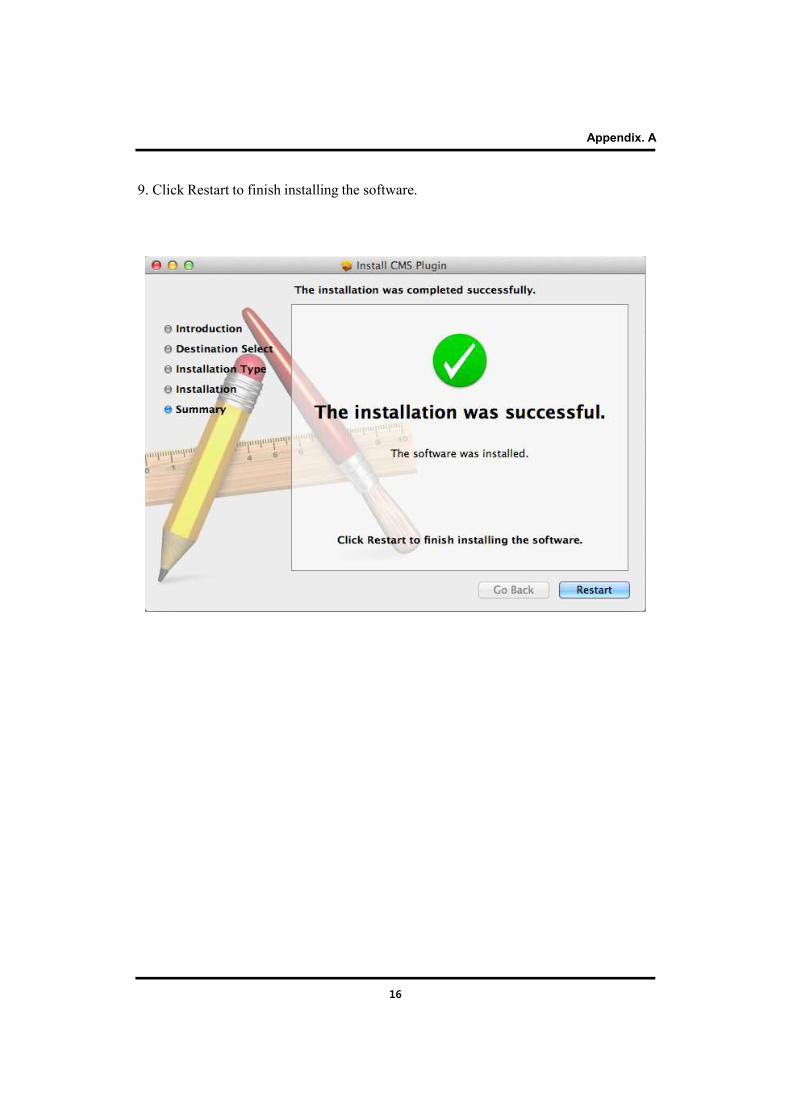
8. Configuring the installation.
Appendix. A
16
9. Click Restart to finish installing the software.
Appendix. A
17
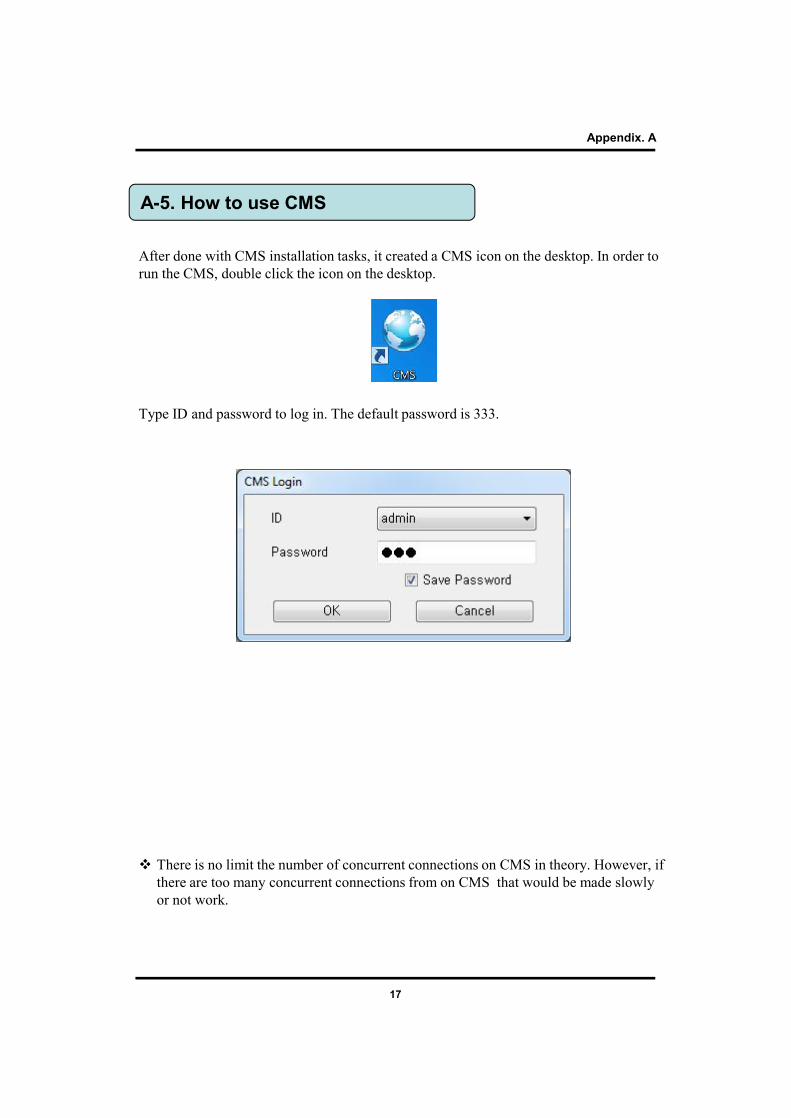
After done with CMS installation tasks, it created a CMS icon on the desktop. In order to run the CMS, double click the icon on the desktop.
Type ID and password to log in. The default password is 333.
A-5. How to use CMS
v There is no limit the number of concurrent connections on CMS in theory. However, if there are too many concurrent connections from on CMS that would be made slowly or not work.
Appendix. A
18
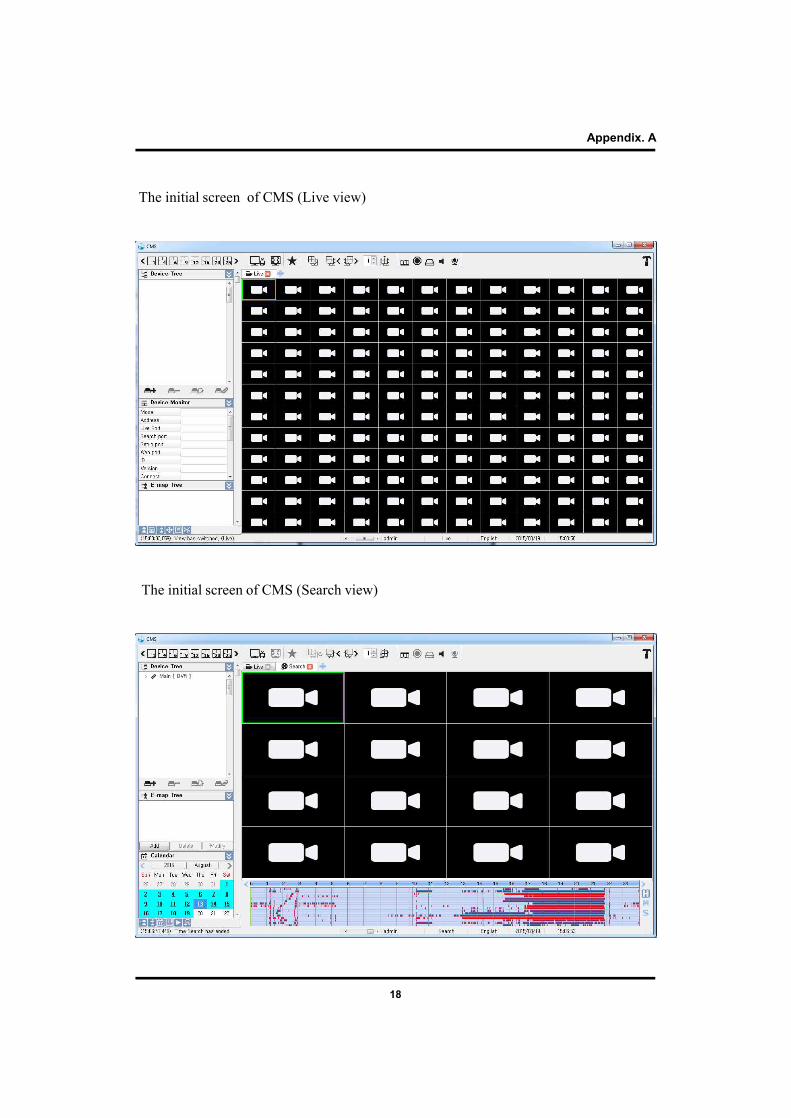
The initial screen of CMS (Live view)
The initial screen of CMS (Search view)
Appendix. A
19
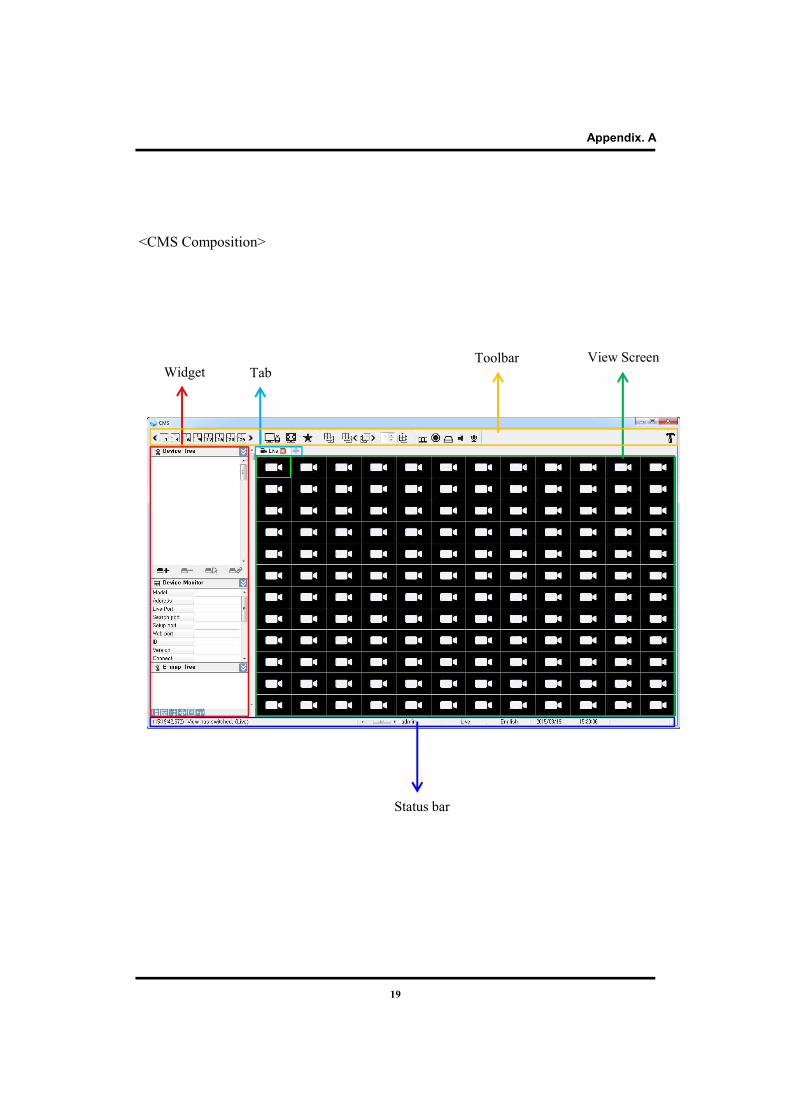
<CMS Composition>
Widget TabToolbar View Screen
Status bar
Appendix. A
20
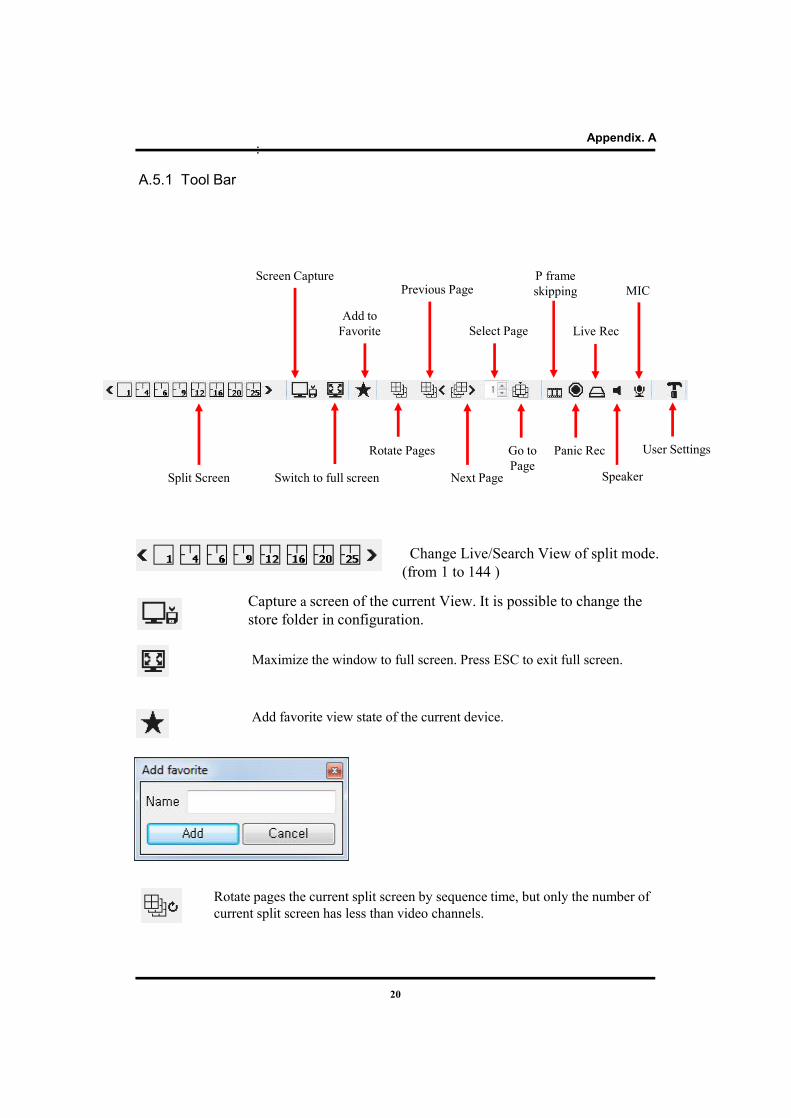
A.5.1 Tool Bar
Split Screen
Screen Capture
Switch to full screen
Add to Favorite
Previous Page
Rotate Pages
Select Page
Next Page
P frame skipping
User Settings
MIC
Change Live/Search View of split mode. (from 1 to 144 )
Capture a screen of the current View. It is possible to change the store folder in configuration.
Add favorite view state of the current device.
:
Maximize the window to full screen. Press ESC to exit full screen.
Rotate pages the current split screen by sequence time, but only the number of current split screen has less than video channels.
Appendix. A
Panic Rec
Live Rec
Go to Page
Speaker
21
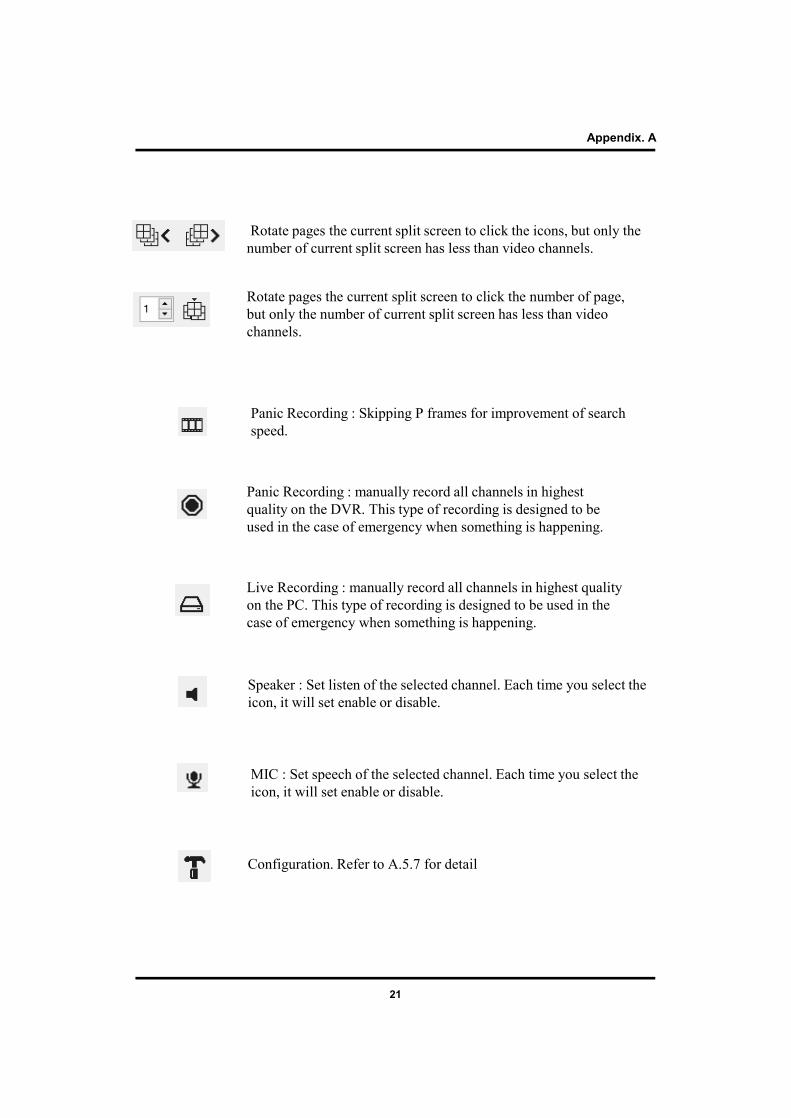
Rotate pages the current split screen to click the icons, but only the number of current split screen has less than video channels.
Rotate pages the current split screen to click the number of page, but only the number of current split screen has less than video channels.
Speaker : Set listen of the selected channel. Each time you select the icon, it will set enable or disable.
Configuration. Refer to A.5.7 for detail
Appendix. A
Panic Recording : manually record all channels in highest quality on the DVR. This type of recording is designed to be used in the case of emergency when something is happening.
Live Recording : manually record all channels in highest quality on the PC. This type of recording is designed to be used in the case of emergency when something is happening.
MIC : Set speech of the selected channel. Each time you select the icon, it will set enable or disable.
Panic Recording : Skipping P frames for improvement of search speed.
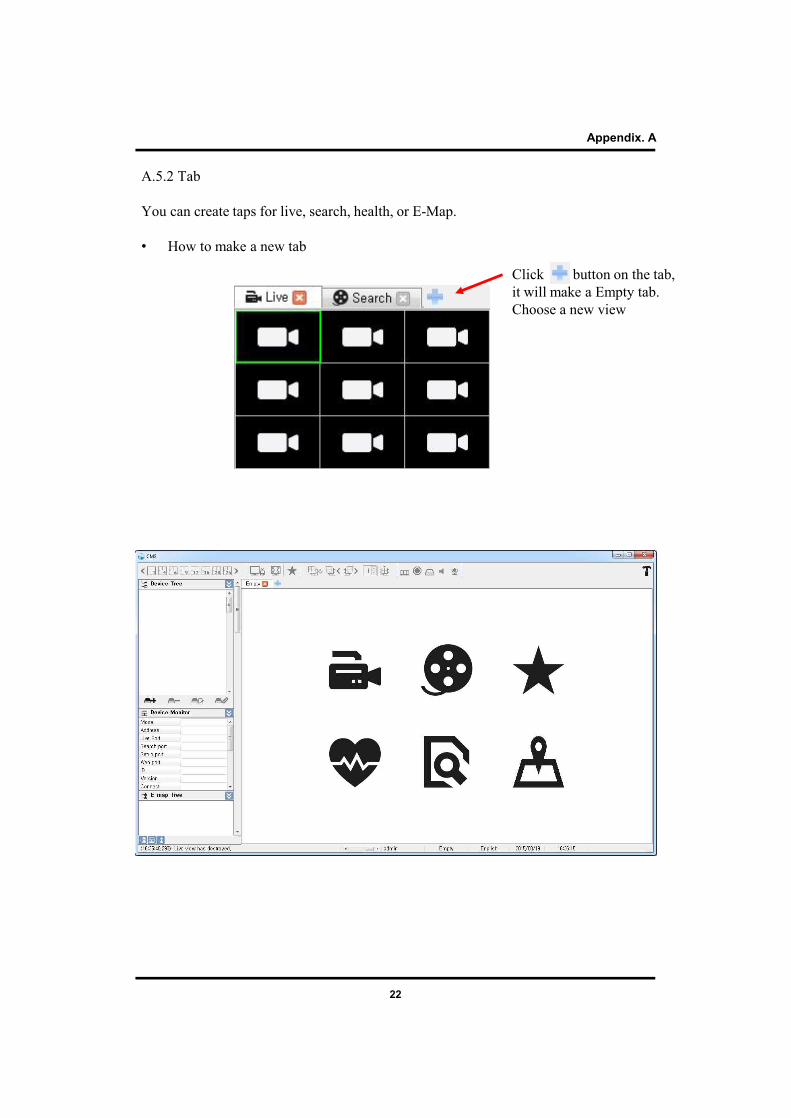
Click button on the tab, it will make a Empty tab. Choose a new view
A.5.2 Tab
You can create taps for live, search, health, or E-Map.
• How to make a new tab
Appendix. A
22
23
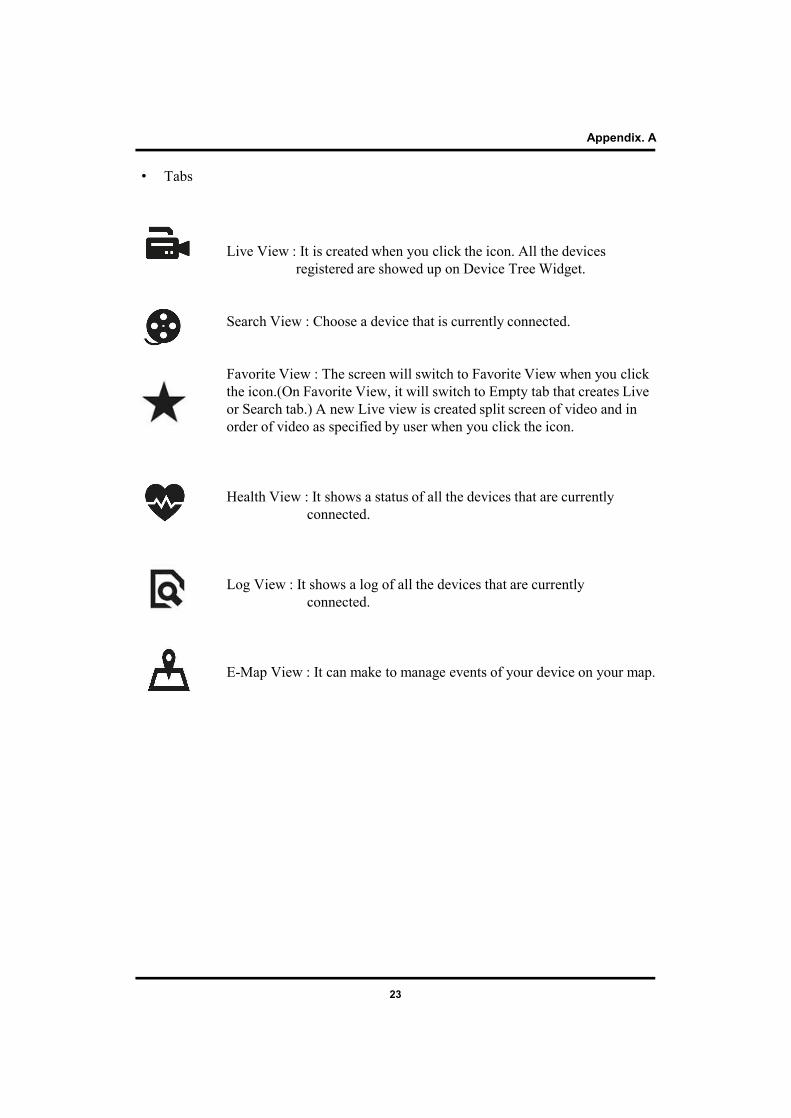
• Tabs
Live View : It is created when you click the icon. All the devices registered are showed up on Device Tree Widget.
Search View : Choose a device that is currently connected.
Favorite View : The screen will switch to Favorite View when you click the icon.(On Favorite View, it will switch to Empty tab that creates Live or Search tab.) A new Live view is created split screen of video and in order of video as specified by user when you click the icon.
Health View : It shows a status of all the devices that are currently connected.
Log View : It shows a log of all the devices that are currently connected.
E-Map View : It can make to manage events of your device on your map.
Appendix. A
24
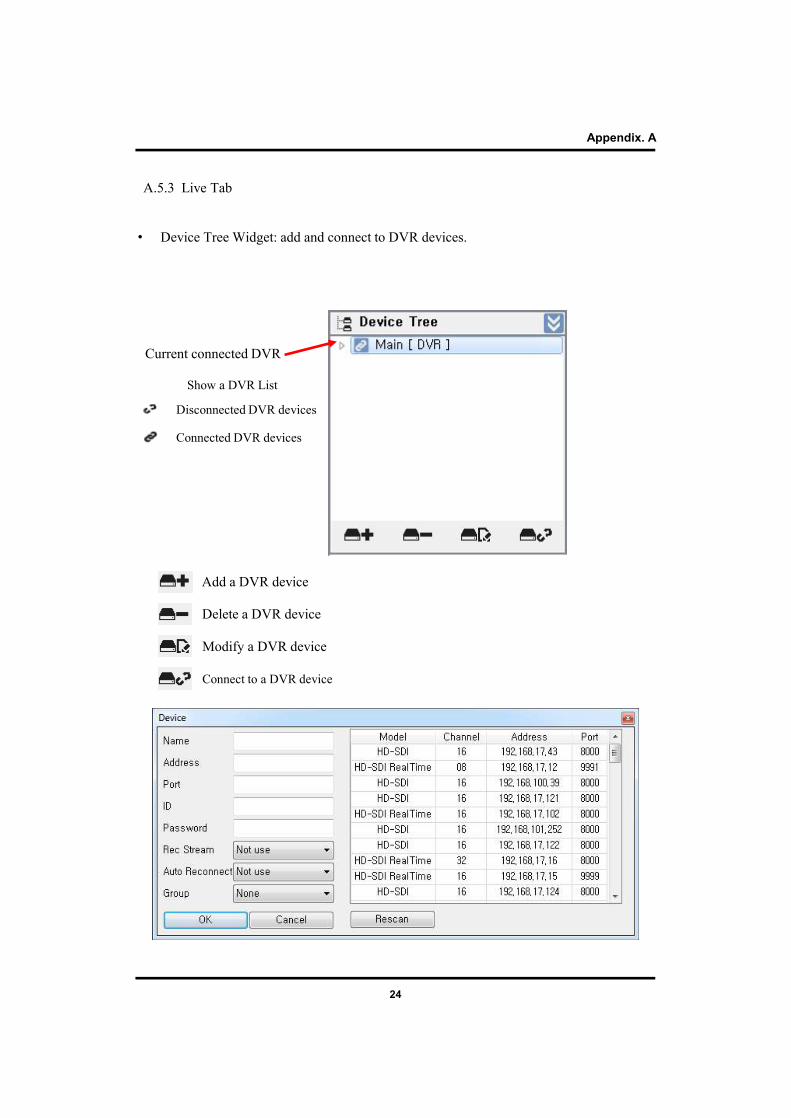
A.5.3 Live Tab
Add a DVR device
Delete a DVR device
Connect to a DVR device
Current connected DVR
Show a DVR List
Disconnected DVR devices
Connected DVR devices
• Device Tree Widget: add and connect to DVR devices.
Appendix. A
Modify a DVR device
25
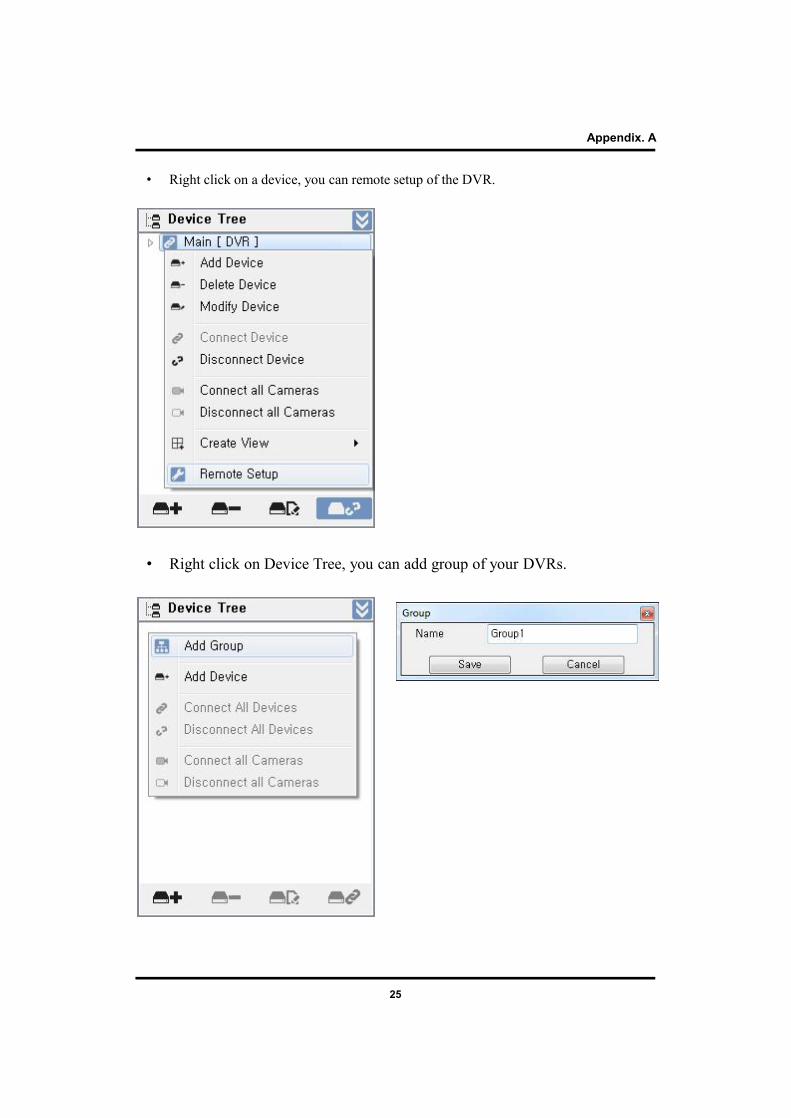
• Right click on Device Tree, you can add group of your DVRs.
Appendix. A
• Right click on a device, you can remote setup of the DVR.
26
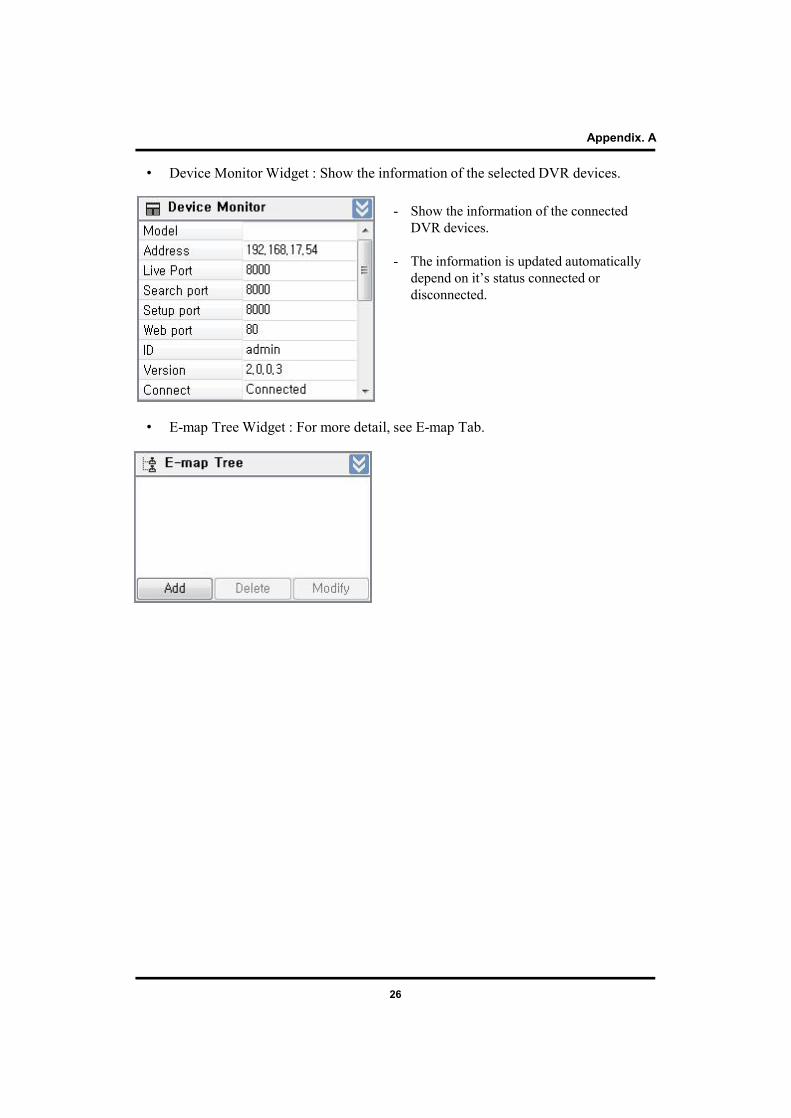
• Device Monitor Widget : Show the information of the selected DVR devices.
- Show the information of the connected DVR devices.
- The information is updated automatically depend on it’s status connected or disconnected.
Appendix. A
• E-map Tree Widget : For more detail, see E-map Tab.
27
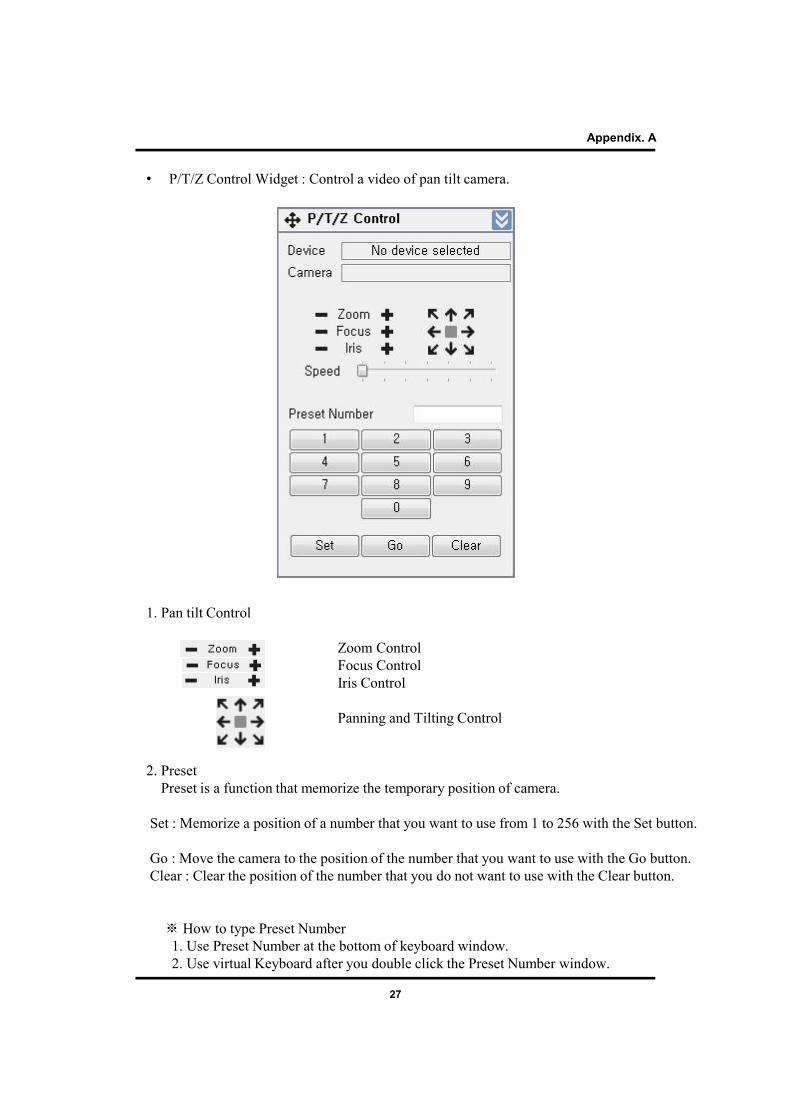
• P/T/Z Control Widget : Control a video of pan tilt camera.
1. Pan tilt Control
Zoom ControlFocus ControlIris Control
Panning and Tilting Control
2. PresetPreset is a function that memorize the temporary position of camera.
Set : Memorize a position of a number that you want to use from 1 to 256 with the Set button.
Go : Move the camera to the position of the number that you want to use with the Go button. Clear : Clear the position of the number that you do not want to use with the Clear button.
※ How to type Preset Number1. Use Preset Number at the bottom of keyboard window.2. Use virtual Keyboard after you double click the Preset Number window.
Appendix. A
28
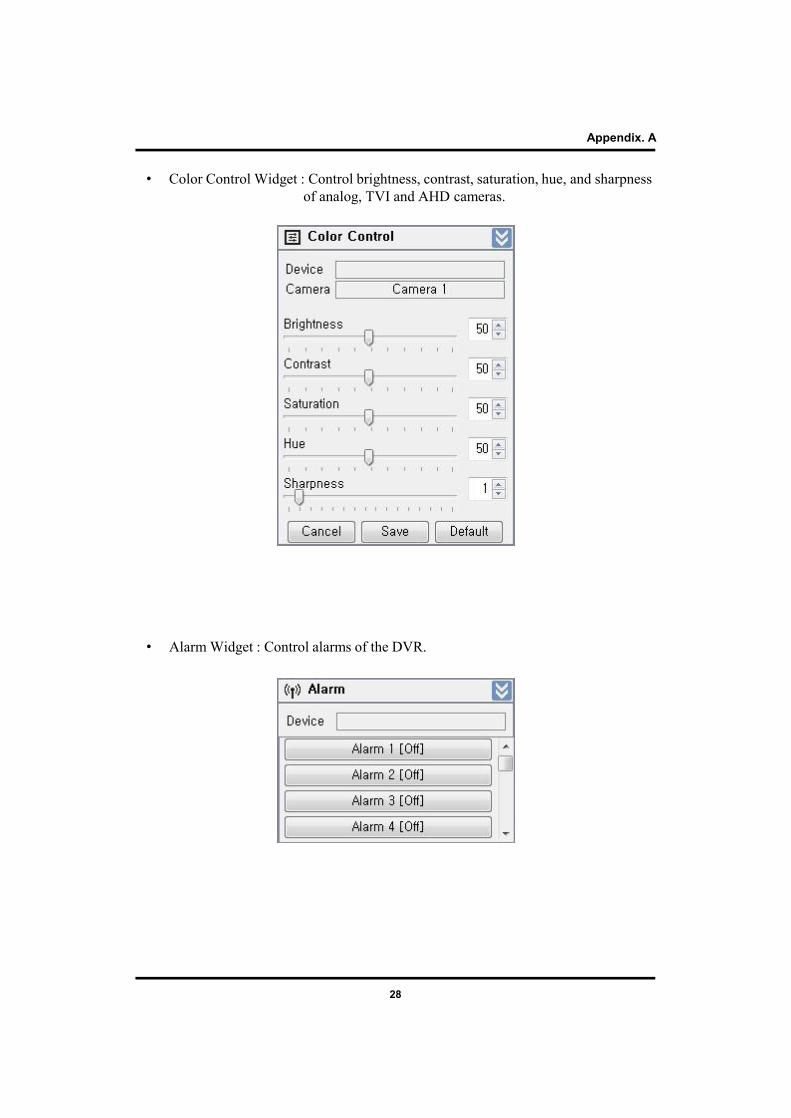
• Color Control Widget : Control brightness, contrast, saturation, hue, and sharpness of analog, TVI and AHD cameras.
• Alarm Widget : Control alarms of the DVR.
Appendix. A
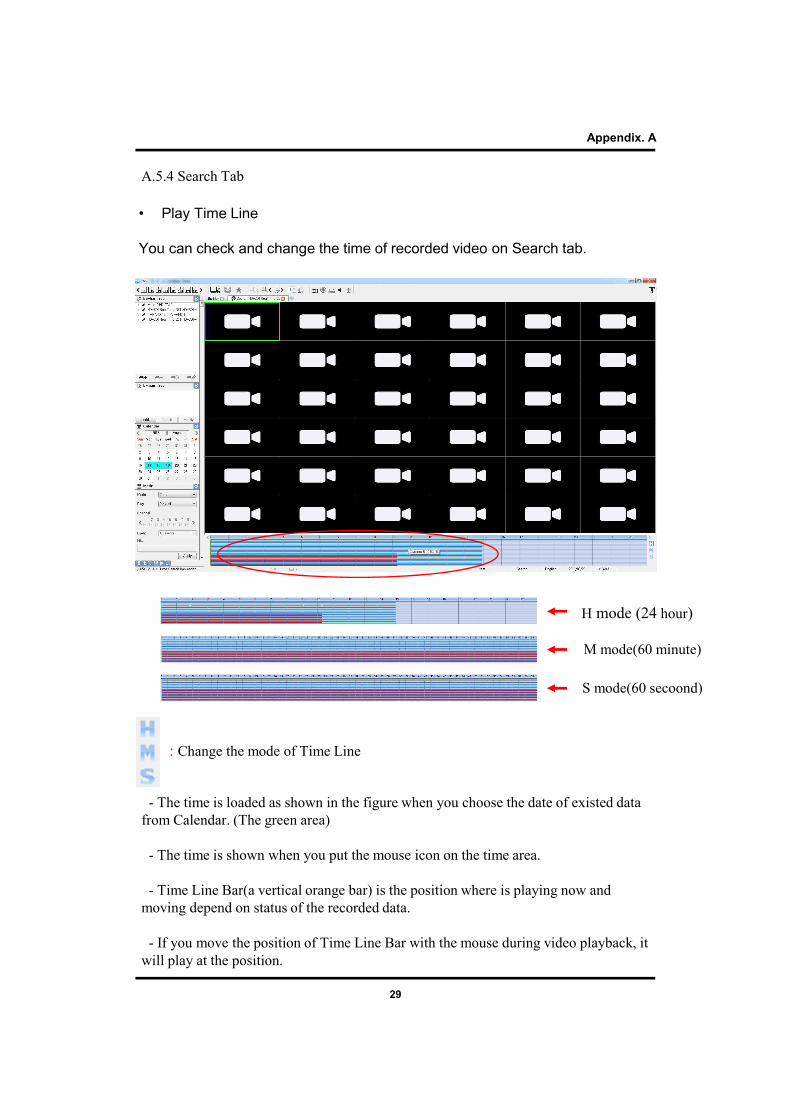
: Change the mode of Time Line
- The time is loaded as shown in the figure when you choose the date of existed data from Calendar. (The green area)
- The time is shown when you put the mouse icon on the time area.
- Time Line Bar(a vertical orange bar) is the position where is playing now and moving depend on status of the recorded data.
- If you move the position of Time Line Bar with the mouse during video playback, it will play at the position.
29
• Play Time Line
You can check and change the time of recorded video on Search tab.
H mode (24 hour)
S mode(60 secoond)
Appendix. A
A.5.4 Search Tab
M mode(60 minute)
30
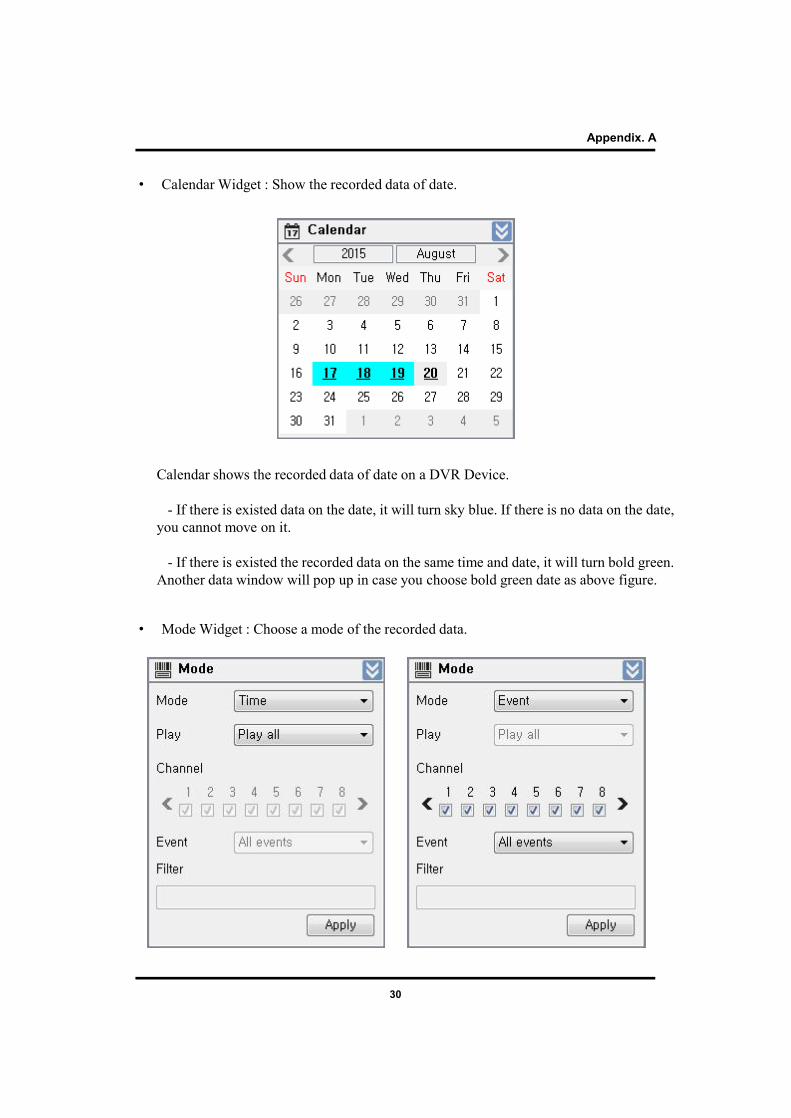
• Calendar Widget : Show the recorded data of date.
Calendar shows the recorded data of date on a DVR Device.
- If there is existed data on the date, it will turn sky blue. If there is no data on the date, you cannot move on it.
- If there is existed the recorded data on the same time and date, it will turn bold green. Another data window will pop up in case you choose bold green date as above figure.
Appendix. A
• Mode Widget : Choose a mode of the recorded data.

31
• Time navigation Widget: Control the playback with Time navigation Widget that can play, pause, play speed, and so on.
- Set up play speed (x-16 ~ x16).
- Play & Pause the recorded data.
- Play individual frames during a pause.
Set up play speed
Play / Pause
Play individual frames
Appendix. A
32
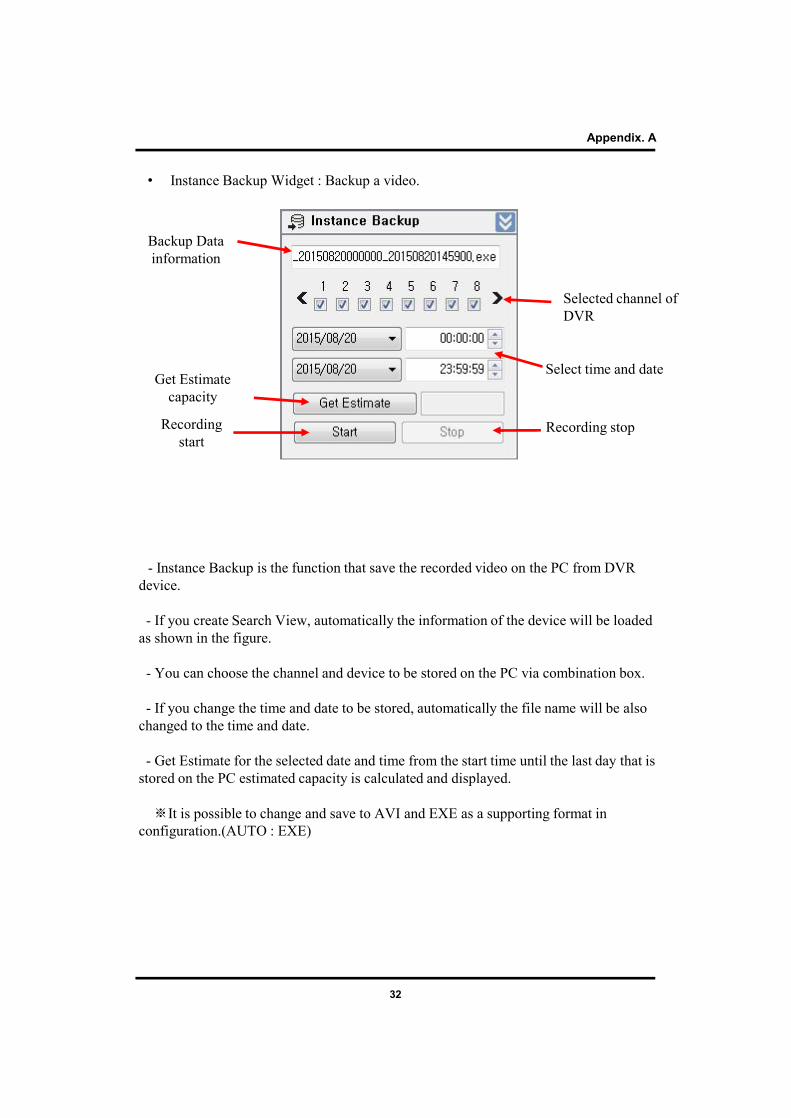
• Instance Backup Widget : Backup a video.
Get Estimate capacity
Recording stopRecording start
Backup Data information
Selected channel of DVR
Select time and date
- Instance Backup is the function that save the recorded video on the PC from DVR device.
- If you create Search View, automatically the information of the device will be loaded as shown in the figure.
- You can choose the channel and device to be stored on the PC via combination box.
- If you change the time and date to be stored, automatically the file name will be also changed to the time and date.
- Get Estimate for the selected date and time from the start time until the last day that is stored on the PC estimated capacity is calculated and displayed.
※It is possible to change and save to AVI and EXE as a supporting format in configuration.(AUTO : EXE)
Appendix. A
33
Appendix. A
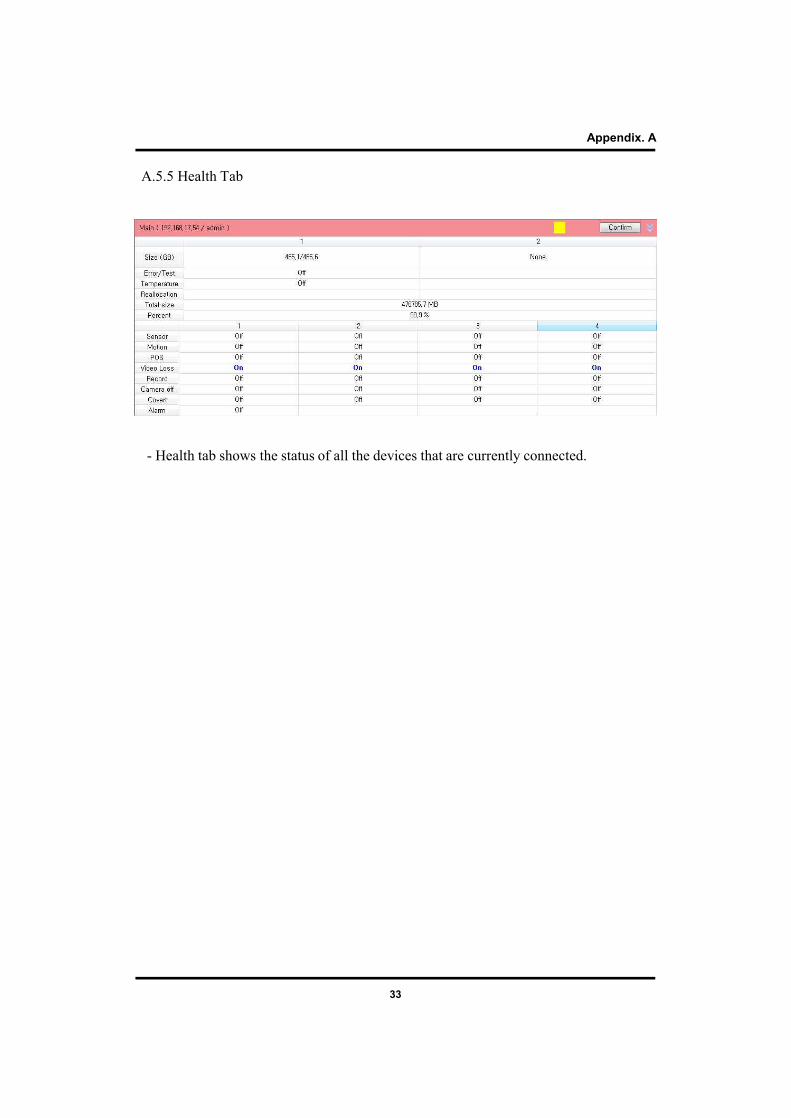
A.5.5 Health Tab
- Health tab shows the status of all the devices that are currently connected.

34
Appendix. A
A.5.6 E-Map Tab
※ How to make and use E-map 1. Go to E-map Tree and click ‘Add’.
2. Type a name and choose a image for using your E-map.
• E-map Tree Widget and E-map item Property Widget.
35
Appendix. A
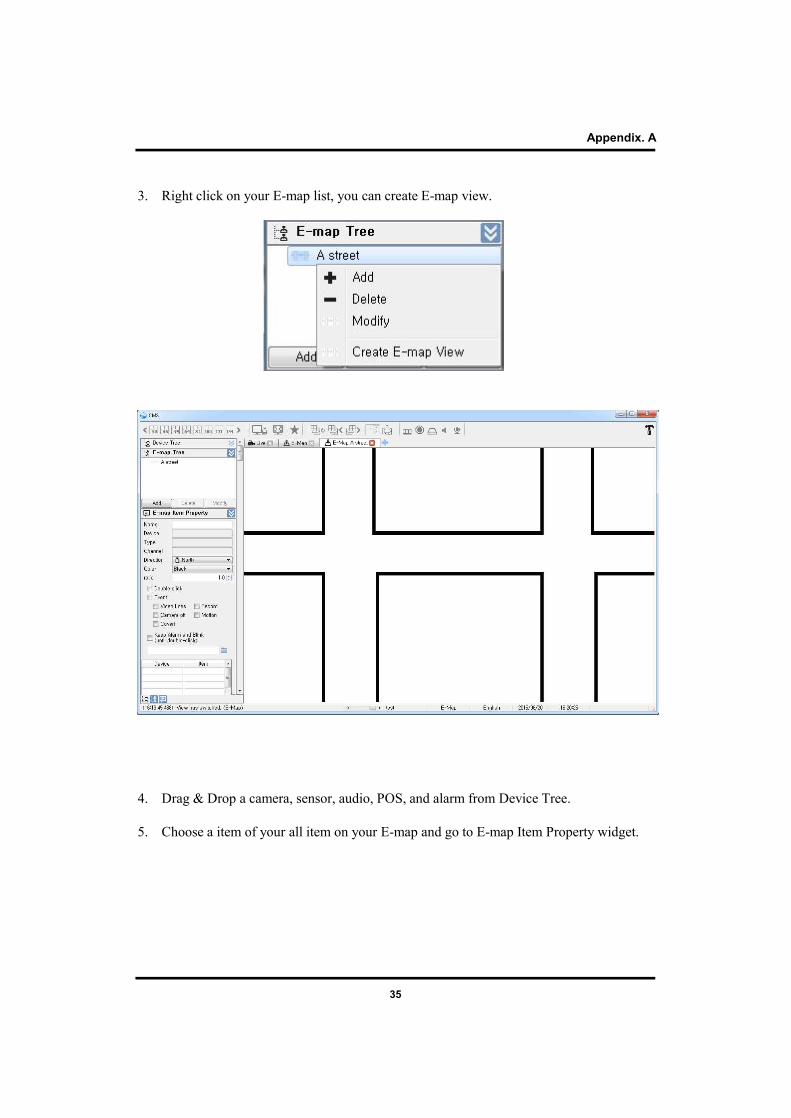
3. Right click on your E-map list, you can create E-map view.
4. Drag & Drop a camera, sensor, audio, POS, and alarm from Device Tree.
5. Choose a item of your all item on your E-map and go to E-map Item Property widget.
36
Appendix. A
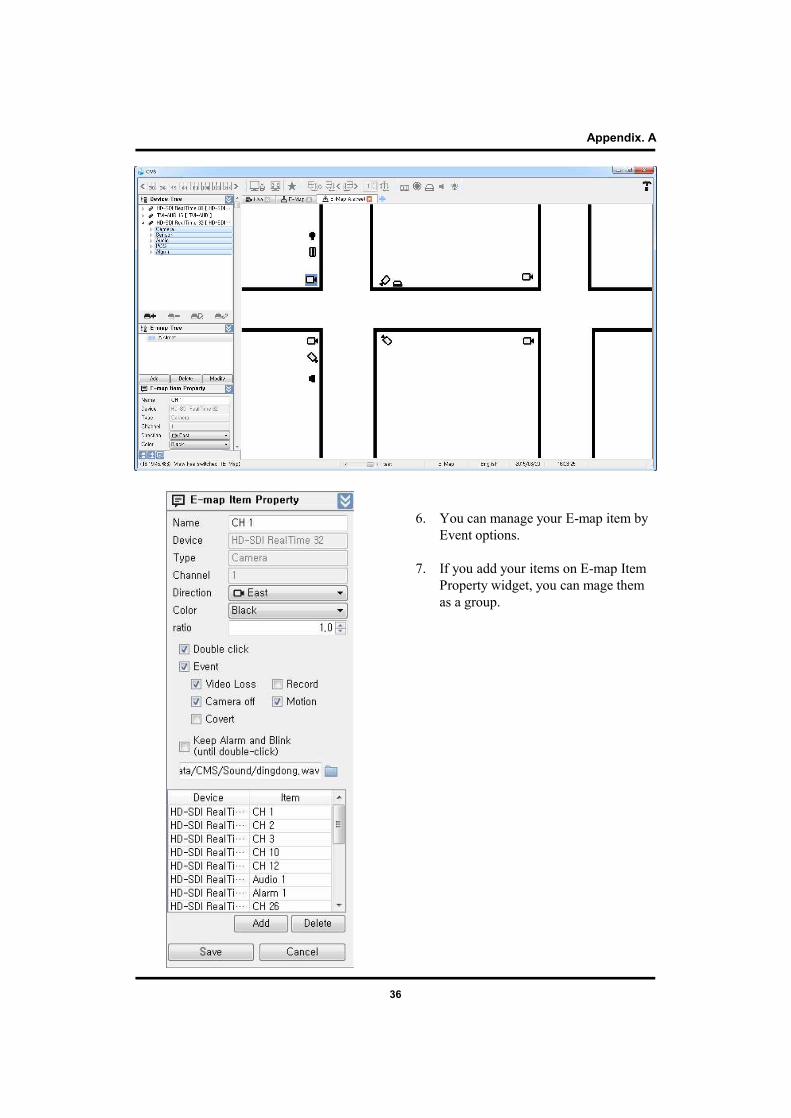
6. You can manage your E-map item by Event options.
7. If you add your items on E-map Item Property widget, you can mage them as a group.
37
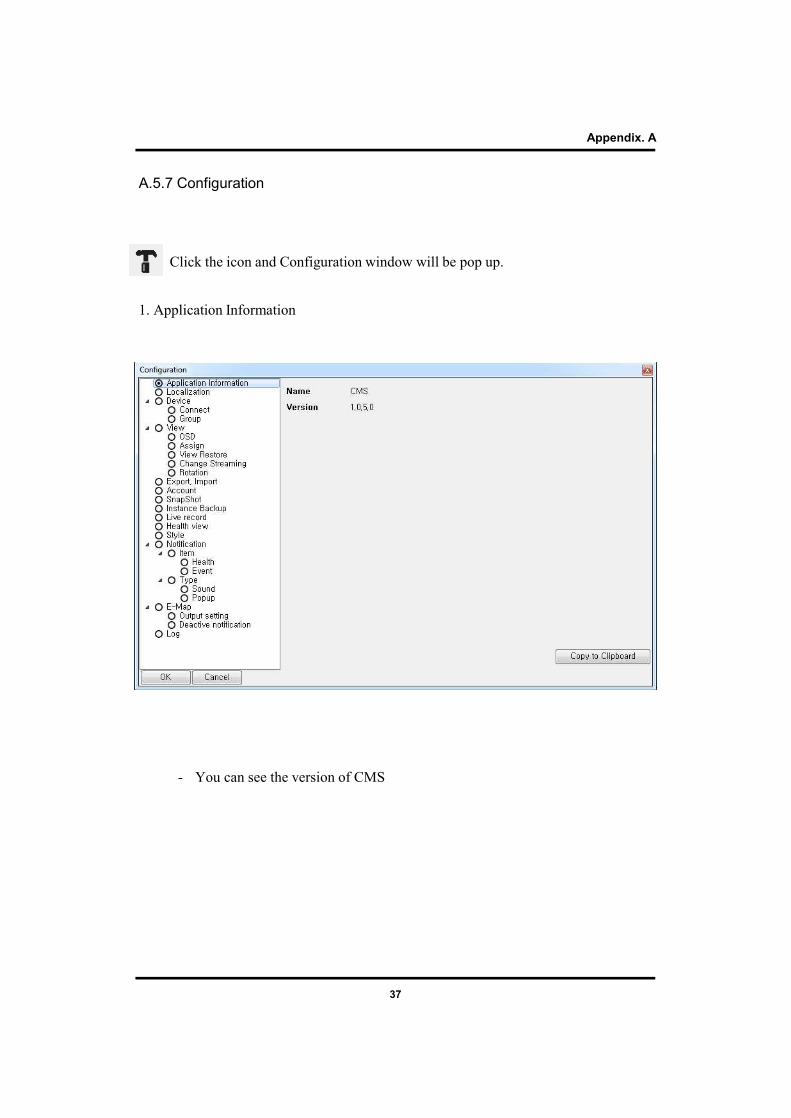
A.5.7 Configuration
Click the icon and Configuration window will be pop up.
Appendix. A
1. Application Information
- You can see the version of CMS

38
Appendix. A
- Language settings will apply after CMS program restart if you change to other language.
2. Localization
39
Appendix. A
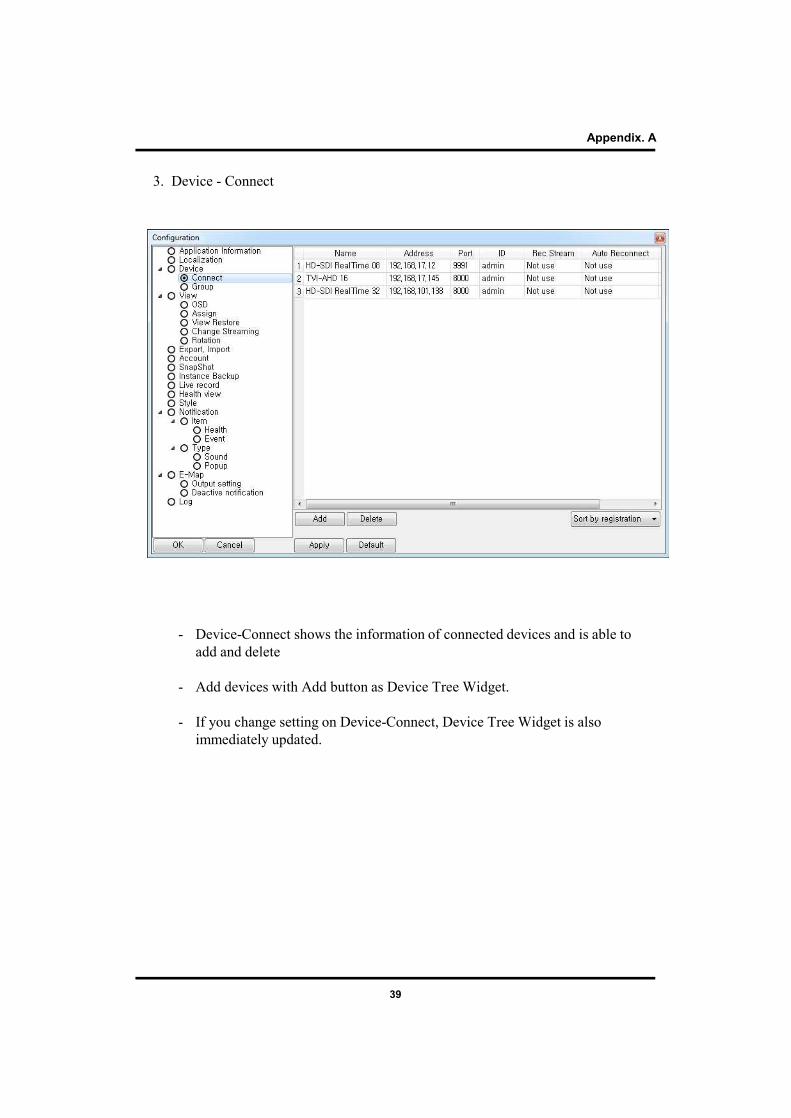
- Device-Connect shows the information of connected devices and is able to add and delete
- Add devices with Add button as Device Tree Widget.
- If you change setting on Device-Connect, Device Tree Widget is also immediately updated.
3. Device - Connect
40
Appendix. A
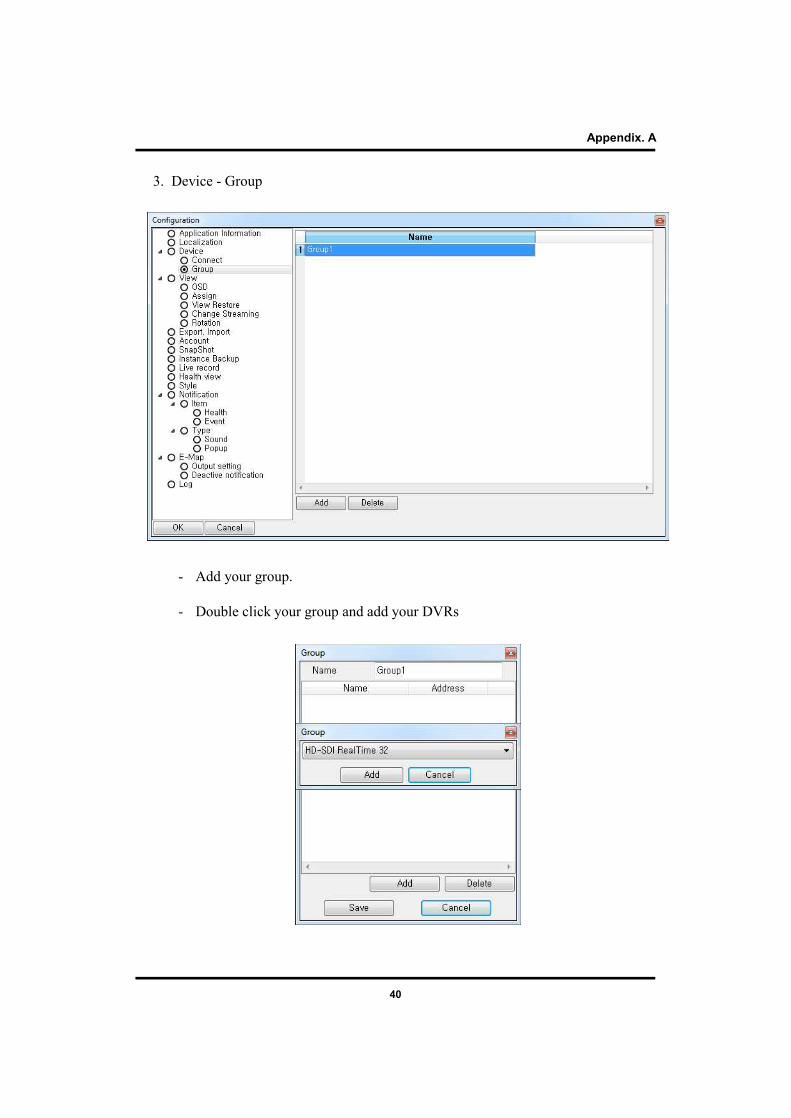
- Add your group.
- Double click your group and add your DVRs
3. Device - Group
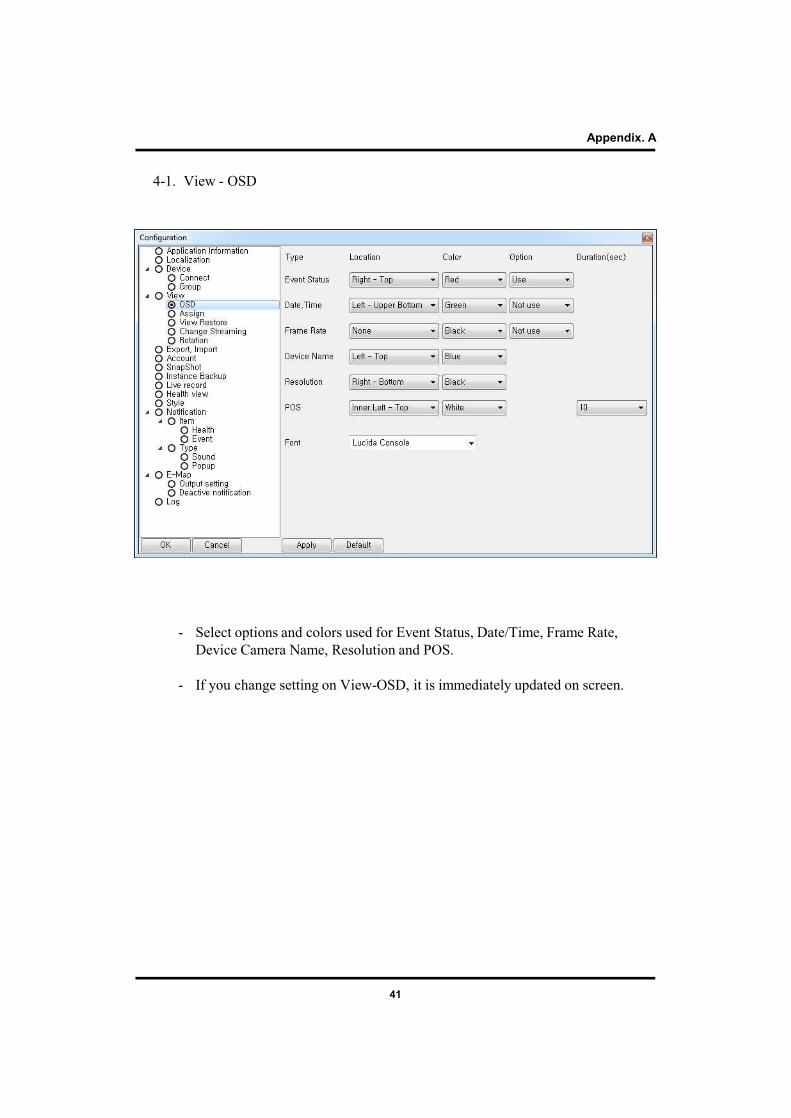
4-1. View - OSD
41
- Select options and colors used for Event Status, Date/Time, Frame Rate, Device Camera Name, Resolution and POS.
- If you change setting on View-OSD, it is immediately updated on screen.
Appendix. A
42
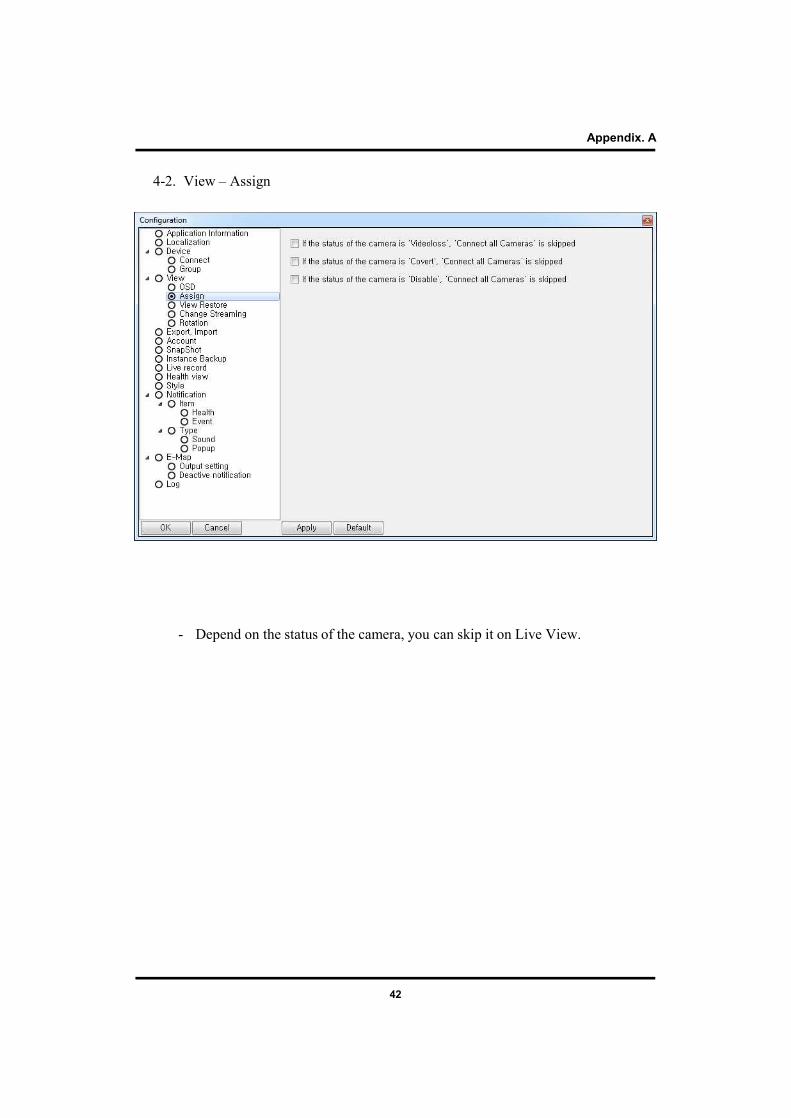
- Depend on the status of the camera, you can skip it on Live View.
Appendix. A
4-2. View – Assign

43
- If you check the box, it automatically restore the view to use the functions.
Appendix. A
4-3. View – View Restore

44
Appendix. A
4-4. View – Change Streaming
- Set a change streaming by number of split screen.
- If you set a change streaming to 4 split screen, you will see a video with high resolution supporting devices up to 4 spit screen. If you set a split screen more than 4 split, you will see a video with low resolution.
45
Appendix. A
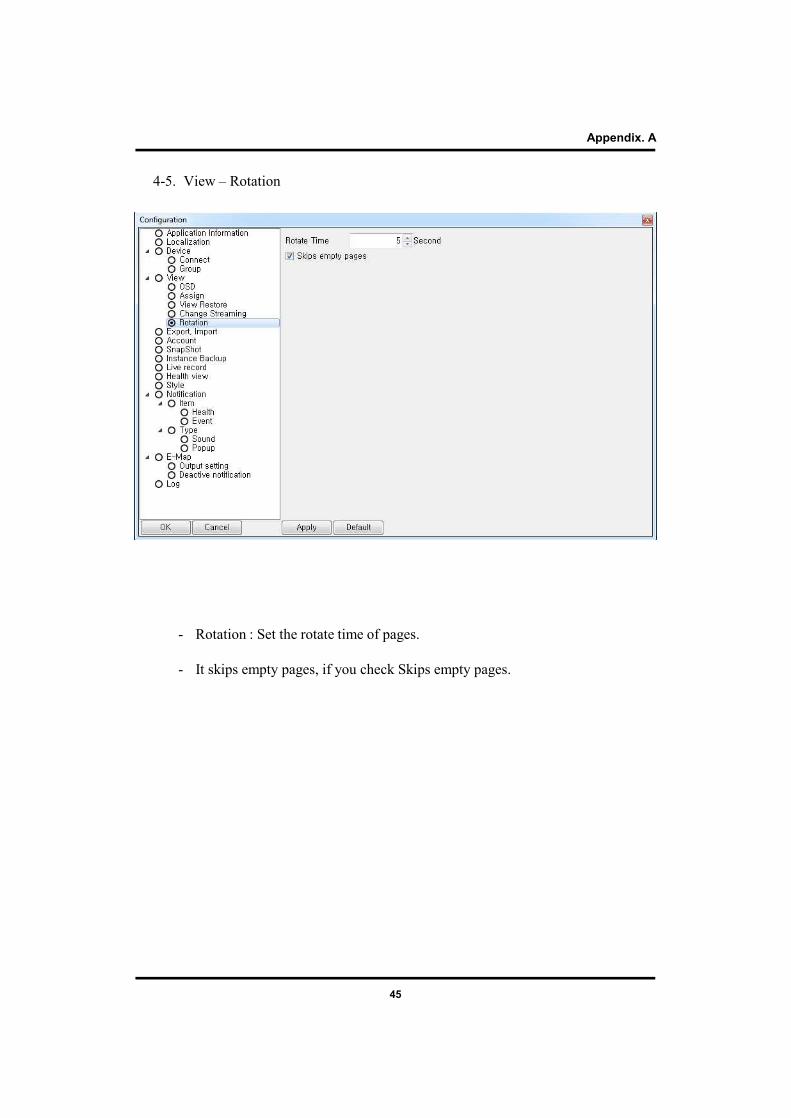
4-5. View – Rotation
- Rotation : Set the rotate time of pages.
- It skips empty pages, if you check Skips empty pages.
46
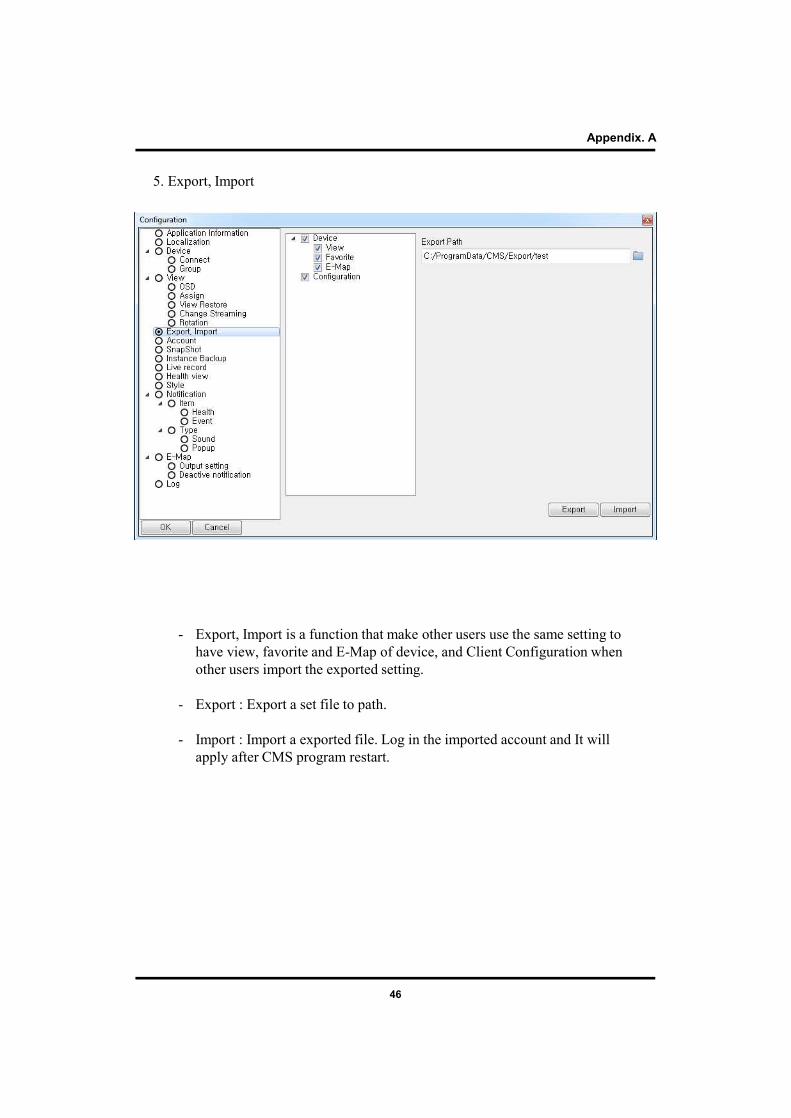
- Export, Import is a function that make other users use the same setting to have view, favorite and E-Map of device, and Client Configuration when other users import the exported setting.
- Export : Export a set file to path.
- Import : Import a exported file. Log in the imported account and It will apply after CMS program restart.
Appendix. A
5. Export, Import
47
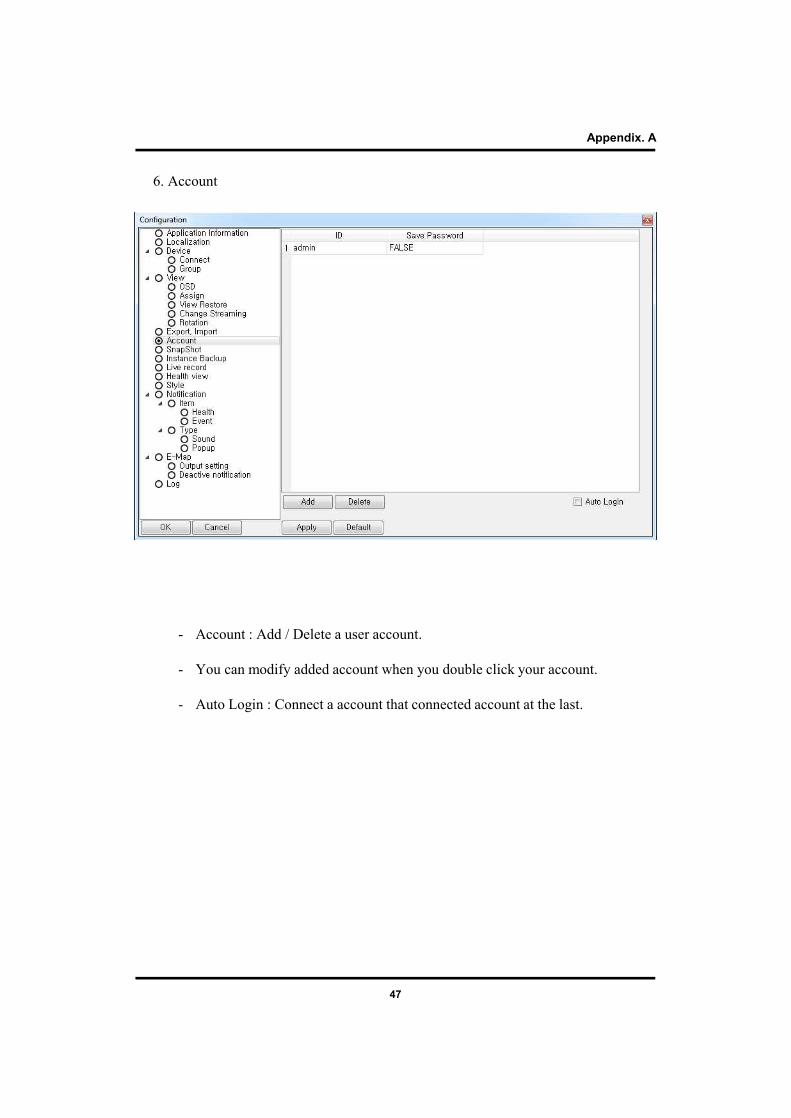
- Account : Add / Delete a user account.
- You can modify added account when you double click your account.
- Auto Login : Connect a account that connected account at the last.
Appendix. A
6. Account
48
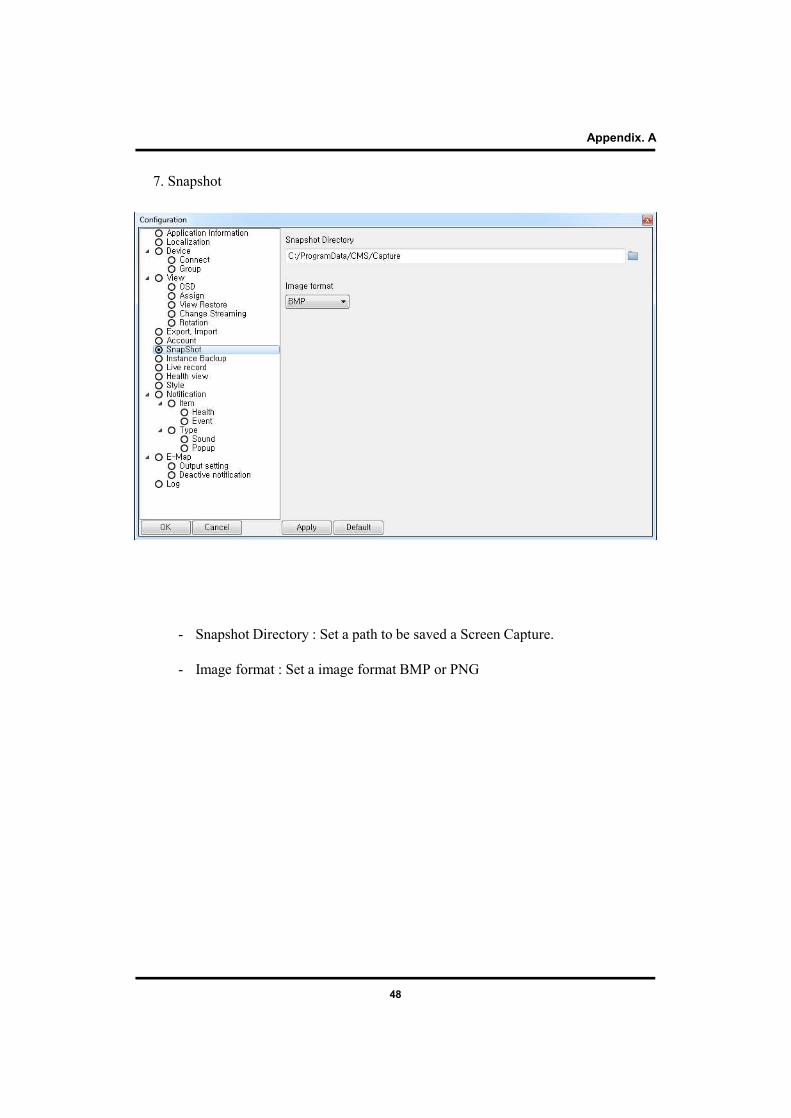
- Snapshot Directory : Set a path to be saved a Screen Capture.
- Image format : Set a image format BMP or PNG
Appendix. A
7. Snapshot
49
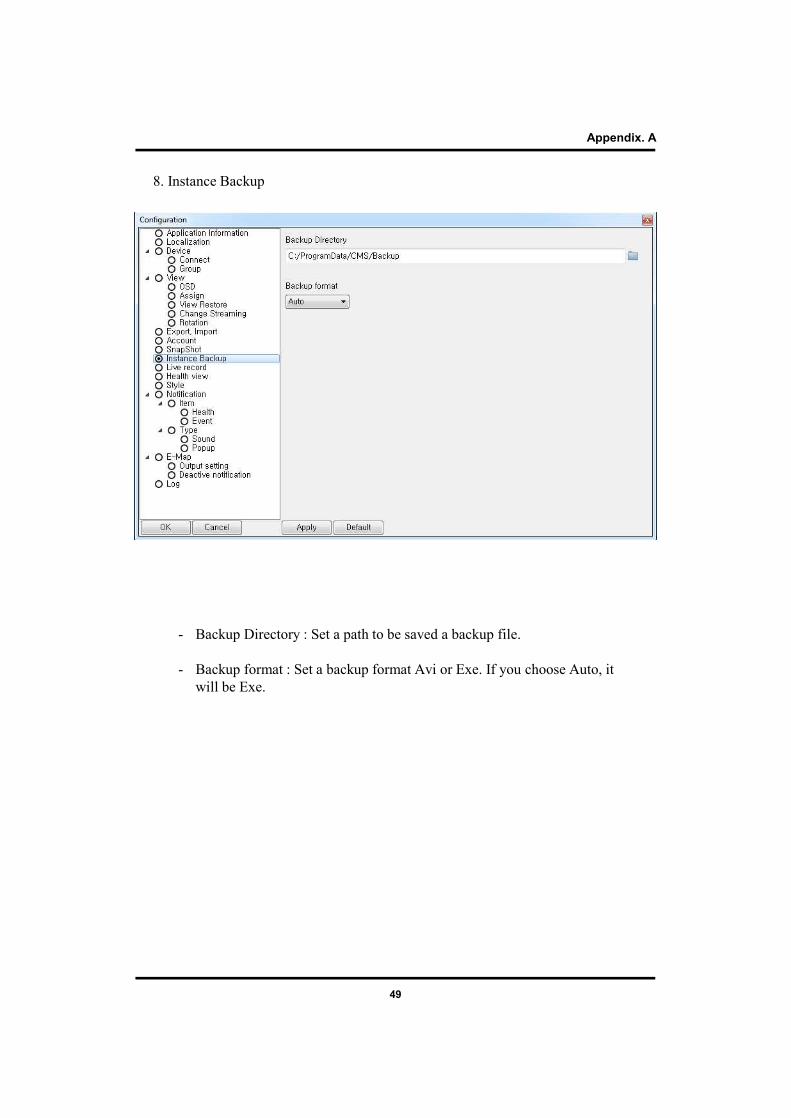
- Backup Directory : Set a path to be saved a backup file.
- Backup format : Set a backup format Avi or Exe. If you choose Auto, it will be Exe.
Appendix. A
8. Instance Backup
50
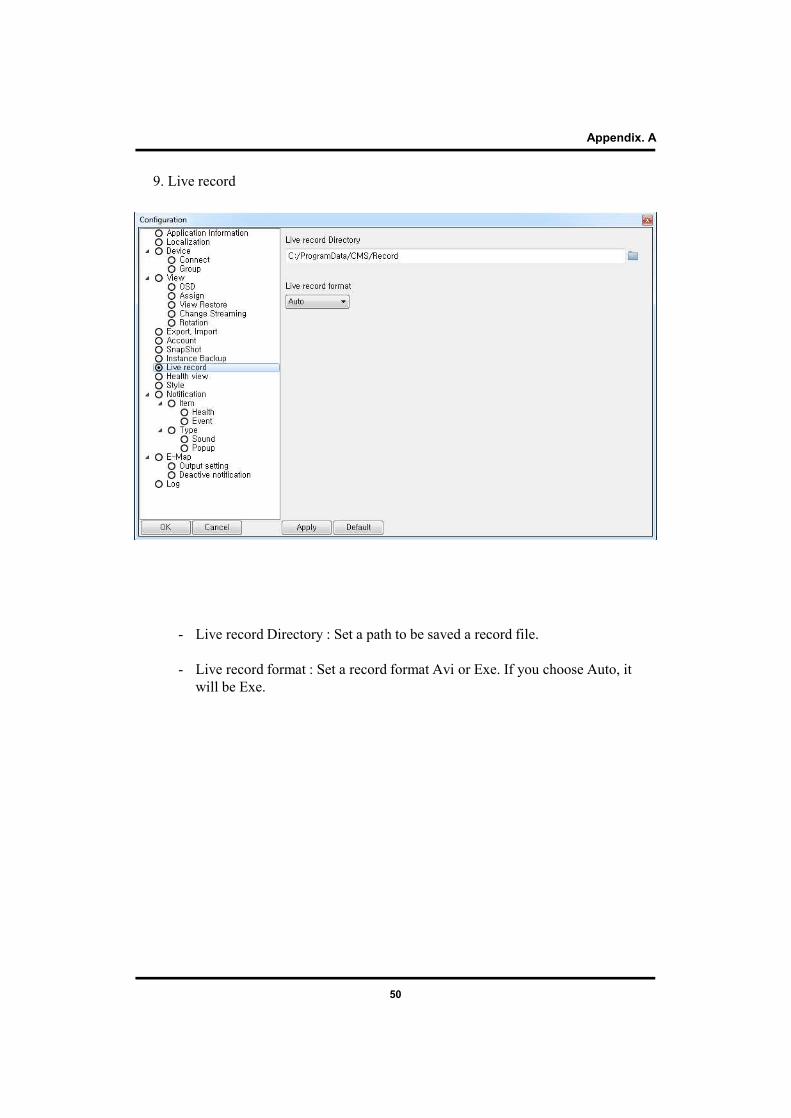
- Live record Directory : Set a path to be saved a record file.
- Live record format : Set a record format Avi or Exe. If you choose Auto, it will be Exe.
Appendix. A
9. Live record
51
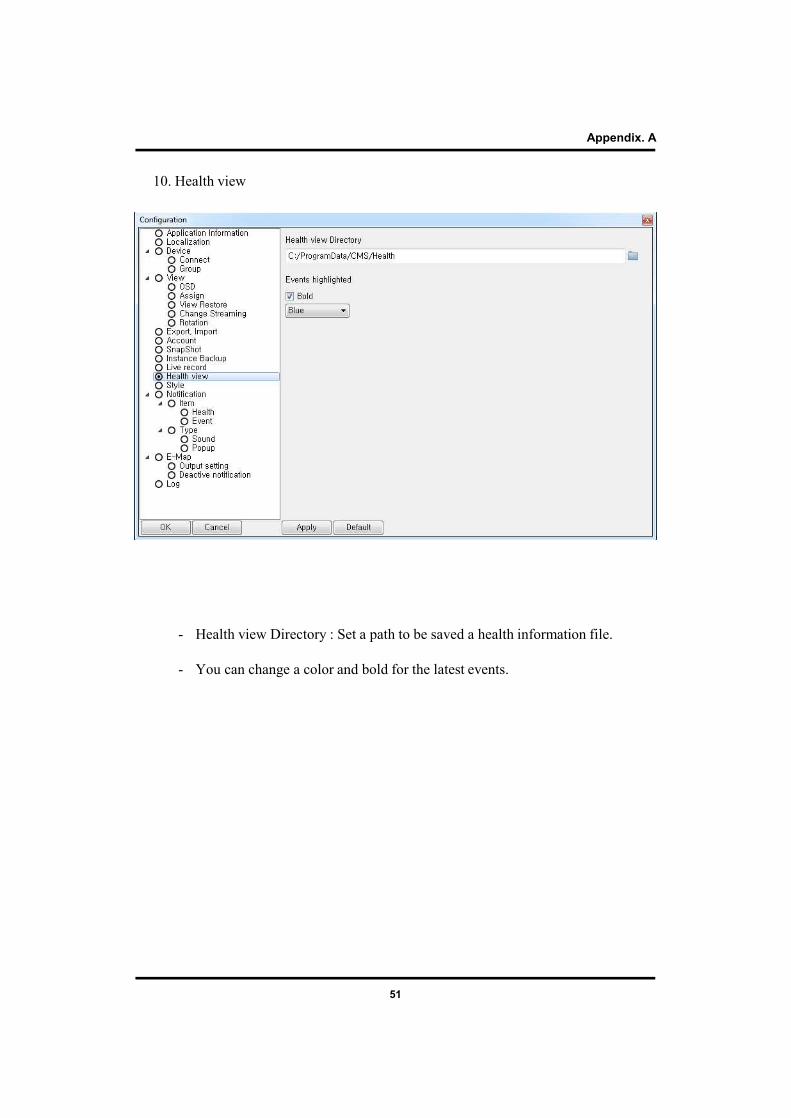
- Health view Directory : Set a path to be saved a health information file.
- You can change a color and bold for the latest events.
Appendix. A
10. Health view
52
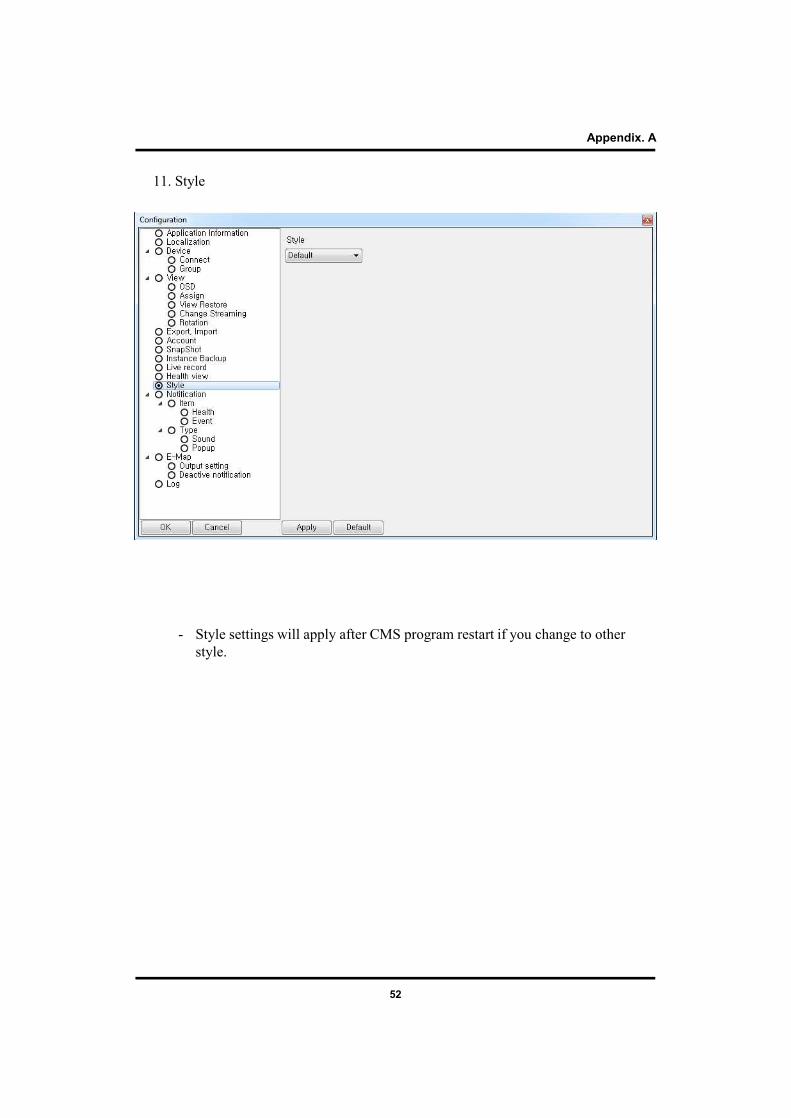
- Style settings will apply after CMS program restart if you change to other style.
Appendix. A
11. Style

53
Appendix. A
- Notification - Item - Health & Event : Select notifications.
12-1. Notification - Item

54
Appendix. A
- Type – Sound & Popup : if you check the notification item box, you can get notification by sound and a popup window.
12-2. Notification - Type
55
Appendix. A
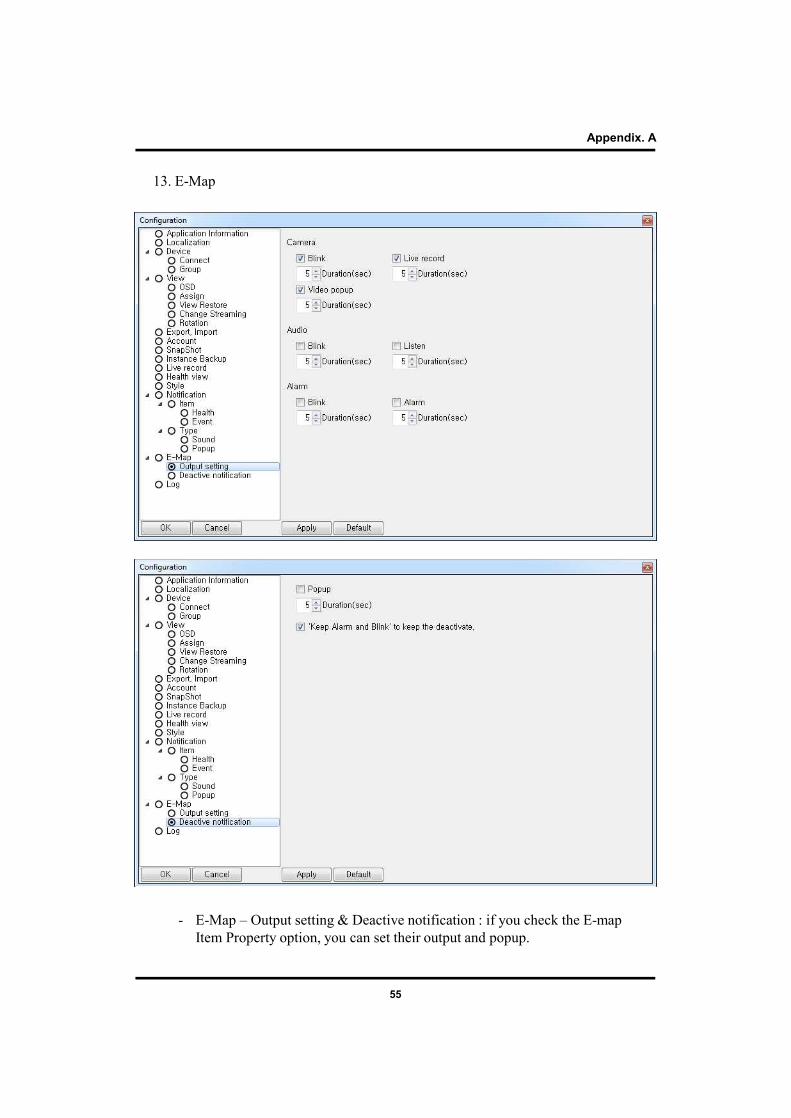
- E-Map – Output setting & Deactive notification : if you check the E-map Item Property option, you can set their output and popup.
13. E-Map
56
Appendix. A
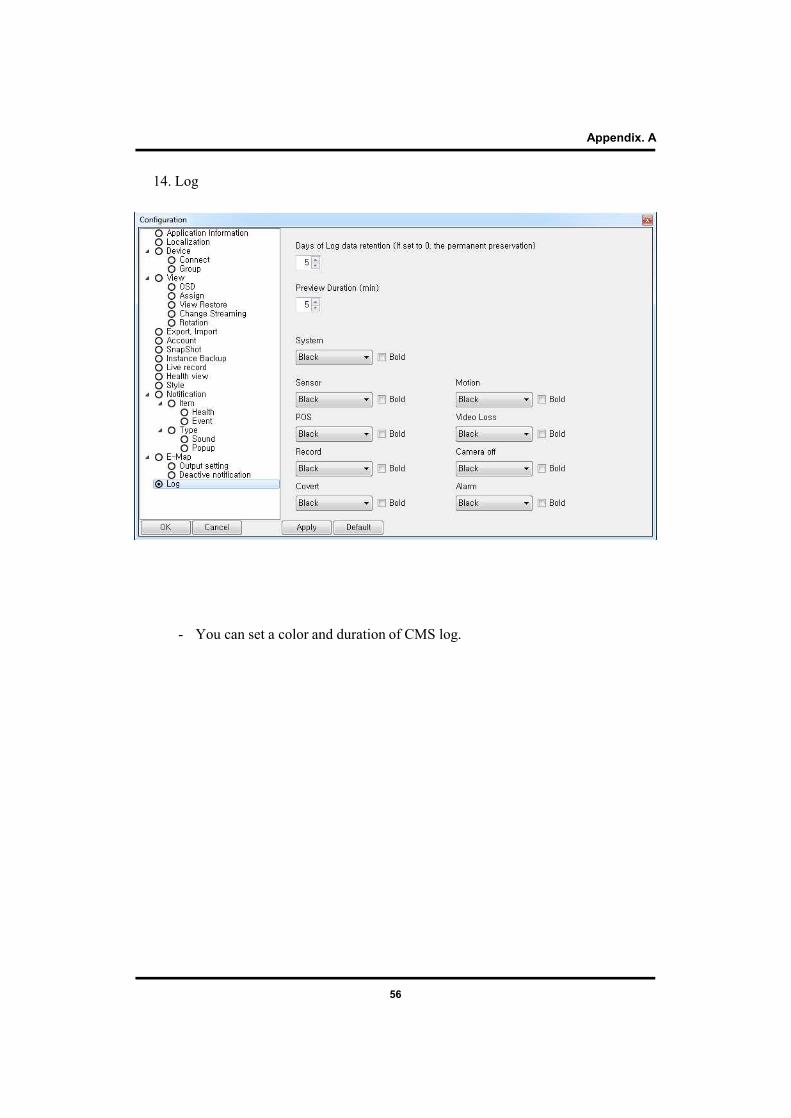
14. Log
- You can set a color and duration of CMS log.

57
• Status Bar : Show a status of CMS, current connected account, kind of view, Language, date, and time from the left.
Appendix. A
A.5.8 Status Bar