Embed Size (px)
Citation preview
Arc PremiumConsole Operator Attendant
Quick Reference
Version 5.1.3

a_O
PR05
11
© 2003 - 2011 Arc Solutions (International) Ltd. All rights reservedNo part of this documentation may be reproduced in any form or by any means or used to make any derivative work (such as translation, transformation, or adaptation) without permission from Arc Solutions (International) Limited.
Arc Solutions (International) Limited reserves the right to revise this documentation and to make changes to its content from time to time without obligation on the part of Arc Solutions (International) Limited to provide notification of such revision or change.Cisco is a registered trademark of Cisco, inc.Unless otherwise indicated, Arc Solutions (International) Limited registered trademarks are registered in the United Kingdom and may or may not be registered in other countries.
All trademarks acknowledged
A Mettoni Limited Company
3rd Edition, June 2010 Supporting Version 5.1.2
4th Edition, May 2011 Supporting Version 5.1.3
Written by Mark Kent Printed in England
The equipment complies with all the relevant conditions if used in accordance with the manual.
EMEA
Arc Solutions (International) Ltd.
Americas
Arc Solutions (International) Inc.
Asia Pacific
Arc Solutions (International) Ltd.
Innovation HousePincents Lane,
Reading, Berkshire.RG31 4UH
Research Triangle Park4819 Emperor Blvd
DurhamNorth Carolina 27703
2 Marks StreetNaremburnNSW 2065Australia
T: +44(0) 118 943 9200f: +44(0) 118 943 9201
T: +1 877 956 0272f: +1 919 313 4794
T: +61 409 692 480F: +61 (0)2 9437 4595
e: [email protected] e: [email protected] e: [email protected]
0870 220 2205 or+44(0) 118 943 9205 from outside the UK
Support+1 877 956 0272
Support+61 1300 797 724 or+44(0) 118 943 9212
www.arcsolutions.com
V5.
1.3
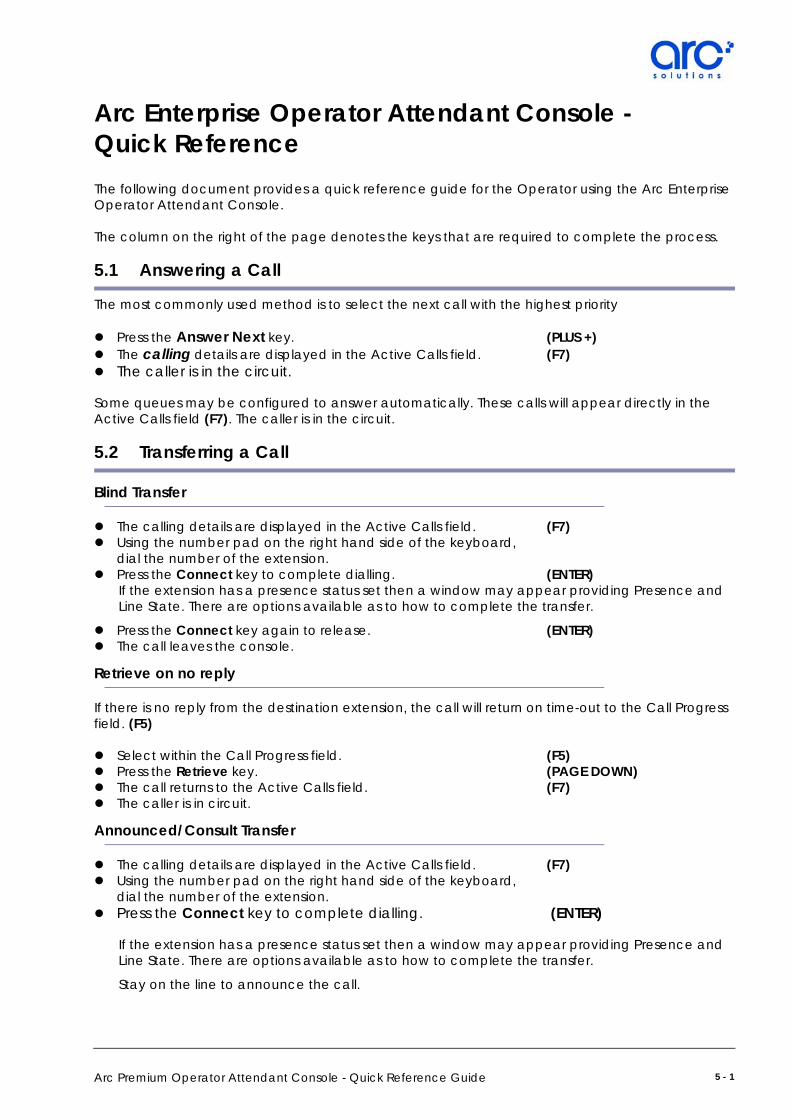
Arc Enterprise Operator Attendant Console - Quick ReferenceThe following document provides a quick reference guide for the Operator using the Arc Enterprise Operator Attendant Console.
The column on the right of the page denotes the keys that are required to complete the process.
5.1 Answering a Call
The most commonly used method is to select the next call with the highest priority
Press the Answer Next key. (PLUS +)The calling details are displayed in the Active Calls field. (F7) The caller is in the circuit.
Some queues may be configured to answer automatically. These calls will appear directly in the Active Calls field (F7). The caller is in the circuit.
5.2 Transferring a Call
Blind Transfer
The calling details are displayed in the Active Calls field. (F7) Using the number pad on the right hand side of the keyboard, dial the number of the extension. Press the Connect key to complete dialling. (ENTER) If the extension has a presence status set then a window may appear providing Presence and Line State. There are options available as to how to complete the transfer.
Press the Connect key again to release. (ENTER)The call leaves the console.
Retrieve on no reply
If there is no reply from the destination extension, the call will return on time-out to the Call Progress field. (F5)
Select within the Call Progress field. (F5) Press the Retrieve key. (PAGE DOWN)The call returns to the Active Calls field. (F7)The caller is in circuit.
Announced/Consult Transfer
The calling details are displayed in the Active Calls field. (F7) Using the number pad on the right hand side of the keyboard, dial the number of the extension. Press the Connect key to complete dialling. (ENTER)
If the extension has a presence status set then a window may appear providing Presence and Line State. There are options available as to how to complete the transfer.
Stay on the line to announce the call.
5 - 1Arc Premium Operator Attendant Console - Quick Reference Guide

No Reply
Press 'Cancel Consultation' key to return to the calling party (MINUS -)
Accepted
Press the Connect key again to release. (ENTER)The call leaves the console.
Refused
Press Cancel Consultation key to return to the calling party. (MINUS -)
If more information is requested by called party
Press Toggle to return to calling party. (PLUS +)Press Toggle to return to called party. (PLUS +)
Connect Call
With the called party in circuit.
Press the Connect key to release. (ENTER)The call leaves the console.
5.3 Holding and Retrieving a Call
Holding a Call
While in an Active Call call (F7) Press the Hold key. (PAGE DOWN)The call is highlighted in Call Progress field. (F5)
Holding a Call with Notes
Select the call to be placed on hold from within the Active Calls field. (F7) Press the Hold with Notes key. (PAGE UP)The call is highlighted in Call Progress field. (F5)
Retrieving a Call
Select within the Call Progress field. (F5)Press the Retrieve key. (PAGE DOWN)The call returns to the Active Calls field. (F7)The caller is in circuit.
5.4 Camp-On Calls
With the relevant call selected within the Active Calls field. (F7)Make a call to the extension that is currently busy. A busy tone is heard, the call display window will echo the word BUSY. Press the Camp-On key. (INSERT)The call will leave the Console.
Retrieve the Call
When the camp-on timeout limit is reached if the call is still waiting for the Busy extension it will return on time-out to the Call Progress field (F5).
5 - 2
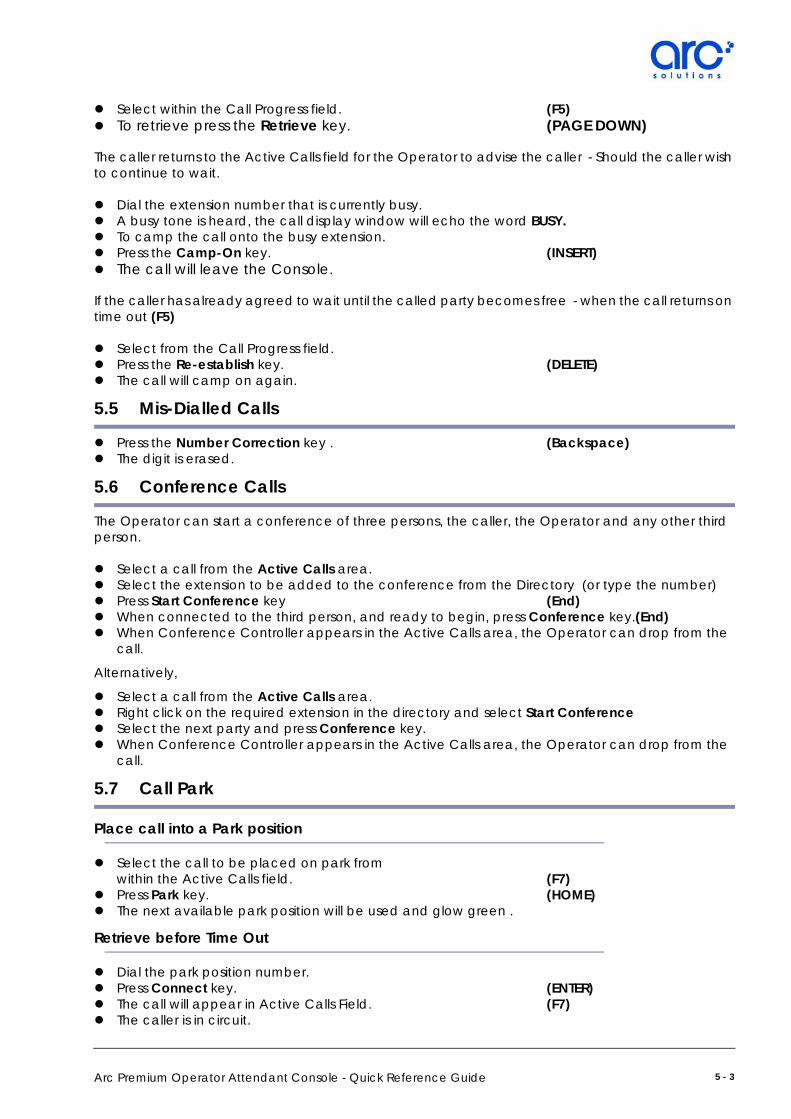
Select within the Call Progress field. (F5) To retrieve press the Retrieve key. (PAGE DOWN)
The caller returns to the Active Calls field for the Operator to advise the caller - Should the caller wish to continue to wait.
Dial the extension number that is currently busy. A busy tone is heard, the call display window will echo the word BUSY. To camp the call onto the busy extension. Press the Camp-On key. (INSERT)The call will leave the Console.
If the caller has already agreed to wait until the called party becomes free - when the call returns on time out (F5)
Select from the Call Progress field. Press the Re-establish key. (DELETE)The call will camp on again.
5.5 Mis-Dialled Calls
Press the Number Correction key . (Backspace)The digit is erased.
5.6 Conference Calls
The Operator can start a conference of three persons, the caller, the Operator and any other third person.
Select a call from the Active Calls area.Select the extension to be added to the conference from the Directory (or type the number)Press Start Conference key (End)When connected to the third person, and ready to begin, press Conference key.(End)When Conference Controller appears in the Active Calls area, the Operator can drop from the call.
Alternatively,
Select a call from the Active Calls area.Right click on the required extension in the directory and select Start Conference Select the next party and press Conference key.When Conference Controller appears in the Active Calls area, the Operator can drop from the call.
5.7 Call Park
Place call into a Park position
Select the call to be placed on park from within the Active Calls field. (F7)Press Park key. (HOME)The next available park position will be used and glow green .
Retrieve before Time Out
Dial the park position number.Press Connect key. (ENTER)The call will appear in Active Calls Field. (F7)The caller is in circuit.
5 - 3Arc Premium Operator Attendant Console - Quick Reference Guide

Retrieve on Time Out
Select within the Call Progress field. (F5)Press the Retrieve key. (PAGE DOWN)The call will appear in Active Calls Field. (F7)The caller is in circuit.
5.8 Making Calls
Using the keypad, dial the required number.Press Connect key to end dialling. (ENTER)The call will appear in the Active Calls field. (F7)The conditions change from Ringing to Talking when answered.
5.9 Clearing Calls
To disconnect a call when the caller has completed their enquiry.
Select from within the Active Calls field. (F7) Press the Clear key. (ENTER)The call leaves the console.
5.10 Speed Dial
To Use Speed Dial
Select and double click the required Speed Dial number.
Adding a Speed Dial
There are two methods;Select and drag the desired contact into the Speed Dials Area using the mouse. Entries in this area are sorted alphabetically.OrPoint the cursor in the Speed Dials field and right click to select Add Speed Dial.Type Number, Name and Company Name of the contact.Click OK.
Speed Dials can either be Private , or Public (viewed by all operators).
Deleting a Speed Dial
Select the speed dial you want to delete.Right click and select Delete Speed Dial.Select Yes on the confirmation message.
Edit a Speed Dial
Select the speed dial you want to edit.Right click and select Edit Speed Dial.Change the Number, Name and Company as required.Click OK.
5.11 Lateral Searching (CTRL+F2)
When a contact is selected in either the Full Directory or a Personal Directory Group.
Open the Lateral Search (CTRL+F2)Select an Alternative contact from the selection displayed (ENTER)
5 - 4
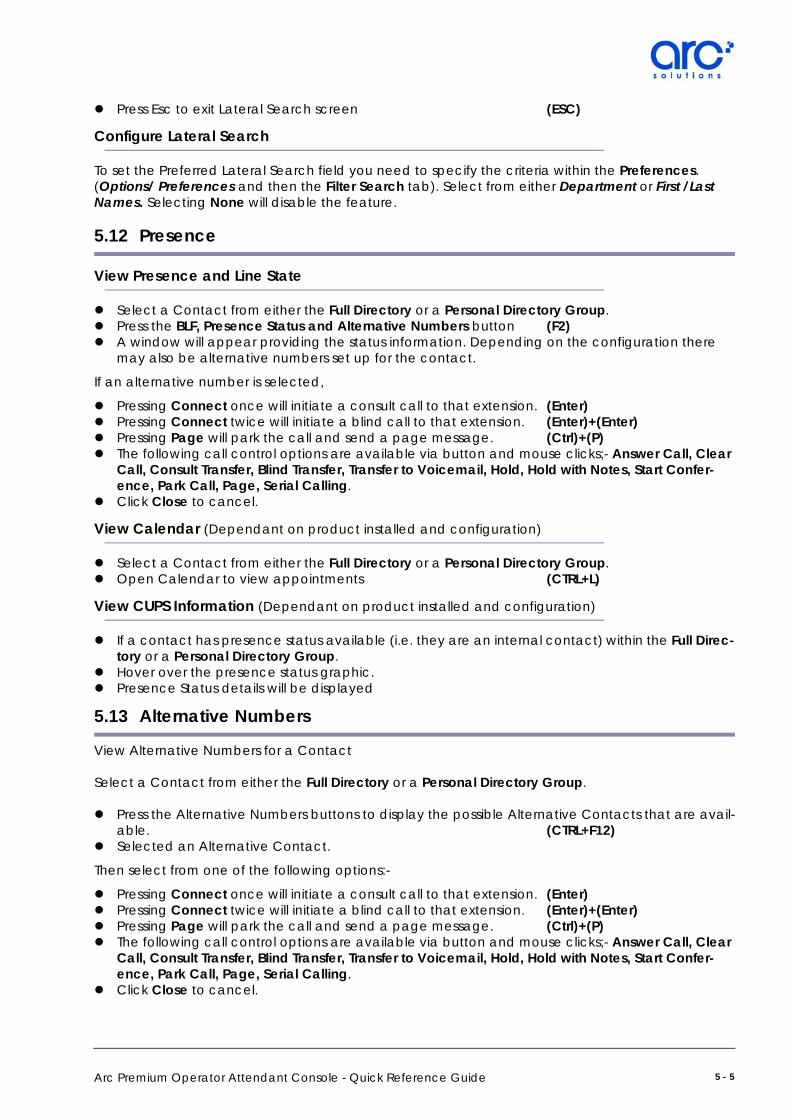
Press Esc to exit Lateral Search screen (ESC)
Configure Lateral Search
To set the Preferred Lateral Search field you need to specify the criteria within the Preferences. (Options/ Preferences and then the Filter Search tab). Select from either Department or First /Last Names. Selecting None will disable the feature.
5.12 Presence
View Presence and Line State
Select a Contact from either the Full Directory or a Personal Directory Group.Press the BLF, Presence Status and Alternative Numbers button (F2)A window will appear providing the status information. Depending on the configuration there may also be alternative numbers set up for the contact.
If an alternative number is selected,
Pressing Connect once will initiate a consult call to that extension. (Enter)Pressing Connect twice will initiate a blind call to that extension. (Enter)+(Enter)Pressing Page will park the call and send a page message. (Ctrl)+(P)The following call control options are available via button and mouse clicks;- Answer Call, Clear Call, Consult Transfer, Blind Transfer, Transfer to Voicemail, Hold, Hold with Notes, Start Confer-ence, Park Call, Page, Serial Calling.Click Close to cancel.
View Calendar (Dependant on product installed and configuration)
Select a Contact from either the Full Directory or a Personal Directory Group.Open Calendar to view appointments (CTRL+L)
View CUPS Information (Dependant on product installed and configuration)
If a contact has presence status available (i.e. they are an internal contact) within the Full Direc-tory or a Personal Directory Group.Hover over the presence status graphic.Presence Status details will be displayed
5.13 Alternative Numbers
View Alternative Numbers for a Contact
Select a Contact from either the Full Directory or a Personal Directory Group.
Press the Alternative Numbers buttons to display the possible Alternative Contacts that are avail-able. (CTRL+F12)Selected an Alternative Contact.
Then select from one of the following options:-
Pressing Connect once will initiate a consult call to that extension. (Enter)Pressing Connect twice will initiate a blind call to that extension. (Enter)+(Enter)Pressing Page will park the call and send a page message. (Ctrl)+(P)The following call control options are available via button and mouse clicks;- Answer Call, Clear Call, Consult Transfer, Blind Transfer, Transfer to Voicemail, Hold, Hold with Notes, Start Confer-ence, Park Call, Page, Serial Calling.Click Close to cancel.
5 - 5Arc Premium Operator Attendant Console - Quick Reference Guide

5 - 6
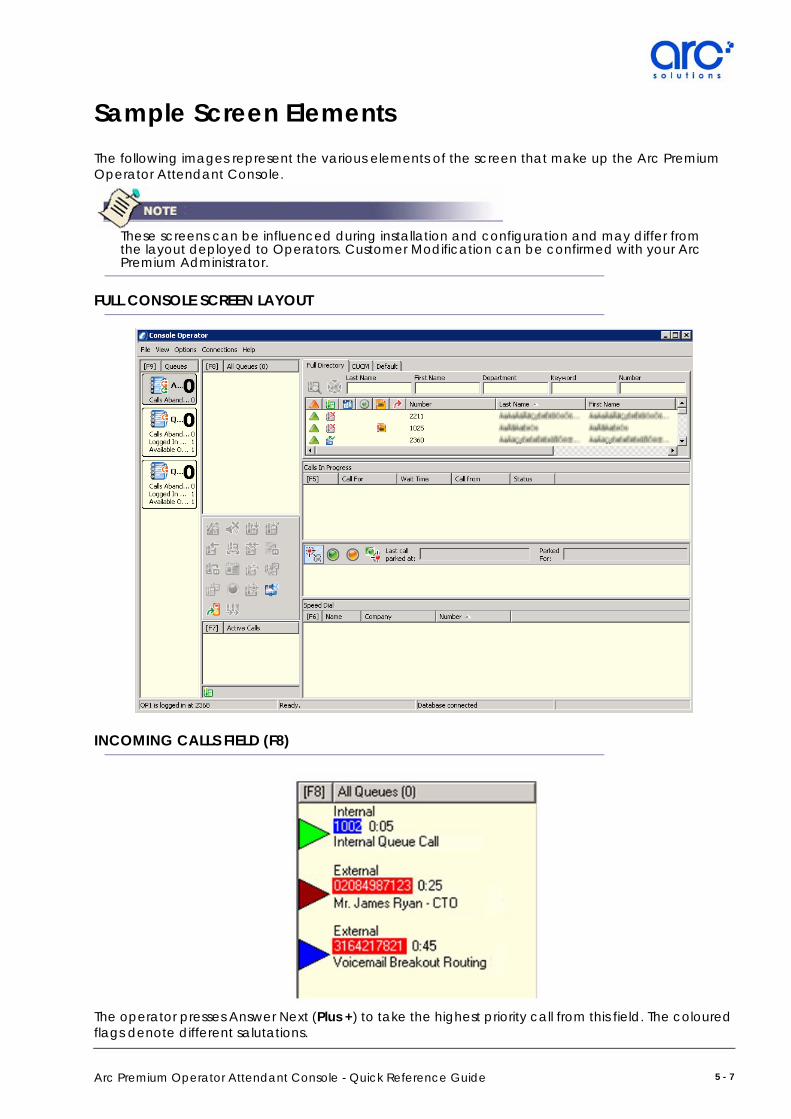
Sample Screen ElementsThe following images represent the various elements of the screen that make up the Arc Premium Operator Attendant Console.
These screens can be influenced during installation and configuration and may differ from the layout deployed to Operators. Customer Modification can be confirmed with your Arc Premium Administrator.
FULL CONSOLE SCREEN LAYOUT
INCOMING CALLS FIELD (F8)
The operator presses Answer Next (Plus +) to take the highest priority call from this field. The coloured flags denote different salutations.
5 - 7Arc Premium Operator Attendant Console - Quick Reference Guide
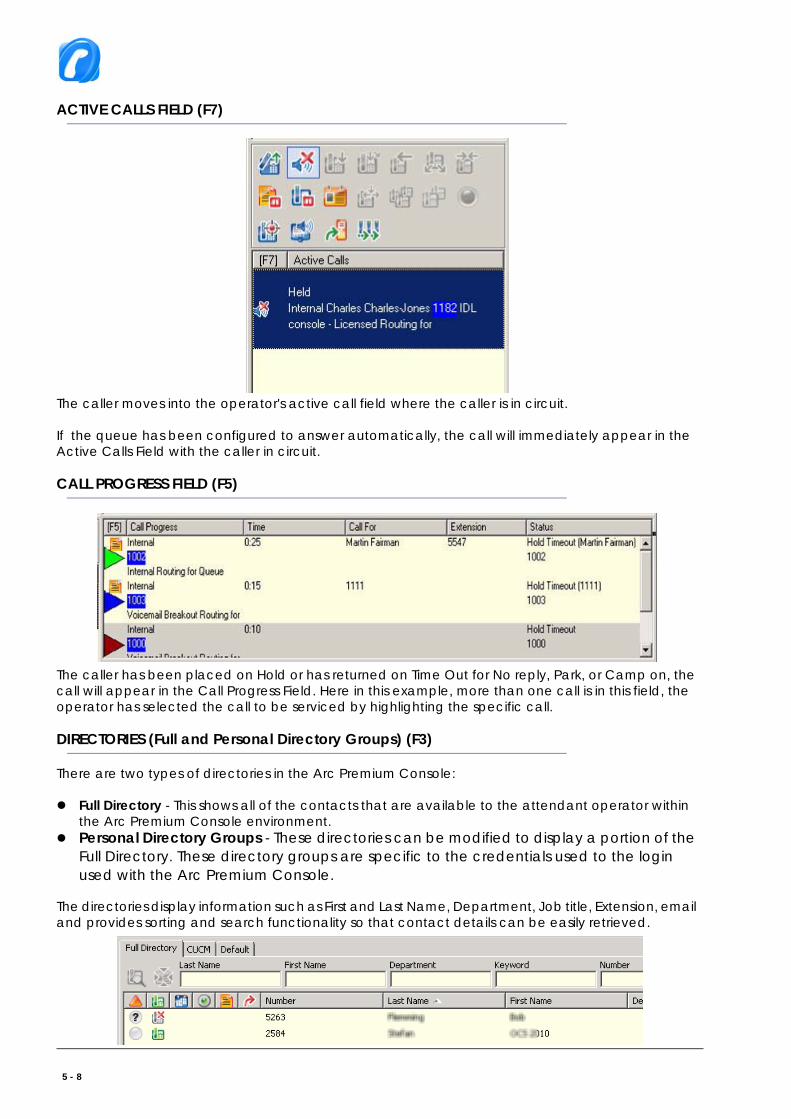
ACTIVE CALLS FIELD (F7)
The caller moves into the operator's active call field where the caller is in circuit.
If the queue has been configured to answer automatically, the call will immediately appear in the Active Calls Field with the caller in circuit.
CALL PROGRESS FIELD (F5)
The caller has been placed on Hold or has returned on Time Out for No reply, Park, or Camp on, the call will appear in the Call Progress Field. Here in this example, more than one call is in this field, the operator has selected the call to be serviced by highlighting the specific call.
DIRECTORIES (Full and Personal Directory Groups) (F3)
There are two types of directories in the Arc Premium Console:
Full Directory - This shows all of the contacts that are available to the attendant operator within the Arc Premium Console environment.Personal Directory Groups - These directories can be modified to display a portion of the Full Directory. These directory groups are specific to the credentials used to the login used with the Arc Premium Console.
The directories display information such as First and Last Name, Department, Job title, Extension, email and provides sorting and search functionality so that contact details can be easily retrieved.
5 - 8
To navigate between the Directories, you can either click on the tab heading. You can also use Ctrl+TAB and Ctrl+SHIFT+TAB to select the next or previous directory. Alternatively you can press Alt+Number where the number represents the tab position going across the screen (1,2,3,4,etc) this will navigate to the tab directly.
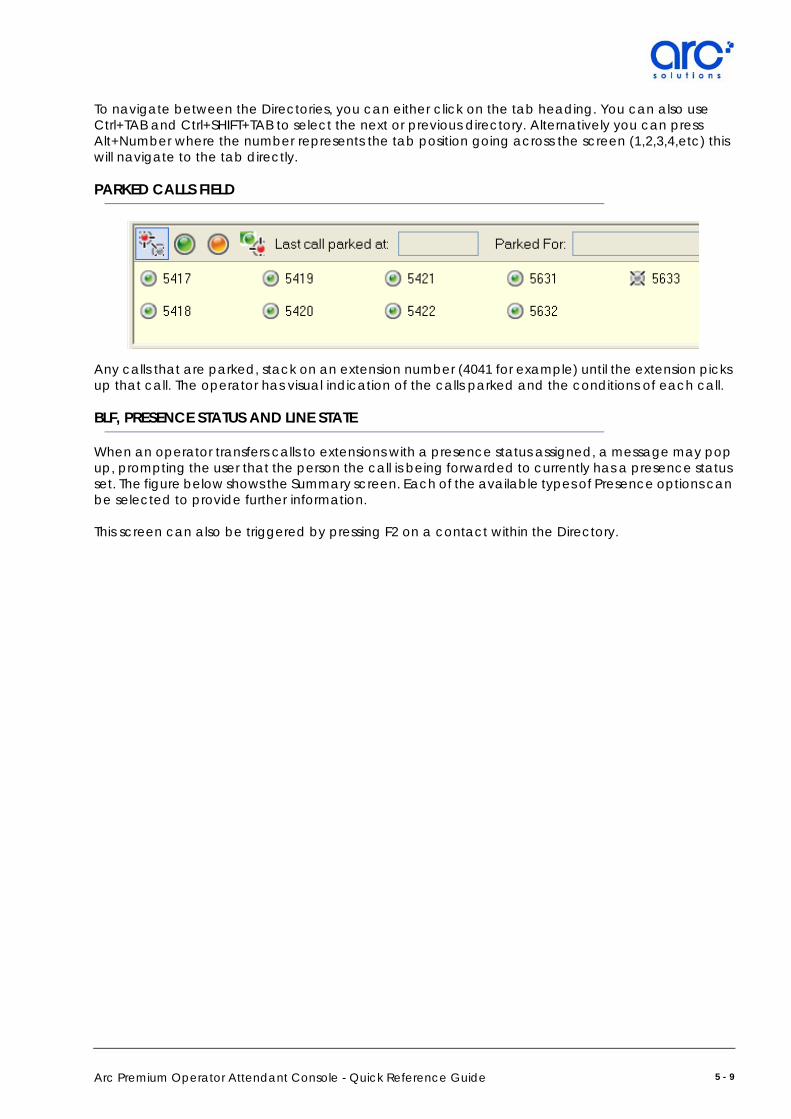
PARKED CALLS FIELD
Any calls that are parked, stack on an extension number (4041 for example) until the extension picks up that call. The operator has visual indication of the calls parked and the conditions of each call.
BLF, PRESENCE STATUS AND LINE STATE
When an operator transfers calls to extensions with a presence status assigned, a message may pop up, prompting the user that the person the call is being forwarded to currently has a presence status set. The figure below shows the Summary screen. Each of the available types of Presence options can be selected to provide further information.
This screen can also be triggered by pressing F2 on a contact within the Directory.
5 - 9Arc Premium Operator Attendant Console - Quick Reference Guide
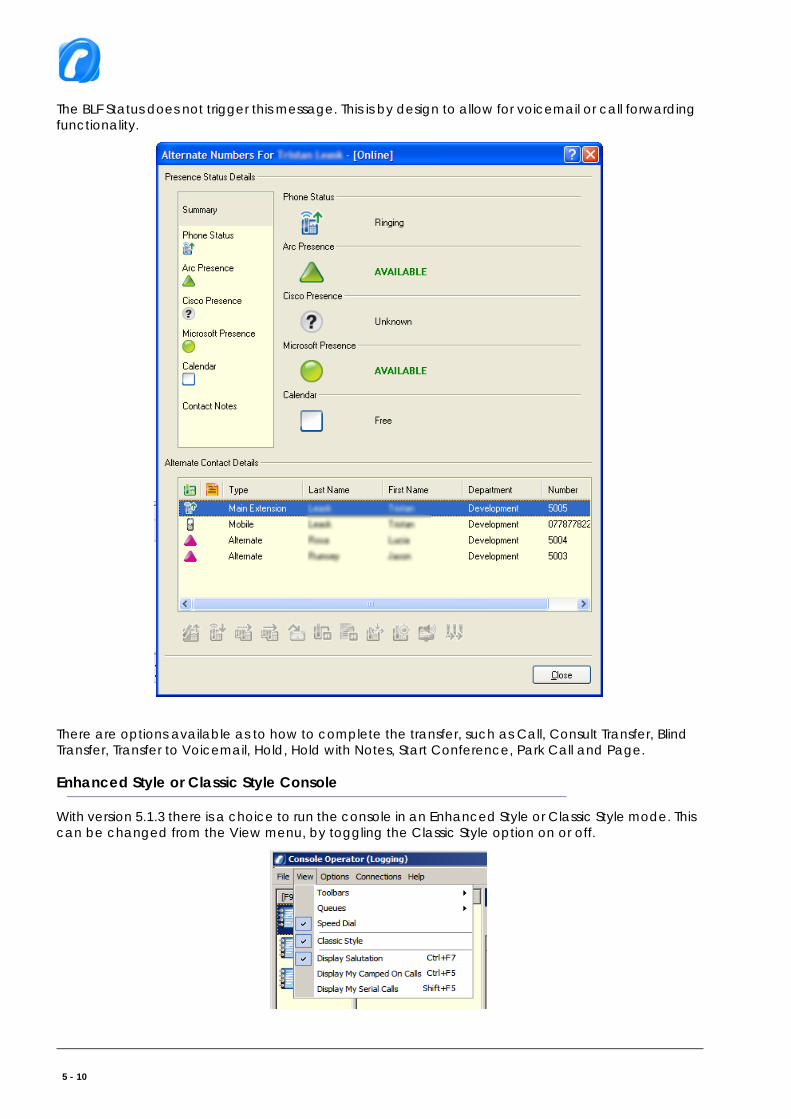
The BLF Status does not trigger this message. This is by design to allow for voicemail or call forwarding functionality.
There are options available as to how to complete the transfer, such as Call, Consult Transfer, Blind Transfer, Transfer to Voicemail, Hold, Hold with Notes, Start Conference, Park Call and Page.
Enhanced Style or Classic Style Console
With version 5.1.3 there is a choice to run the console in an Enhanced Style or Classic Style mode. This can be changed from the View menu, by toggling the Classic Style option on or off.
5 - 10
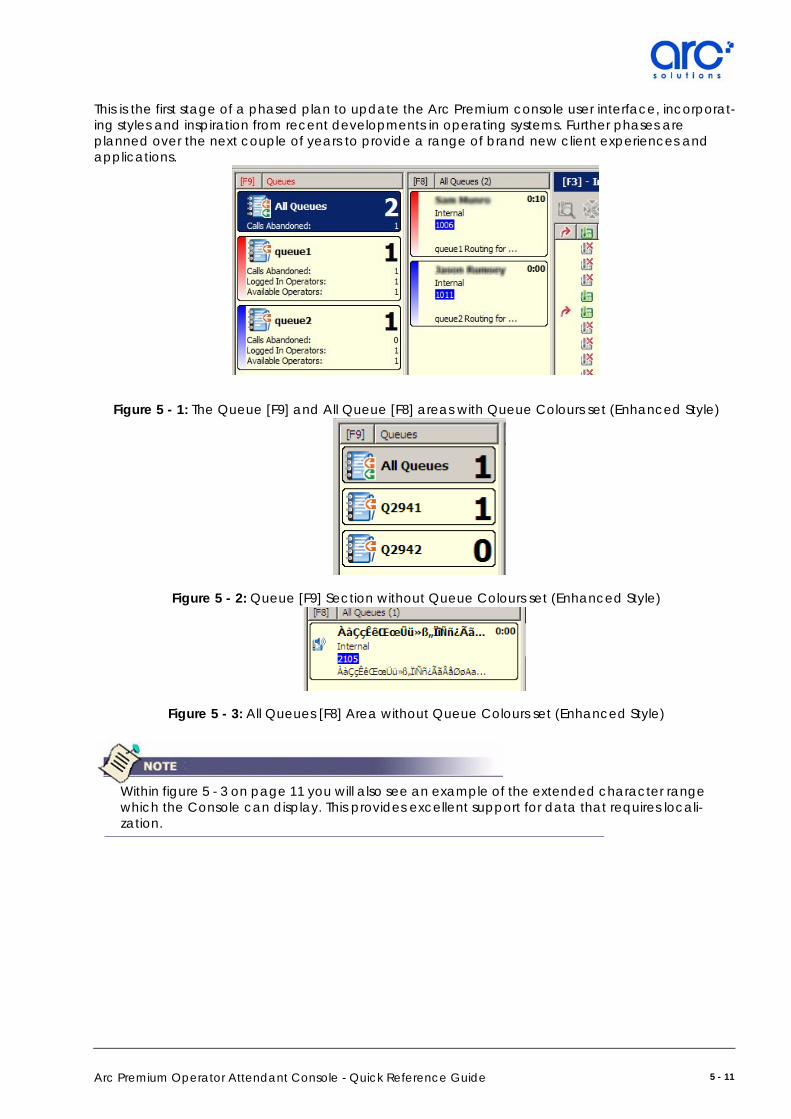
This is the first stage of a phased plan to update the Arc Premium console user interface, incorporat-ing styles and inspiration from recent developments in operating systems. Further phases are planned over the next couple of years to provide a range of brand new client experiences and applications.
Figure 5 - 1: The Queue [F9] and All Queue [F8] areas with Queue Colours set (Enhanced Style)
Figure 5 - 2: Queue [F9] Section without Queue Colours set (Enhanced Style)
Figure 5 - 3: All Queues [F8] Area without Queue Colours set (Enhanced Style)
Within figure 5 - 3 on page 11 you will also see an example of the extended character range which the Console can display. This provides excellent support for data that requires locali-zation.
5 - 11Arc Premium Operator Attendant Console - Quick Reference Guide

5 - 12