Embed Size (px)
Citation preview

Arrow Making 101
Lord Janyn Fletcher
WWW.Janynfletcher.com
University, 2011

CLASS AGENDA
• Introduction
• Advantages of Arrow Making
• Components Review
• Spine Explained
• Forward of Center Explained
• Arrow Design and Creativity
• Lets make some arrows!

ADVANTAGES of MAKING
YOUR OWN ARROWS

• Increased accuracy
• Ability to weight match shafts
• Ability to spine match shafts
• Ability to custom make your arrows
• Able to design whatever you wish for color and design
• Able better tune your arrows to your equipment
• Better selection of components
• Don’t have to take what is available
• Can select what you really want to use
• You can experiment with new designs
• It’s fun and rewarding!

THE COMPONENTS

Arrow Description About the Arrow: Arrows have four parts; the shaft, fletching, the nock and the
point.
The Shaft: Arrows are made from wood, aluminum,
carbon, fiberglass or a combination of these
materials. As suspected, the wood arrows are usually
preferred for use with traditional longbows or recurve
bow hunters. The tubular aluminum are most popular
for Bowhunters because of their light weight and
strength. They can accept either plastic vanes or
feather fletching. The tubular carbon arrow is also
know for its speed, light weight, and accuracy. It is
smaller in diameter than other arrow shafts.
The Fletching: Serves to guide the arrow on a straight
course.
The Nock: Placed in the bowstring to allow the arrow
to be drawn back as the hunter draws the bow string.
The Point: Depending on if you are target practicing or
hunting, you will use either a field point or a razor-sharp
broad head.

Arrow Building Components
Wood Arrow ShaftsWood Arrow Shafting: Wood arrows come in
many different types of wood, (Port Orford
Cedar, Sitka Spruce, Ash, etc…) They also come
in various sizes, 5/16, 11/32 and 23/64’s
diameter.
Hex Arrow Shafting: A new technology using a
hybrid construction technique .
Typical Arrow Shafting: Typical grain pattern
for most wood arrows.

Arrow Building Components
Fletching

Arrow Building Components
Points
Field Points: Field Points come in various sizes and
weights. It is important to pick the correct size and weight
for your application.
Brass Points: Brass Points come in various sizes and
weights. It is important to pick the correct size and weight
for your application. Brass points are more expensive to
use.
Bodkin Points: Bodkin points, although being period are
most times not allowed on the ranges because they
destroy the targets and backers quickly.

Arrow Building Components
Nocks
Classic Nocks: Classic nocks are good nocks and work
quite well. They come in different sizes and colors.
Snap Nocks: Snap nocks are also good nocks, but they
lack the index tab on them. Also they are designed to
“snap” on your string.

Arrow Designs

Arrow Designs

ARROW SPINE

Arrow Spine Explained
Static Spine is basically a measure of the stiffness of an arrow shaft. More
accurately, it is a measure of the deflection a shaft exhibits when a two pound
weight is suspended from the middle of the shaft when the shaft is supported at two
points 28 inches apart and the shaft is rotated so that the grain of the wood is
vertical. This measurement is generally made with a device called, surprise, a spine
tester. It is important that the grain of the shaft be oriented properly since a grained
material exhibits different stiffness with and against the grain. Arrow shafts are
measured to determine the greatest stiffness and that measurement is across the
grain.

Archers Paradox
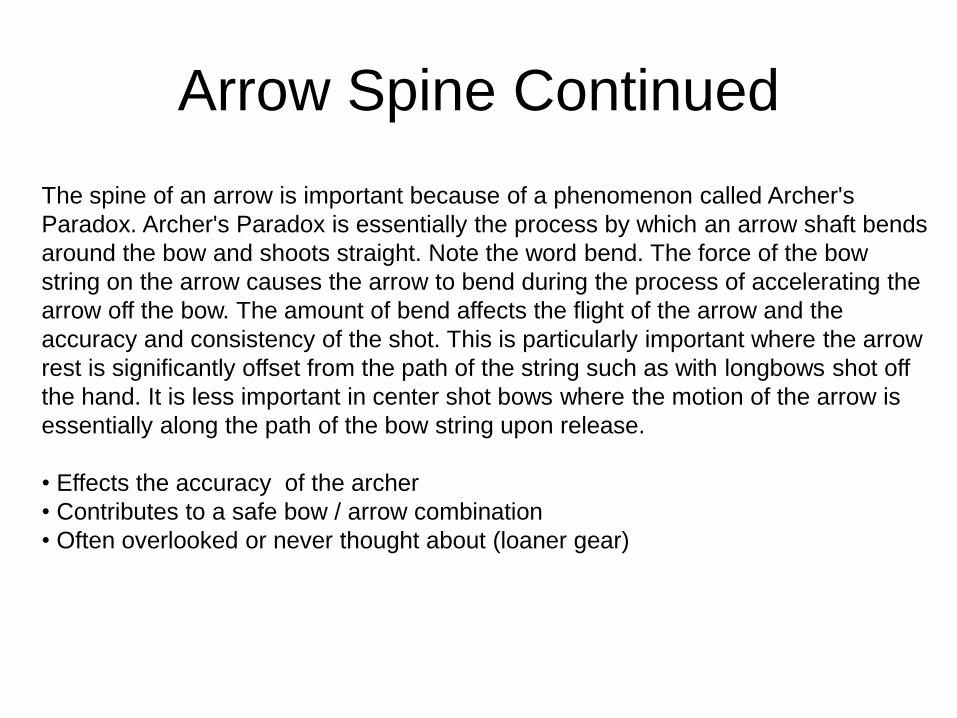
Arrow Spine Continued
The spine of an arrow is important because of a phenomenon called Archer's
Paradox. Archer's Paradox is essentially the process by which an arrow shaft bends
around the bow and shoots straight. Note the word bend. The force of the bow
string on the arrow causes the arrow to bend during the process of accelerating the
arrow off the bow. The amount of bend affects the flight of the arrow and the
accuracy and consistency of the shot. This is particularly important where the arrow
rest is significantly offset from the path of the string such as with longbows shot off
the hand. It is less important in center shot bows where the motion of the arrow is
essentially along the path of the bow string upon release.
• Effects the accuracy of the archer
• Contributes to a safe bow / arrow combination
• Often overlooked or never thought about (loaner gear)

Arrow Spine Continued
Key properties of arrow spine:
Selecting arrow shafts for your bow is a little more complicated than simply buying shafts with the same spine rating as your
bow weight. There are a couple more things that affect the effective spine of a completed arrow. The first is the weight
(mass) of the arrow head or point. The heavier the point of an arrow, the lower the effective spine of the shaft. This is
because of the increased inertia provided by the greater mass. With a heavier point, acceleration of the arrow will be slower,
and more energy will accumulate in the arrow shaft reflected in greater bending and a lower effective spine. All other things
being equal, an arrow with a 30 grain target point on it will act like a more heavily spined arrow than the same arrow with a 125
grain field point.
The second thing that affects the effective spine of an arrow is the efficiency of the bow. All bows of the same draw weight
are not created equal. Certain bows will put significantly more of its stored energy into an arrow shot from it than someone's
else bow. Once again, more energy in means more bending during acceleration and a lower effective spine.
One more thing to remember is that spine is measured over 28 inches of the arrow shaft. If your draw length, and
consequently your arrow length, is significantly different than 28 inches, the effective spine of your arrow shafts will be
different. The rule of thumb here is that you require about three to five more pounds of spine for every inch increase in arrow
length over 28 inches. You require two to three less pounds of spine for every inch decrease in arrow length under 28 inches.
Stiffness increases faster as a shaft is shortened.

FORWARD OF CENTER

Forward of Center Explained
What does weight forward of center mean?
The common answer is: FOC represents how far forward the arrow’s balance point
is from the shaft’s midpoint … or the mid-point of the arrow’s total length. FOC is
specified as a ratio of balance point to shaft’s (or arrow’s) mid-point; in percentage.
Dist. knock throat to Balance Point
%FOC = ----------------------------------- minus 0.50 X 100
Shaft Length
Static spine tells nothing of an arrow’s dynamic spine. From it one gleans only an indication of relative stiffness. What
it does do is provide a reference point. This helps when one needs to move to a stiffer or softer spine. It allows
comparison of shafts; relative to each other.
This is why tuning arrow to bow is important. No static measurement or calculation contends with the myriad variables
encountered when one shoots an arrow from a bow. That’s why, besides charts, Easton publishes 35 instructional pages
on attaining “the right arrow”. Charts provide no magic number saying; “Pick me. I’m the right one!”

Forward of Center Explained
How do I change my FOC?
Once you have calculated your FOC for your arrows, you can easily change your
FOC percentage by increasing or decreasing your point weight. Please remember
that changing your point weight will also change your spine of your arrow to some
degree.

SELECTING YOUR FINISHING
COMPONENTS

Component Selection
Making the right choice: Now we need to put this all together so you
have safe and nice looking arrows to shoot.
• Correct components for your needs
• Correct draw length / shaft length
• Correct FOC (Arrow layout)
• Finishing Components (shaft finishing, cresting, etc)

Arrow Making Tools
(Taper Tools)
True Center Taper Tool: Great taper tool, portable and
costs roughly $25
Bear Paw Taper Tool: Great taper tool, portable and
costs roughly $8
Wood-ChuckTaper Tool: Professional taper tool, not
portable and costs roughly $140

Arrow Making Tools
(Stains)
Alcohol based stain: Great coverage, compatible with
gasket lacquer.
Aniline Dyes: Designed to be used for woodworking
and leather craft. Many colors and also compatible with
gasket lacquer.

Arrow Making Tools
(Gasket Lacquer and Dipping)
Dipping Tubes: Great crest coating and shaft sealing
system. Designed to use gasket lacquer.
Gasket Lacquer: Designed to be used with dipping
tubes and gaskets. Great finish, great protection, not
cheap to use.
Dipping Lacquer: Designed to be used with dipping
tubes but no gaskets. Must be thinned properly and
arrows allowed to dry. Is not compatible with other than
Boning products.

Arrow Making Tools
(Cresting)
Bohning Pro Crester: Good cresting jig. Works well but
lacks support for un-straightened arrows.
Spinrite Crester: More professional grade crester.
Provides complete arrow support and allows more fine
lines to be applied to uneven arrow shafts.
Cresting Paint: Can be any paint you choose as long as
it is compatible with all of your other coating products.
Can be cresting paint, Testors model paint, arts and
crafts acrylic lacquer.

ARROW DESIGN AND
CREATIVITY

Arrow Designs
The Sky is the limit: Your arrows represent you and
your thoughts. Let your creativity flow. Don’t let
stereotypes stop your desire to be creative. Archers did
“personalize” their own arrows during period times as a
way of identification.
What are you after?: You will need to decide what style
your after:
• Traditional / period
• Modern

SAFETY

Proper Grain Alignment

Injuries (Improper spine arrows)

Injuries (Improper spine arrows)

BUILDING ARROWS

Step 1: Inspecting Wood ShaftsWood arrows are not typically straight and need to be straightened.
Two methods of straightening are:
1. Hand straightening
2. Straightening with a tool
Run-out gauge

Step 2: Prepping Wood ShaftsMaking the nock end of the arrow
Period Traditional

Step 3: Starting your designEither staining or “Crest Dipping” your shafts.

Questions?