Embed Size (px)
Citation preview
Common Practices for Avoiding Bumps in Overlays (and what to do if they occur)
Minnesota Local Road Research Board updated August 2010
August 2010 LRRB Publication No. 2010-31
Avoiding Bumps in Overlays – Common Practices
This booklet is intended to aid local and state highway construction, maintenance, and design staff understand the potential causes and possible remedies for bumps that occur during overlay construction.
It comprises the actual experiences and of those familiar with overlay paving in Minnesota – county engineers, contractors, and paver and roller operators, as well as the results of research experiments and long-term monitoring in the field. The strategies contained herein have provided good results for those who have used them.
The Local Road Research Board does not specifically endorse any particular method described in this booklet, but encourages local agencies to experiment with those that seem promising and to implement those strategies that work best for them.
Further information can be obtained by contacting the Minnesota Local Road Research Board at www.lrrb.org.
Common PraCtiCes for avoiding BumPs in overlays (and what to do if they occur)
1 Avoiding Bumps in Overlays – Common Practices Avoiding Bumps in Overlays – Common Practices
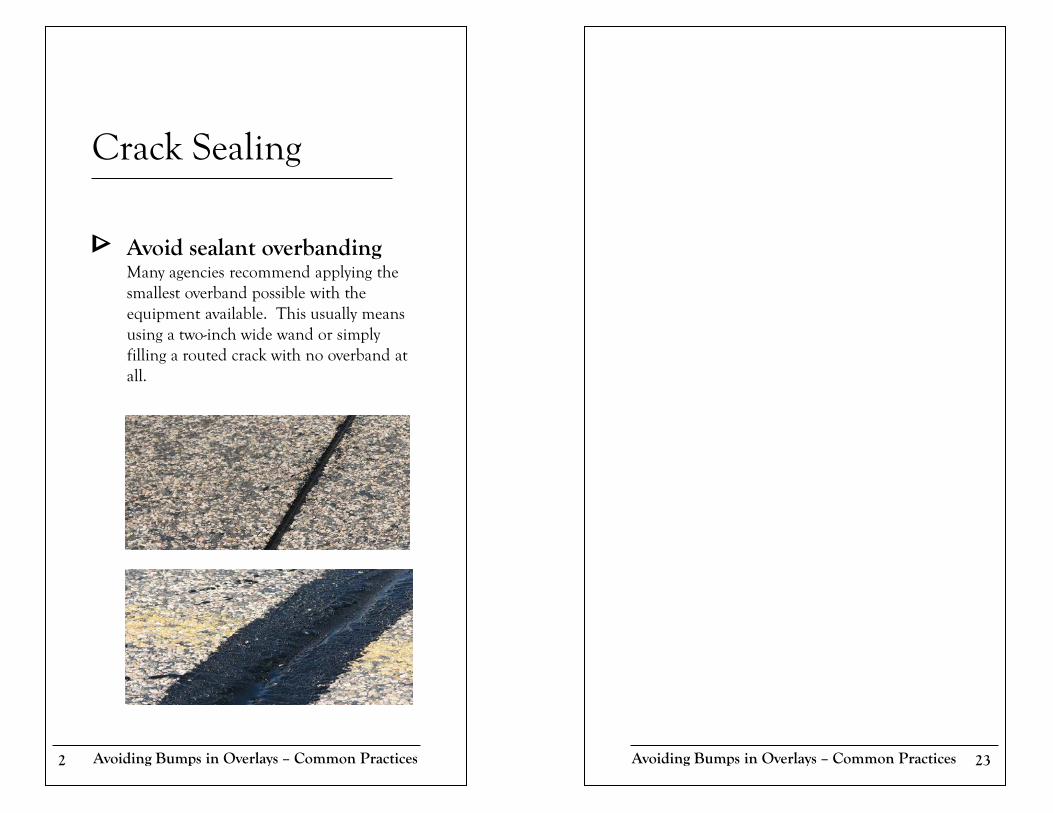
Avoid sealant overbanding Many agencies recommend applying the smallest overband possible with the equipment available. This usually means using a two-inch wide wand or simply filling a routed crack with no overband at all.
Crack Sealing
2 Avoiding Bumps in Overlays – Common Practices 23 Avoiding Bumps in Overlays – Common Practices
Let the sealant material age A common practice is to avoid overlay placement until the sealant has aged for at least one year in the field. There may be some benefit to a stiffer sealant material when placing an overlay.
Crack Sealing
3 Avoiding Bumps in Overlays – Common Practices Avoiding Bumps in Overlays – Common Practices 22
The second lift is usually better When constructing a two-lift overlay, the first lift bears the effects of the crack sealant, and the second lift is almost always bump free. Some of the previous suggestions are almost equivalent to the two-lift recommendation. Many overlays thicker than two inches are designed to be constructed in two-lifts.
Construct Two-Lift Overlay
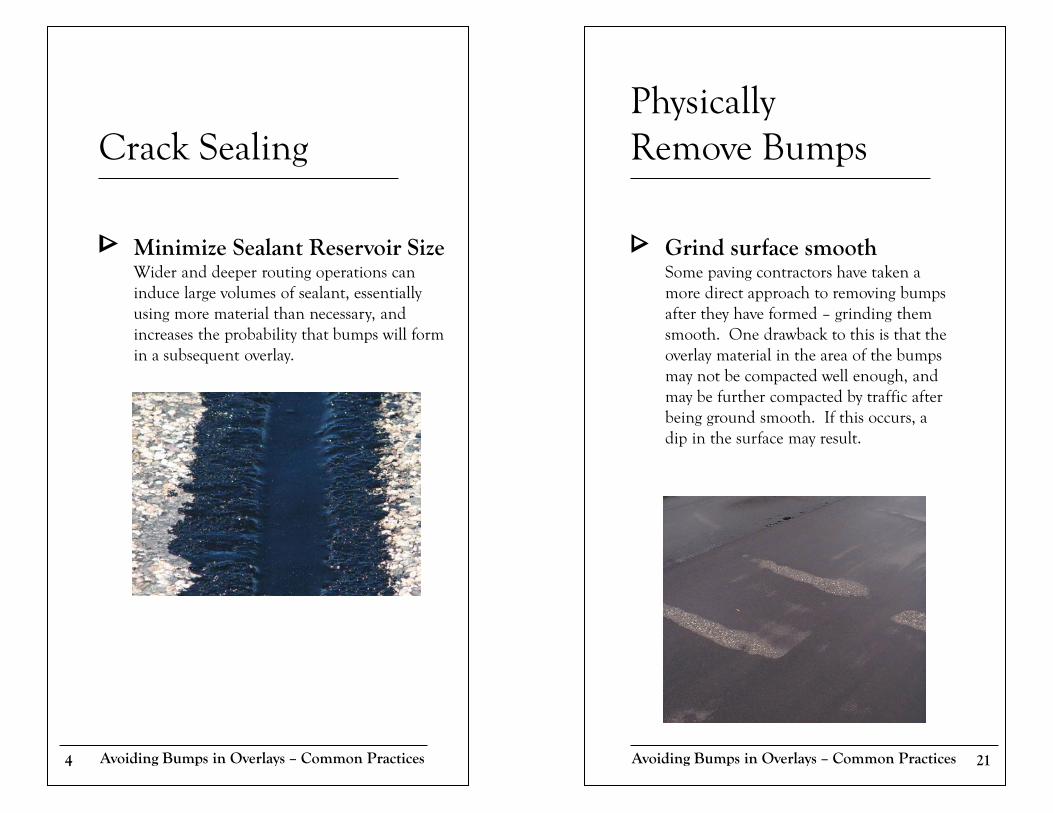
Minimize Sealant Reservoir Size Wider and deeper routing operations can induce large volumes of sealant, essentially using more material than necessary, and increases the probability that bumps will form in a subsequent overlay.
Crack Sealing
4 Avoiding Bumps in Overlays – Common Practices
Grind surface smooth Some paving contractors have taken a more direct approach to removing bumps after they have formed – grinding them smooth. One drawback to this is that the overlay material in the area of the bumps may not be compacted well enough, and may be further compacted by traffic after being ground smooth. If this occurs, a dip in the surface may result.
Physically Remove Bumps
21 Avoiding Bumps in Overlays – Common Practices
Choose Sealant Type Carefully Not all sealant materials perform the same. While sealant type is chosen for specific properties during placement and for long-term benefits in preventing water from infiltrating a crack, some sealants can increase the probability of bump formation in an overlay, including those with extra-low modulus properties.
Crack Sealing
5 Avoiding Bumps in Overlays – Common Practices Avoiding Bumps in Overlays – Common Practices 20
Paver-laid leveling course As an alternative to tight-blade leveling, the placement of a thin-lift, paver-laid overlay prior to the primary overlay, can also minimize the possibility of bump formation. This type of overlay should be approximately ½ to 1 inch thick, and compacted with rubber-tire rollers.
There may be concerns with measuring the density of such a thin layer. Density of this layer is important, and care should be taken ensure that it is compacted properly.
After this leveling course, a single 1½- to 2½-inch overlay may be placed. A two-lift primary overlay may also be placed.
As with the tight-blade leveling operation, traffic may be allowed on the surface between placement of the leveling course and the primary overlays.
Pre-Overlay Preparation
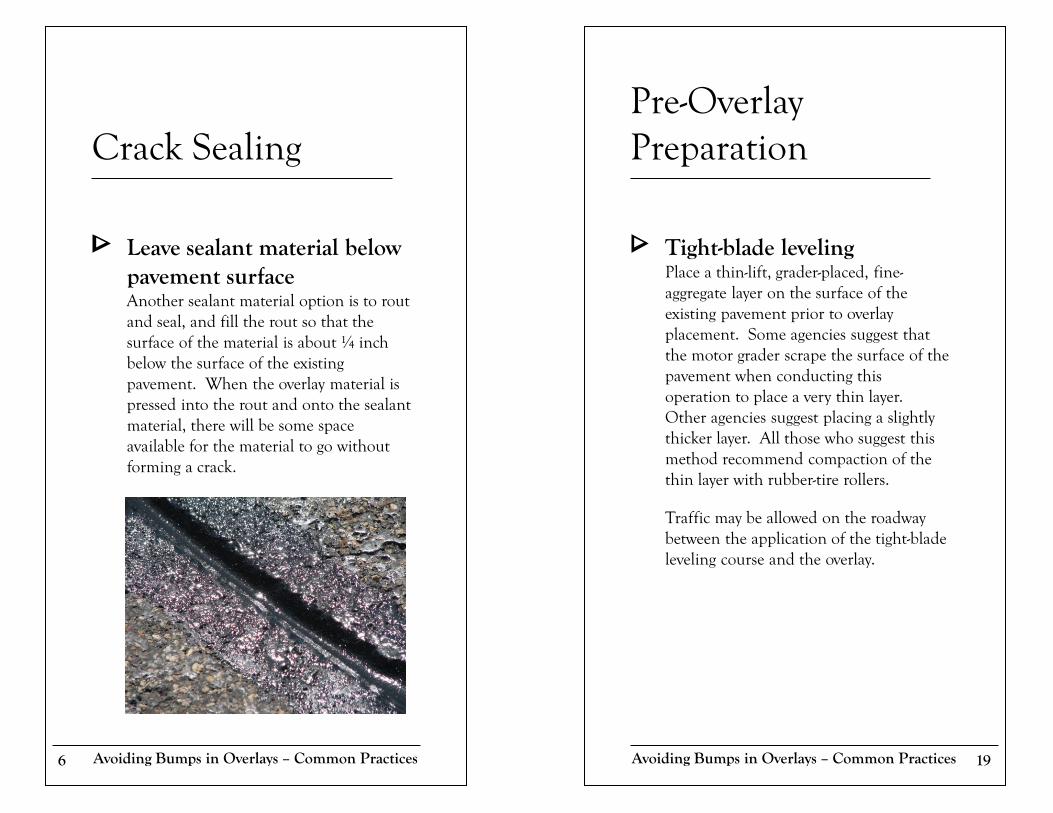
Leave sealant material below pavement surface Another sealant material option is to rout and seal, and fill the rout so that the surface of the material is about ¼ inch below the surface of the existing pavement. When the overlay material is pressed into the rout and onto the sealant material, there will be some space available for the material to go without forming a crack.
Crack Sealing
6 Avoiding Bumps in Overlays – Common Practices
Tight-blade leveling Place a thin-lift, grader-placed, fine-aggregate layer on the surface of the existing pavement prior to overlay placement. Some agencies suggest that the motor grader scrape the surface of the pavement when conducting this operation to place a very thin layer. Other agencies suggest placing a slightly thicker layer. All those who suggest this method recommend compaction of the thin layer with rubber-tire rollers.
Traffic may be allowed on the roadway between the application of the tight-blade leveling course and the overlay.
Pre-Overlay Preparation
19 Avoiding Bumps in Overlays – Common Practices
Remove sealant material One way of removing the sealant material is by ripping it out with a small backhoe and hook attachment. In most cases, the sealant “ropes” can be pulled from the cracks and removed from the pavement.
Once the sealant material is removed, there is little probability of bumps occurring.
This method is labor-intensive, especially if the sealant does not come out of the cracks in long ropes. There is usually some residual sealant material that must be either removed before overlay placement or left in the cracks.
Remove the Sealant Material
7 Avoiding Bumps in Overlays – Common Practices Avoiding Bumps in Overlays – Common Practices 18
Don’t over roll A common rule of thumb from roller operators is not to over roll the mat when bumps have occurred. As mentioned previously, addition rolling to compact the bumps often results in worsening the situation by pushing the overlay material back and forth above the crack.
Roller Operations
Mill before overlaying Another way of removing the sealant from the roadway is to mill the project prior to overlaying. Care must be taken, however, with the milling equipment and the type of sealant material. Some types of material may be detrimental to the operation of the equipment.
If the milled asphalt is intended to be used as recycled material, it must not contain used crack sealant. In this case, the sealant must be removed prior to milling, as described in the previous section.
Remove the Sealant Material
8 Avoiding Bumps in Overlays – Common Practices
Hold back finish roller Another method used in some cases to recompact bumps that have formed is to hold the finish roller until the mat has cooled to between 120 and 200
F. At lower temperatures, the finish roller may still be able to compact the overlay material further in the area of the bump, and keep it down.
Roller Operations
17 Avoiding Bumps in Overlays – Common Practices

Mill and fill a narrow path Another suggestion for removing the sealant material is to mill a 1-inch deep, 12-inch wide path transverse to the roadway centerline. This will remove the sealant and much of the raveled crack edges, if any.
Immediately fill the milled section with hot mix to restore the roadway surface until the overlay is placed.
Care should be taken when employing this method, however, because sealant material can become hot and render the milling apparatus inoperative.
Remove the Sealant Material
9 Avoiding Bumps in Overlays – Common Practices Avoiding Bumps in Overlays – Common Practices 16
Roller Operations
Overlap roller types If bumps are observed, a method that works for some roller operators is to overlap vibratory and pneumatic rollers. By alternating passes between steel-drum vibratory and rubber-tire pneumatic rollers, the kneading process seems to work the bumps back down in some cases.
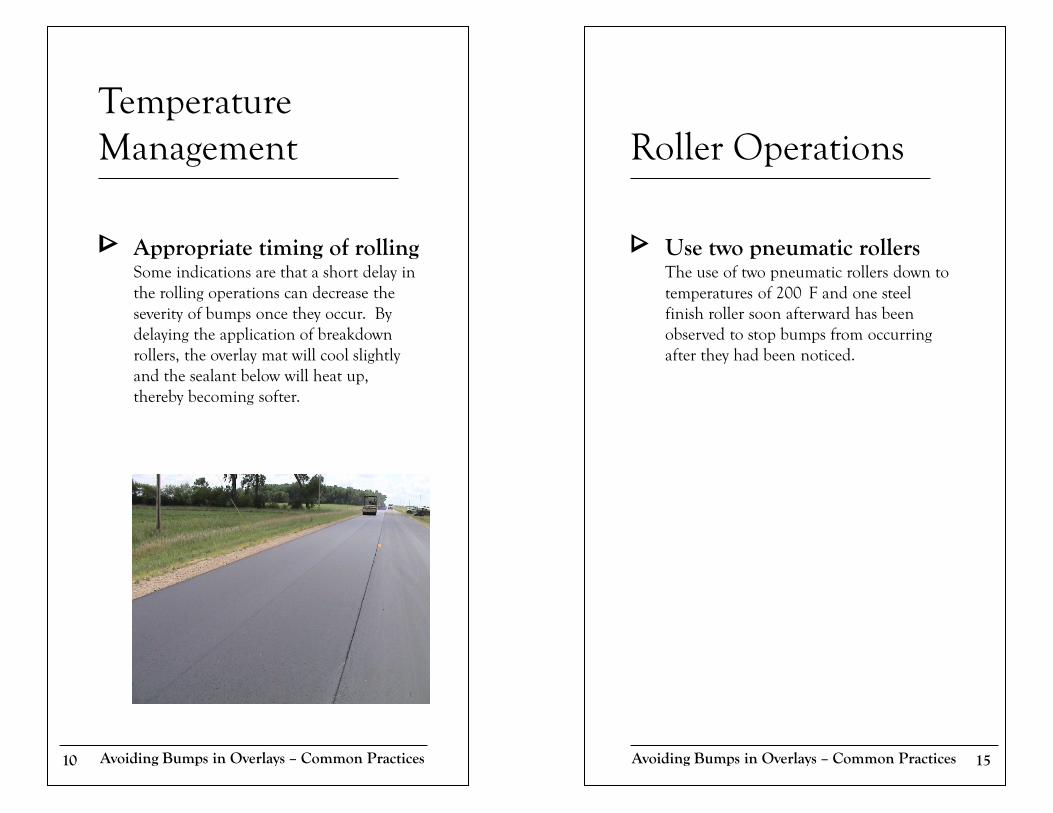
Appropriate timing of rolling Some indications are that a short delay in the rolling operations can decrease the severity of bumps once they occur. By delaying the application of breakdown rollers, the overlay mat will cool slightly and the sealant below will heat up, thereby becoming softer.
Temperature Management
Avoiding Bumps in Overlays – Common Practices 10
Use two pneumatic rollers The use of two pneumatic rollers down to temperatures of 200
F and one steel finish roller soon afterward has been observed to stop bumps from occurring after they had been noticed.
Roller Operations
15 Avoiding Bumps in Overlays – Common Practices
11 Avoiding Bumps in Overlays – Common Practices
One potential problem with this practice is that the longer rolling is delayed, the less likely that the density requirement can be met. Often agencies that employ this method waive the density requirement.
It is strongly suggested that when using this method, the contractor or engineer make use of Mn/DOT’s software “PaveCool” to estimate asphalt temperatures and to avoid detrimental effects on density.
Temperature Management
Avoiding Bumps in Overlays – Common Practices 14
Roller Operations
Use pneumatic breakdown roller Often the use of a pneumatic roller for breakdown operations can be used in preventing bump formation. This practice, together with temperature management options, is often effective.
12 Avoiding Bumps in Overlays – Common Practices
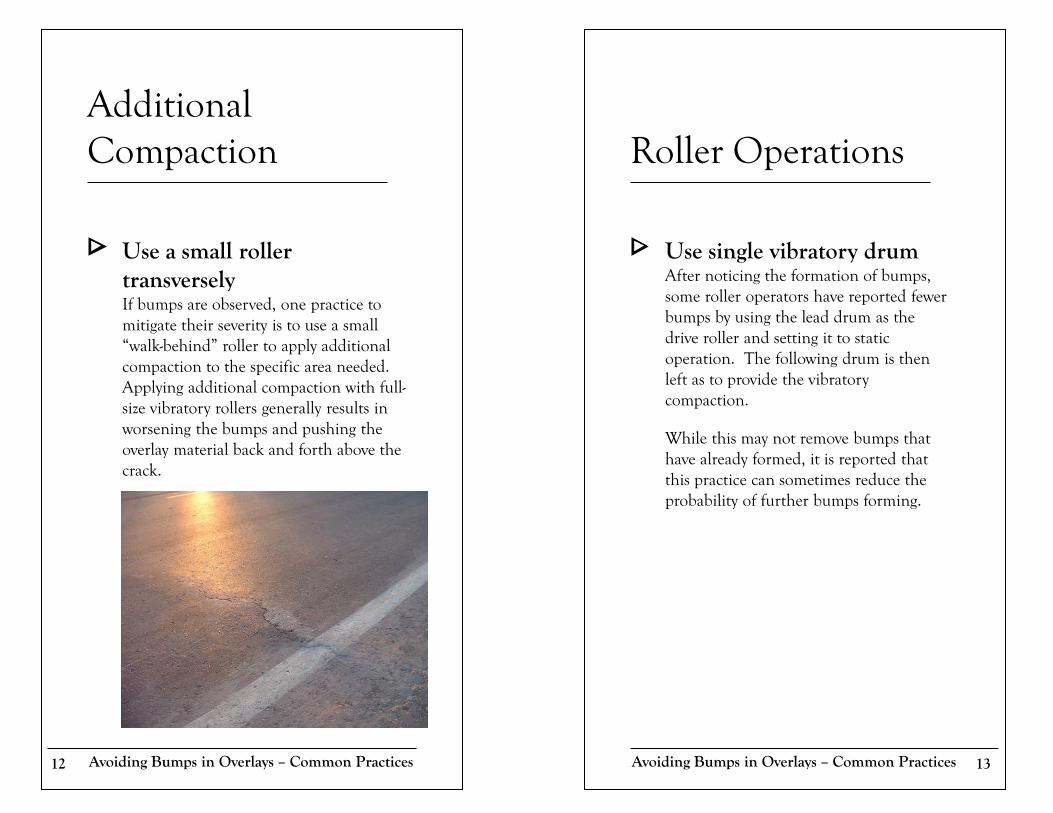
Use a small roller transversely If bumps are observed, one practice to mitigate their severity is to use a small “walk-behind” roller to apply additional compaction to the specific area needed. Applying additional compaction with full-size vibratory rollers generally results in worsening the bumps and pushing the overlay material back and forth above the crack.
Additional Compaction
Roller Operations
13 Avoiding Bumps in Overlays – Common Practices
Use single vibratory drum After noticing the formation of bumps, some roller operators have reported fewer bumps by using the lead drum as the drive roller and setting it to static operation. The following drum is then left as to provide the vibratory compaction.
While this may not remove bumps that have already formed, it is reported that this practice can sometimes reduce the probability of further bumps forming.