Embed Size (px)
DESCRIPTION
Bergen/Passaic Training for e2 Paterson. Facilitated by: Angel Lopez Mike Bodnar Rich Chrobak Serge Virodov. January 30, 2012. City of Paterson. Overview. Primary uses for Bergen/Passaic eCOMPAS. Data Entry Fiscal Billing Reporting Collaboration and Sharing. - PowerPoint PPT Presentation
Citation preview

Bergen/Passaic Training for e2 Paterson
Facilitated by:
Angel LopezMike BodnarRich ChrobakSerge Virodov
January 30, 2012
City of Paterson

Overview

Primary uses for Bergen/Passaic eCOMPAS
1. Data Entry
2. Fiscal Billing
3. Reporting
4. Collaboration and Sharing

Types of Agencies that use eCOMPAS
1. Hospitals
2. Clinics
3. Community based resource centers
4. Counseling Centers

Types of Agency Staff that use eCOMPAS
1. Directors
2. Case Managers
3. Medical Personnel
4. Non Medical Personnel/Data Entry Personnel

Topics of Bergen/Passaic Training Session
1. Client Data Entry
2. Fiscal/Billing Entry
3. Agency Information Sharing/Consents
4. Reporting

eCOMPAS Login Screen
Above is the login page of the e2Paterson System. In addition to logging in here you can also access the client satisfaction survey, needs assessment survey, providers resource guide and affiliated sites like AIDSNJ.org.

Changing Password
To change your eCOMPAS account password click the “MY ACCOUNT” link at the top of the page. Enter your current password and then type in the password you would want it to be twice. Once done click “CHANGE PASSWORD and the message in green will be displayed that it will be successfully changed.
Note: All password must contain one capital letter, one number and must be 6-15 characters long.

New Client Entries/Intakes
To create a new client intake click the “NEW CLIENT” button to start creating a new client in the e2 Paterson System.

New Client Entries/Intakes
After clicking the “NEW CLIENT” button a page will come up named the Create New Client Page. All fields with the exception of middle name must be filled out. Once the entry is complete click the “CREATE NEW CLIENT” button to create the client. This will then take you inside the new records created under the “GENERAL INFORMATION” tab.

Searching for Existing Clients
To search for a client select one option from each of the dropdown menus and type in the client ID and click the “GET CLIENT” button and the system will open that record. If difficult remembering any numbers on the record the dropdown at the bottom of the page can be used to search for the client alphabetically.

Searching for Existing Clients/Editing Demographic Information
Once accessing a client record the above box will be at the top of the page letting you know what record you are working under and all the basic information that was entered at the time of client intake. It will also display alerts, last medical visit and HIV care provider.

Editing Client General Information
In the general information tab you will be able to view client information and edit and editable fields. For faster navigation you may click the links shown in green under the tabs to go to that specific section of the page. The following slides will display the rest of the page.

Editing Client General Information

Editing Client General Information

Editing Client General Information
Once all information has been entered/edited to execute the changes click the APPLY CHANGES button. Also note for if any reason you need to delete the client due to error click the “DELETE CLIENT” button

Service EntryIndividual and Group

Service EntryIndividual and Group

Service EntryIndividual and Group

Service EntryIndividual and Group

Service EntryIndividual and Group

Service EntryIndividual and Group

Service EntryIndividual and Group

Service EntryIndividual and Group

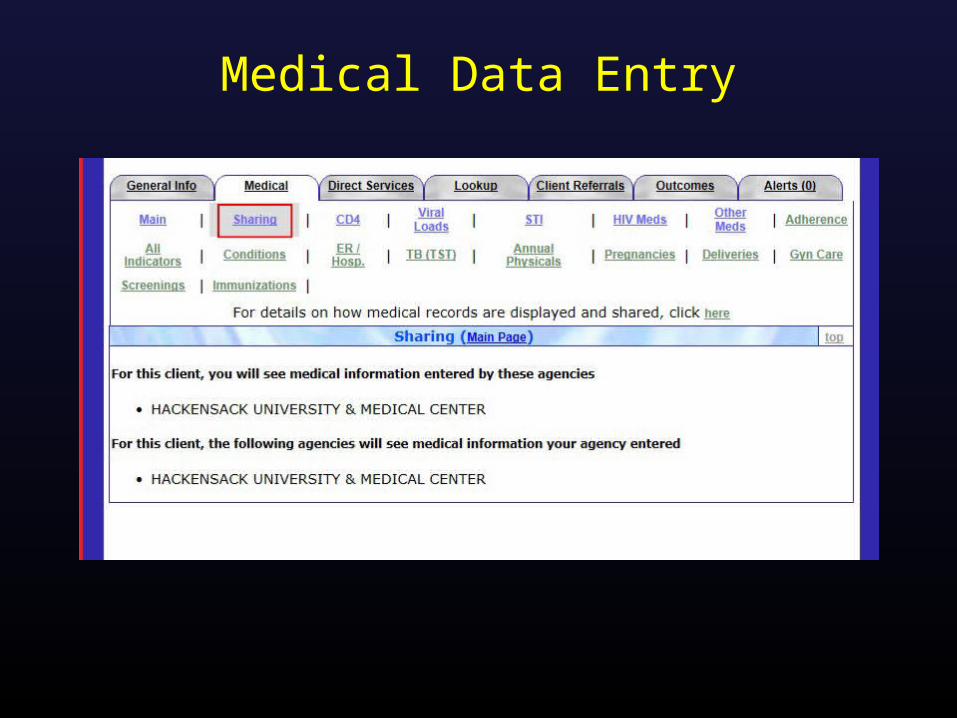
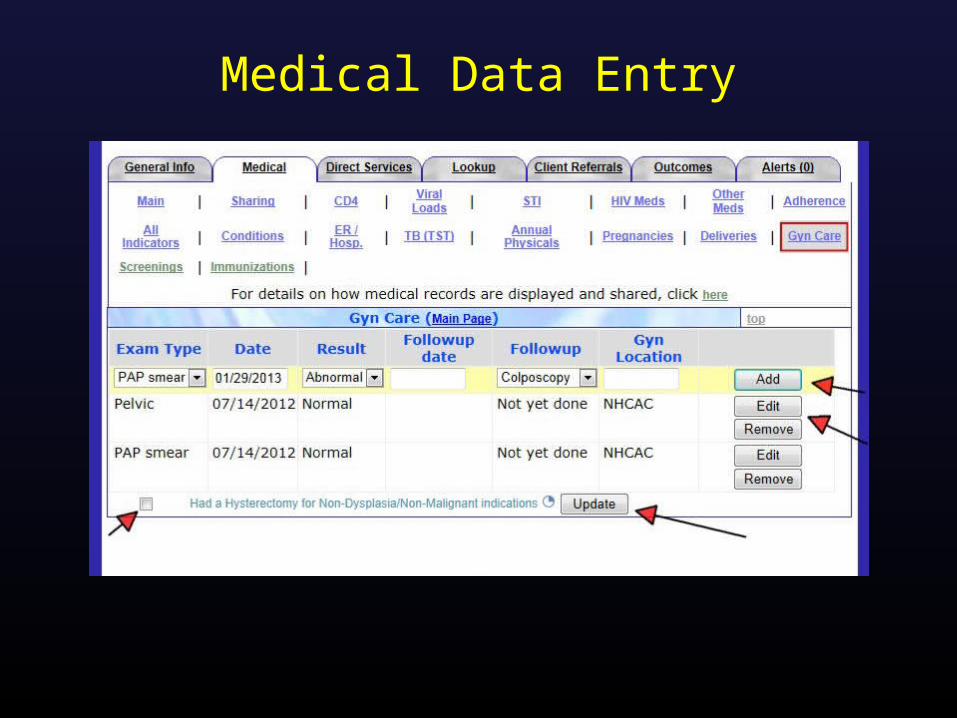
Medical Data Entry
Medical Data Entry

Medical Data Entry

Medical Data Entry

Medical Data Entry

Medical Data Entry

Medical Data Entry

Medical Data Entry

Medical Data Entry

Medical Data Entry

Medical Data Entry

Medical Data Entry

Medical Data Entry

Medical Data Entry

Medical Data Entry
Medical Data Entry

Medical Data Entry

Medical Data Entry

Client Referrals/Client Sharing

Client Referrals/Client Sharing

Outcomes

Outcomes

Outcomes

Retention

Alerts

Alerts

Alerts

Alerts

Useful Links

Reports
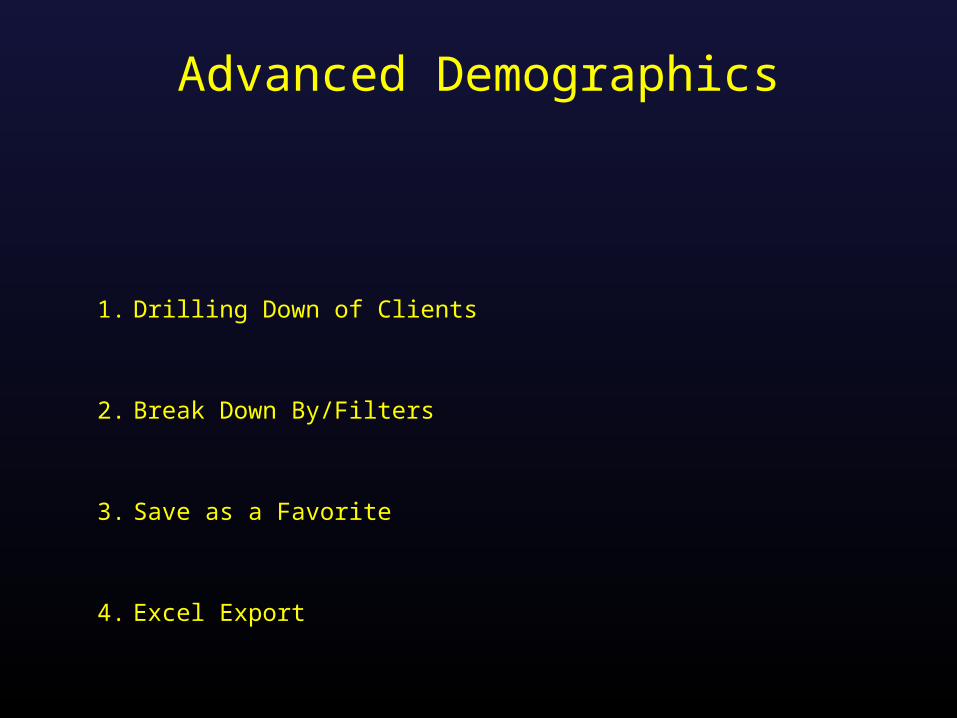
Advanced Demographics
1. Drilling Down of Clients
2. Break Down By/Filters
3. Save as a Favorite
4. Excel Export

Advanced Demographics

Indicators
1. Drilling Down of Clients
2. Break Down By/Filters
3. Save as a Favorite
4. Excel Export

Reports/Indicators

Cross Collaborative

Services & Productivity
1. Track Services Provided
2. View Staff Productivity
3. Filtering

Services & Productivity

Client Roster Report
1. Track Clients Provided
2. View last Service Date
3. Filtering

Client Roster Report

Client Roster Report

TST Results

One-Click Billing
1. View Financial Data for your Agency
2. Time Savings
3. View Detailed Reporting of Services Provided
4. Submitted Monthly to Grantee

One-Click Billing

RSR Report
1. Huge Time Saver
2. Federal Requirement
3. Clickable, drill-down data

RSR Report

RSR Report

RSR Report