Embed Size (px)
Citation preview

Bicycle Commuter
Guide
Rhode Island

2 3
TABLE OF CONTENTS
Get Ready For Your Bike Commute .........4
Outfitting Your Bike .....................................5Headlights and TaillightsBrakesBike MirrorsFendersRack and Panniers
General Maintenance ..................................7 Saddle, Handlebars, Stem, & PedalsTire Inspection and InflationBrake Inspection
Get To Know Your Local Bike Shop .........8
Riding Safely and Legally ............................9Traffic Laws and BicyclingDealing With HarassmentRiding In TrafficSignal Before Turning/Changing LanesTaking The LaneRiding In The RainRiding At NightRiding In Winter
Getting Started ............................................17Dressing For WorkWashing UpBicycle Security
ABC Quick Check....................................... 20
Bike Commute Options ............................21
Do’s And Don’ts After A Bike Crash ...... 22
Resources ..................................................... 23
ENJOY THE RIDE!
Using your bike to commute to work or school is a practical and enjoyable way to start and end your day. When you arrive at work after a bike ride, your body will be fully awake and your mind clear and ready to start. A bike ride after a sedentary day will clear away workplace stress by the time you arrive home. You will learn that a twice-a-day bike adventure is the most fun you can have on a commute. This Bicycle Commuter Guide will give you the tools you need to launch a rewarding habit – a safe and healthy bike commute.
4 5
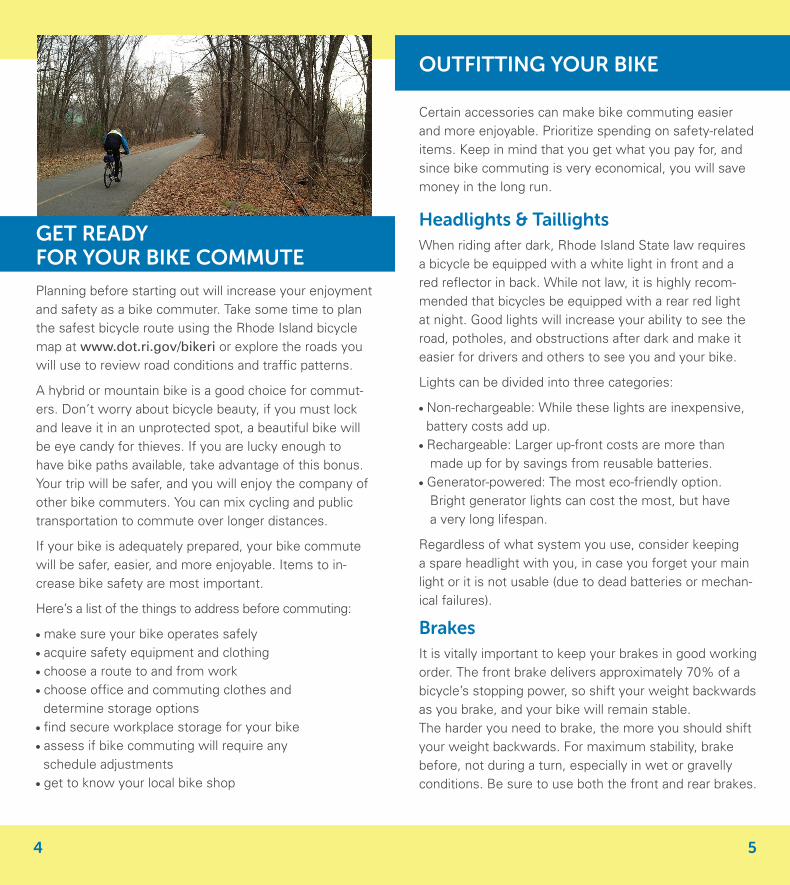
OUTFITTING YOUR BIKE
Certain accessories can make bike commuting easier and more enjoyable. Prioritize spending on safety-related items. Keep in mind that you get what you pay for, and since bike commuting is very economical, you will save money in the long run.
Headlights & TaillightsWhen riding after dark, Rhode Island State law requires a bicycle be equipped with a white light in front and a red reflector in back. While not law, it is highly recom-mended that bicycles be equipped with a rear red light at night. Good lights will increase your ability to see the road, potholes, and obstructions after dark and make it easier for drivers and others to see you and your bike.
Lights can be divided into three categories:
l Non-rechargeable: While these lights are inexpensive, battery costs add up.l Rechargeable: Larger up-front costs are more than made up for by savings from reusable batteries.l Generator-powered: The most eco-friendly option. Bright generator lights can cost the most, but have a very long lifespan.
Regardless of what system you use, consider keeping a spare headlight with you, in case you forget your main light or it is not usable (due to dead batteries or mechan-ical failures).
BrakesIt is vitally important to keep your brakes in good working order. The front brake delivers approximately 70% of a bicycle’s stopping power, so shift your weight backwards as you brake, and your bike will remain stable. The harder you need to brake, the more you should shift your weight backwards. For maximum stability, brake before, not during a turn, especially in wet or gravelly conditions. Be sure to use both the front and rear brakes.
GET READY FOR YOUR BIKE COMMUTE
Planning before starting out will increase your enjoyment and safety as a bike commuter. Take some time to plan the safest bicycle route using the Rhode Island bicycle map at www.dot.ri.gov/bikeri or explore the roads you will use to review road conditions and traffic patterns.
A hybrid or mountain bike is a good choice for commut-ers. Don’t worry about bicycle beauty, if you must lock and leave it in an unprotected spot, a beautiful bike will be eye candy for thieves. If you are lucky enough to have bike paths available, take advantage of this bonus. Your trip will be safer, and you will enjoy the company of other bike commuters. You can mix cycling and public transportation to commute over longer distances.
If your bike is adequately prepared, your bike commute will be safer, easier, and more enjoyable. Items to in-crease bike safety are most important.
Here’s a list of the things to address before commuting:
l make sure your bike operates safelyl acquire safety equipment and clothingl choose a route to and from workl choose office and commuting clothes and determine storage optionsl find secure workplace storage for your bikel assess if bike commuting will require any schedule adjustmentsl get to know your local bike shop

6 7
GENERAL MAINTENANCE
Learn the basics for keeping your bike in shape. Regular cleaning, lubrication, and inspection of your bike will help you spot potential trouble before it develops further. A well-maintained bicycle is safer and more enjoyable to ride. Regularly check your racks, fenders, and other accessories to make sure they are mounted securely.
Bike MirrorsA rear view mirror mounted on your bike or on your hel-met will allow you to see cars and other bicyclists com-ing behind you so you can travel in a manner to increase your safety. Cyclists often swerve when they look over their shoulders prior to changing lanes or initiating turns. A properly-installed bike mirror can reduce the effects of this natural inclination.
FendersEven with the best planning, you may eventually get caught in the rain or ride on wet roadways. Bicycle fend-ers are one of the most appreciated accessories when it comes to riding in wet conditions, as they dramatically reduce the amount of dirty road spray that will hit you. You may still get wet, but you, your bike, and your cargo will remain much cleaner with fenders.
Rack and PanniersUltimately, you’ll wind up carrying more with you on your bike. While a backpack will work, your body will thank you for getting the weight of your cargo off of you and onto your bike. A rack is typically mounted over the rear bicycle wheel and can accept a wide variety of panniers, bags designed to hang on a bicycle rack. Many panniers are made to be easily removed, so you can quickly re-move your cargo from the bike when you lock it up.
Saddle, Handlebars, Stem, & PedalsThese allow you to control your bike, so make sure they are securely fastened. Stems and seat posts have “min-imum insertion” marks, which should not be exposed (if either mark is visible, the component is over-extended and may break without warning during use). Bike shops carry longer seat posts and taller stems to safely accom-modate any riding position.
Tire Inspection & InflationMake sure tires are in good condition (no splits in sidewall or tread). Inflating tires to their recommended pressure keeps them in place, helps prevent flats and increases your bike’s efficiency. However, don’t assume the maximum pressure listed is the most comfortable. Tires act as shock absorbers to reduce the effects of imperfections in the road. Tires inflated to the higher end of the pressure range indicated on the sidewall tend to absorb less shocks and transfer this to the hands and seat of the rider.

8 9
Brake Inspectionl Squeeze both brake levers hard. If they are close to or touching the handlebar, your ability to stop may be reduced and they may need to be adjusted or have the brake pads replaced. Your local bike shop or repair manual are good resources. l If you see frayed or rusted cables and bent or crushed housing, replacement or repair is likely to be necessary.l Inspect the brake pads to make sure they contact the rim squarely and will not touch either the tire or the spokes. The small cutouts or grooves on brake pads are “wear indicators” when they are no longer visible, the pads should be replaced. RIDING SAFELY AND LEGALLY
Traffic Laws and BicyclingRhode Island state law grants all the rights and duties of vehicles to bicyclists. Other road users can more easily share the road with you if you follow traffic laws and travel in a predictable fashion. Remember to:l Ride in the direction of traffic.l Obey all traffic signals including stop signs and lights.l Travel as far to the right in the travel lane as practicable when moving slower than traffic, except when utilizing a left turn lane or avoiding a right turn lane when traveling straight.l It is legal to take the entire lane when necessary.l Always pass on the left, although overtaking other vehicles when you are either utilizing a bike lane or are in a right-turn lane is legal.l Utilize turn lanes when available.l Cycling two abreast is legal in Rhode Island, though it is illegal to impede the normal flow of traffic.l It is legal (and safest) to occupy the center of a travel lane when you are traveling at traffic speed or when it is not safe for other vehicles to pass you safely.
GET TO KNOW YOUR LOCAL BIKE SHOP
While it can be tempting to purchase all your gear from online retailers, you’ll benefit long term from developing a relationship with your local bike shop. They have a wealth of information and are always willing to share with their customers. The ability to put your hands on and look at or try on a variety of gear will end up saving you time in the long run. Many local bike shops recognize that some of their customers are avid commuters and will bend over backwards to turn around repairs quickly for those they know rely on their bike for transportation.
Bottom line, your local bike shop can be a great resource, but they will only continue to exist if you shop with them! A list of local bike shops can be found on the Bike RI web site at www.dot.ri.gov/bikeri/bikeshops.

Riding in TrafficHere are some more tips to help you ride safely and predictably:
l Maintain as straight a line of travel as possible– avoid swerving in and out of the parking lane. Keep approximately three feet from parked cars so that an opened door will not obstruct your path This will also make you more visible to drivers approaching from side streets or driveways.l Be alert when riding in traffic. Continually scan for potential hazards such as road debris, potholes, car doors that may suddenly open in your path, other road users pulling into your path from side roads or driveways, etc.l Ride with confidence and make eye contact with other road users.l At stop signs and lights, do not advance to the stop line by passing cars on the right. lnstead, wait in the traffic queue unless you are in a striped bike lane or utilizing a turn lane.l Sidewalk riding is more dangerous than street riding (and in some areas is illegal) due to reduced sight distances and reaction times. If you must use the sidewalk, be extremely cautious, especially when making the transition to and from the road-way or crossing driveways, and always yield to pedestrians.l Although bike paths and shared use paths may not allow auto traffic, they may have traffic that is less predictable and more dangerous than streets. Keep alert for pedestrians, skaters, pets and less- experienced cyclists. Communicate with these path users and announce your intention to pass them.
10 11
Dealing with HarassmentMost motorists are courteous and happy to share the road with cyclists, but unfortunately, the small minority of drivers who are rude or threatening standout. Harassment can make a commute unenjoyable or even dangerous.
Fortunately, it rarely occurs. lf harassed, try to keep your cool and remember that your safety is the priority. You will rarely convince an irate motorist to share the road, and besides, you don’t want to provoke a person unstable enough to harass you in the first place. Your best bet is to develop your riding skills, know your rights, ride legally and try to keep calm in the event you are harassed. Noting a cars license plate, description and occupants may help when reporting an incident to the authorities.
SHARE THE ROAD, IT’S THE LAW

12 13
Taking The LaneAssess the situation to decide how far to the center of the lane you need to travel to be safe. Taking the full lane is generally safest when traveling for short stretches on lower speed roads (25-35 mph). On higher speed roads, it may be safer to reduce your speed and stay further to the right rather than compete with faster vehicles for the full lane.
You may find it necessary to take the lane in the following kinds of situations:
l when traveling at traffic speeds and you need to prevent motorists from inadvertently cutting you off; l when descending a hill and you need extra space due to your speed; l when lane width does not permit a motorized vehicle behind you to safely pass; l when road conditions such as potholes, road debris or parked cars preclude you from riding farther to the right.
Signal Before Turning/Changing LanesFor left turns: extend the left arm straight out to the side.
For right turns: extend the right arm straight out to the side.
To signal for a stop or a decrease in speed: extend the left arm to the side and turned down at the elbow.
View From Behind
Left Stop
Rhode Island State Statute
§ 31193 Applicability of traffic laws. – Every person riding an electric personal assistive mobility device (“EPAMD”), riding an electric motorized bicycle, or propelling a vehicle by human power shall be granted all of the rights and shall be subject to all of the duties applicable to the driver of any other vehicle by chapters 12 – 27 of this title, except as to special regulations in this chapter and except as to those provisions of chap-ters 12 – 27 of this title which by their nature can have no application. This section shall not forbid a bicyclist, EPAMD or electric motorized bicycle from traveling upon the shoulders of the highway except for those highways which prohibit bicyclists; provided, that an EPAMD shall possess all the rights and obligations of a pedestrian, but shall not have the rights and responsibilities of the op-erator of a motor vehicle and that cities and towns may regulate the operation of an EPAMD. Violations of this section are subject to fines enumerated in § 3141.14.
You will find additional laws at: http://webserver.rilin.state.ri.us/Statutes/TITLE31/3119/INDEX.HTM
Right
14 15
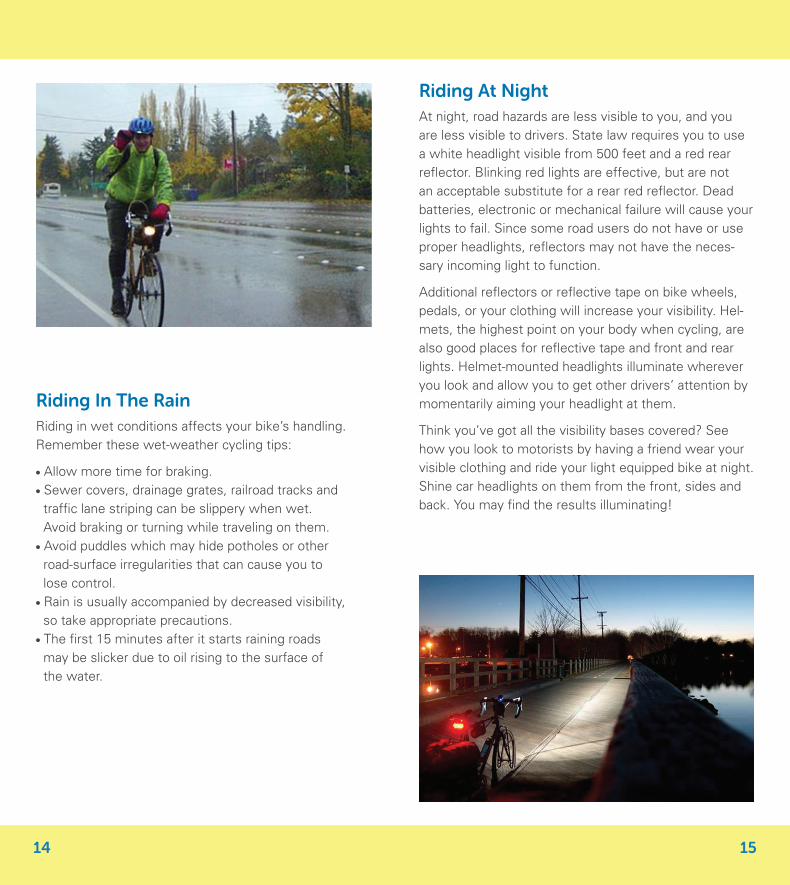
Riding In The RainRiding in wet conditions affects your bike’s handling.Remember these wet-weather cycling tips:
l Allow more time for braking.l Sewer covers, drainage grates, railroad tracks and traffic lane striping can be slippery when wet. Avoid braking or turning while traveling on them.l Avoid puddles which may hide potholes or other road-surface irregularities that can cause you to lose control.l Rain is usually accompanied by decreased visibility, so take appropriate precautions.l The first 15 minutes after it starts raining roads may be slicker due to oil rising to the surface of the water.
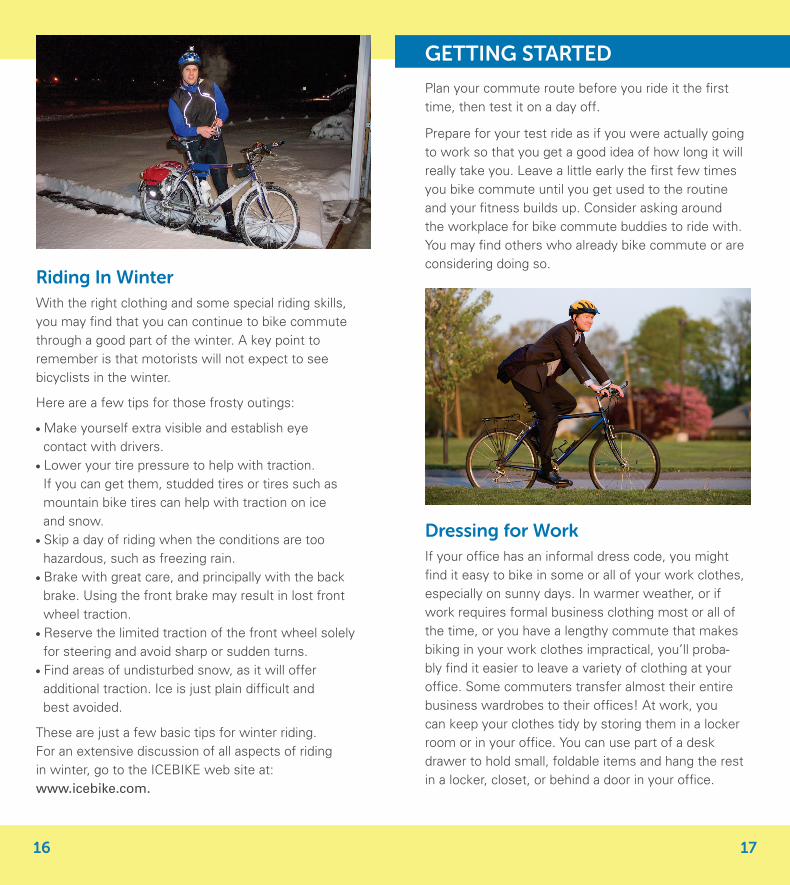
Riding At NightAt night, road hazards are less visible to you, and you are less visible to drivers. State law requires you to use a white headlight visible from 500 feet and a red rear reflector. Blinking red lights are effective, but are not an acceptable substitute for a rear red reflector. Dead batteries, electronic or mechanical failure will cause your lights to fail. Since some road users do not have or use proper headlights, reflectors may not have the neces-sary incoming light to function.
Additional reflectors or reflective tape on bike wheels, pedals, or your clothing will increase your visibility. Hel-mets, the highest point on your body when cycling, are also good places for reflective tape and front and rear lights. Helmet-mounted headlights illuminate wherever you look and allow you to get other drivers’ attention by momentarily aiming your headlight at them.
Think you’ve got all the visibility bases covered? See how you look to motorists by having a friend wear your visible clothing and ride your light equipped bike at night. Shine car headlights on them from the front, sides and back. You may find the results illuminating!
16 17
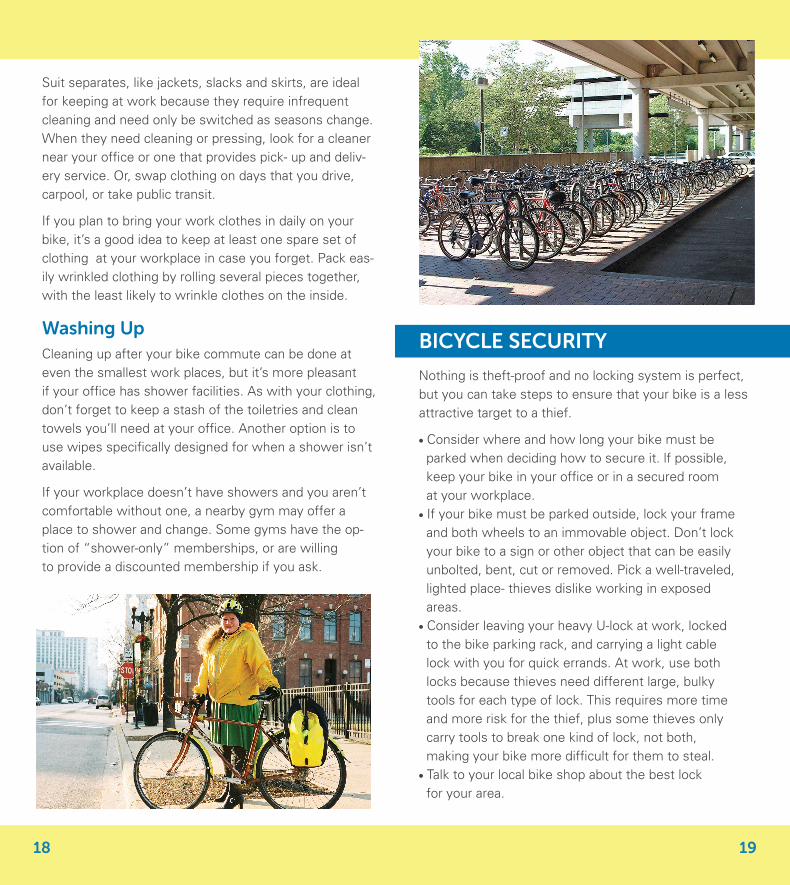
Riding In WinterWith the right clothing and some special riding skills, you may find that you can continue to bike commute through a good part of the winter. A key point to remember is that motorists will not expect to see bicyclists in the winter.
Here are a few tips for those frosty outings:
l Make yourself extra visible and establish eye contact with drivers.l Lower your tire pressure to help with traction. If you can get them, studded tires or tires such as mountain bike tires can help with traction on ice and snow.l Skip a day of riding when the conditions are too hazardous, such as freezing rain.l Brake with great care, and principally with the back brake. Using the front brake may result in lost front wheel traction.l Reserve the limited traction of the front wheel solely for steering and avoid sharp or sudden turns.l Find areas of undisturbed snow, as it will offer additional traction. Ice is just plain difficult and best avoided.
These are just a few basic tips for winter riding. For an extensive discussion of all aspects of riding in winter, go to the ICEBIKE web site at:www.icebike.com.
GETTING STARTED
Plan your commute route before you ride it the first time, then test it on a day off.
Prepare for your test ride as if you were actually going to work so that you get a good idea of how long it will really take you. Leave a little early the first few times you bike commute until you get used to the routine and your fitness builds up. Consider asking around the workplace for bike commute buddies to ride with. You may find others who already bike commute or are considering doing so.
Dressing for WorkIf your office has an informal dress code, you might find it easy to bike in some or all of your work clothes, especially on sunny days. In warmer weather, or if work requires formal business clothing most or all of the time, or you have a lengthy commute that makes biking in your work clothes impractical, you’ll proba-bly find it easier to leave a variety of clothing at your office. Some commuters transfer almost their entire business wardrobes to their offices! At work, you can keep your clothes tidy by storing them in a locker room or in your office. You can use part of a desk drawer to hold small, foldable items and hang the rest in a locker, closet, or behind a door in your office.
18 19
Suit separates, like jackets, slacks and skirts, are ideal for keeping at work because they require infrequent cleaning and need only be switched as seasons change. When they need cleaning or pressing, look for a cleaner near your office or one that provides pick- up and deliv-ery service. Or, swap clothing on days that you drive, carpool, or take public transit.
If you plan to bring your work clothes in daily on your bike, it’s a good idea to keep at least one spare set of clothing at your workplace in case you forget. Pack eas-ily wrinkled clothing by rolling several pieces together, with the least likely to wrinkle clothes on the inside.
Washing UpCleaning up after your bike commute can be done at even the smallest work places, but it’s more pleasant if your office has shower facilities. As with your clothing, don’t forget to keep a stash of the toiletries and clean towels you’ll need at your office. Another option is to use wipes specifically designed for when a shower isn’t available.
If your workplace doesn’t have showers and you aren’t comfortable without one, a nearby gym may offer a place to shower and change. Some gyms have the op-tion of “shower-only” memberships, or are willing to provide a discounted membership if you ask.
BICYCLE SECURITY
Nothing is theft-proof and no locking system is perfect, but you can take steps to ensure that your bike is a less attractive target to a thief.
l Consider where and how long your bike must be parked when deciding how to secure it. lf possible, keep your bike in your office or in a secured room at your workplace.l If your bike must be parked outside, lock your frame and both wheels to an immovable object. Don’t lock your bike to a sign or other object that can be easily unbolted, bent, cut or removed. Pick a well-traveled, lighted place- thieves dislike working in exposed areas.l Consider leaving your heavy U-lock at work, locked to the bike parking rack, and carrying a light cable lock with you for quick errands. At work, use both locks because thieves need different large, bulky tools for each type of lock. This requires more time and more risk for the thief, plus some thieves only carry tools to break one kind of lock, not both, making your bike more difficult for them to steal.l Talk to your local bike shop about the best lock for your area.
2120
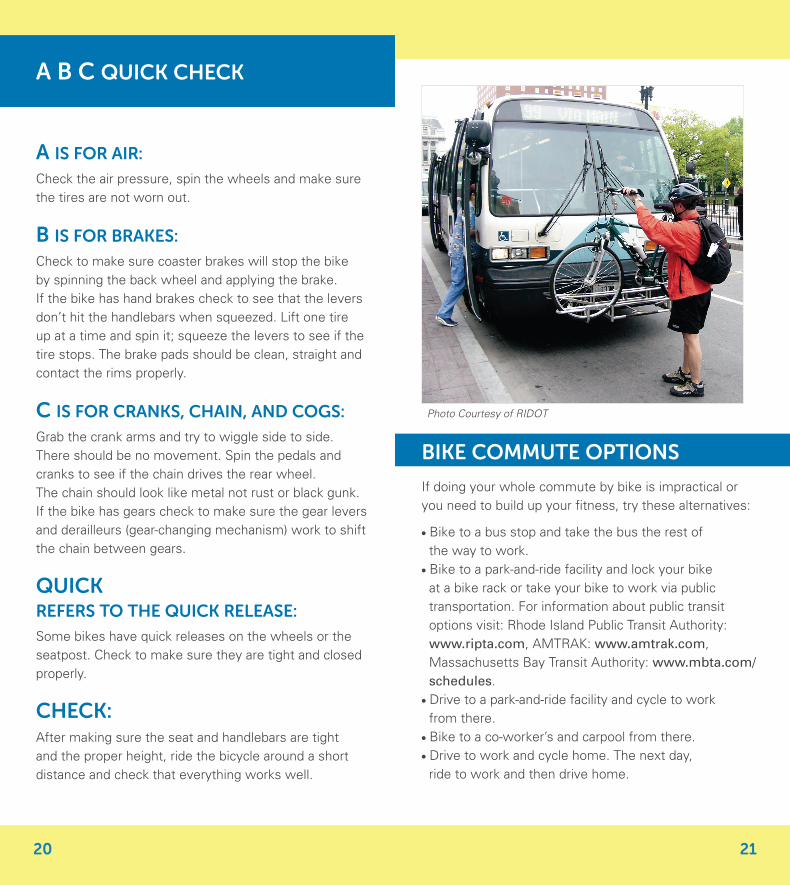
Photo Courtesy of RIDOT
BIKE COMMUTE OPTIONS
If doing your whole commute by bike is impractical or you need to build up your fitness, try these alternatives:
l Bike to a bus stop and take the bus the rest of the way to work.l Bike to a park-and-ride facility and lock your bike at a bike rack or take your bike to work via public transportation. For information about public transit options visit: Rhode Island Public Transit Authority: www.ripta.com, AMTRAK: www.amtrak.com, Massachusetts Bay Transit Authority: www.mbta.com/ schedules.l Drive to a park-and-ride facility and cycle to work from there.l Bike to a co-worker’s and carpool from there.l Drive to work and cycle home. The next day, ride to work and then drive home.
A B C QUICK CHECK
A IS FOR AIR:Check the air pressure, spin the wheels and make sure the tires are not worn out.
B IS FOR BRAKES:Check to make sure coaster brakes will stop the bike by spinning the back wheel and applying the brake. If the bike has hand brakes check to see that the levers don’t hit the handlebars when squeezed. Lift one tire up at a time and spin it; squeeze the levers to see if the tire stops. The brake pads should be clean, straight and contact the rims properly.
C IS FOR CRANKS, CHAIN, AND COGS:Grab the crank arms and try to wiggle side to side. There should be no movement. Spin the pedals and cranks to see if the chain drives the rear wheel. The chain should look like metal not rust or black gunk. If the bike has gears check to make sure the gear levers and derailleurs (gear-changing mechanism) work to shift the chain between gears.
QUICK REFERS TO THE QUICK RELEASE:Some bikes have quick releases on the wheels or the seatpost. Check to make sure they are tight and closed properly.
CHECK:After making sure the seat and handlebars are tight and the proper height, ride the bicycle around a short distance and check that everything works well.

22 23
Rhode Island Bicycle Coalition401- 297-b1ke (297-2153)www.ribike.org
Bike Newport401-619-4900 [email protected]
Narragansett Bay [email protected]
New England Mountain Bike Associationwww.RINemba.org
Bike RIRhode Island Department of Transportationwww.dot.ri.gov/bikeri
Recycle-A-BikeMaintenance Classes and Refurbished Bicycleswww.recycleabike.org
Full Cycle @ the MetRefurbished and new bicycleswww.metcenter.org
Alliance for Biking and Walking202-449-9692www.PeoplePoweredMovement.orginfo@PeoplePoweredMovement.org
League of American [email protected]
DO’S AND DON’TS AFTER A BIKE CRASH
DO call 911. And call your closest relative or friend to come and assist you at the scene. You could use their help to gather information as well as for support.
DO get the make, model, color, and license plate number of the driver’s vehicle. Or any other identifying information about what caused the crash such as the owner of the debris in the road, etc.
DO get the names and contact information for all the witnesses.
DO use your cell phone to take lots of pictures. Pho-tograph the vehicle that hit you, your injuries if possi-ble, your bike damage, and record any other valuable information.
DO call the police and make sure a police report is made. Fully cooperate with the police.
DO keep any GPS data! There may be valuable infor-mation which can help your case.
DON’T provide inconsistent information to any medi-cal provider. Your medical records will be evidence in the future.
DON’T discuss any aspect of your collision with the driver! Never admit fault at the scene. These state-ments may be used against you by an insurance company.
DON’T negotiate with the driver or accept any onsite payments.
DON’T let the driver leave without getting the driver’s license and proof of insurance info. Insist on seeing the actual documents. Take a photo of these docu-ments with your phone if possible.
DON’T leave the scene of the crash until police tell you to do so.
RESOURCES

Published by the Rhode Island Bicycle Coalition with funds from the Narragansett Bay Wheelmen & Rhode Island Greenways Alliance grant program.
Acknowledgements:Contributors: Leo Corrigan, Mark Dieterich, Matt Moritz
Design: Lori Bates, www.loribates.com
Editor: Sue Barker
COVER PHOTO: Photographed by Jacqueline Marque,
reprinted with permission from Mercury.
Photography: Lori Bates, Sue Barker, Bailey T. Corgi
June, 2014