Embed Size (px)
Citation preview
Copyright by WA Technology, LLC [email protected] Page 1
W A Technology
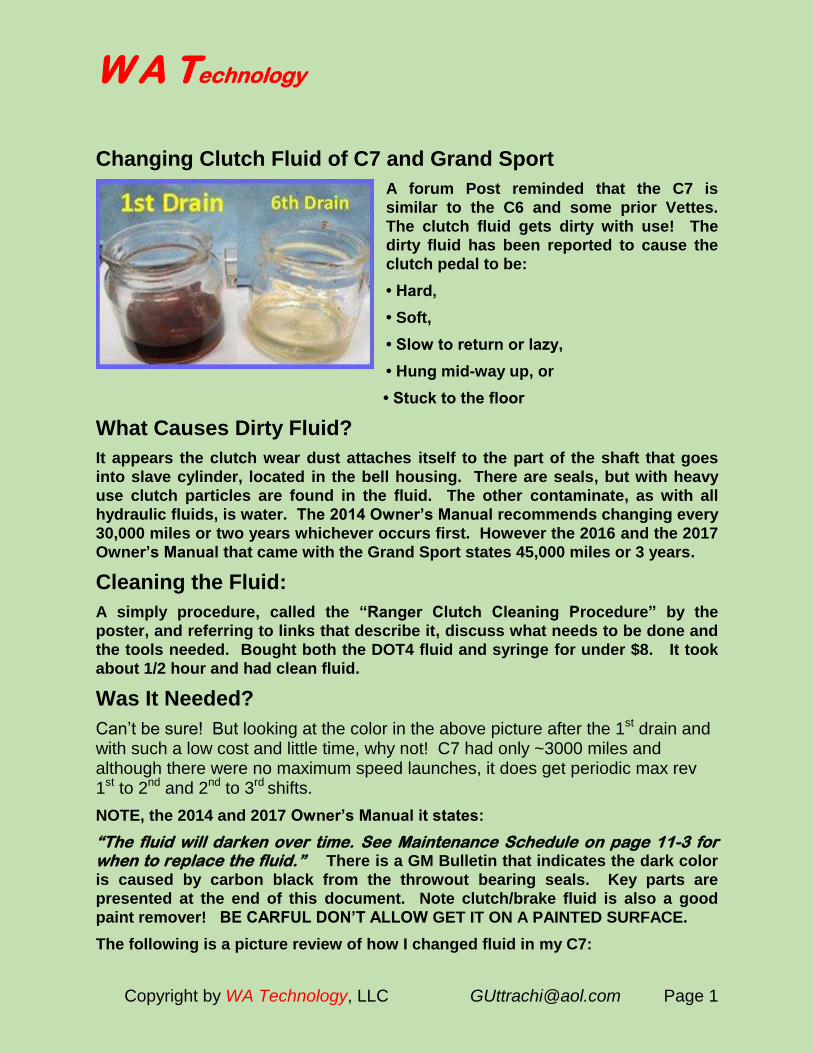
Changing Clutch Fluid of C7 and Grand Sport
A forum Post reminded that the C7 is
similar to the C6 and some prior Vettes.
The clutch fluid gets dirty with use! The
dirty fluid has been reported to cause the
clutch pedal to be:
• Hard,
• Soft,
• Slow to return or lazy,
• Hung mid-way up, or
• Stuck to the floor
What Causes Dirty Fluid?
It appears the clutch wear dust attaches itself to the part of the shaft that goes
into slave cylinder, located in the bell housing. There are seals, but with heavy
use clutch particles are found in the fluid. The other contaminate, as with all
hydraulic fluids, is water. The 2014 Owner’s Manual recommends changing every
30,000 miles or two years whichever occurs first. However the 2016 and the 2017
Owner’s Manual that came with the Grand Sport states 45,000 miles or 3 years.
Cleaning the Fluid:
A simply procedure, called the “Ranger Clutch Cleaning Procedure” by the
poster, and referring to links that describe it, discuss what needs to be done and
the tools needed. Bought both the DOT4 fluid and syringe for under $8. It took
about 1/2 hour and had clean fluid.
Was It Needed?
Can’t be sure! But looking at the color in the above picture after the 1st drain and with such a low cost and little time, why not! C7 had only ~3000 miles and although there were no maximum speed launches, it does get periodic max rev 1st to 2nd and 2nd to 3rd shifts.
NOTE, the 2014 and 2017 Owner’s Manual it states:
“The fluid will darken over time. See Maintenance Schedule on page 11-3 for when to replace the fluid.” There is a GM Bulletin that indicates the dark color
is caused by carbon black from the throwout bearing seals. Key parts are
presented at the end of this document. Note clutch/brake fluid is also a good
paint remover! BE CARFUL DON’T ALLOW GET IT ON A PAINTED SURFACE.
The following is a picture review of how I changed fluid in my C7:

Copyright by WA Technology, LLC [email protected] Page 2
Photo Sequence
This info was posted on a forum: “The C7 has the
same issues as the C5 and C6 when it comes to clutch fluid. This is how bad mine looked (right) and this is with no track time and not a lot of aggressive driving…”
However another forum member noted that the
fluid darkens soon after it’s changed. Another
performs the Ranger Method (detailed below)
monthly to keep the fluid “looking cleaner.”
As mentioned GM states dark fluid may not
indicate any problem! IMO performing every oil
change is every oil change is sufficient, has
worked with my C6 for over 6 years.
To follow the GM recommendation of changing
fluid every 2 or 3 years requires bleeding from
the slave cylinder. That requires removing a
driver’s side exhaust pipe and CAT. Then
removing some sheet metal to access. Then
bleeding like brakes. NOT easy or cheap!
Many posters recommended and use a
procedure called Ranger Clutch Care. You can
search for the term. I found this link:
http://www.rangeracceleration.com/Clutch_C
are.html I highly recommend viewing as it also has a good
video showing not only the cause but the simple
procedure to clean the fluid.
The picture right is from the video which was
taken after 6 hard launches and 18 shifts! The
particles are clutch dust!
The solution is simple:
All that is needed is to drain the clutch fluid
reservoir periodically. It describes a very simply
procedure. The following covers what I did on
my Z51 C7 and will perform on my Grand Sport at
the OLM required oil change.
Bought these as recommend from Walmart, The
DOT 4 Synthetic ~$4 and the syringe (found as
the video said near the gas cans) is for mixing oil
for two cycle engines.
Copyright by WA Technology, LLC [email protected] Page 3
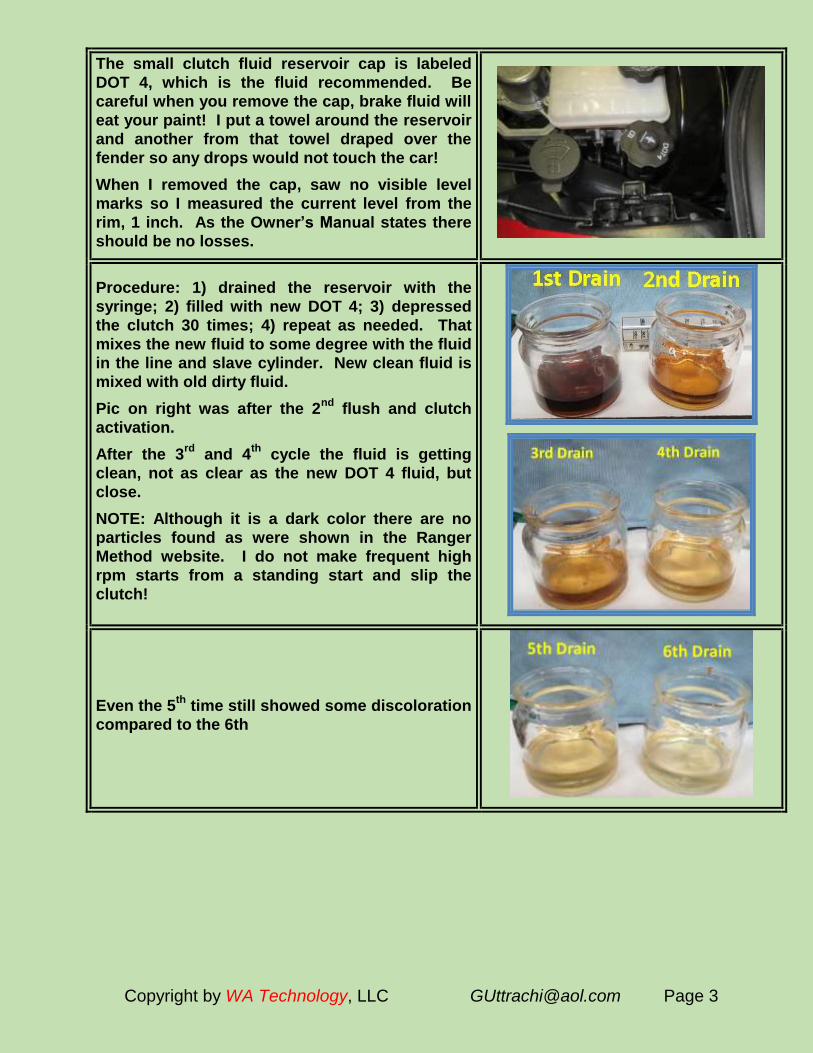
The small clutch fluid reservoir cap is labeled
DOT 4, which is the fluid recommended. Be
careful when you remove the cap, brake fluid will
eat your paint! I put a towel around the reservoir
and another from that towel draped over the
fender so any drops would not touch the car!
When I removed the cap, saw no visible level
marks so I measured the current level from the
rim, 1 inch. As the Owner’s Manual states there
should be no losses.
Procedure: 1) drained the reservoir with the
syringe; 2) filled with new DOT 4; 3) depressed
the clutch 30 times; 4) repeat as needed. That
mixes the new fluid to some degree with the fluid
in the line and slave cylinder. New clean fluid is
mixed with old dirty fluid.
Pic on right was after the 2nd
flush and clutch
activation.
After the 3rd
and 4th
cycle the fluid is getting
clean, not as clear as the new DOT 4 fluid, but
close.
NOTE: Although it is a dark color there are no
particles found as were shown in the Ranger
Method website. I do not make frequent high
rpm starts from a standing start and slip the
clutch!
Even the 5th
time still showed some discoloration
compared to the 6th
Copyright by WA Technology, LLC [email protected] Page 4
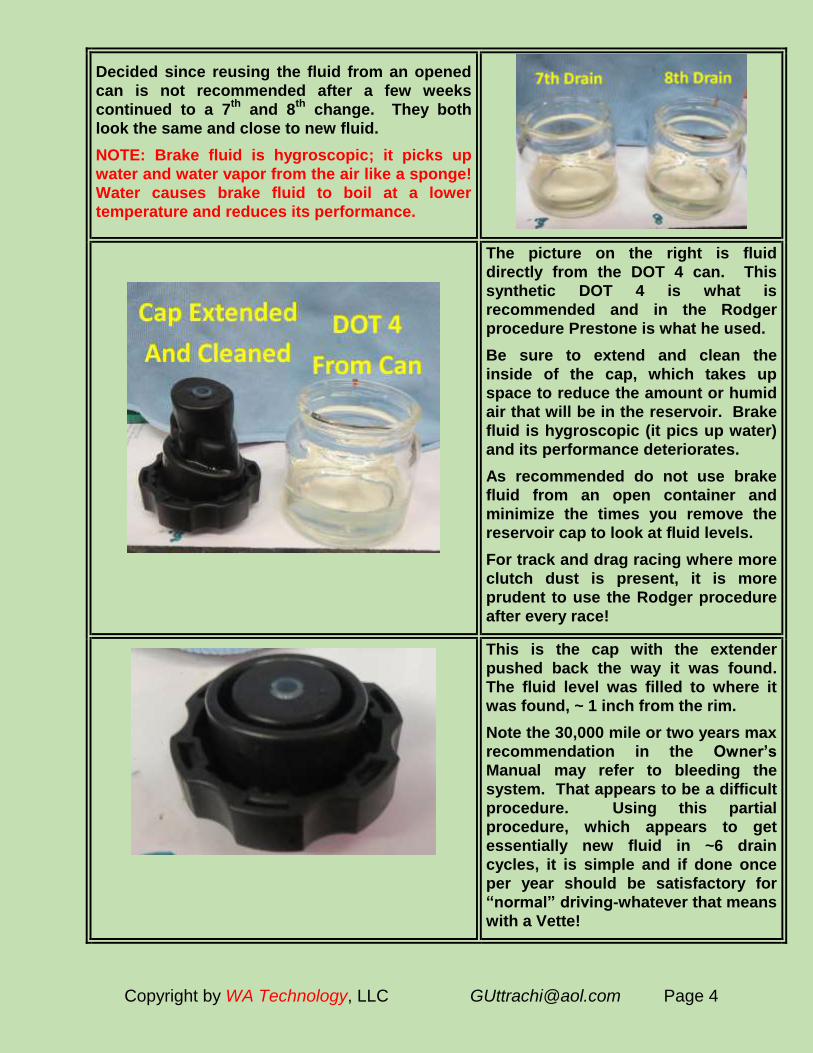
Decided since reusing the fluid from an opened
can is not recommended after a few weeks
continued to a 7th
and 8th
change. They both
look the same and close to new fluid.
NOTE: Brake fluid is hygroscopic; it picks up
water and water vapor from the air like a sponge!
Water causes brake fluid to boil at a lower
temperature and reduces its performance.
The picture on the right is fluid
directly from the DOT 4 can. This
synthetic DOT 4 is what is
recommended and in the Rodger
procedure Prestone is what he used.
Be sure to extend and clean the
inside of the cap, which takes up
space to reduce the amount or humid
air that will be in the reservoir. Brake
fluid is hygroscopic (it pics up water)
and its performance deteriorates.
As recommended do not use brake
fluid from an open container and
minimize the times you remove the
reservoir cap to look at fluid levels.
For track and drag racing where more
clutch dust is present, it is more
prudent to use the Rodger procedure
after every race!
This is the cap with the extender
pushed back the way it was found.
The fluid level was filled to where it
was found, ~ 1 inch from the rim.
Note the 30,000 mile or two years max
recommendation in the Owner’s
Manual may refer to bleeding the
system. That appears to be a difficult
procedure. Using this partial
procedure, which appears to get
essentially new fluid in ~6 drain
cycles, it is simple and if done once
per year should be satisfactory for
“normal” driving-whatever that means
with a Vette!
Copyright by WA Technology, LLC [email protected] Page 5
Second Change After 2 Years
Thought perhaps if, as GM statement about
darkening over time, if due to staining from the
seals as some reports indicate, it would be better
for this 2nd year change. As seen from the pic
right, it’s just as dark!
However I have never found particles in the
removed fluid. I’m not concerned about the
color, as GM states it will darken with time.
As a reminder, Brake fluid will remove
paint! Note a towel was wrapped
around the filler neck and another
was placed on the fender.
This pic also shows the syringe we
purchased for this task. As was done
for the first change the cap rubber
was extended and cleaned.
The 6th
change looks identical to the 6th
change
in the one done after 1 year! The fact that it
progressively gets lighted with each 30 clutch
pumps shows that the fluid does circulate as the
clutch is depressed.
The Owner’s Manual and the label on
the clutch fluid reservoir state DOT 4
is to be used. This Prestone 12 ounce
bottle was ~$4 at Walmart! We used
¾ of the bottle and discarded the
remainder. Don’t use fluid from an
opened container. It picks up water
like a sponge!
Copyright by WA Technology, LLC [email protected] Page 6
The Ranger Procedure is Not the Same as Bleeding the Clutch
Some have pointed out that the “Ranger Procedure” is not as good a bleeding the
system since it will not get particles that settle in the slave cylinder. However as shown
in the video on page 2 of this report it will eliminate some particles that occur with
aggressive use such as drag racing or tracking. I’ve used the procedure successfully
for 6 years in my C6 with no clutch issues. I also have not seen any particles in fluid
changes made with my ”normal,” occasionally aggressive driving.
If tracking or drag racing perhaps you’ll want to consider bleeding the system. However
as one drag racer finds, using the Ranger Procedure after each race may be better than
letting the excess clutch dust etc. accumulate. Your choice.
Some who have had the dealer perform the bleeding service say it cost ~$200 plus. If
you want to bleed the system or have a dealer perform the service, this is the procedure:
Bleeding Procedure:
Page 17-334 of the 2014 Service Manual, outlines the bleeding process that starts with
"Remove the left Catalytic Converter then get an assistant, etc.
Those steps refer to page 9-890 that outlines a 5 step procedure to remove the left
Catalytic Converter starting with,
1) Remove the floor panel tunnel...
2 & 3) Disconnect the heated Oxygen sensors,...
4) Place jack to support exhaust ...
5) Disconnect intermediate pipe from the exhaust....
Step 5 is outlined on page 9-888, these are the key points: 1) Remove fasteners and
discard seals (note will need new ones. 2) Remove intermediate pipe, 3) Separate
intermediate pipe from muffles.
At that point you can access the slave cylinder bleed valve and using an assistant with
fresh fluid in the clutch reservoir press the clutch and have an assistant open the
valve. Tighten the valve and per the Service Manual repeat 5 to 8 times keeping the
reservoir full of new fluid.
Reinstall the exhaust pipes catalytic converter and floor tunnel panel.
If you have the dealer perform the service you can understand the cost.

Copyright by WA Technology, LLC [email protected] Page 7
WHY CLUTCH FLUID TURNS BLACK
The Ranger Method original information show contamination is caused by clutch
particles getting past the seals in the throwout bearing. For drag races or when
accelerating rapidly from a standing start, clutch slipping causes particles to fill
the bell housing and allows this “clutch dust” to enter the sliding parts of the
throwout bearing. However in normal driving the clutch fluid turns dark quickly.
So what is causing the dark color?
The following is an old GM Bulletin that discusses the issue
Bulletin #PIP4938: Discolored Dirty Dark Sludge And/Or Grease In The Clutch
Fluid Reservoir - (Aug 4, 2011)
Subject: Discolored Dirty Dark Sludge and/or Grease in the Clutch Fluid
Reservoir
Condition/Concern: It may be observed on some vehicles that the clutch fluid in
the reservoir appears to be discolored, dirty, have sludge or grease
contaminates in it after being in service for a period of time.
The level of discoloration will vary with factors such as driving conditions, under
hood temperatures etc.
This is a phenomenon that may occur with time due to the interaction between
the clutch system rubber parts and hydraulic clutch fluid. Comments have been
received about the fluid in the hydraulic clutch system being discolored. This
discoloration is the result of carbon black used in the seal manufacturing
process leaching into the hydraulic fluid used in the clutch system. The
discoloration may also collect on the inside of the clutch reservoir at the top of
the fluid. This discoloration does not affect the operation of the clutch system
and should not be considered a reason to flush the clutch hydraulic system
Therefore, although some of the dark color is probably caused by clutch dust, it
is also caused by carbon black from throwout bearing entering the fluid.
Copyright by WA Technology, LLC [email protected]
W A Technology
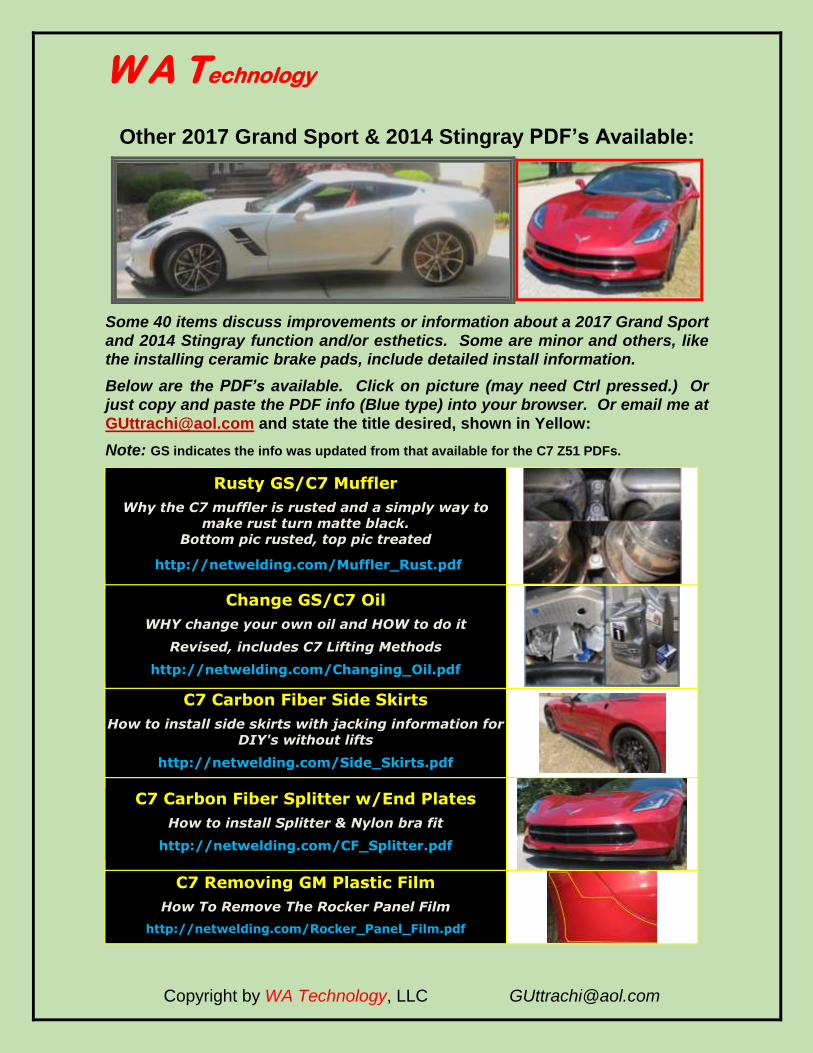
Other 2017 Grand Sport & 2014 Stingray PDF’s Available:
Some 40 items discuss improvements or information about a 2017 Grand Sport
and 2014 Stingray function and/or esthetics. Some are minor and others, like the installing ceramic brake pads, include detailed install information.
Below are the PDF’s available. Click on picture (may need Ctrl pressed.) Or just copy and paste the PDF info (Blue type) into your browser. Or email me at
[email protected] and state the title desired, shown in Yellow:
Note: GS indicates the info was updated from that available for the C7 Z51 PDFs.
Rusty GS/C7 Muffler
Why the C7 muffler is rusted and a simply way to make rust turn matte black.
Bottom pic rusted, top pic treated
http://netwelding.com/Muffler_Rust.pdf
Change GS/C7 Oil
WHY change your own oil and HOW to do it
Revised, includes C7 Lifting Methods
http://netwelding.com/Changing_Oil.pdf
C7 Carbon Fiber Side Skirts
How to install side skirts with jacking information for DIY's without lifts
http://netwelding.com/Side_Skirts.pdf
C7 Carbon Fiber Splitter w/End Plates
How to install Splitter & Nylon bra fit
http://netwelding.com/CF_Splitter.pdf
C7 Removing GM Plastic Film
How To Remove The Rocker Panel Film
http://netwelding.com/Rocker_Panel_Film.pdf
Copyright by WA Technology, LLC [email protected]
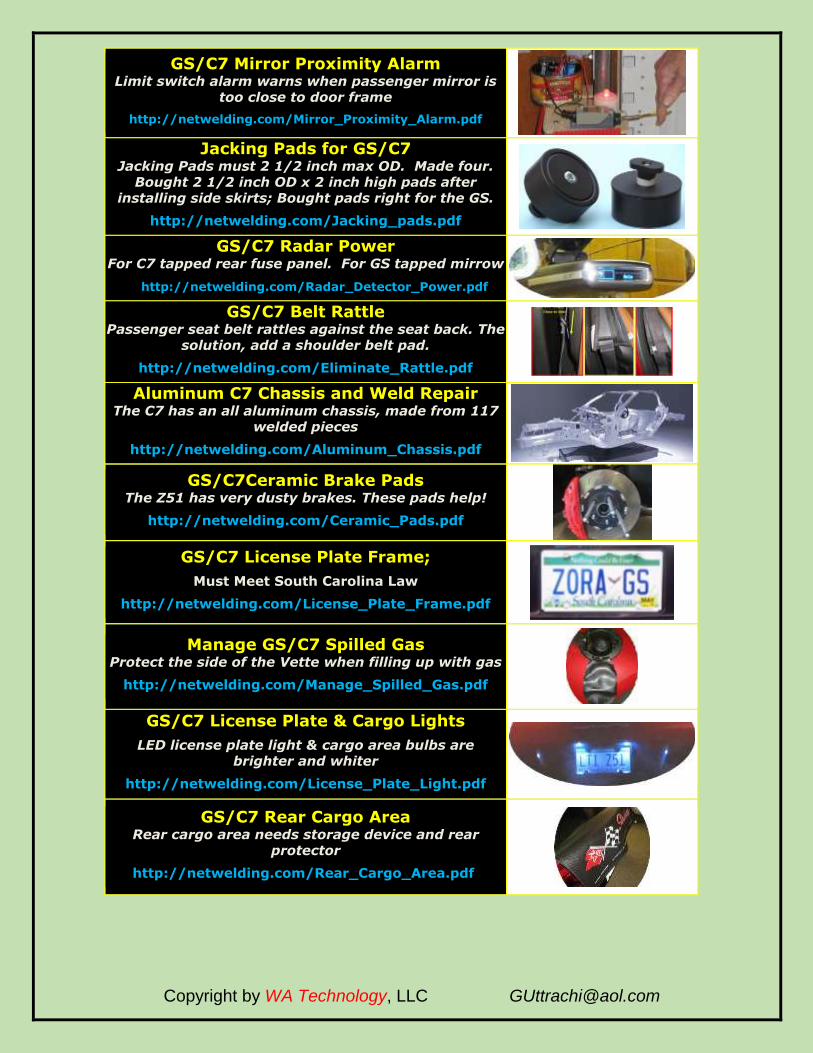
GS/C7 Mirror Proximity Alarm Limit switch alarm warns when passenger mirror is
too close to door frame
http://netwelding.com/Mirror_Proximity_Alarm.pdf
Jacking Pads for GS/C7 Jacking Pads must 2 1/2 inch max OD. Made four.
Bought 2 1/2 inch OD x 2 inch high pads after installing side skirts; Bought pads right for the GS.
http://netwelding.com/Jacking_pads.pdf
GS/C7 Radar Power For C7 tapped rear fuse panel. For GS tapped mirrow
http://netwelding.com/Radar_Detector_Power.pdf
GS/C7 Belt Rattle Passenger seat belt rattles against the seat back. The
solution, add a shoulder belt pad.
http://netwelding.com/Eliminate_Rattle.pdf
Aluminum C7 Chassis and Weld Repair The C7 has an all aluminum chassis, made from 117
welded pieces
http://netwelding.com/Aluminum_Chassis.pdf
GS/C7Ceramic Brake Pads The Z51 has very dusty brakes. These pads help!
http://netwelding.com/Ceramic_Pads.pdf
GS/C7 License Plate Frame;
Must Meet South Carolina Law
http://netwelding.com/License_Plate_Frame.pdf
Manage GS/C7 Spilled Gas Protect the side of the Vette when filling up with gas
http://netwelding.com/Manage_Spilled_Gas.pdf
GS/C7 License Plate & Cargo Lights
LED license plate light & cargo area bulbs are brighter and whiter
http://netwelding.com/License_Plate_Light.pdf
GS/C7 Rear Cargo Area Rear cargo area needs storage device and rear
protector
http://netwelding.com/Rear_Cargo_Area.pdf
Copyright by WA Technology, LLC [email protected]
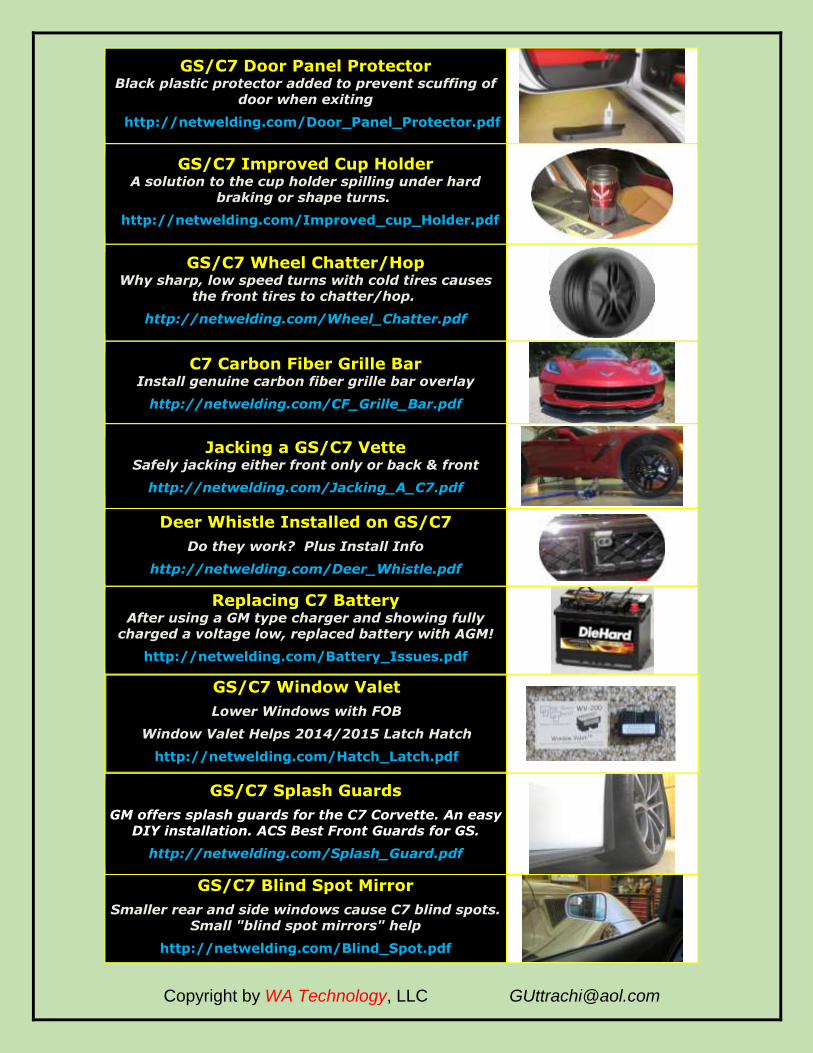
GS/C7 Door Panel Protector Black plastic protector added to prevent scuffing of
door when exiting
http://netwelding.com/Door_Panel_Protector.pdf
GS/C7 Improved Cup Holder A solution to the cup holder spilling under hard
braking or shape turns.
http://netwelding.com/Improved_cup_Holder.pdf
GS/C7 Wheel Chatter/Hop Why sharp, low speed turns with cold tires causes
the front tires to chatter/hop.
http://netwelding.com/Wheel_Chatter.pdf
C7 Carbon Fiber Grille Bar Install genuine carbon fiber grille bar overlay
http://netwelding.com/CF_Grille_Bar.pdf
Jacking a GS/C7 Vette Safely jacking either front only or back & front
http://netwelding.com/Jacking_A_C7.pdf
Deer Whistle Installed on GS/C7
Do they work? Plus Install Info
http://netwelding.com/Deer_Whistle.pdf
Replacing C7 Battery After using a GM type charger and showing fully
charged a voltage low, replaced battery with AGM!
http://netwelding.com/Battery_Issues.pdf
GS/C7 Window Valet
Lower Windows with FOB
Window Valet Helps 2014/2015 Latch Hatch
http://netwelding.com/Hatch_Latch.pdf
GS/C7 Splash Guards
GM offers splash guards for the C7 Corvette. An easy DIY installation. ACS Best Front Guards for GS.
http://netwelding.com/Splash_Guard.pdf
GS/C7 Blind Spot Mirror
Smaller rear and side windows cause C7 blind spots. Small "blind spot mirrors" help
http://netwelding.com/Blind_Spot.pdf
Copyright by WA Technology, LLC [email protected]
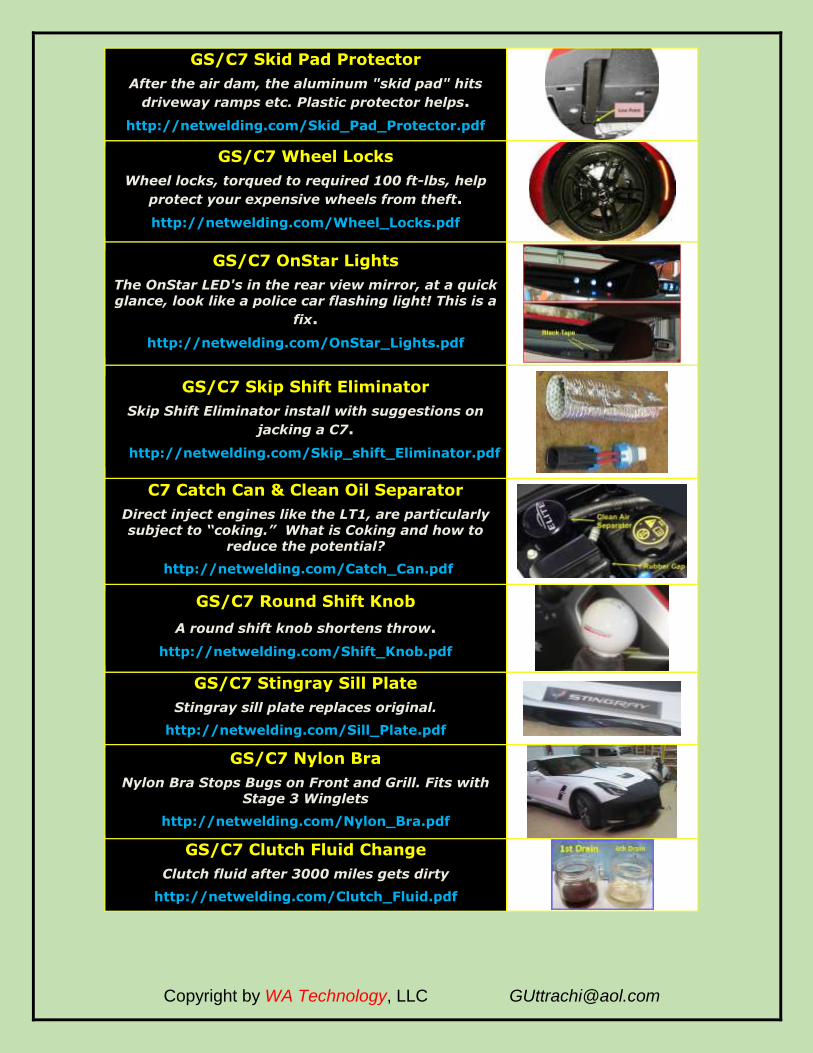
GS/C7 Skid Pad Protector
After the air dam, the aluminum "skid pad" hits
driveway ramps etc. Plastic protector helps.
http://netwelding.com/Skid_Pad_Protector.pdf
GS/C7 Wheel Locks
Wheel locks, torqued to required 100 ft-lbs, help
protect your expensive wheels from theft.
http://netwelding.com/Wheel_Locks.pdf
GS/C7 OnStar Lights
The OnStar LED's in the rear view mirror, at a quick glance, look like a police car flashing light! This is a
fix.
http://netwelding.com/OnStar_Lights.pdf
GS/C7 Skip Shift Eliminator
Skip Shift Eliminator install with suggestions on
jacking a C7.
http://netwelding.com/Skip_shift_Eliminator.pdf
C7 Catch Can & Clean Oil Separator
Direct inject engines like the LT1, are particularly subject to “coking.” What is Coking and how to
reduce the potential?
http://netwelding.com/Catch_Can.pdf
GS/C7 Round Shift Knob
A round shift knob shortens throw.
http://netwelding.com/Shift_Knob.pdf
GS/C7 Stingray Sill Plate
Stingray sill plate replaces original.
http://netwelding.com/Sill_Plate.pdf
GS/C7 Nylon Bra
Nylon Bra Stops Bugs on Front and Grill. Fits with Stage 3 Winglets
http://netwelding.com/Nylon_Bra.pdf
GS/C7 Clutch Fluid Change
Clutch fluid after 3000 miles gets dirty
http://netwelding.com/Clutch_Fluid.pdf
Copyright by WA Technology, LLC [email protected]
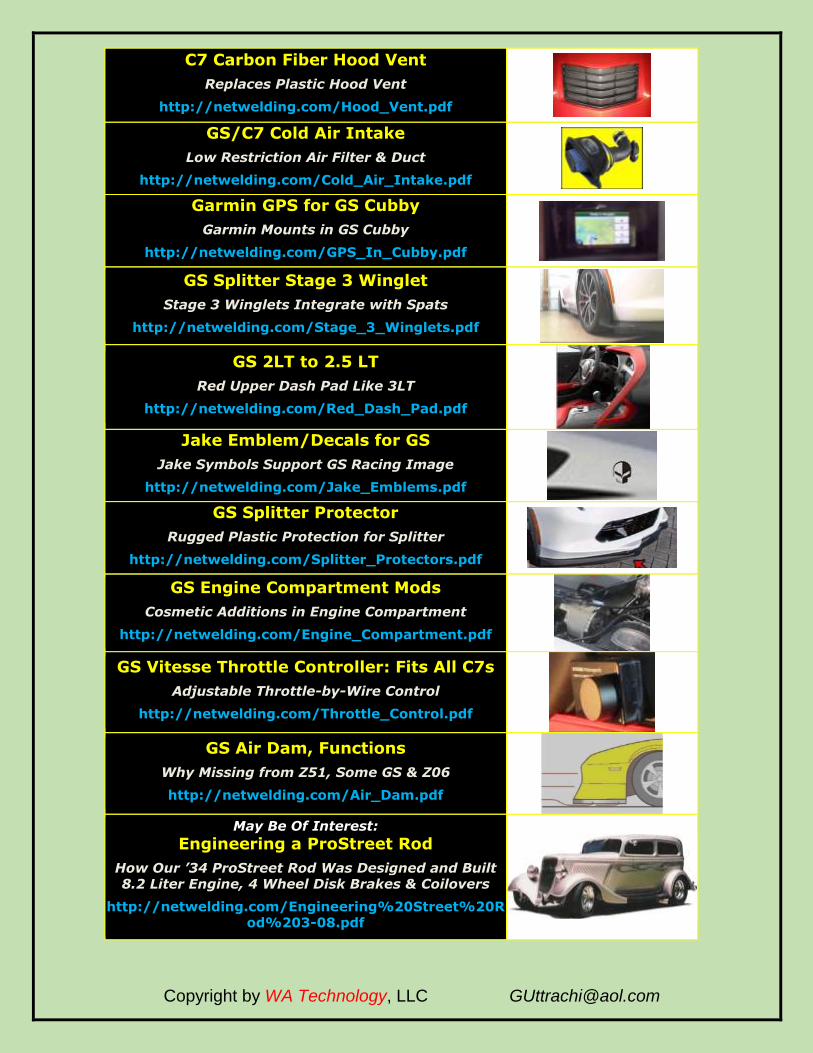
C7 Carbon Fiber Hood Vent
Replaces Plastic Hood Vent
http://netwelding.com/Hood_Vent.pdf
GS/C7 Cold Air Intake
Low Restriction Air Filter & Duct
http://netwelding.com/Cold_Air_Intake.pdf
Garmin GPS for GS Cubby
Garmin Mounts in GS Cubby
http://netwelding.com/GPS_In_Cubby.pdf
GS Splitter Stage 3 Winglet
Stage 3 Winglets Integrate with Spats
http://netwelding.com/Stage_3_Winglets.pdf
GS 2LT to 2.5 LT
Red Upper Dash Pad Like 3LT
http://netwelding.com/Red_Dash_Pad.pdf
Jake Emblem/Decals for GS
Jake Symbols Support GS Racing Image
http://netwelding.com/Jake_Emblems.pdf
GS Splitter Protector
Rugged Plastic Protection for Splitter
http://netwelding.com/Splitter_Protectors.pdf
GS Engine Compartment Mods
Cosmetic Additions in Engine Compartment
http://netwelding.com/Engine_Compartment.pdf
GS Vitesse Throttle Controller: Fits All C7s
Adjustable Throttle-by-Wire Control
http://netwelding.com/Throttle_Control.pdf
GS Air Dam, Functions
Why Missing from Z51, Some GS & Z06
http://netwelding.com/Air_Dam.pdf
May Be Of Interest:
Engineering a ProStreet Rod
How Our ’34 ProStreet Rod Was Designed and Built 8.2 Liter Engine, 4 Wheel Disk Brakes & Coilovers
http://netwelding.com/Engineering%20Street%20Rod%203-08.pdf