Embed Size (px)
Citation preview
Page 1
Citrix Set up
Set up and Log in to Citrix Objective: This document shows new Citrix users how to set up and log in to their Citrix account.
Procedure This document shows you how to set up and log in to your Citrix account as a new Citrix user.
Information The following steps apply to users who have not set up a City of Calgary
Citrix account before.
This document and the steps shown in it are to be completed only after a request for your Citrix account is submitted and has been completed.
If you have further questions after viewing the document, contact the IT Help
Desk at 403 268 8008.
Page 2
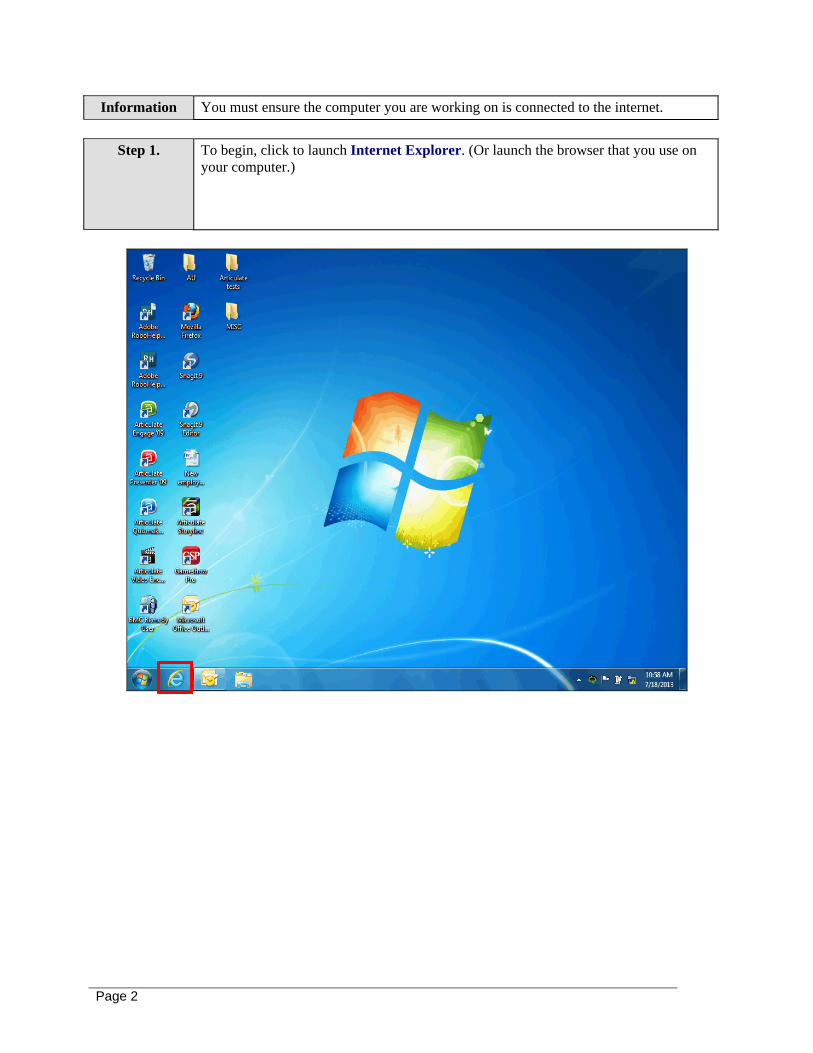
Information You must ensure the computer you are working on is connected to the internet.
Step 1. To begin, click to launch Internet Explorer. (Or launch the browser that you use on
your computer.)
Page 3
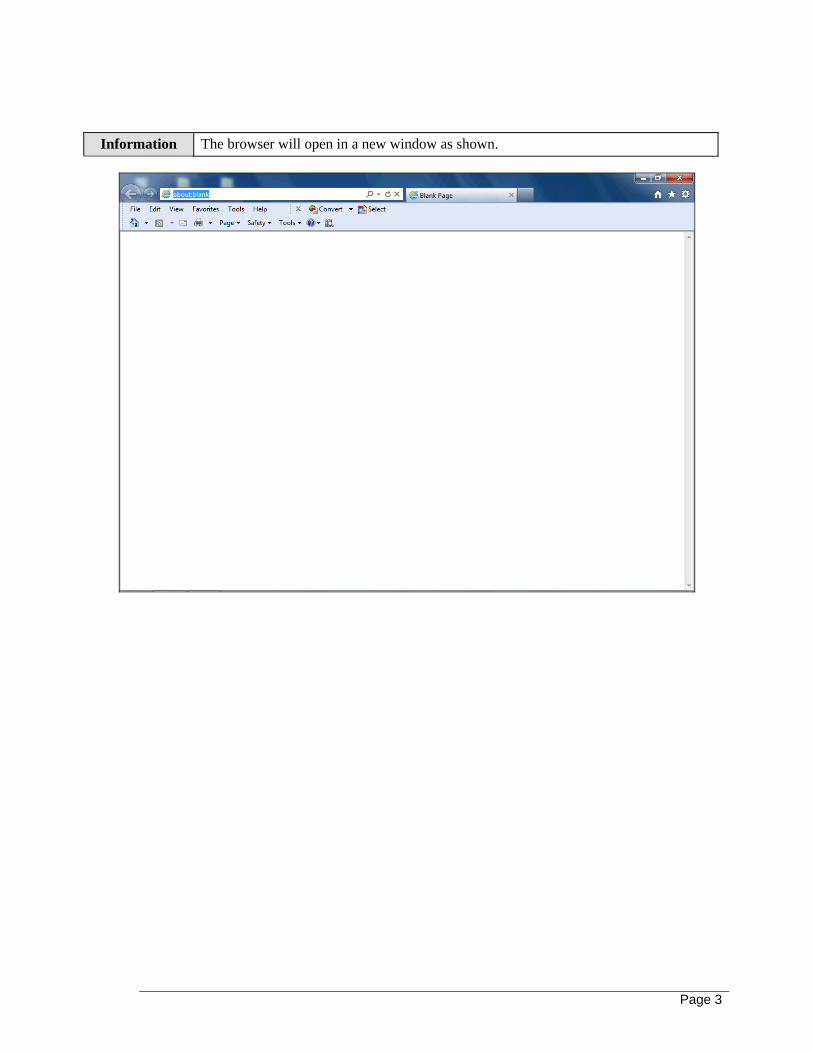
Information The browser will open in a new window as shown.
Page 4
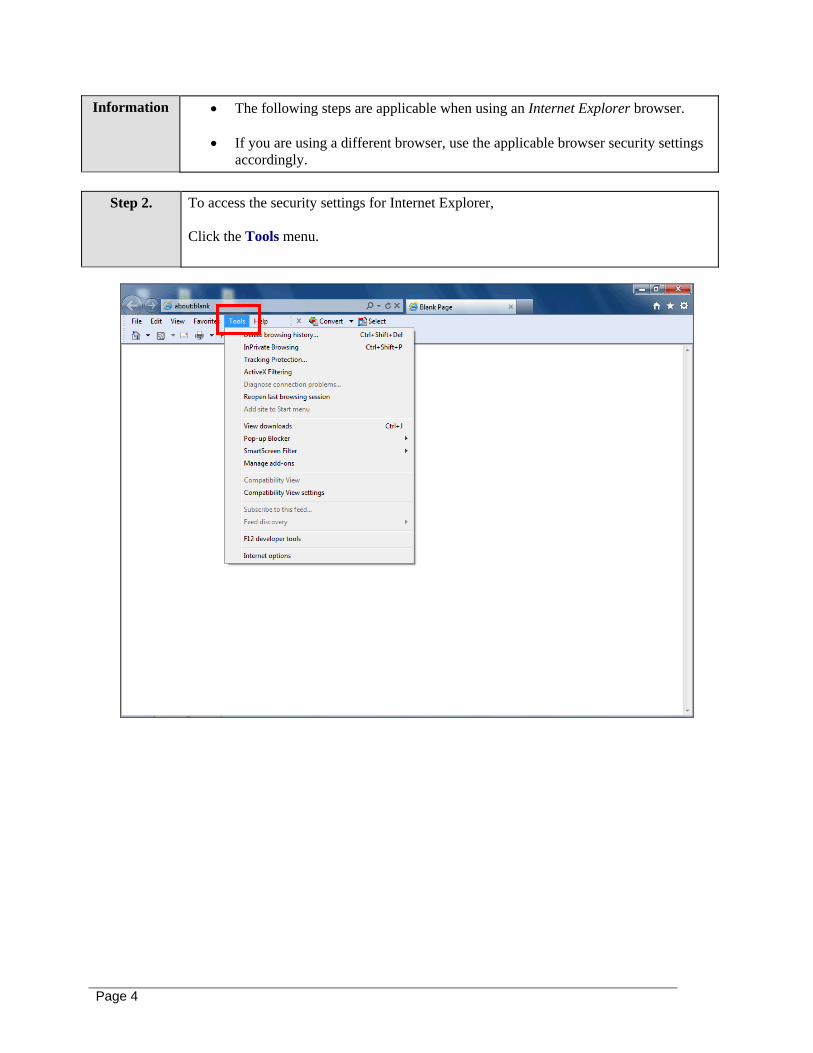
Information The following steps are applicable when using an Internet Explorer browser.
If you are using a different browser, use the applicable browser security settings accordingly.
Step 2. To access the security settings for Internet Explorer,
Click the Tools menu.
Page 5
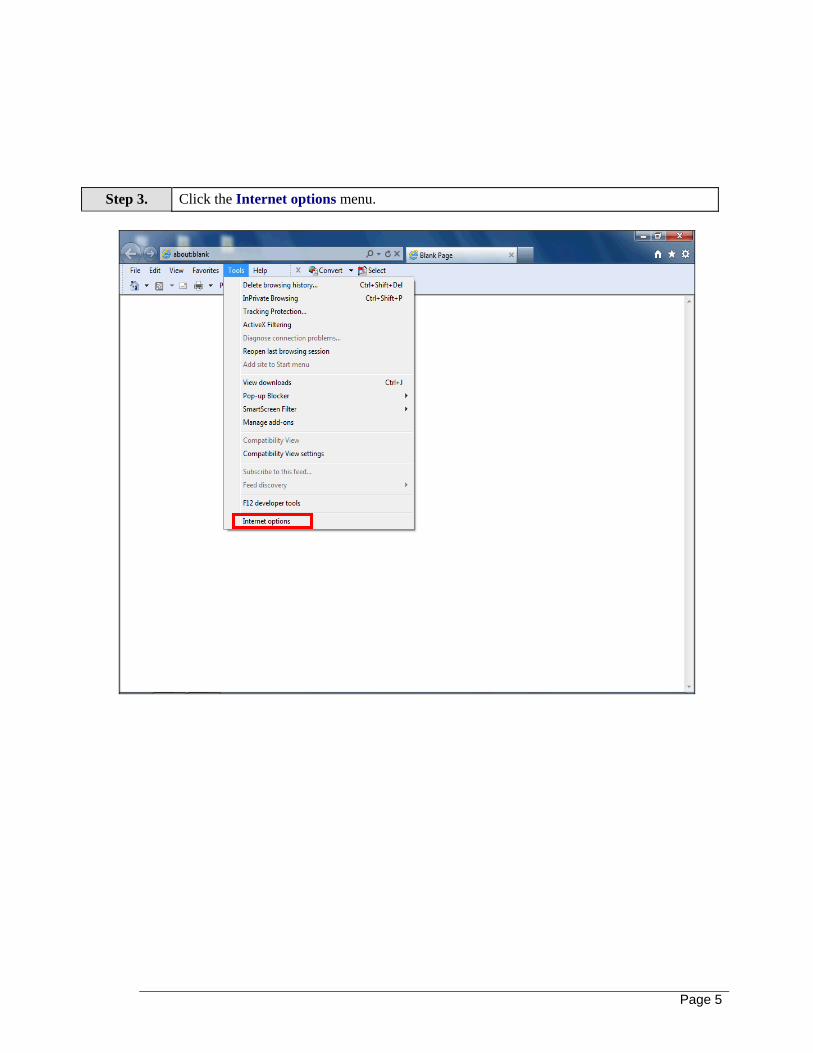
Step 3. Click the Internet options menu.
Page 6
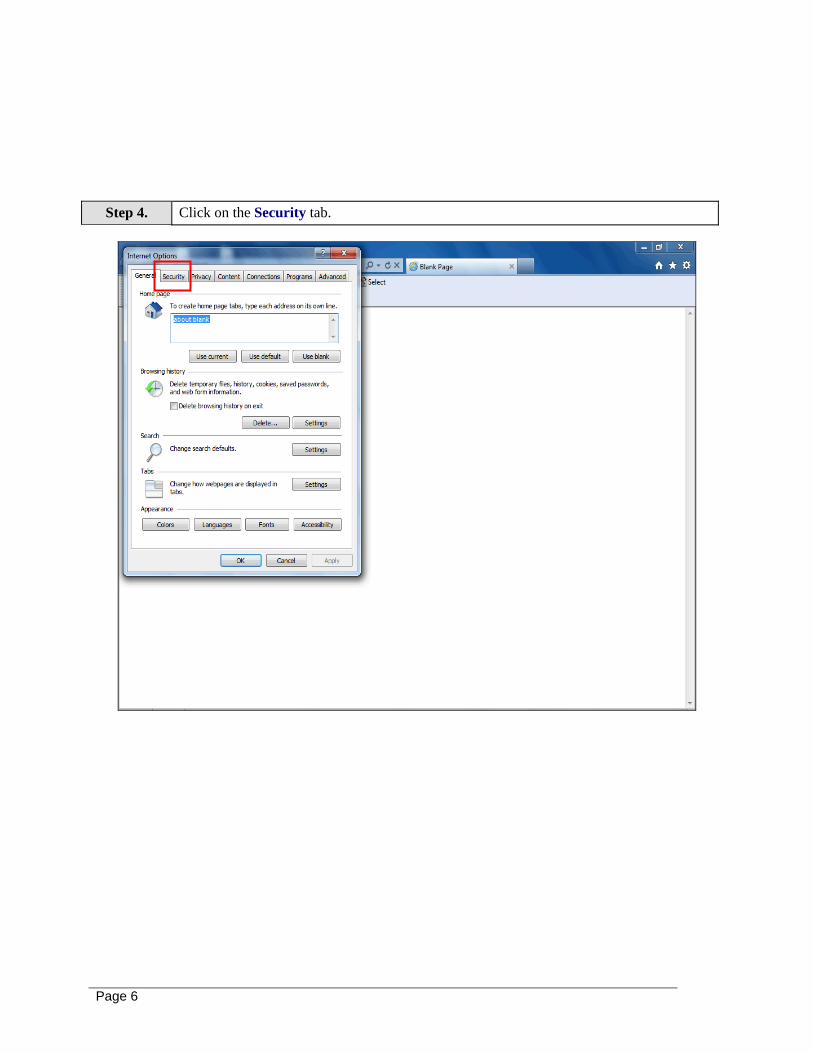
Step 4. Click on the Security tab.
Page 7
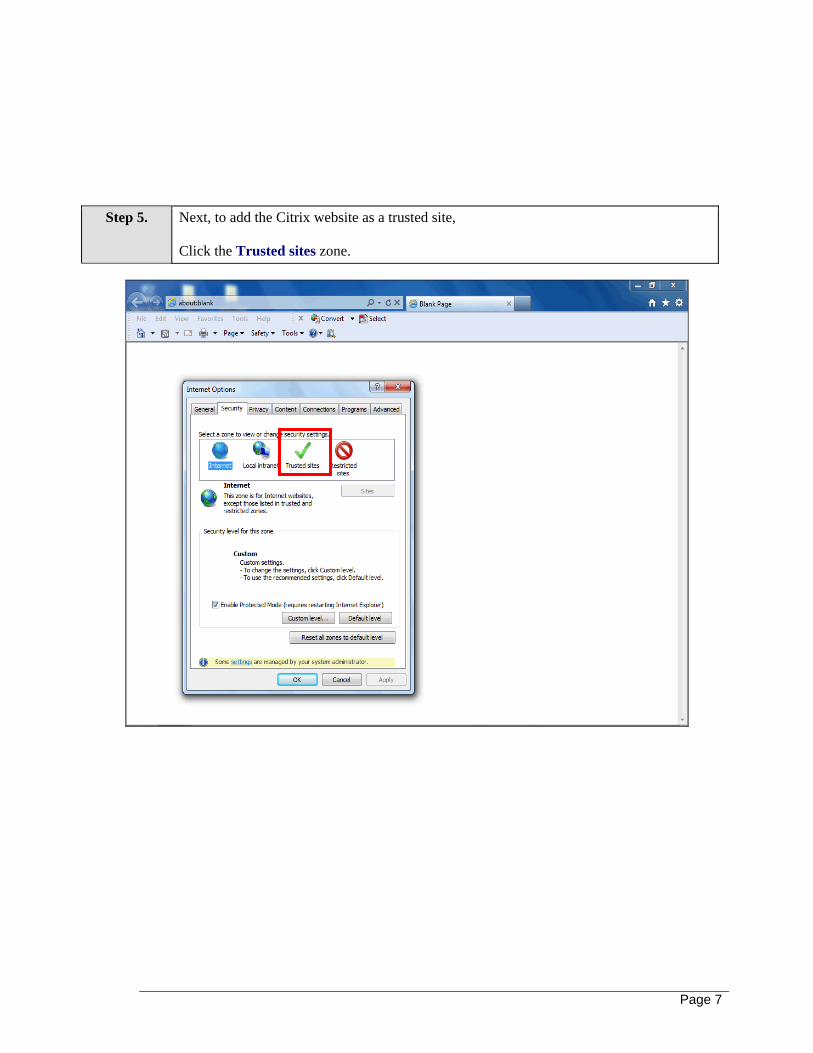
Step 5. Next, to add the Citrix website as a trusted site, Click the Trusted sites zone.
Page 8
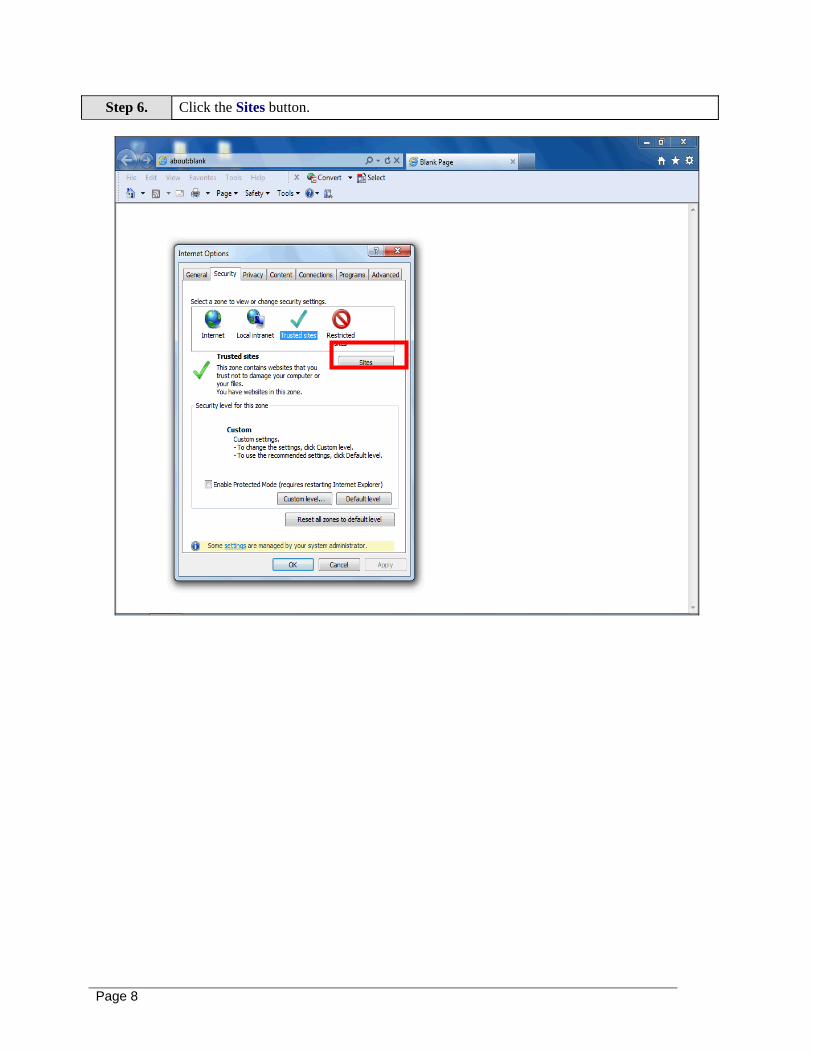
Step 6. Click the Sites button.
Page 9
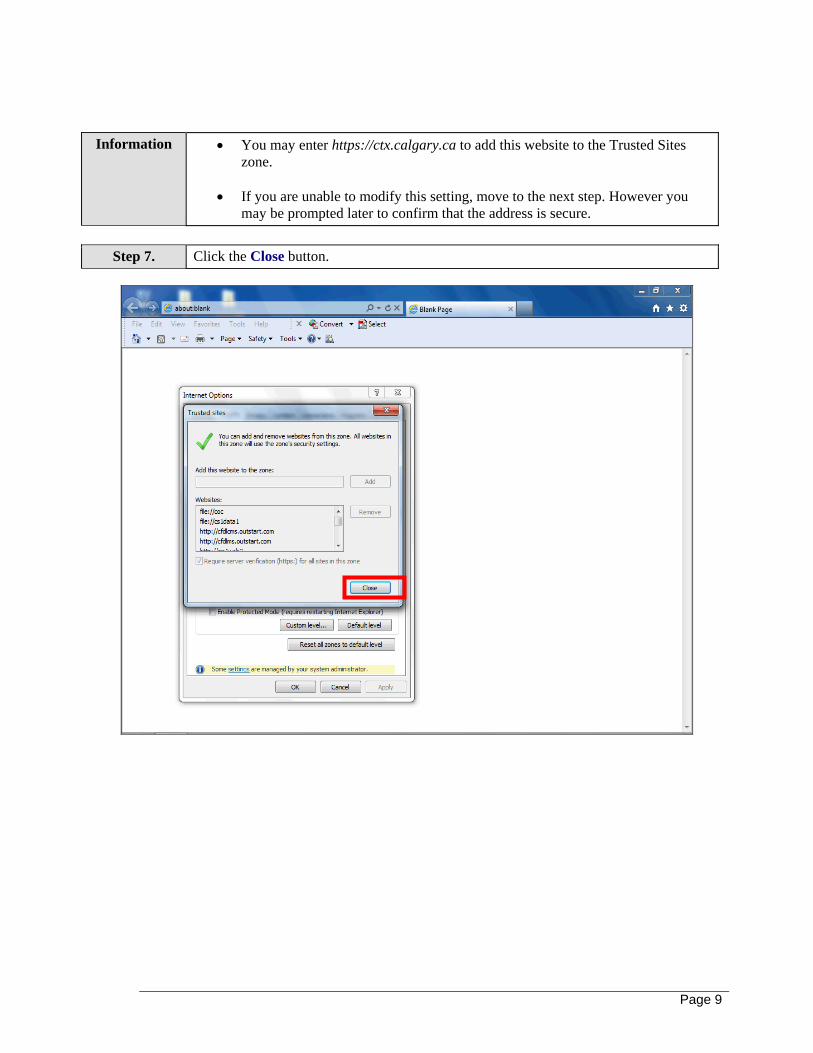
Information You may enter https://ctx.calgary.ca to add this website to the Trusted Sites
zone.
If you are unable to modify this setting, move to the next step. However you may be prompted later to confirm that the address is secure.
Step 7. Click the Close button.
Page 10
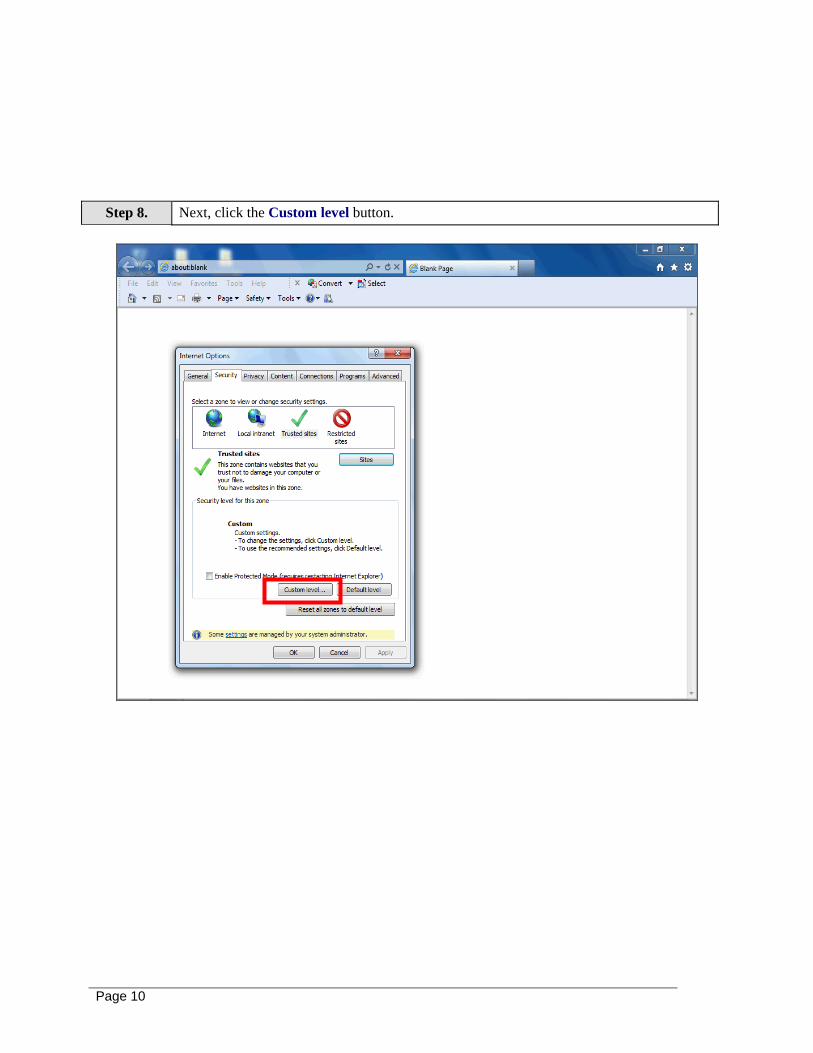
Step 8. Next, click the Custom level button.
Page 11
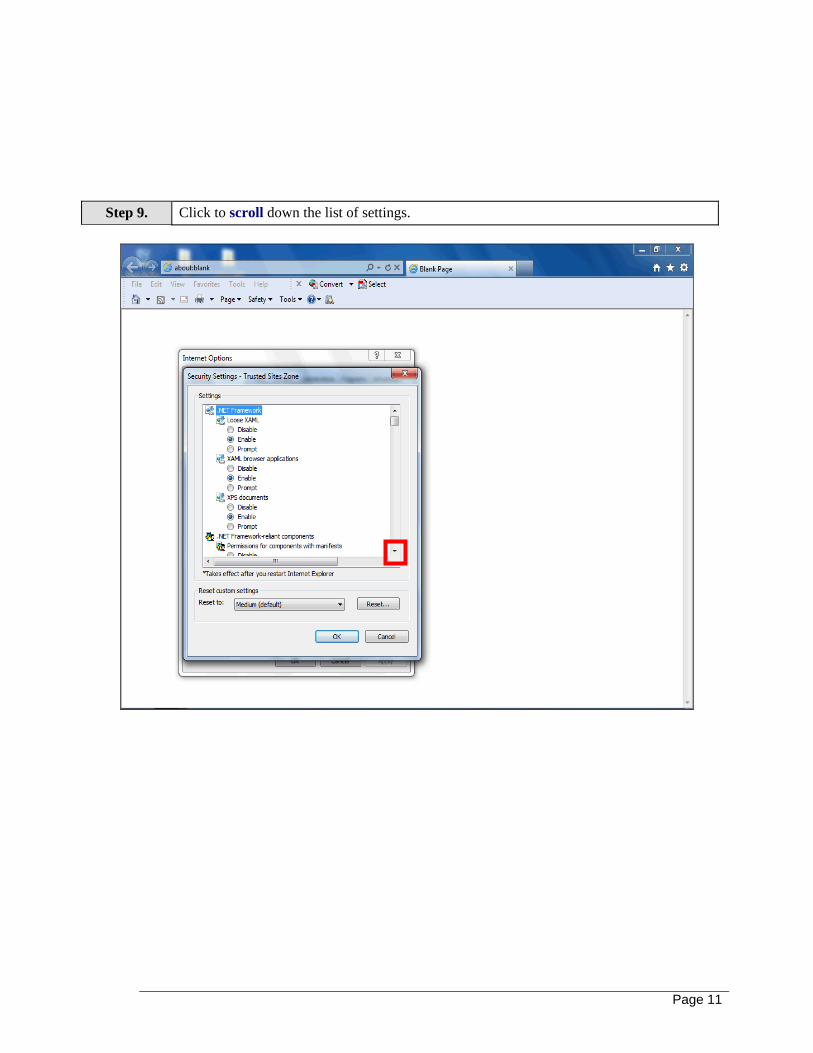
Step 9. Click to scroll down the list of settings.
Page 12
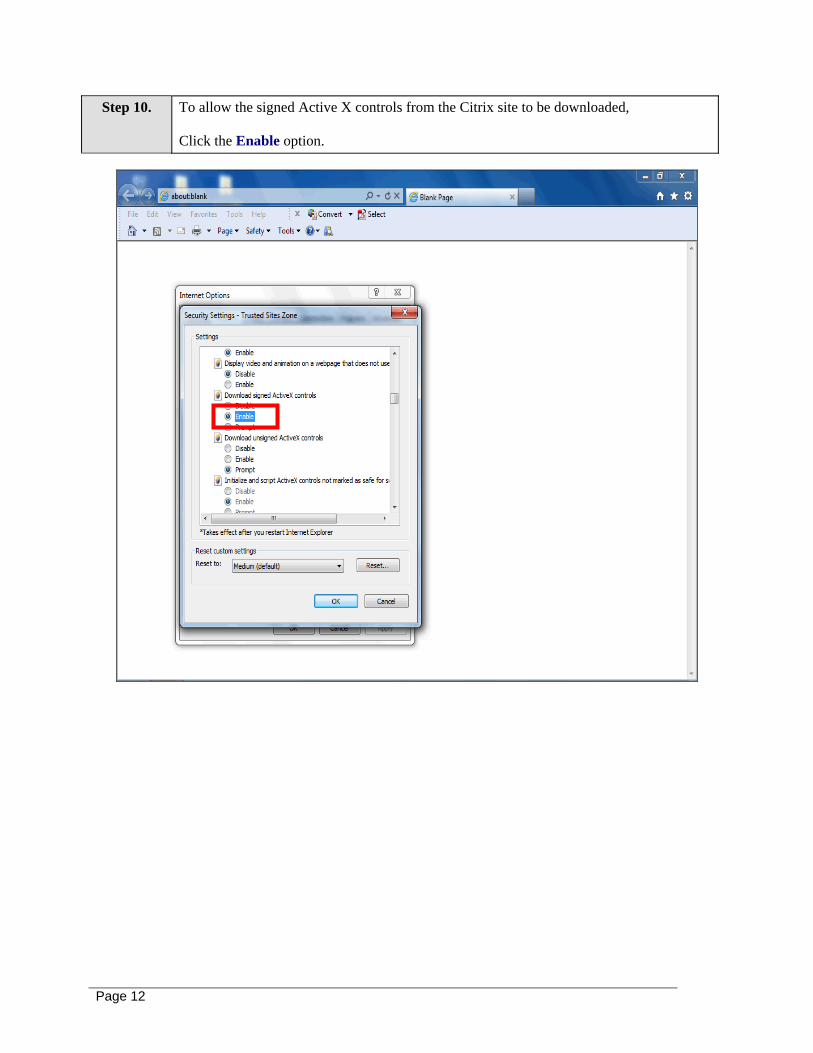
Step 10. To allow the signed Active X controls from the Citrix site to be downloaded, Click the Enable option.
Page 13
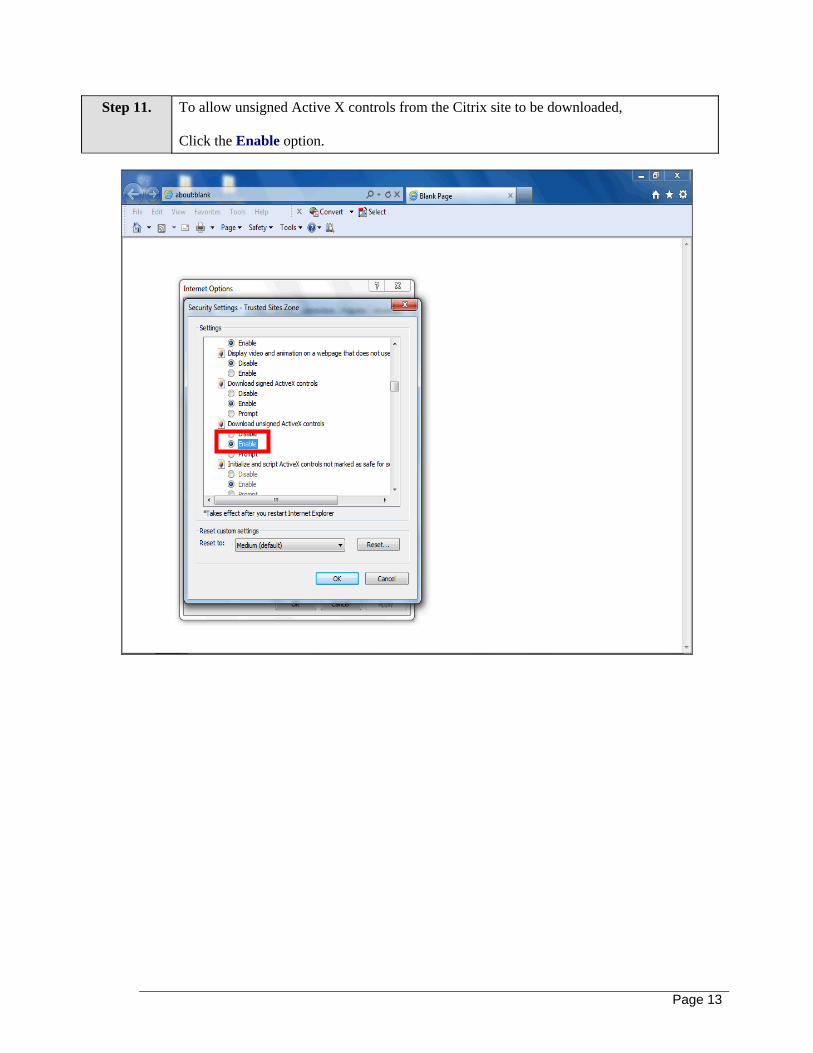
Step 11. To allow unsigned Active X controls from the Citrix site to be downloaded, Click the Enable option.
Page 14
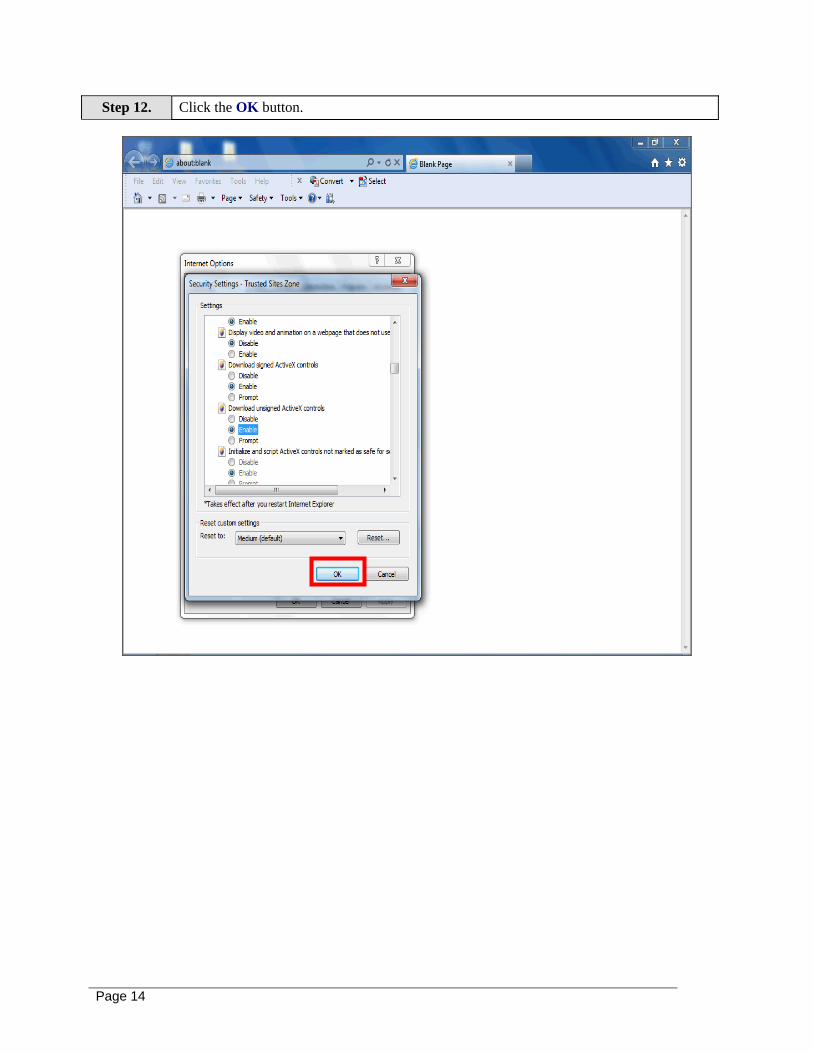
Step 12. Click the OK button.
Page 15
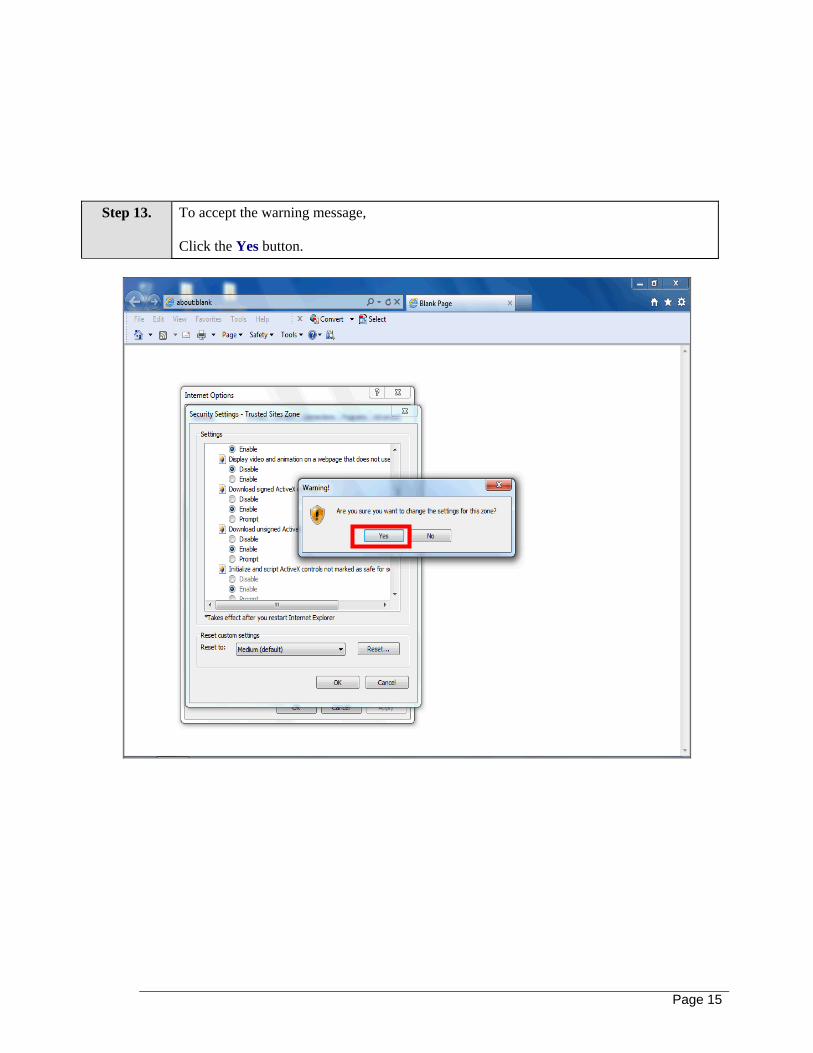
Step 13. To accept the warning message,
Click the Yes button.
Page 16
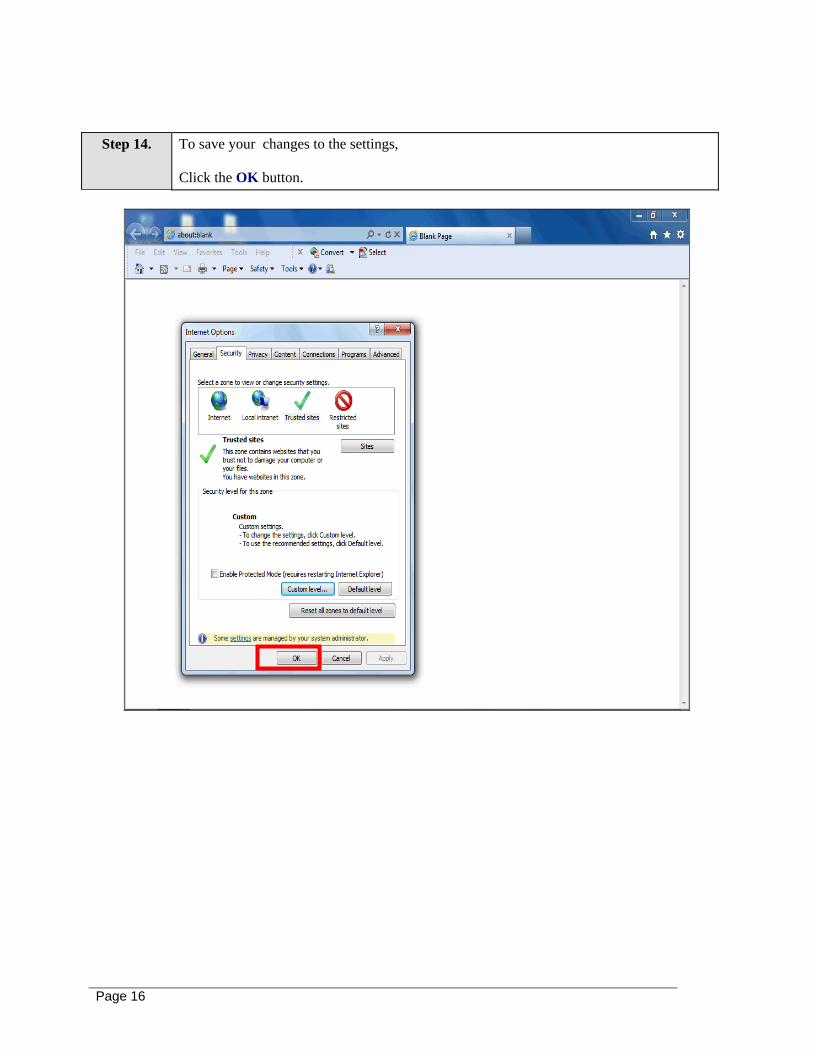
Step 14. To save your changes to the settings,
Click the OK button.
Page 17
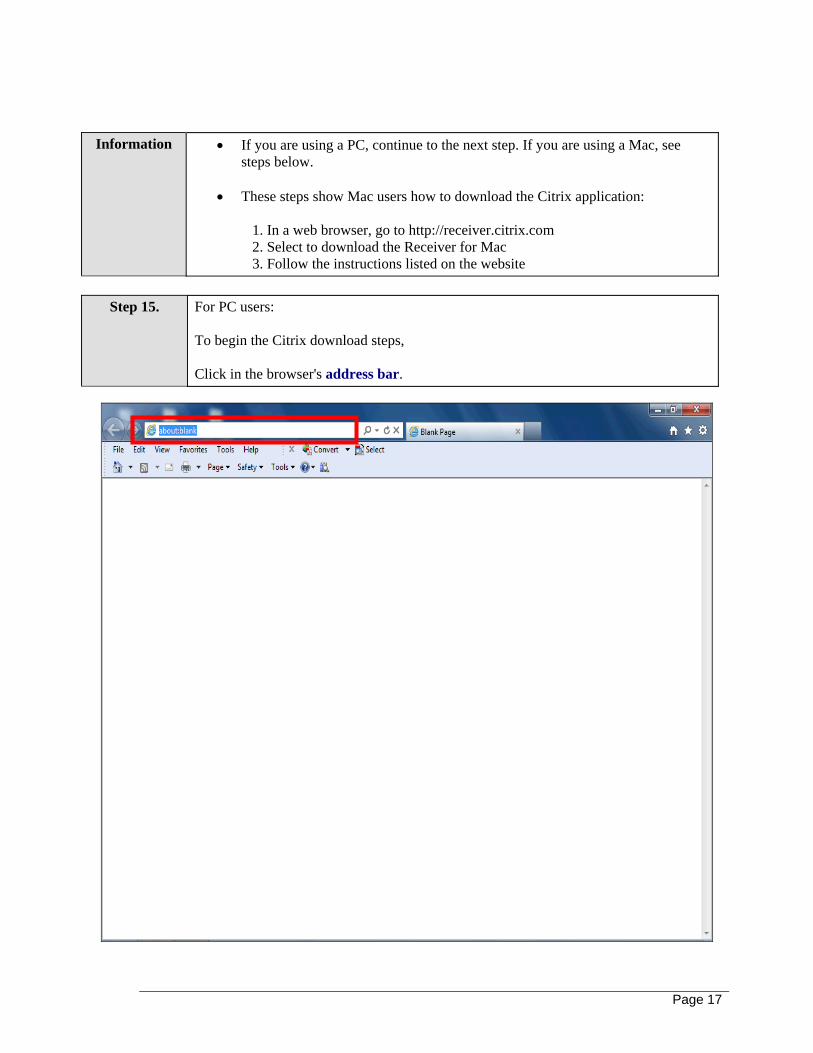
Information If you are using a PC, continue to the next step. If you are using a Mac, see
steps below.
These steps show Mac users how to download the Citrix application:
1. In a web browser, go to http://receiver.citrix.com 2. Select to download the Receiver for Mac 3. Follow the instructions listed on the website
Step 15. For PC users:
To begin the Citrix download steps, Click in the browser's address bar.
Page 18
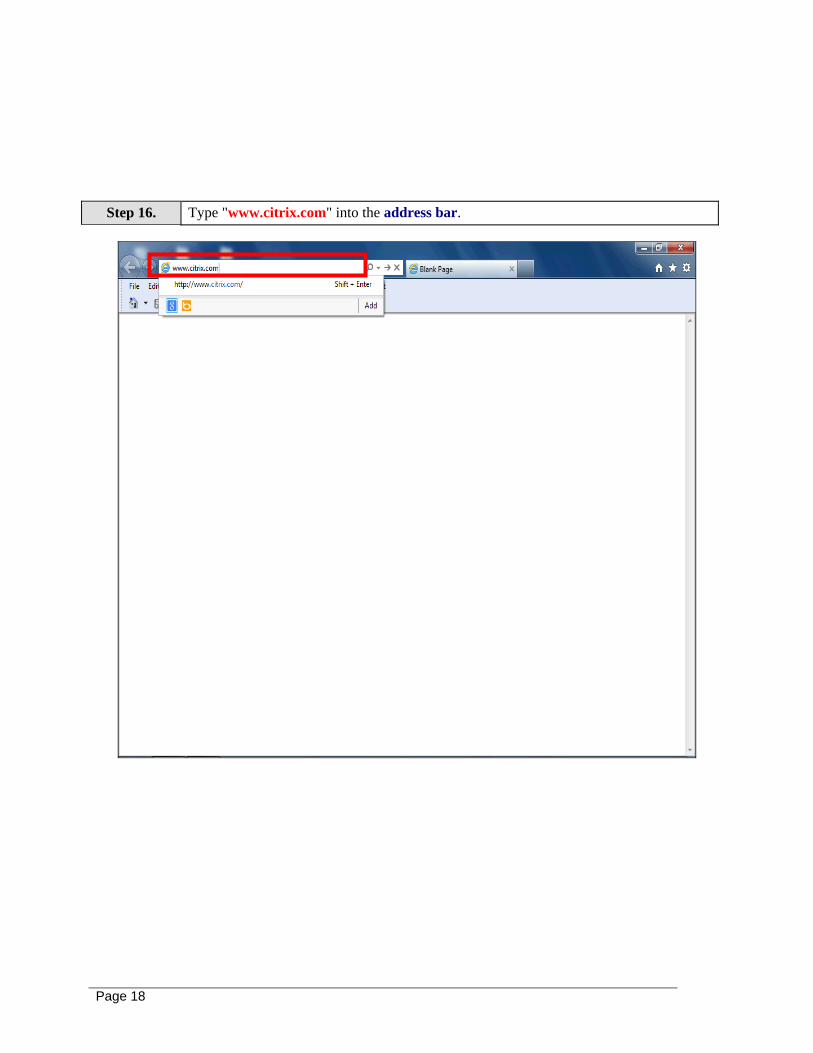
Step 16. Type "www.citrix.com" into the address bar.
Page 19
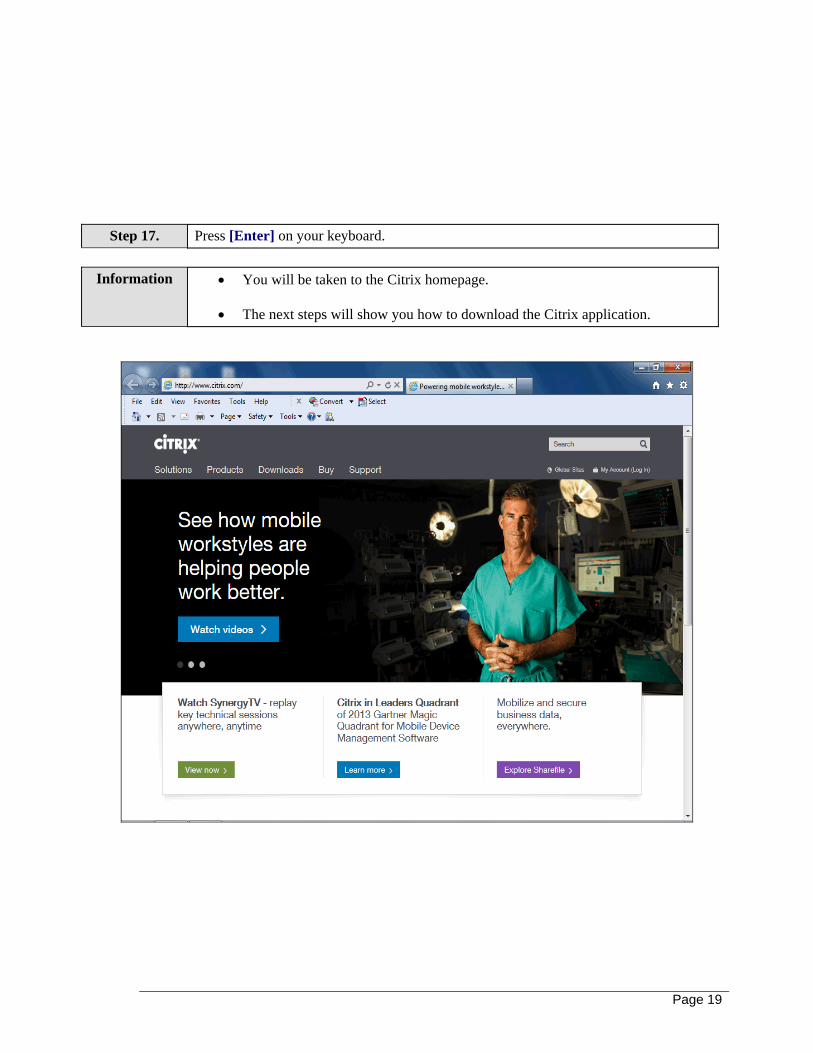
Step 17. Press [Enter] on your keyboard.
Information You will be taken to the Citrix homepage.
The next steps will show you how to download the Citrix application.
Page 20
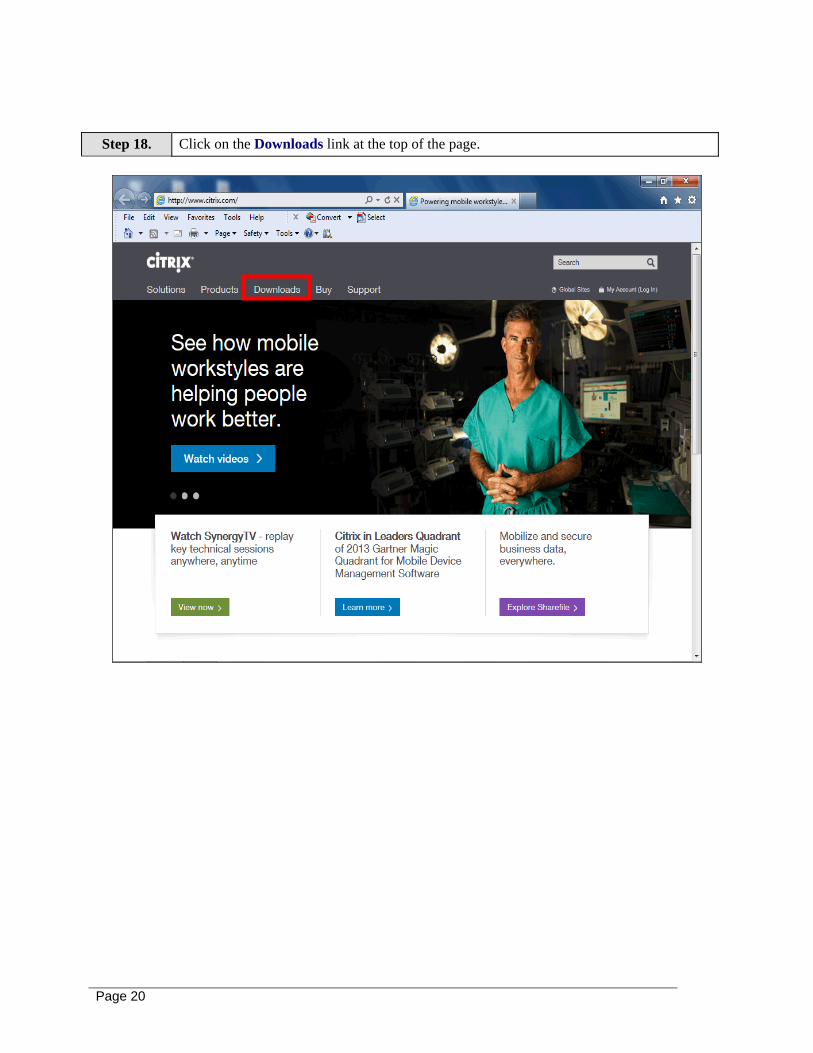
Step 18. Click on the Downloads link at the top of the page.
Page 21
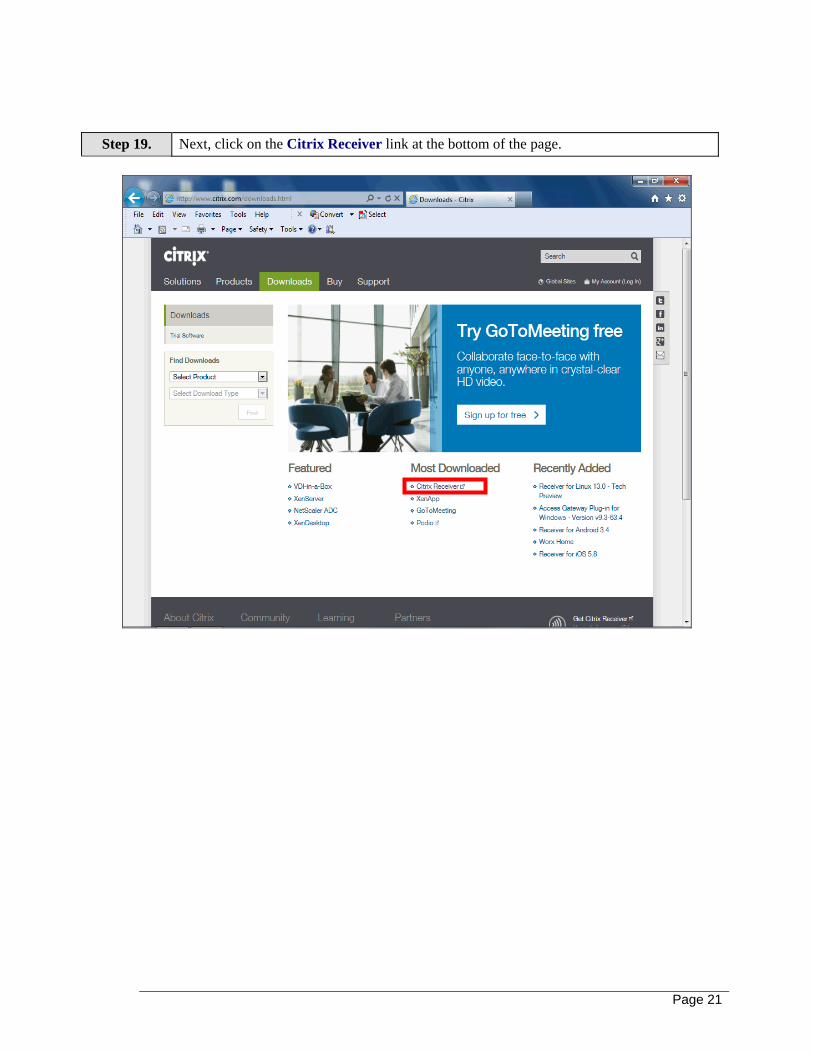
Step 19. Next, click on the Citrix Receiver link at the bottom of the page.
Page 22
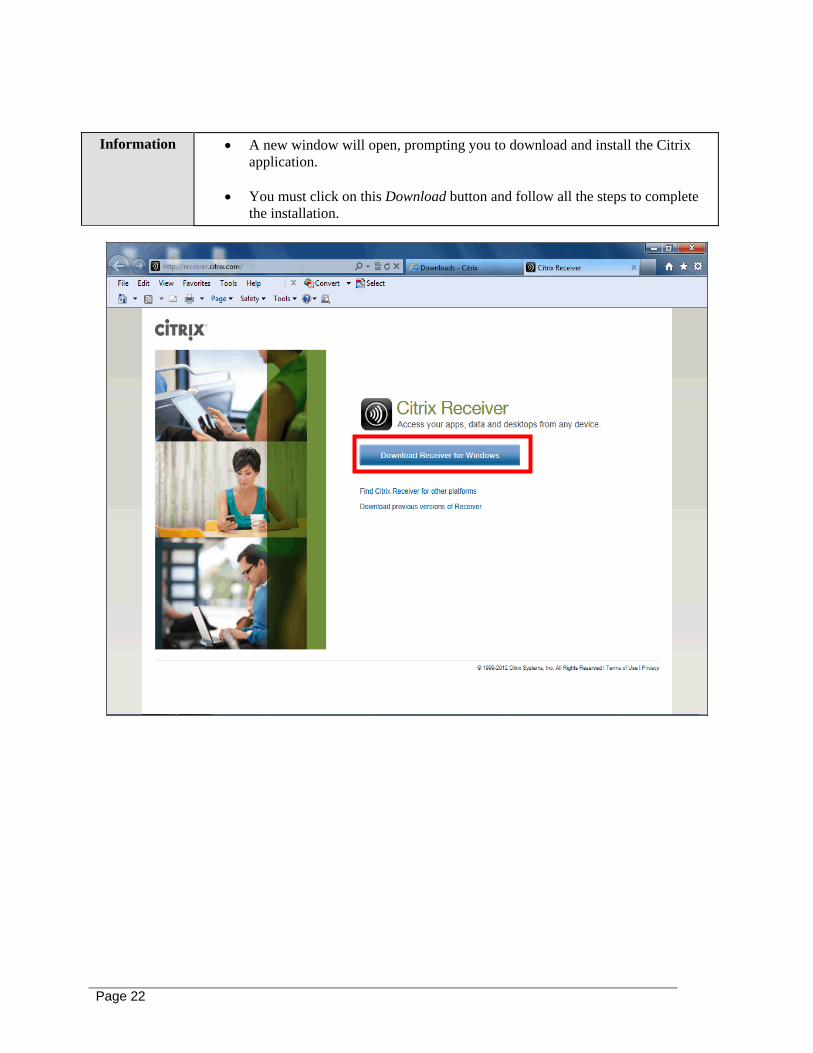
Information A new window will open, prompting you to download and install the Citrix
application.
You must click on this Download button and follow all the steps to complete the installation.
Page 23
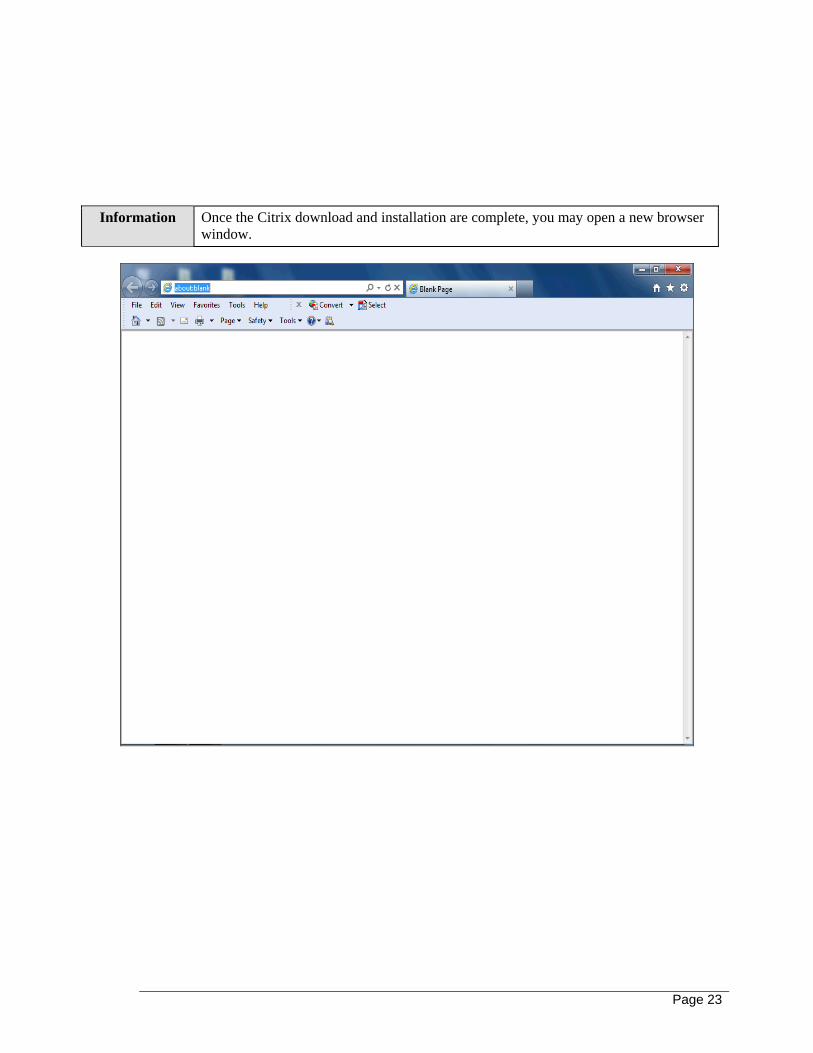
Information Once the Citrix download and installation are complete, you may open a new browser
window.
Page 24
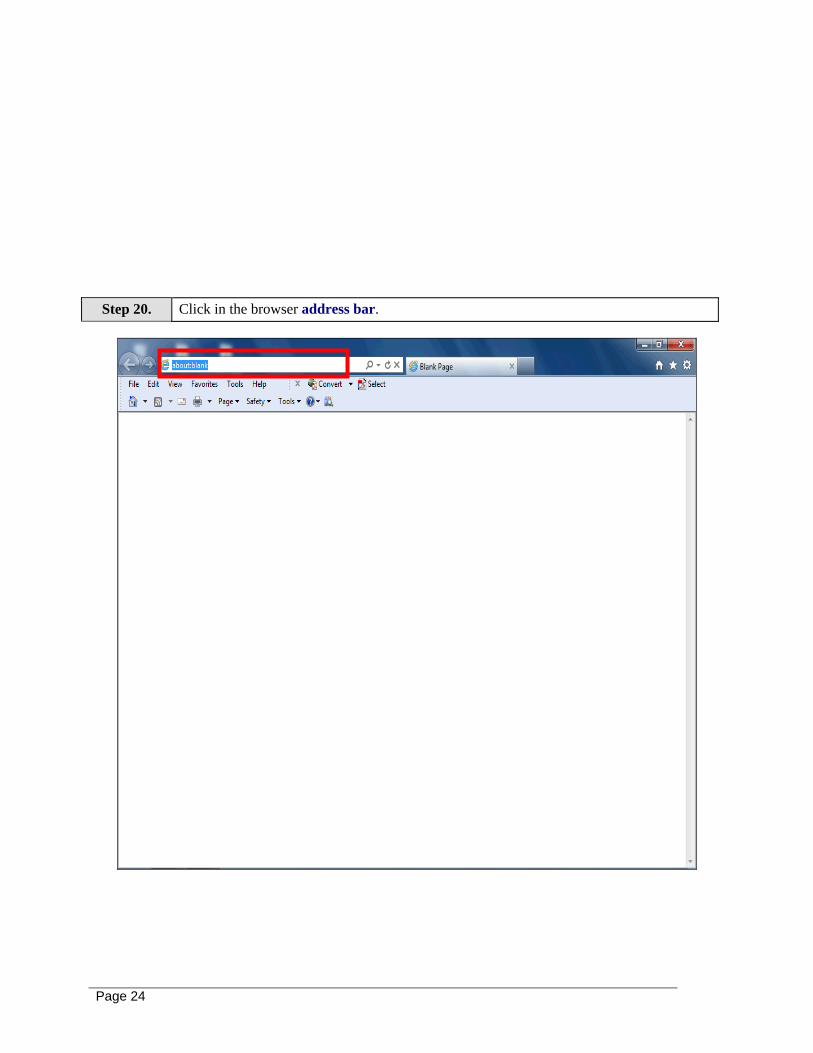
Step 20. Click in the browser address bar.
Page 25
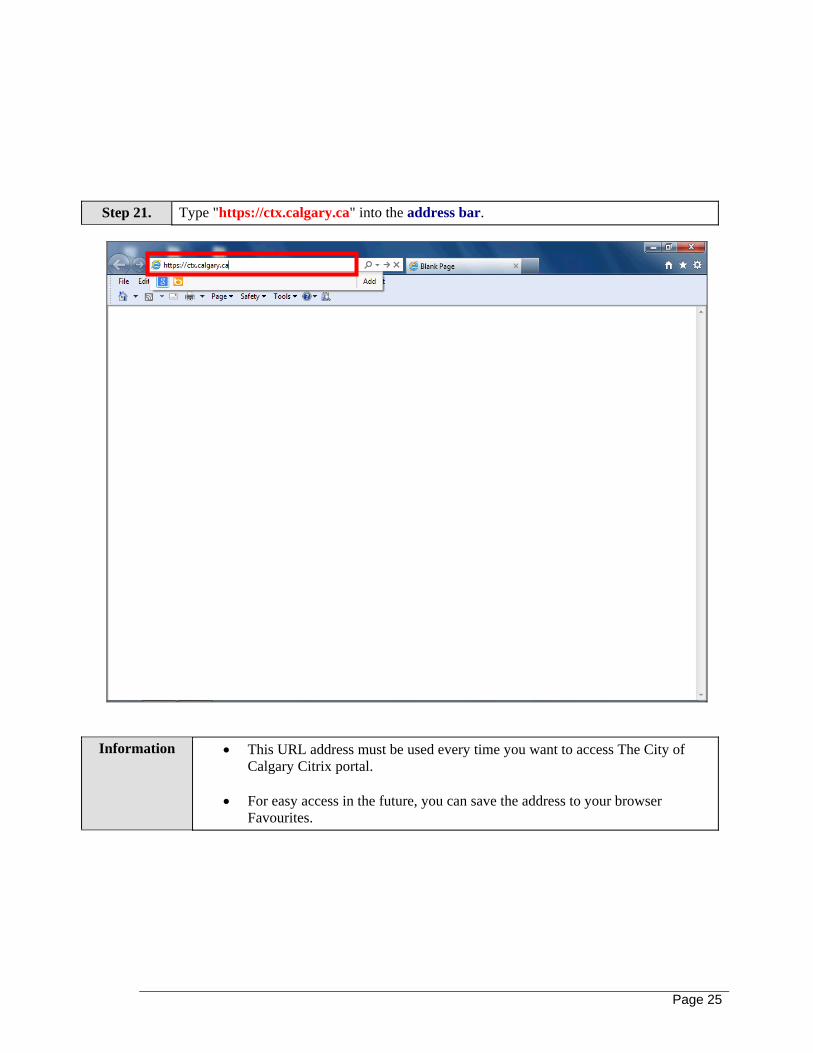
Step 21. Type "https://ctx.calgary.ca" into the address bar.
Information This URL address must be used every time you want to access The City of
Calgary Citrix portal.
For easy access in the future, you can save the address to your browser Favourites.
Page 26
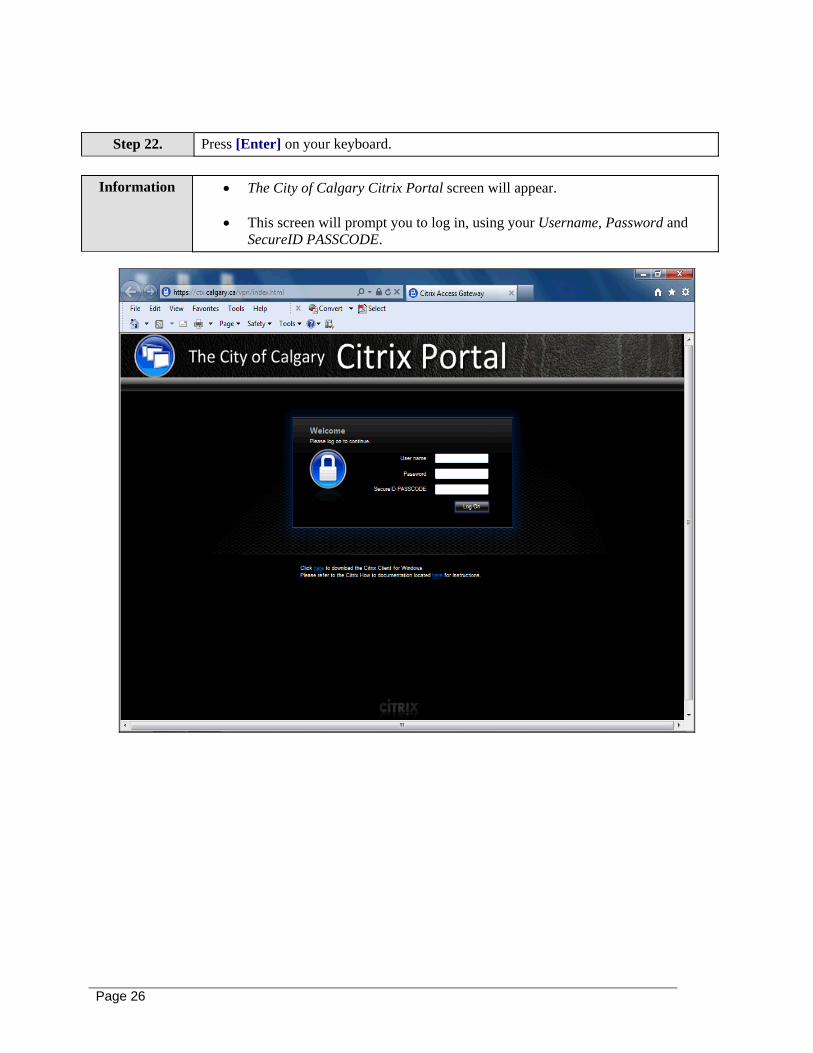
Step 22. Press [Enter] on your keyboard.
Information The City of Calgary Citrix Portal screen will appear.
This screen will prompt you to log in, using your Username, Password and
SecureID PASSCODE.

Page 27
Information Your City of Calgary network user name must be entered in the User name
field.
This is the same user name entered when logging into your City Computer.
Page 28
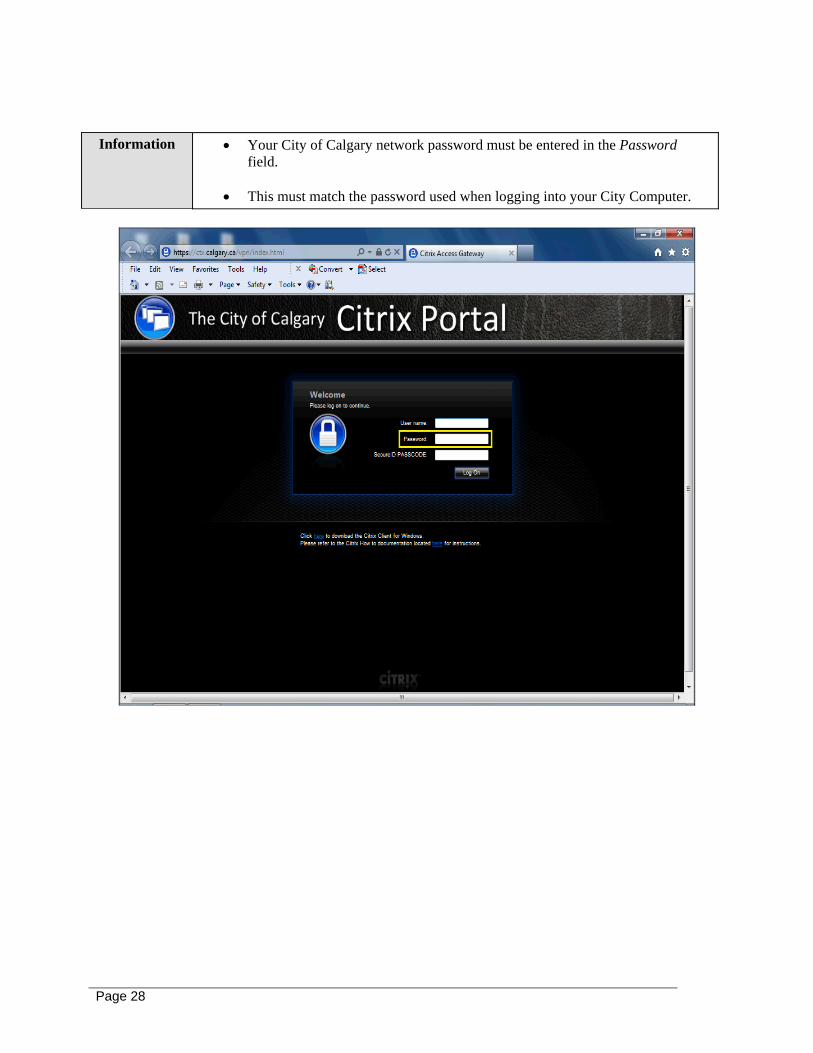
Information Your City of Calgary network password must be entered in the Password
field.
This must match the password used when logging into your City Computer.
Page 29
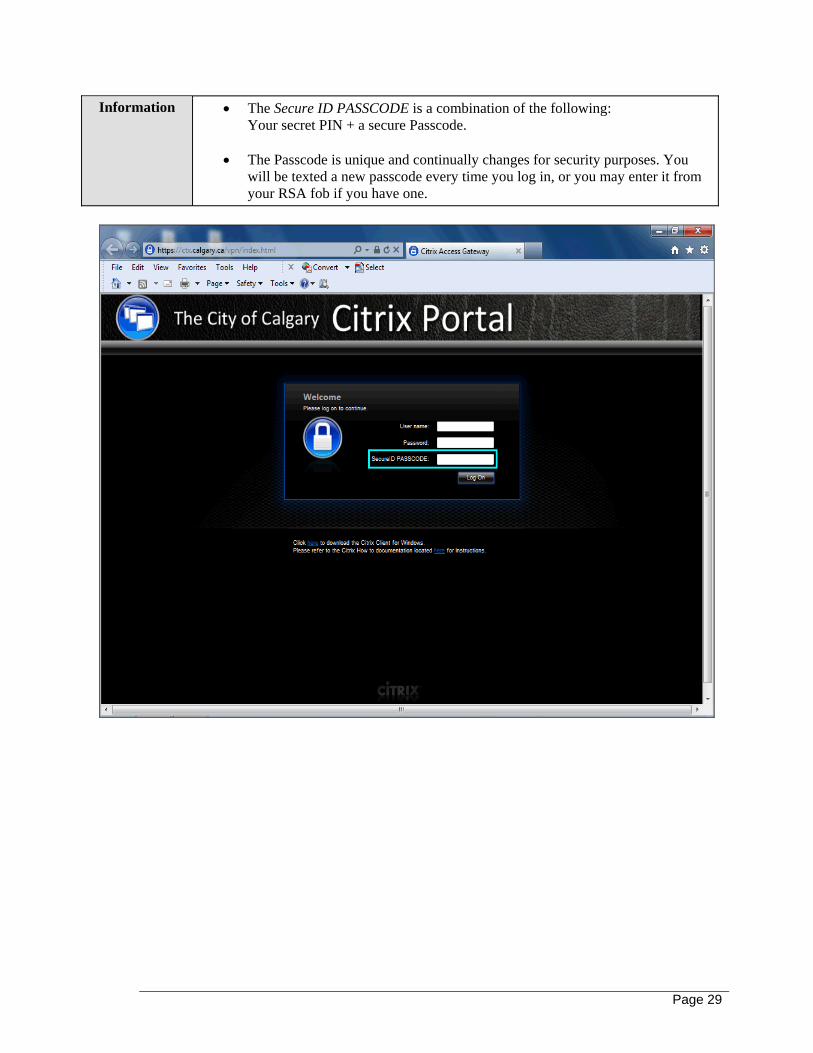
Information The Secure ID PASSCODE is a combination of the following: Your secret PIN + a secure Passcode.
The Passcode is unique and continually changes for security purposes. You
will be texted a new passcode every time you log in, or you may enter it from your RSA fob if you have one.
Page 30
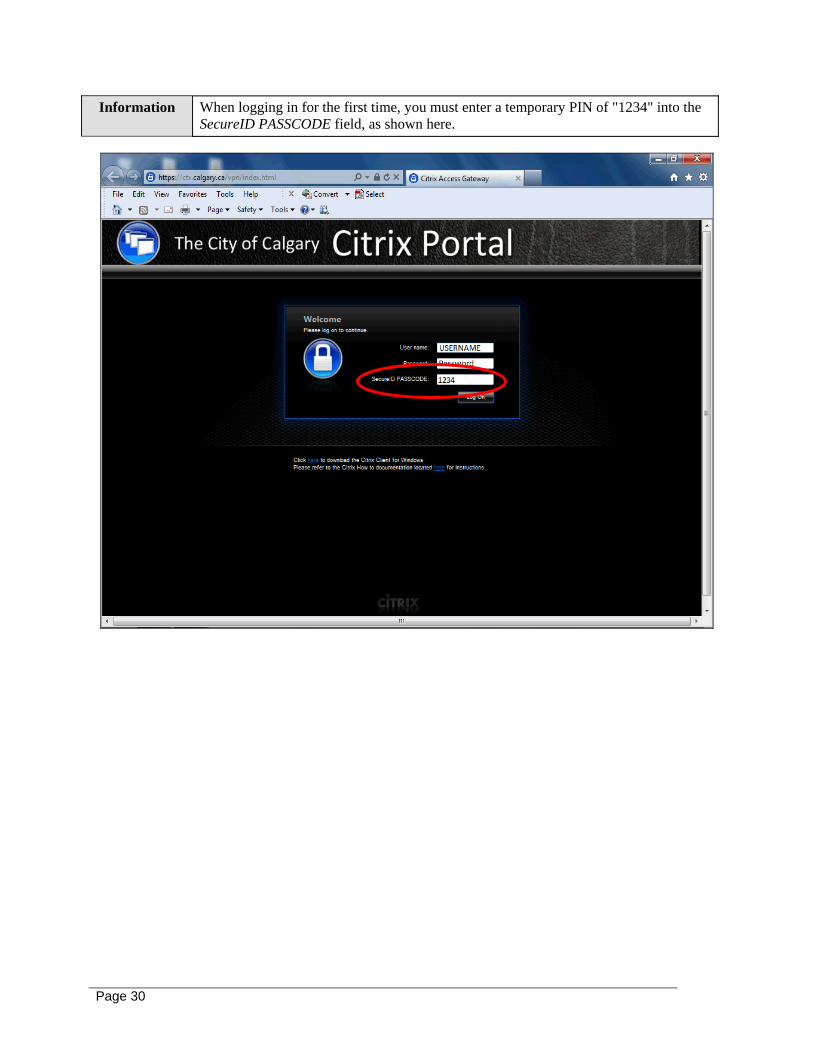
Information When logging in for the first time, you must enter a temporary PIN of "1234" into the SecureID PASSCODE field, as shown here.

Page 31
Information You will then need to click the Log On button.
Page 32
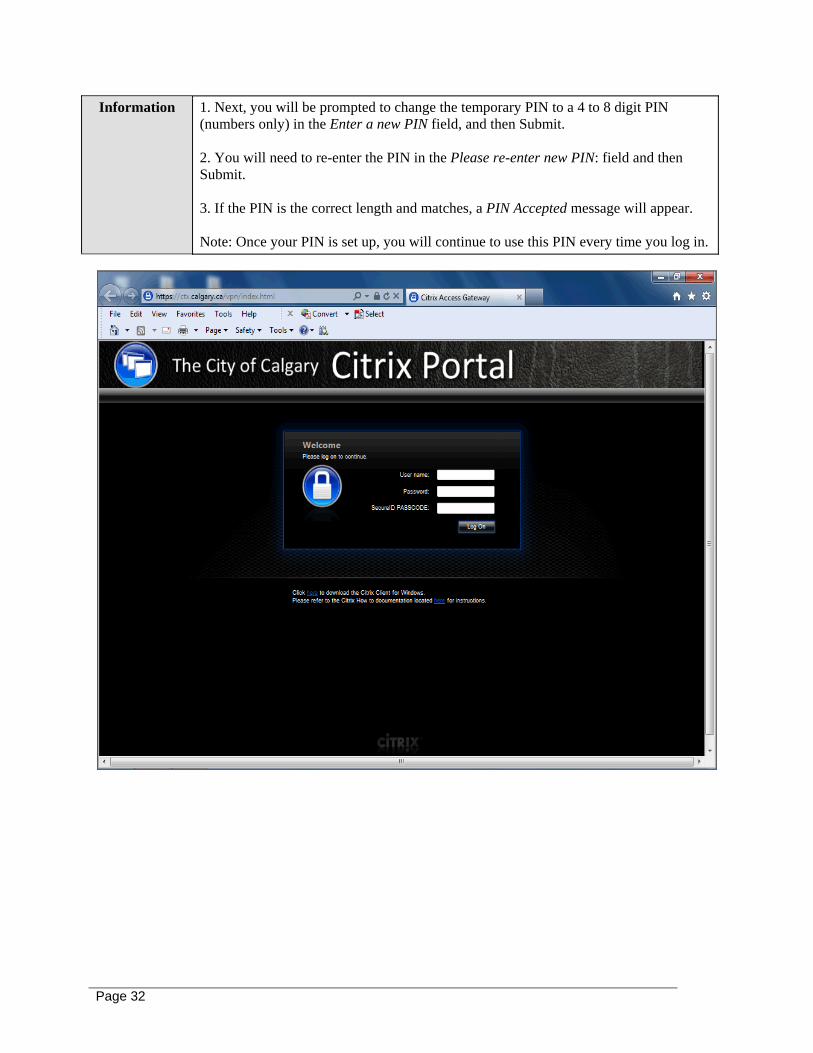
Information 1. Next, you will be prompted to change the temporary PIN to a 4 to 8 digit PIN (numbers only) in the Enter a new PIN field, and then Submit. 2. You will need to re-enter the PIN in the Please re-enter new PIN: field and then Submit. 3. If the PIN is the correct length and matches, a PIN Accepted message will appear. Note: Once your PIN is set up, you will continue to use this PIN every time you log in.
Page 33
Information Once these steps are complete, you must close all browser windows and re-open a new browser window.
Page 34
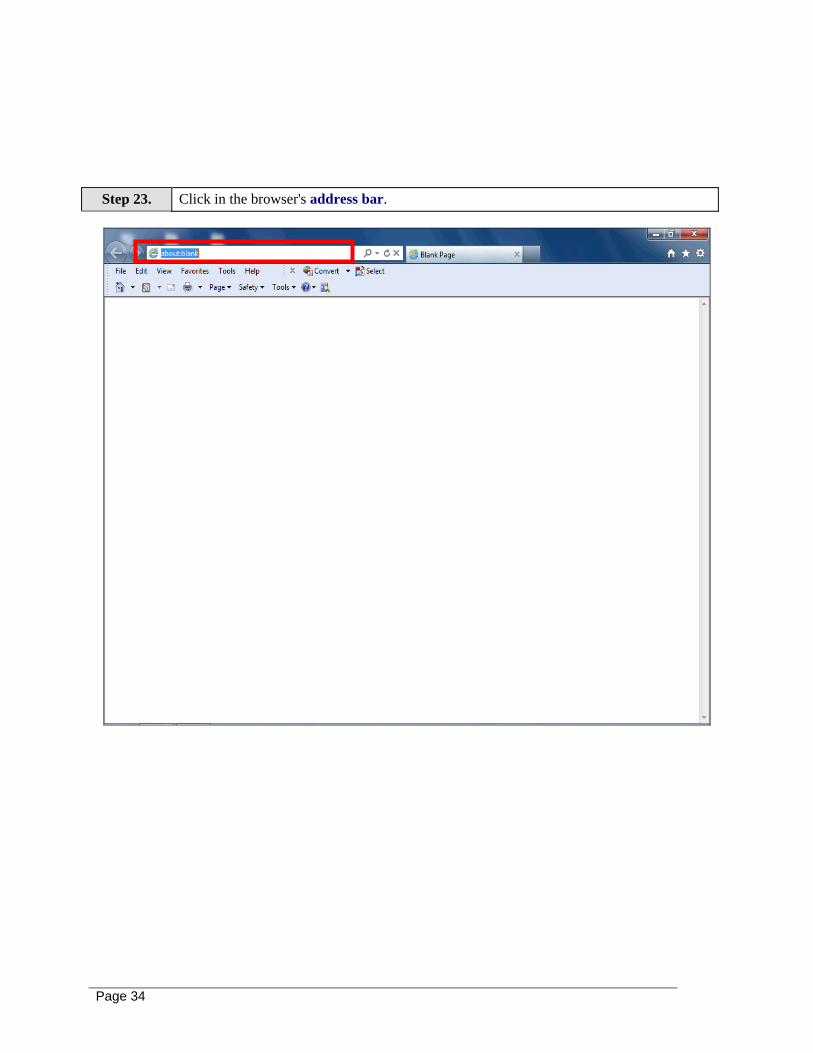
Step 23. Click in the browser's address bar.
Page 35
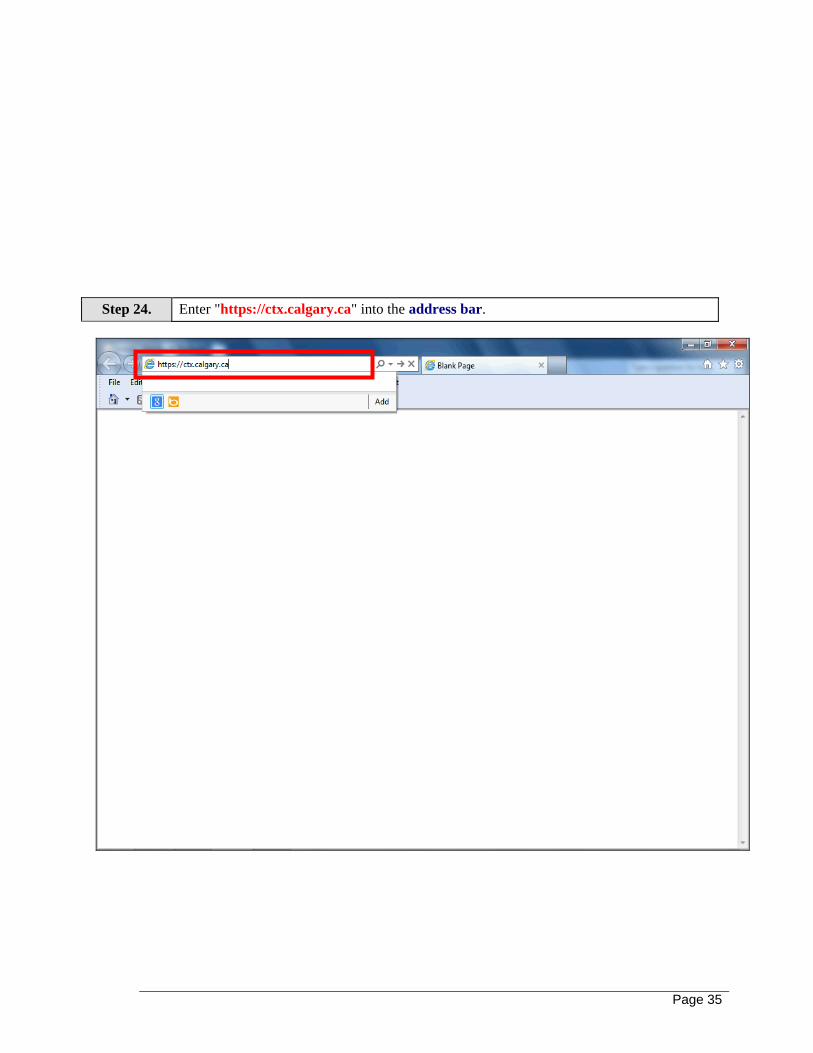
Step 24. Enter "https://ctx.calgary.ca" into the address bar.
Page 36
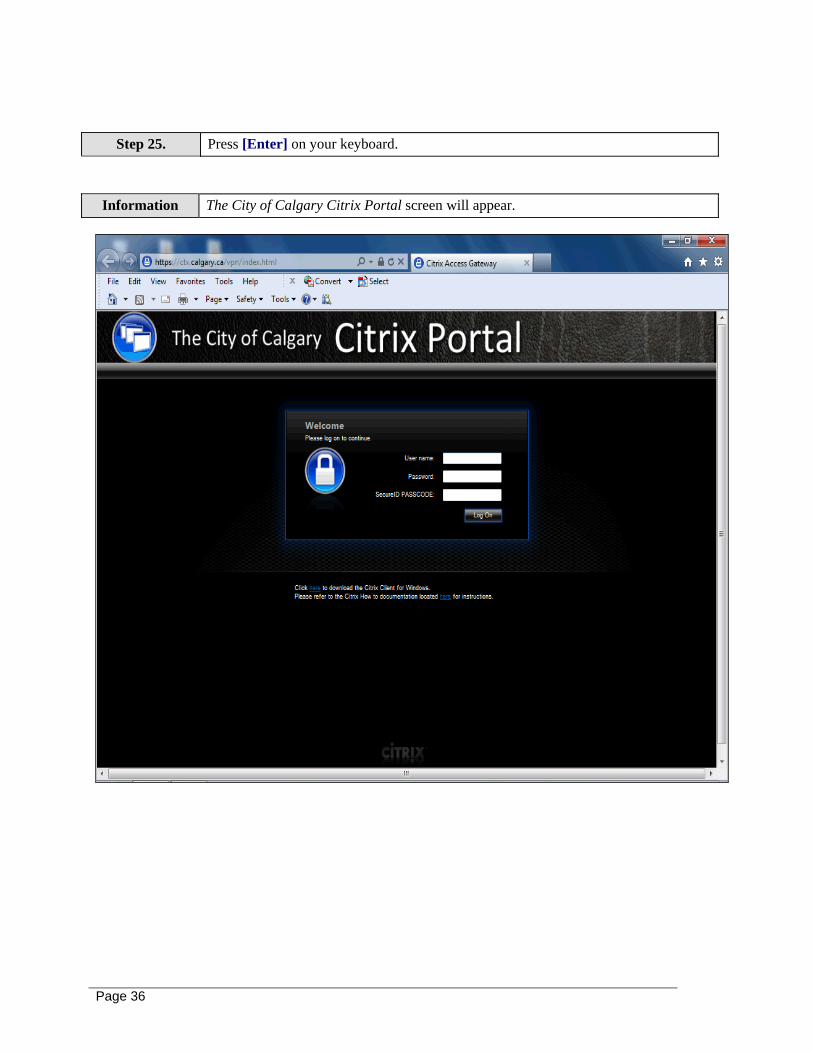
Step 25. Press [Enter] on your keyboard.
Information The City of Calgary Citrix Portal screen will appear.
Page 37
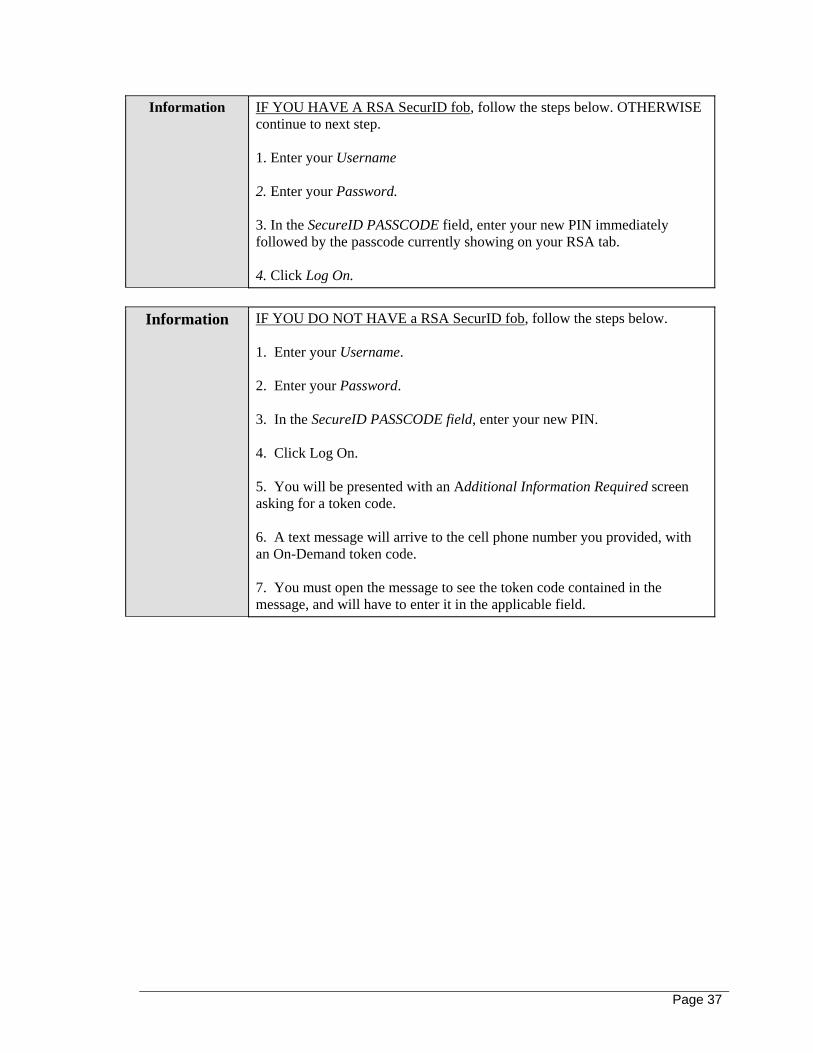
Information IF YOU HAVE A RSA SecurID fob, follow the steps below. OTHERWISE continue to next step. 1. Enter your Username 2. Enter your Password. 3. In the SecureID PASSCODE field, enter your new PIN immediately followed by the passcode currently showing on your RSA tab. 4. Click Log On.
Information IF YOU DO NOT HAVE a RSA SecurID fob, follow the steps below.
1. Enter your Username. 2. Enter your Password. 3. In the SecureID PASSCODE field, enter your new PIN. 4. Click Log On. 5. You will be presented with an Additional Information Required screen asking for a token code. 6. A text message will arrive to the cell phone number you provided, with an On-Demand token code. 7. You must open the message to see the token code contained in the message, and will have to enter it in the applicable field.
Page 38
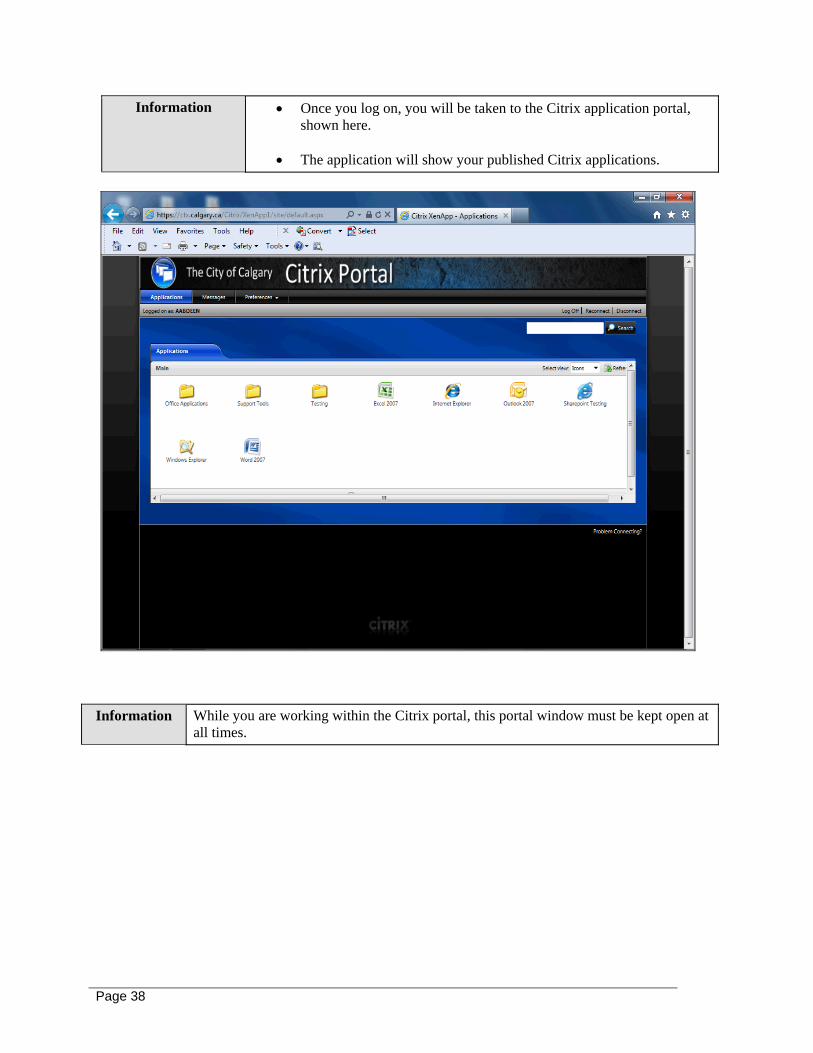
Information Once you log on, you will be taken to the Citrix application portal, shown here.
The application will show your published Citrix applications.
Information While you are working within the Citrix portal, this portal window must be kept open at
all times.
Page 39
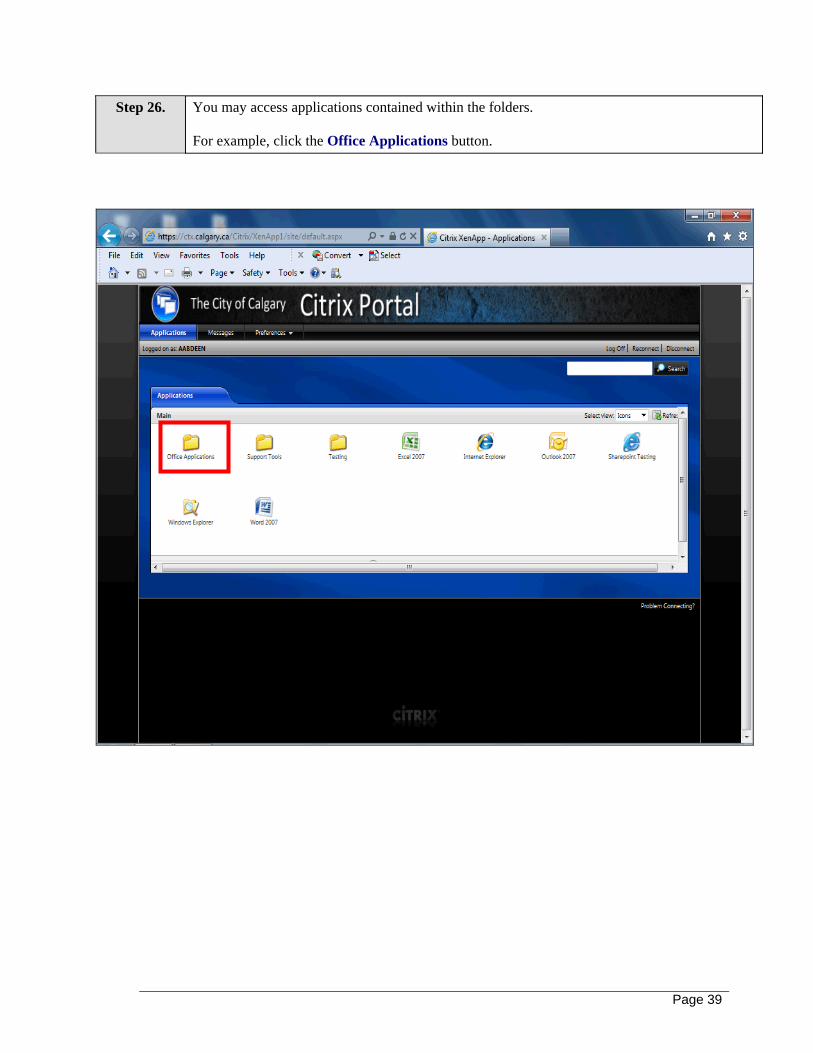
Step 26. You may access applications contained within the folders. For example, click the Office Applications button.
Page 40
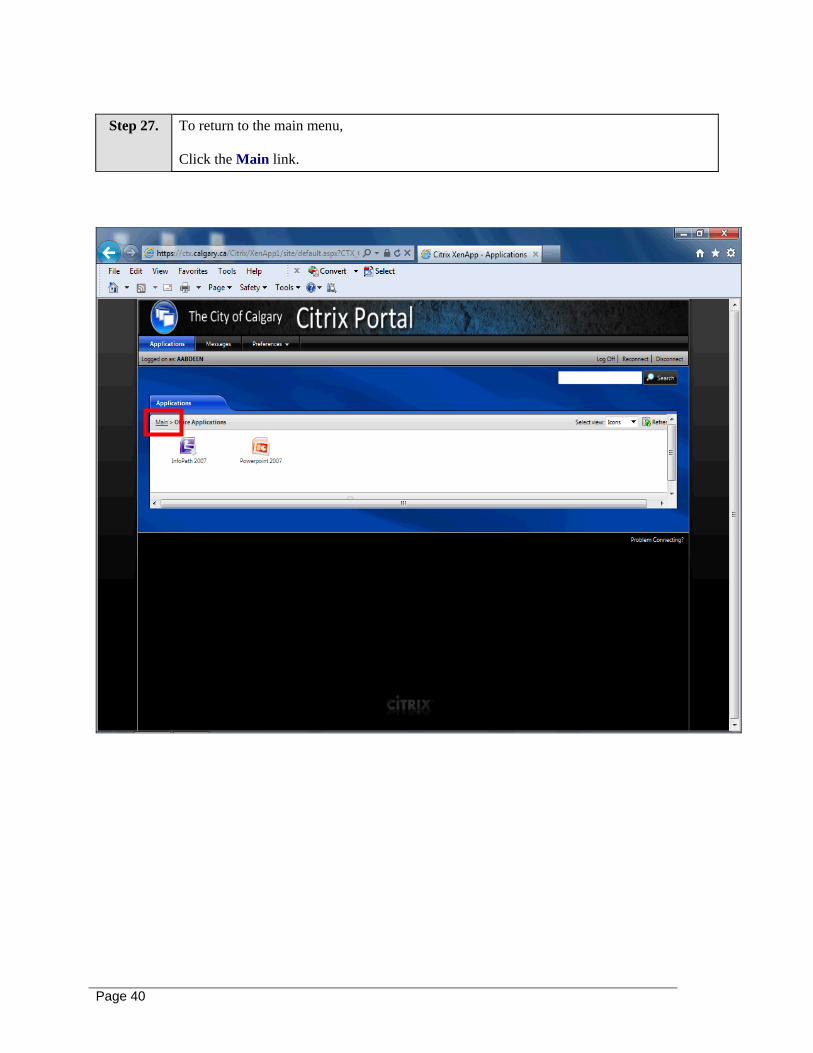
Step 27. To return to the main menu,
Click the Main link.
Page 41
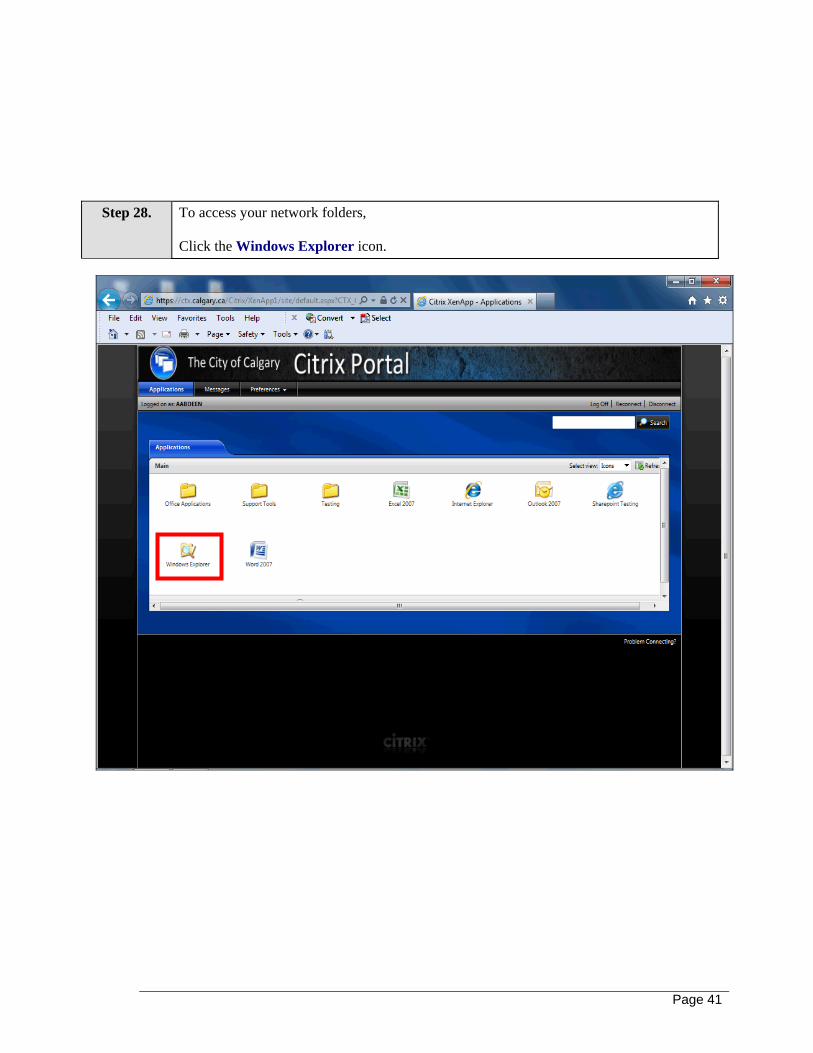
Step 28. To access your network folders,
Click the Windows Explorer icon.
Page 42
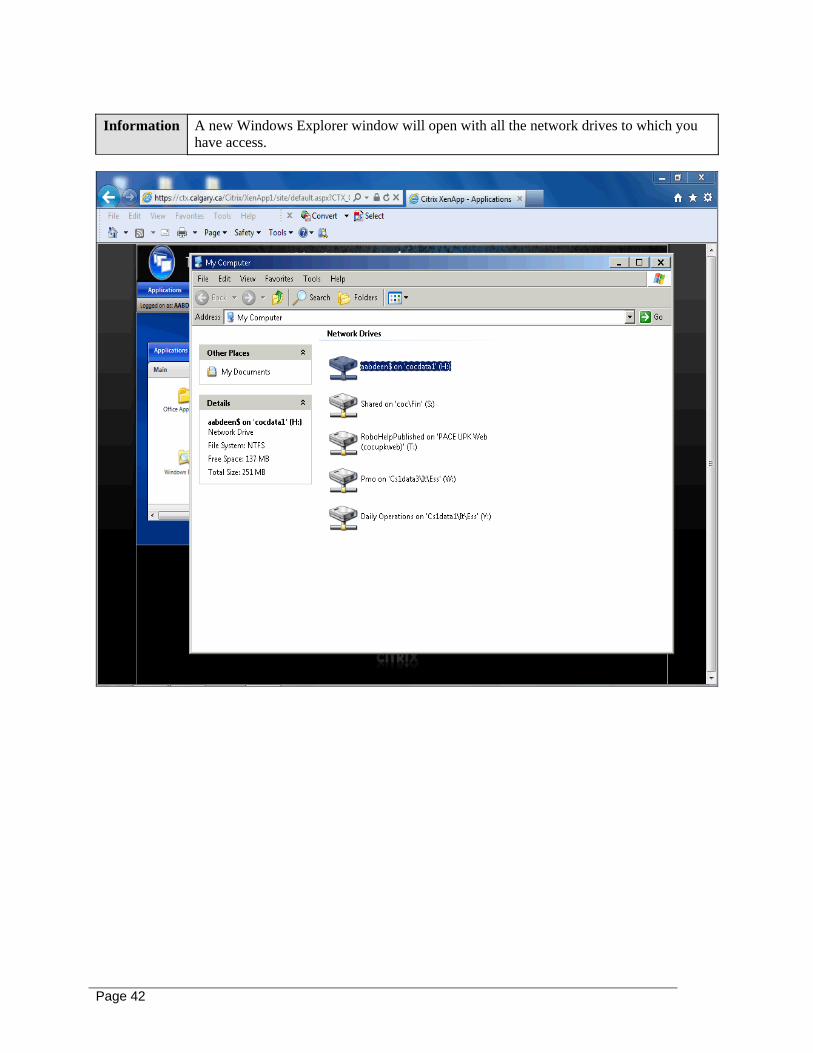
Information A new Windows Explorer window will open with all the network drives to which you
have access.
Page 43
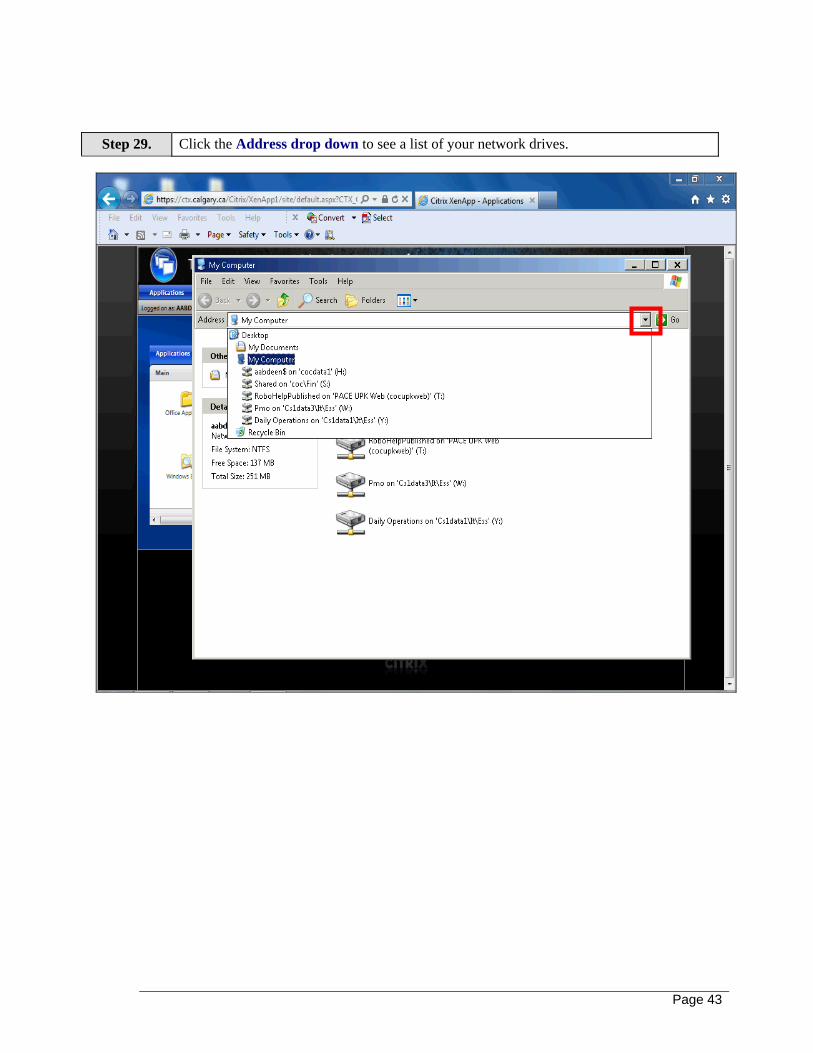
Step 29. Click the Address drop down to see a list of your network drives.
Page 44
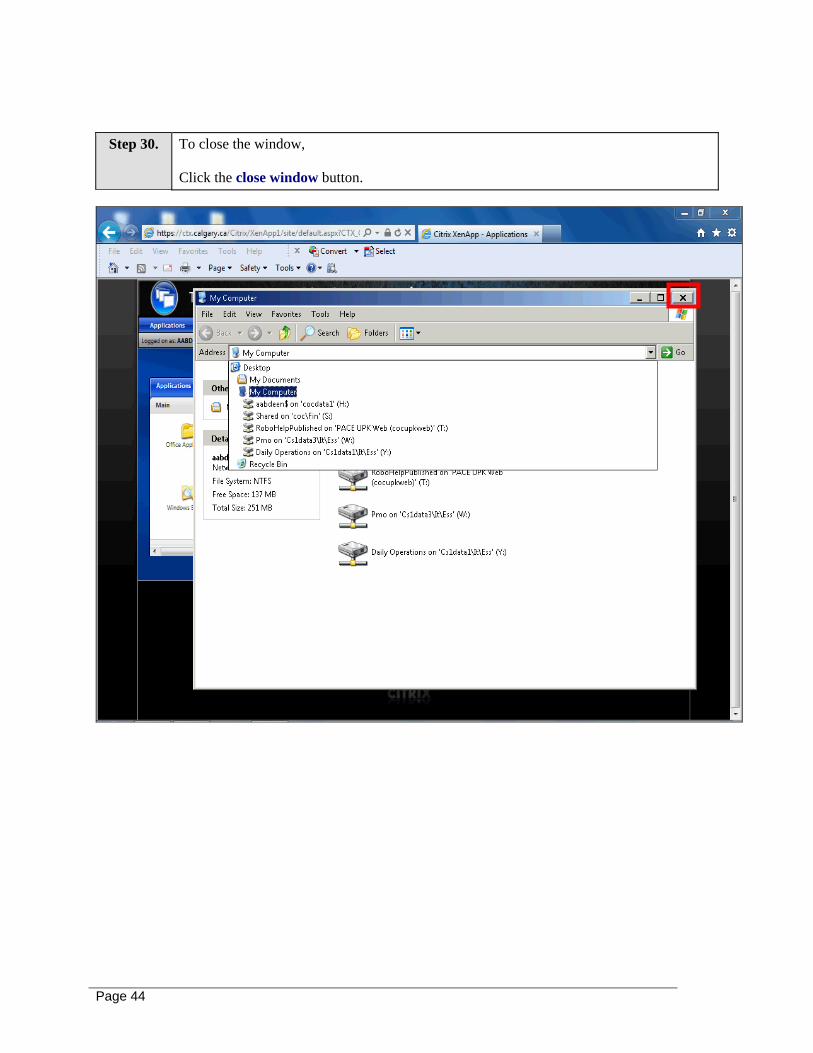
Step 30. To close the window, Click the close window button.
Page 45
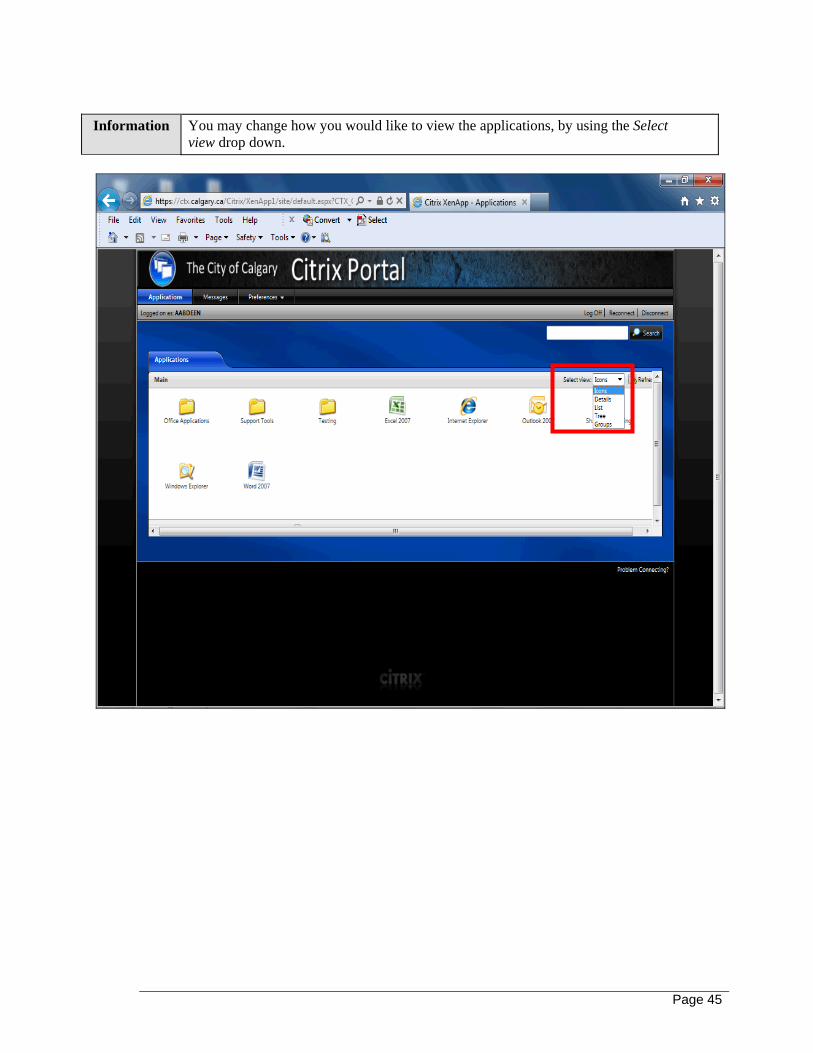
Information You may change how you would like to view the applications, by using the Select
view drop down.
Page 46
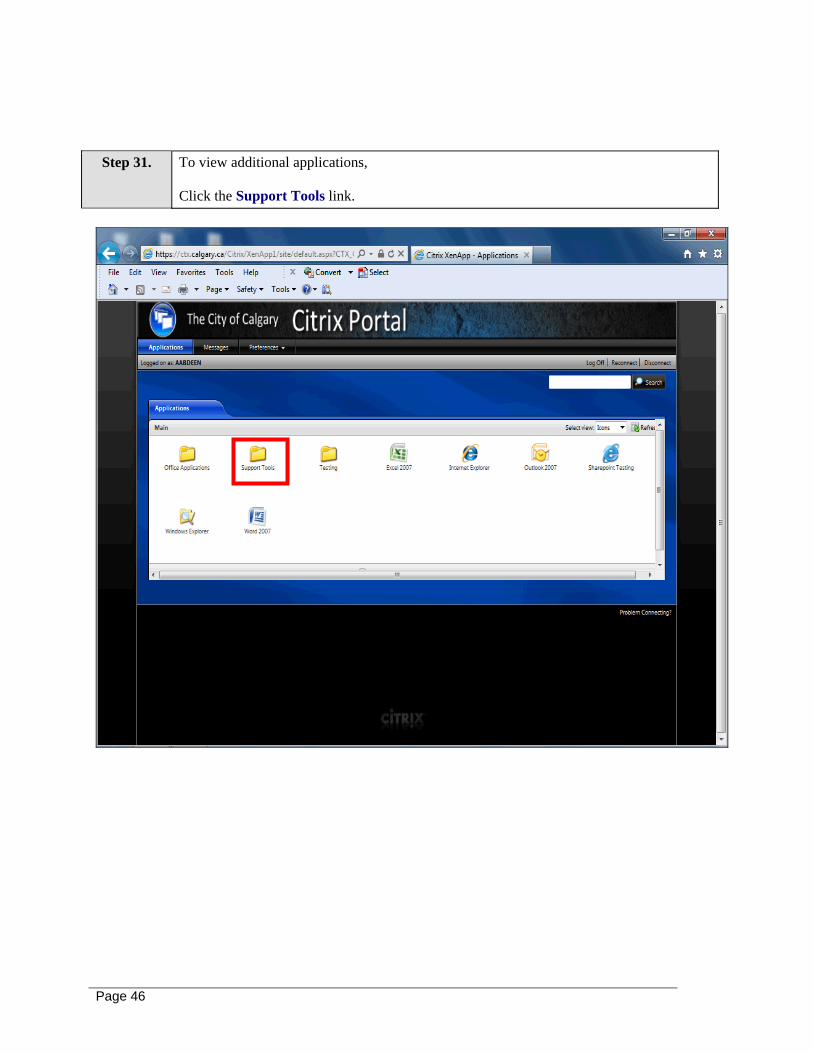
Step 31. To view additional applications,
Click the Support Tools link.
Page 47
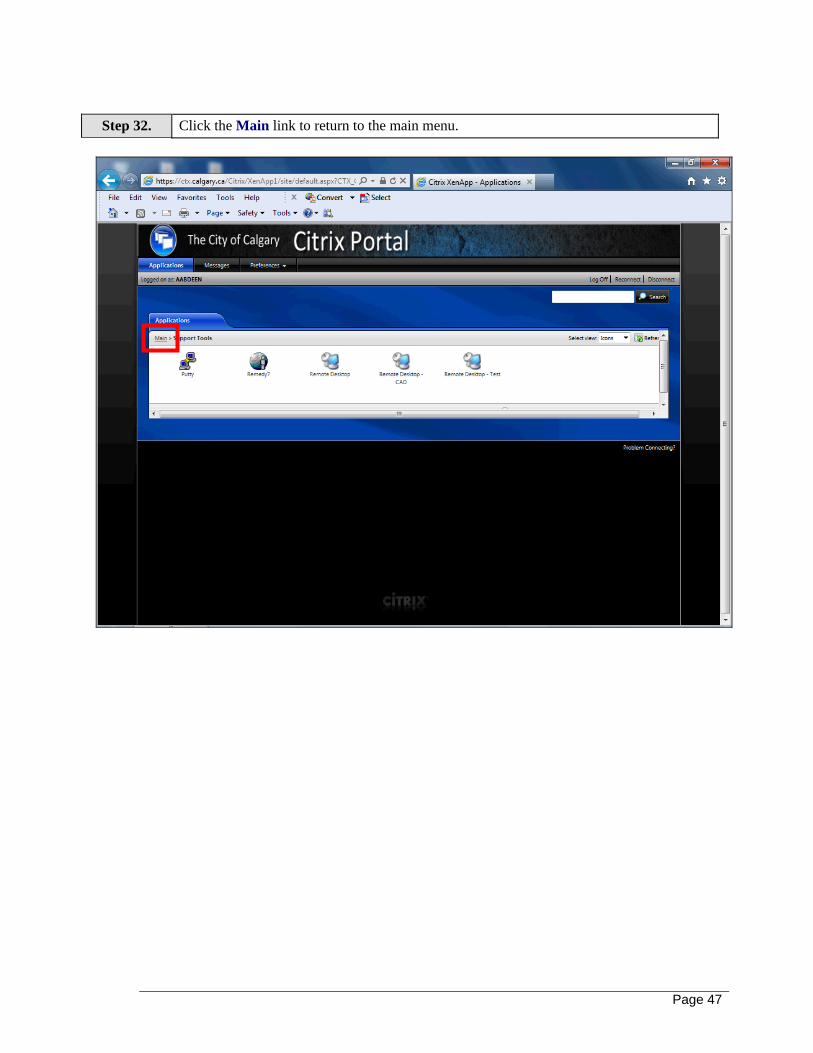
Step 32. Click the Main link to return to the main menu.
Page 48
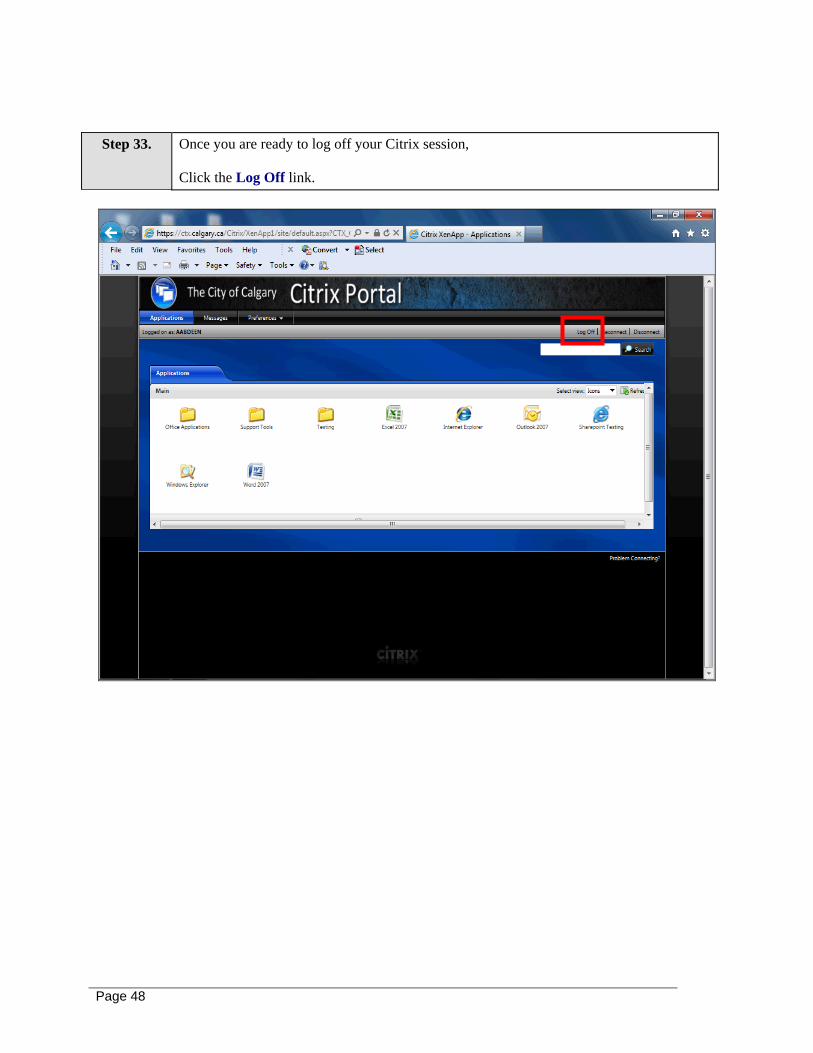
Step 33. Once you are ready to log off your Citrix session,
Click the Log Off link.
Page 49
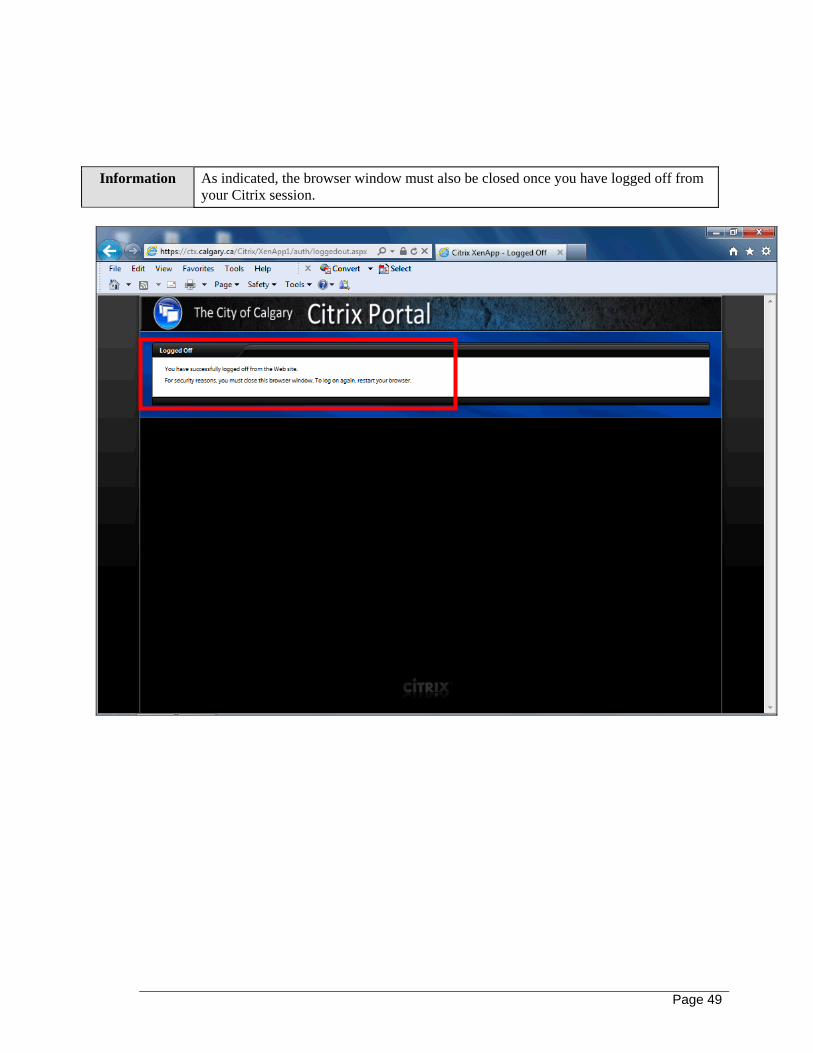
Information As indicated, the browser window must also be closed once you have logged off from
your Citrix session.
Page 50
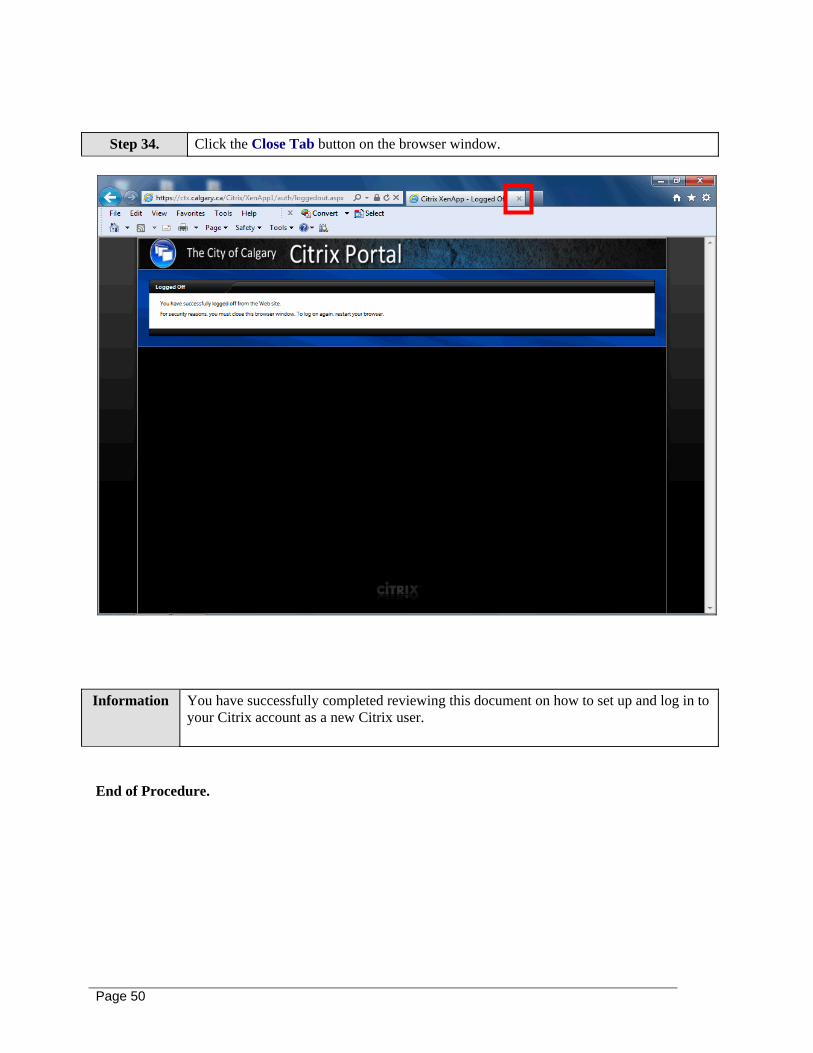
Step 34. Click the Close Tab button on the browser window.
Information You have successfully completed reviewing this document on how to set up and log in to
your Citrix account as a new Citrix user.
End of Procedure.


![[Citrix] Perforce Standardisation at Citrix](https://img.pdfslide.net/doc/110x75/545591f6b1af9f40378b492e/citrix-perforce-standardisation-at-citrix.jpg)