Embed Size (px)
Citation preview

Clustered Applications and
Filesystems with Red Hat
Enterprise Linux 6
Thomas Cameron, RHCAManaging Solutions Architect, Red HatLon HohbergerPrincipal Software Engineer, Red HatJune 23rd, 2010
Agenda
Red Hat and Virtualization
Architecture
Configure Raw Storage and iSCSI
● On the Target
● On the Client
Define the Cluster
Define Fencing
Define Clustered Resources
Agenda
Define a Clustered Service
Test Failover

Red Hat and Clustering
Red Hat leads the way in Open Source clustering
Acquired Sistina for $31 million in early 2004, including Global Filesystem and ClusterSuite.
Made the code Open Source in mid-2004.
GFS and ClusterSuite formerly separate, layered products from the base distribution.
With RHEL 5, included in Advanced Platform.
RHEL now includes clustered filesystem (GFS2), clustered LVM, multipath IO and high availability application services with the distribution.
DISCLAIMER
Today's presentation was developed on a pre-release, beta version of Red Hat Enterprise Linux version 6. This presentation is not a commitment by Red Hat to include any of the technologies presented today in any future release of Red Hat Enterprise Linux.
If you try any of this at home and it breaks, we only guarantee that you get to keep all the pieces. Assuming they don't burn up.
Architecture
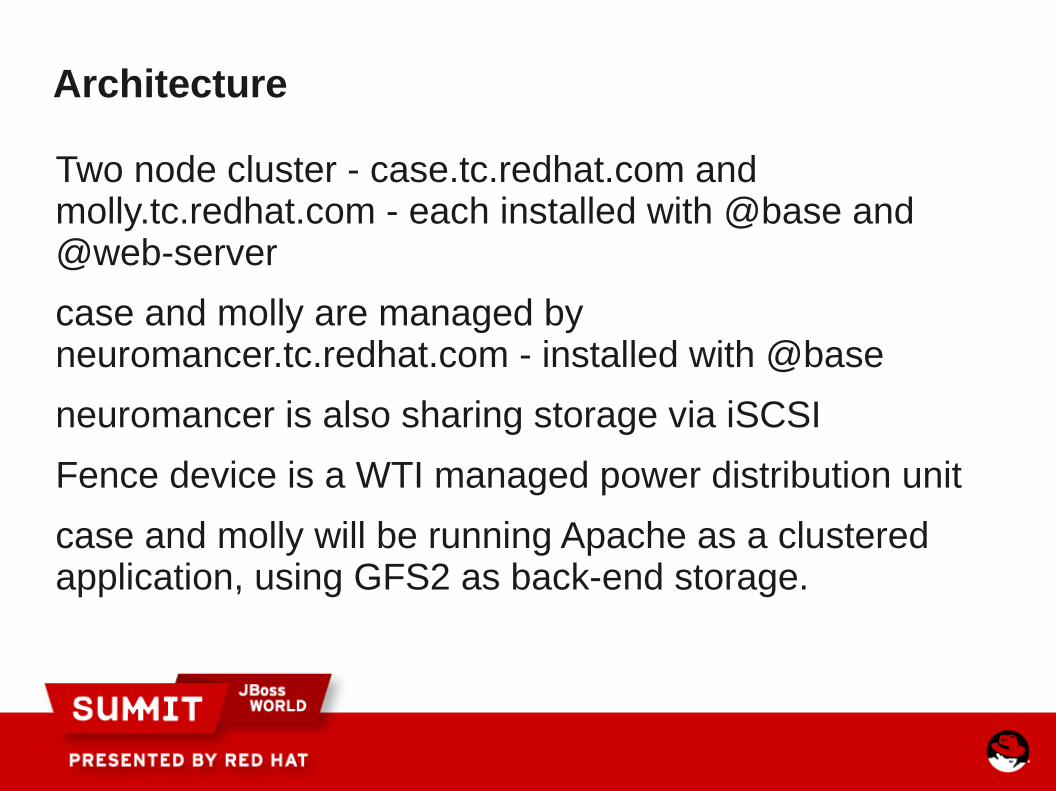
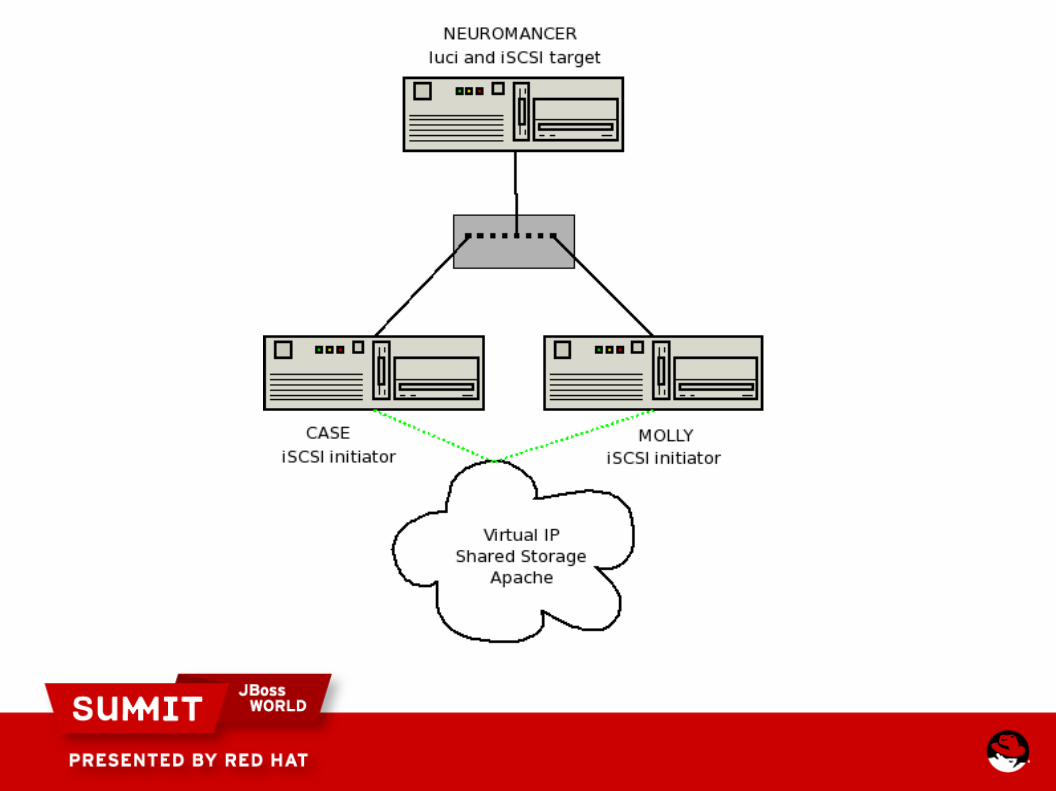
Two node cluster - case.tc.redhat.com and molly.tc.redhat.com - each installed with @base and @web-server
case and molly are managed by neuromancer.tc.redhat.com - installed with @base
neuromancer is also sharing storage via iSCSI
Fence device is a WTI managed power distribution unit
case and molly will be running Apache as a clustered application, using GFS2 as back-end storage.
Architecture
As this is beta software, and for the sake of brevity and clarity, SELinux and iptables are disabled.
At GA you should absolutely use iptables and SELinux!
Configure the iSCSI Target on neuromancer
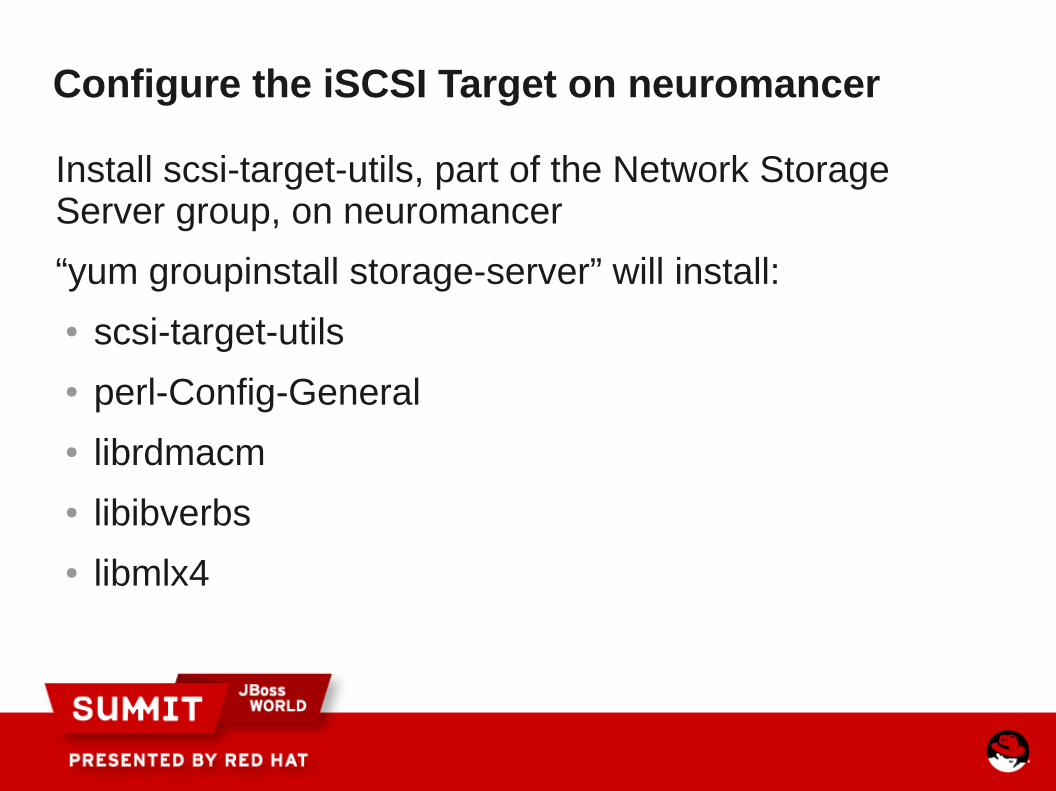
Install scsi-target-utils, part of the Network Storage Server group, on neuromancer
“yum groupinstall storage-server” will install:
● scsi-target-utils
● perl-Config-General
● librdmacm
● libibverbs
● libmlx4

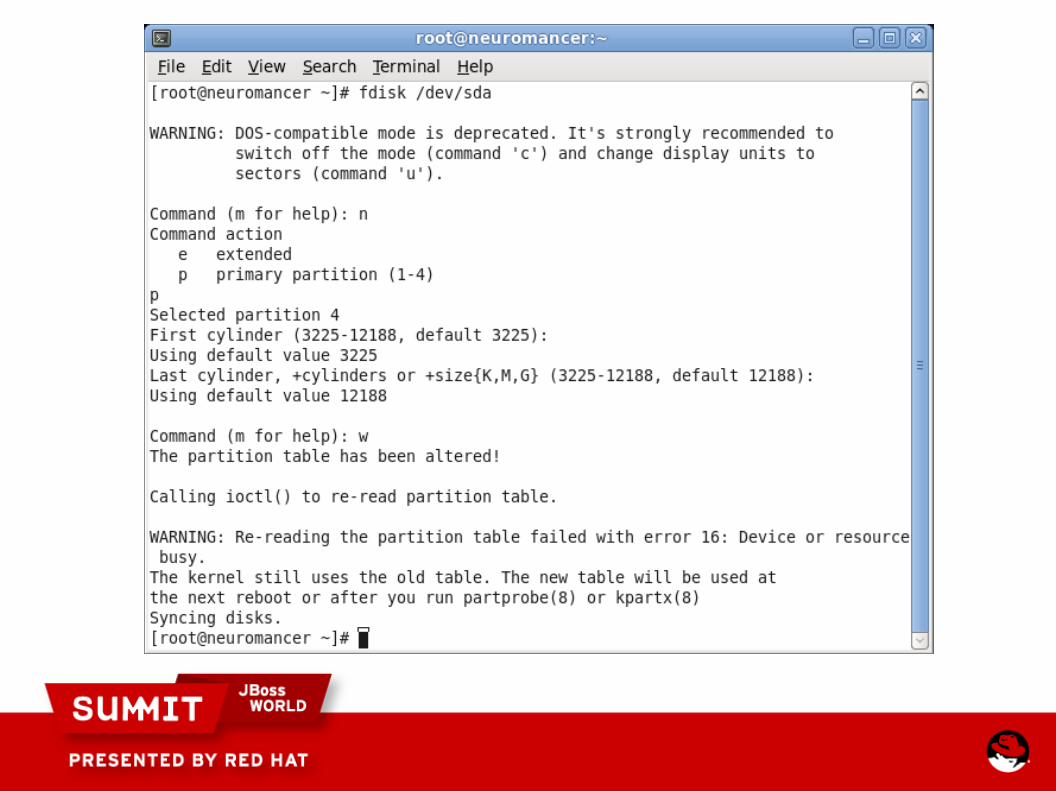
Prepare shared storage on neuromancer
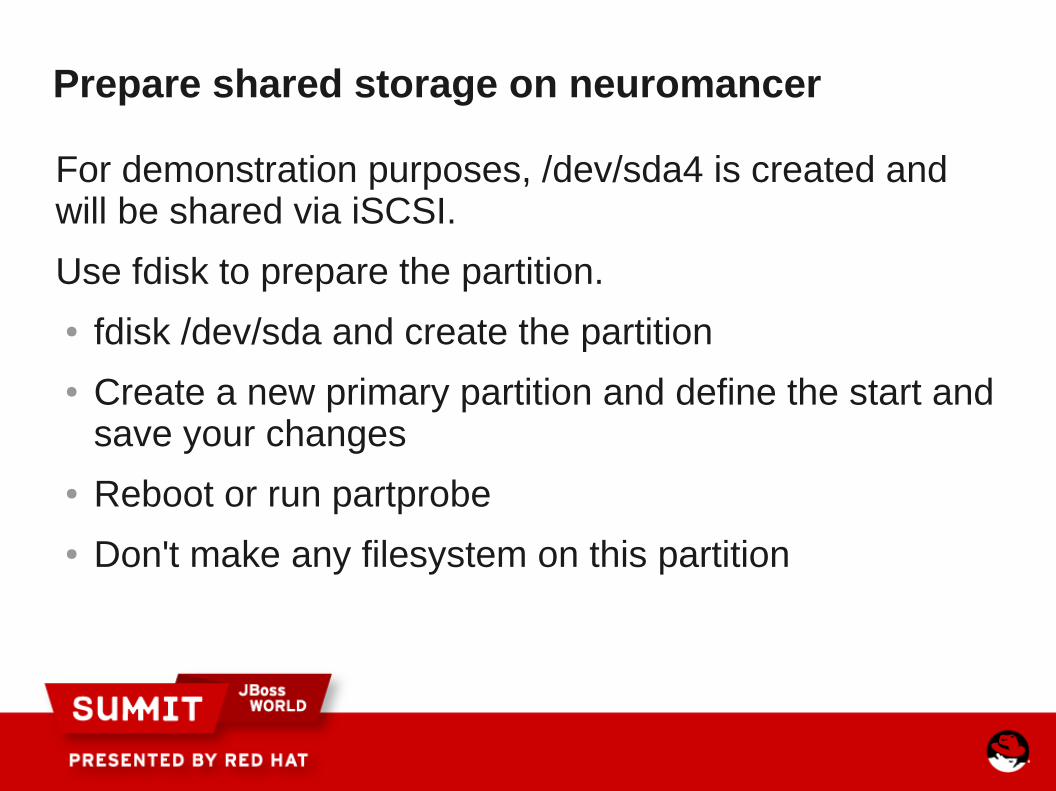
For demonstration purposes, /dev/sda4 is created and will be shared via iSCSI.
Use fdisk to prepare the partition.
● fdisk /dev/sda and create the partition
● Create a new primary partition and define the start and save your changes
● Reboot or run partprobe
● Don't make any filesystem on this partition
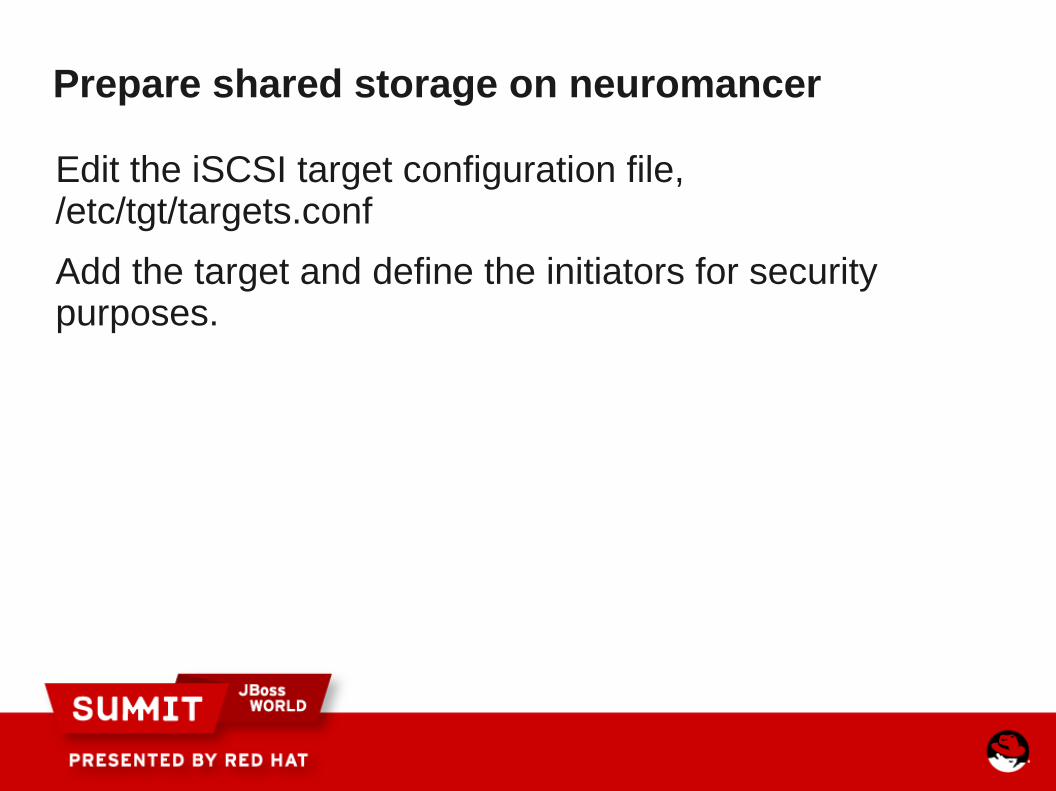
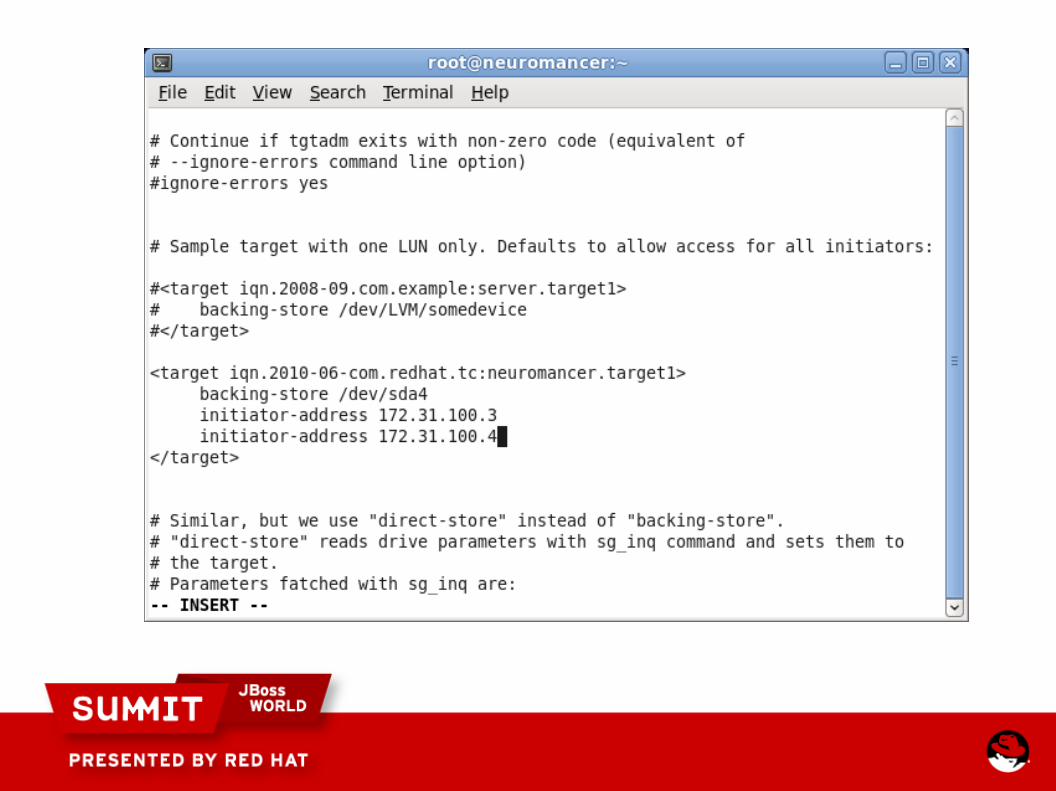
Prepare shared storage on neuromancer
Edit the iSCSI target configuration file, /etc/tgt/targets.conf
Add the target and define the initiators for security purposes.
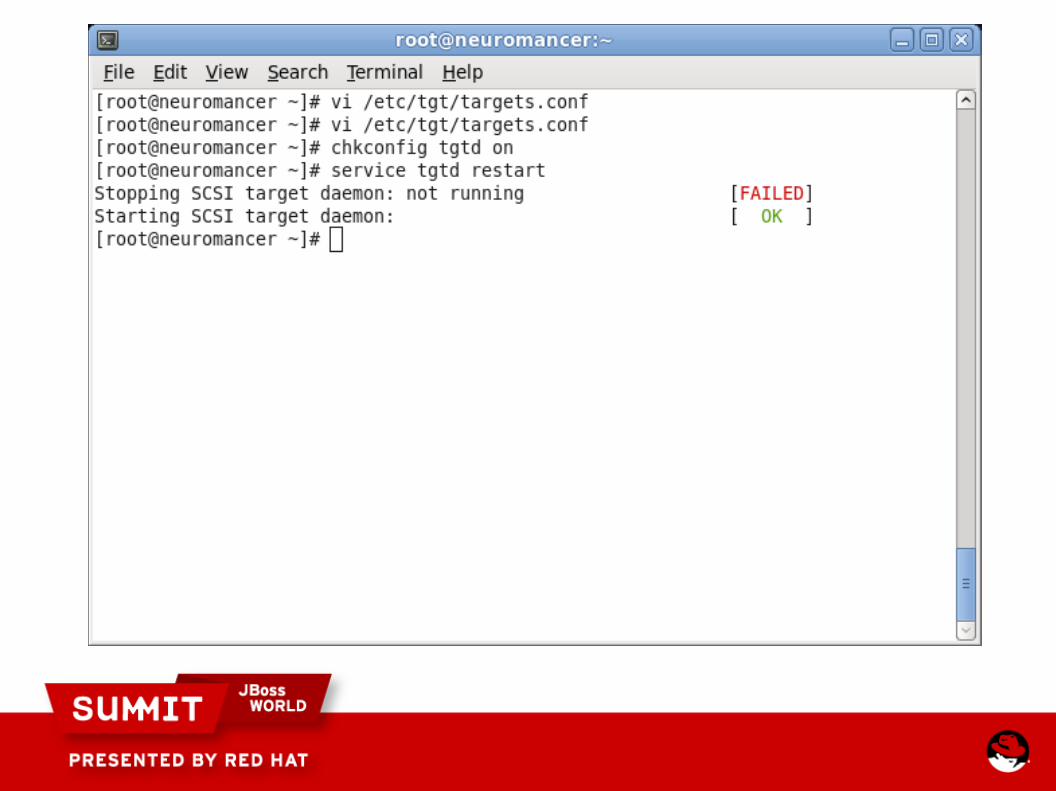
Prepare shared storage on neuromancer
chkconfig tgtd on and service tgtd restart
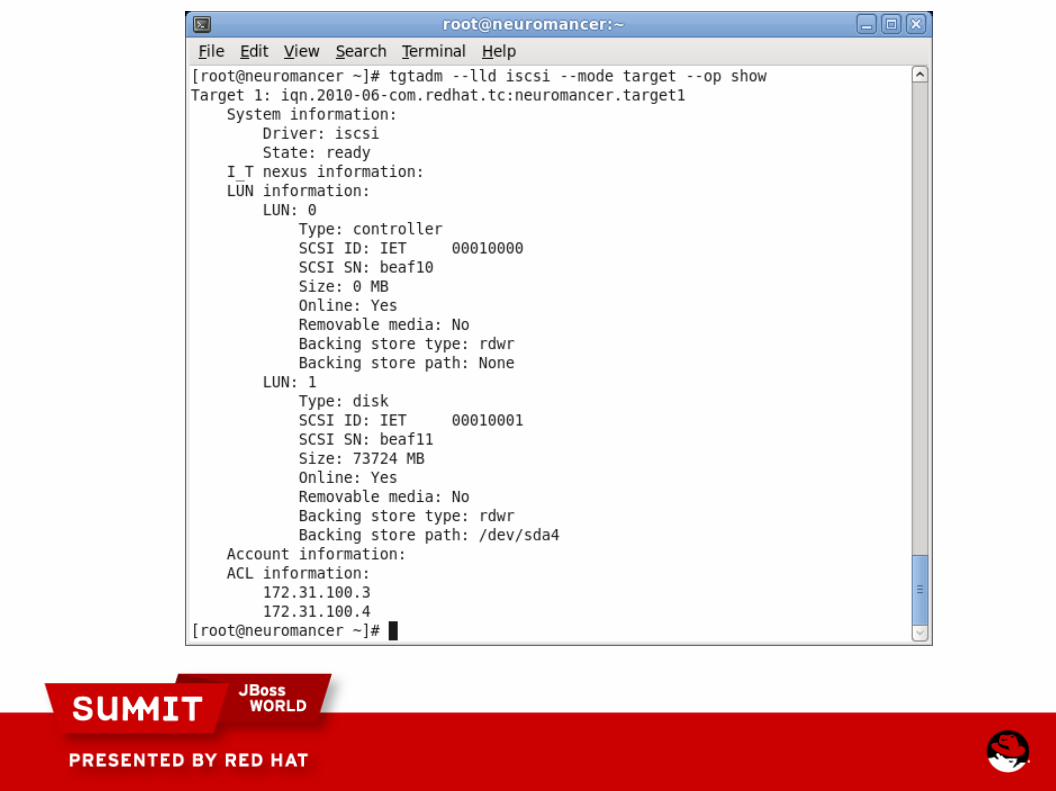
Prepare shared storage on neuromancer
Verify by running “tgtadm --lld iscsi --mode target --op show”
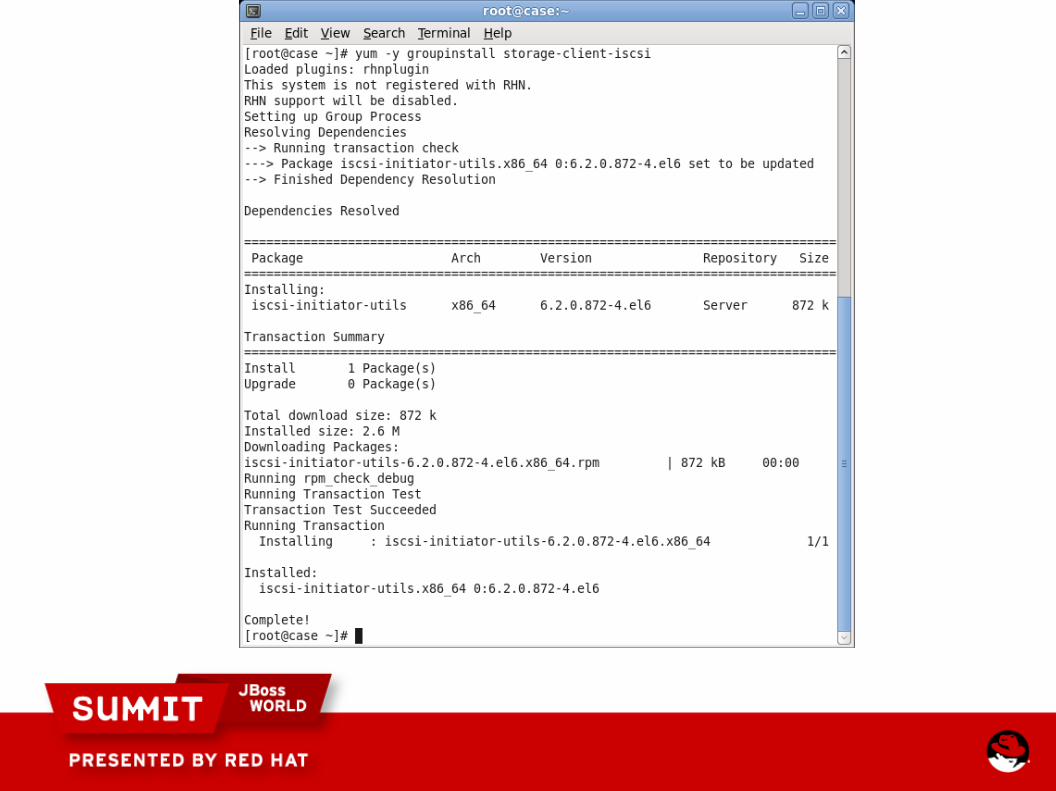
Connect to shared storage on both clients
Install iscsi-initiator-utils, which is in the iSCSI Storage Client group, on case and molly.
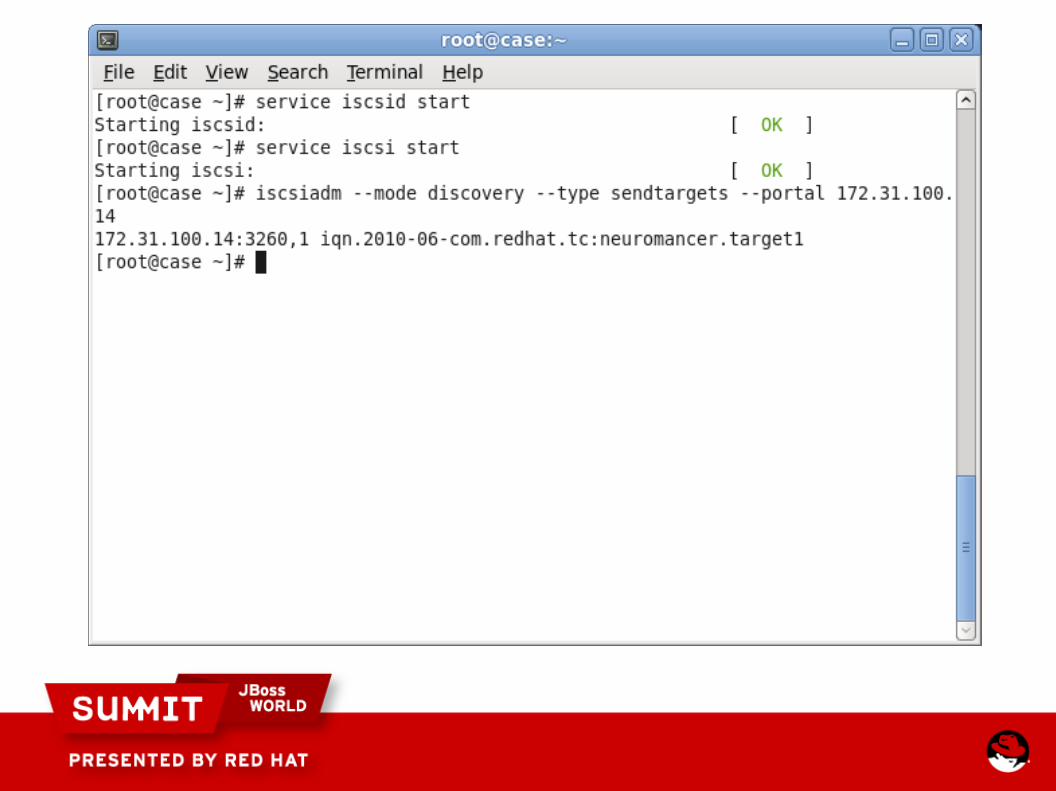
Connect to shared storage on both clients
chkconfig on and start the iscsid and iscsi services
Use iscsiadm to query the target:
● iscsiadm --mode discovery --type sendtargets --portal 172.31.100.14
● Use the ip address, not the domain name
Connect to shared storage on both clients
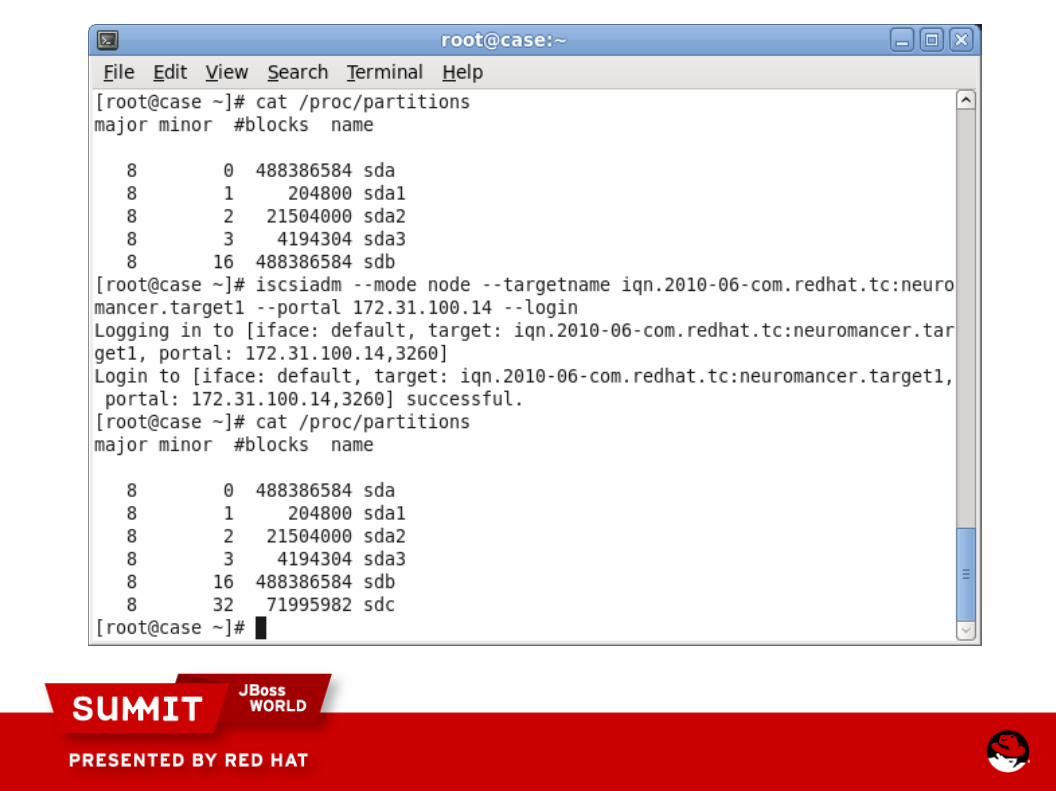
On both servers, log into the target:
● iscsiadm --mode node --targetname iqn.2010-06-com.redhat.tc:neuromancer.target1 --portal 172.31.100.14 --login
You should see new storage available to the server. Test by looking at /proc/partitions
Connect to shared storage on both clients
Don't worry about making a filesystem yet, we'll do that once the cluster software is installed and the cluster is running
Install the clustering software on the nodes
There are two components of the cluster
● High availability application service
● Clustered filesystem (GFS2)
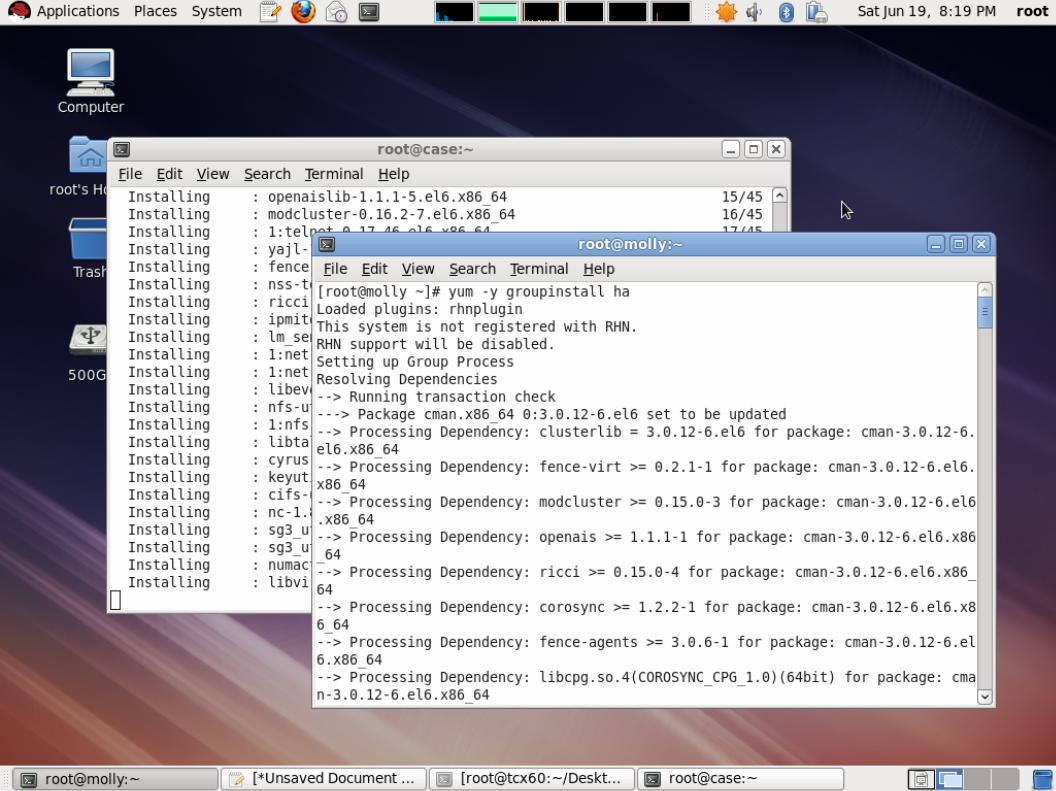
Install the clustering software on the nodes
Install the high availability software first
● The yum group is High Availability
Install the clustering software on the nodes
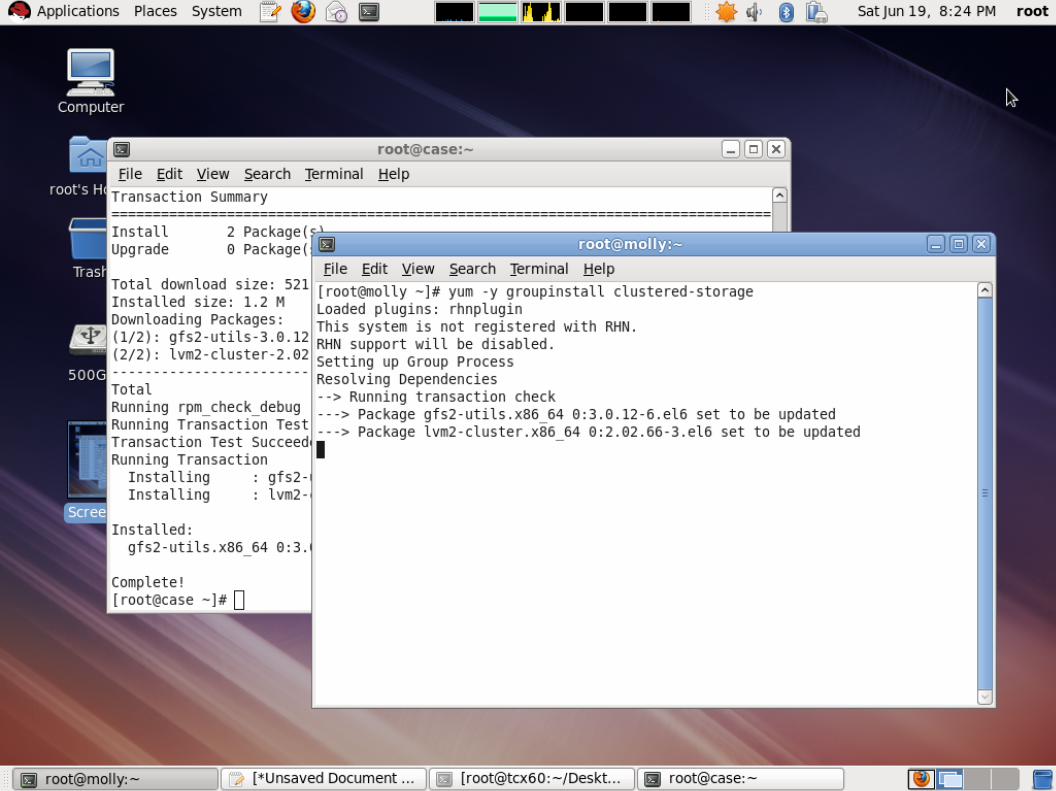
Install the filesystem clustering software next
● The yum group is Clustered Filesystem
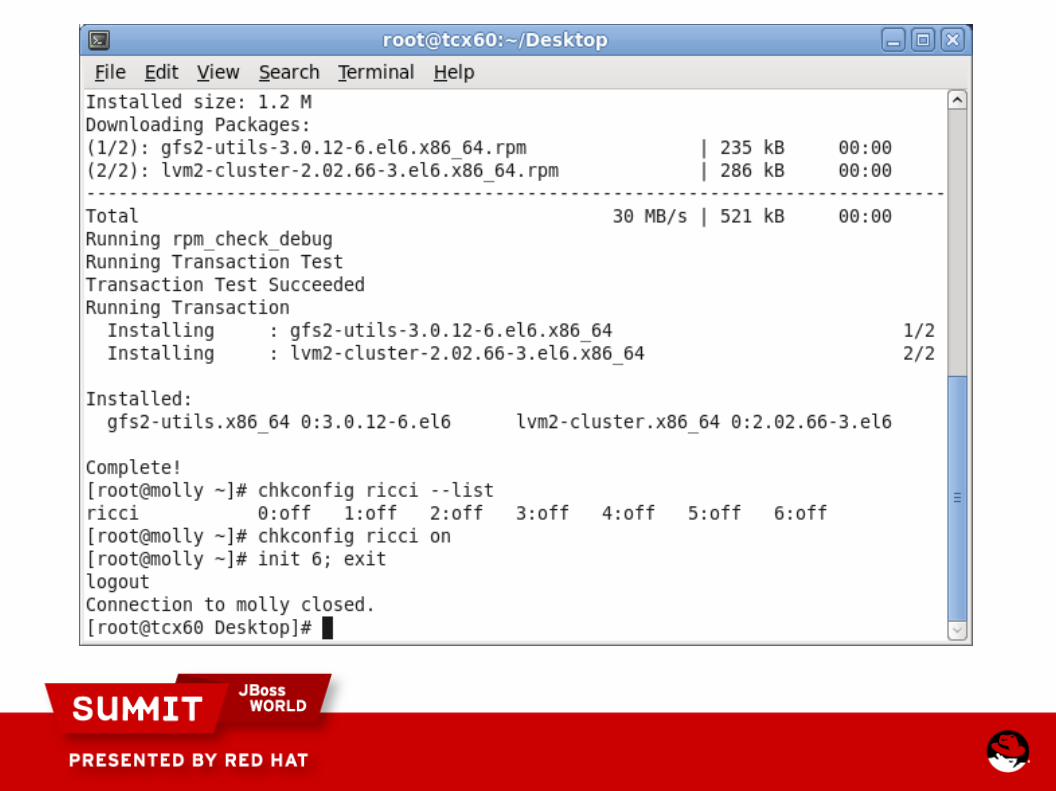
Install the clustering software on the nodes
chkconfig ricci on
service ricci start (or reboot)
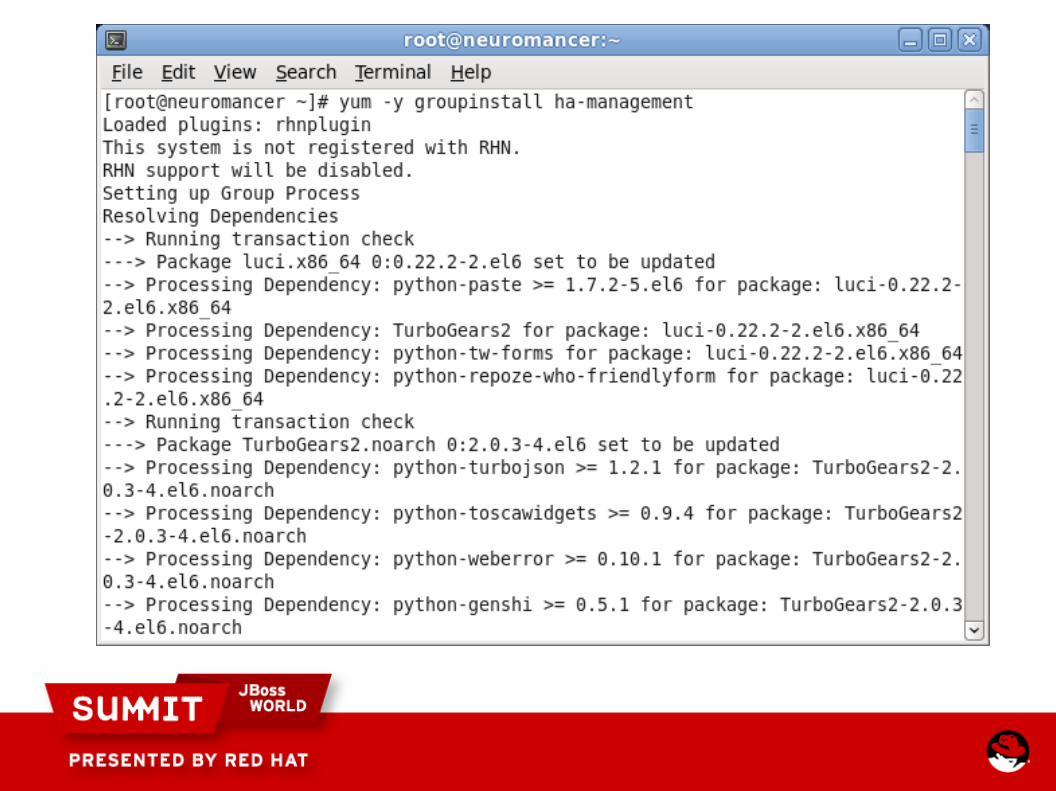
Install the cluster management software on the management server
The yum group is “High Availability Management”
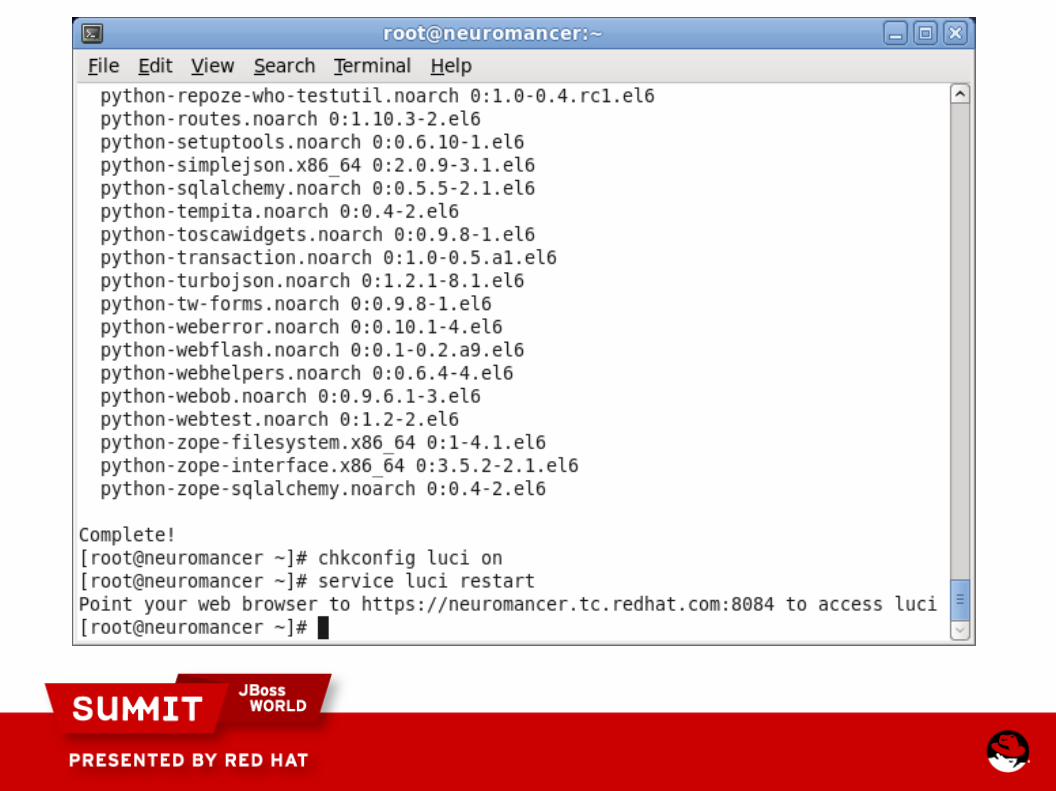
Install the cluster management software on the management server
chkconfig luci on
service luci start
Open the URL listed when luci starts
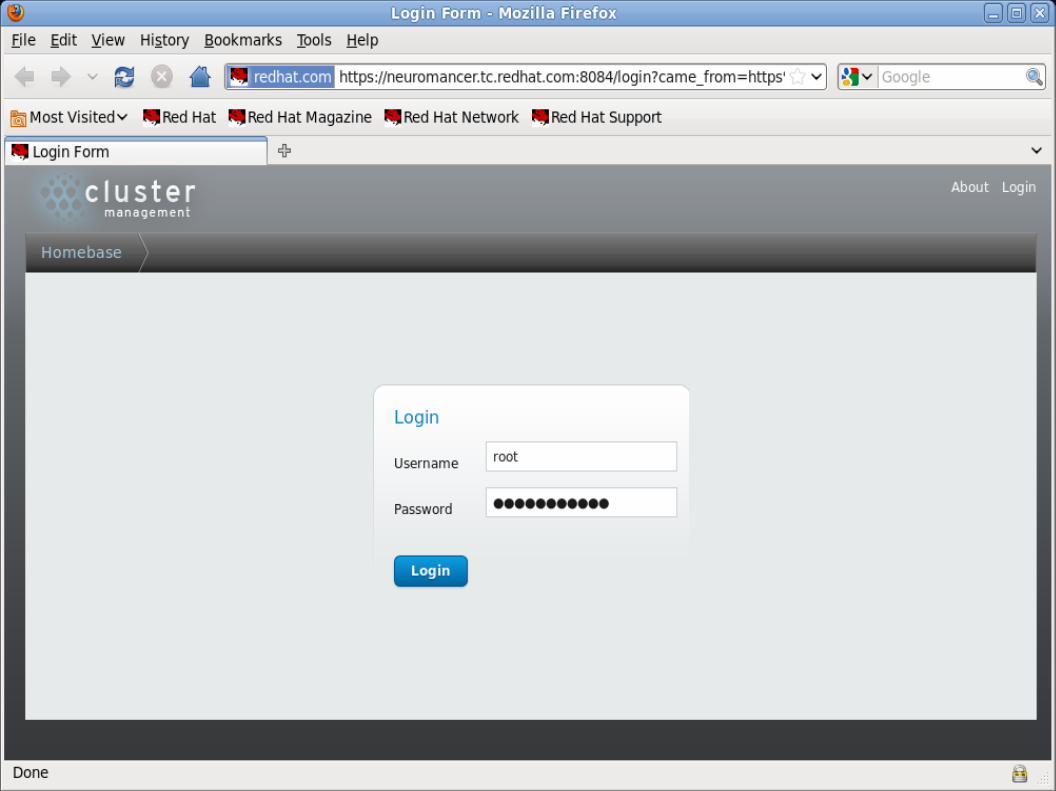
Install the cluster management software on the management server
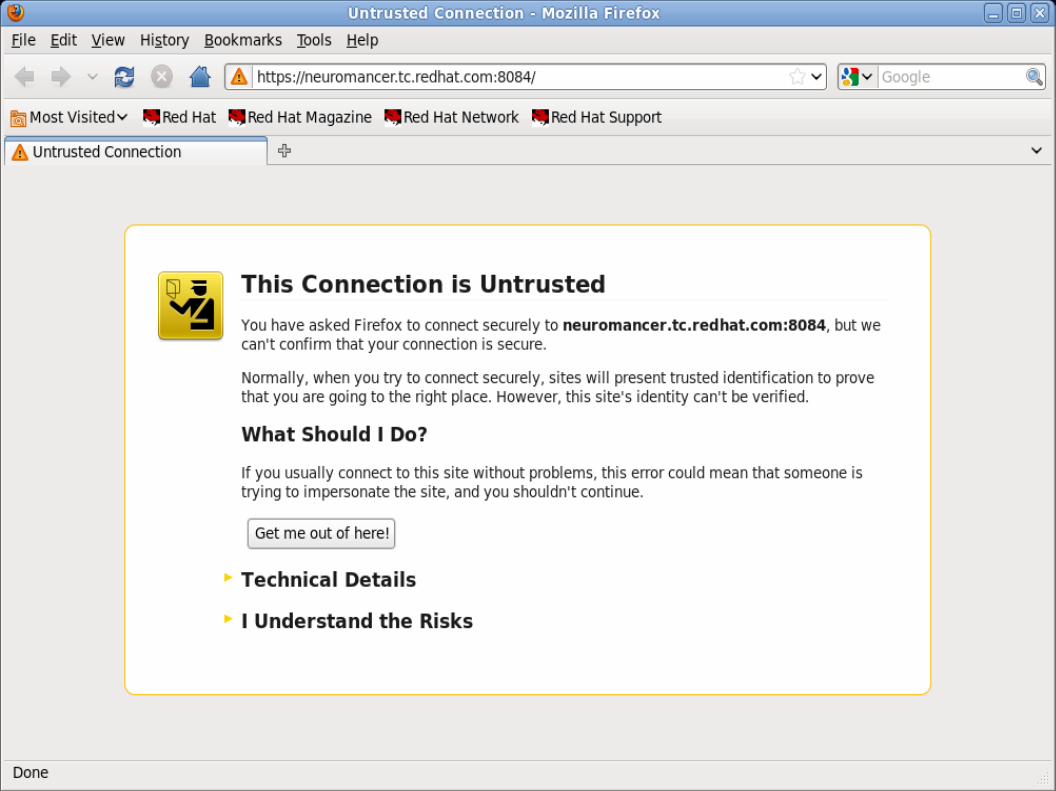
As the Conga web application uses a self-signed SSL certificate, you'll get a warning. This is normal and expected. Accept the certificate and continue.
Install the cluster management software on the management server
Log into the web UI as root
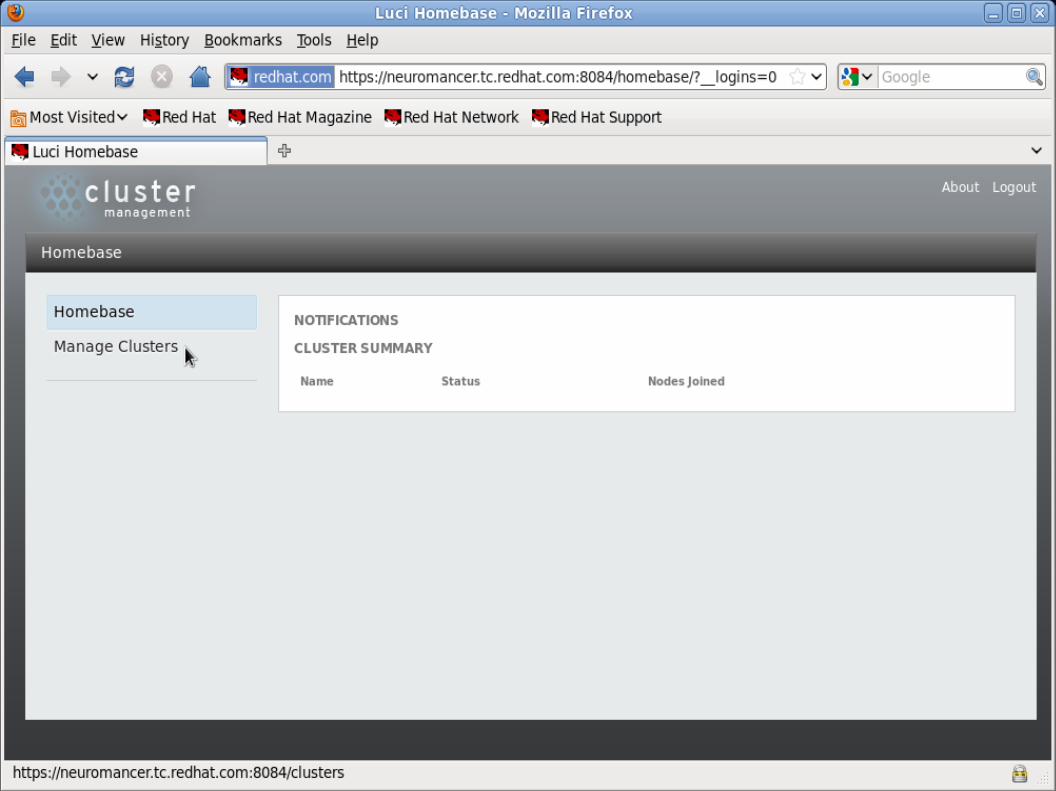
Create the cluster
From the main Conga page, choose “Manage Clusters”
Create the cluster
Choose “Create”
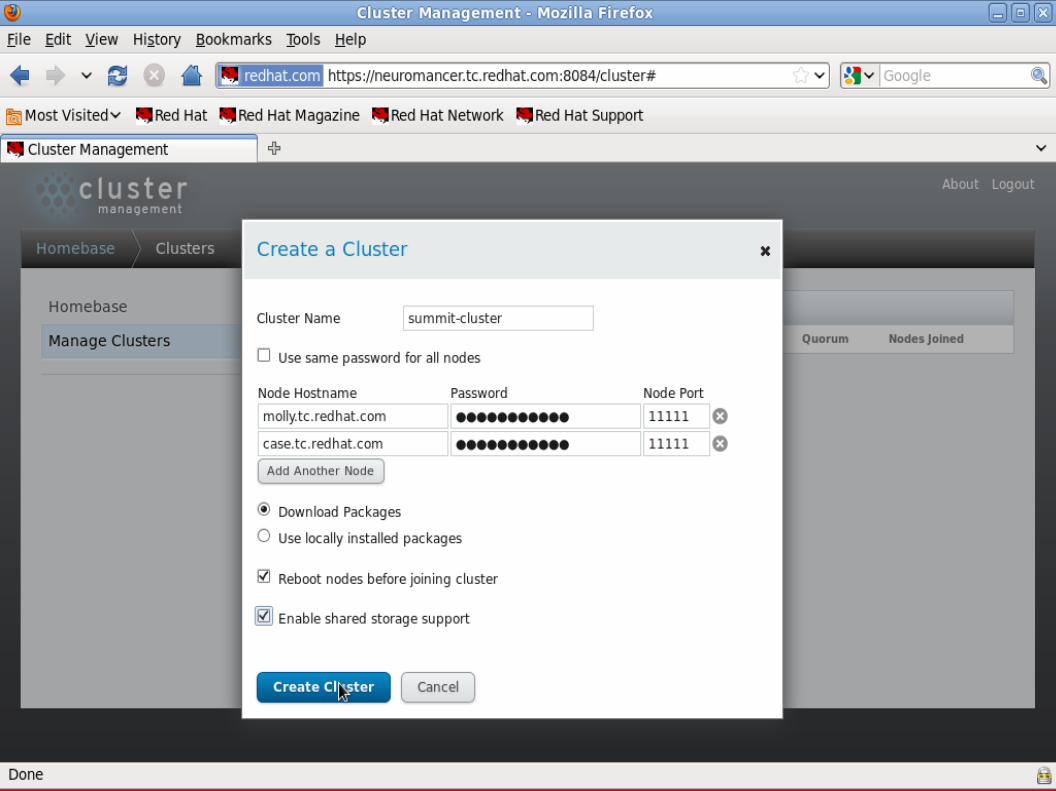
Create the cluster
Fill out the cluster name
“Use the same passwords for all nodes” is not working (BZ599074).
Fill out node by FQDN or ip and enter root's password
Choose download packages to ensure your servers grab the latest versions from RHN
Choose “Reboot nodes...” (not working, BZ599080)
Choose “Enable shared storage...”
Commit your changes and wait up to 30 seconds
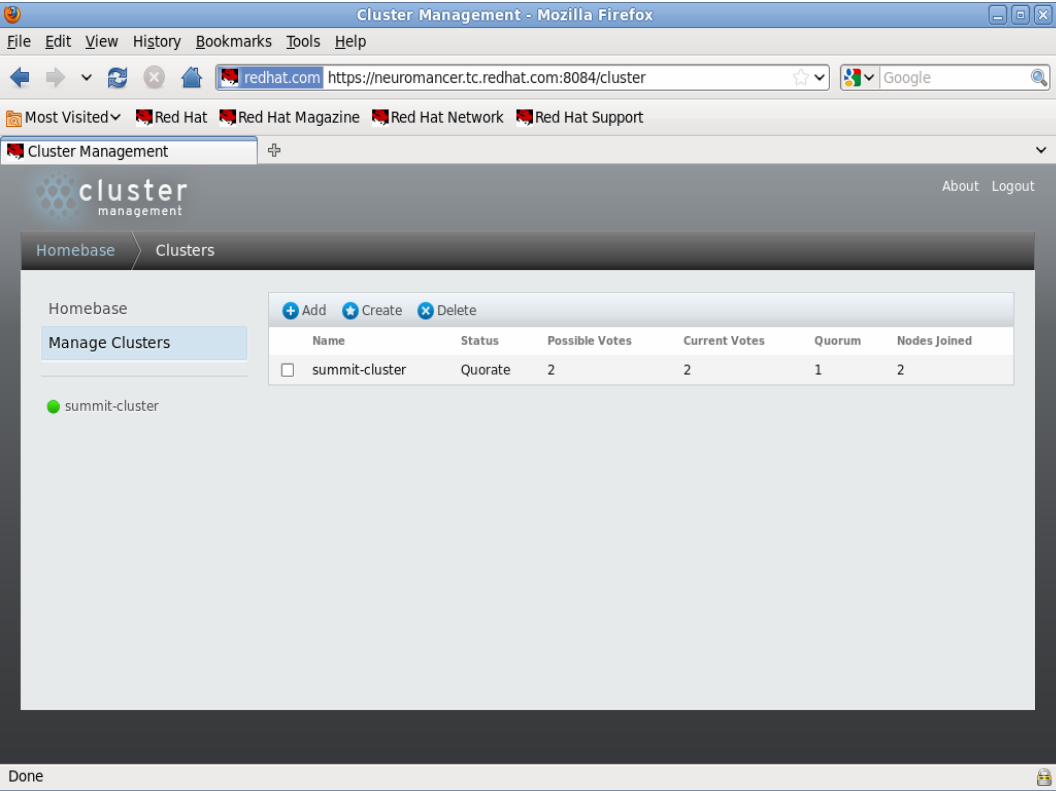
Create the cluster
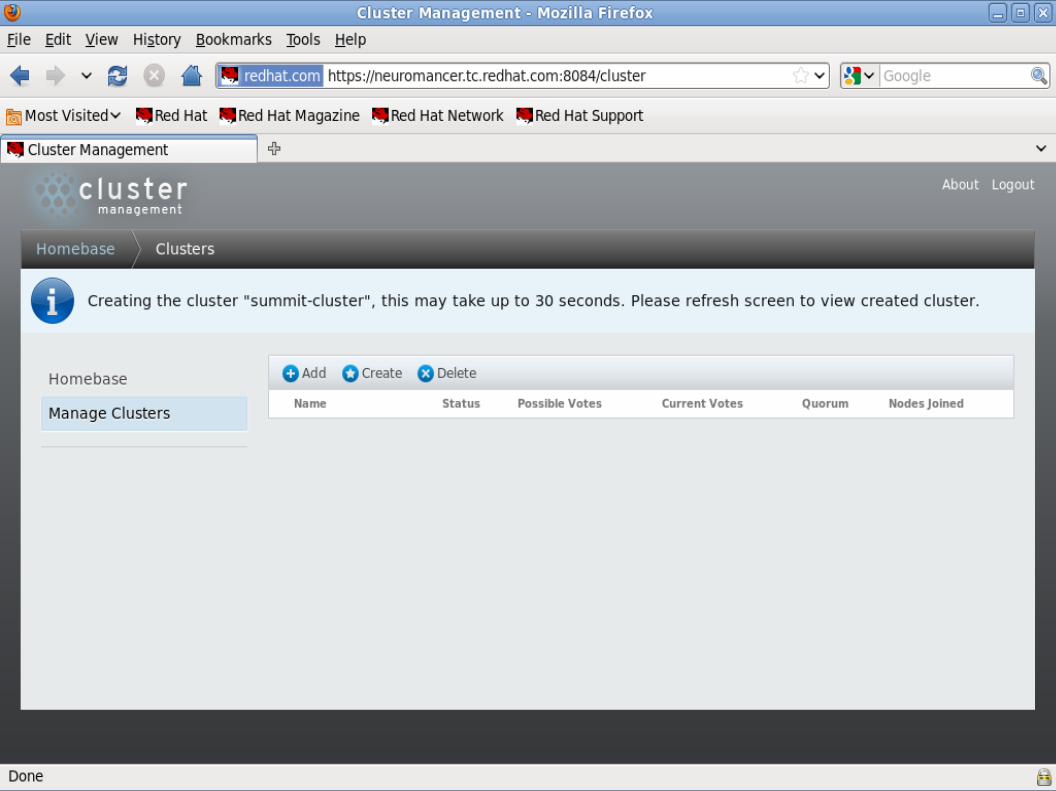
Click on “Manage Clusters”
If your cluster shows up with a green light next to it, you're in business!
If it doesn't, typically one of a few things is wrong:
● name resolution
● firewall rules
● selinux (until GA)
Reboot the cluster manually to make sure it comes up correctly.
Create the cluster
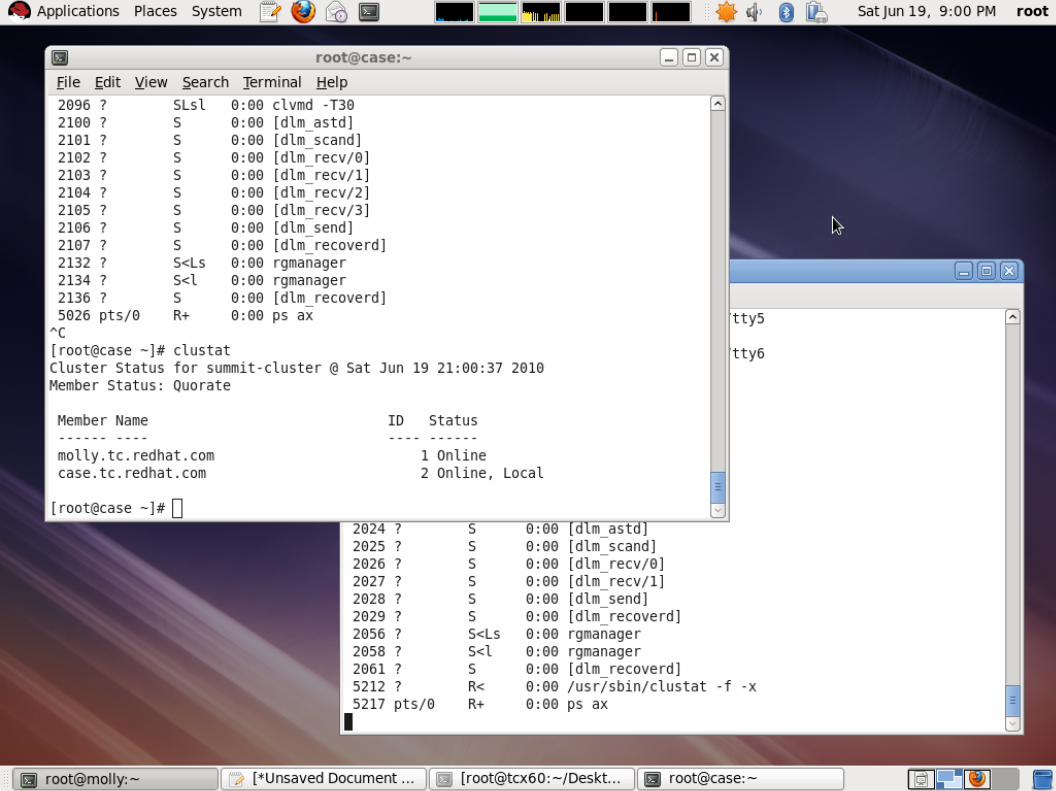
I also like to see check that the cluster processes started up.
You can use clustat after the cluster comes up to check cluster status.

Create Shared Storage
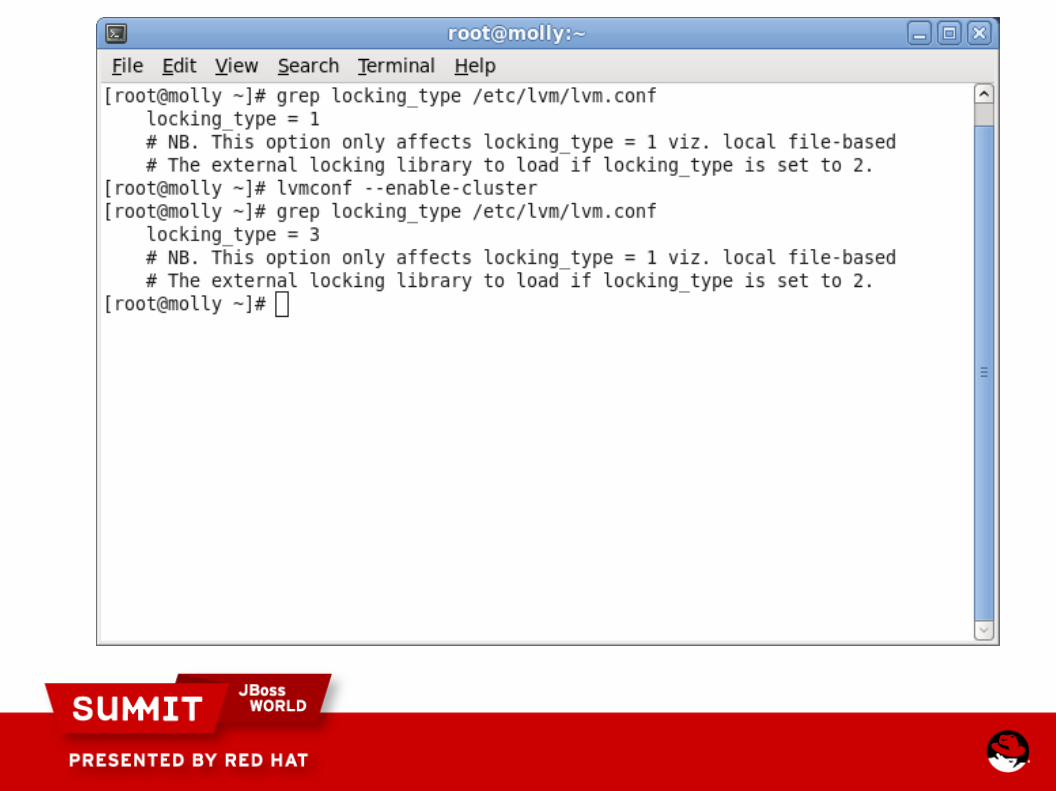
Now that the cluster is up, we can set up the shared storage from the hosts.
Enable each node to be able to use clustered logical volumes:
● lvmconf --enable-cluster
Create Shared Storage
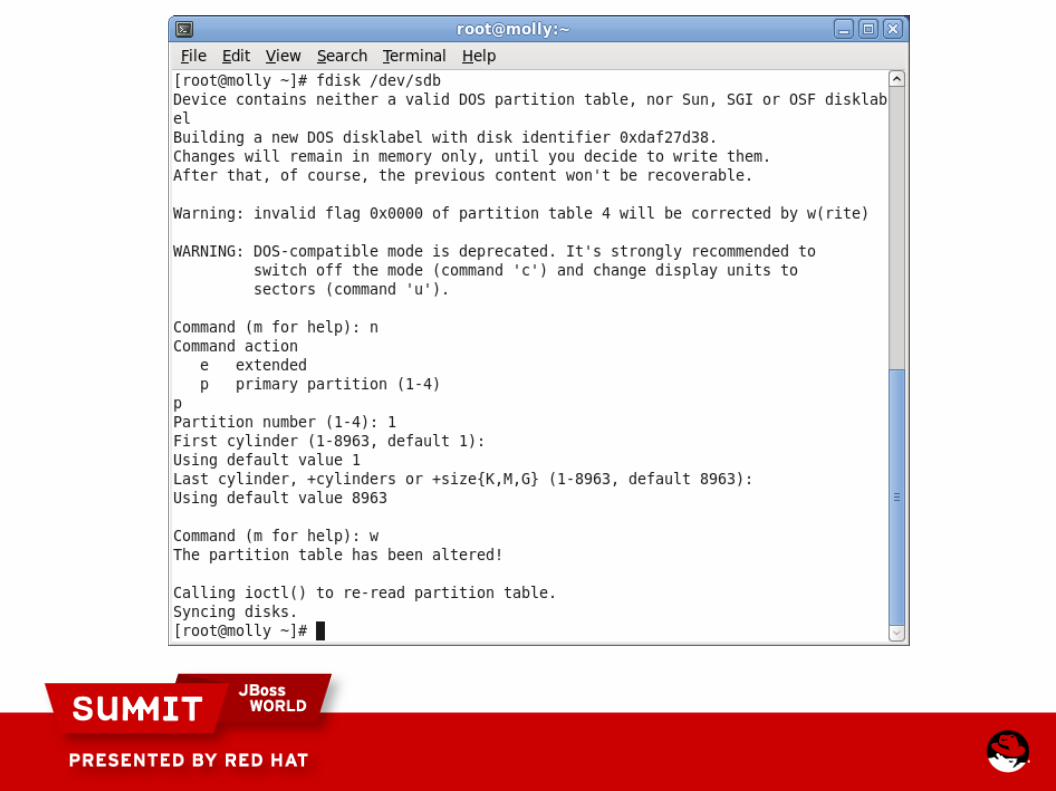
Create a partition on the shared storage we connected to via iSCSI
● fdisk the disk● new partition● primary● start at the first cylinder● end at the last● write changes

Create Shared Storage
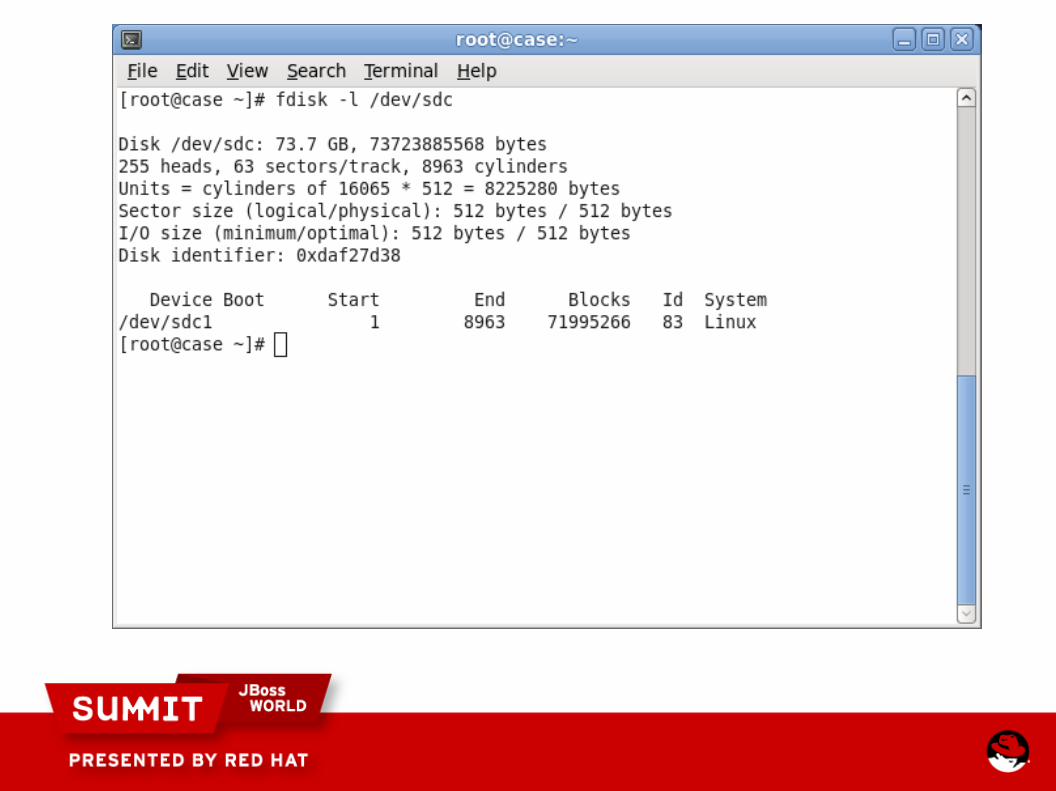
Verify the other node sees the new partition
Create Shared Storage
Create a logical volume on the shared disk
● pvcreate /dev/sdb1
● vgcreate -c y ApacheVol /dev/sdb1
● lvcreate -L 10G -n ApacheLV ApacheVol

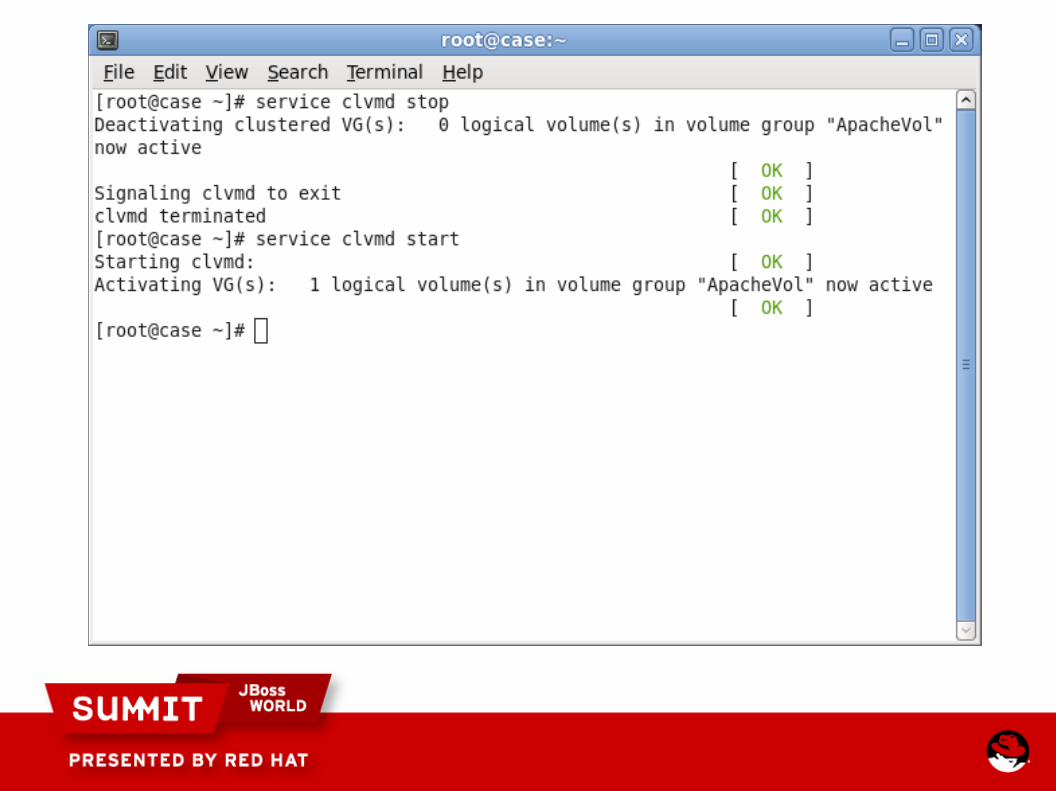
Create Shared Storage
You might need to stop and start the clvmd service on the other node.

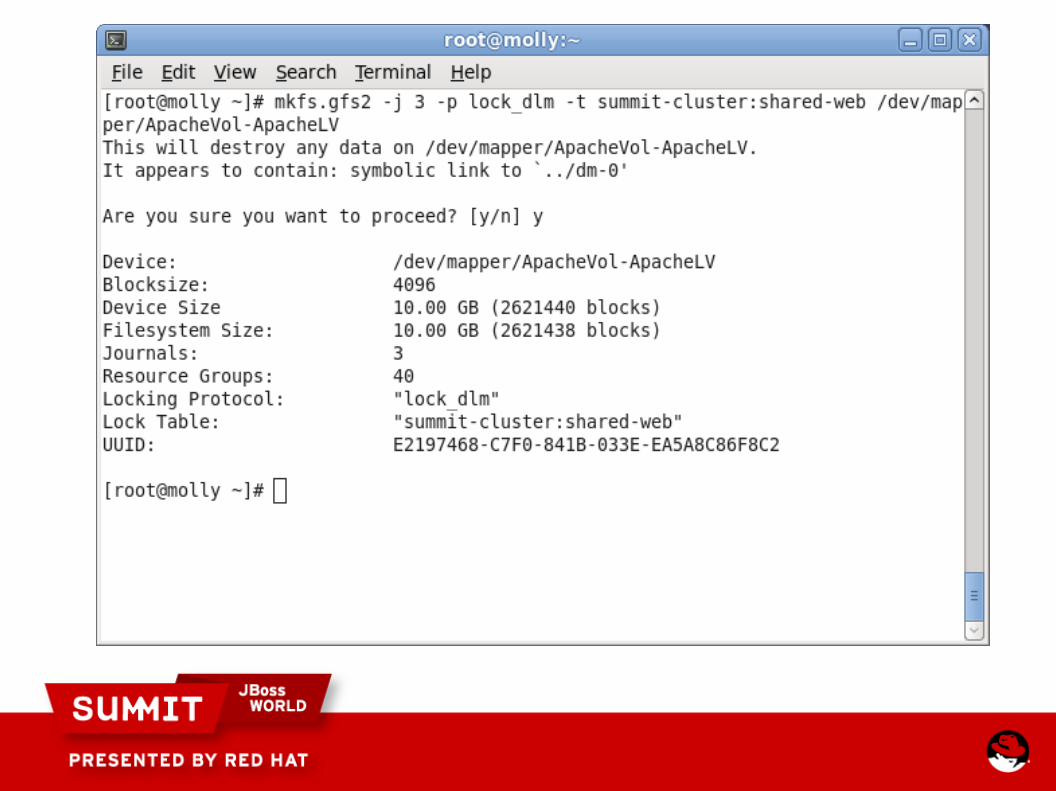
Create Shared Storage
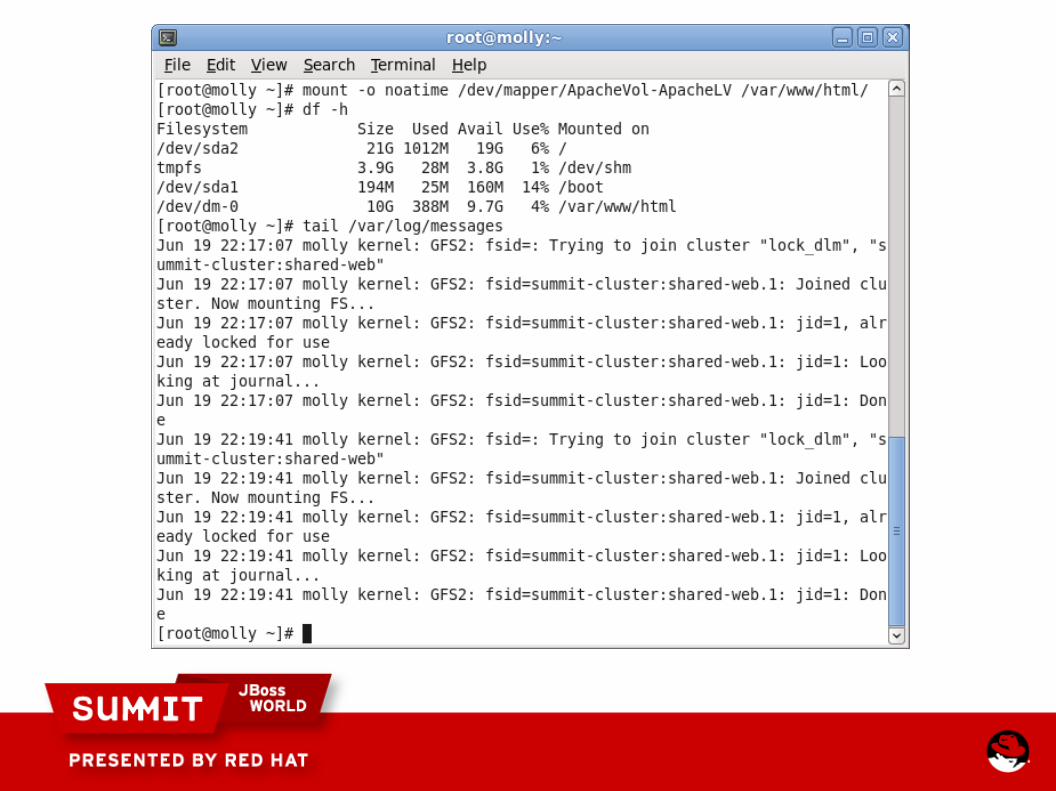
Create a GFS2 filesystem on the shared disk
● mkfs.gfs2 -j 3 -p lock_dlm -t summit-cluster:shared-web /dev/mapper/ApacheVol-ApacheLV
Create Shared Storage
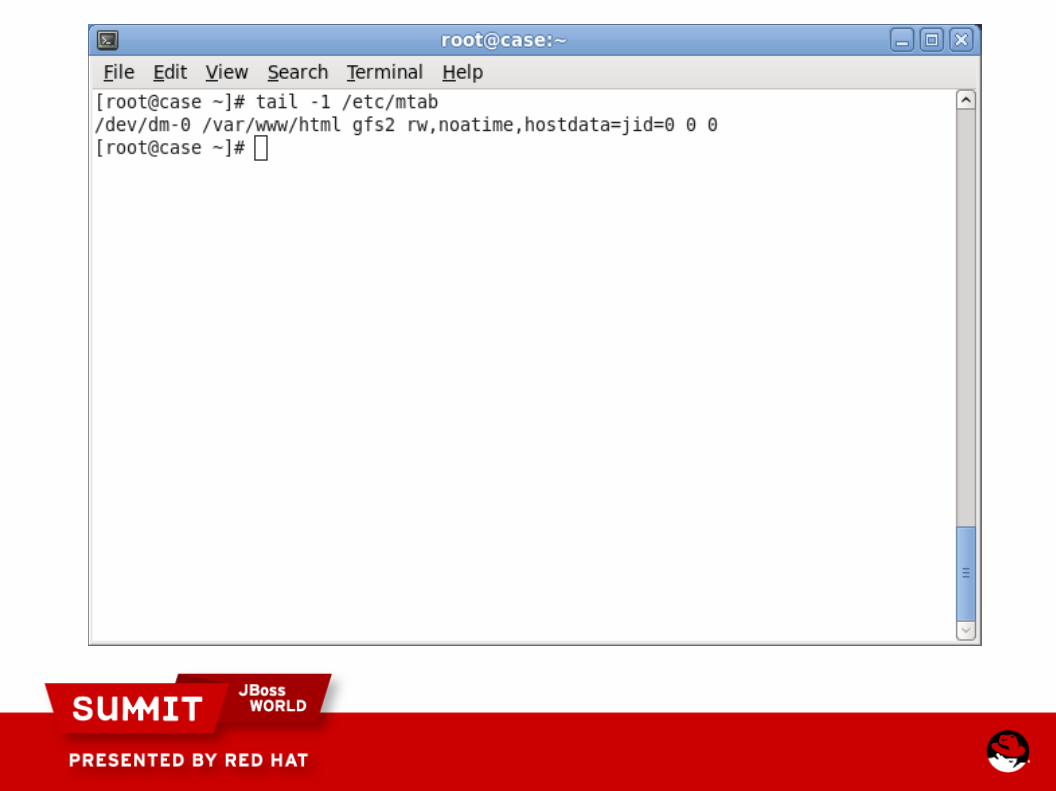
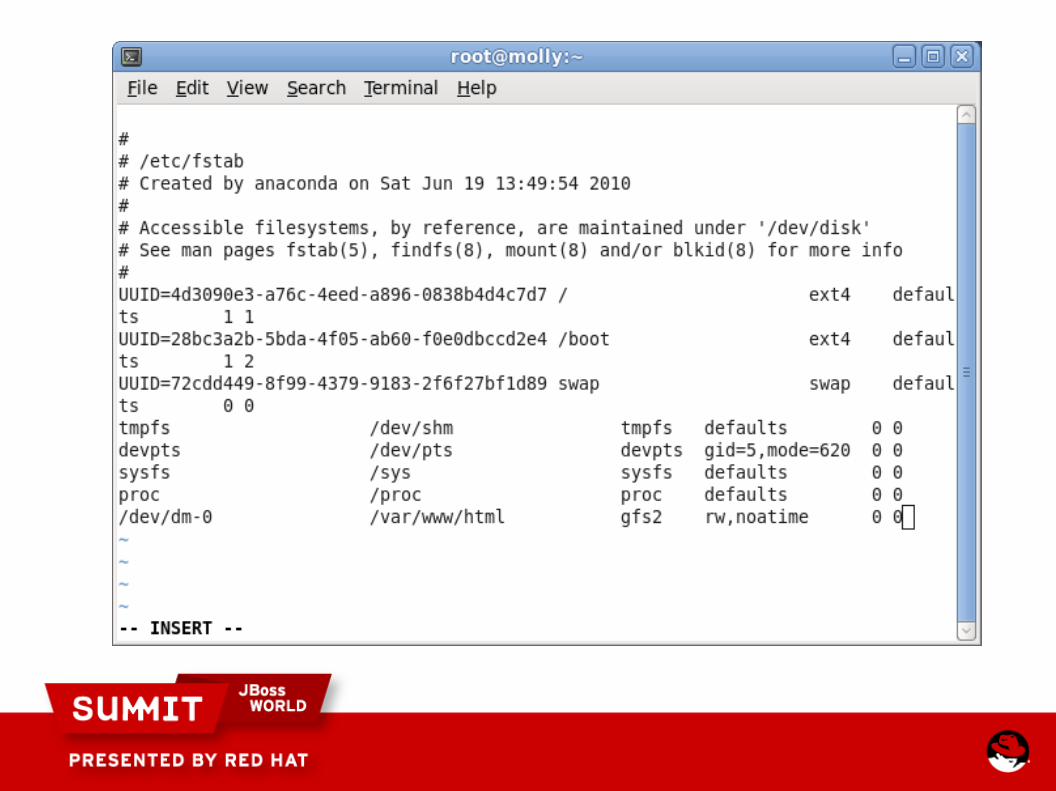
Since this is a shared filesystem, we can mount it at the host level via /etc/fstab.
● Mount the GFS2 volume from the command line
● tail -1 /etc/mtab to see the format for fstab
Set up a shared fence device
Fence devices can be any one of a number of mechanisms for blocking a crashed node from data. Some examples include:
● managed power switches from APC and WTI
● HP iLO
● Dell DRAC
● IBM RSA
● Fiber switches
● Virtual machine fencing
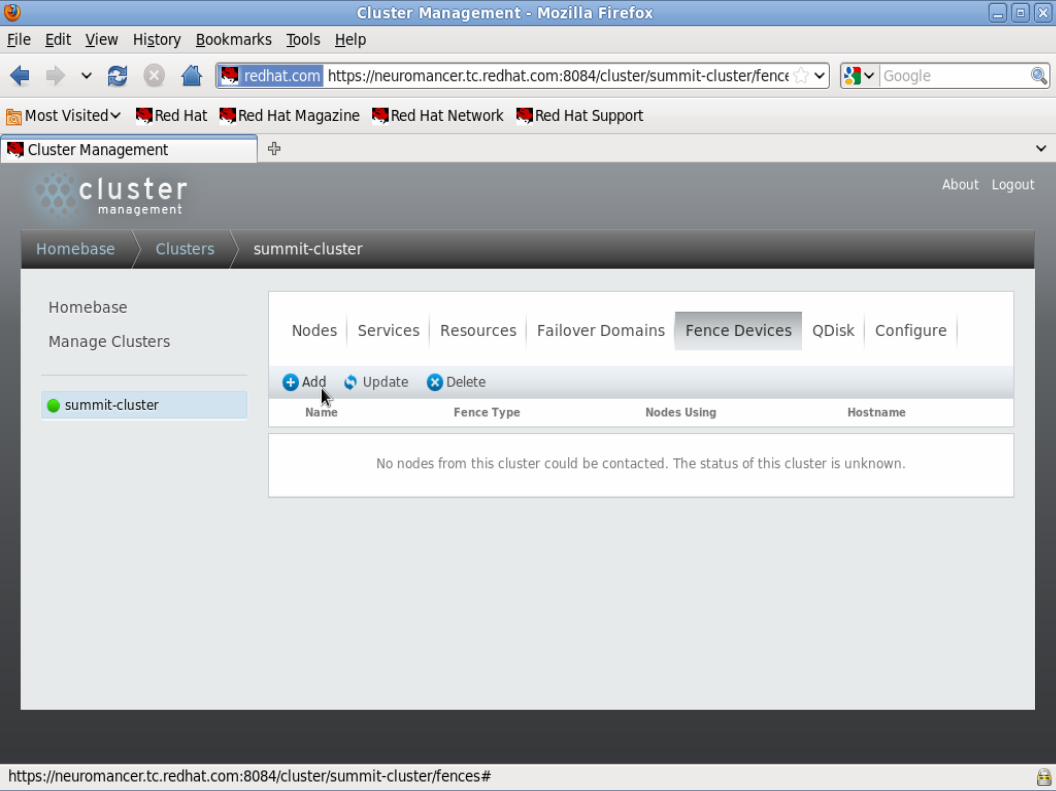
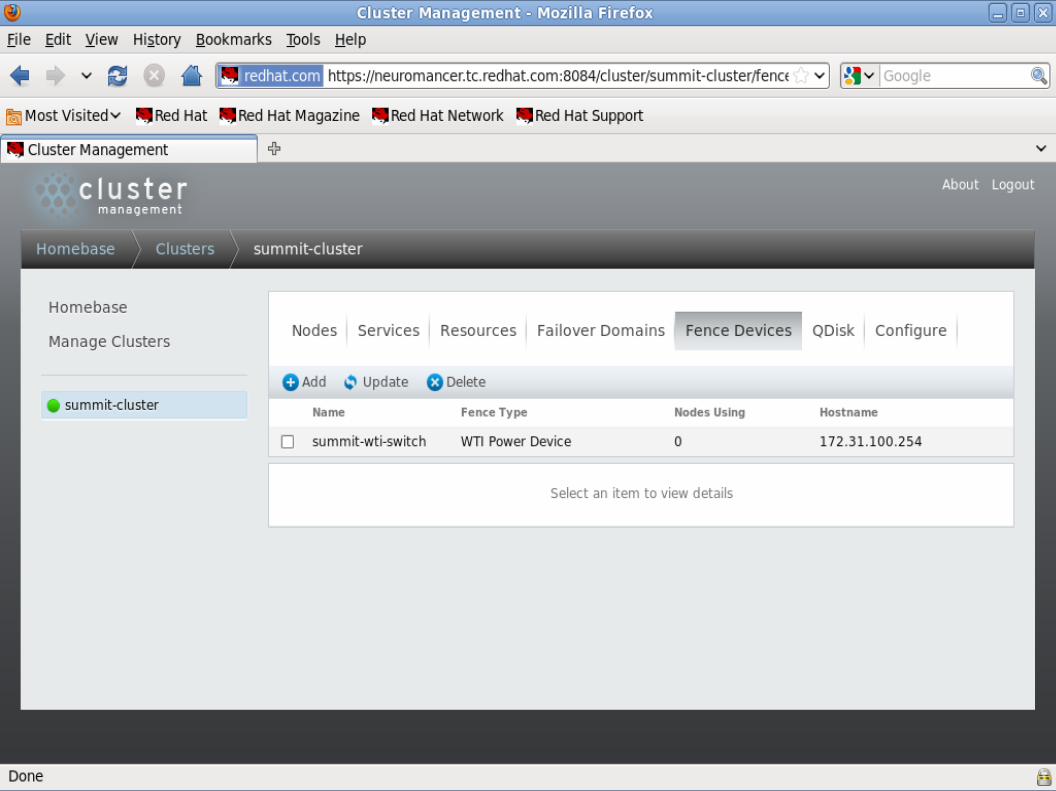
Set up a shared fence device
Navigate Manage Clusters, click on the cluster, then click on the Fence Devices tab, then click “Add”
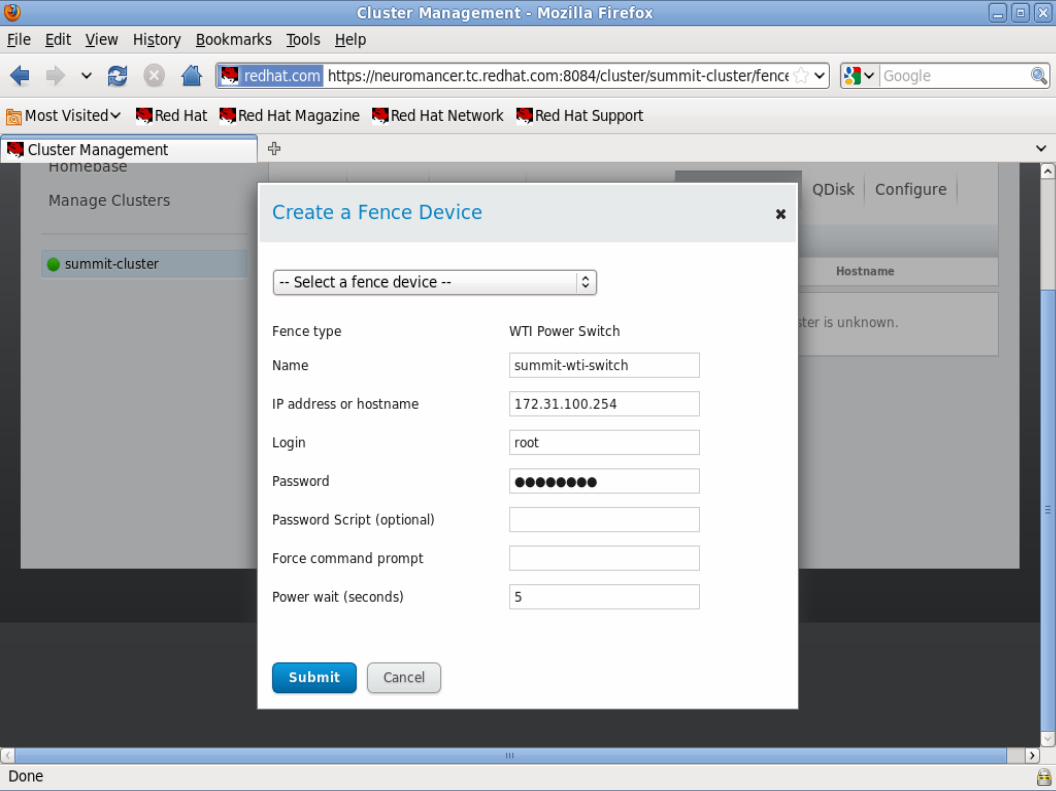
Set up a shared fence device
In this example I've defined a WTI power switch. I defined:
● the name of the switch in the cluster
● the ip address
● login
● password
● power delay
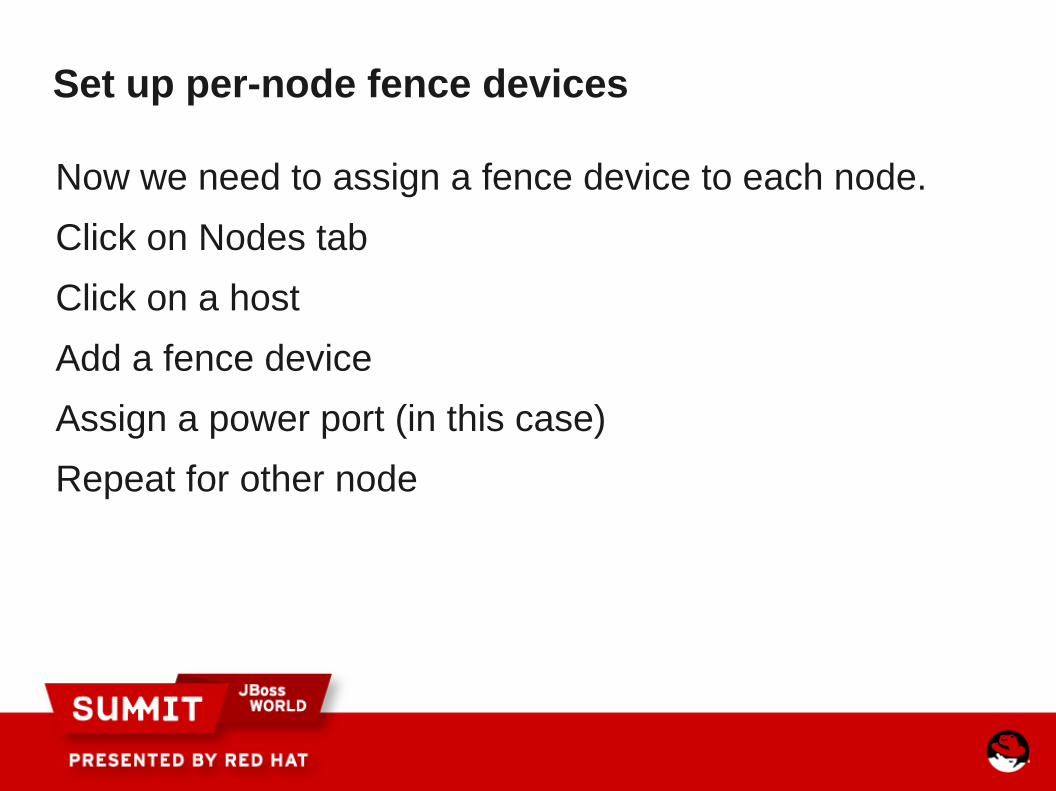
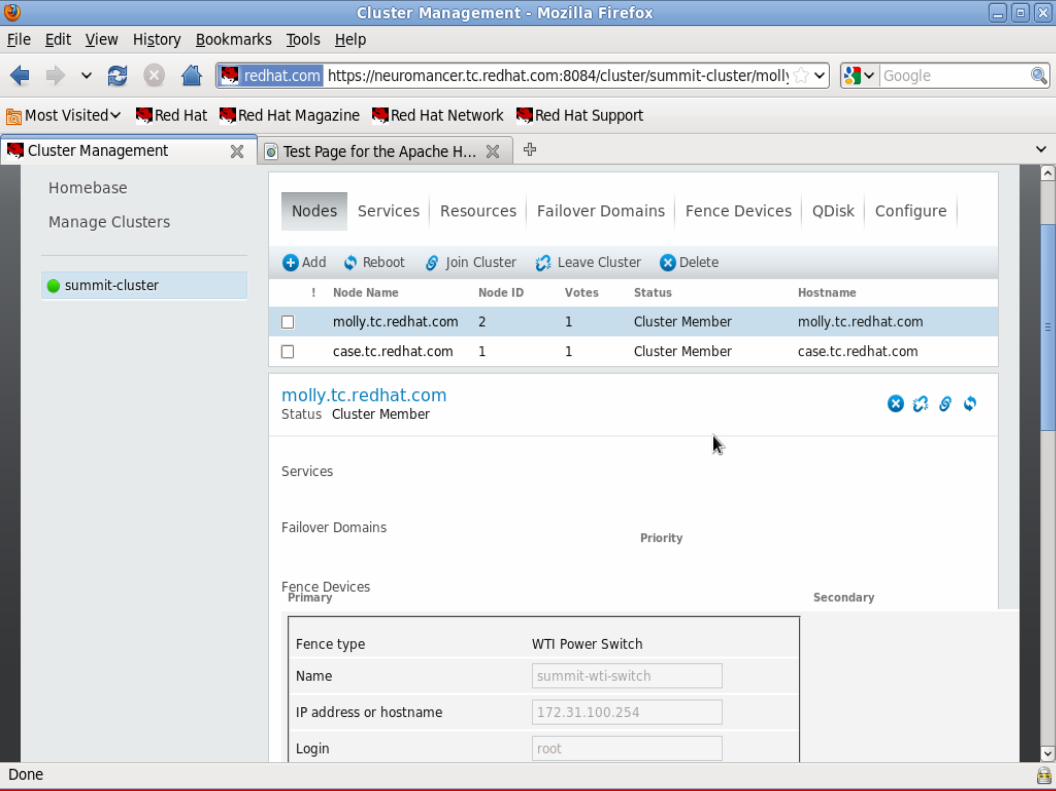
Set up per-node fence devices
Now we need to assign a fence device to each node.
Click on Nodes tab
Click on a host
Add a fence device
Assign a power port (in this case)
Repeat for other node

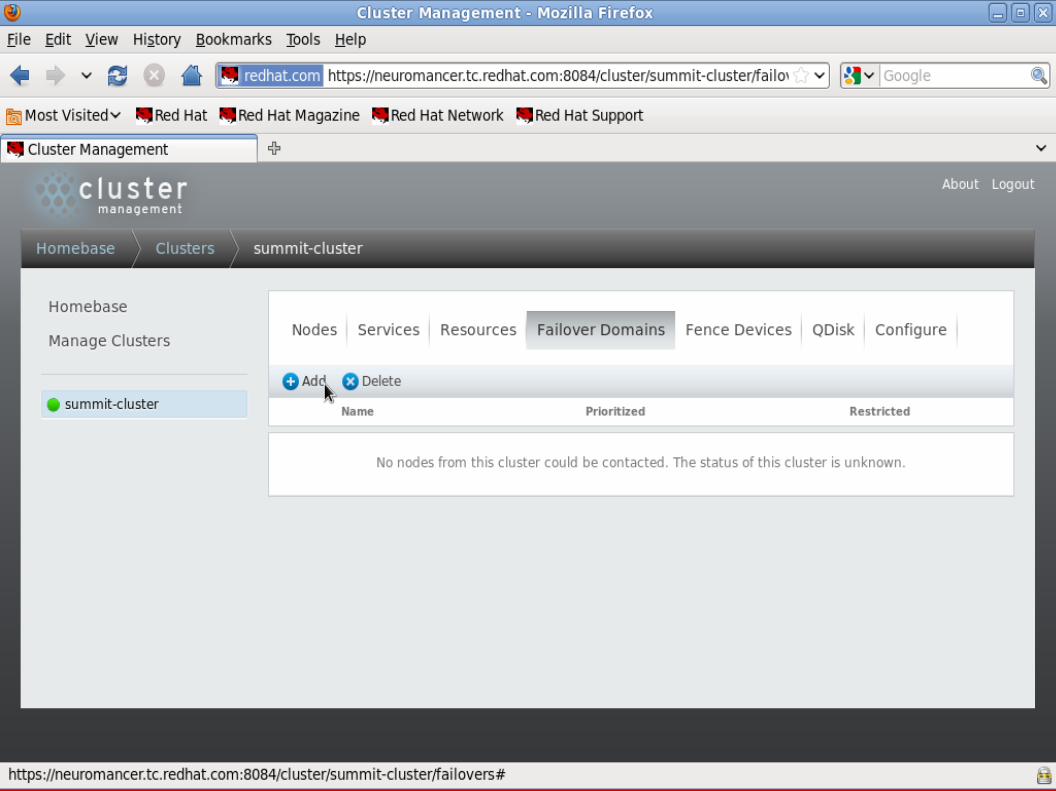
Set up failover domains
Define a failover domain to set the priority of a host for a given service.
In this example, we'll define a failover domain which makes it more likely that the service we define later will come up on case.
Go to the failover domain tab and click “Add.”

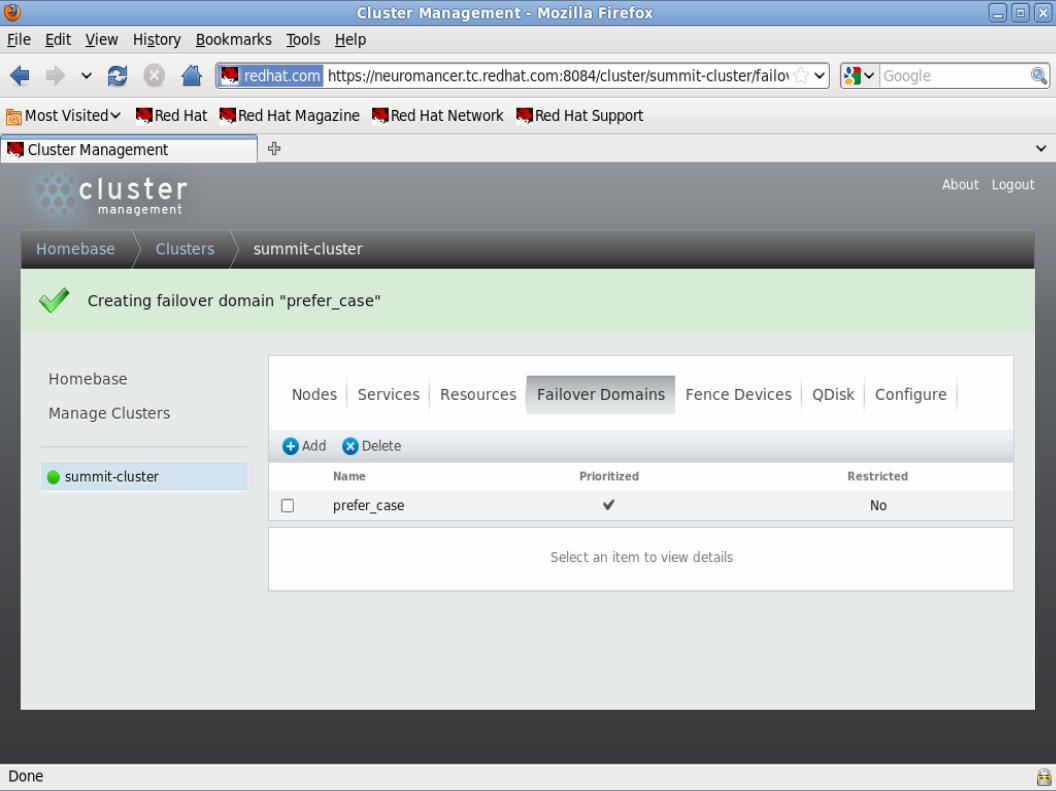
Set up failover domains
I've set up the failover domain name as “prefer_case”
I've set the failover domain to be prioritized
I have not set the failover domain to be restricted
I have not set the “No failback” - I want the service to run on case whenever it's available
I've checked the membership boxes next to molly and case, and set case to have a lower value than molly

Define Resources for the Service
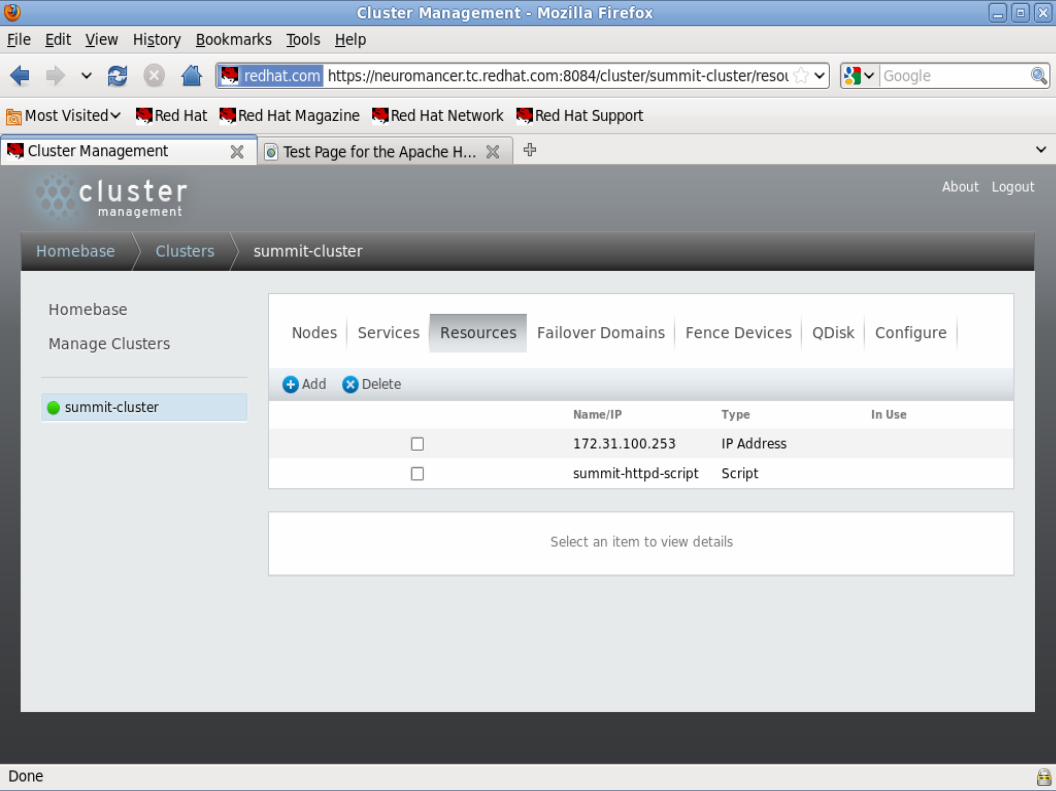
You'll typically define three resources for the clustered web application.
● Virtual ip address
● Start/stop script
● Shared storage (not necessary since it's shared)
Define Resources for the Service
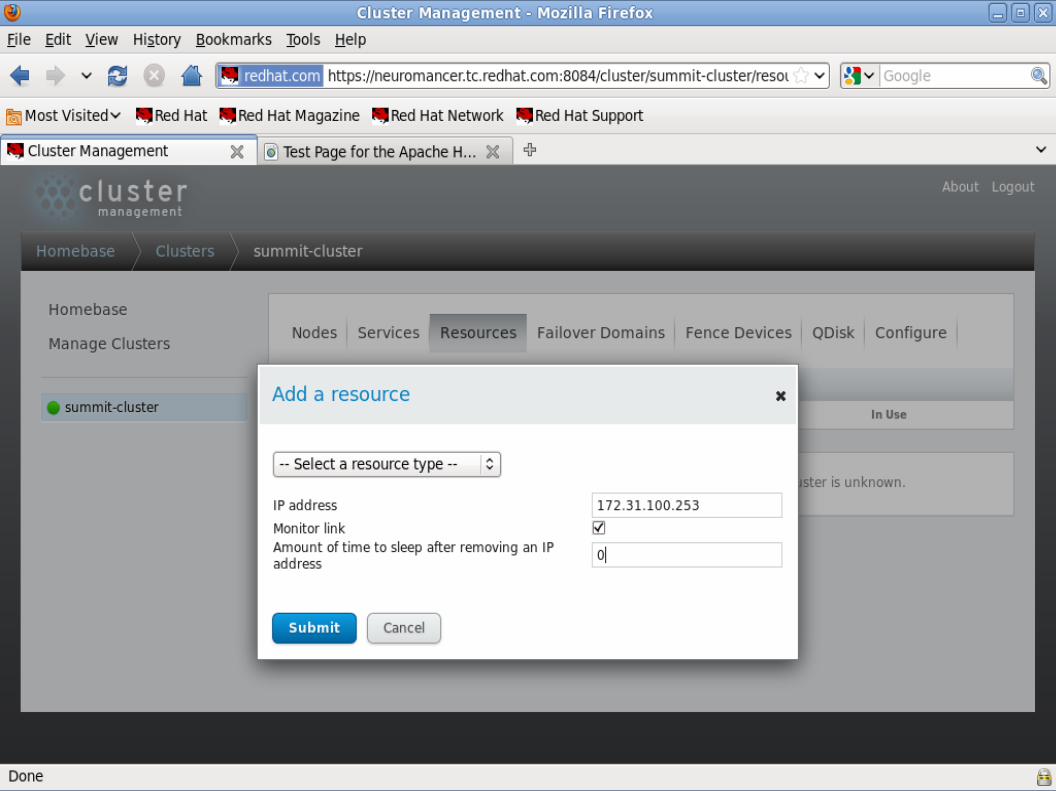
Define a virtual ip address.
● Resources● IP address● Monitor link● Sleep time


Define Resources for the Service
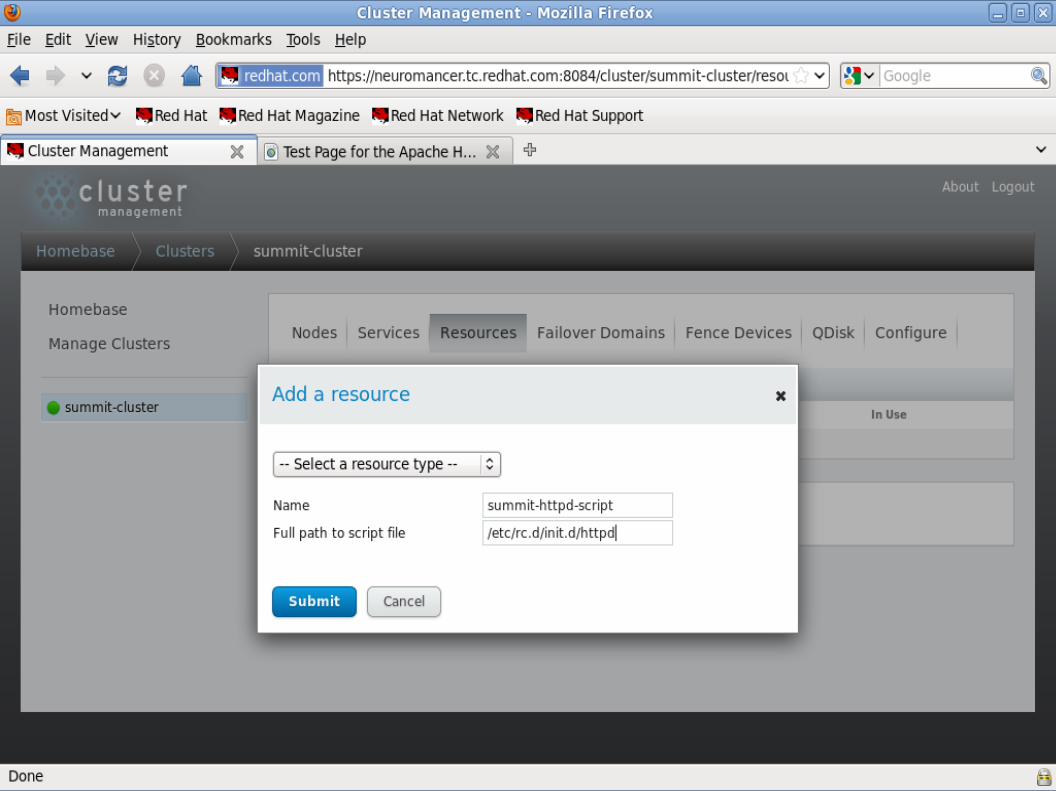
Define a script resource for httpd
● Note that the httpd service should not be chkconfig'd on on the nodes! We want the clustering software to start it, not SysV init.
Define Resources for the Service
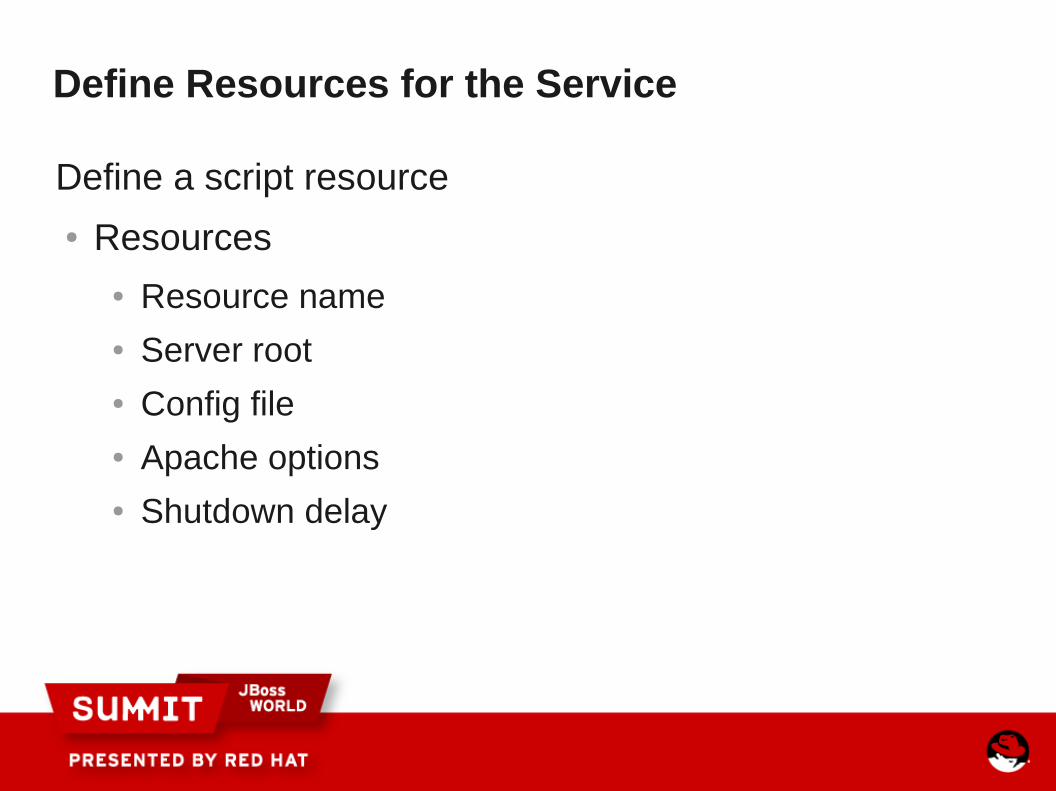
Define a script resource
● Resources● Resource name● Server root● Config file● Apache options● Shutdown delay
Define Resources for the Service
Shared storage could be added here as well, but since we mounted it on each host via /etc/fstab, there's no need to define it in the cluster.
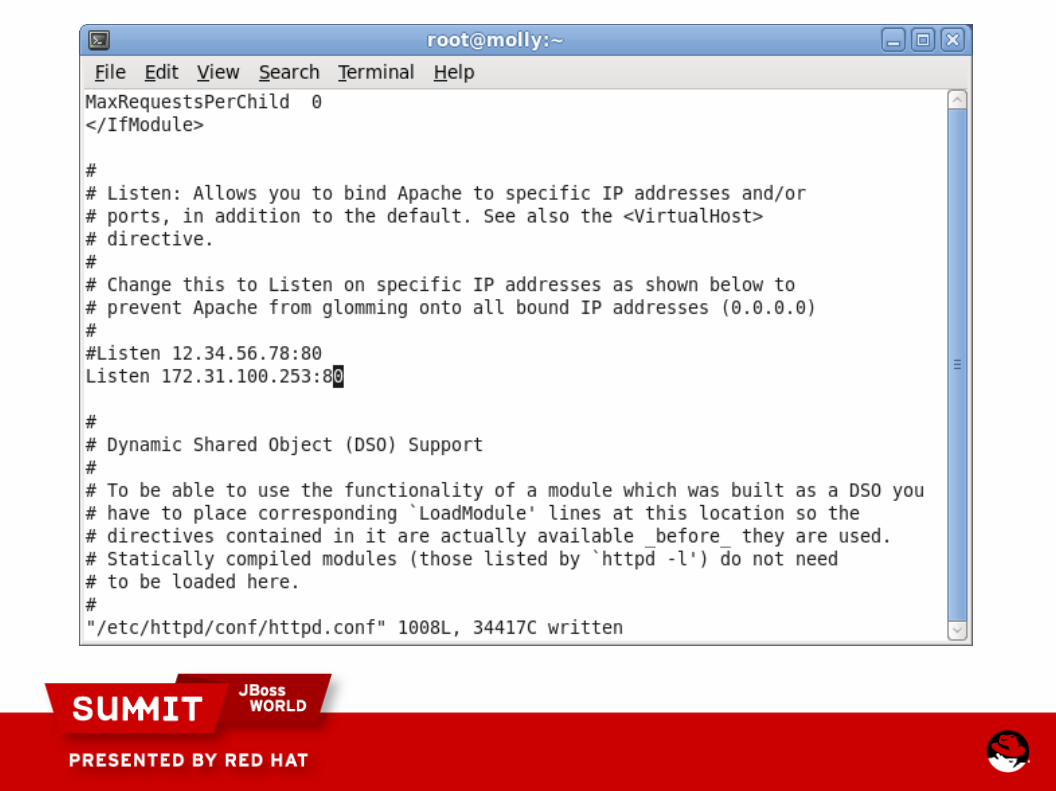
Define a Service
We're going to define a web server service to start and listen to 172.31.100.253. We need to edit the /etc/httpd/conf/httpd.conf file on each server so that the web server listens on that ip address.
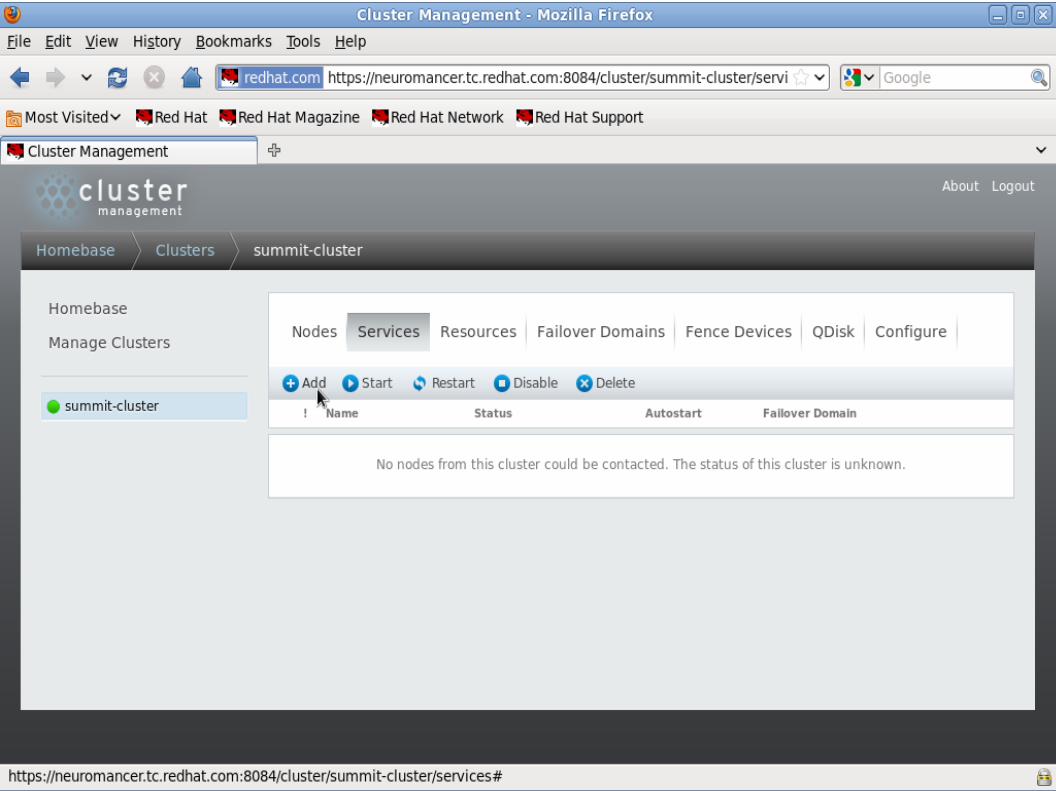
Define a Service
Now we go to the Services tab and define a web server service.
Add the resources to the service
Choose:
● Auto-start
● Failover domain
● Recovery policy
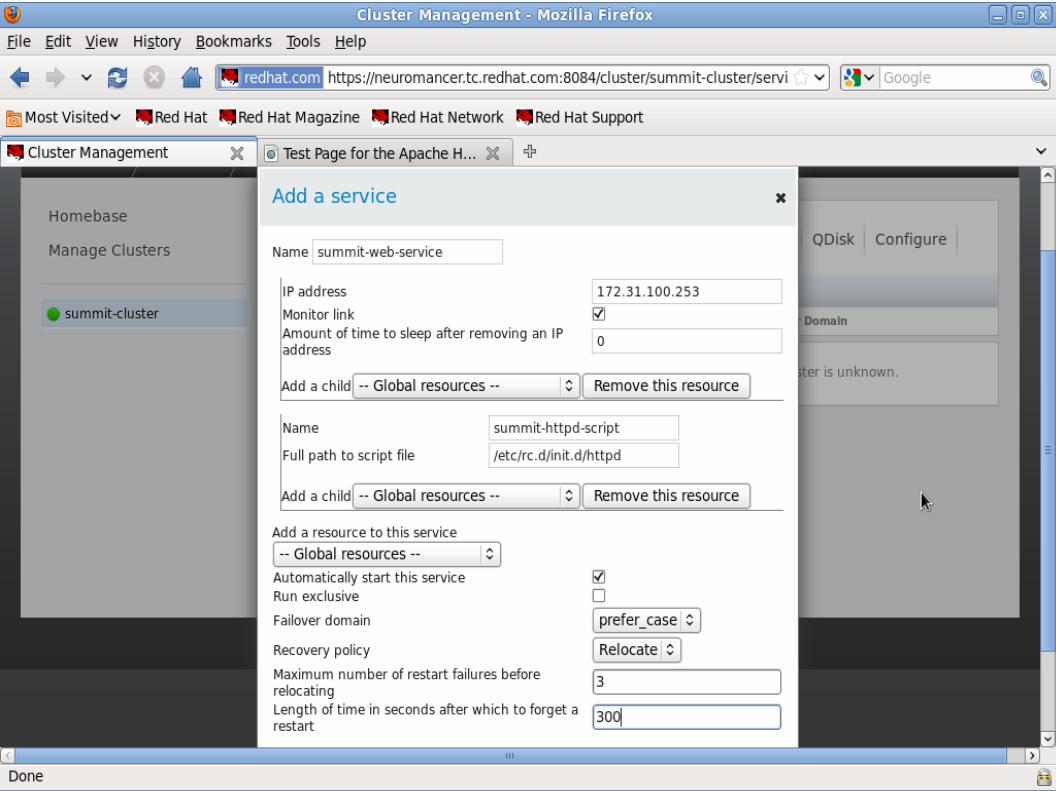
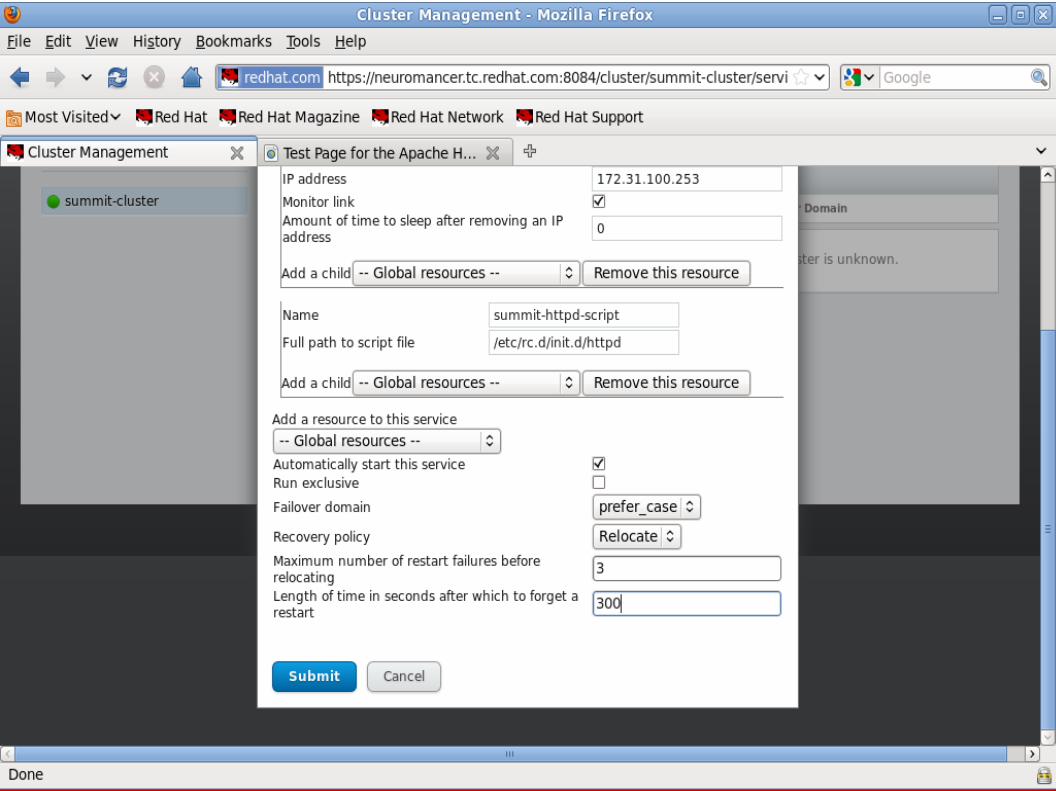
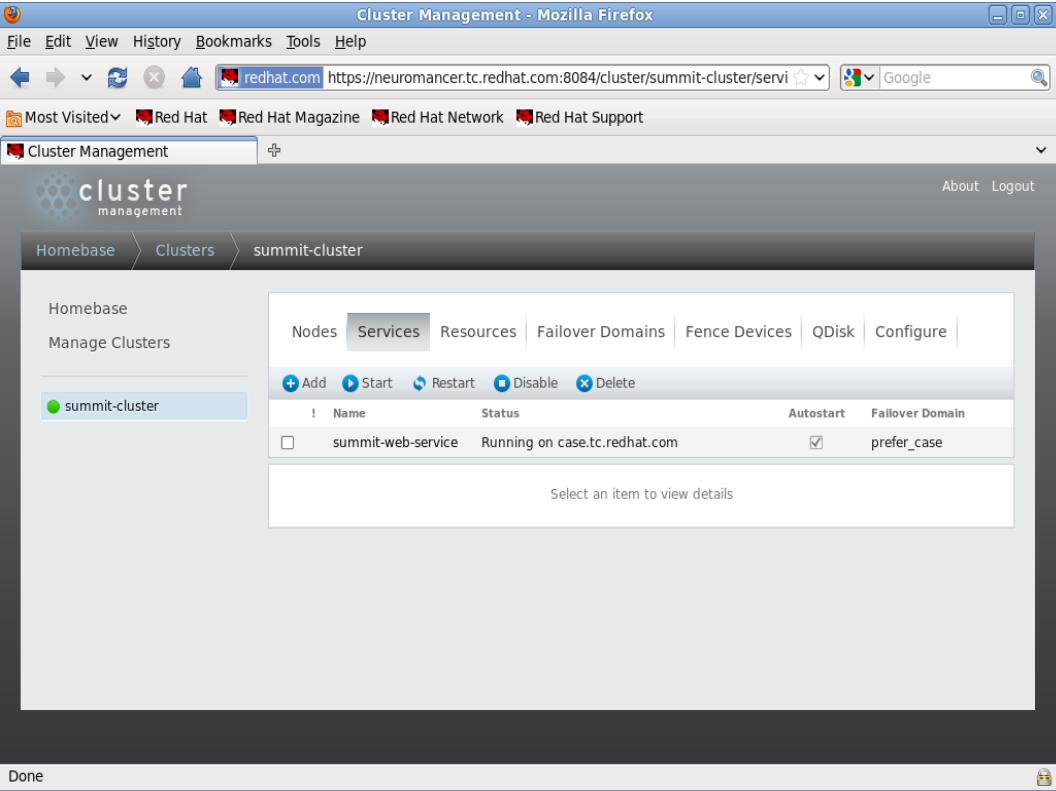
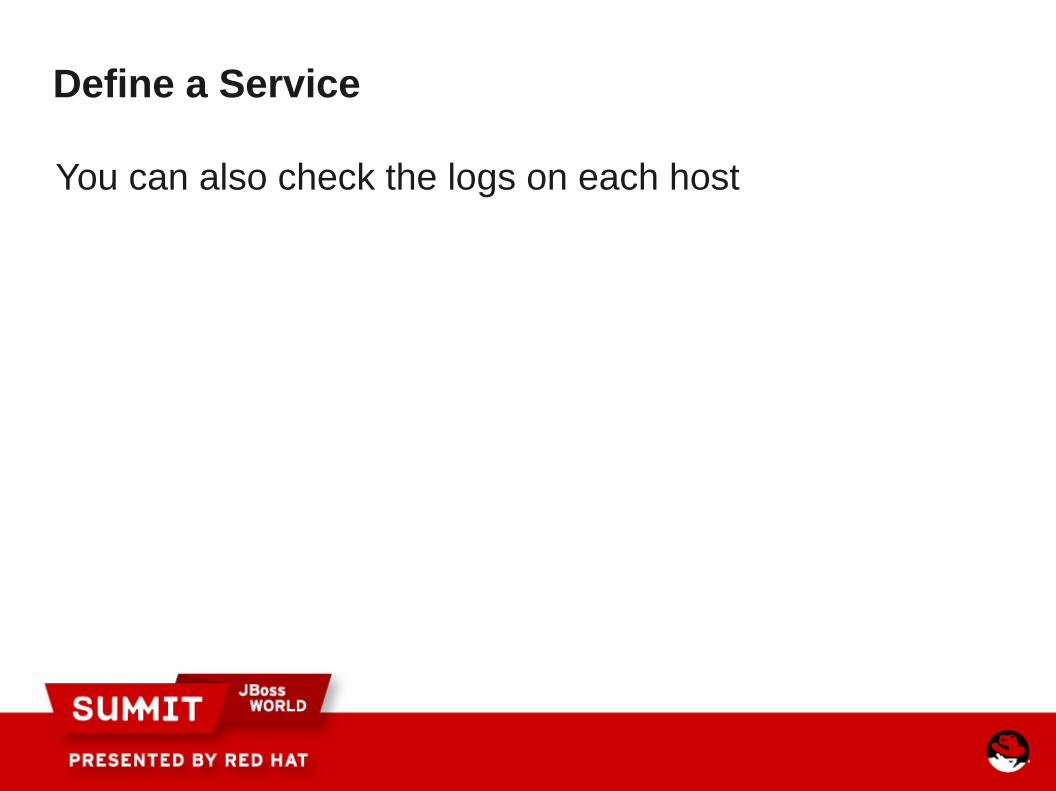
Define a Service
You can also check the logs on each host
Manage the services
You can migrate services from one host to another via the Conga web UI or from the command line
Manage the services
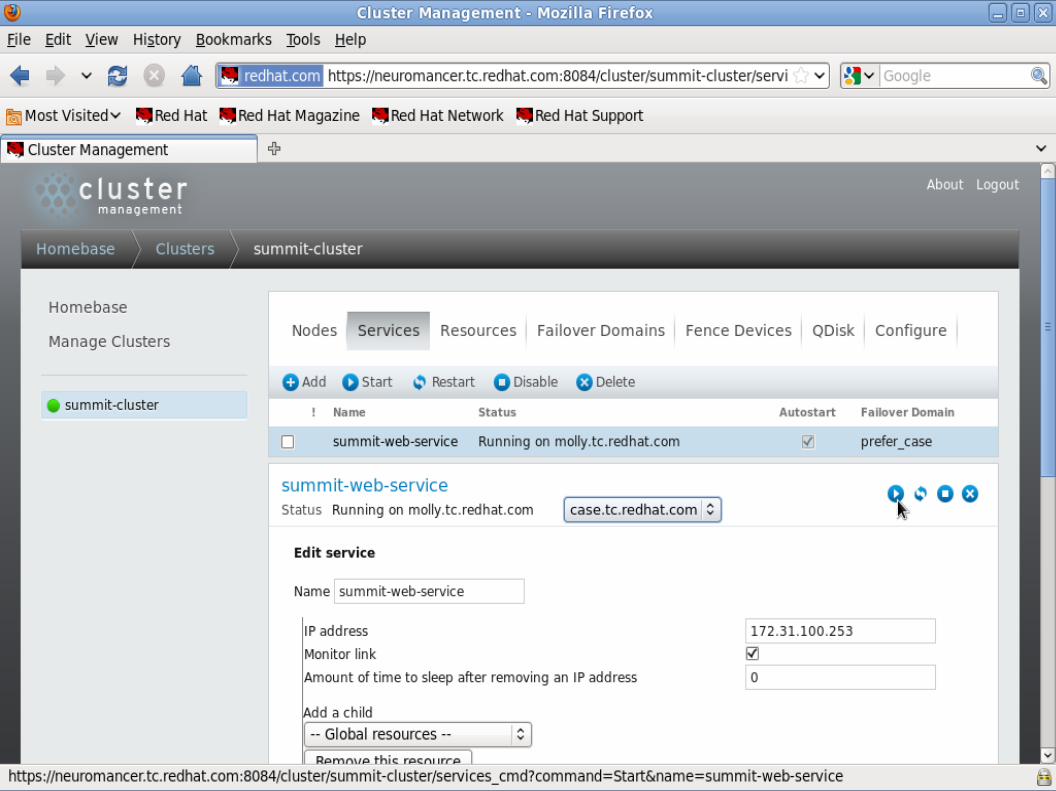
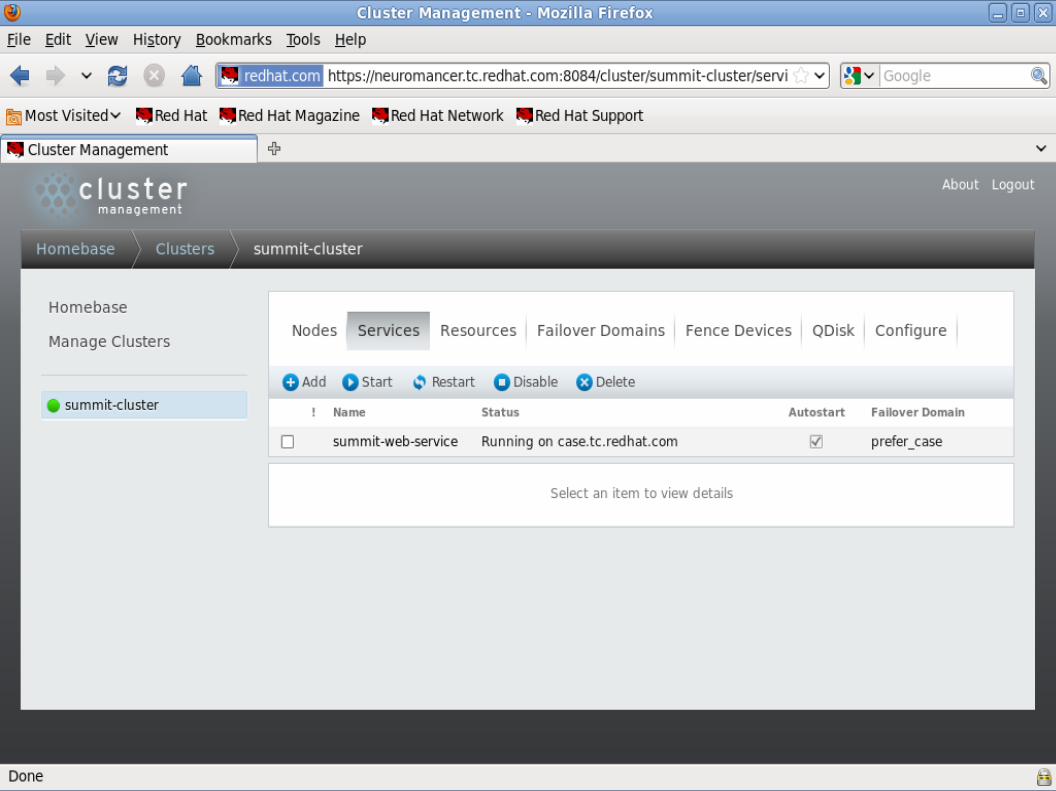
In the Conga web UI, click on the service, click the dropdown and choose which host to start the service on:
Manage the services
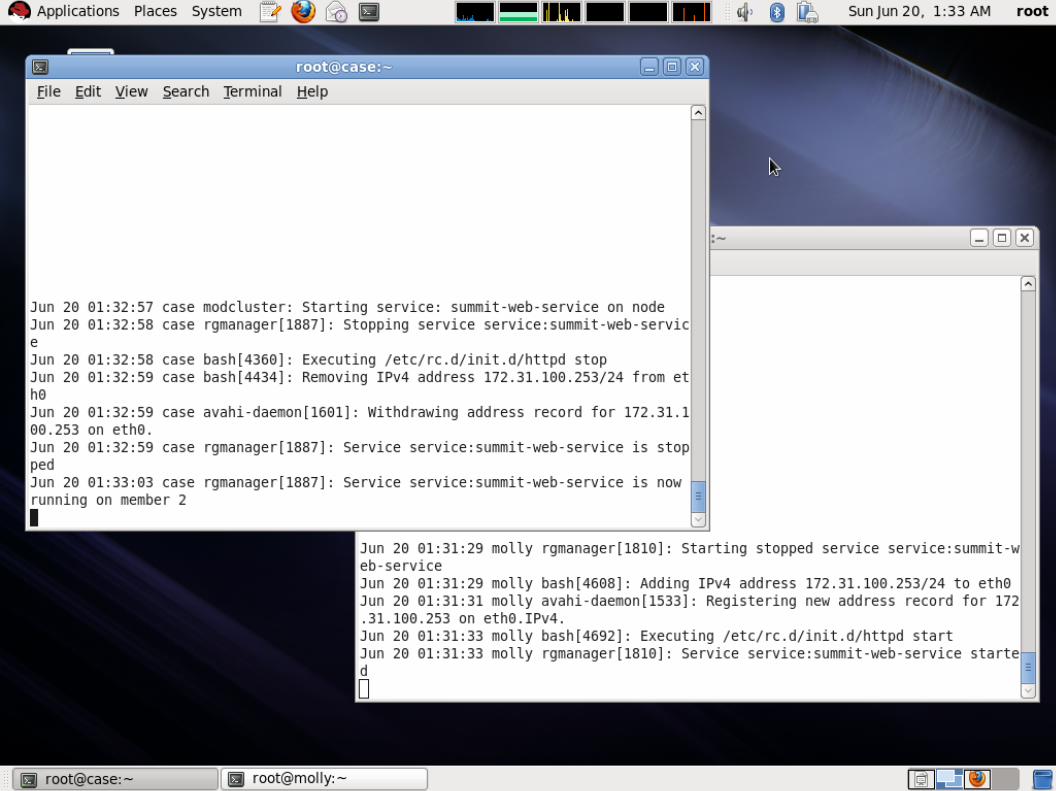
You can also look in the log files of each host to check the progress of the migration:
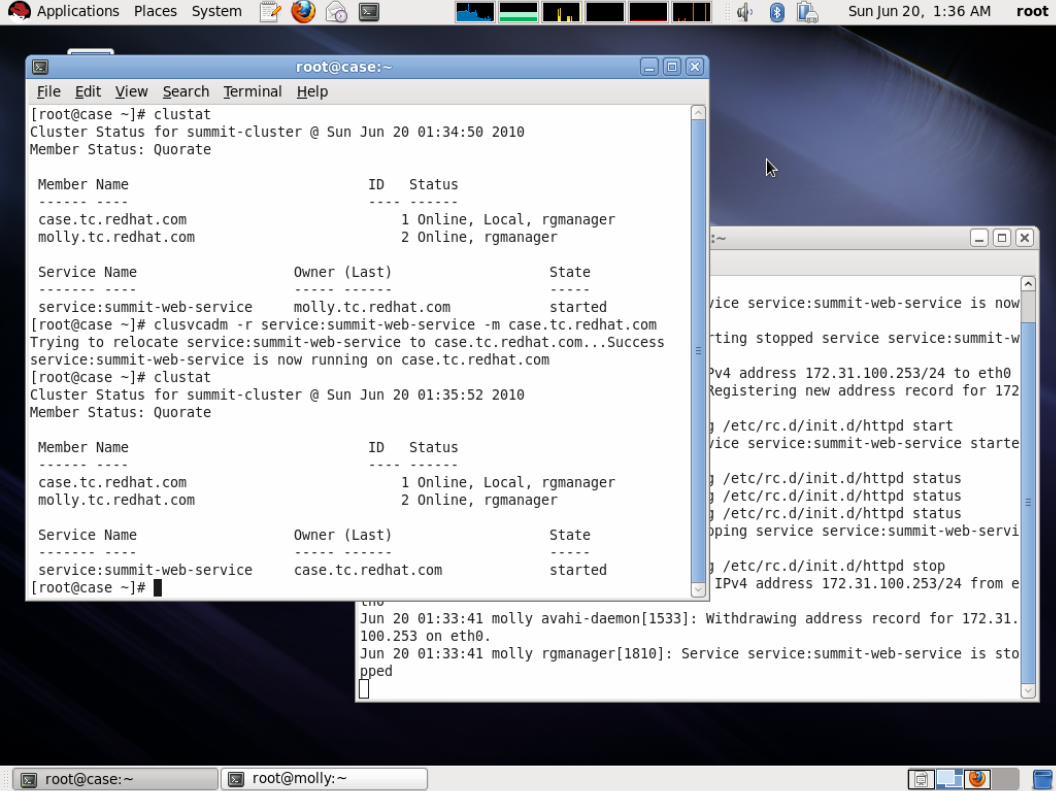
Manage the services
You can also migrate the service from the command line:
● clustat
● clusvcadm
More Information
Red Hat Online Documentation:
● http://www.redhat.com/docs/
Red Hat Enterprise Clustering and Storage Management:
● http://bit.ly/9KEDhZ
Red Hat's Cluster Wiki:
● http://sources.redhat.com/cluster/wiki/
Red Hat Mailing Lists, e.g.
● https://listman.redhat.com/mailman/listinfo/linux-cluster
Thank You!
If you liked today's presentation, please let us know!
You can follow up with us:
Thomas - [email protected], choirboy on #rhel on Freenode, thomasdcameron on Twitter
Lon - [email protected]