Embed Size (px)
Citation preview

TYL-PRO LIGHT WEIGHT Cornice & Moulding & Filler Adhesive DESCRIPTION & PURPOSE TYL-PRO LIGHT WEIGHT Cornice & Moulding & Filler Adhesive is a multi purpose adhesive and sealant adhesive with excellent adhesion to most construction substrates/ surfaces. The product is suited for use in interior and exterior conditions, wall and floor applications. Can be used for the fixing of polystyrene, polyurethane cornices, polystyrene ceiling tiles and other decorative products. It can we used on concrete, brick, gypsum, plaster, chipboards and wooden surfaces. CAUTIONS & RECOMMENDATIONS This product is not recommended for use in permanently wet conditions and cannot be submerged in water i.e. swimming pools. CURING/ SETTING PERIODS (SABS Code of practice for the Design and Installation of Ceramic Tiles Code 0107 – 1996)
• New concrete floors - 6 weeks curing time prior to tiling can commence. • New concrete floors - 4 weeks curing time before screeding and • Screeds - Additional 4 weeks before tiling can commence. • New brick walls - 6 weeks curing time before direct bedding. • New brick walls - 4 weeks curing time before plastering and • Plaster - Additional 2 weeks before tiling can commence. • RECOMMENDATION - Wood floated surfaces are ideal for tiling. For power floated/ steel trowelled surfaces and tiling onto existing tiles follow step 5 below under the paragraph surface preparation/ conditions. SURFACE PREPARATION/ CONDITIONS 1. Application surfaces must be solid/firm and free of dust,
mould oil, grease, sealers, wax polish, bitumen, paint, gypsum and organic growth. Organic growth must be removed and the spores killed with an effective fungicide such as a household bleaching solution.
2. Painted and Gypsum-plastered surfaces need to be chipped to minimum 80% to remove the paint or Gypsum.
3. Enamel-painted and bitumen surfaces: Strip all of the coating by scraping and then chip to expose minimum 80% of the application substrate. DO NOT USE A SOLVENT BASED PRODUCT OR HEAT (HEATING TORCH) TO REMOVE BITUMEN FROM THE SUBSTRATE.
Continued… 4. Existing ceramic tiles surfaces: Clean thoroughly with undiluted TYL-PRO Tile Cleaner. Leave on the application surface for minimum 5 minutes to re-act. Rinse thoroughly with cold clean water to neutralize the acid. Allow to dry completely before tiling commences. 5. Smooth, off-form/shutter or power-floated cement surfaces: Acid wash to remove laitance, rinse well with cold clean water to neutralize the acid. NOTE: Allow to dry completely before tiling commences.
NOTE: Once the surface preparation has been completed on the above problem surfaces, the area must be primed with TYL-PRO Surface Key Compound mixed with TYL-PRO Keying agent. (Two parts of TYL-PRO Surface Key Compound to be mixed with one part of TYL-PRO Keying Agent and applied with a builder block brush to a thickness of ± 2mm and allowed to dry for 24 hours.) MIXING INSTRUCTIONS
1. Mix 15kg of TYL-PRO LIGHT WEIGHT Porcelain Profix 24 Tile Adhesive to ± 5.o to 5.2 litres of cold clean water. In wet, permanently wet tiling conditions or suspended slabs completely replace the water in the mix with TYL-PRO Bonding Agent. 2. Mix to a creamy smooth paste. Mechanical mixing will result in a lump free, easier to use mix. 3. Allow mix to activate for 5 minutes. 4. Remix product before use. DO NOT ADD MORE WATER. 5. Do not mix more adhesive than can be used within ± 1 hour. APPLICATION PROCEDURE 1. Spread enough adhesive with a notched Wall or Floor trowel to a minimum bedded thickness of: • 3 mm for wall tiling and 6 mm for floor tiling. • Heavily lugged, grooved or dovetailed tiles must be buttered to fill any voids with adhesive before placing into wet adhesive. 2. Press tiles firmly into wet adhesive with a twisting action. Use a rubber mallet to bed large or heavy tiles. 3. Occasionally lift a tile to check that full contact is being made between the tile and the wet adhesive. • Remove excess adhesive from joints and tiled surface before drying has occurred. Minimum grouting joints for walls is 2 mm and for floors 3 mm or as recommended by the tile manufacturer. • Do not butt joint tiles. 4. Tiles must be allowed to dry for maximum 24 hours before grouting takes place. (For sealed or non-porous surfaces allow minimum 24 hours) • GROUTING: Ensure that the joints are free from tile adhesive and any other foreign matter. • Use TYL-PRO General Purpose Tile Grout. (For sealed or non-porous surfaces allow 48 hours.)
TECHNICAL SPECIFICATIONS
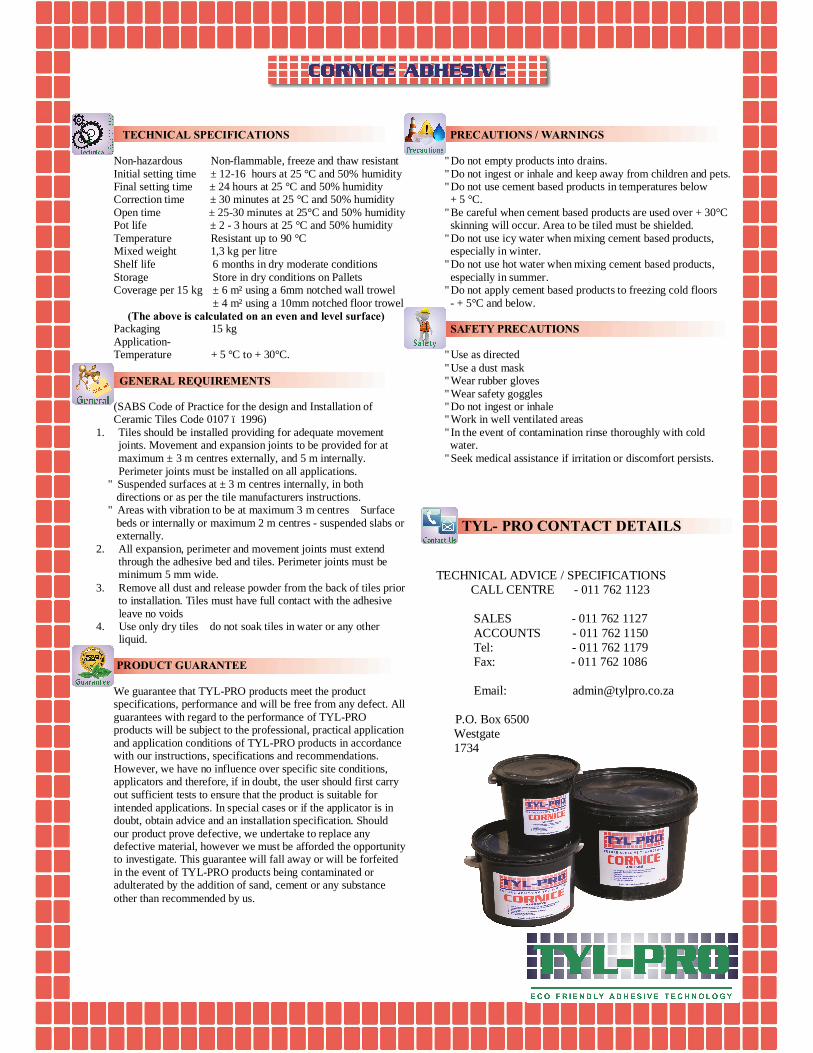
Non-hazardous Non-flammable, freeze and thaw resistant Initial setting time ± 12-16 hours at 25 °C and 50% humidity Final setting time ± 24 hours at 25 °C and 50% humidity Correction time ± 30 minutes at 25 °C and 50% humidity Open time ± 25-30 minutes at 25°C and 50% humidity Pot life ± 2 - 3 hours at 25 °C and 50% humidity Temperature Resistant up to 90 °C Mixed weight 1,3 kg per litre Shelf life 6 months in dry moderate conditions Storage Store in dry conditions on Pallets Coverage per 15 kg ± 6 m² using a 6mm notched wall trowel ± 4 m² using a 10mm notched floor trowel (The above is calculated on an even and level surface) Packaging 15 kg Application- Temperature + 5 °C to + 30°C. GENERAL REQUIREMENTS (SABS Code of Practice for the design and Installation of Ceramic Tiles Code 0107 – 1996)
1. Tiles should be installed providing for adequate movement joints. Movement and expansion joints to be provided for at maximum ± 3 m centres externally, and 5 m internally. Perimeter joints must be installed on all applications.
• Suspended surfaces at ± 3 m centres internally, in both directions or as per the tile manufacturers instructions. • Areas with vibration to be at maximum 3 m centres – Surface beds or internally or maximum 2 m centres - suspended slabs or externally.
2. All expansion, perimeter and movement joints must extend through the adhesive bed and tiles. Perimeter joints must be minimum 5 mm wide.
3. Remove all dust and release powder from the back of tiles prior to installation. Tiles must have full contact with the adhesive – leave no voids 4. Use only dry tiles – do not soak tiles in water or any other liquid.
PRODUCT GUARANTEE We guarantee that TYL-PRO products meet the product specifications, performance and will be free from any defect. All guarantees with regard to the performance of TYL-PRO products will be subject to the professional, practical application and application conditions of TYL-PRO products in accordance with our instructions, specifications and recommendations. However, we have no influence over specific site conditions, applicators and therefore, if in doubt, the user should first carry out sufficient tests to ensure that the product is suitable for intended applications. In special cases or if the applicator is in doubt, obtain advice and an installation specification. Should our product prove defective, we undertake to replace any defective material, however we must be afforded the opportunity to investigate. This guarantee will fall away or will be forfeited in the event of TYL-PRO products being contaminated or adulterated by the addition of sand, cement or any substance other than recommended by us.
PRECAUTIONS / WARNINGS • Do not empty products into drains. • Do not ingest or inhale and keep away from children and pets. • Do not use cement based products in temperatures below + 5 °C. • Be careful when cement based products are used over + 30°C skinning will occur. Area to be tiled must be shielded. • Do not use icy water when mixing cement based products, especially in winter. • Do not use hot water when mixing cement based products, especially in summer. • Do not apply cement based products to freezing cold floors - + 5°C and below. SAFETY PRECAUTIONS • Use as directed • Use a dust mask • Wear rubber gloves • Wear safety goggles • Do not ingest or inhale • Work in well ventilated areas • In the event of contamination rinse thoroughly with cold water. • Seek medical assistance if irritation or discomfort persists.
TYL- PRO CONTACT DETAILS
TECHNICAL ADVICE / SPECIFICATIONS CALL CENTRE - 011 762 1123 SALES - 011 762 1127 ACCOUNTS - 011 762 1150 Tel: - 011 762 1179 Fax: - 011 762 1086 Email: [email protected] P.O. Box 6500
Westgate 1734