Embed Size (px)
Citation preview
CSS/Photoshop Layouts - Quiz #5Lecture Code: 500316http://decal.aw-industries.com
Web Design:Basic to Advanced Techniques
Web Design:Basic to Advanced Techniques
Today’s AgendaQuiz & Attendance
Announcements
CSS / Photoshop Layouts – Part 3
Finish Quiz & Attendance
Lab
AnnouncementsZappos.com Recruiting
Chatroom Thread Positions in Email
Midterms Email me if you’ll be missing class
Mini Project #3 - Photoshop 2 parts Multiple deadlines Second part is long!
Final ProjectWeb Design:Basic to Advanced Techniques
Web Design:Basic to Advanced Techniques
Spring 2010Tuesdays 7-8pm
200 Sutardja-Dai Hall
CSS/Photoshop Layouts – Part 3
Web Design:Basic to Advanced Techniques
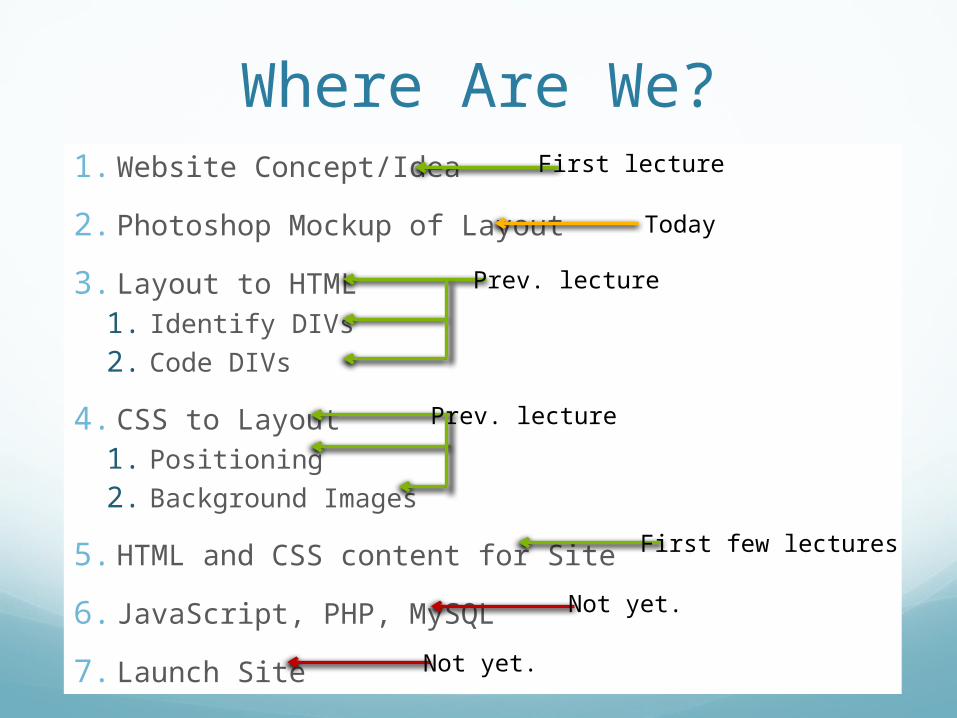
Where Are We?1. Website Concept/Idea
2. Photoshop Mockup of Layout
3. Layout to HTML1. Identify DIVs
2. Code DIVs
4. CSS to Layout1. Positioning
2. Background Images
5. HTML and CSS content for Site
6. JavaScript, PHP, MySQL
7. Launch Site
First lecture
Today
Prev. lecture
Prev. lecture
First few lectures
Not yet.
Not yet.
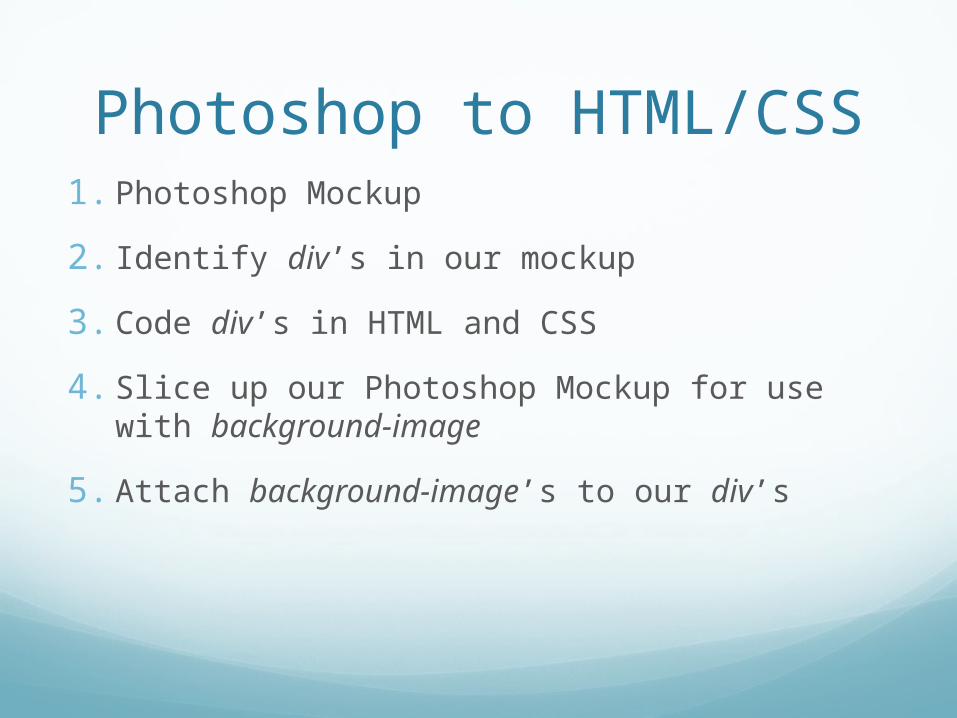
Photoshop to HTML/CSS1. Photoshop Mockup
2. Identify div’s in our mockup
3. Code div’s in HTML and CSS
4. Slice up our Photoshop Mockup for use with background-image
5. Attach background-image’s to our div’s
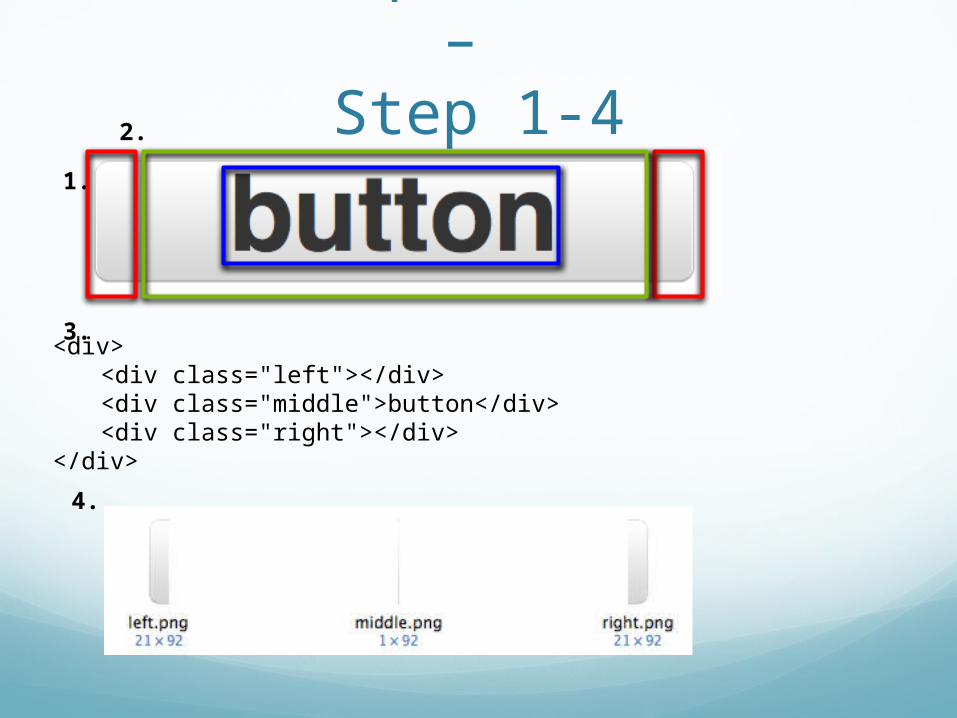
Photoshop to HTML/CSS – Step 1-4
1.
2.
<div><div class="left"></div><div class="middle">button</div><div class="right"></div>
</div>
3.
4.
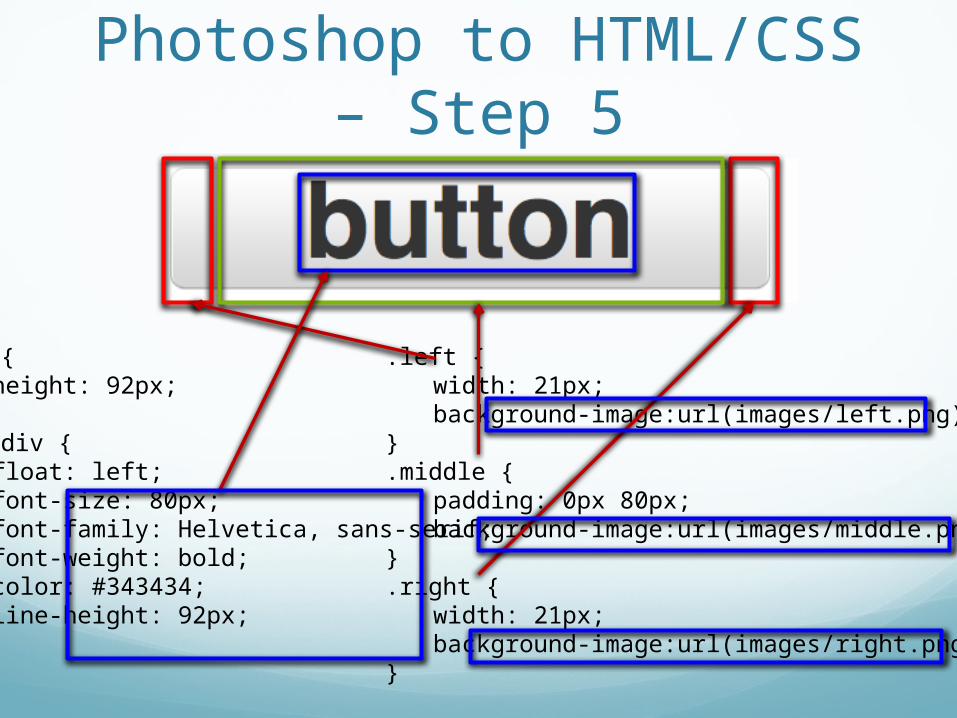
Photoshop to HTML/CSS – Step 5
.left {width: 21px;background-image:url(images/left.png);
}.middle {
padding: 0px 80px;background-image:url(images/middle.png);
}.right {
width: 21px;background-image:url(images/right.png);
}
div {height: 92px;
}div div {
float: left;font-size: 80px;font-family: Helvetica, sans-serif;font-weight: bold;color: #343434;line-height: 92px;
}
Photoshop for this CourseHow to use it from a web context
Overview of a few key featuresSome tips and hints
For more informationSearch the web for tutorials
http://www.tutorial9.net/Play around on your own!
Photoshop OverviewWorkspace
Modifying Existing Images
Photoshop Panels that Aid Workflow
Creating Content
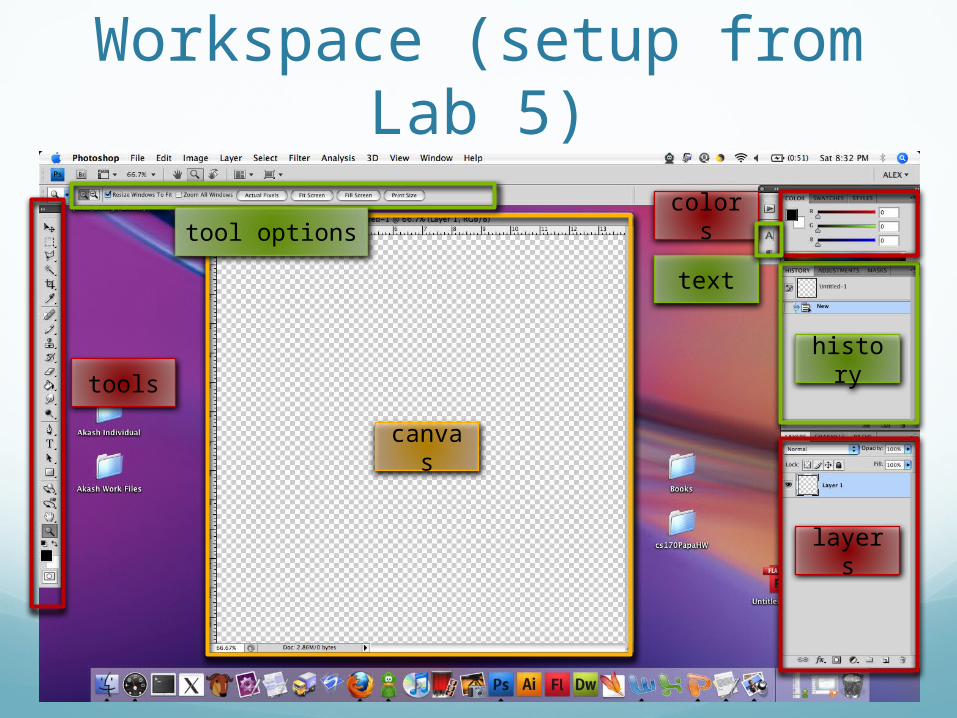
Workspace (setup from Lab 5)
tools
layers
canvas
history
colors
text
tool options
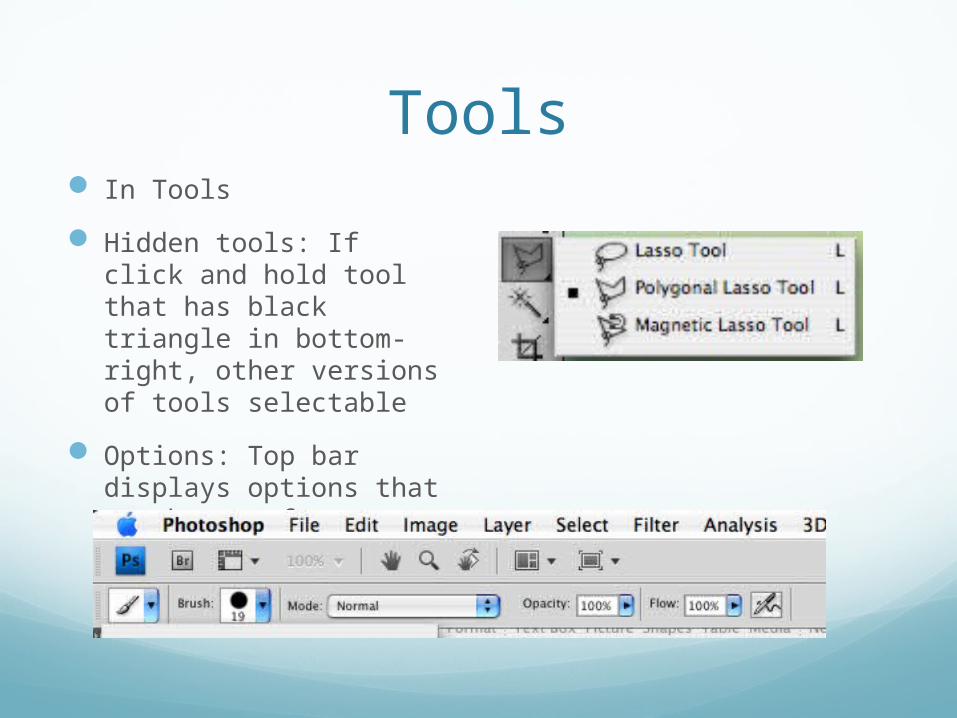
Tools In Tools
Hidden tools: If click and hold tool that has black triangle in bottom-right, other versions of tools selectable
Options: Top bar displays options that can be set for a given tool
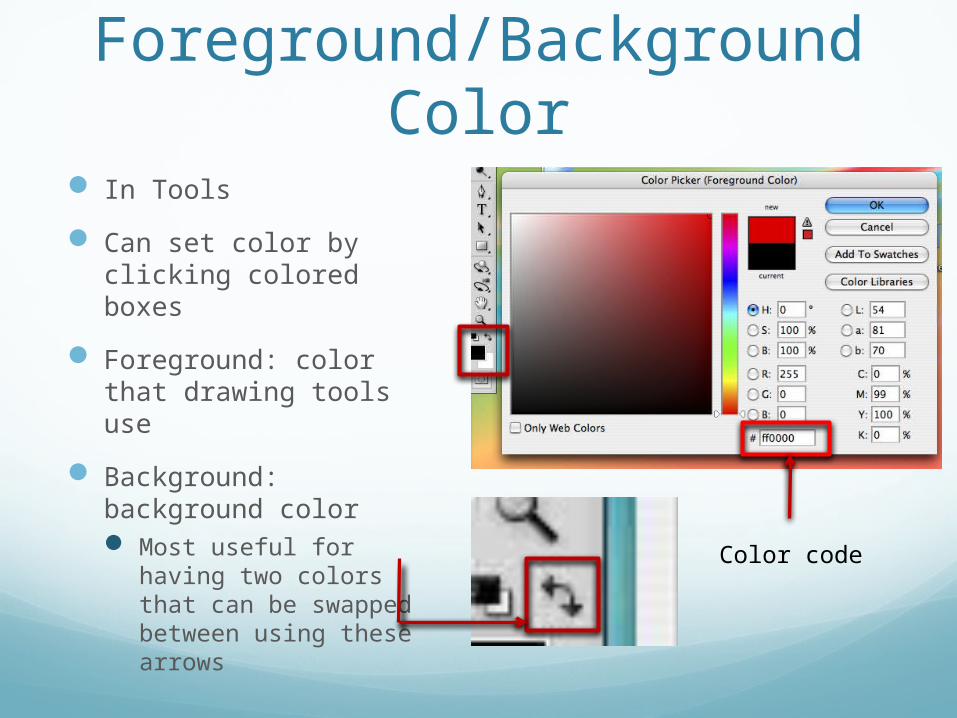
Foreground/Background Color In Tools
Can set color by clicking colored boxes
Foreground: color that drawing tools use
Background: background color Most useful for having two
colors that can be swapped between using these arrows
Color code
Modifying Existing ImagesImage Resizing
Image Cropping
Hue/Saturation
Levels
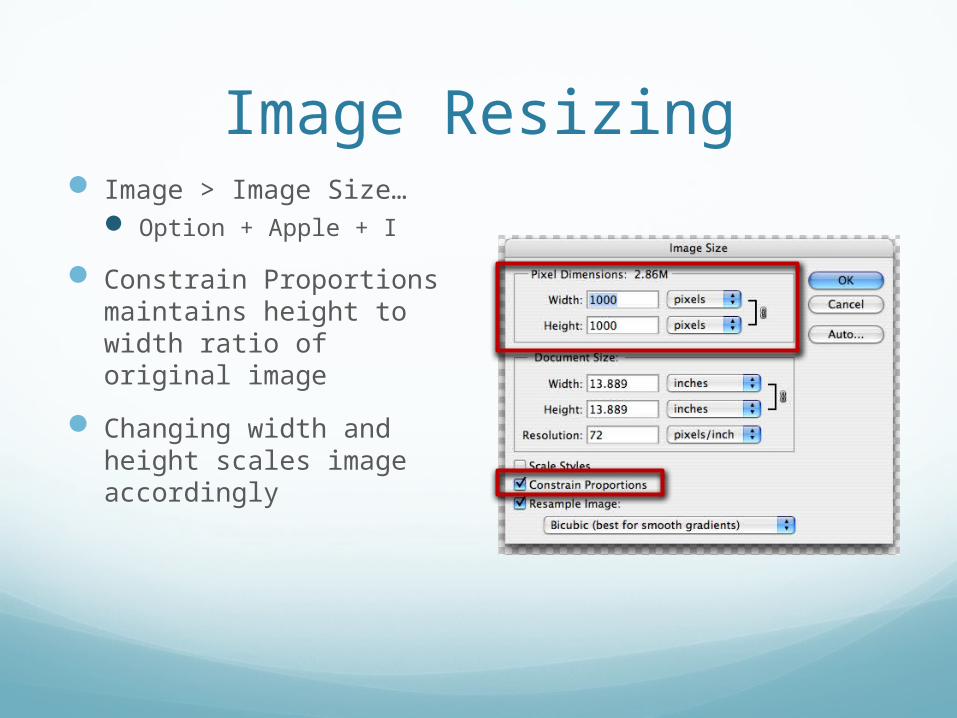
Image Resizing Image > Image Size…
Option + Apple + I
Constrain Proportions maintains height to width ratio of original image
Changing width and height scales image accordingly
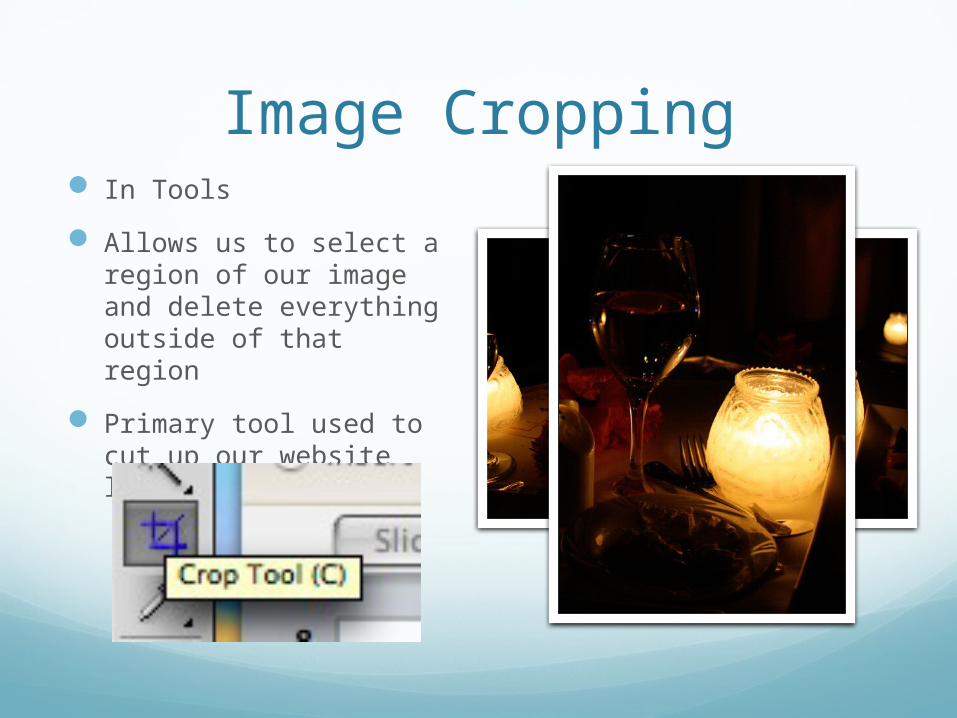
Image Cropping In Tools
Allows us to select a region of our image and delete everything outside of that region
Primary tool used to cut up our website layouts
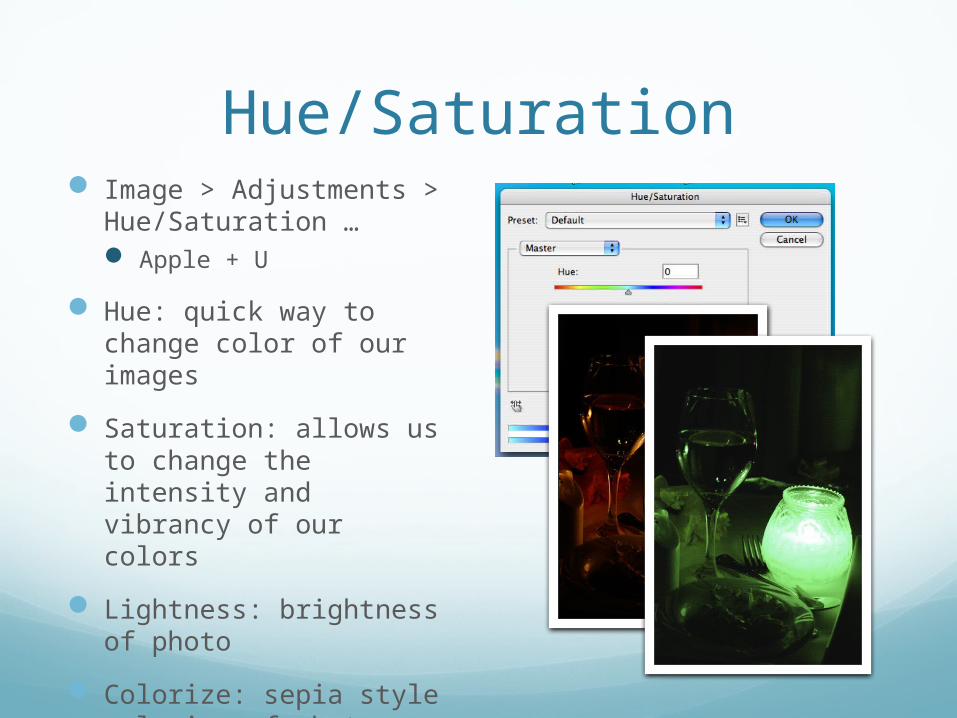
Hue/Saturation Image > Adjustments >
Hue/Saturation … Apple + U
Hue: quick way to change color of our images
Saturation: allows us to change the intensity and vibrancy of our colors
Lightness: brightness of photo
Colorize: sepia style coloring of photo
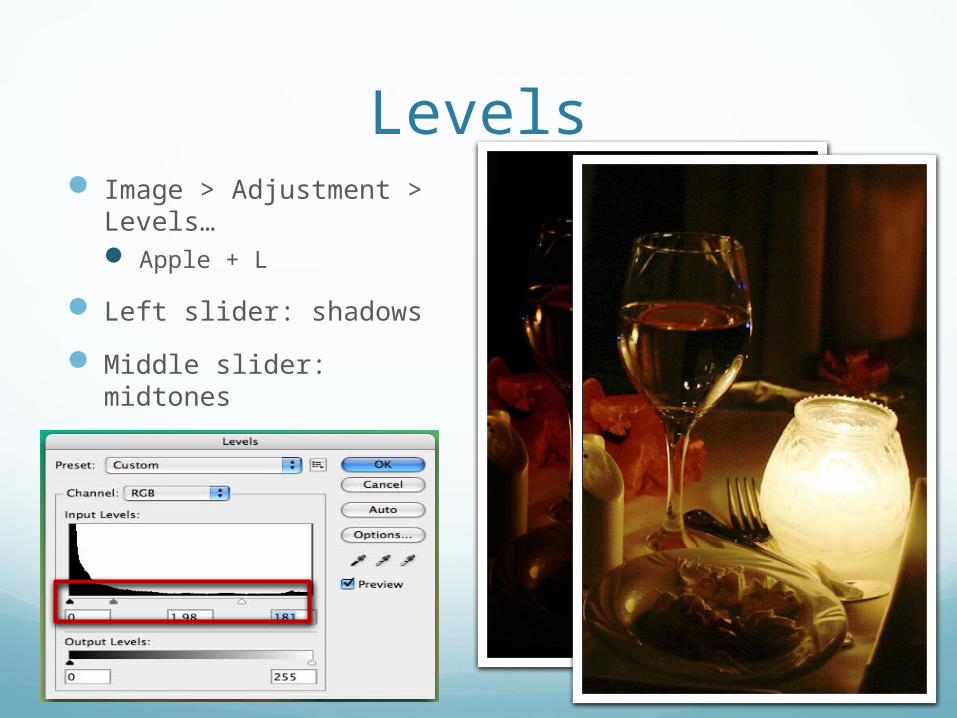
Levels Image > Adjustment >
Levels… Apple + L
Left slider: shadows
Middle slider: midtones
Right slider: highlights
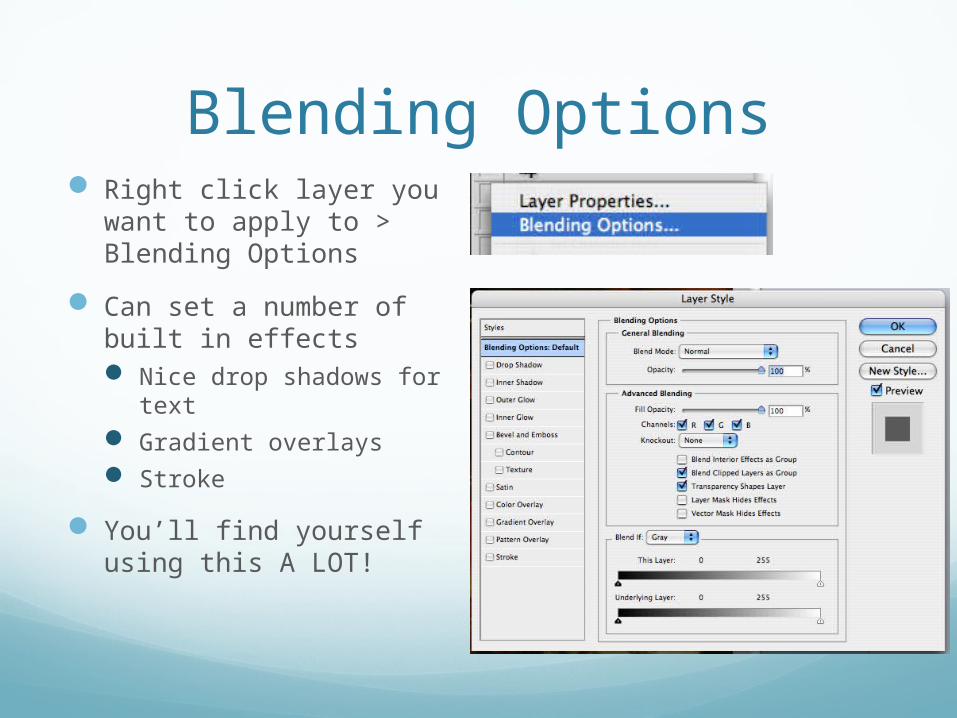
Blending Options Right click layer you want to
apply to > Blending Options
Can set a number of built in effects Nice drop shadows for text Gradient overlays Stroke
You’ll find yourself using this A LOT!
WorkflowHistory
Layers
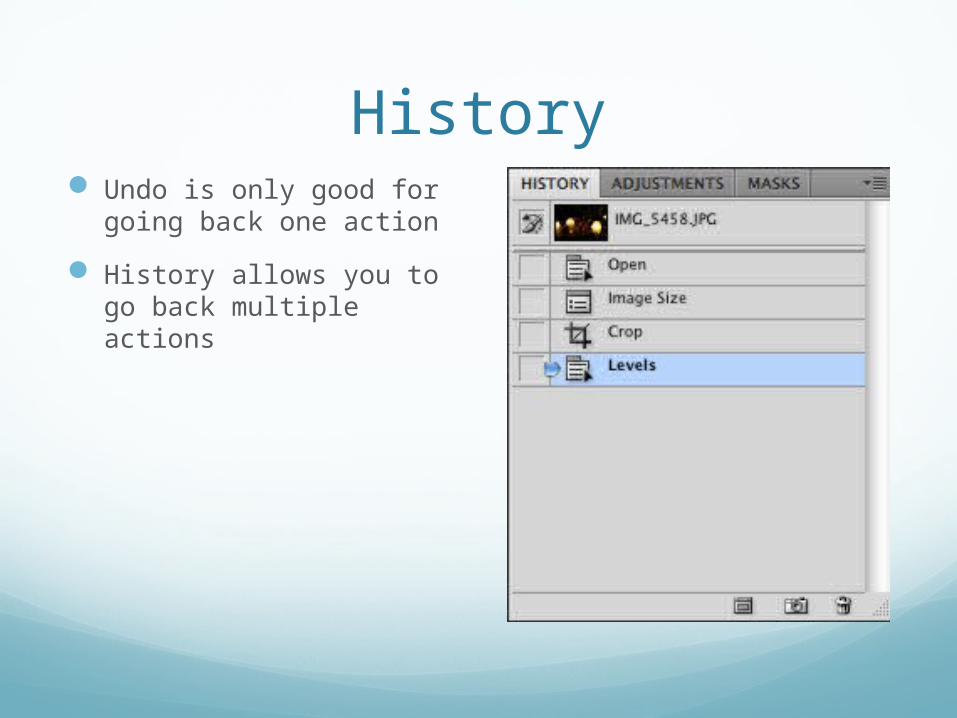
History Undo is only good for going
back one action
History allows you to go back multiple actions
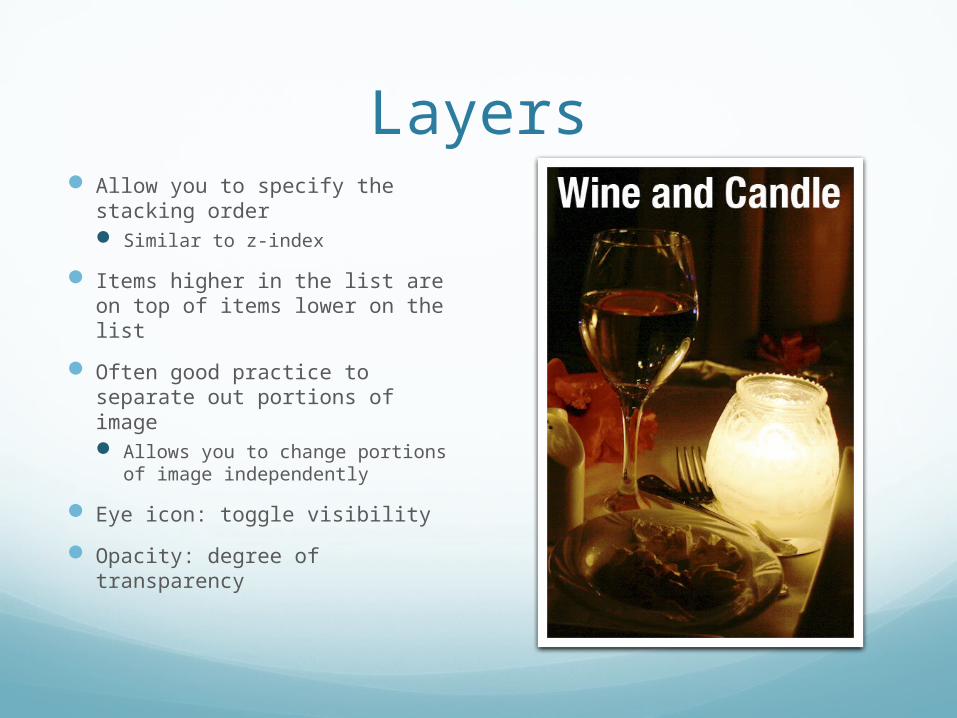
Layers Allow you to specify the
stacking order Similar to z-index
Items higher in the list are on top of items lower on the list
Often good practice to separate out portions of image Allows you to change portions
of image independently
Eye icon: toggle visibility
Opacity: degree of transparency
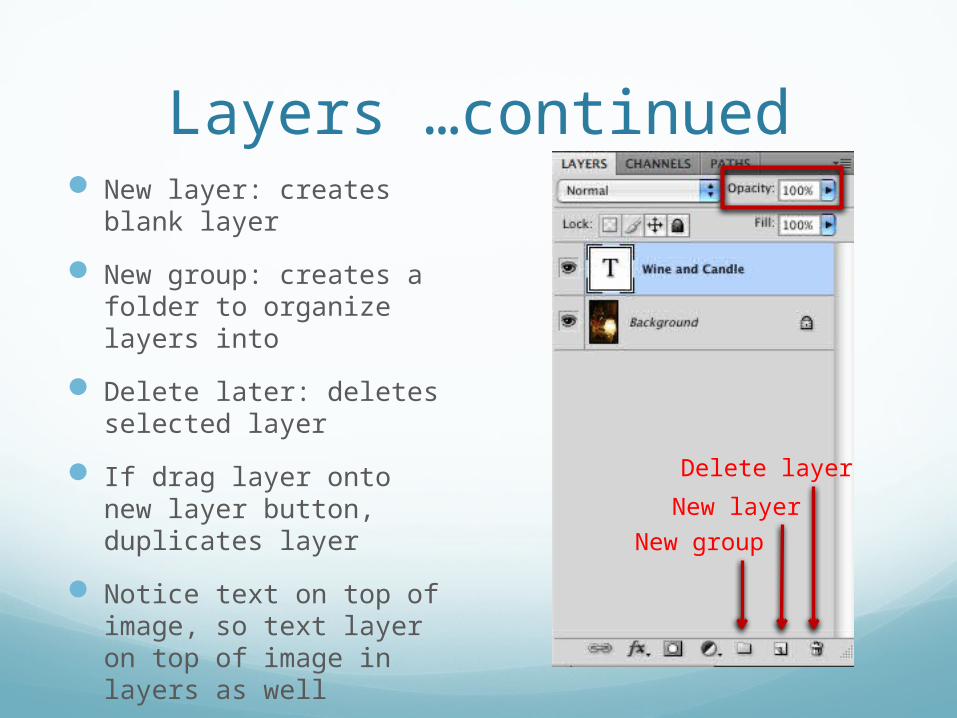
Layers …continued New layer: creates blank layer
New group: creates a folder to organize layers into
Delete later: deletes selected layer
If drag layer onto new layer button, duplicates layer
Notice text on top of image, so text layer on top of image in layers as well
New layer
Delete layer
New group
Creating ContentSelection Tool
Set Foreground and Background Color
Text and Formatting
Paint Brush
Paint Bucket
Drawing Basic Shapes
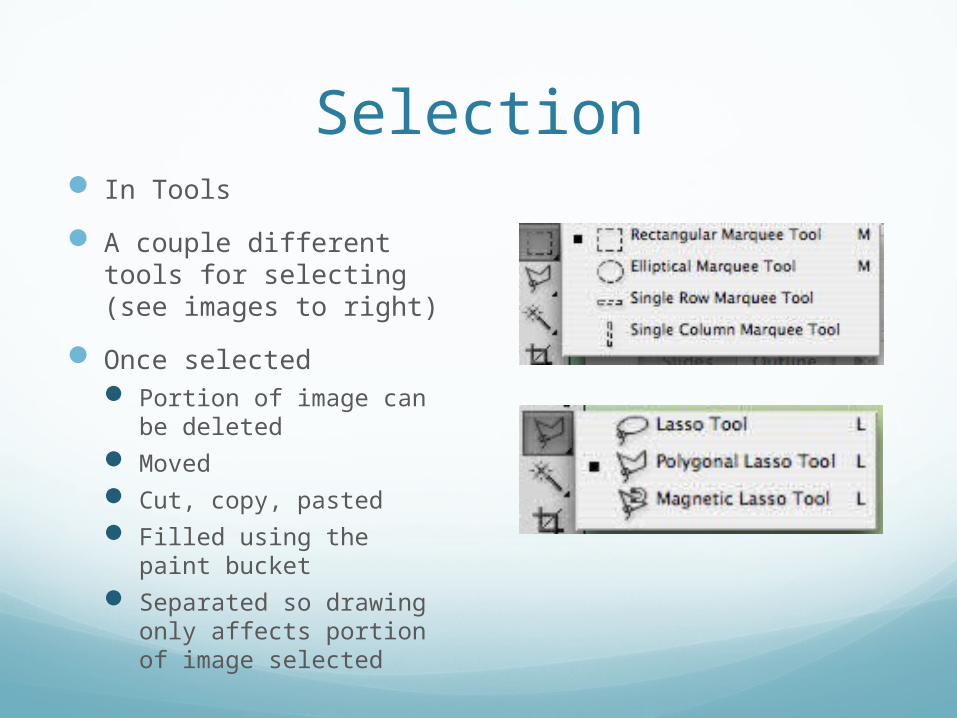
Selection In Tools
A couple different tools for selecting (see images to right)
Once selected Portion of image can be
deleted Moved Cut, copy, pasted Filled using the paint bucket Separated so drawing only
affects portion of image selected
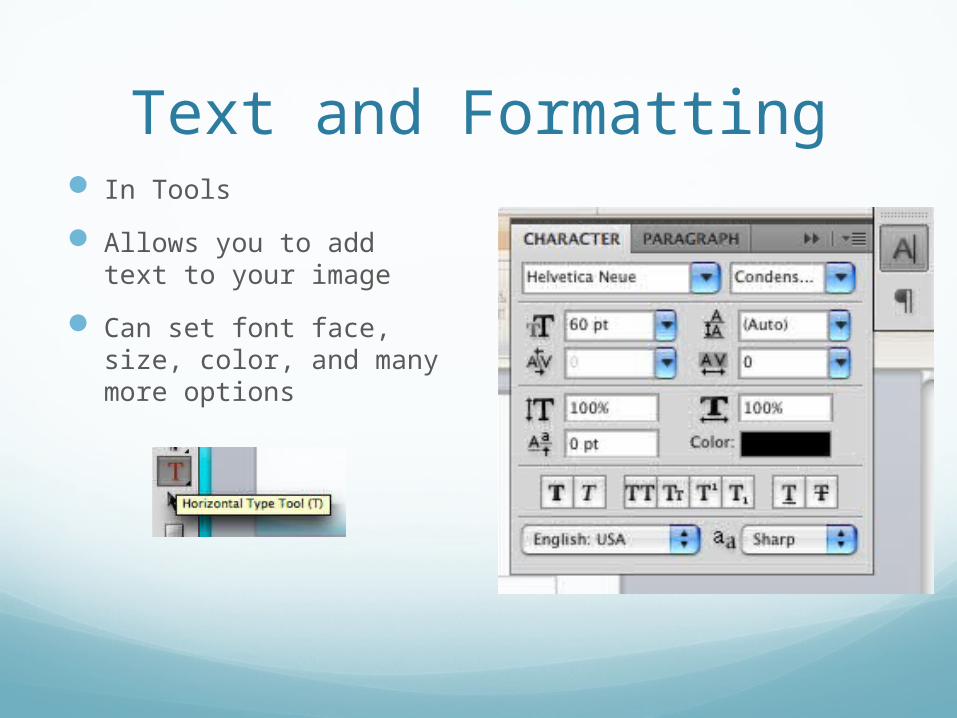
Text and Formatting In Tools
Allows you to add text to your image
Can set font face, size, color, and many more options
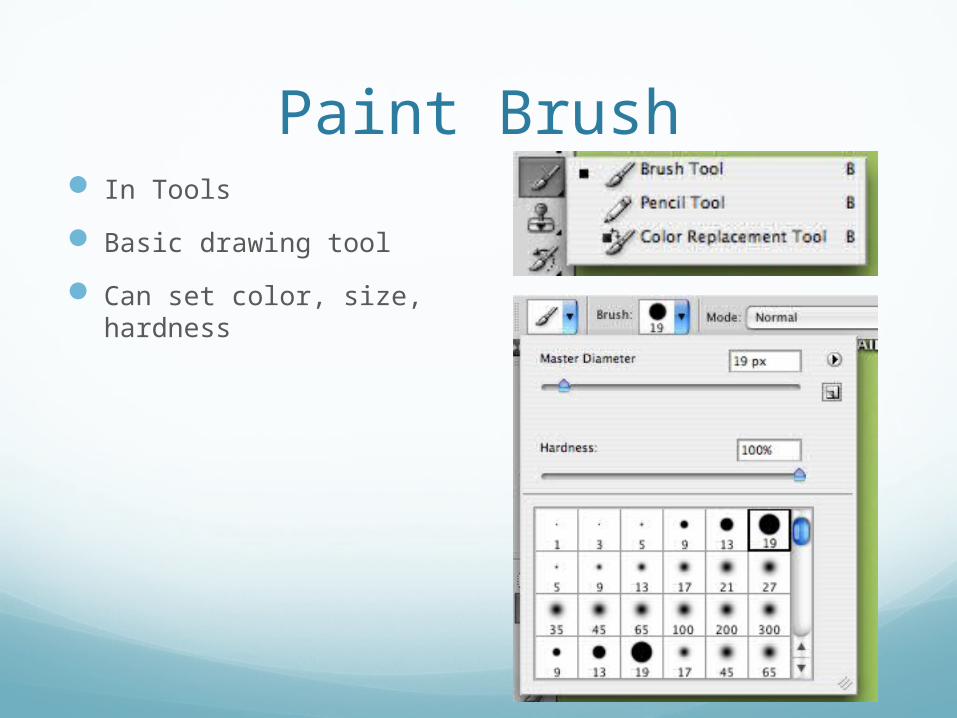
Paint Brush In Tools
Basic drawing tool
Can set color, size, hardness
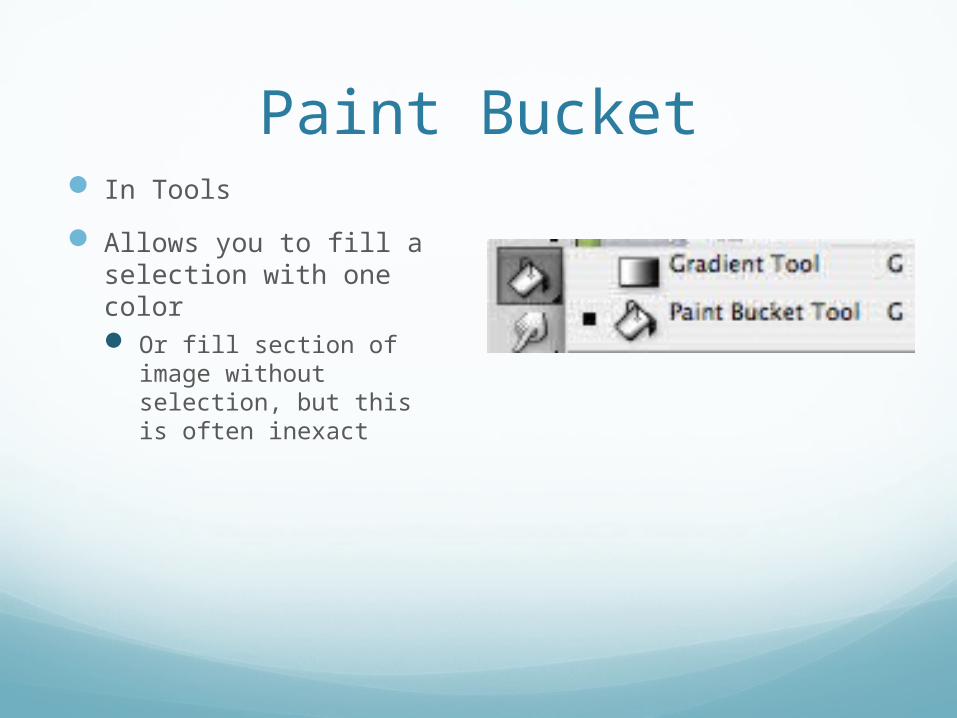
Paint Bucket In Tools
Allows you to fill a selection with one color Or fill section of image
without selection, but this is often inexact
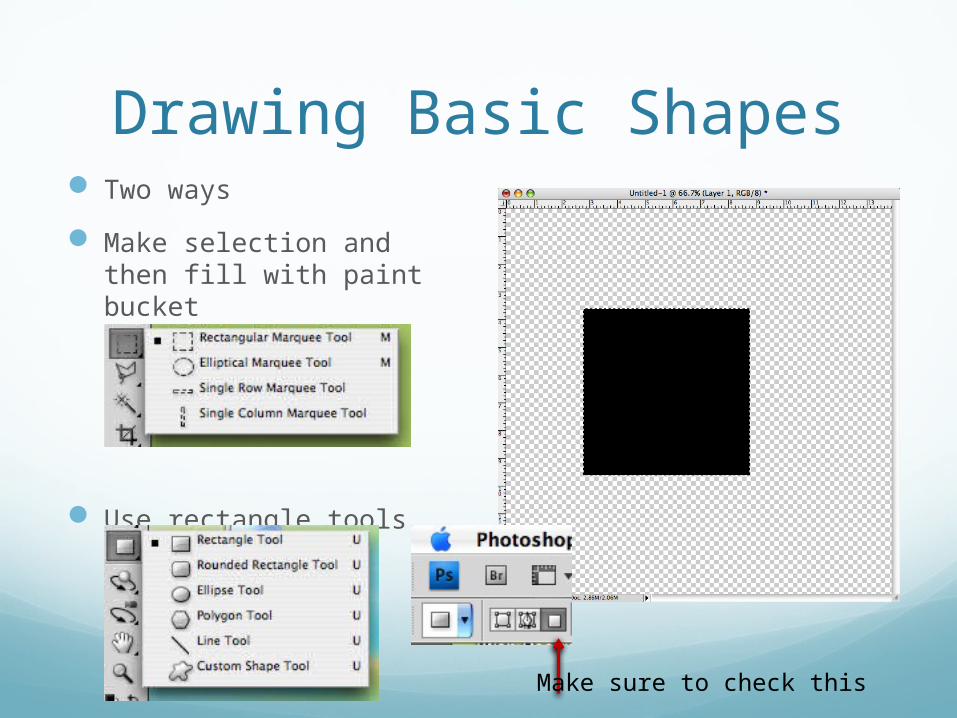
Drawing Basic Shapes Two ways
Make selection and then fill with paint bucket
Use rectangle tools
Make sure to check this
CSS/Photoshop Layouts - Quiz #5Lecture Code: 500316
Lab…http://decal.aw-industries.com
Web Design:Basic to Advanced Techniques