Embed Size (px)
Citation preview

Delegation of Rights to Helpdesk
Team in Active Directory
Hussain Shakir
LinkedIn: https://www.linkedin.com/in/mrhussain
Twitter: https://twitter.com/hshakir_ms
Blog: http://mstechguru.blogspot.com/

Table of Contents
Overview ....................................................................................................................................................... 3
Lab Summary ................................................................................................................................................ 3
Create a Security Group i.e. Helpdesk-Admins ............................................................................................ 3
Giving Delegation to the Group .................................................................................................................... 9
Overview
In general scenario’s where administrator needs to assign some delegated right to IT support
team for day to day task, but at the same time administrator worried about that support team
may not delete any Active Directory object accidently. In this guide, we will focus on that how
we can delegate rights to a group in which we have IT support team members.
Lab Summary Lab is performed in Microsoft Windows Server 2012 R2 virtual machine. The VM is running on
VMWare Workstation 12 with 2 GB of RAM and single CPU.
Create a Security Group i.e. Helpdesk-Admins Right click on "OU-2 (tree item)" in "Active Directory Users and Computers"
Left click on "New (menu item)"

Left click on "Group (menu item)"
Left click under "Group name”

Enter the Name of the Group And Click OK
Now add a user to the Group to which you want to give delegation by right clicking on
"HelpDesk- Admins (Group) and Select Properties
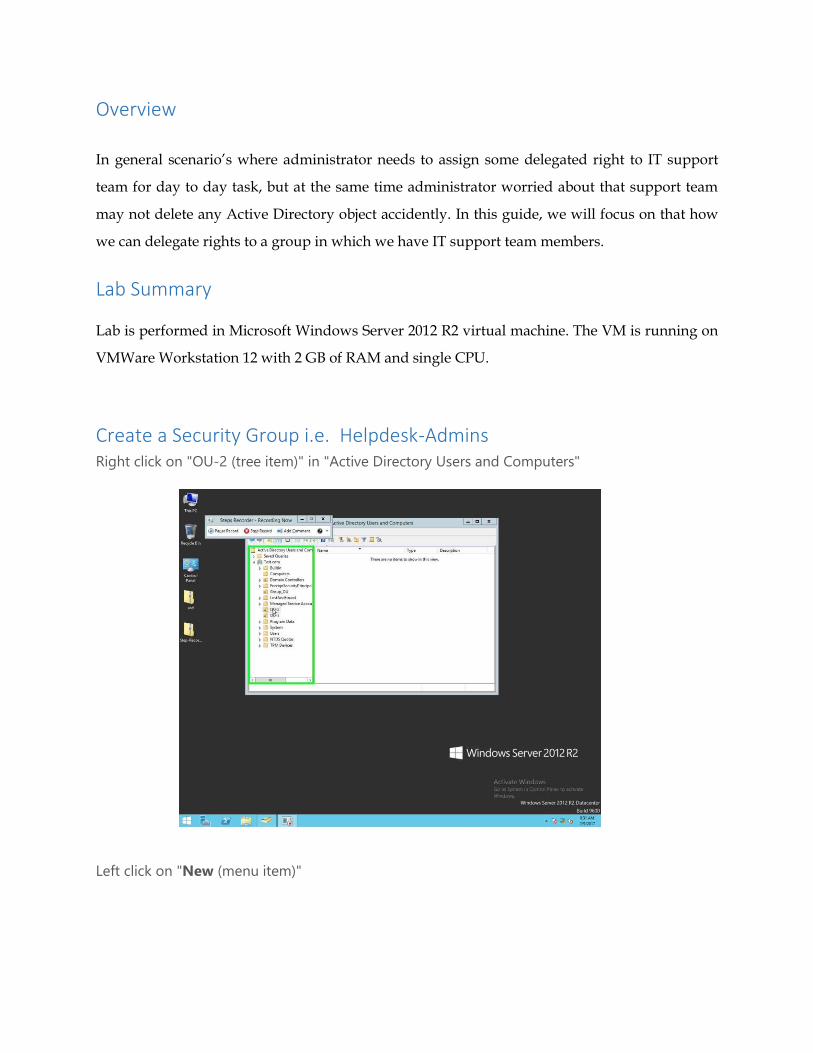
Left click on "Members (tab item)" in "HelpDesk-Admins Properties
Click Add button

Left click on "Enter the object names to select in "Select Users, Contacts, Computers, Service
Accounts, or Groups"
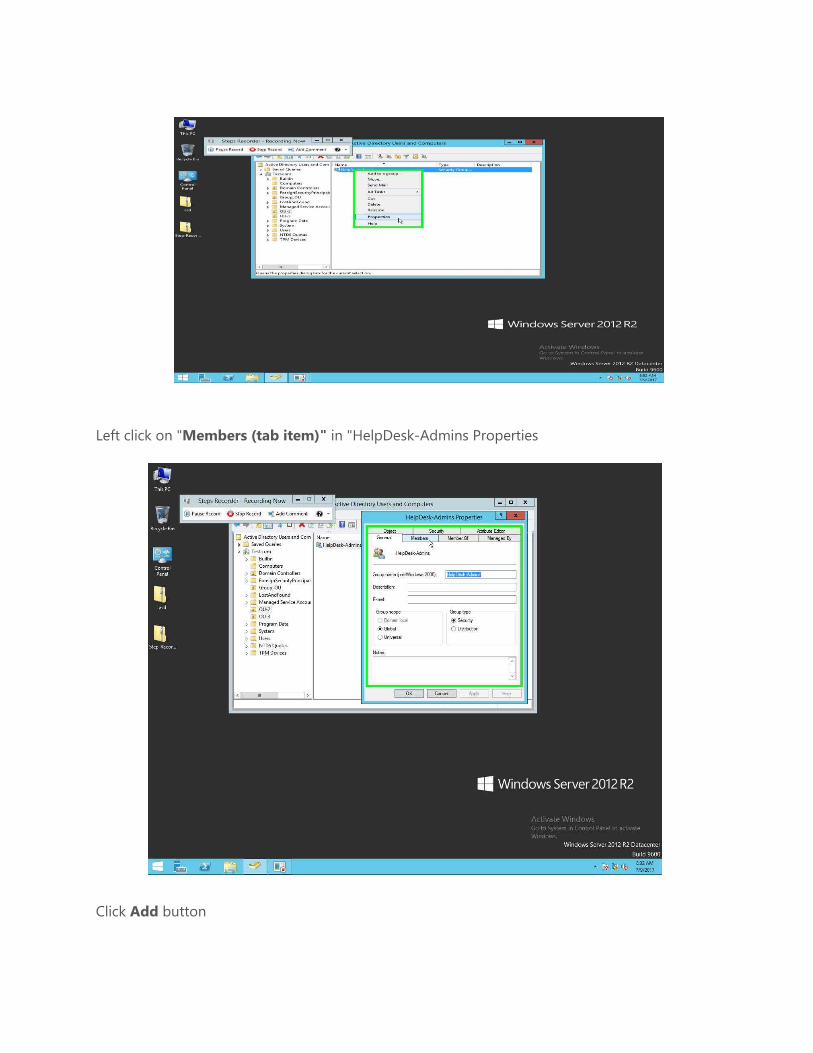
Enter the Name of the user (in our Case it is Tariq) and then left click on "Check Names
(button)" in "Select Users, Contacts, Computers, Service Accounts, or Groups"
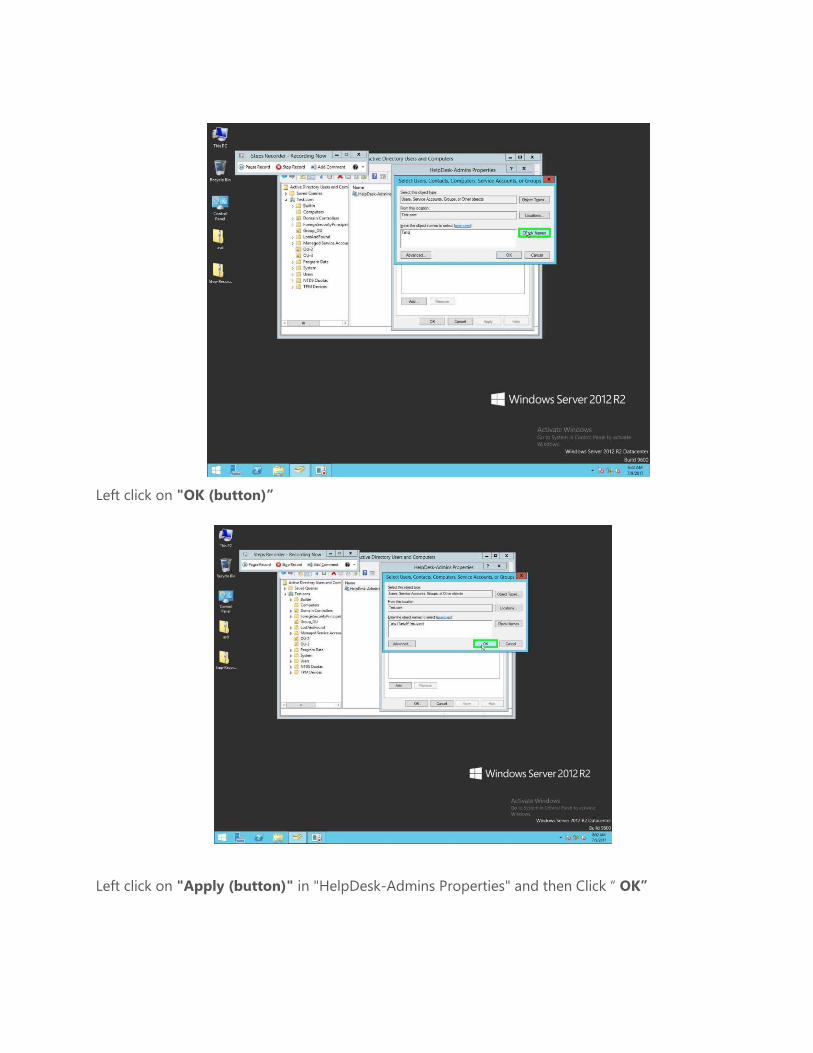
Left click on "OK (button)”
Left click on "Apply (button)" in "HelpDesk-Admins Properties" and then Click “ OK”

Giving Delegation to the Group
Step 1: - Left click on the OU over which you want to give delegations rights I (in our case it is
"OU-3) and Select Properties"
Step 2: Click on “ Security “Tab and then Select the Group ( Helpdesk-Admins)which you have
created already and select the Check boxes in front of “Read “ “Write” “Create All Child Objects”
etc as shown in the figures below.

Step 3:- Click “Advanced “

Step 4: Select the Group you have created earlier (Helpdesk-Admin) and Left Click”Edit” button
Step 5:- In front of “Type “Drop down Menu Select Allow and
In front of Applies Select “This Object and all descendent object”
Step 6:-Now under Permissions check the Check boxes as given in the below snapshot
Note: Don’t check any check box which have Delete word in it

Step 7:- Under Properties check the Below Check boxes and then Select OK
Step 8:- Click Apply and then Click OK

Step 9: On OU properties window again Click Apply and OK Buttons
Step 10: On Security property screen click OK Button

Through this way you can assign rights in depth to your support team, so that they cannot delete
any record but can update & continue day to day support jobs. Hope this will help you.
☺ The End ☺