Embed Size (px)
Citation preview
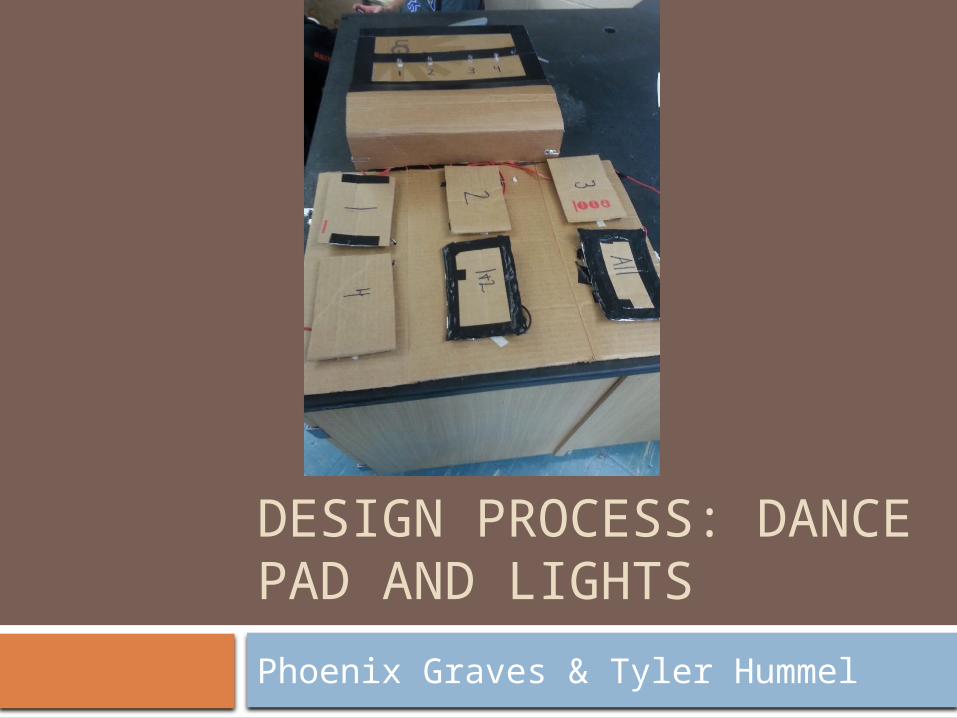
DESIGN PROCESS: DANCE PAD AND LIGHTS
Phoenix Graves & Tyler Hummel
Understand
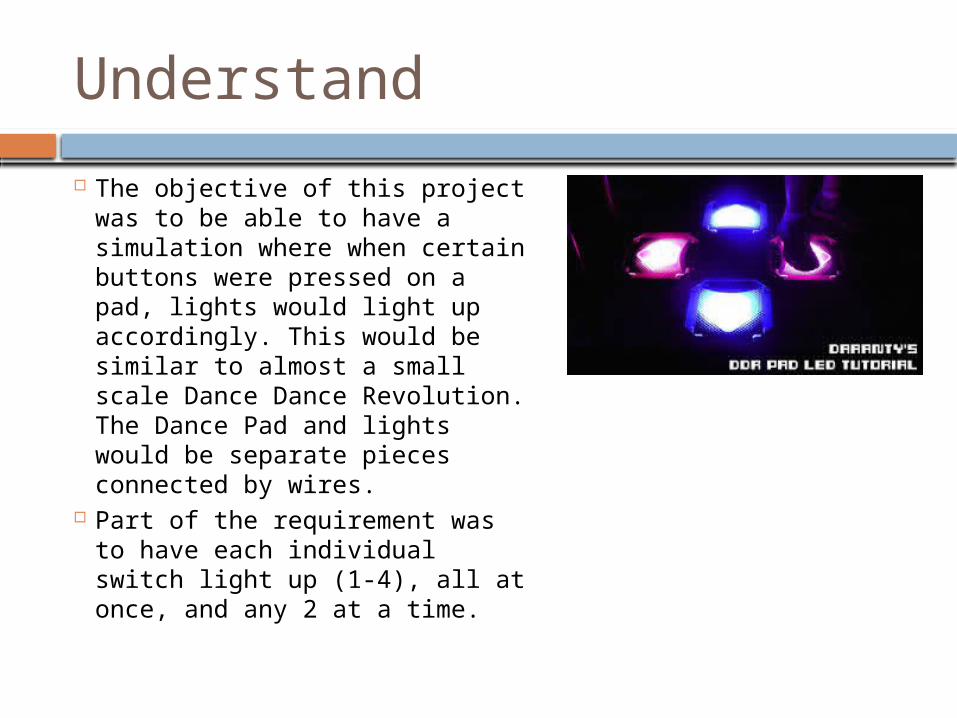
The objective of this project was to be able to have a simulation where when certain buttons were pressed on a pad, lights would light up accordingly. This would be similar to almost a small scale Dance Dance Revolution. The Dance Pad and lights would be separate pieces connected by wires.
Part of the requirement was to have each individual switch light up (1-4), all at once, and any 2 at a time.
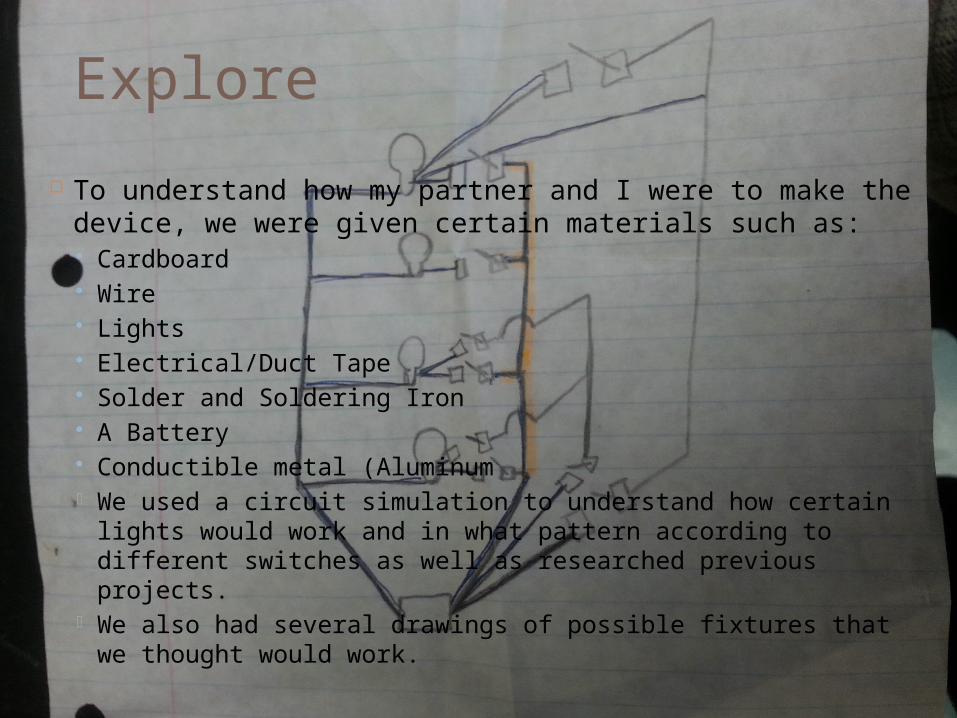
Explore
To understand how my partner and I were to make the device, we were given certain materials such as: Cardboard Wire Lights Electrical/Duct Tape Solder and Soldering Iron A Battery Conductible metal (Aluminum- We used a circuit simulation to understand how certain
lights would work and in what pattern according to different switches as well as researched previous projects.
- We also had several drawings of possible fixtures that we thought would work.
Solution
We decided for a nice visual, that we would attempt to use less wires and hide them in a shoe box.
The Lights: Using the shoe box as the base, we used a pencil to create small holes in the top of the box so that only the lights were visible, this way it was more appealing. The wires were soldered to the lights like this (picture) and then connected to the battery that was in the box as well. We then cut a hole in the side of the box to make the wires accessible to the pad.
The Dance Pad: We knew that the dance pad had to make the lights light up when pressed accordingly, so we made a cardboard sheet base with additional cardboard pieces to press onto the base. Then, we attached aluminum sheet to both the cardboard base as well as the pieces (picture). Then, we attached wires to both the base aluminum and separate pieces.
The soldering was key in using less wires and having the switches work as well.
How It Works
When connected, the cardboard pieces when pressed against the cardboard base activate the switch wires to light up certain lights accordingly.
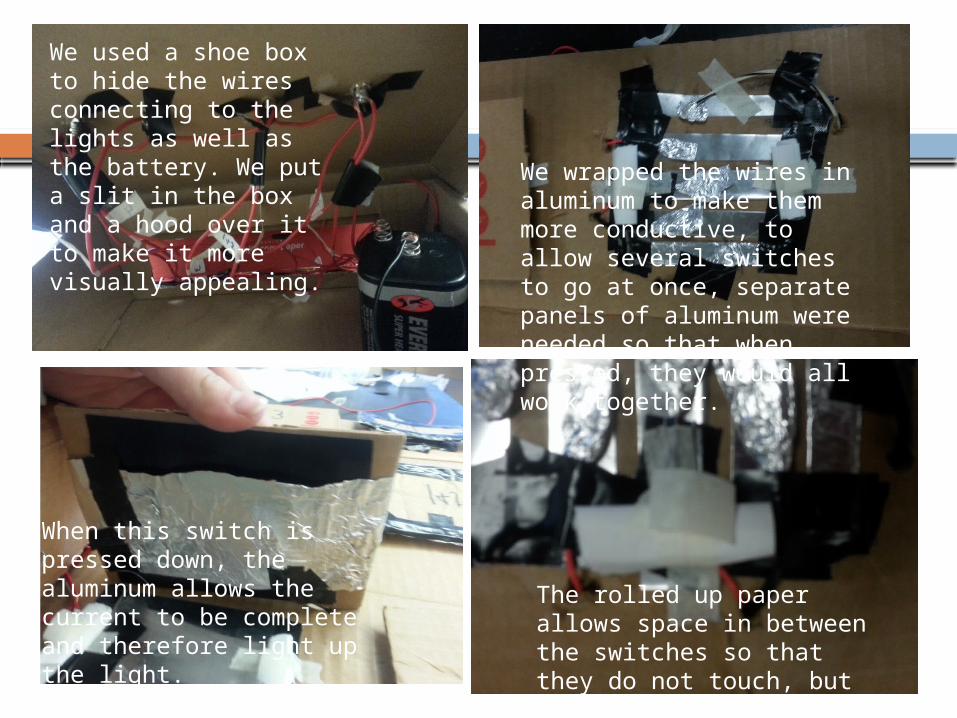
When this switch is pressed down, the aluminum allows the current to be complete and therefore light up the light.
The rolled up paper allows space in between the switches so that they do not touch, but can still be pressed down.
We wrapped the wires in aluminum to make them more conductive, to allow several switches to go at once, separate panels of aluminum were needed so that when pressed, they would all work together.
We used a shoe box to hide the wires connecting to the lights as well as the battery. We put a slit in the box and a hood over it to make it more visually appealing.
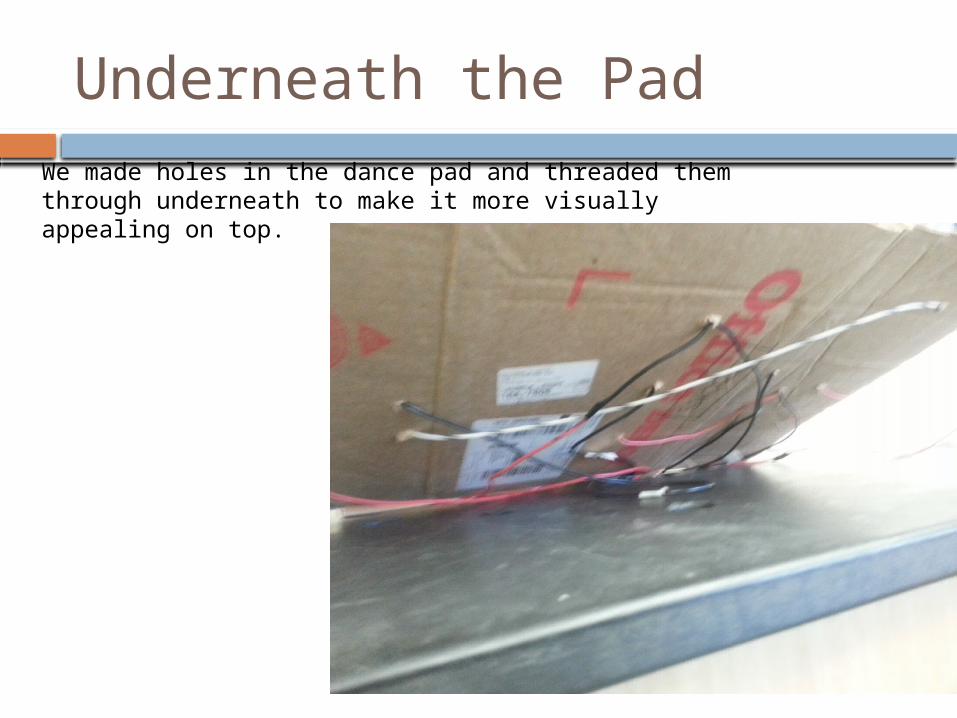
Underneath the PadWe made holes in the dance pad and threaded them through underneath to make it more visually appealing on top.
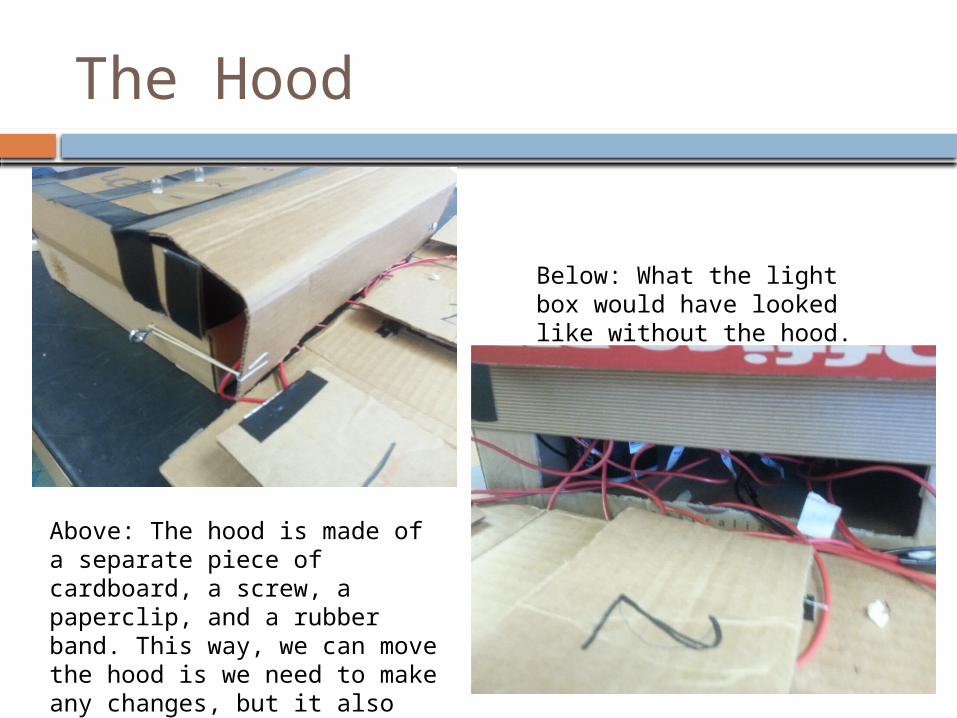
The Hood
Above: The hood is made of a separate piece of cardboard, a screw, a paperclip, and a rubber band. This way, we can move the hood is we need to make any changes, but it also makes it more appealing by using less wires.
Below: What the light box would have looked like without the hood.
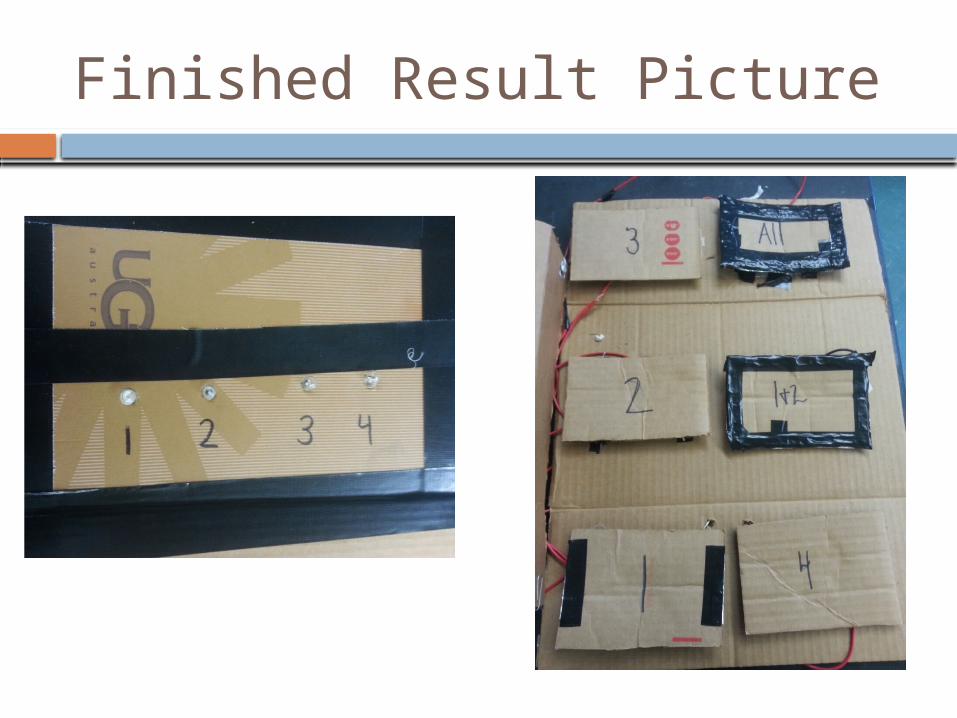
Finished Result Picture

Video