Embed Size (px)
Citation preview

DevOps
LearnOneoftheMostPowerfulSoftwareDevelopmentMethodologiesFASTAND
EASY!
ByDerekRangel
Copyright©2015DerekRangel
AllRightsReserved
Copyright©2015byDerekRangel.
All rights reserved. No part of this publication may be reproduced, distributed, ortransmitted in any form or by any means, including photocopying, recording, or otherelectronic or mechanical methods, without the prior written permission of the author,except in the case of brief quotations embodied in critical reviews and certain othernoncommercialusespermittedbycopyrightlaw.

TableofcontentsIntroduction
Chapter1-Definition
Chapter2-InstallationofTomEEfromPuppet
Chapter3-PuppetandPackerImmutableServers
Chapter4-HowtosetupamodernwebstackinUbuntu
Chapter5-MigrationofMongoDBtoDynamoDB
Chapter6-MongoDBandTreeStructures
Chapter7-ConfigurationofApacheforMultipleDomains
Chapter8-ReverseCacheProxyinNginx
Chapter9-SettingUpLAMPonUbuntuhostedonAWS
Chapter10-UsingNginxwithaWebApplication
Conclusion

Disclaimer
Whileallattemptshavebeenmadetoverifytheinformationprovidedinthisbook,the author does assume any responsibility for errors, omissions, or contraryinterpretations of the subjectmatter containedwithin. The information provided inthisbookisforeducationalandentertainmentpurposesonly.Thereaderisresponsibleforhisorherownactionsandtheauthordoesnotacceptanyresponsibilitiesforanyliabilitiesordamages,realorperceived,resultingfromtheuseofthisinformation.
The trademarks that are used arewithout any consent, and thepublication of thetrademark is without permission or backing by the trademark owner. Alltrademarksandbrandswithinthisbookareforclarifyingpurposesonlyandaretheownedbytheownersthemselves,notaffiliatedwiththisdocument.

Introduction
DevOps is one of the modern software development methodologies which are in use
today.Theincreasedpopularityofthismethodisduetotheadvantagesitoffersinterms
ofimprovedsoftwarequalityandrapiddeliveryofsoftwareintothemarket.Thisexplains
the need for software developers to learn how to use thismethod in their activity.This
bookwillguideyouonthis.


Chapter1-Definition
DevOps(DeveloperOperations)isjustaprocessforsoftwaredevelopmentmethodology
whoseemphasisisoncollaboration,communication,automation,integration,andameans
how the cooperation between the IT professional and the software developers can be
measured.Inthismethodofsoftwaredevelopment,thereisinterdependencybetweenthe
membersof the softwaredevelopment team. It isdue to this that thedevelopment team
findsitpossibletodevelopanddeliversoftwarerapidlyandimprovetheperformanceof
thevariousoperations.
The method is advantageous in that there will be an improved communication and
collaborationbetweenthesoftwaredevelopmentteam,whichmeansthatsoftwareofhigh
quality will be produced. The frequency of the software deployment process is also
improved,andthiswillmeanthatsoftwarewillreachthemarketfaster.
Themethodologywasdevelopedso that itcanremedy theexistingdisconnectbetween
the process of development and the operations activity. This disconnect has led to
inefficiencyandconflictsand thus, theneed for introductionof theDevOpsmethod for
softwaredevelopment.


Chapter2-InstallationofTomEEfromPuppet
WithPuppet,thedeclarativeconfigurationofsystemscaneasilybemanaged.Ourtaskis
justtodeclaretheavailableresourcesofthesystem,andthendeclaretheirstatetoo.We
thenstorethedescriptioninthePuppet’scorefiles.Inthischapter,wewillguideyouon
how to define TomEE as a resource of Puppet and this will mean that it will be
automaticallyinstalledinallcomputerswhichareunderthemanagementofPuppet.Note
thattheTomEEwaswritteninJavaprogramminglanguage,whichmeansthatJDKmust
beinstalledinyoursystemforyoutosucceedinthischapter.Toeasilyinstallthepackage
intoyoursystem,justusethepackagemanager.
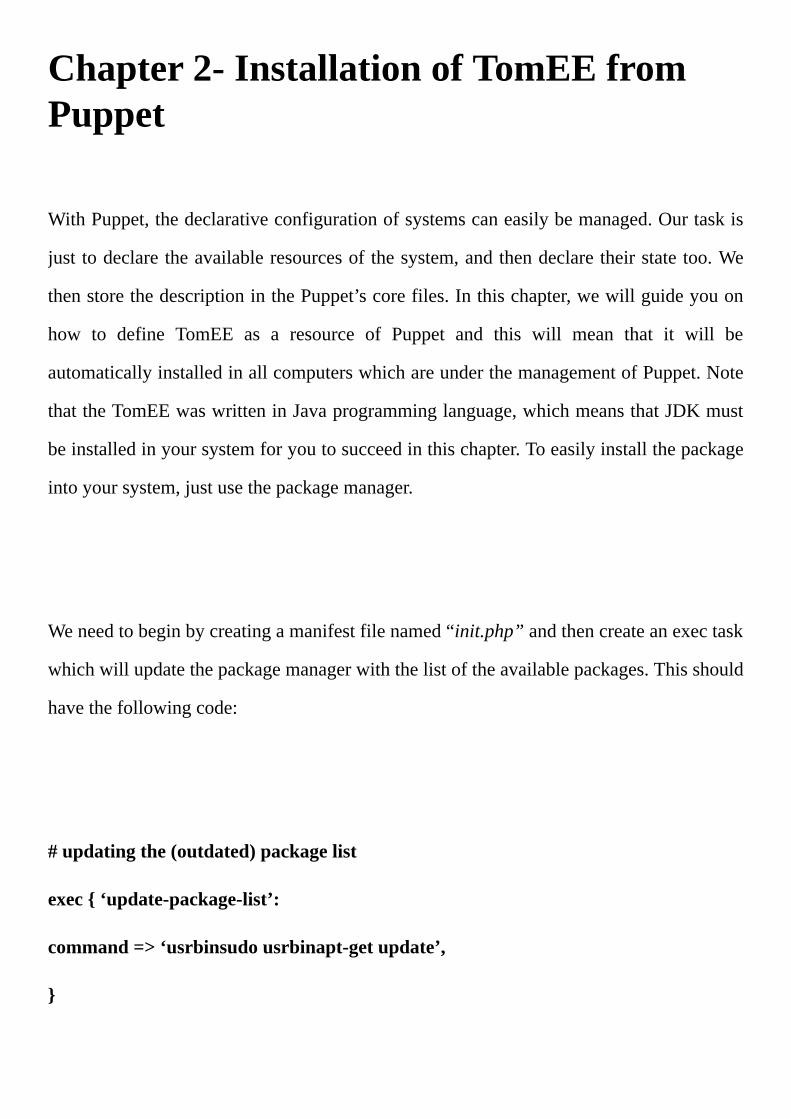
Weneedtobeginbycreatingamanifestfilenamed“init.php”andthencreateanexectask
whichwillupdatethepackagemanagerwiththelistoftheavailablepackages.Thisshould
havethefollowingcode:
#updatingthe(outdated)packagelist
exec{‘update-package-list’:
command=>‘usrbinsudousrbinapt-getupdate’,
}
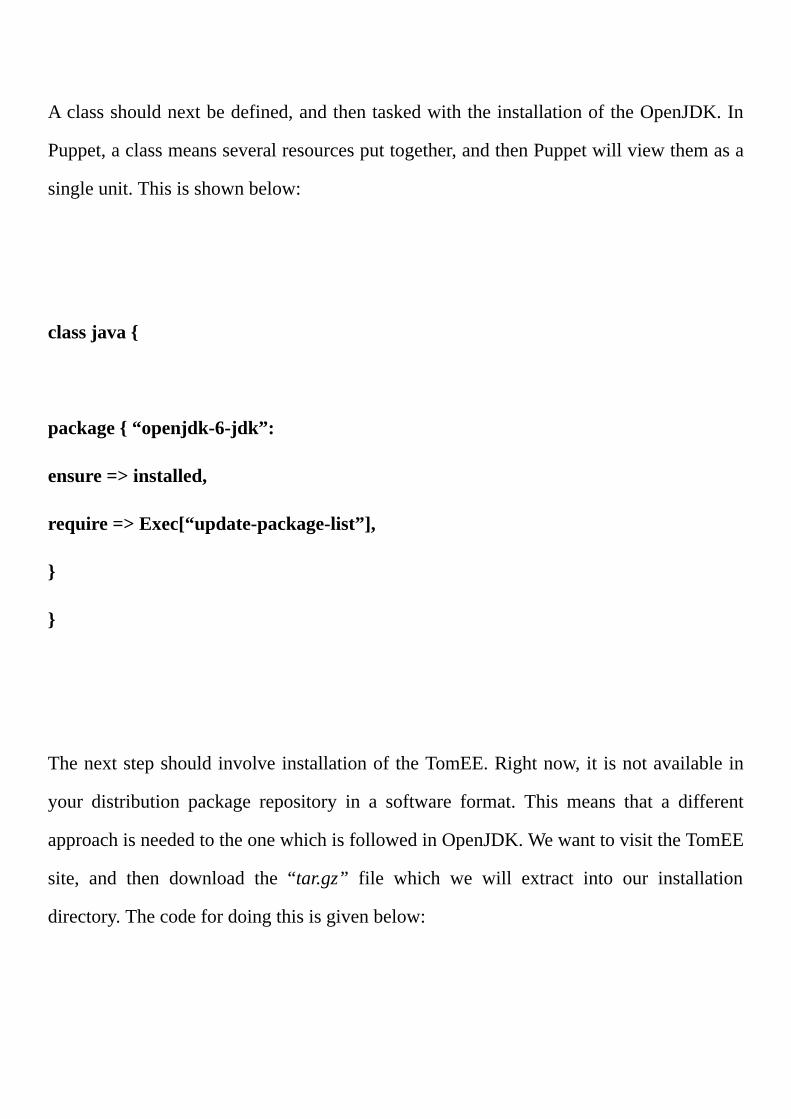
Aclassshouldnextbedefined,andthentaskedwiththeinstallationoftheOpenJDK.In
Puppet,aclassmeansseveralresourcesputtogether,andthenPuppetwillviewthemasa
singleunit.Thisisshownbelow:
classjava{
package{“openjdk-6-jdk”:
ensure=>installed,
require=>Exec[“update-package-list”],
}
}
ThenextstepshouldinvolveinstallationoftheTomEE.Rightnow,it isnotavailablein
your distribution package repository in a software format. This means that a different
approachisneededtotheonewhichisfollowedinOpenJDK.WewanttovisittheTomEE
site, and then download the “tar.gz” file which we will extract into our installation
directory.Thecodefordoingthisisgivenbelow:
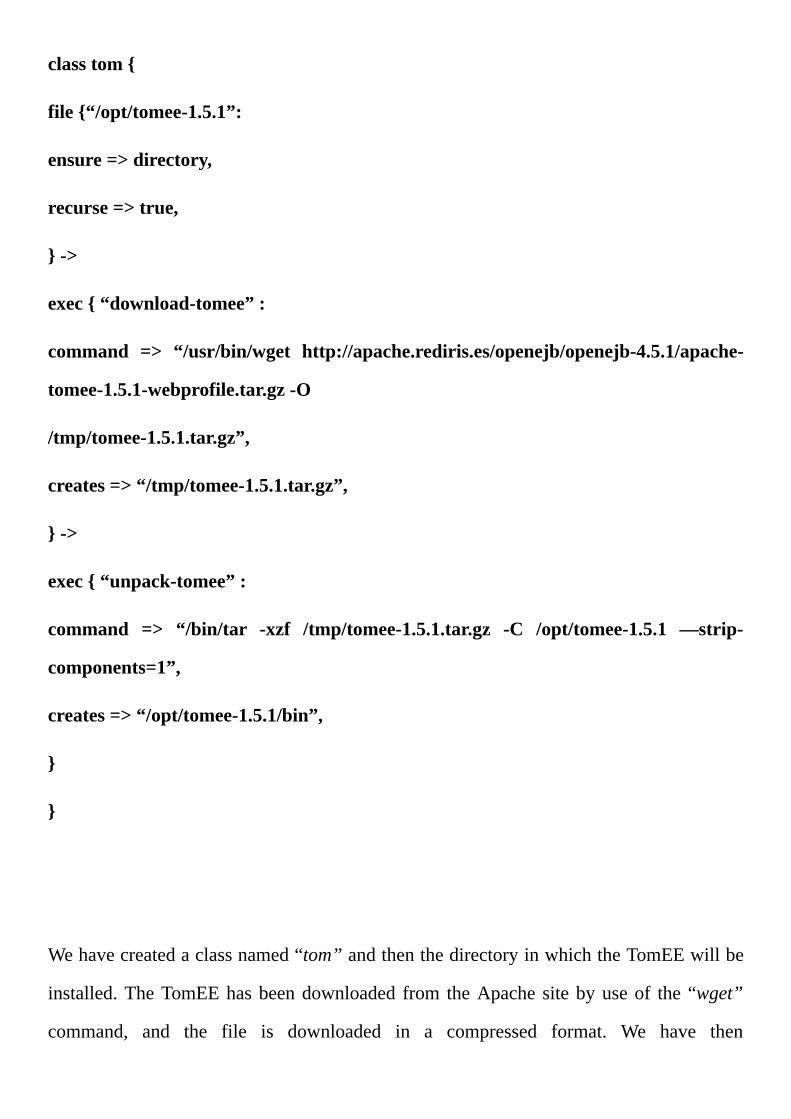
classtom{
file{“/opt/tomee-1.5.1”:
ensure=>directory,
recurse=>true,
}->
exec{“download-tomee”:
command => “/usr/bin/wget http://apache.rediris.es/openejb/openejb-4.5.1/apache-
tomee-1.5.1-webprofile.tar.gz-O
/tmp/tomee-1.5.1.tar.gz”,
creates=>“/tmp/tomee-1.5.1.tar.gz”,
}->
exec{“unpack-tomee”:
command => “/bin/tar -xzf /tmp/tomee-1.5.1.tar.gz -C /opt/tomee-1.5.1 —strip-
components=1”,
creates=>“/opt/tomee-1.5.1/bin”,
}
}
Wehavecreatedaclassnamed“tom”andthenthedirectoryinwhichtheTomEEwillbe
installed.TheTomEEhasbeendownloaded from theApache sitebyuseof the“wget”
command, and the file is downloaded in a compressed format. We have then
uncompressedthefileinthedirectorywhichwehavejustcreated.
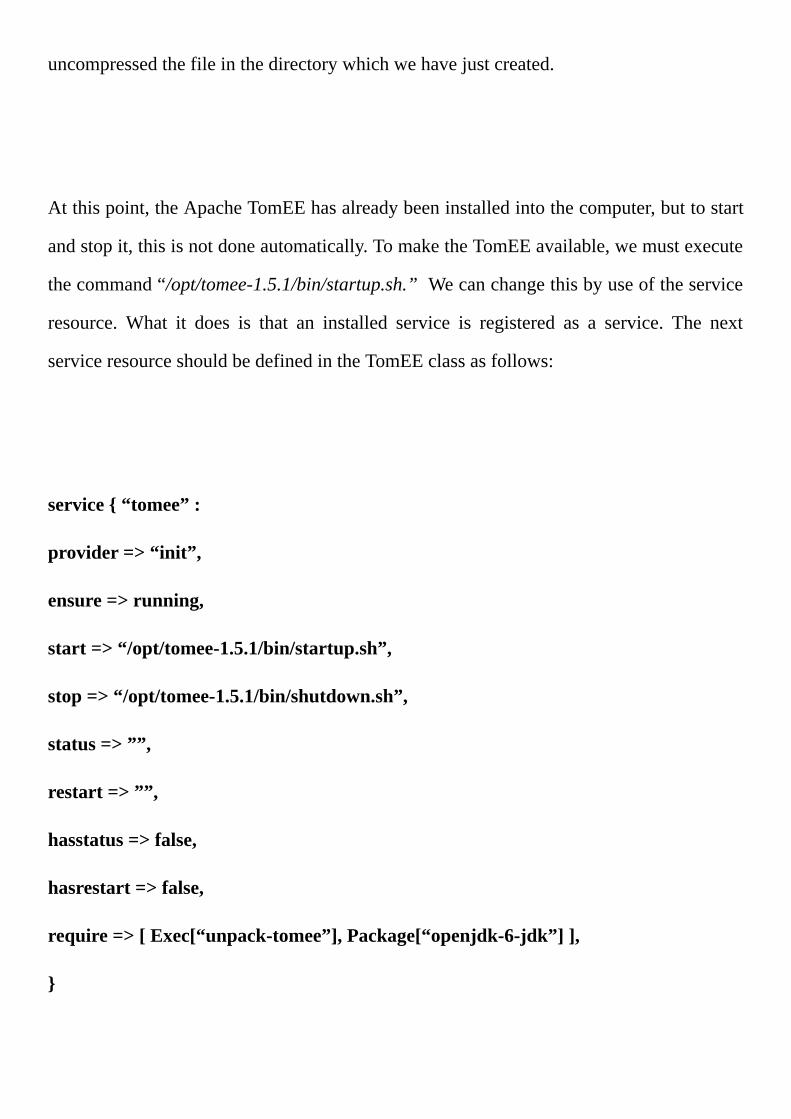
Atthispoint,theApacheTomEEhasalreadybeeninstalledintothecomputer,buttostart
andstopit,thisisnotdoneautomatically.TomaketheTomEEavailable,wemustexecute
thecommand“/opt/tomee-1.5.1/bin/startup.sh.”Wecanchangethisbyuseoftheservice
resource.What it does is that an installed service is registered as a service. The next
serviceresourceshouldbedefinedintheTomEEclassasfollows:
service{“tomee”:
provider=>“init”,
ensure=>running,
start=>“/opt/tomee-1.5.1/bin/startup.sh”,
stop=>“/opt/tomee-1.5.1/bin/shutdown.sh”,
status=>””,
restart=>””,
hasstatus=>false,
hasrestart=>false,
require=>[Exec[“unpack-tomee”],Package[“openjdk-6-jdk”]],
}

When it comes to a service resource, one must have the TomEE unpacked and the
OpnJDKinstalled,andthisiswhywehavetwodeclarationsintherequiredattribute.The
Puppetwillcreateattributesinthe“exec” task,andthiswilldetermineifa taskis tobe
executedornot.

Chapter3-PuppetandPackerImmutableServers
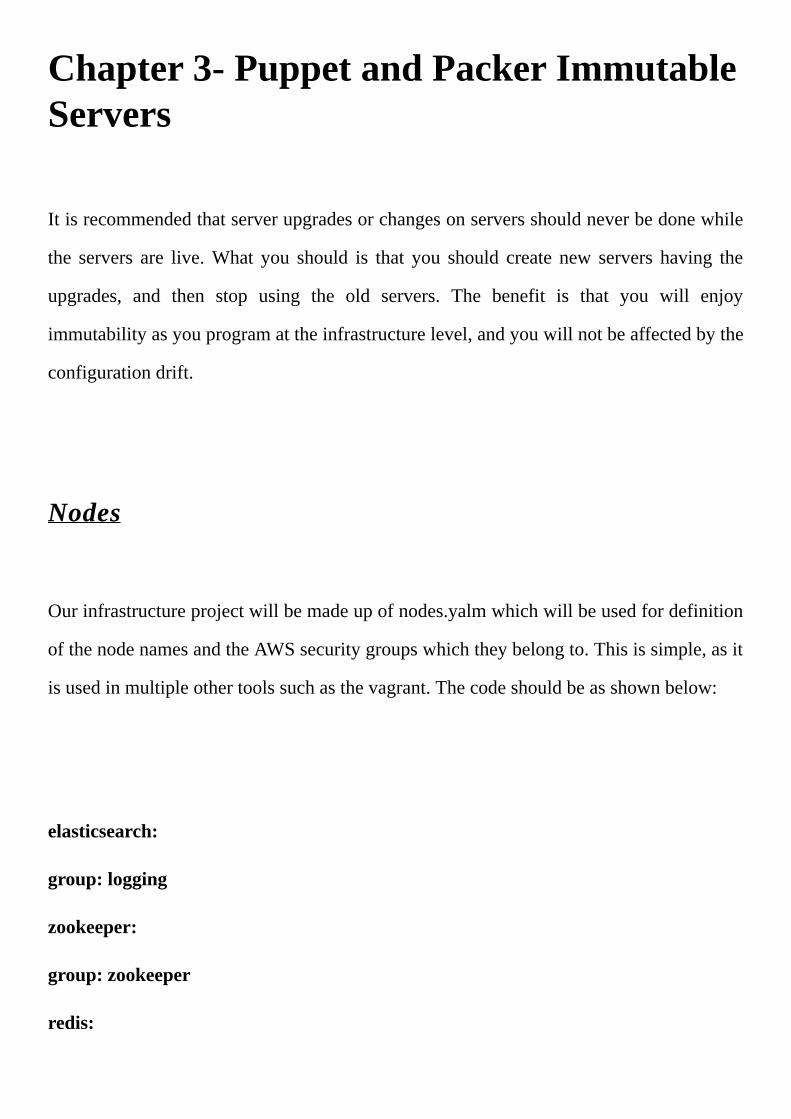
Itisrecommendedthatserverupgradesorchangesonserversshouldneverbedonewhile
the servers are live.What you should is that you should create new servers having the
upgrades, and then stop using the old servers. The benefit is that you will enjoy
immutabilityasyouprogramattheinfrastructurelevel,andyouwillnotbeaffectedbythe
configurationdrift.
Nodes
Ourinfrastructureprojectwillbemadeupofnodes.yalmwhichwillbeusedfordefinition
ofthenodenamesandtheAWSsecuritygroupswhichtheybelongto.Thisissimple,asit
isusedinmultipleothertoolssuchasthevagrant.Thecodeshouldbeasshownbelow:
elasticsearch:
group:logging
zookeeper:
group:zookeeper
redis:

group:redis
size:m2.2xlarge
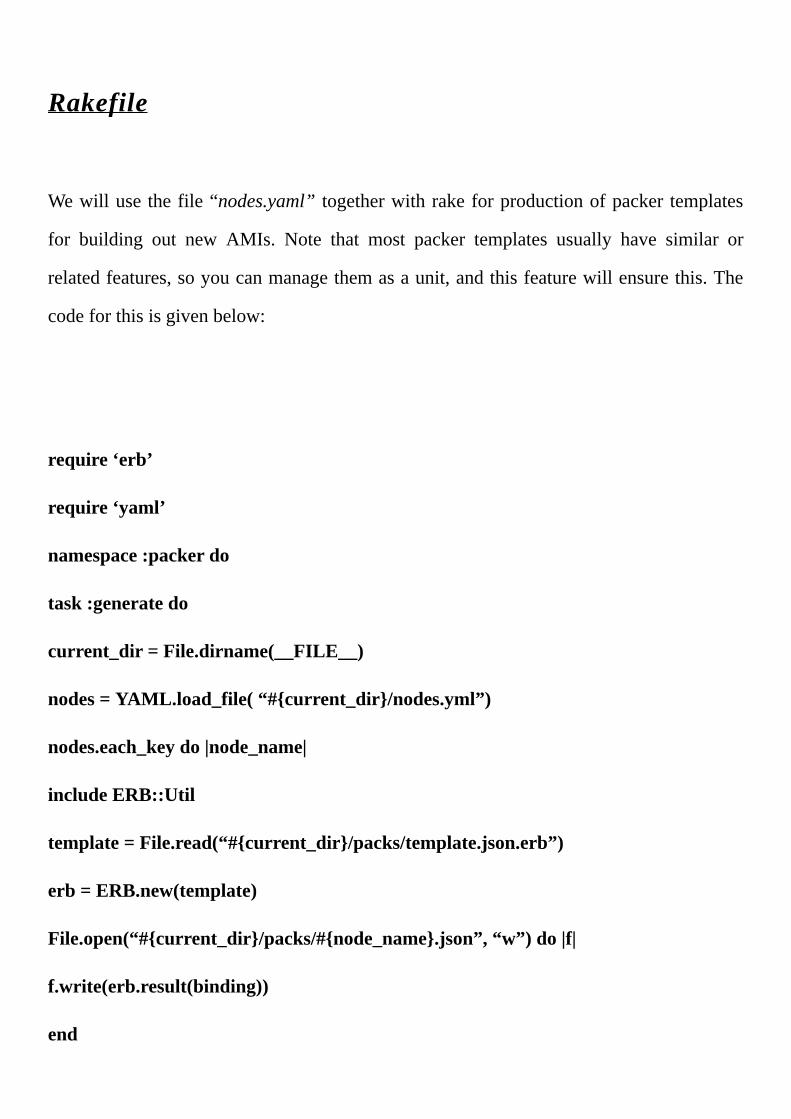
Rakefile
Wewillusethefile“nodes.yaml” togetherwithrakeforproductionofpacker templates
for building out new AMIs. Note that most packer templates usually have similar or
relatedfeatures,soyoucanmanagethemasaunit,andthisfeaturewillensurethis.The
codeforthisisgivenbelow:
require‘erb’
require‘yaml’
namespace:packerdo
task:generatedo
current_dir=File.dirname(__FILE__)
nodes=YAML.load_file(“#{current_dir}/nodes.yml”)
nodes.each_keydo|node_name|
includeERB::Util
template=File.read(“#{current_dir}/packs/template.json.erb”)
erb=ERB.new(template)
File.open(“#{current_dir}/packs/#{node_name}.json”,“w”)do|f|
f.write(erb.result(binding))
end
end
end
end
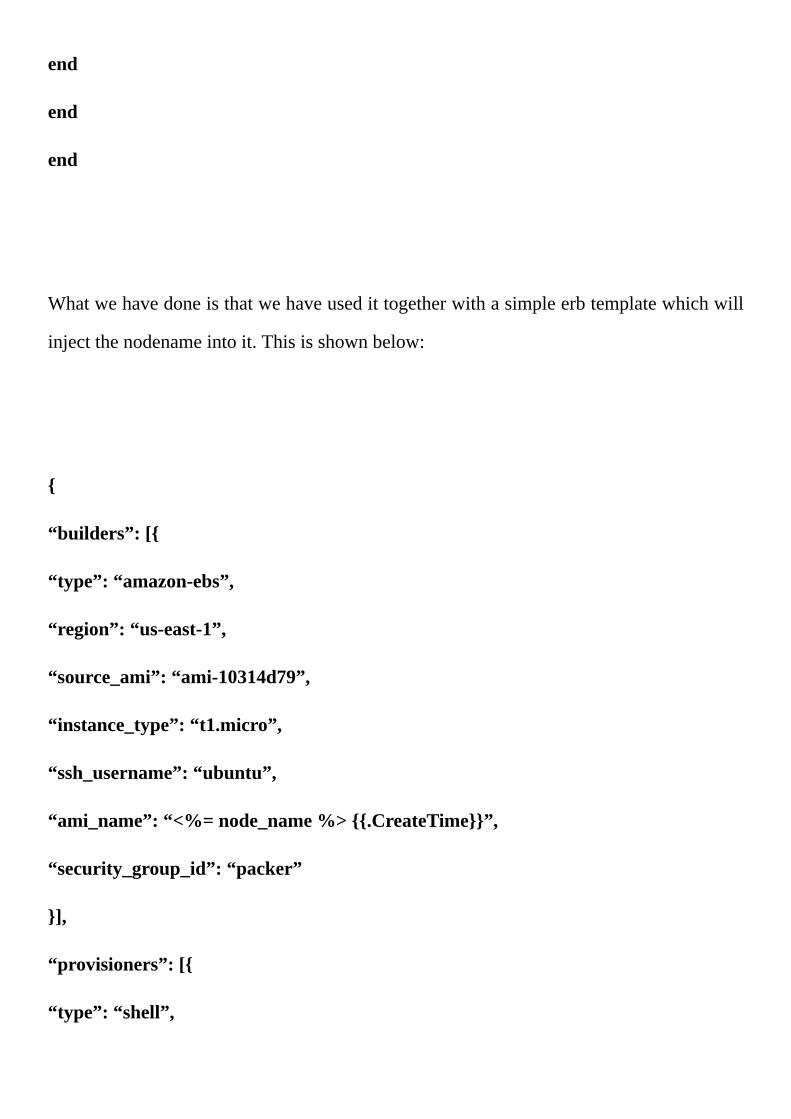
Whatwehavedoneisthatwehaveusedittogetherwithasimpleerbtemplatewhichwill
injectthenodenameintoit.Thisisshownbelow:
{
“builders”:[{
“type”:“amazon-ebs”,
“region”:“us-east-1”,
“source_ami”:“ami-10314d79”,
“instance_type”:“t1.micro”,
“ssh_username”:“ubuntu”,
“ami_name”:“<%=node_name%>{{.CreateTime}}”,
“security_group_id”:“packer”
}],
“provisioners”:[{
“type”:“shell”,
“script”:“packs/install_puppet.sh”
},{
“type”:“shell”,
“inline”:[
“sudoapt-getupgrade-y”,
“sudo sed -i /etc/puppet/puppet.conf -e \“s/nodename/<%= node_name %>-
$(hostname)/\””,
“sudopuppetagent—test||true”
]
}]
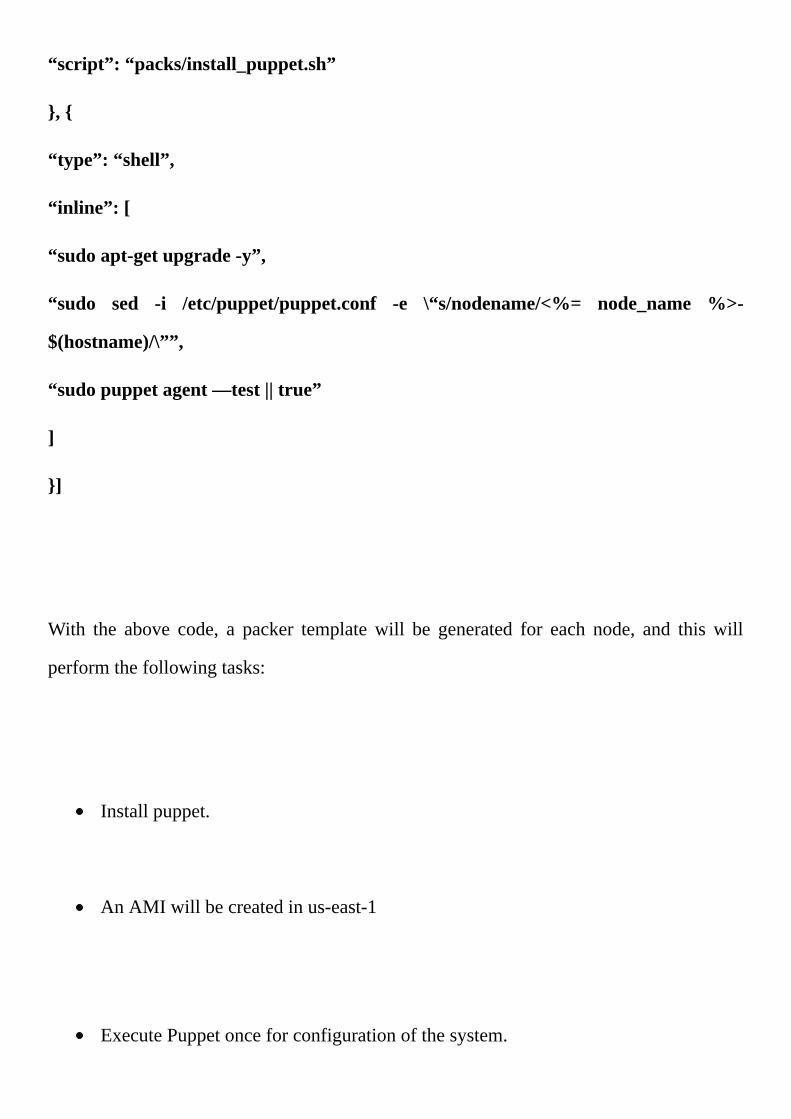
With the above code, a packer templatewill be generated for each node, and thiswill
performthefollowingtasks:
Installpuppet.
AnAMIwillbecreatedinus-east-1
ExecutePuppetonceforconfigurationofthesystem.
ThesecuritygroupwillbeadjustedtoEC2.
ThePuppetagent shouldnotbeenabled, so thatwecanavoidpollingofupdates.Once
Puppethascompleted,wecanthenremoveitfromtheservertoavoiditbeingbakedinby
AMI.
TheScript
Withpacker,theusercanspecifytheshellfilesandtheshellcommandswhicharetobe
run.Whenitcomestobootstrapping,thisfeatureisthebest,butitisgoodforthekindof
configurationmanagementneededinPuppet.Ourpackertemplateswillworkbycallinga
shellscript,andthiswillensurethatwedonotusetheoldversionofrubyLinuxdistros.
The server name of the Puppetmasterwill also be specified as part of the installation
process.Thecodeisgivenbelow:
sleep20,
wgethttp://apt.puppetlabs.com/puppetlabs-release-raring.deb
sudodpkg-ipuppetlabs-release-precise.deb
sudoapt-getupdate
sudoapt-getremoveruby1.8-y
sudoapt-getinstallruby1.9.3puppet-y
sudosu-c‘echo”””[main]
logdir=/var/log/puppet
vardir=/var/lib/puppet
ssldir=/var/lib/puppet/ssl
rundir=/var/run/puppet
factpath=$vardir/lib/facter
templatedir=$confdir/templates
[agent]
server=ip-10-xxx-xx-xx.ec2.internal
report=true
certname=nodename”””>>/etc/puppet/puppet.conf’
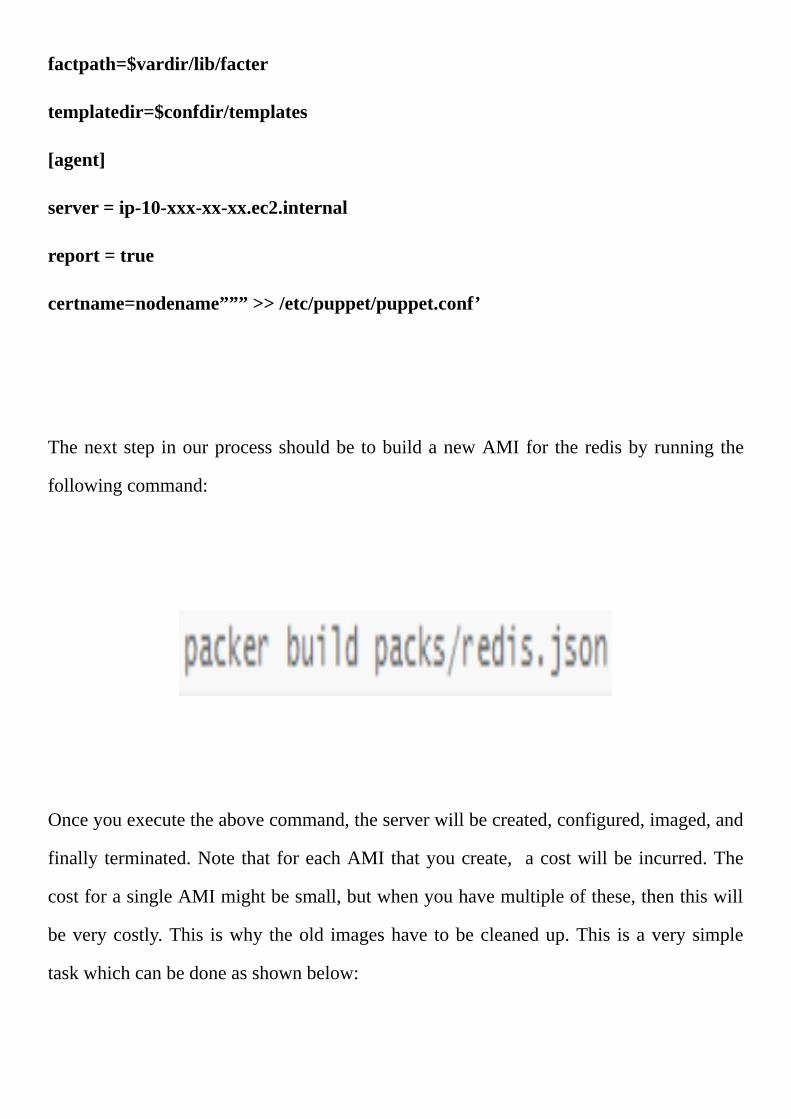
Thenextstep inourprocessshouldbe tobuildanewAMIfor theredisbyrunningthe
followingcommand:
Onceyouexecutetheabovecommand,theserverwillbecreated,configured,imaged,and
finally terminated.Note thatforeachAMIthatyoucreate, acostwillbe incurred.The
costforasingleAMImightbesmall,butwhenyouhavemultipleofthese,thenthiswill
beverycostly.This iswhy theold imageshave tobecleanedup.This isaverysimple
taskwhichcanbedoneasshownbelow:
importos
importboto
fromfabric.apiimporttask
classImages(object):
def__init__(sf,**kw):
sf.con=boto.connect_ec2(**kw)
defget_ami_for_name(sf,name):
(keys,AMIs)=sf.get_amis_sorted_by_date(name)
returnAMIs[0]
defget_amis_sorted_by_date(sf,name):
amis=sf.conn.get_all_images(filters={‘name’:‘{}*’.format(name)})
AMIs={}
foramiinamis:
(name,creation_date)=ami.name.split(‘‘)
AMIs[creation_date]=ami
#removingtheoldimages!
keys=AMIs.keys()
keys.sort()
keys.reverse()
return(keys,AMIs)
defremove_old_images(sf,name):
(keys,AMIs)=sf.get_amis_sorted_by_date(name)
whilelen(keys)>1:
key=keys.pop()
print(“deregistering{}”.format(key))
AMIs[key].deregister(delete_snapshot=True)
@task
defcleanup_old_amis(name):
”’
Usage:cleanup_old_amis:name={{ami-name}}
”’
images=Images(
aws_access_key_id=os.environ[‘AWS_ACCESS_KEY_ID’],
aws_secret_access_key=os.environ[‘AWS_SECRET_ACCESS_KEY’]
)
images.remove_old_images(name)
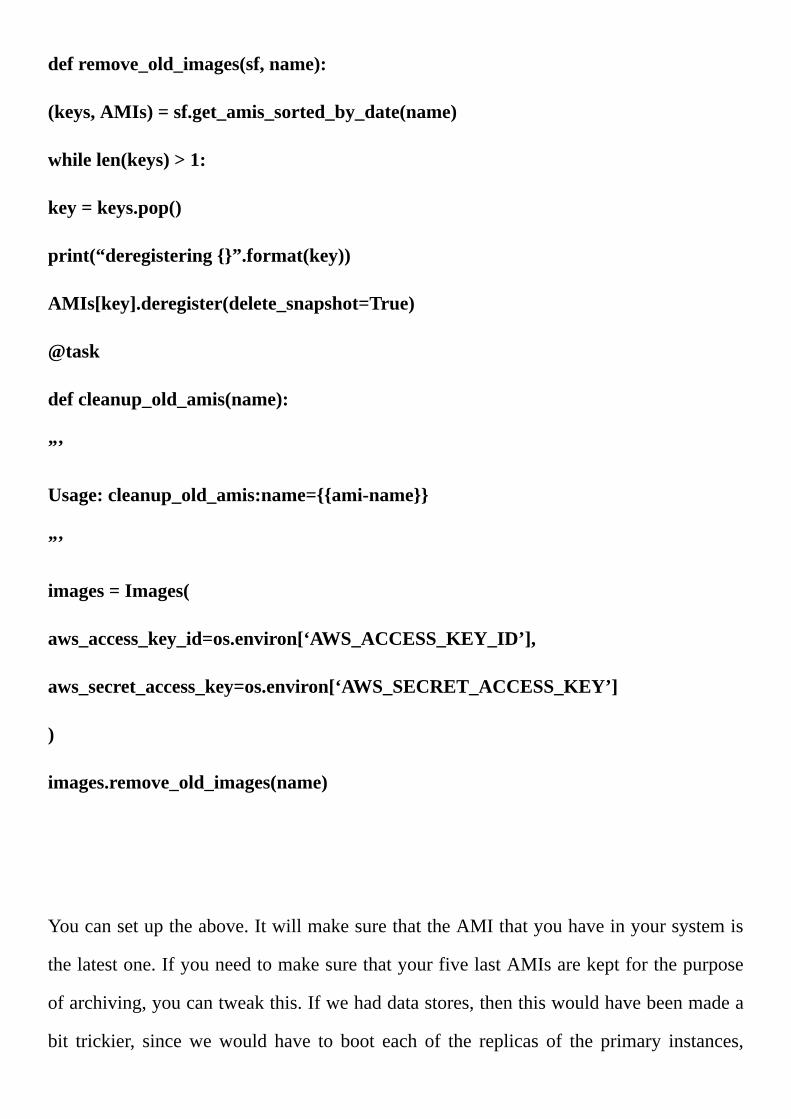
Youcansetuptheabove.ItwillmakesurethattheAMIthatyouhaveinyoursystemis
thelatestone.IfyouneedtomakesurethatyourfivelastAMIsarekeptforthepurpose
ofarchiving,youcantweakthis.Ifwehaddatastores,thenthiswouldhavebeenmadea
bit trickier, sincewewould have to boot each of the replicas of the primary instances,

replicaspromotedtoprimaries,andthenoldprimarieswouldberetired.


Chapter4-HowtosetupamodernwebstackinUbuntu
Inthischapter,wewilldiscusstheLERP(Linux,€nginx,Redis,andPHP)stack.Withit,
allyourwebneedswillbeprovidedfor.Thischapterwillguideyouonhowtosetupthe
stack,andthencreateanemptyplaygroundhavingallofthenecessaryassetsneededfor
experimentation,learning,andbuilding.Thesetupwillbereadyforuseinaproduction
environment.
MyassumptionisthatyoucurrentlyhaveUbuntuinstalledonyoursystem.Ifthisisnot
thecase,thendownloaditsISO,andthenprepareabootablemediawhichyouwillusefor
installationoftheOS.Oncetheinstallationprocesscompletes,justexecutethefollowing
command:
Theabovecommandwill serve toupdateyour system.The latestversionof theLTS is
highlyrecommended,duetoitsstrongsupportandincreasedstability.
Nginx(theserver)
Nginxcanbefoundfromthelaunchpad
Youcannowusethefollowingcommandsoastocreatearepository,andthenrefreshthe
softwareresourcesusedonyoursystem:
Theinstallcommandcanbeissuedasfollows:
Withtheabovecommand,thenginxstablewillbeinstalledonyoursystem.Ifyouneedto
doaverificationof this,youcanopenyourbrowser,and then type in the IPaddressof
yourserver.Theoutputshouldbethewelcomefilefornginx.Iftheserverisbeingused
simplyforlocaldevelopment,thenyoucanusetheIPaddress“127.0.0.1”.

PostgreSQL(TheServer)
WithUbuntu,thiskindofdatabasecomesinstalledinthesystem.Toverifywhetherthisis
thecaseinyoursystem,justrunthefollowingcommandonyourterminal:
Toget the latest versionof this, one can add the latest versionof thepostgreSQLAPT
repositoryasshownbelow:
Thisshouldbefollowedbythesecommands:
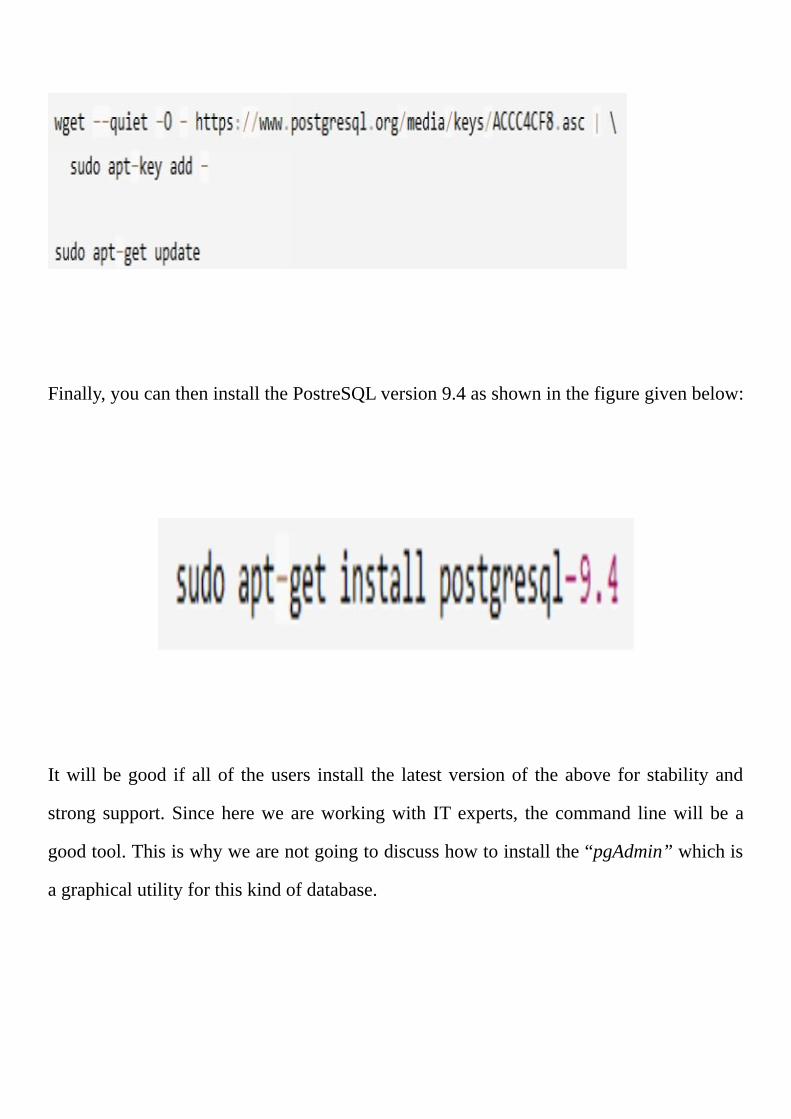
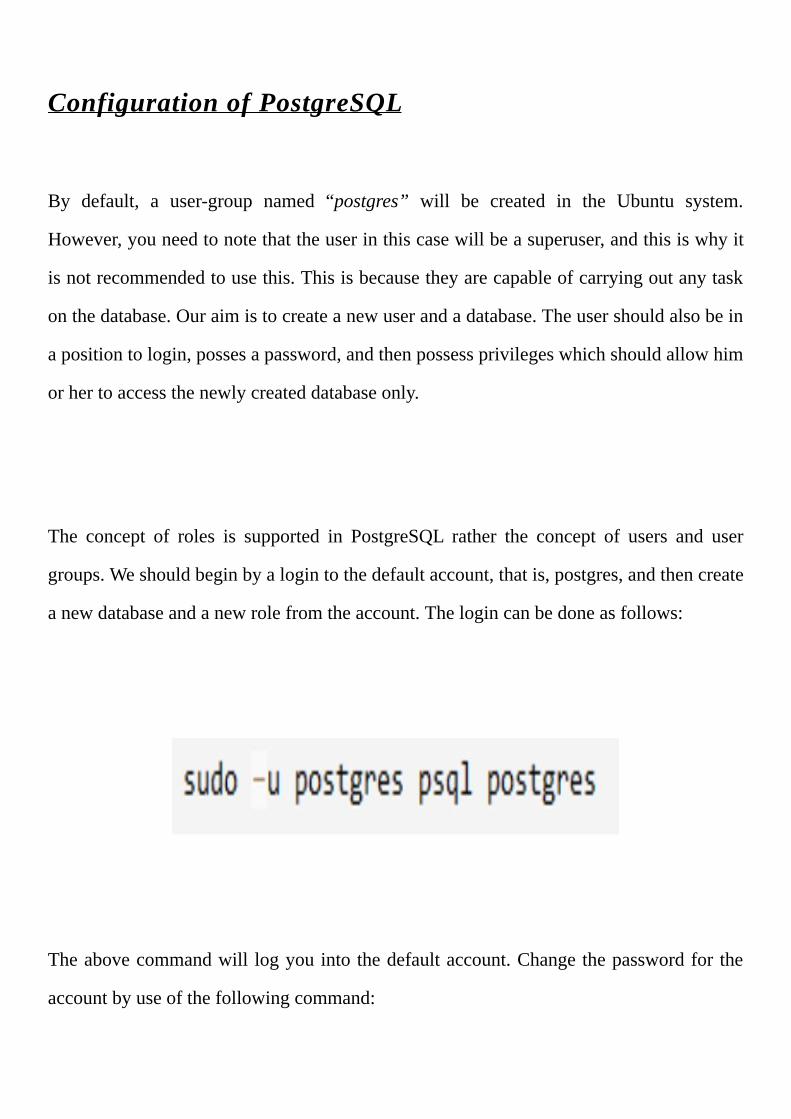
Finally,youcantheninstallthePostreSQLversion9.4asshowninthefiguregivenbelow:
Itwillbegood if allof theusers install the latestversionof theabove for stabilityand
strong support.Sincehereweareworkingwith ITexperts, thecommand linewillbea
goodtool.Thisiswhywearenotgoingtodiscusshowtoinstallthe“pgAdmin”whichis
agraphicalutilityforthiskindofdatabase.
ConfigurationofPostgreSQL
By default, a user-group named “postgres” will be created in the Ubuntu system.
However,youneedtonotethattheuserinthiscasewillbeasuperuser,andthisiswhyit
isnotrecommendedtousethis.Thisisbecausetheyarecapableofcarryingoutanytask
onthedatabase.Ouraimistocreateanewuserandadatabase.Theusershouldalsobein
apositiontologin,possesapassword,andthenpossessprivilegeswhichshouldallowhim
orhertoaccessthenewlycreateddatabaseonly.
The concept of roles is supported in PostgreSQL rather the concept of users and user
groups.Weshouldbeginbyalogintothedefaultaccount,thatis,postgres,andthencreate
anewdatabaseandanewrolefromtheaccount.Thelogincanbedoneasfollows:
Theabovecommandwill logyouintothedefaultaccount.Changethepasswordfor the
accountbyuseofthefollowingcommand:
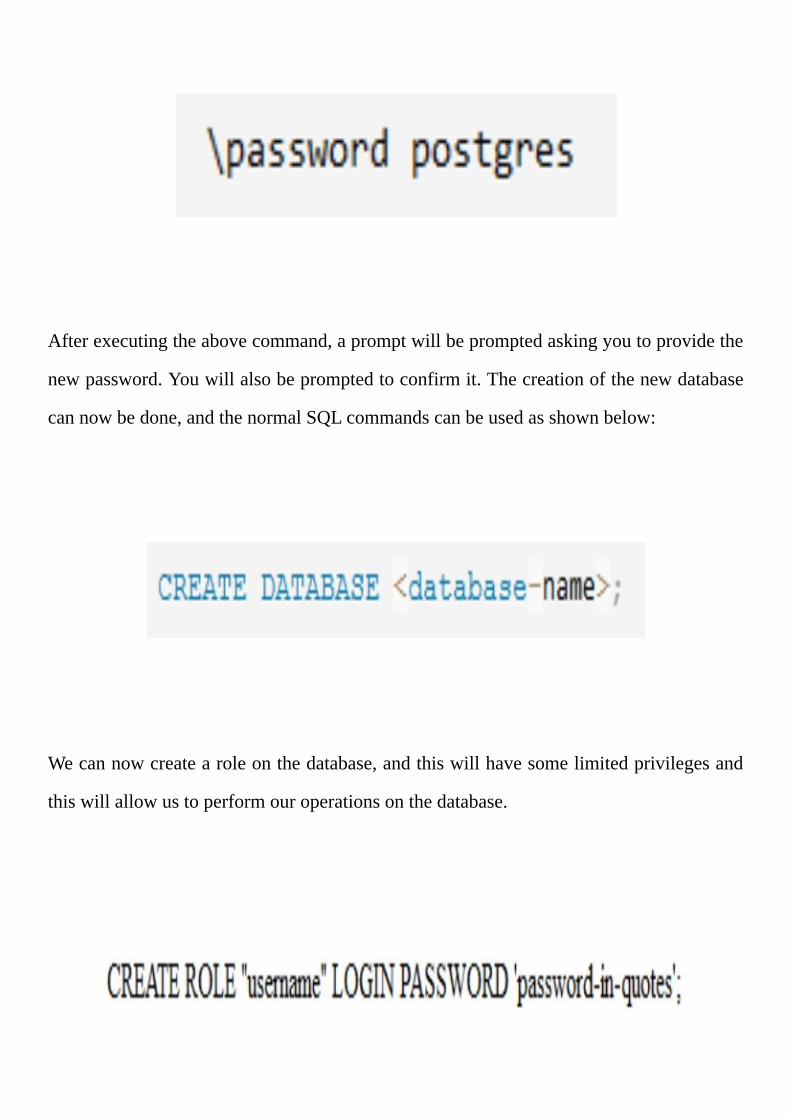
Afterexecutingtheabovecommand,apromptwillbepromptedaskingyoutoprovidethe
newpassword.Youwillalsobepromptedtoconfirmit.Thecreationofthenewdatabase
cannowbedone,andthenormalSQLcommandscanbeusedasshownbelow:
Wecannowcreatearoleonthedatabase,andthiswillhavesomelimitedprivilegesand
thiswillallowustoperformouroperationsonthedatabase.
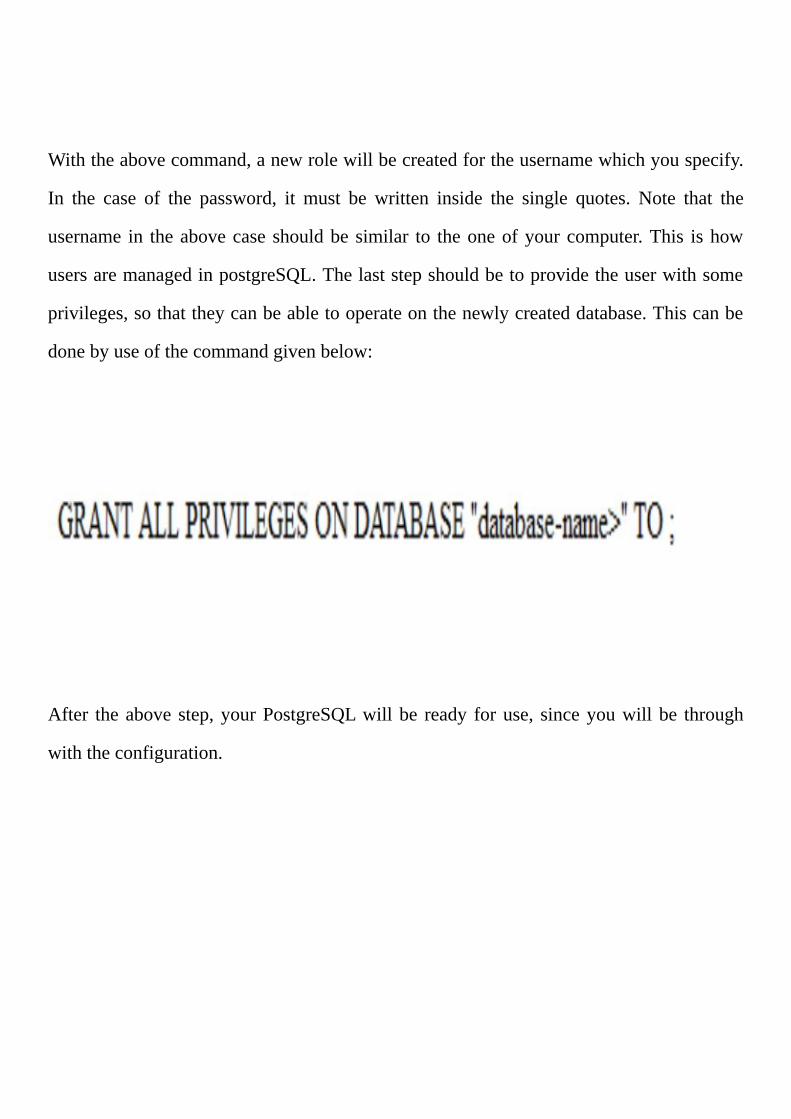
Withtheabovecommand,anewrolewillbecreatedfortheusernamewhichyouspecify.
In the case of the password, it must be written inside the single quotes. Note that the
username in theabovecase shouldbesimilar to theoneofyourcomputer.This ishow
usersaremanagedinpostgreSQL.Thelaststepshouldbetoprovidetheuserwithsome
privileges,sothattheycanbeabletooperateonthenewlycreateddatabase.Thiscanbe
donebyuseofthecommandgivenbelow:
After theabove step,yourPostgreSQLwillbe ready foruse, sinceyouwillbe through
withtheconfiguration.
Redis(Thecache)
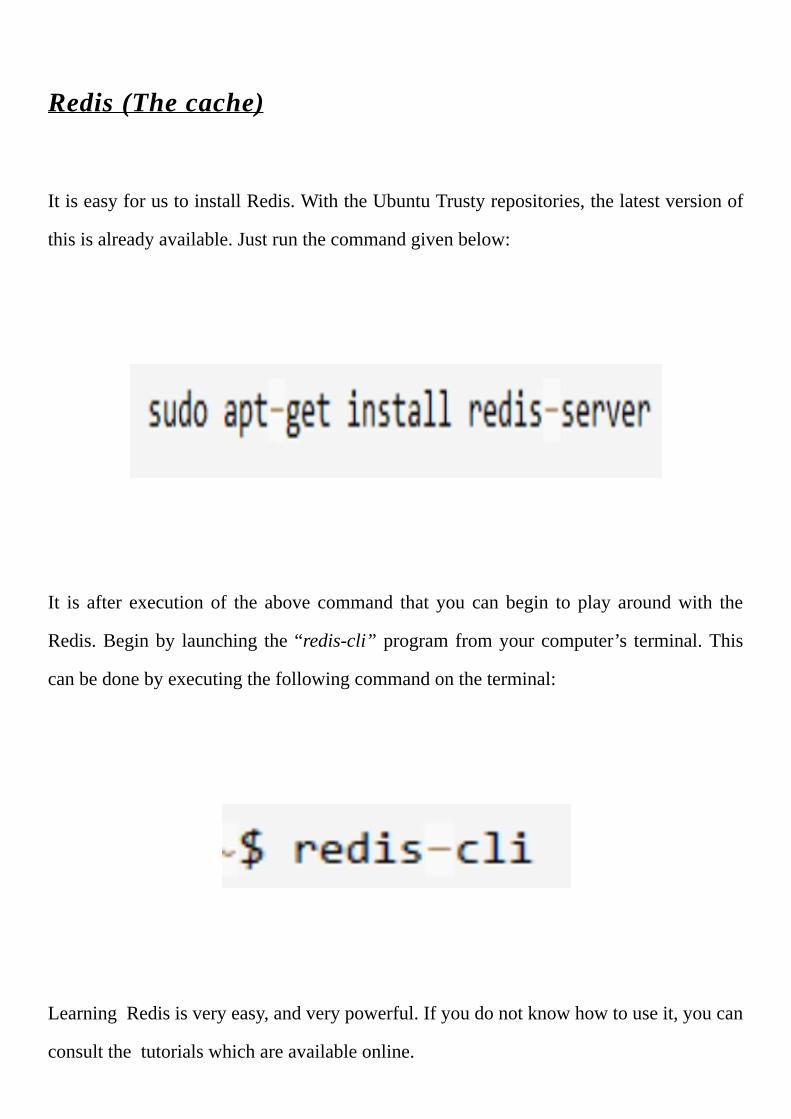
ItiseasyforustoinstallRedis.WiththeUbuntuTrustyrepositories,thelatestversionof
thisisalreadyavailable.Justrunthecommandgivenbelow:
It is after execution of the above command that you canbegin to play aroundwith the
Redis.Beginby launching the“redis-cli”programfromyourcomputer’s terminal.This
canbedonebyexecutingthefollowingcommandontheterminal:
LearningRedisisveryeasy,andverypowerful.Ifyoudonotknowhowtouseit,youcan
consultthetutorialswhichareavailableonline.
PHP(TheLanguage)
The purpose of the nginx server is to receive all of the requests which are incoming.
However,itisunabletoprocessthePHPscriptswhicharestoredintheserver.However,
“CommonGatewayInterface” isused in thiscase.Thegatewayworksbyroutingallof
therequestsfromthenginxtothePHPenginewhichisresponsibleforprocessingofthe
script.
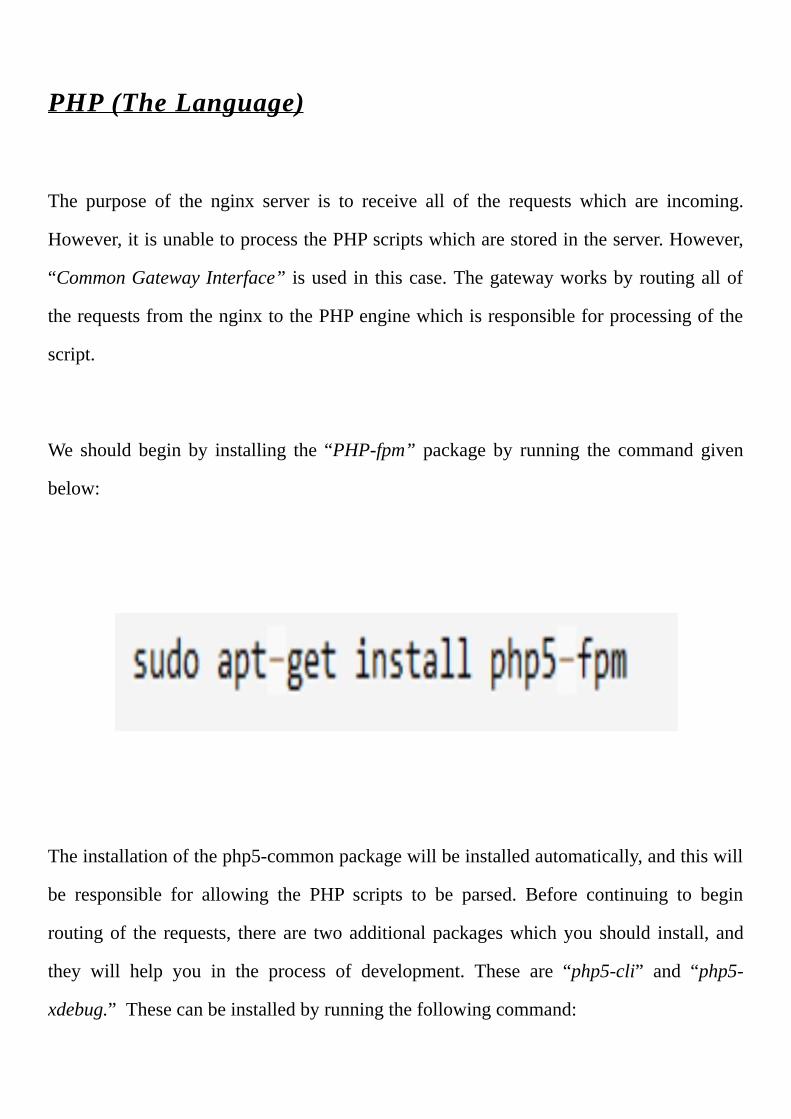
We should begin by installing the “PHP-fpm” package by running the command given
below:
Theinstallationofthephp5-commonpackagewillbeinstalledautomatically,andthiswill
be responsible for allowing the PHP scripts to be parsed. Before continuing to begin
routingof the requests, thereare twoadditionalpackageswhichyou should install, and
they will help you in the process of development. These are “php5-cli” and “php5-
xdebug.”Thesecanbeinstalledbyrunningthefollowingcommand:
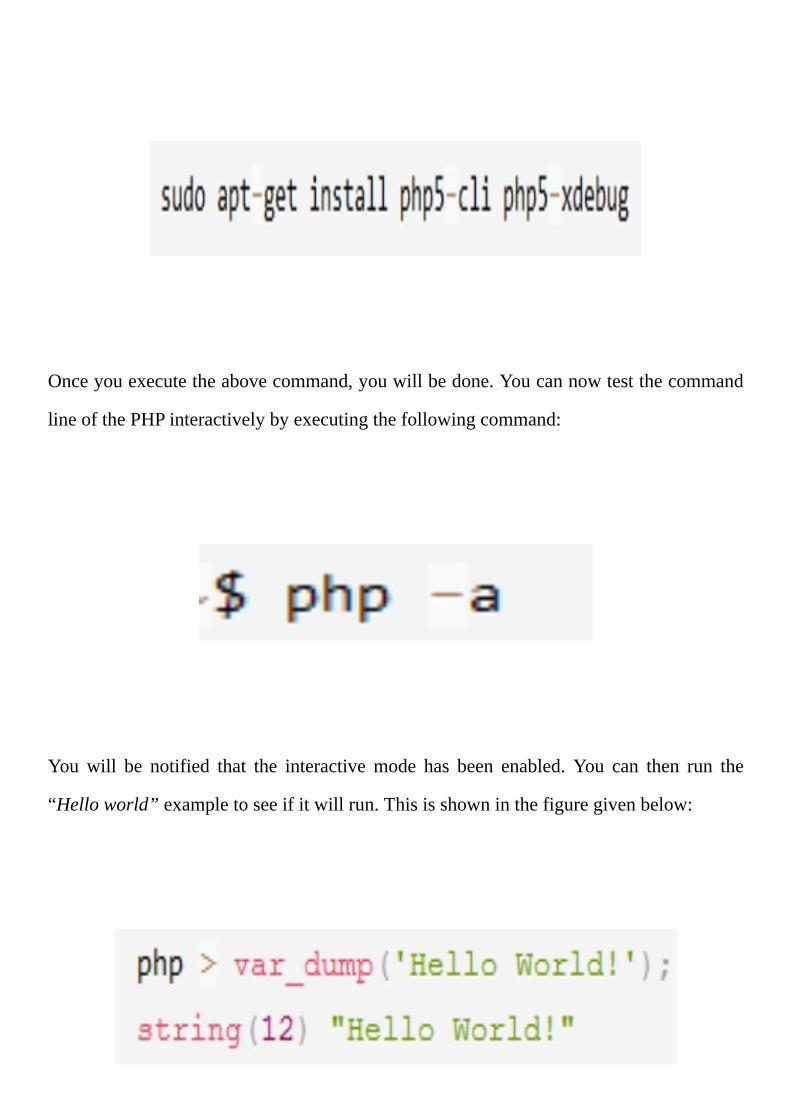
Onceyouexecutetheabovecommand,youwillbedone.Youcannowtestthecommand
lineofthePHPinteractivelybyexecutingthefollowingcommand:
Youwill be notified that the interactivemode has been enabled. You can then run the
“Helloworld”exampletoseeifitwillrun.Thisisshowninthefiguregivenbelow:

Thatshowsthatoursetupwassuccessful.
Stitchingtogetherthepieces
Nowthatallofthesubcomponentsofourwebstackhavebeeninstalled,weneedtomake
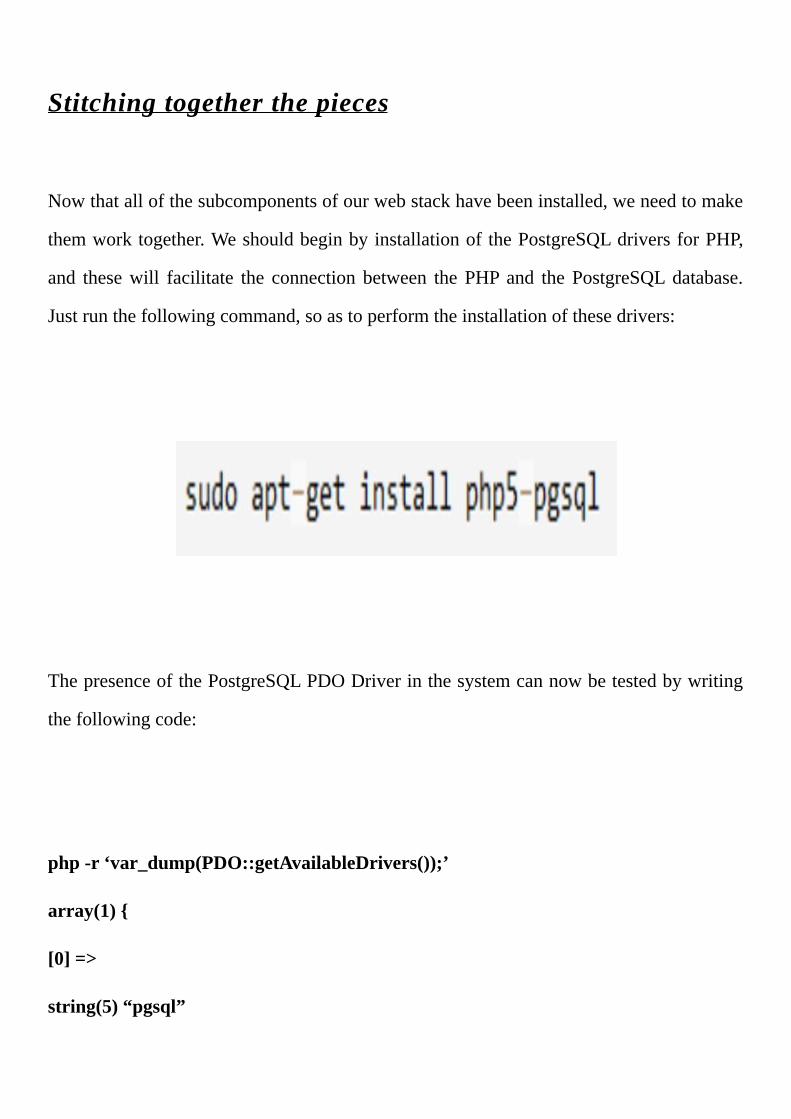
themworktogether.WeshouldbeginbyinstallationofthePostgreSQLdriversforPHP,
and thesewill facilitate the connection between thePHP and thePostgreSQLdatabase.
Justrunthefollowingcommand,soastoperformtheinstallationofthesedrivers:
ThepresenceofthePostgreSQLPDODriverinthesystemcannowbetestedbywriting
thefollowingcode:
php-r‘var_dump(PDO::getAvailableDrivers());’
array(1){
[0]=>
string(5)“pgsql”
}
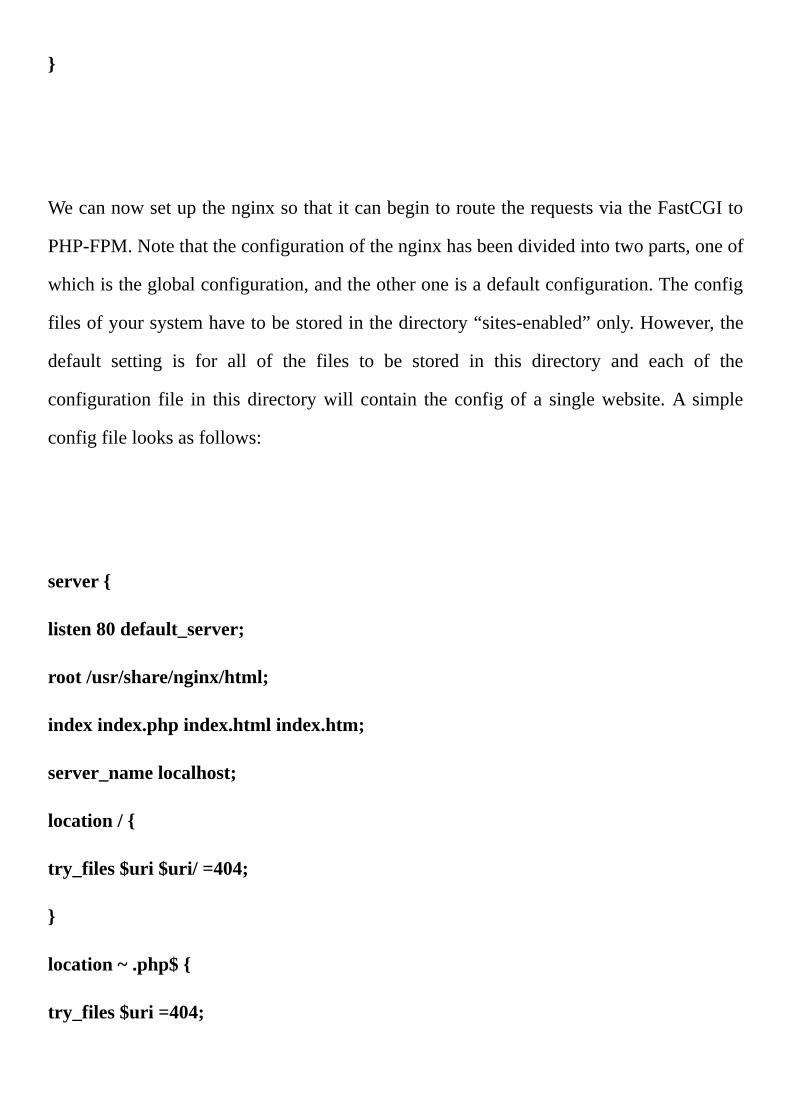
WecannowsetupthenginxsothatitcanbegintoroutetherequestsviatheFastCGIto
PHP-FPM.Notethattheconfigurationofthenginxhasbeendividedintotwoparts,oneof
whichistheglobalconfiguration,andtheotheroneisadefaultconfiguration.Theconfig
filesofyoursystemhavetobestoredinthedirectory“sites-enabled”only.However,the
default setting is for all of the files to be stored in this directory and each of the
configuration file in thisdirectorywill contain the configof a singlewebsite.A simple
configfilelooksasfollows:
server{
listen80default_server;
root/usr/share/nginx/html;
indexindex.phpindex.htmlindex.htm;
server_namelocalhost;
location/{
try_files$uri$uri/=404;
}
location~.php${
try_files$uri=404;
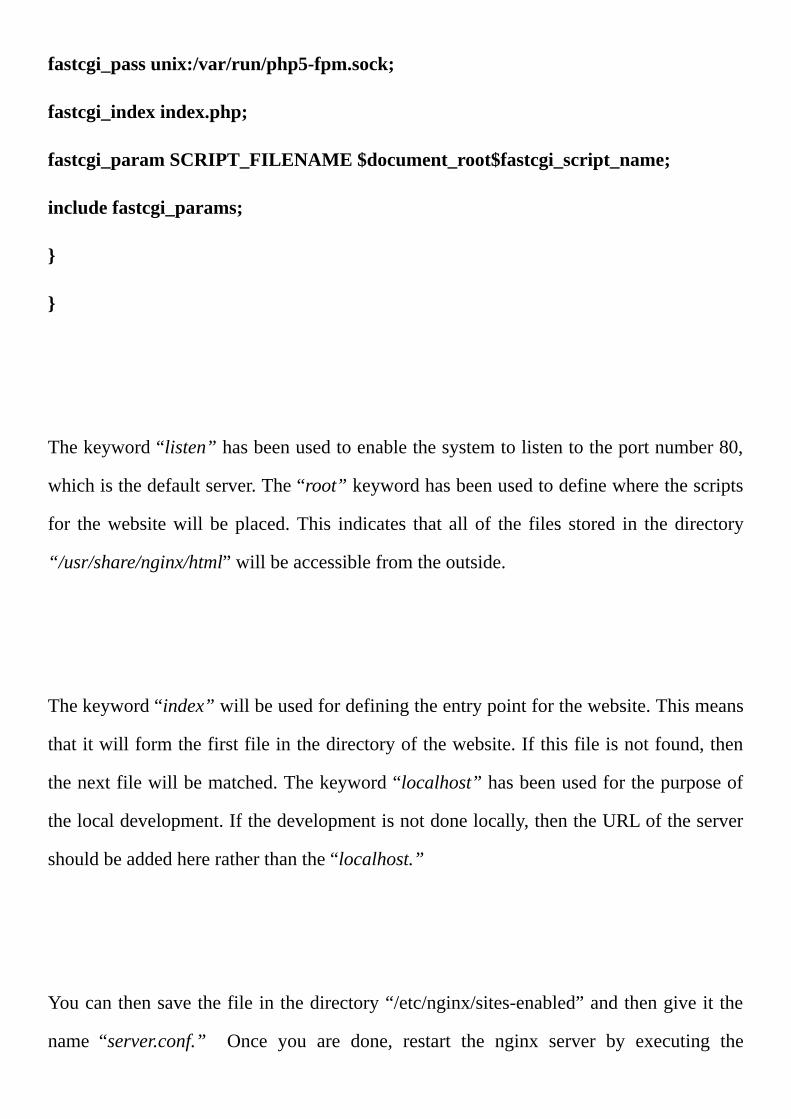
fastcgi_passunix:/var/run/php5-fpm.sock;
fastcgi_indexindex.php;
fastcgi_paramSCRIPT_FILENAME$document_root$fastcgi_script_name;
includefastcgi_params;
}
}
Thekeyword“listen”hasbeenusedtoenablethesystemtolistentotheportnumber80,
whichisthedefaultserver.The“root”keywordhasbeenusedtodefinewherethescripts
for thewebsitewill beplaced.This indicates that all of the files stored in thedirectory
“/usr/share/nginx/html”willbeaccessiblefromtheoutside.
Thekeyword“index”willbeusedfordefiningtheentrypointforthewebsite.Thismeans
thatitwillformthefirstfileinthedirectoryofthewebsite.Ifthisfileisnotfound,then
thenextfilewillbematched.Thekeyword“localhost”hasbeenusedforthepurposeof
thelocaldevelopment.Ifthedevelopmentisnotdonelocally,thentheURLoftheserver
shouldbeaddedhereratherthanthe“localhost.”
Youcanthensavethefileinthedirectory“/etc/nginx/sites-enabled”andthengiveitthe
name “server.conf.” Once you are done, restart the nginx server by executing the
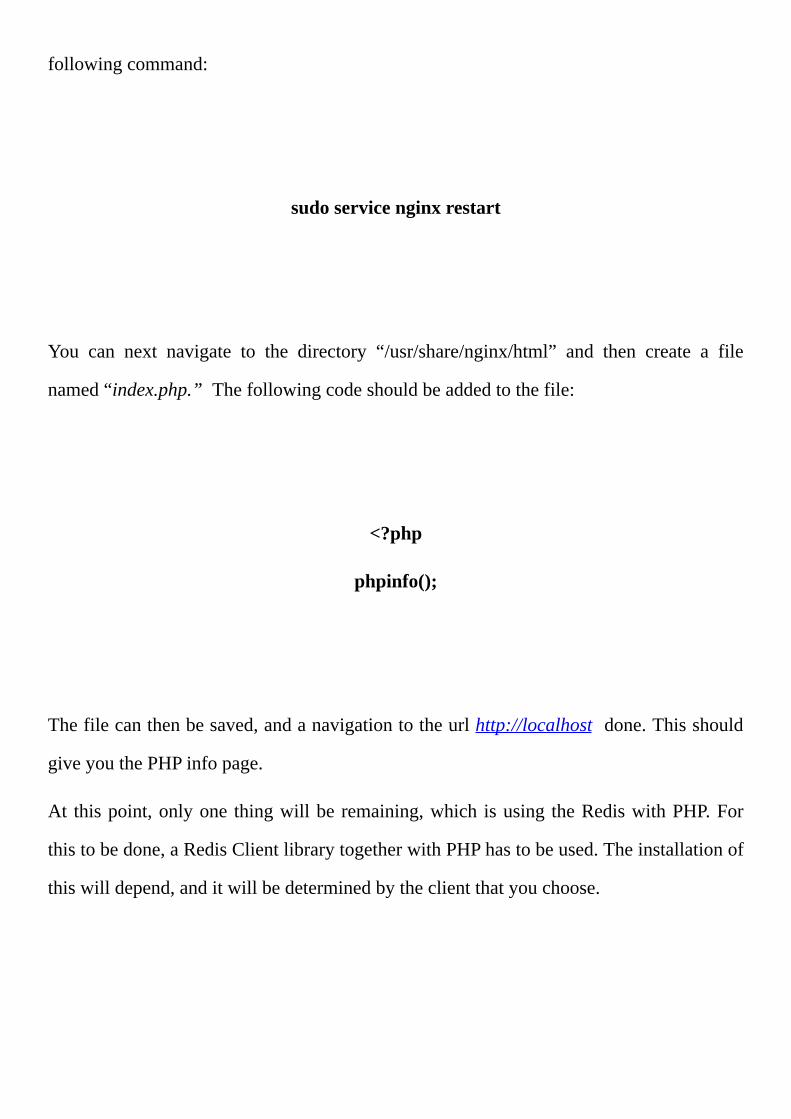
followingcommand:
sudoservicenginxrestart
You can next navigate to the directory “/usr/share/nginx/html” and then create a file
named“index.php.”Thefollowingcodeshouldbeaddedtothefile:
<?php
phpinfo();
Thefilecanthenbesaved,andanavigationtotheurlhttp://localhostdone.Thisshould
giveyouthePHPinfopage.
At thispoint,onlyone thingwillbe remaining,which isusing theRediswithPHP.For
thistobedone,aRedisClientlibrarytogetherwithPHPhastobeused.Theinstallationof
thiswilldepend,anditwillbedeterminedbytheclientthatyouchoose.


Chapter5-MigrationofMongoDBtoDynamoDB
DynamoDBisoneofthenon-StructuredQueryLanguage(NoSQL)databaseswhichare
currentlyinusetoday.Scalingofthisdatabaseisveryeasy,anditoffersnooverheadin
termsofadministration.However, ithasa limitationwhenitcomes to thedesignof the
schema. Once you have migrated your data from MongoDB to DynamoDB, you will
noticethatthetaskofadministeringthedatawillbereduced,andthatitwillbepossible
foryou toarchive theolddata.Thearchivingherecanmean that thedatawhich isnot
queriedmoreoftenbythedatabasecanbemovedandstoredinaslowstorage.Eachofthe
components can have a single table. After setting up the tables, the read and write
operations can be specified for each of the tables, and thiswill be determined by how
oftenthetableisbeingaccessed.
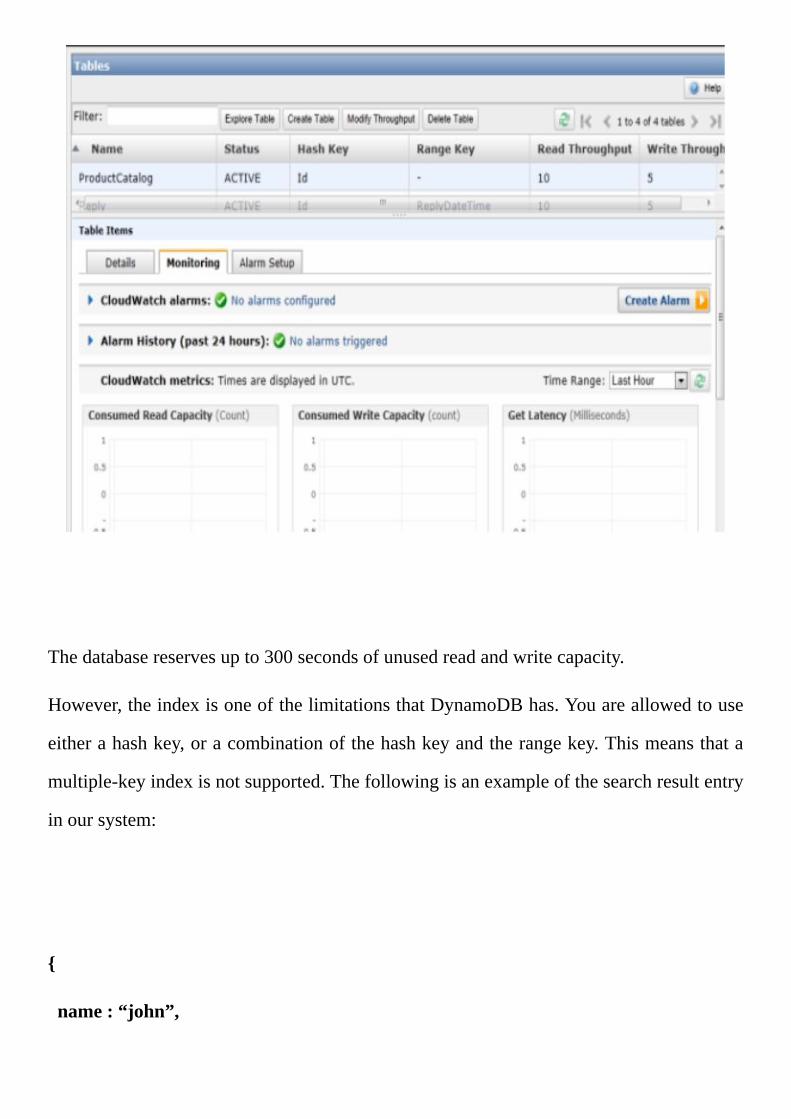
Thedatabasereservesupto300secondsofunusedreadandwritecapacity.
However,theindexisoneofthelimitationsthatDynamoDBhas.Youareallowedtouse
eitherahashkey,oracombinationofthehashkeyandtherangekey.Thismeansthata
multiple-keyindexisnotsupported.Thefollowingisanexampleofthesearchresultentry
inoursystem:
{
name:“john”,
sex:“male”,
country:“US”,
results:“…”,
added_on:2015-07-03T11:00:00Z
}
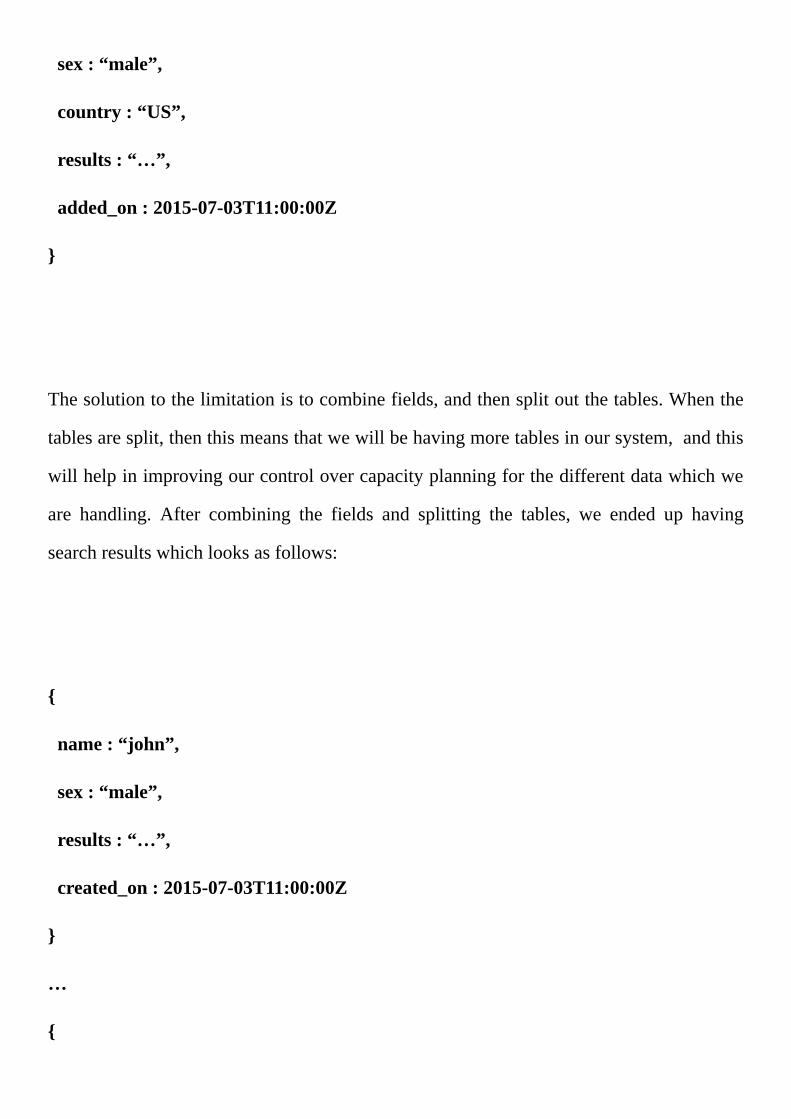
Thesolutiontothelimitationistocombinefields,andthensplitoutthetables.Whenthe
tablesaresplit,thenthismeansthatwewillbehavingmoretablesinoursystem,andthis
willhelpinimprovingourcontrolovercapacityplanningforthedifferentdatawhichwe
are handling. After combining the fields and splitting the tables, we ended up having
searchresultswhichlooksasfollows:
{
name:“john”,
sex:“male”,
results:“…”,
created_on:2015-07-03T11:00:00Z
}
…
{
name:“hellen”,
sex:“female”,
results:“…”,
created_on:2015-08-04T12:00:00Z
}
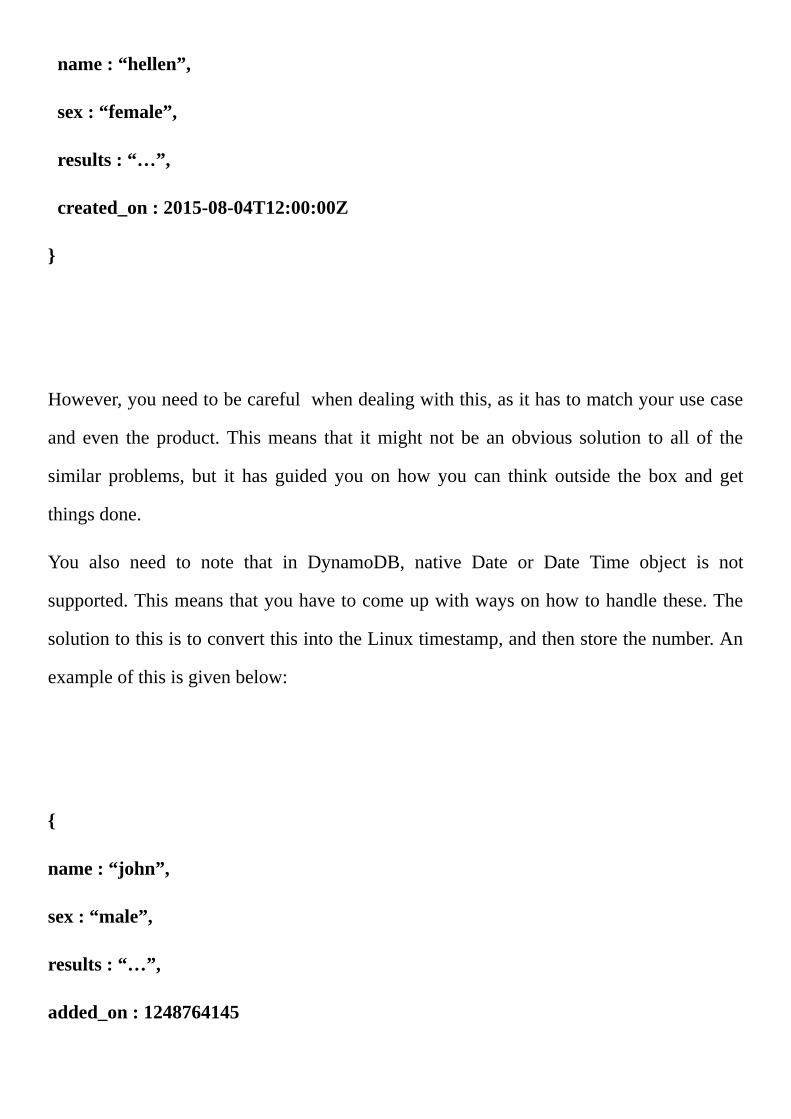
However,youneedtobecarefulwhendealingwiththis,asithastomatchyourusecase
and even theproduct.Thismeans that itmight not be anobvious solution to all of the
similar problems, but it has guided you on how you can think outside the box and get
thingsdone.
You also need to note that in DynamoDB, native Date or Date Time object is not
supported.Thismeansthatyouhavetocomeupwithwaysonhowtohandlethese.The
solutiontothisistoconvertthisintotheLinuxtimestamp,andthenstorethenumber.An
exampleofthisisgivenbelow:
{
name:“john”,
sex:“male”,
results:“…”,
added_on:1248764145
}
Whathappensisthattheconversionofthedateintotimestampisdoneattheapplication
layer,andbeforewecanquerytheDynamoDB.Thesortingcanalsobeperformedatthis
point.
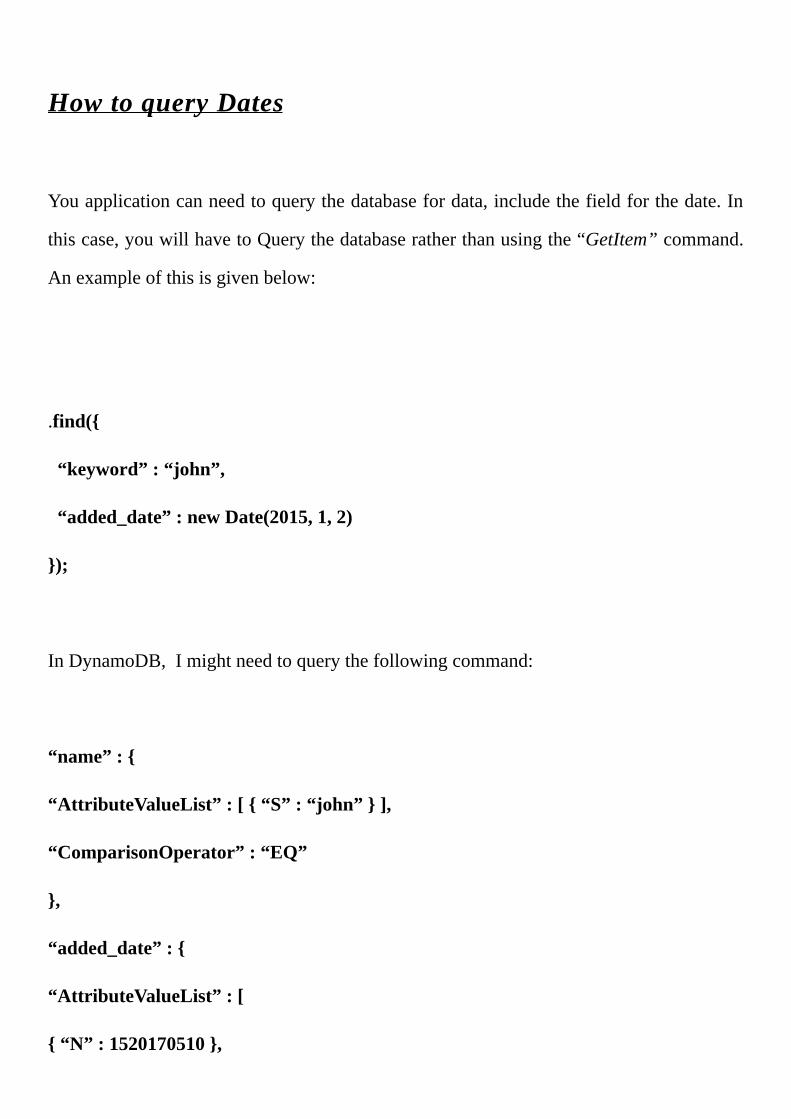
HowtoqueryDates
Youapplicationcanneedtoquerythedatabasefordata,includethefieldforthedate.In
thiscase,youwillhavetoQuerythedatabaseratherthanusingthe“GetItem”command.
Anexampleofthisisgivenbelow:
.find({
“keyword”:“john”,
“added_date”:newDate(2015,1,2)
});
InDynamoDB,Imightneedtoquerythefollowingcommand:
“name”:{
“AttributeValueList”:[{“S”:“john”}],
“ComparisonOperator”:“EQ”
},
“added_date”:{
“AttributeValueList”:[
{“N”:1520170510},
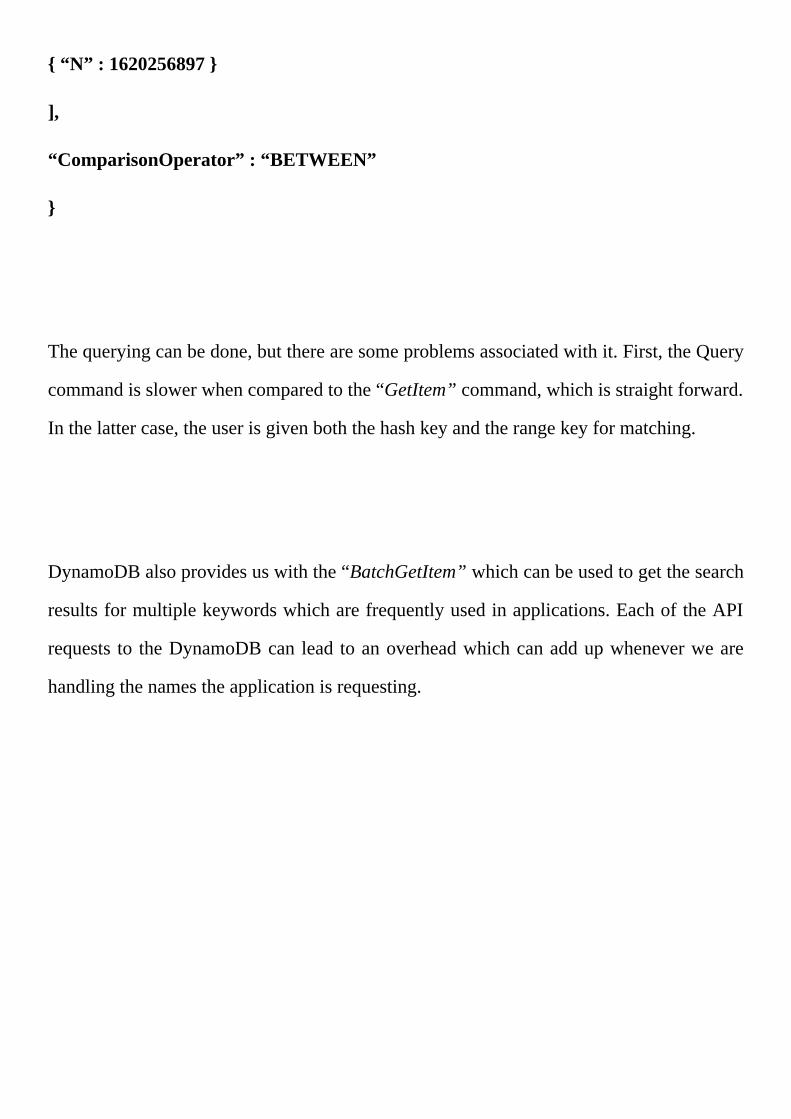
{“N”:1620256897}
],
“ComparisonOperator”:“BETWEEN”
}
Thequeryingcanbedone,buttherearesomeproblemsassociatedwithit.First,theQuery
commandisslowerwhencomparedtothe“GetItem”command,whichisstraightforward.
Inthelattercase,theuserisgivenboththehashkeyandtherangekeyformatching.
DynamoDBalsoprovidesuswiththe“BatchGetItem”whichcanbeusedtogetthesearch
resultsformultiplekeywordswhicharefrequentlyusedinapplications.EachoftheAPI
requests to theDynamoDBcan lead toanoverheadwhichcanaddupwheneverweare
handlingthenamestheapplicationisrequesting.
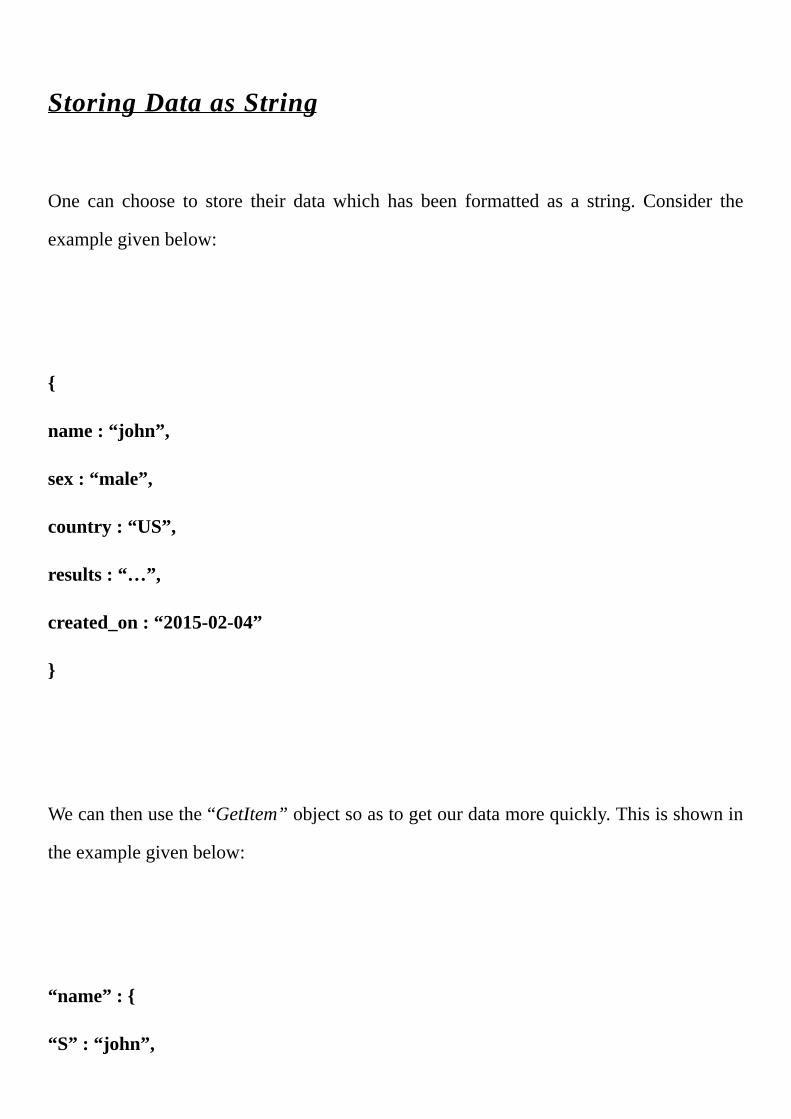
StoringDataasString
One can choose to store their datawhich has been formatted as a string. Consider the
examplegivenbelow:
{
name:“john”,
sex:“male”,
country:“US”,
results:“…”,
created_on:“2015-02-04”
}
Wecanthenusethe“GetItem”objectsoastogetourdatamorequickly.Thisisshownin
theexamplegivenbelow:
“name”:{
“S”:“john”,
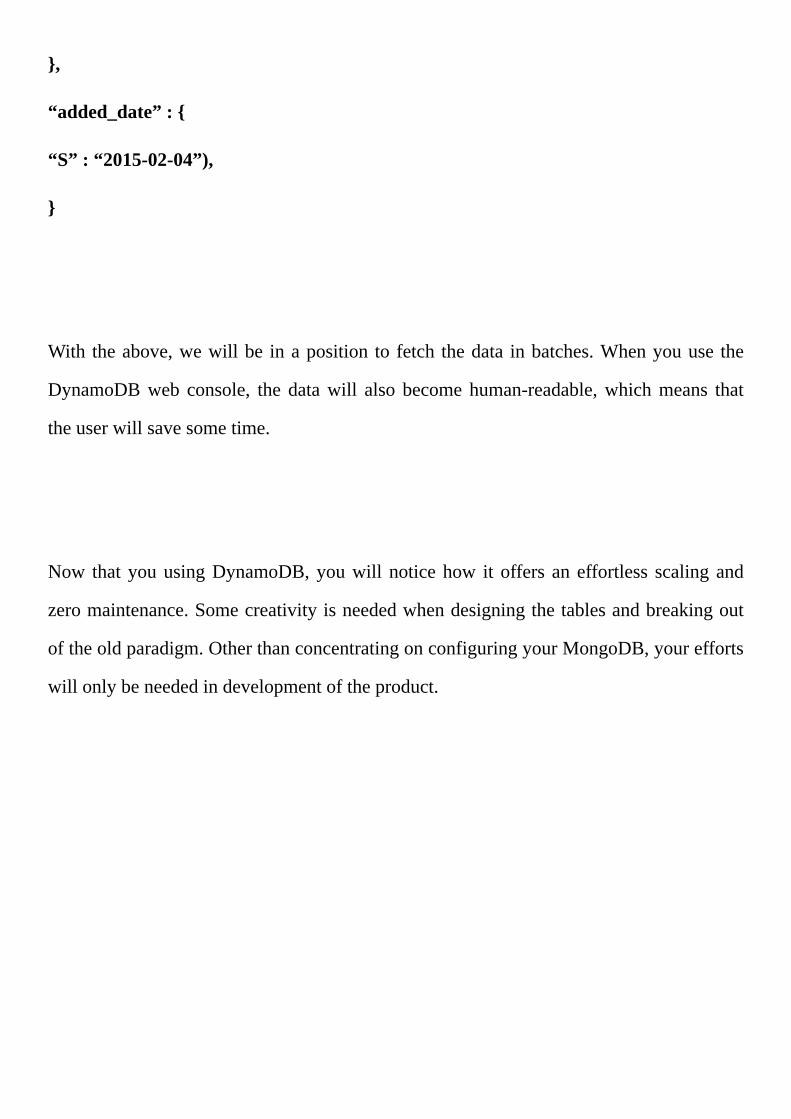
},
“added_date”:{
“S”:“2015-02-04”),
}
With theabove,wewillbe inaposition to fetch thedata inbatches.Whenyouuse the
DynamoDBweb console, the datawill also becomehuman-readable,whichmeans that
theuserwillsavesometime.
Now thatyouusingDynamoDB,youwill noticehow it offers aneffortless scalingand
zeromaintenance.Somecreativityisneededwhendesigningthetablesandbreakingout
oftheoldparadigm.OtherthanconcentratingonconfiguringyourMongoDB,yourefforts
willonlybeneededindevelopmentoftheproduct.


Chapter6-MongoDBandTreeStructures
InMongoDB,wecanstoretreestructures.Mostprojectsusuallydealwithtreestructures,
and this is why you need to know how to store these in MongoDB. However, when
dealingwithtreestructuresintheMongoDB,weshouldbeabletoperformoperationsin
thetreewhichincludeinserting,updating,andremovalofnodes,calculatethepathwhich
leadstoaparticularnode,andthengetallthedescendantsofaparticularnode.
Forustooperatewiththetree,somecalculationswillbeneededforchangingtheposition
ofaparticularnodetogetherwithitssiblings.
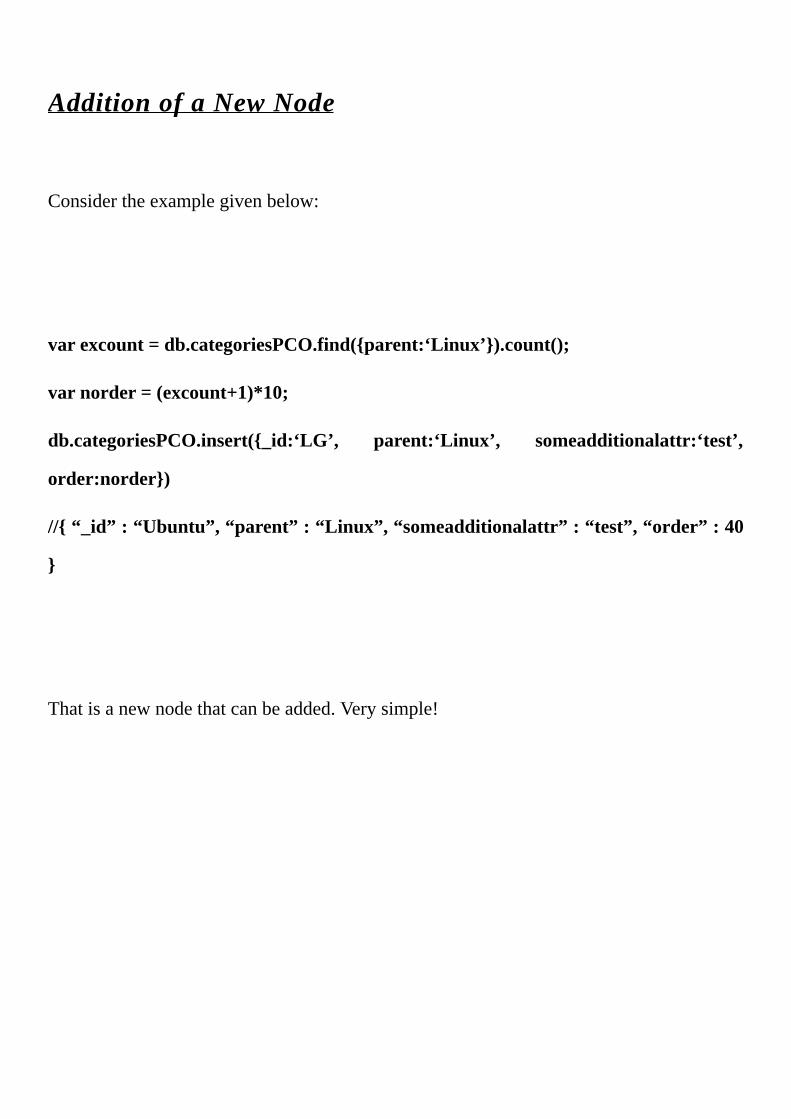
AdditionofaNewNode
Considertheexamplegivenbelow:
varexcount=db.categoriesPCO.find({parent:‘Linux’}).count();
varnorder=(excount+1)*10;
db.categoriesPCO.insert({_id:‘LG’, parent:‘Linux’, someadditionalattr:‘test’,
order:norder})
//{“_id”:“Ubuntu”,“parent”:“Linux”,“someadditionalattr”:“test”,“order”:40
}
Thatisanewnodethatcanbeadded.Verysimple!
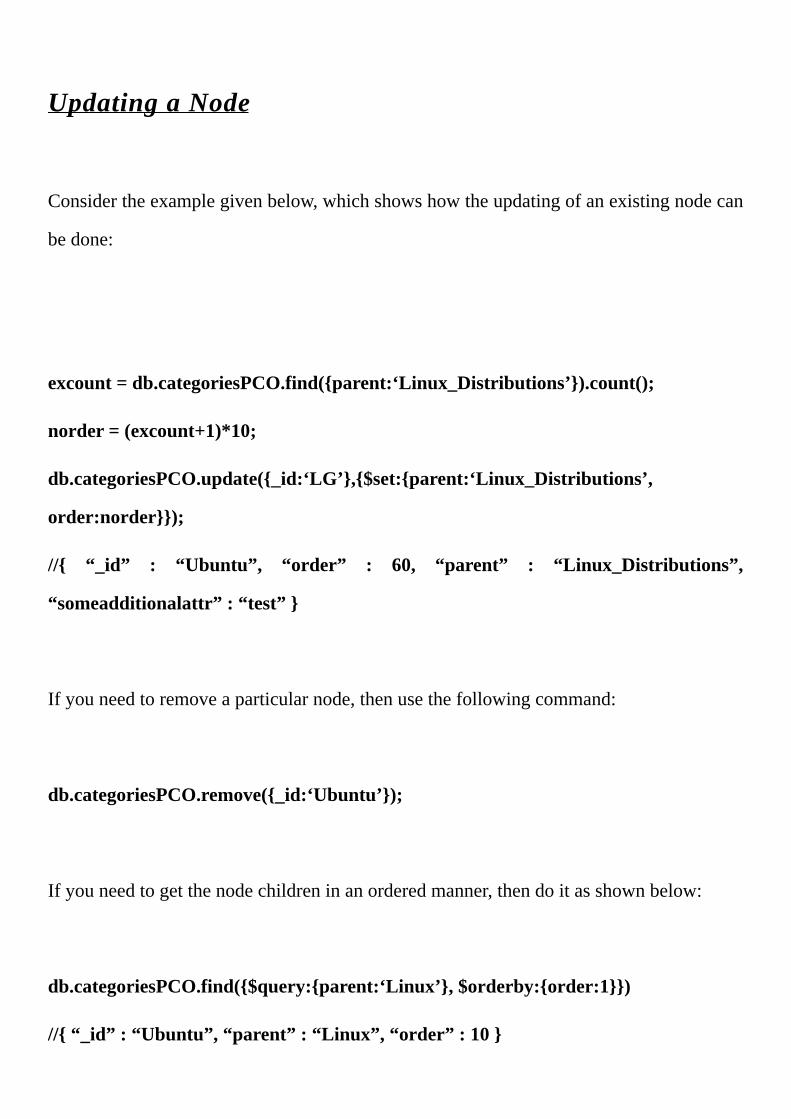
UpdatingaNode
Considertheexamplegivenbelow,whichshowshowtheupdatingofanexistingnodecan
bedone:
excount=db.categoriesPCO.find({parent:‘Linux_Distributions’}).count();
norder=(excount+1)*10;
db.categoriesPCO.update({_id:‘LG’},{$set:{parent:‘Linux_Distributions’,
order:norder}});
//{ “_id” : “Ubuntu”, “order” : 60, “parent” : “Linux_Distributions”,
“someadditionalattr”:“test”}
Ifyouneedtoremoveaparticularnode,thenusethefollowingcommand:
db.categoriesPCO.remove({_id:‘Ubuntu’});
Ifyouneedtogetthenodechildreninanorderedmanner,thendoitasshownbelow:
db.categoriesPCO.find({$query:{parent:‘Linux’},$orderby:{order:1}})
//{“_id”:“Ubuntu”,“parent”:“Linux”,“order”:10}
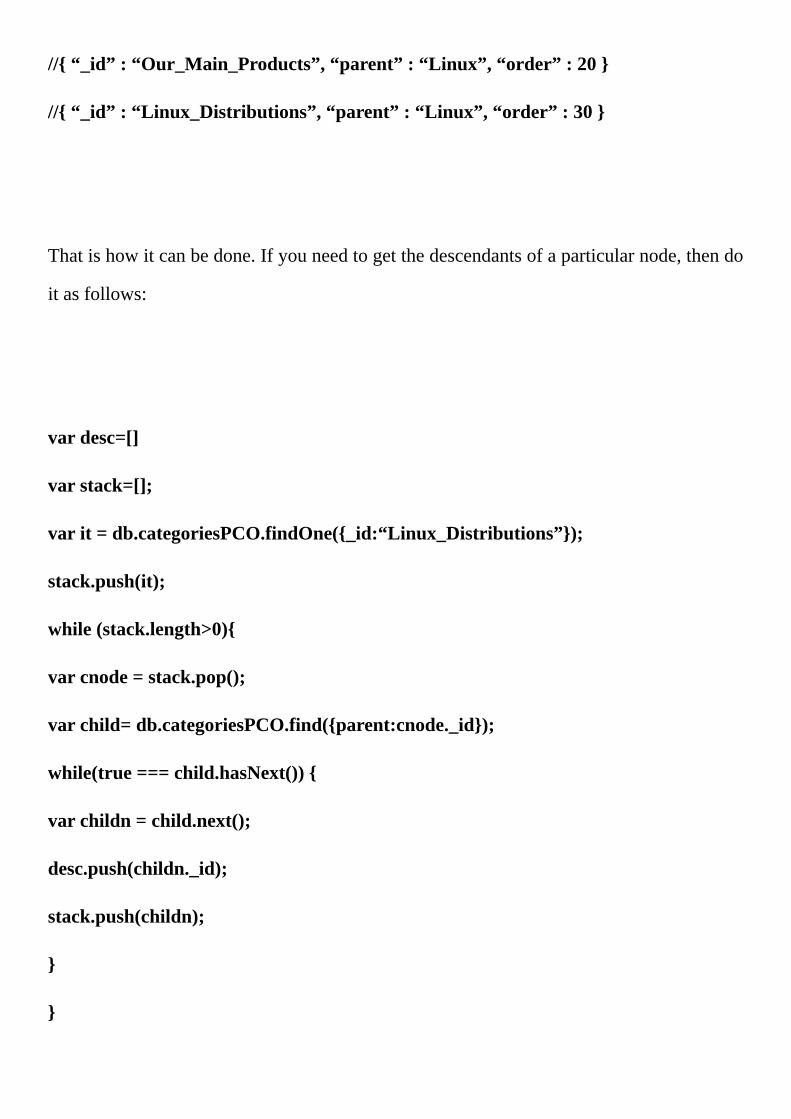
//{“_id”:“Our_Main_Products”,“parent”:“Linux”,“order”:20}
//{“_id”:“Linux_Distributions”,“parent”:“Linux”,“order”:30}
Thatishowitcanbedone.Ifyouneedtogetthedescendantsofaparticularnode,thendo
itasfollows:
vardesc=[]
varstack=[];
varit=db.categoriesPCO.findOne({_id:“Linux_Distributions”});
stack.push(it);
while(stack.length>0){
varcnode=stack.pop();
varchild=db.categoriesPCO.find({parent:cnode._id});
while(true===child.hasNext()){
varchildn=child.next();
desc.push(childn._id);
stack.push(childn);
}
}

desc.join(“,”)
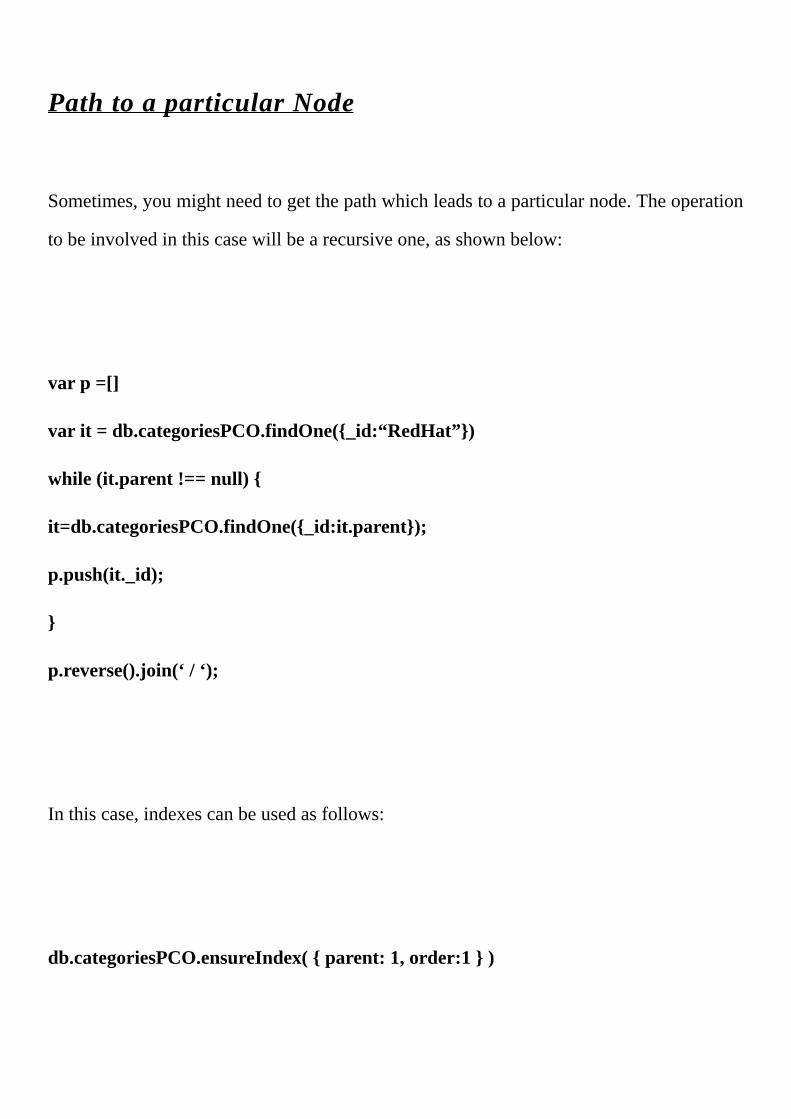
PathtoaparticularNode
Sometimes,youmightneedtogetthepathwhichleadstoaparticularnode.Theoperation
tobeinvolvedinthiscasewillbearecursiveone,asshownbelow:
varp=[]
varit=db.categoriesPCO.findOne({_id:“RedHat”})
while(it.parent!==null){
it=db.categoriesPCO.findOne({_id:it.parent});
p.push(it._id);
}
p.reverse().join(‘/‘);
Inthiscase,indexescanbeusedasfollows:
db.categoriesPCO.ensureIndex({parent:1,order:1})
The above operations are for tree structureswhich have a parent reference. In the next
section,wewilldiscusstreestructureswhichhaveachildreference.
Inthiscase,an“ID”anda“ChildReference”foreachnodewillbestored.Anorderfield
will not be necessary for this case, because the information is provided by the child
collection.Inmostcases,theorderofanarrayispreferred,butifthisisnotsupportedin
your case, then an additional codewill have to be written for yourmaintaining of the
order,meaningthatmuchcomplexitywillbeinvolved.
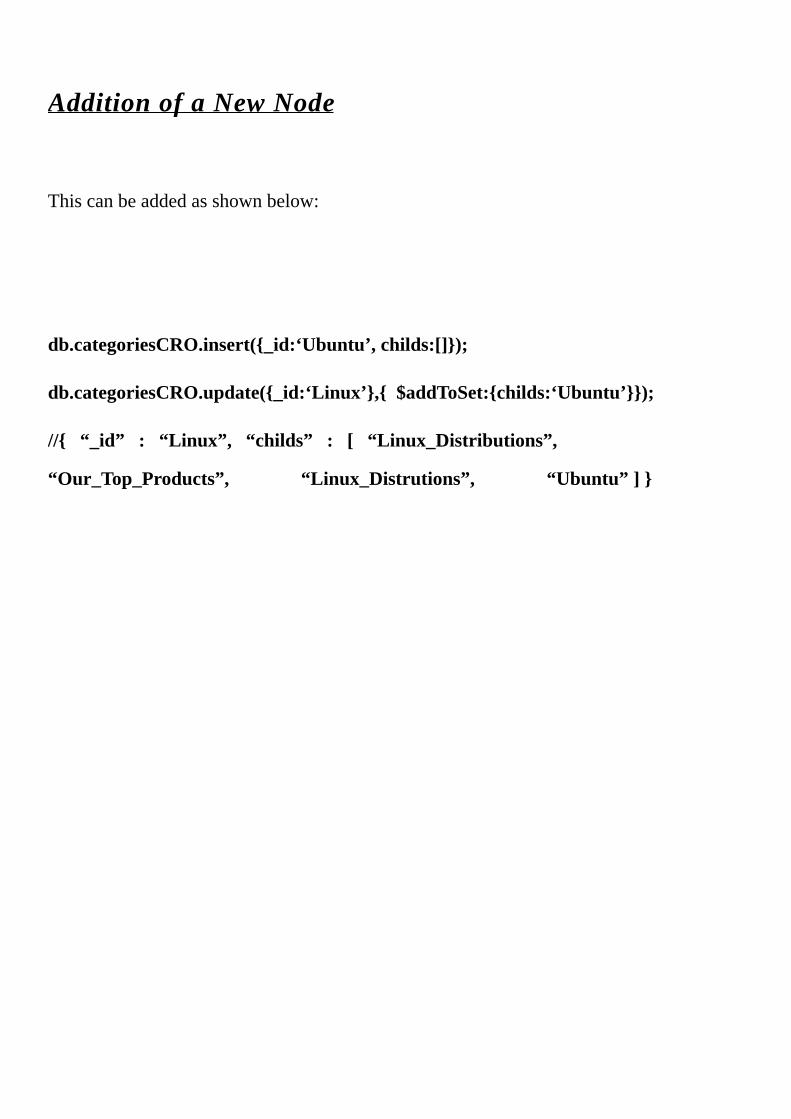
AdditionofaNewNode
Thiscanbeaddedasshownbelow:
db.categoriesCRO.insert({_id:‘Ubuntu’,childs:[]});
db.categoriesCRO.update({_id:‘Linux’},{$addToSet:{childs:‘Ubuntu’}});
//{ “_id” : “Linux”, “childs” : [ “Linux_Distributions”,
“Our_Top_Products”,“Linux_Distrutions”,“Ubuntu”]}
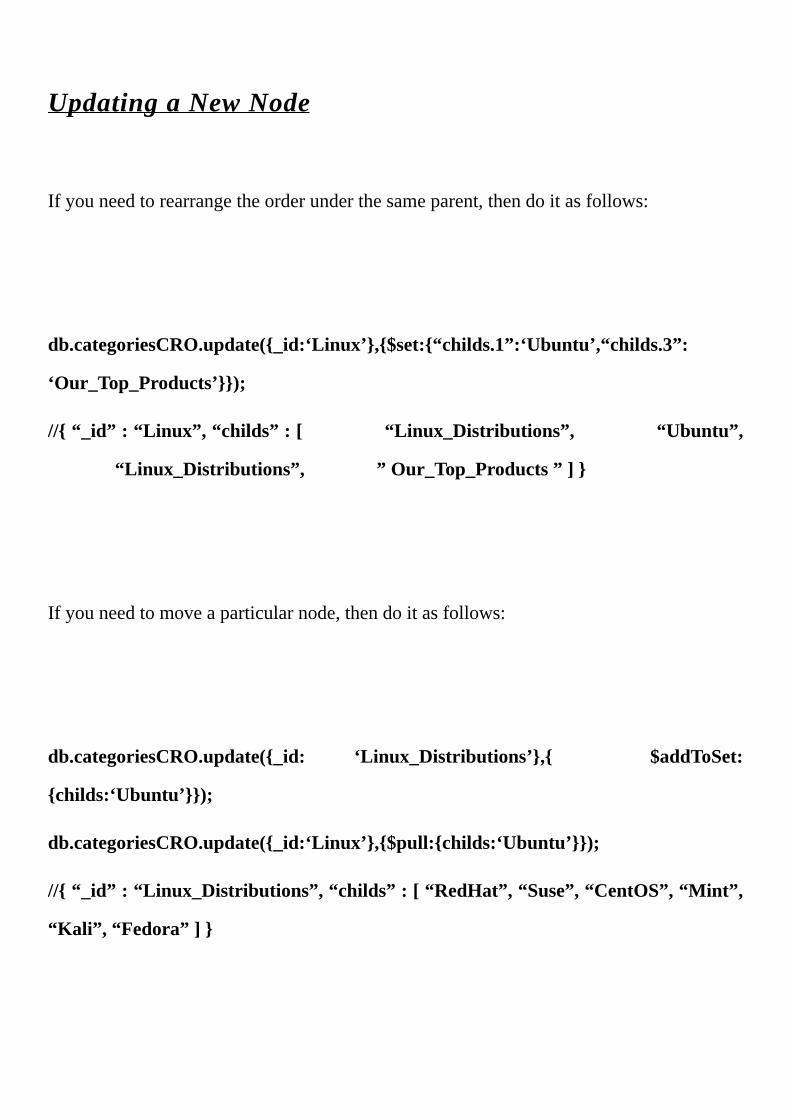
UpdatingaNewNode
Ifyouneedtorearrangetheorderunderthesameparent,thendoitasfollows:
db.categoriesCRO.update({_id:‘Linux’},{$set:{“childs.1”:‘Ubuntu’,“childs.3”:
‘Our_Top_Products’}});
//{“_id”:“Linux”,“childs”:[“Linux_Distributions”,“Ubuntu”,
“Linux_Distributions”,”Our_Top_Products”]}
Ifyouneedtomoveaparticularnode,thendoitasfollows:
db.categoriesCRO.update({_id: ‘Linux_Distributions’},{ $addToSet:
{childs:‘Ubuntu’}});
db.categoriesCRO.update({_id:‘Linux’},{$pull:{childs:‘Ubuntu’}});
//{“_id”:“Linux_Distributions”,“childs”:[“RedHat”,“Suse”,“CentOS”,“Mint”,
“Kali”,“Fedora”]}

Ifyouneedtoremoveaparticularnode,thendoitasfollows:
db.categoriesCRO.update({_id:‘Linux_Distributions’},{$pull:{childs:‘Ubuntu’}})
db.categoriesCRO.remove({_id:‘Ubuntu’});
Theabovecodewillremovethenodethatyouspecify.
Ifyouneedtogetthechildrenofanodeinanorderedmanner,thendoitasfollows:
varp=db.categoriesCRO.findOne({_id:‘Linux’})
db.categoriesCRO.find({_id:{$in:p.childs}})
However,notethatintheabove,anadditionalsortingintheclientsidewillbeneededin
theparentarraysequence.
Togetallofthedescendantsofaparticularnode,thendoitasfollows:
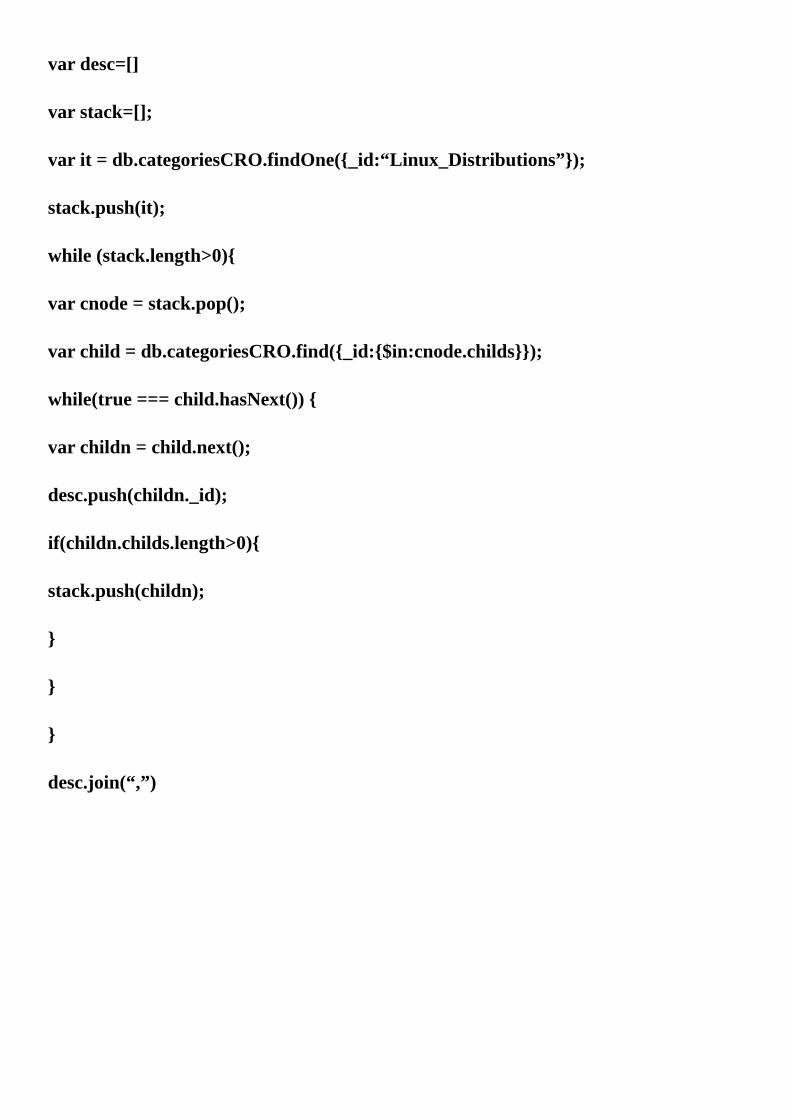
vardesc=[]
varstack=[];
varit=db.categoriesCRO.findOne({_id:“Linux_Distributions”});
stack.push(it);
while(stack.length>0){
varcnode=stack.pop();
varchild=db.categoriesCRO.find({_id:{$in:cnode.childs}});
while(true===child.hasNext()){
varchildn=child.next();
desc.push(childn._id);
if(childn.childs.length>0){
stack.push(childn);
}
}
}
desc.join(“,”)

PathtoaNode
Ifyouneedtoobtainapathwhichleadstoaparticularnode,thendoitasfollows:
varp=[]
varit=db.categoriesCRO.findOne({_id:“Ubuntu”})
while((it=db.categoriesCRO.findOne({childs:it._id}))){
p.push(it._id);
}
p.reverse().join(‘/‘);
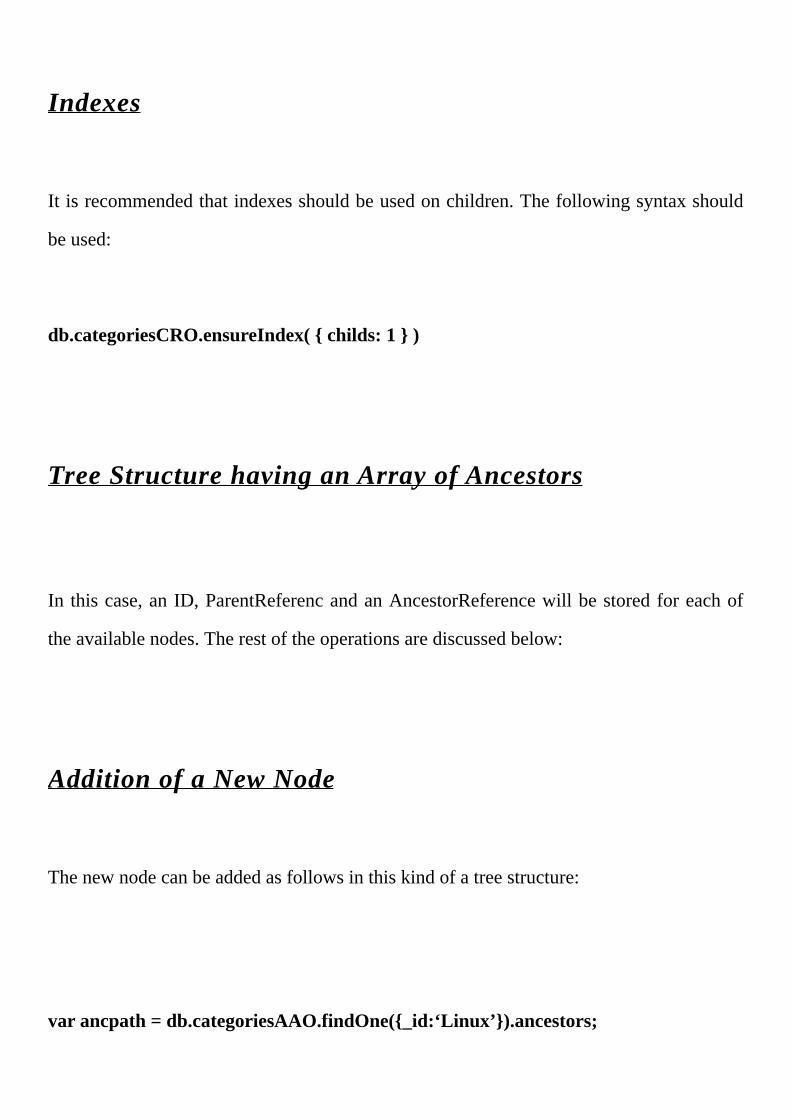
Indexes
Itisrecommendedthatindexesshouldbeusedonchildren.Thefollowingsyntaxshould
beused:
db.categoriesCRO.ensureIndex({childs:1})
TreeStructurehavinganArrayofAncestors
In thiscase,anID,ParentReferencandanAncestorReferencewillbestoredforeachof
theavailablenodes.Therestoftheoperationsarediscussedbelow:
AdditionofaNewNode
Thenewnodecanbeaddedasfollowsinthiskindofatreestructure:
varancpath=db.categoriesAAO.findOne({_id:‘Linux’}).ancestors;
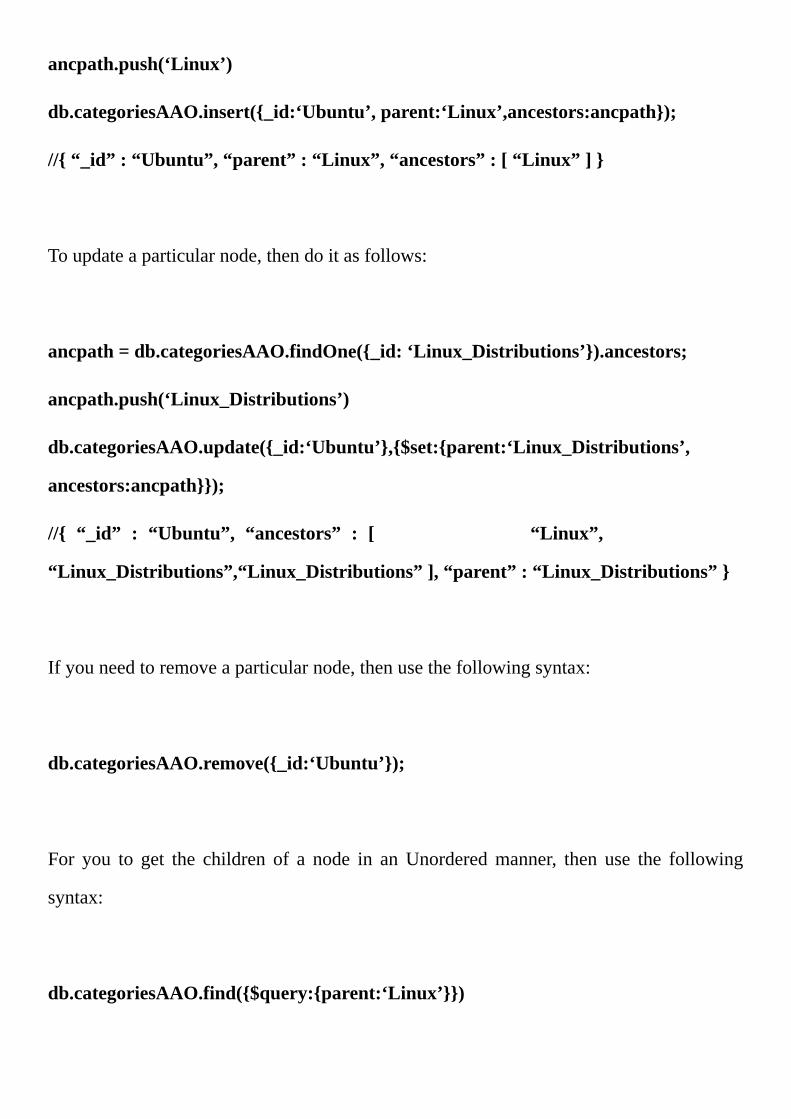
ancpath.push(‘Linux’)
db.categoriesAAO.insert({_id:‘Ubuntu’,parent:‘Linux’,ancestors:ancpath});
//{“_id”:“Ubuntu”,“parent”:“Linux”,“ancestors”:[“Linux”]}
Toupdateaparticularnode,thendoitasfollows:
ancpath=db.categoriesAAO.findOne({_id:‘Linux_Distributions’}).ancestors;
ancpath.push(‘Linux_Distributions’)
db.categoriesAAO.update({_id:‘Ubuntu’},{$set:{parent:‘Linux_Distributions’,
ancestors:ancpath}});
//{ “_id” : “Ubuntu”, “ancestors” : [ “Linux”,
“Linux_Distributions”,“Linux_Distributions”],“parent”:“Linux_Distributions”}
Ifyouneedtoremoveaparticularnode,thenusethefollowingsyntax:
db.categoriesAAO.remove({_id:‘Ubuntu’});
For you to get the children of a node in anUnorderedmanner, then use the following
syntax:
db.categoriesAAO.find({$query:{parent:‘Linux’}})
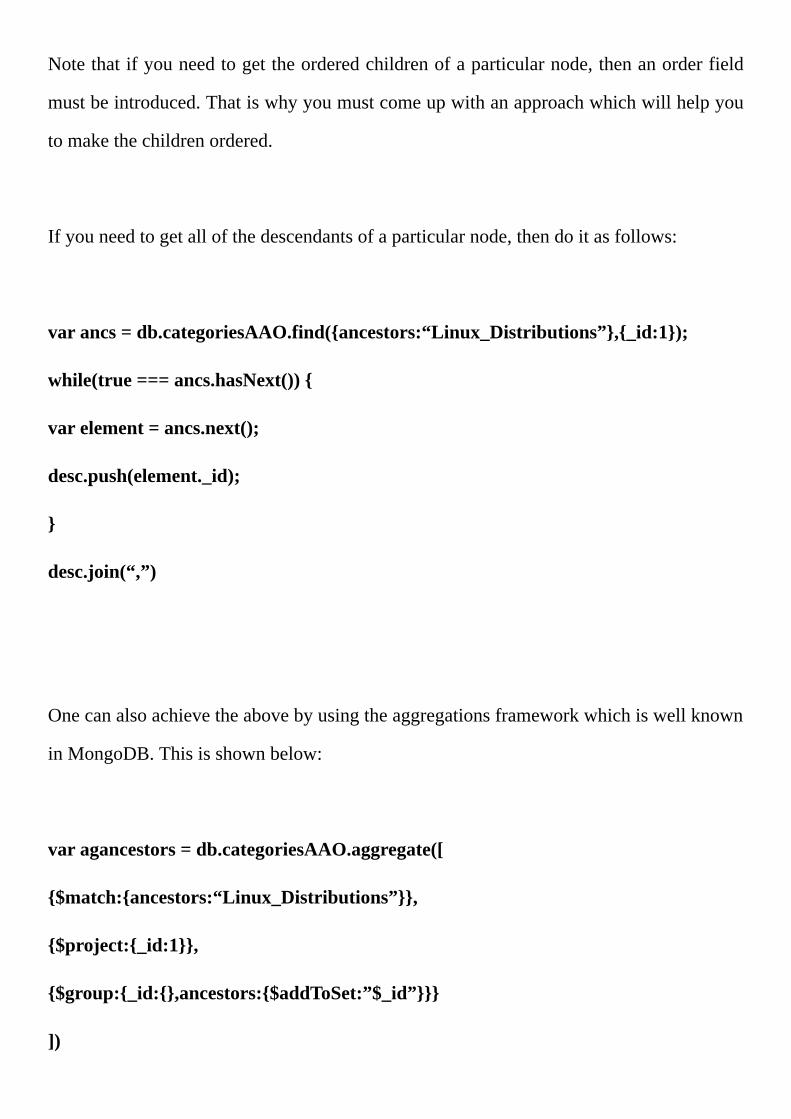
Notethatifyouneedtogettheorderedchildrenofaparticularnode,thenanorderfield
mustbeintroduced.Thatiswhyyoumustcomeupwithanapproachwhichwillhelpyou
tomakethechildrenordered.
Ifyouneedtogetallofthedescendantsofaparticularnode,thendoitasfollows:
varancs=db.categoriesAAO.find({ancestors:“Linux_Distributions”},{_id:1});
while(true===ancs.hasNext()){
varelement=ancs.next();
desc.push(element._id);
}
desc.join(“,”)
Onecanalsoachievetheabovebyusingtheaggregationsframeworkwhichiswellknown
inMongoDB.Thisisshownbelow:
varagancestors=db.categoriesAAO.aggregate([
{$match:{ancestors:“Linux_Distributions”}},
{$project:{_id:1}},
{$group:{_id:{},ancestors:{$addToSet:”$_id”}}}
])
desce=agancestors.result[0].ancestors
desc.join(“,”)
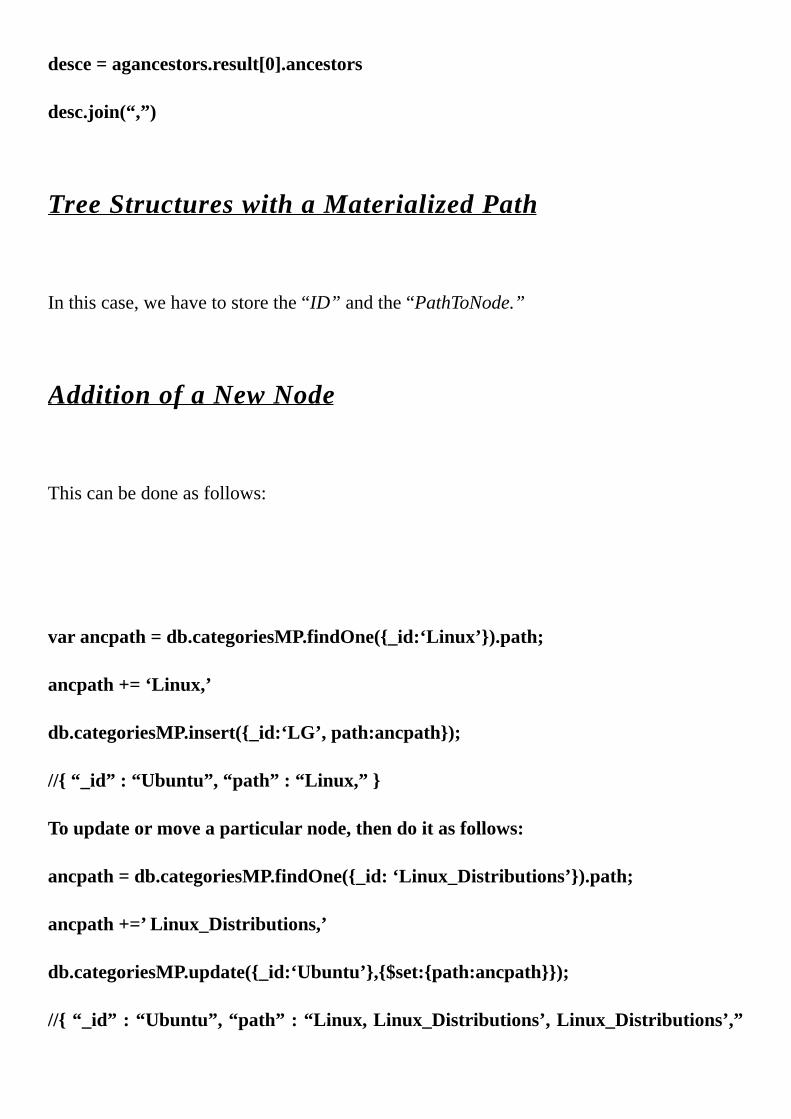
TreeStructureswithaMaterializedPath
Inthiscase,wehavetostorethe“ID”andthe“PathToNode.”
AdditionofaNewNode
Thiscanbedoneasfollows:
varancpath=db.categoriesMP.findOne({_id:‘Linux’}).path;
ancpath+=‘Linux,’
db.categoriesMP.insert({_id:‘LG’,path:ancpath});
//{“_id”:“Ubuntu”,“path”:“Linux,”}
Toupdateormoveaparticularnode,thendoitasfollows:
ancpath=db.categoriesMP.findOne({_id:‘Linux_Distributions’}).path;
ancpath+=’Linux_Distributions,’
db.categoriesMP.update({_id:‘Ubuntu’},{$set:{path:ancpath}});
//{“_id”:“Ubuntu”,“path”:“Linux,Linux_Distributions’,Linux_Distributions’,”
}
Toremoveaparticularnode,thenusethefollowingsyntax:
db.categoriesMP.remove({_id:‘Ubuntu’});


Chapter7-ConfigurationofApacheforMultipleDomains
Sometimes, you might need your Apache web server to handle multiple names for
domains,and todeliver thecorrect site to thevisitors.Youneed toknowhow tocreate
Apachevirtualhosts,testthenamesofdomainssoastobesurethatthewebserverthey
arepointingtoisthecorrectone,andthenperformaconfigurationontheApachevirtual
hostfilessothatthenamesforthedomainscanbepointingtoaspecificfolder.
ConfigurationoftheApachevhost
When the domains are working effectively and as expected, we should configure the
Apacheso that itcanroute thedomainnames to thesitedirectory.Thiscanbedoneby
followingthestepsgivenbelow:
1. LocateandnavigatetothedirectoryhavingyourApacheconfiguration.ForUbuntu
users,thencanbefoundat“/etc/apache2.”Forothertypesofservers,thiscanbe
foundat“/etc/http.”
2. Youcanthenlocatethevhostconfiguration.ForUbuntuusers, thisshouldbethe
directory“sites-available.”Fortheusersofothertypesofservers,thentheymight
havetoeditthefile“httpd.conf.”
3. Youcanthenopenorcreatethevhostconfiguration.ForUbuntuusers,justcreatea
newfileinthedirectory“sites-available.”Thefilecanbegiventhesamenameas
thenameofthedomain.However,youcanchoosethenamethatyouwantforthe
file,providedyoucanrecallit.
4. Anewvhostrecordcanthenbeadded.TheApachedirectivescanthenbeaddedto
the file.However,onehas tohaveServerAlias,ServerName, andDocumentRoot
directivesforaparticularhost.Anexampleofthisisgivenbelow:
#ThevhostrecordcannowbestartedonthedefaultHTTPport80
<VirtualHost*:80>
#Thevhostname.
ServerNameudrupal.com
#Thealternativenamesforthesamevhost.
# The other domains can be added here. These will be moved to the same
place.
ServerAliasnews.udrupal.com
ServerAliasudrupalalumni.com
#ThisistheDirectorywherethecodeforthewebsitelives.
DocumentRoot/home/udrupal/www
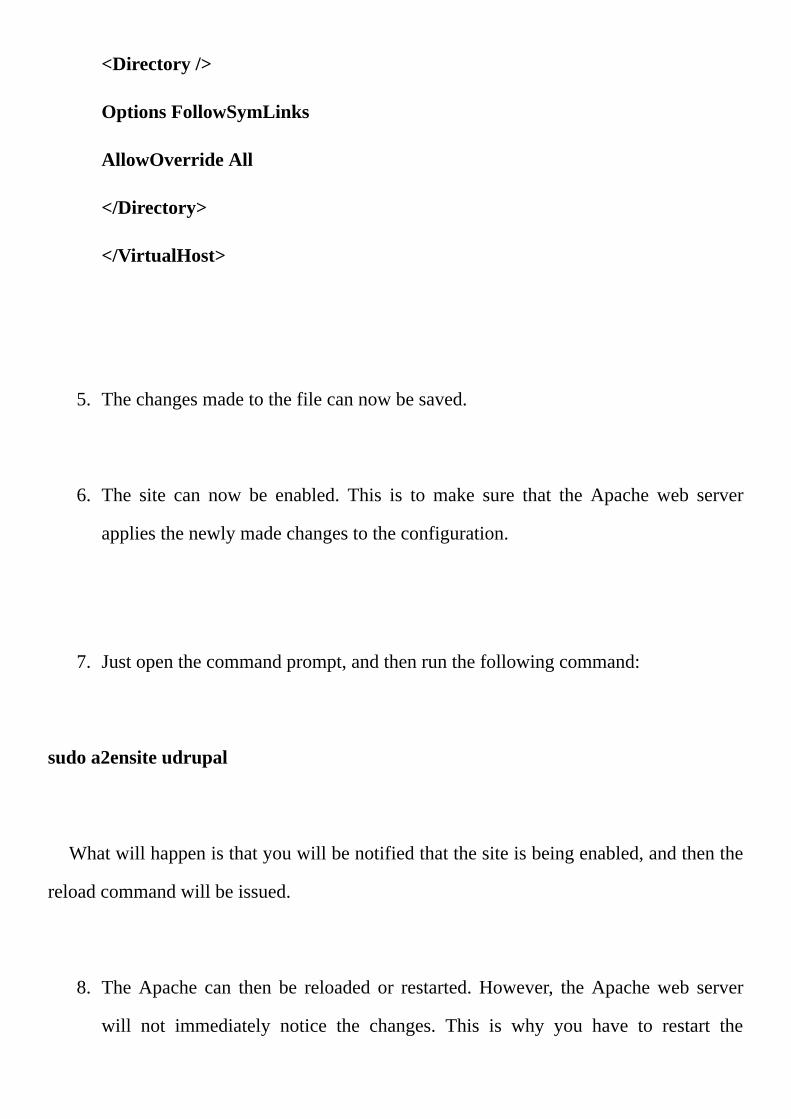
<Directory/>
OptionsFollowSymLinks
AllowOverrideAll
</Directory>
</VirtualHost>
5. Thechangesmadetothefilecannowbesaved.
6. The site can now be enabled. This is to make sure that the Apache web server
appliesthenewlymadechangestotheconfiguration.
7. Justopenthecommandprompt,andthenrunthefollowingcommand:
sudoa2ensiteudrupal
Whatwillhappenisthatyouwillbenotifiedthatthesiteisbeingenabled,andthenthe
reloadcommandwillbeissued.
8. TheApache can then be reloaded or restarted.However, theApacheweb server
will not immediately notice the changes. This is why you have to restart the
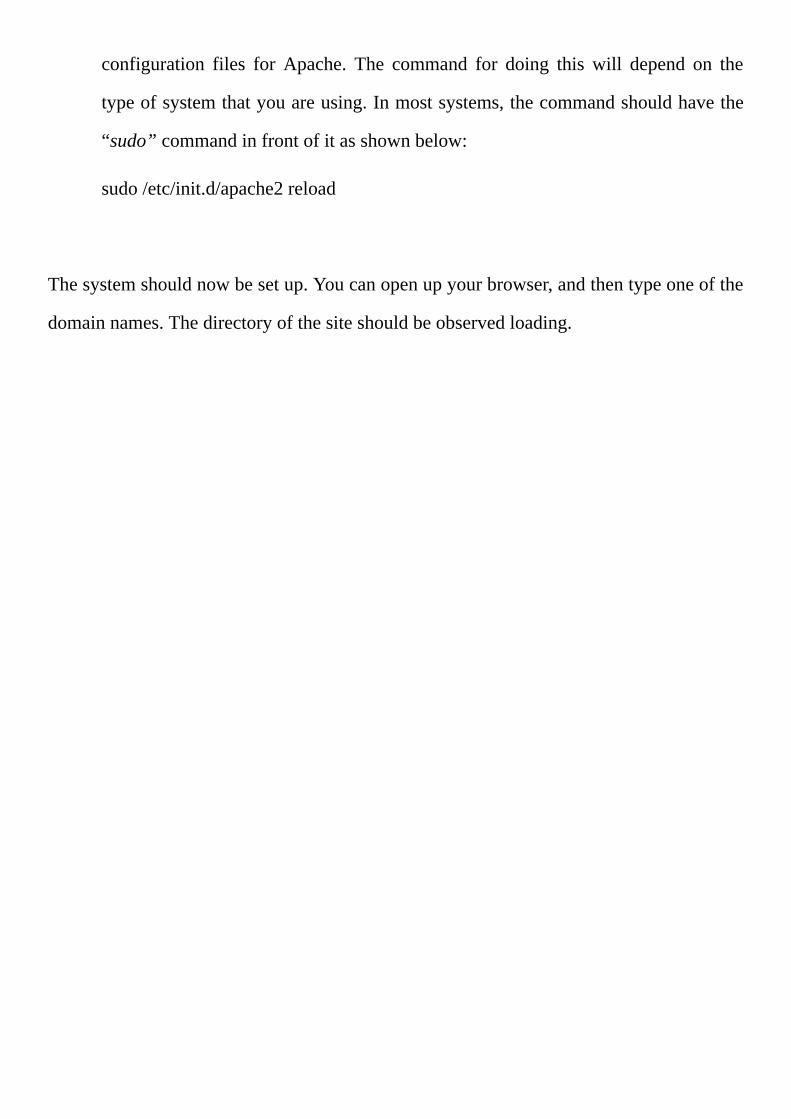
configuration files for Apache. The command for doing this will depend on the
typeofsystemthatyouareusing.Inmostsystems,thecommandshouldhavethe
“sudo”commandinfrontofitasshownbelow:
sudo/etc/init.d/apache2reload
Thesystemshouldnowbesetup.Youcanopenupyourbrowser,andthentypeoneofthe
domainnames.Thedirectoryofthesiteshouldbeobservedloading.


Chapter8-ReverseCacheProxyinNginx
Afterreadingthischapter,youwillunderstandtheimportanceandknowhowtosetupin
Nginx.With the reverse cache proxy in Nginx, the performance of the system can be
greatly improved, and itmakes it possible for the system to handlemultiple concurrent
usersonthelandingpages.
However,mostpeopledonotknowwhatNginx is. It is just anOpenSourceHttpWeb
server and a reverse web server. It is currently being used today for the powering of
websites,rangingfromsimpletocomplexones.Thiswebserverhelpsinhandlingusers,
andespeciallymultipleconcurrentusers.Whenitcomestowebsites,usersusuallyissue
requeststothesystem,andthenwaitforthefeedbackfromit.
Theproblemcomeswhenalltheusersarenewtothesite,andtheyallissuerequests.In
thiscase,servicingtherequestsforalloftheseusersbecomesabittricky.Thesolutionto
thisproblemistocomeupwiththestrategyofcaching.Considerasituationwherebyall
oftheconcurrentusersarerequestingthesamepage.Inthiscase,thepagecanbeplaced
in the cache, in which case once any user requests it, then it will be issued to them
directly.
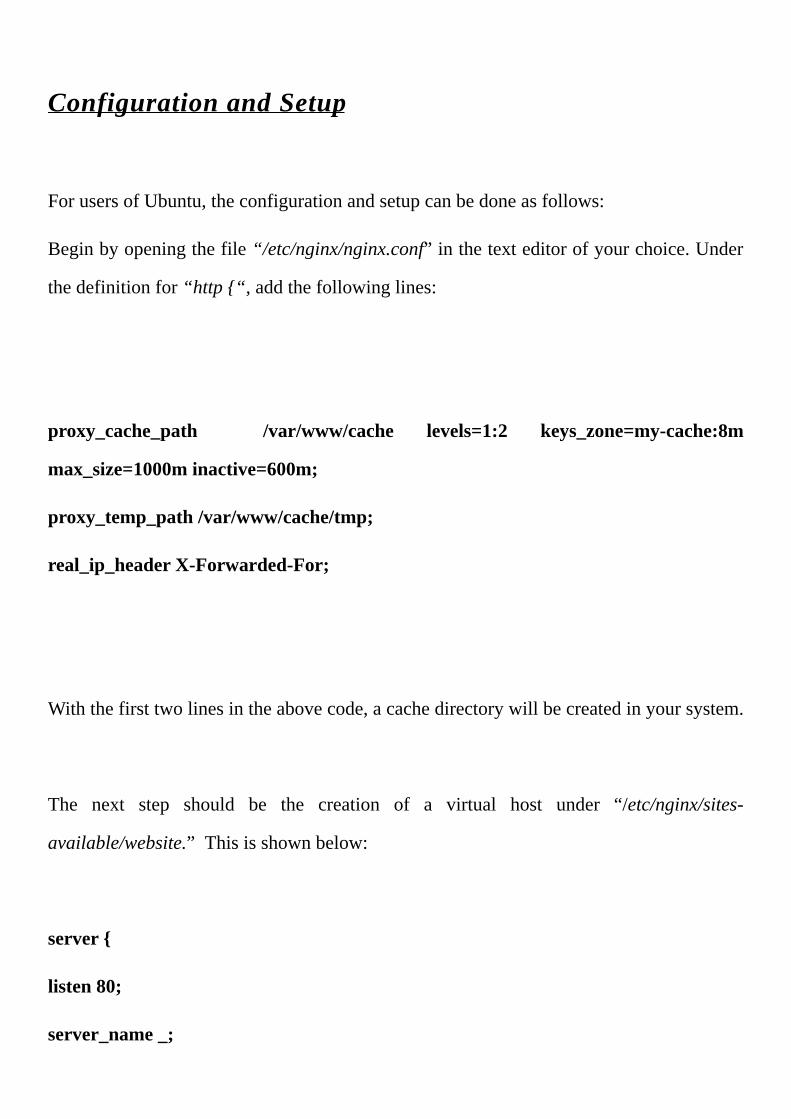
ConfigurationandSetup
ForusersofUbuntu,theconfigurationandsetupcanbedoneasfollows:
Beginbyopeningthefile“/etc/nginx/nginx.conf”inthetexteditorofyourchoice.Under
thedefinitionfor“http{“,addthefollowinglines:
proxy_cache_path /var/www/cache levels=1:2 keys_zone=my-cache:8m
max_size=1000minactive=600m;
proxy_temp_path/var/www/cache/tmp;
real_ip_headerX-Forwarded-For;
Withthefirsttwolinesintheabovecode,acachedirectorywillbecreatedinyoursystem.
The next step should be the creation of a virtual host under “/etc/nginx/sites-
available/website.”Thisisshownbelow:
server{
listen80;
server_name_;
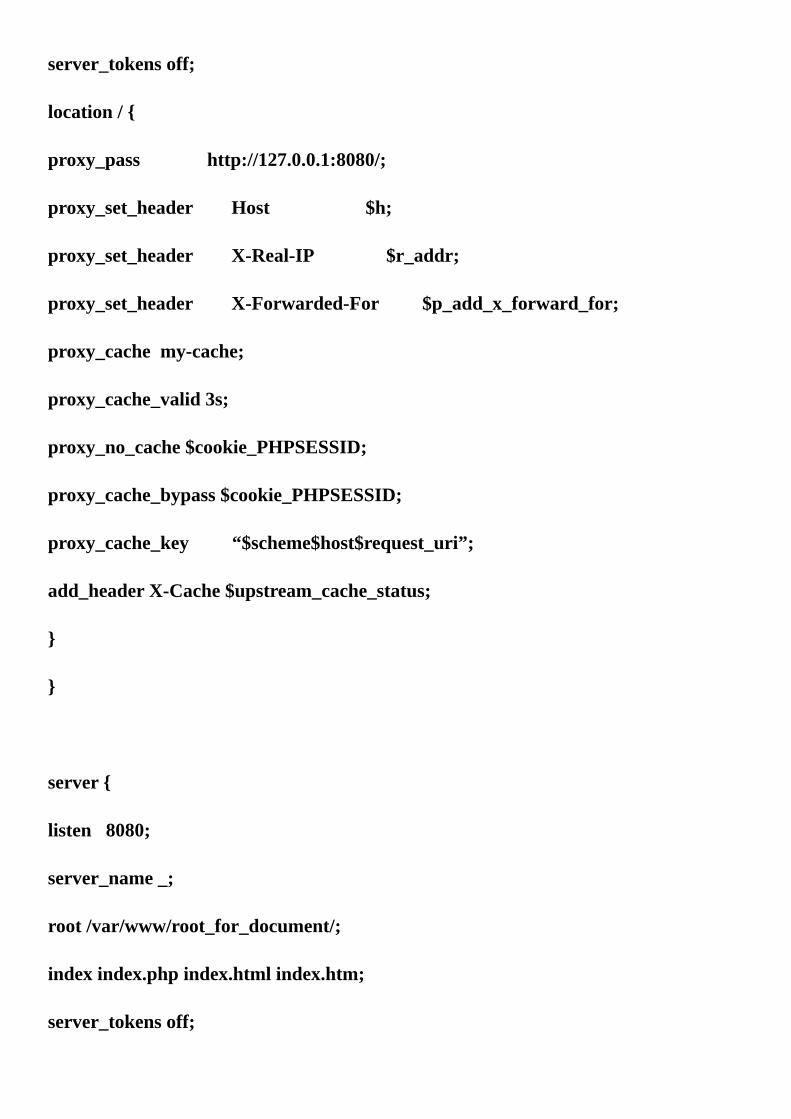
server_tokensoff;
location/{
proxy_passhttp://127.0.0.1:8080/;
proxy_set_headerHost$h;
proxy_set_headerX-Real-IP$r_addr;
proxy_set_headerX-Forwarded-For$p_add_x_forward_for;
proxy_cachemy-cache;
proxy_cache_valid3s;
proxy_no_cache$cookie_PHPSESSID;
proxy_cache_bypass$cookie_PHPSESSID;
proxy_cache_key“$scheme$host$request_uri”;
add_headerX-Cache$upstream_cache_status;
}
}
server{
listen8080;
server_name_;
root/var/www/root_for_document/;
indexindex.phpindex.htmlindex.htm;
server_tokensoff;
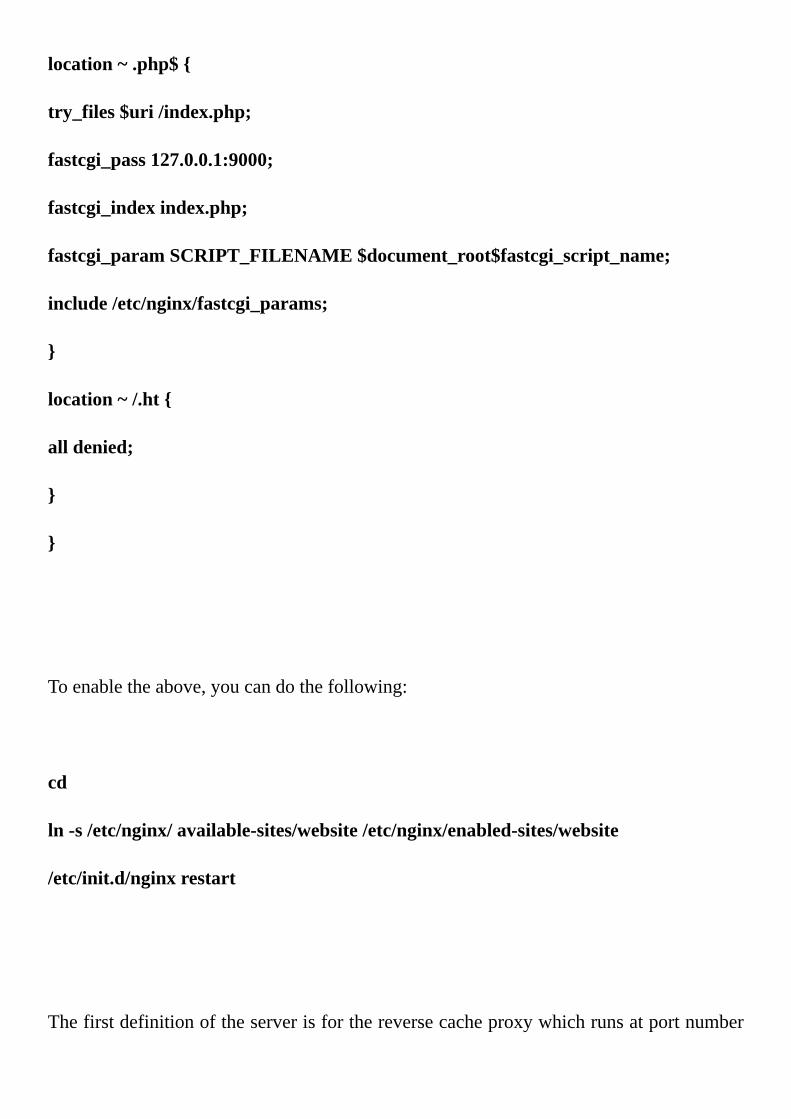
location~.php${
try_files$uri/index.php;
fastcgi_pass127.0.0.1:9000;
fastcgi_indexindex.php;
fastcgi_paramSCRIPT_FILENAME$document_root$fastcgi_script_name;
include/etc/nginx/fastcgi_params;
}
location~/.ht{
alldenied;
}
}
Toenabletheabove,youcandothefollowing:
cd
ln-s/etc/nginx/available-sites/website/etc/nginx/enabled-sites/website
/etc/init.d/nginxrestart
Thefirstdefinitionoftheserverisforthereversecacheproxywhichrunsatportnumber
80.Thenextoneshouldbethebackendone.Withtheproxypasshttp://127.0.0.1:8080/,
thetrafficwillbeforwardedtoport8080.
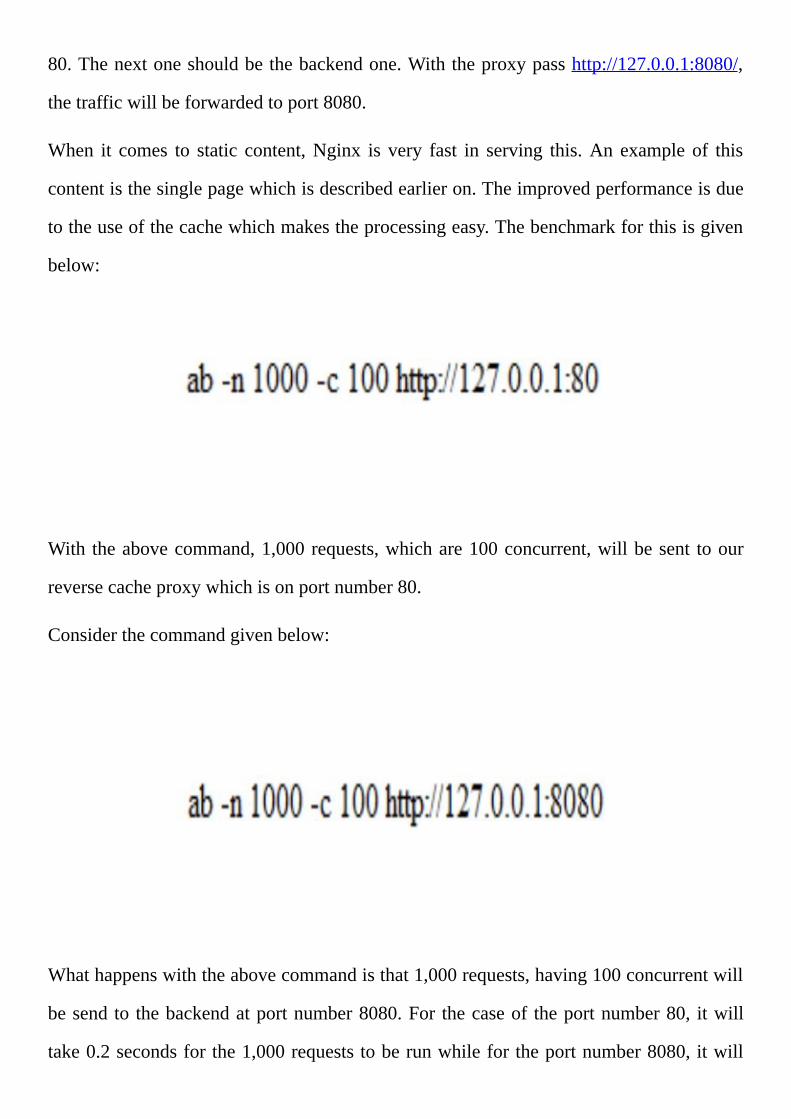
When it comes to static content,Nginx is very fast in serving this.An example of this
contentisthesinglepagewhichisdescribedearlieron.Theimprovedperformanceisdue
totheuseofthecachewhichmakestheprocessingeasy.Thebenchmarkforthisisgiven
below:
With theabovecommand,1,000requests,whichare100concurrent,willbesent toour
reversecacheproxywhichisonportnumber80.
Considerthecommandgivenbelow:
Whathappenswiththeabovecommandisthat1,000requests,having100concurrentwill
besendto thebackendatportnumber8080.For thecaseof theportnumber80, itwill
take0.2secondsforthe1,000requeststoberunwhilefortheportnumber8080,itwill
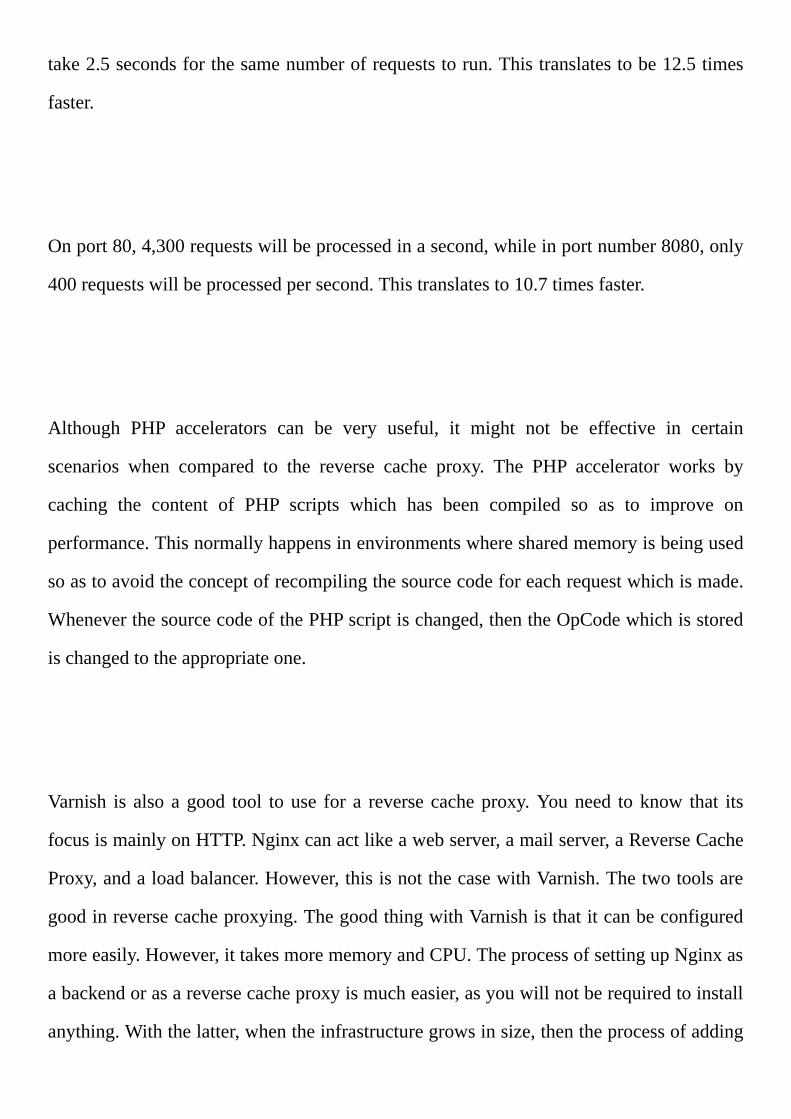
take2.5secondsforthesamenumberofrequeststorun.Thistranslatestobe12.5times
faster.
Onport80,4,300requestswillbeprocessedinasecond,whileinportnumber8080,only
400requestswillbeprocessedpersecond.Thistranslatesto10.7timesfaster.
Although PHP accelerators can be very useful, it might not be effective in certain
scenarios when compared to the reverse cache proxy. The PHP accelerator works by
caching the content of PHP scripts which has been compiled so as to improve on
performance.Thisnormallyhappensinenvironmentswheresharedmemoryisbeingused
soastoavoidtheconceptofrecompilingthesourcecodeforeachrequestwhichismade.
WheneverthesourcecodeofthePHPscriptischanged,thentheOpCodewhichisstored
ischangedtotheappropriateone.
Varnish is also agood tool touse for a reverse cacheproxy.Youneed toknow that its
focusismainlyonHTTP.Nginxcanactlikeawebserver,amailserver,aReverseCache
Proxy,andaloadbalancer.However,thisisnotthecasewithVarnish.Thetwotoolsare
goodinreversecacheproxying.ThegoodthingwithVarnishisthatitcanbeconfigured
moreeasily.However,ittakesmorememoryandCPU.TheprocessofsettingupNginxas
abackendorasareversecacheproxyismucheasier,asyouwillnotberequiredtoinstall
anything.Withthelatter,whentheinfrastructuregrowsinsize,thentheprocessofadding
or installingnew softwarewill not be easy.This iswhy theuseofVarnish is not very
recommendedcomparedtoNginx.
ItcanbeconcludedthatonceNginxhasbeensetupasareversecacheproxy,thesystem
willexerciseanimprovedperformancewhenitcomestocertainscenarios.Theprocessof
settingthisupisveryeasy.


Chapter9-SettingUpLAMPonUbuntuhostedonAWS
BeginbybootingupaninstanceoftheAWSUbuntuserver,andthenlogintoitbyuseof
MobaXterm.Usetheusername“ubuntu”tologintothesystem.Onceyouareloggedin,
executethefollowingcommand:
Thenextstepshouldbeexecutionofthefollowingcommand:
TheLAMPservercanthenbeinstalledbyuseofthefollowingcommand:
NotethatthepasswordforrootinMySQLshouldnotbeforgotten.
Ourweb root directorywill be“/var/www/html,” so there is a need to give ourselves
permissionssothatwecanworkfromthere.Thefollowingsequenceofcommandscanbe
usedforthatpurpose:
You have to install curl, as it will be needed for the LAMP server to work. It can be
installedasfollows:
Mcryptwillalsobeneeded,soitcanbeinstalledasfollows:
Once you are throughwith the installation, reboot theApache by use of the following
command:

ThenextstepshouldinvolvesortingoutoftheMod-rewrite.Thefollowingcommandcan
beusedforthispurpose:
The Apache can then be restarted so that the above change can take effect or can be
applied.Thefollowingcommandcanbeusedforthispurpose:
Youcanthennavigatetothewebrootbyuseofthecommandgivenbelow:
You will then be done, meaning that the LAMP server will be ready for use on your
system.


Chapter10-UsingNginxwithaWebApplication
With Nginx, communication with web applications which have been developed
dynamicallyismadepossibleandabiteasy.Itcanalsobeusedfordistributionoftraffic
among backend servers. Just like Varnish, it can also be used for the caching of web
content.
ConfigurationofNginxServer
Considerthecodegivenbelow:
server{
listen80default_site;
root/var/www;
indexindex.htmlindex.htm;!
server_nameserver_name.comwww.server_name.com;!
location/{
try_files$uri$uri/=404;
}
}
TheabovecodeshowsabasicconfigurationofNginxsoastoservefilesonaparticular
website.It listensonportnumber80,whichisjustaregularHTTPport.Wemusttell it
whatthedefaultsiteis.ThisisthesitewhereNginxwillgoifitreceivesarequestwhich
hasnowebsitewhichhasbeenspecified.Therootofthewebalsohastobeset,andthisis
wherewewillstoreourfilesforthewebapplication.
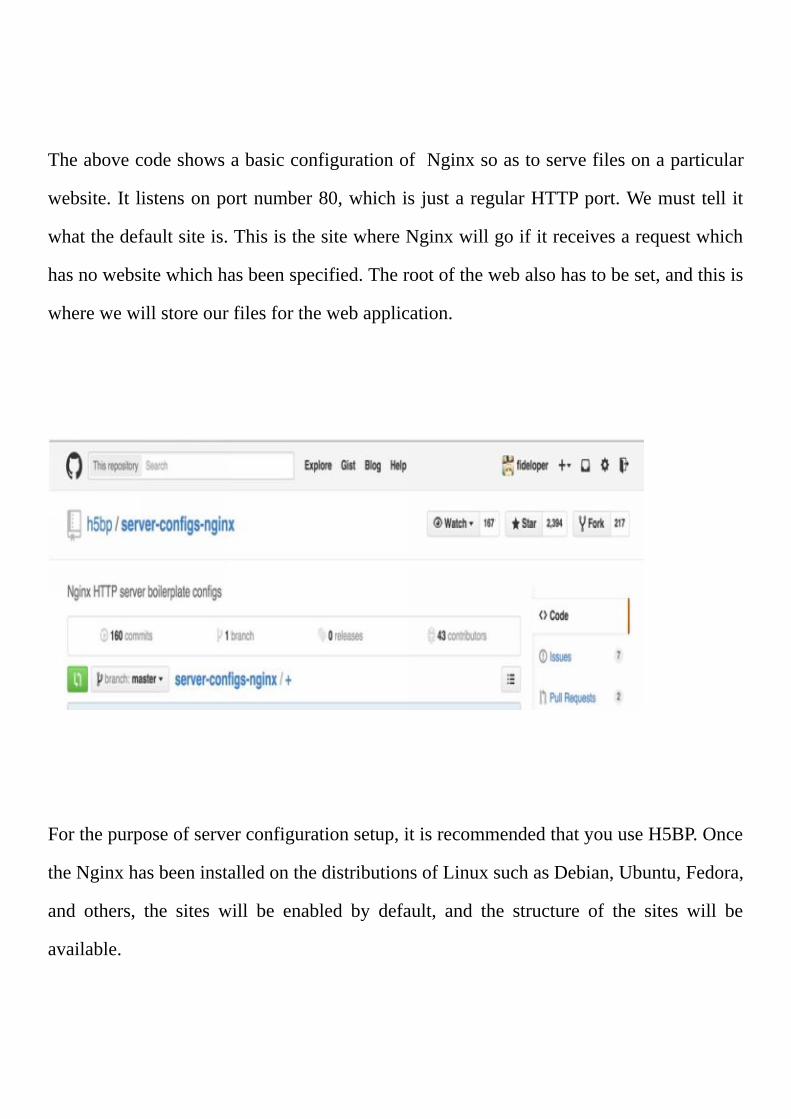
Forthepurposeofserverconfigurationsetup,itisrecommendedthatyouuseH5BP.Once
theNginxhasbeeninstalledonthedistributionsofLinuxsuchasDebian,Ubuntu,Fedora,
and others, the sites will be enabled by default, and the structure of the sites will be
available.
With Nginx, requests can be sent to HTTP listeners, to WSGI listeners, to fastCGI
listeners,andcommunicationwithmemcachecanbedonedirectly.Somefancycaching
canbedoneinHTTPasshownbelow:
location/static{
try_files$uri$uri/=404;
}
location/{
proxy_pass127.0.0.1:9000;
proxy_paramAPPENVproduction;
includeproxy_params;
}
TheabovecodeshowshowonecanproxytheirrequestfromNginxtoanotherapplication.
WheneveryouhaveanapplicationwhichisusingNginx,thentheNginxwillbeplacedat
thefrontoftheapplicationsoastoreceiverequestsfromusers,butyoucomeupwitha
waytotellorguideitonhowtohandlestaticfiles.Youshouldalsotellitthetimethatit
shouldsendoutarequestfromtheapplication.
Considerthecodegivenbelow:
location~.php${
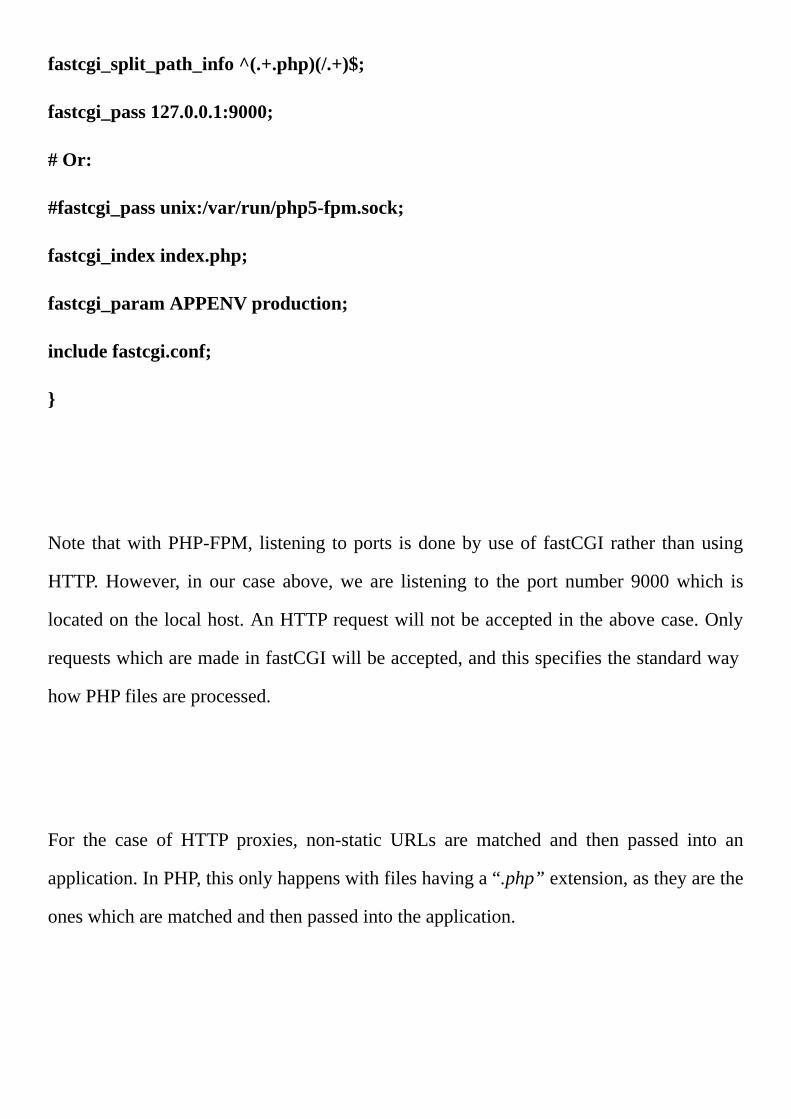
fastcgi_split_path_info^(.+.php)(/.+)$;
fastcgi_pass127.0.0.1:9000;
#Or:
#fastcgi_passunix:/var/run/php5-fpm.sock;
fastcgi_indexindex.php;
fastcgi_paramAPPENVproduction;
includefastcgi.conf;
}
Note thatwithPHP-FPM, listening toports isdonebyuseof fastCGIrather thanusing
HTTP.However, in our case above,we are listening to the port number 9000which is
locatedonthelocalhost.AnHTTPrequestwillnotbeacceptedintheabovecase.Only
requestswhicharemadeinfastCGIwillbeaccepted,andthisspecifiesthestandardway
howPHPfilesareprocessed.
For the case of HTTP proxies, non-static URLs are matched and then passed into an
application.InPHP,thisonlyhappenswithfileshavinga“.php”extension,astheyarethe
oneswhicharematchedandthenpassedintotheapplication.

ThetypeofserverinformationwhichPHPistousehasalsobeenspecified.
location/static{
try_files$uri$uri/=404;
}
location/{
uwsgi_pass127.0.0.1:9000;
uwsgi_paramAPPENVproduction;
includeuwsgi_params;
}
Lastly,theHTTPrequestistakenawaybyWSGINginx,inwhichitisconvertedintothe
correctprotocolthatthegatewayuses,andthenitissentofftothegateway.Thegateway
will thencommunicatewith theapplicationwhere therequest isprocessed,andthenthe
responseissentback.
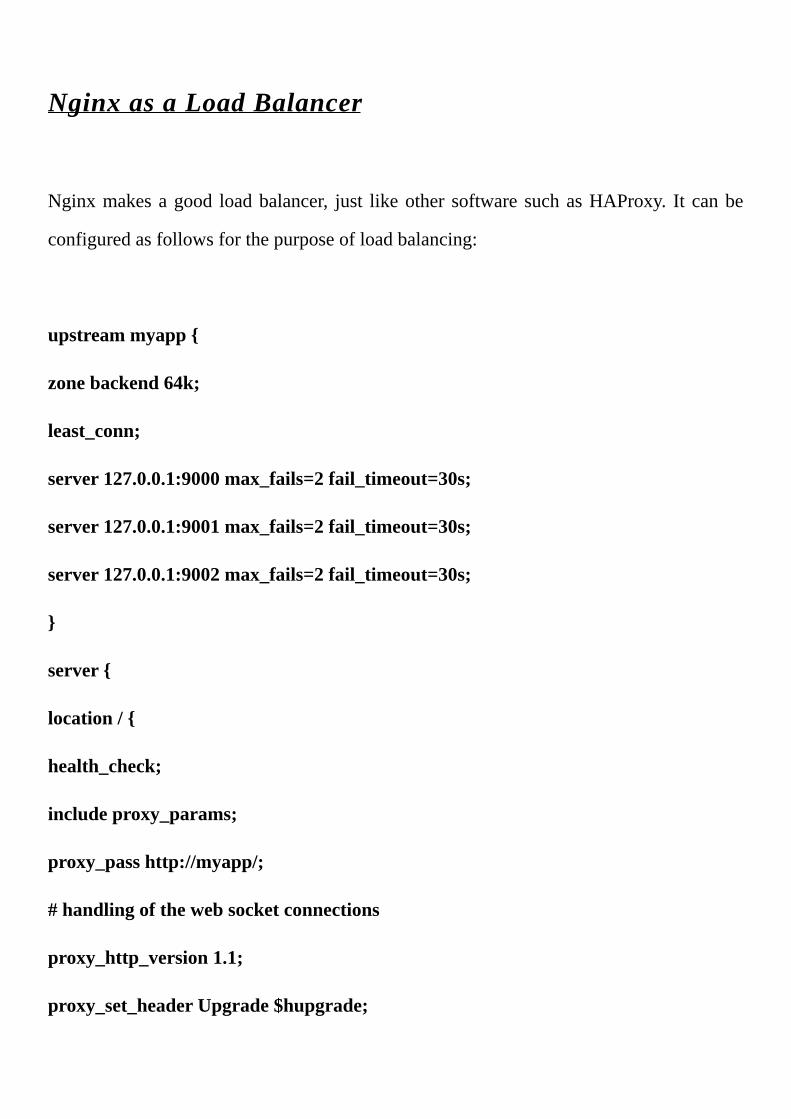
NginxasaLoadBalancer
Nginxmakesagood loadbalancer, just likeother software suchasHAProxy. It canbe
configuredasfollowsforthepurposeofloadbalancing:
upstreammyapp{
zonebackend64k;
least_conn;
server127.0.0.1:9000max_fails=2fail_timeout=30s;
server127.0.0.1:9001max_fails=2fail_timeout=30s;
server127.0.0.1:9002max_fails=2fail_timeout=30s;
}
server{
location/{
health_check;
includeproxy_params;
proxy_passhttp://myapp/;
#handlingofthewebsocketconnections
proxy_http_version1.1;
proxy_set_headerUpgrade$hupgrade;
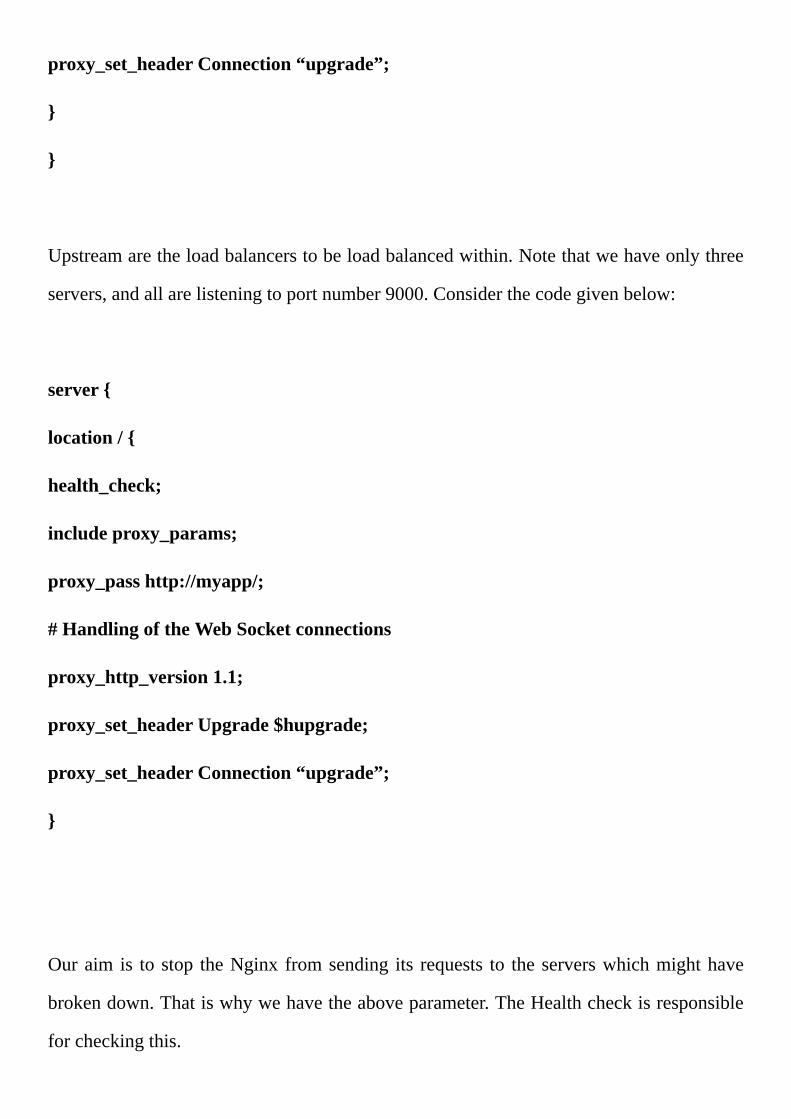
proxy_set_headerConnection“upgrade”;
}
}
Upstreamaretheloadbalancerstobeloadbalancedwithin.Notethatwehaveonlythree
servers,andallarelisteningtoportnumber9000.Considerthecodegivenbelow:
server{
location/{
health_check;
includeproxy_params;
proxy_passhttp://myapp/;
#HandlingoftheWebSocketconnections
proxy_http_version1.1;
proxy_set_headerUpgrade$hupgrade;
proxy_set_headerConnection“upgrade”;
}
Ouraim is tostop theNginx fromsending its requests to theserverswhichmighthave
brokendown.Thatiswhywehavetheaboveparameter.TheHealthcheckisresponsible
forcheckingthis.


Conclusion
DevOps (Developer Operations) is a software development methodology which was
introduced so as to bring collaboration, communication, and cooperation between the
softwaredevelopersandotherprofessionalsinanorganization.WithDevOps,thedegree
of cooperation among the software developers and other IT professionals in the
organizationisimproved.
Thiswilltranslatetothefactthatsoftwarewillberapidlydevelopedandreleasedintothe
market,whichisanadvantagetothesoftwareorganization.Thesoftwarewillalsobeof
highquality,duetotheincreaseddegreeofcooperationbetweenthesoftwaredevelopers.
With the earlier softwaredevelopmentmethodologies, a disconnect existedbetween the
processesofdevelopmentandoperationsactivity.
Thisusuallyledtoconflictsbetweenthesoftwaredevelopers,whichtranslatedtosoftware
ofpoorqualitybeingdevelopedand released into themarket.Thesoftwarewasalsoof
poorquality.ThisiswhyDevOpswasintroduced,anditeffectivelysolvestheseproblems.
WithPuppet,wefinditpossibleforustoconfiguresystemsdeclaratively.Ourtaskisjust
todeclare theresourceswhichweneedor theones thatwehave,and thendeclare their
state.Wewillthenbedone.Theconfigurationisthenstoredinsystemfiles.Notethatwe
arenotencouragedtoperformaconfigurationwhenourserversarelive.Whatweshould
doistocreatenewservershavingtheupgradesandtheupdates,andthenstartusingthem
ratherthanusingtheoldservers.