Embed Size (px)
Citation preview

First Steps: The Pre-Lab
Get organizedPlan your site organization & navigation
structureGather or create media: pictures,
graphics, etc. Survey Websites in your field Decide on design features you like
Type up draft text (Word or WordPad) Short is sweet
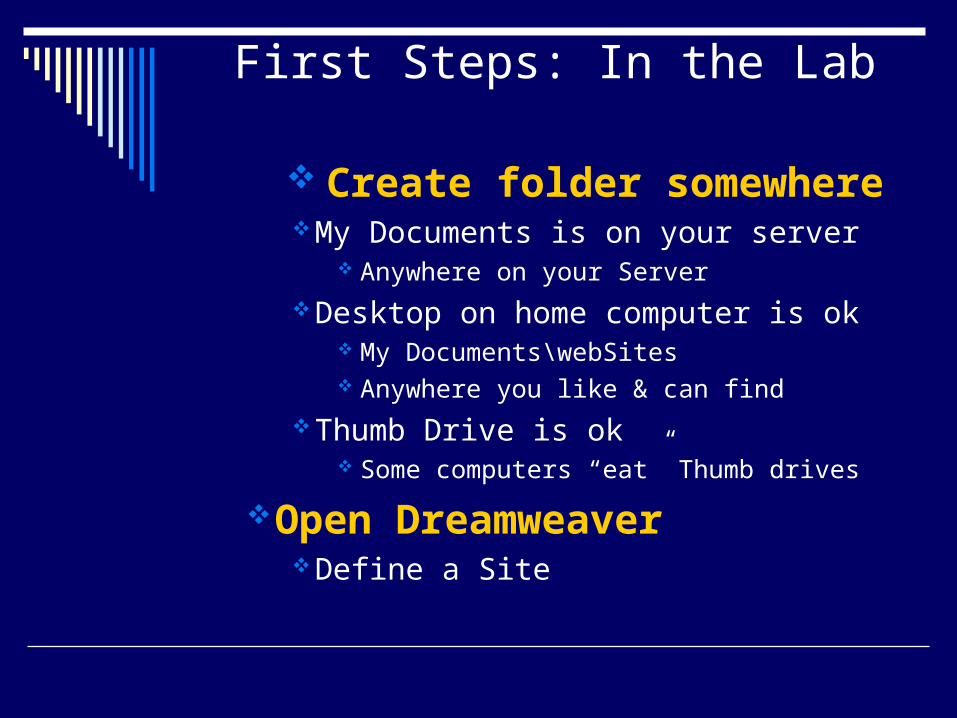
First Steps: In the Lab
Create folder somewhereMy Documents is on your server
Anywhere on your Server
Desktop on home computer is ok My Documents\webSites Anywhere you like & can find
Thumb Drive is ok Some computers “eat” Thumb drives
Open DreamweaverDefine a Site

webSites Folder Created

(no site defined) yet
Click Define a siteOr
Site…new Site

Defining a Site
Site menu…New Site

Exercise 1: Defining a Site
Defining a Site is the mark of a savvy user Name it

Choose Your Folder (webSites is mine)

Now see the correct pathname

Keep It Simple: Use Defaults
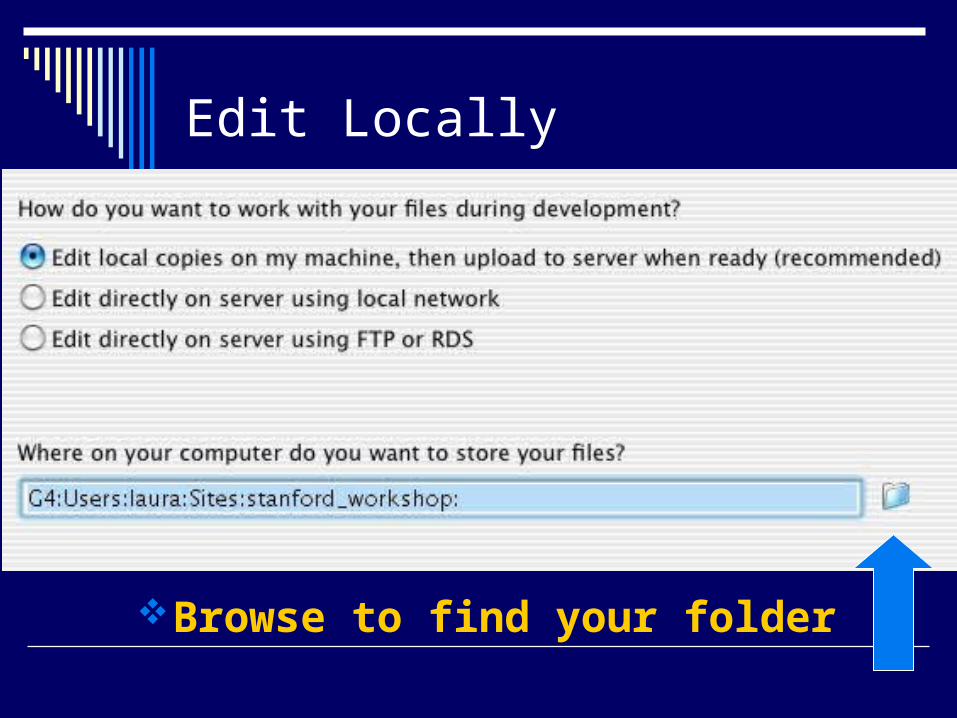
Edit Locally
Browse to find your folder

DW Changes Site Location
After you browse to find your folder, the Site Definition dialog box
reflects the new location

Keeping It Simple
No remote server yet

Site Is Defined
Look in Site window If you don’t see it: Window menu:
Site

Exercise 2:
Make Your Home Page
File…New…HTML OR
Right-click on Site Folder…New File
Name It “index.htm”

Document Window
Mac Jellybuttons --Windows has upper right cornerMinimize, Maximize/Restore, Close
Document is UntitledCode View Design
View
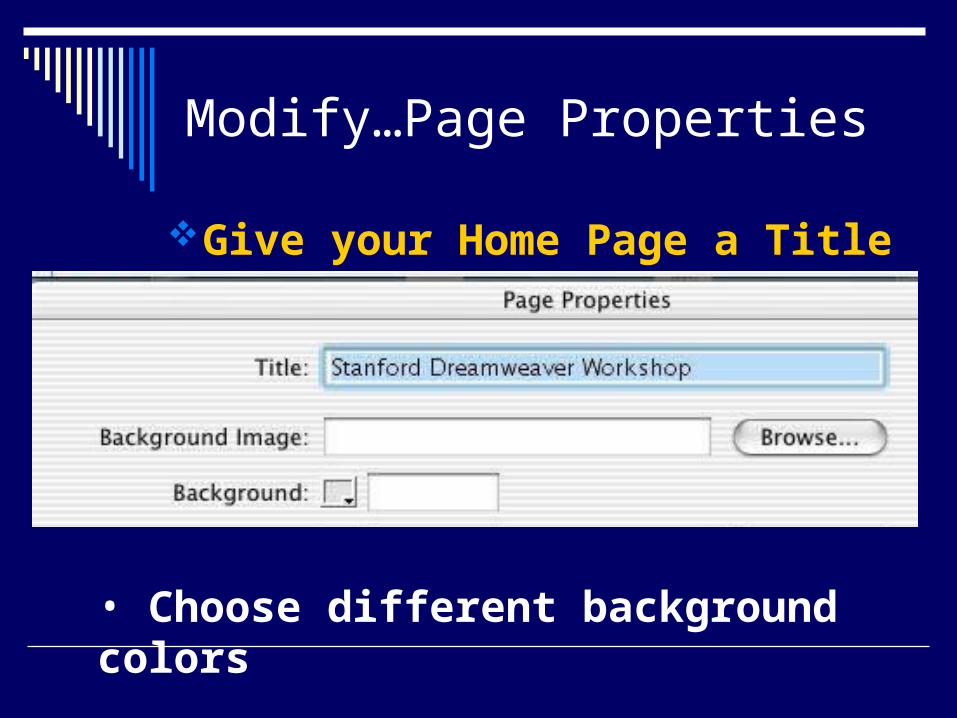
Modify…Page Properties
Give your Home Page a Title
• Choose different background colors

DW Look & Feel: Toolbars & Windows
Make Toolbars VisibleView…Toolbars (just like MS
Office) Check Document Check Standard
Window…Insert (unlike MS Office)

Insert…Common
Mouse-over buttons to see Tooltips
--> Make a Table

Table: Rows and Columns
Type: 5 Rows and 1 Column
Width: 640 Pixels
Border =0

Check Status Bar
Click on <table> to select Table

Table Properties
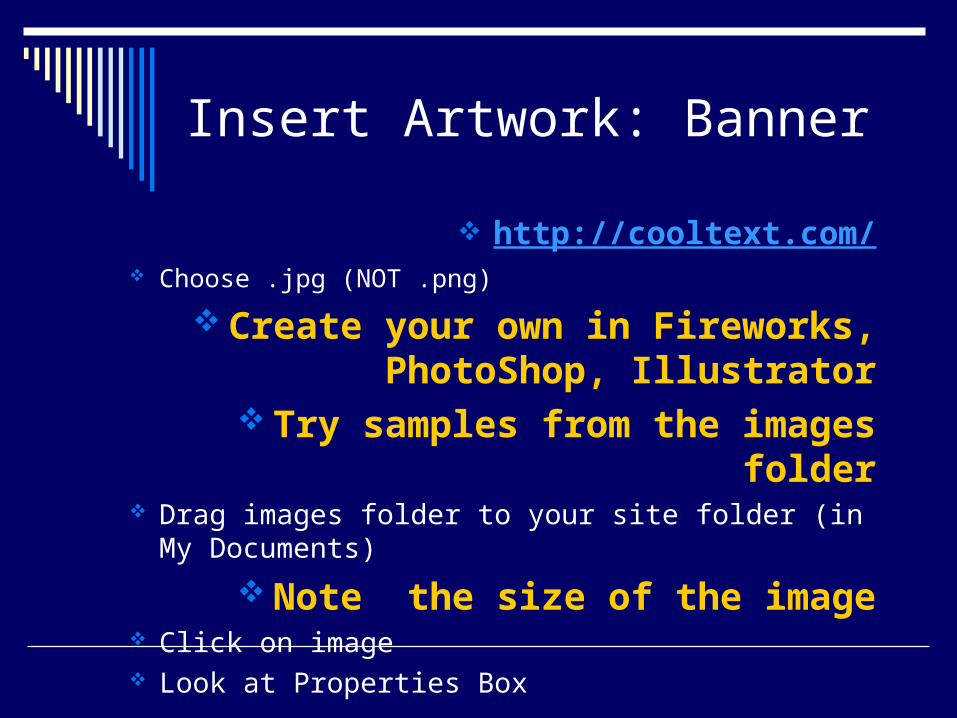
Insert Artwork: Banner
http://cooltext.com/ Choose .jpg (NOT .png)
Create your own in Fireworks, PhotoShop, Illustrator
Try samples from the images folder Drag images folder to your site folder (in My Documents)
Note the size of the image Click on image Look at Properties Box

Image Properties

How Big Is My Web Page?
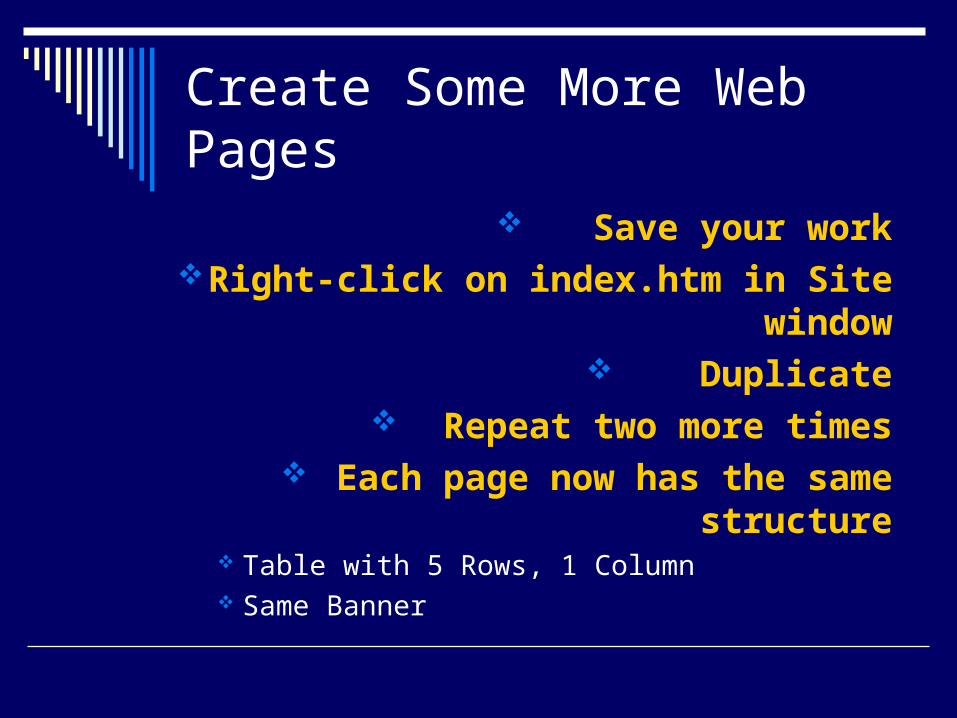
Create Some More Web Pages
Save your work Right-click on index.htm in Site
window Duplicate
Repeat two more times Each page now has the same
structure Table with 5 Rows, 1 Column Same Banner

Duplicated Index.htm Files
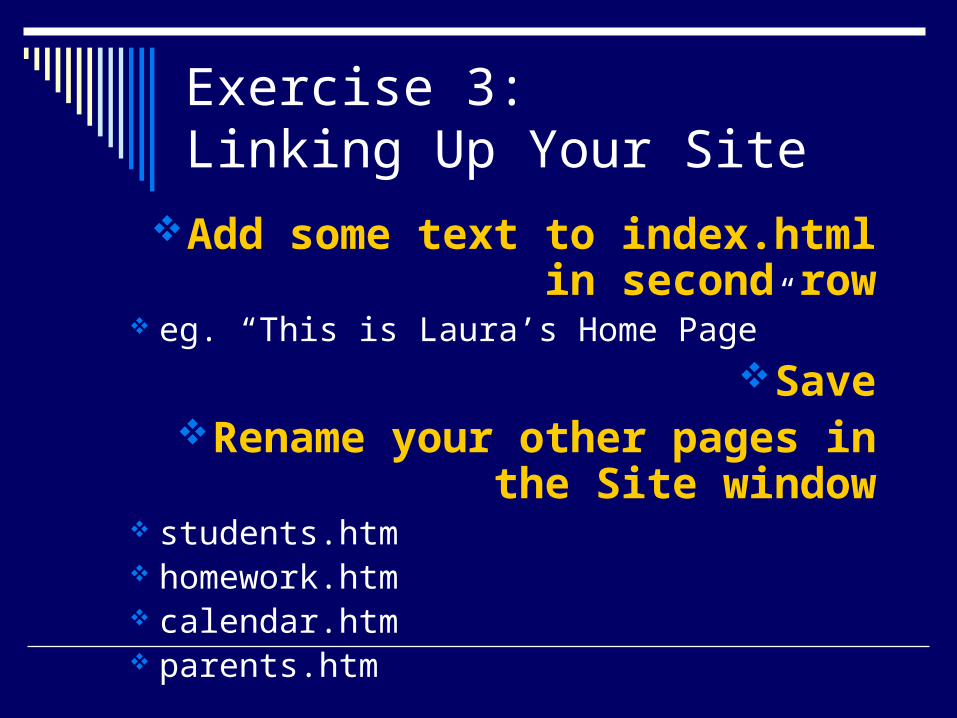
Exercise 3:Linking Up Your Site
Add some text to index.html in second row
eg. “This is Laura’s Home Page”
SaveRename your other pages in
the Site window students.htm homework.htm calendar.htm parents.htm
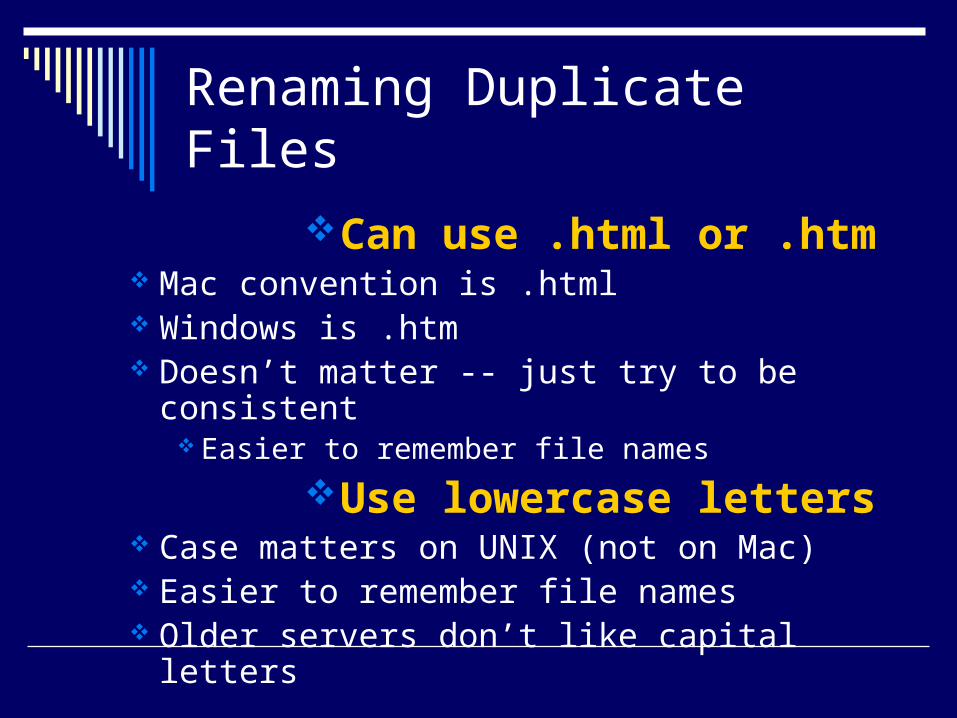
Renaming Duplicate Files
Can use .html or .htm Mac convention is .html Windows is .htm Doesn’t matter -- just try to be consistent
Easier to remember file names
Use lowercase letters Case matters on UNIX (not on Mac) Easier to remember file names Older servers don’t like capital letters

Renamed Files
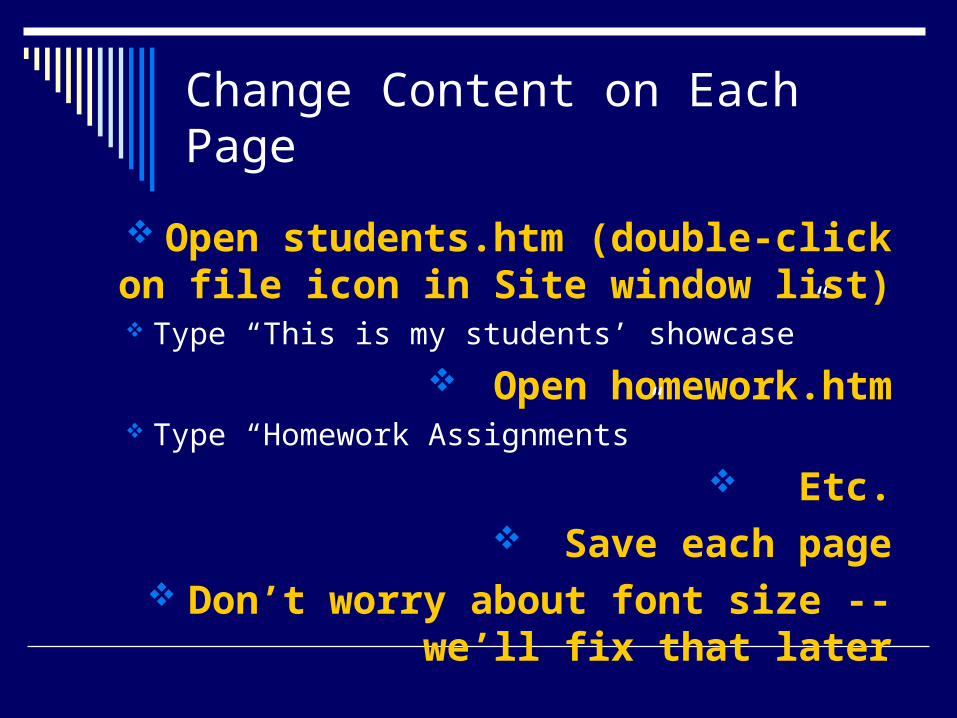
Change Content on Each Page
Open students.htm (double-click on file icon in Site window list)
Type “This is my students’ showcase”
Open homework.htm Type “Homework Assignments”
Etc. Save each page
Don’t worry about font size -- we’ll fix that later

Hyperlinks
In 2nd row, type:|| Home || Students || Parents ||
Calendar || Homework ||(all on one line)
Select text (click and drag)Format using Properties Box
(see next slide)

Format Text
Select text and make it “Heading 3” format, centered
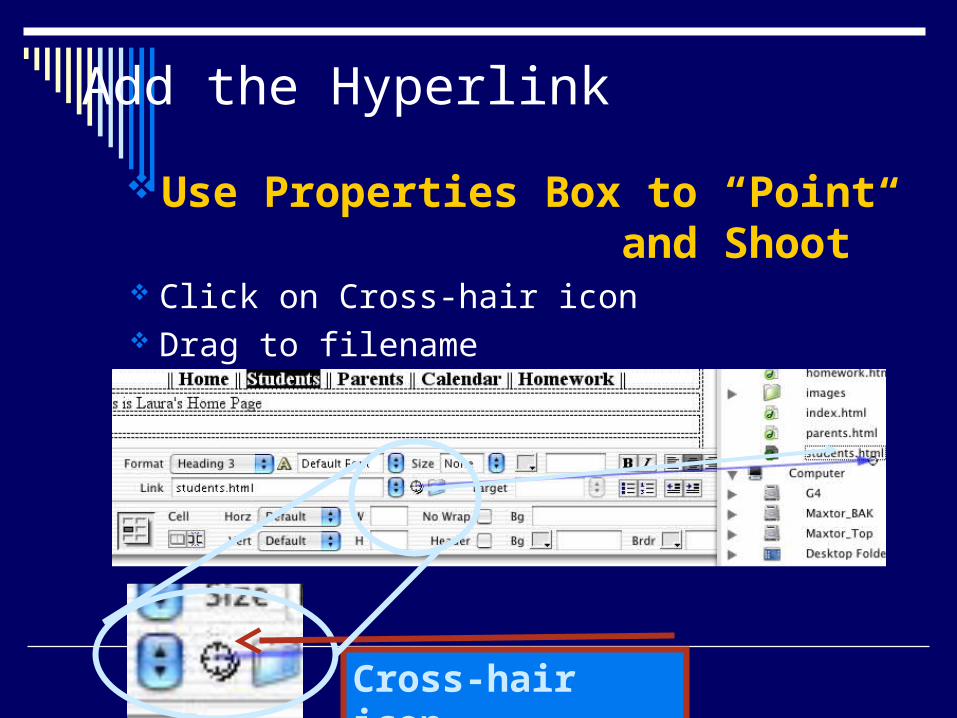
Add the Hyperlink
Use Properties Box to “Point and Shoot”
Click on Cross-hair icon Drag to filename
Cross-hair icon
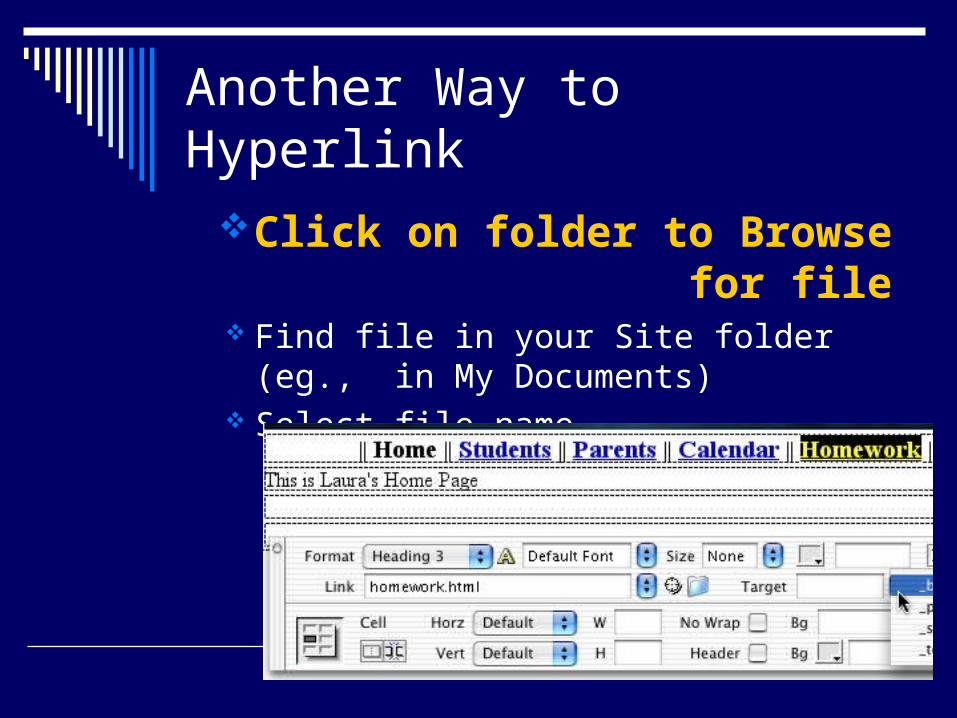
Another Way to Hyperlink
Click on folder to Browse for file
Find file in your Site folder (eg., in My Documents)
Select file name

More About Hyperlinks
Target can be
_blank _parent
_self _top
_blank loads the linked page in a new browser window

Test Your Links
Save your filePreview in Browser
Preview in Browser
• Play with different link colors(Modify…Page Properties)

Congratulations!
You’ve just built your first Web site!
Keep all files together in one folder Keep all images in a sub-folder
Upload the site folder to a server Ask your tech support guy how Free Web space available at yahoo.com Pay for Web space (no ads, faster uploads, goodies)
Next time: bring photos & artwork