Embed Size (px)
Citation preview

Environmental
Awareness
Activity Book
Created by Niamh Moran, Assistant Environmental Awareness Officer

Additional Resources
This activity book was created to facilitate learning about biodiversity and waste
management.
This workbook contains activities that are adaptable to being carried out in the school
or home environment.
Additional Resources
The following additional resources to accompany this workbook are available on the Environmental Awareness and Education webpage which can be found here .
• dlr Wildflower Guide• Tree Planting Guidebook• Trees to Plant in the School Garden Poster• dlr Activities to do at Home Guide• Popular Trees in the School Garden Video • Patricia the Painted Lady Butterfly by Dale
Treadwell• Butterfly Fact Sheet
Please note that parental supervision is advised for any activity containing the following symbol.

Table of Contents
Upcycling and Recycling
Managing Waste 1
Recycling Quiz 2
Composting Experiment 5
Waste Audit 7
Rainwater Harvesting 8
Recycled Plant Pot 10
Recycled Fairy House 12
Recycled Bird House 14
Recycled Watering Can 16
Tin Can Wind Chimes 18
CD Sun Catchers 20
Eco Bricks 22
Hedgehog House 24
Biodiversity in the Garden
Biodiversity 26
Habitat Mapping 27
Wildflower Hunt 29
Tree Hunt 31
Bird Bingo 33
Bug Hunt 34
How do Seeds Travel 36
Make a Mini Greenhouse 37
Leaf Collage 39
Bug Hotels 41
Bark and Leaf Tracing 43
Find Out More 46
Upcycling and Recycling
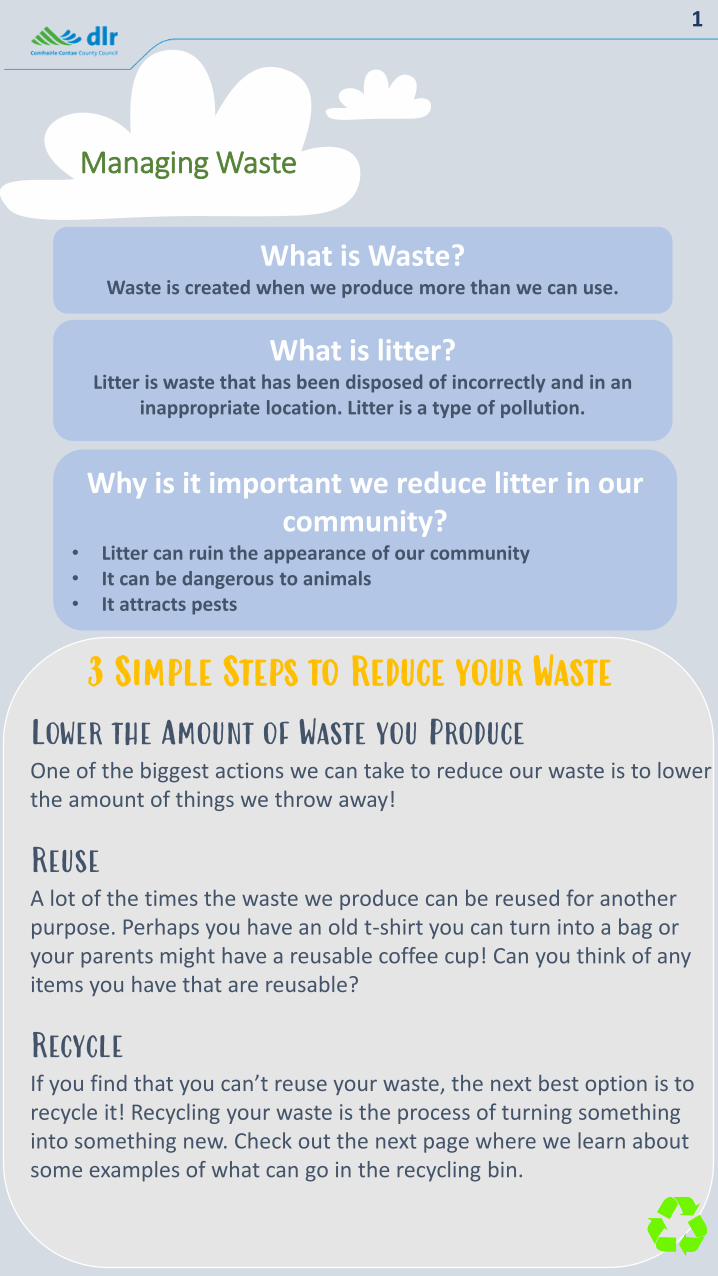
Managing Waste
What is Waste?Waste is created when we produce more than we can use.
What is litter?Litter is waste that has been disposed of incorrectly and in an
inappropriate location. Litter is a type of pollution.
Why is it important we reduce litter in our community?
• Litter can ruin the appearance of our community• It can be dangerous to animals• It attracts pests
1
Lower the Amount of Waste you ProduceOne of the biggest actions we can take to reduce our waste is to lower the amount of things we throw away!
Reuse A lot of the times the waste we produce can be reused for another purpose. Perhaps you have an old t-shirt you can turn into a bag or your parents might have a reusable coffee cup! Can you think of any items you have that are reusable?
RecycleIf you find that you can’t reuse your waste, the next best option is to recycle it! Recycling your waste is the process of turning something into something new. Check out the next page where we learn about some examples of what can go in the recycling bin.
3 Simple Steps to Reduce your Waste

Recycling Quiz
A Recycling Centre General Waste
A Compost Bin A Recycling Bin
2

Learn about what goes in each type of the below bins
Recycling Quiz
General Waste
A Recycling Bin
• Hard Plastics• Tins and Cans• Paper and Cardboard
• Any rubbish placed in the refuse bin is waste that can’t go in the recycling, compost bin or a recycling centre
A Compost Bin
• Fruit and Vegetable Peelings e.g. fruit peeling from lunch break
• Grass• Shredded Paper
A Recycling Centre
• Glass• Clothes• Batteries• Lightbulbs
3

Plastic Bag
Vegetable Peelings
Plastic Bottle
Newspaper
Carboard Box
Sweet Wrappers
Glass Jar
Batteries
Can
The following items need to be put in the bin, can you name the correct bin?
4

What you will need
• An empty clear container for example, a 2l bottle or glass jar
• Soil, leaves, grass, newspaper
• Food waste (such as vegetable peelings- no dairy or meat!!)
How to make your composting experiment
• In your empty container add a layer of soil and then alternate layers between your compostable material and soil.
• Once your container is full, add water, your compost should be damp throughout but not sitting in water.
• Leave your composting experiment outside in an area where sunlight reaches and watch all the changes that occur to make compost.
Composting Experiment
5

My Composting Experiment
Did you notice any changes to the materials in your container?
Can you list some items that can go into your compost bin? ?
6
[Insert a photo or drawing here]

What you will need
•A notebook/paper
•Colouring pencils/pens
1. A waste audit can be carried out at home or in school.
2. Fill out the below checklist to create your waste audit.
3. Can you think of any ways you might be able to reduce the amount of waste found?
Question AnswerHow many bins are
there?Do you have a compost
bin?Do you have a recycling
bin?Do you notice any
patterns of items going
in the bin?How often are the bins
collected?
Waste Audit
7
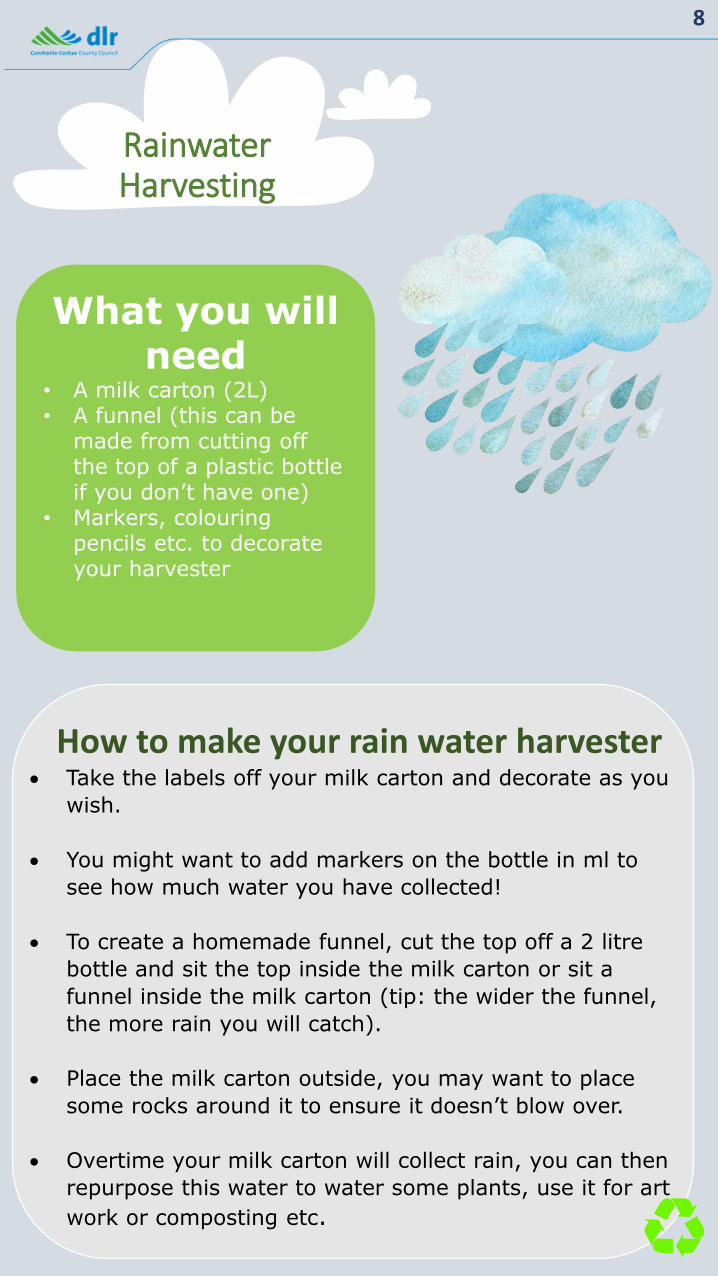
How to make your rain water harvester• Take the labels off your milk carton and decorate as you
wish.
• You might want to add markers on the bottle in ml to
see how much water you have collected!
• To create a homemade funnel, cut the top off a 2 litre
bottle and sit the top inside the milk carton or sit a
funnel inside the milk carton (tip: the wider the funnel,
the more rain you will catch).
• Place the milk carton outside, you may want to place
some rocks around it to ensure it doesn’t blow over.
• Overtime your milk carton will collect rain, you can then
repurpose this water to water some plants, use it for art
work or composting etc.
What you will need
• A milk carton (2L)• A funnel (this can be
made from cutting off the top of a plastic bottle if you don’t have one)
• Markers, colouring pencils etc. to decorate your harvester
Rainwater Harvesting
8

How much water did you collect?
What did you use the collected water for? ?
My Rainwater Harvester
9
[Insert a photo or drawing here]
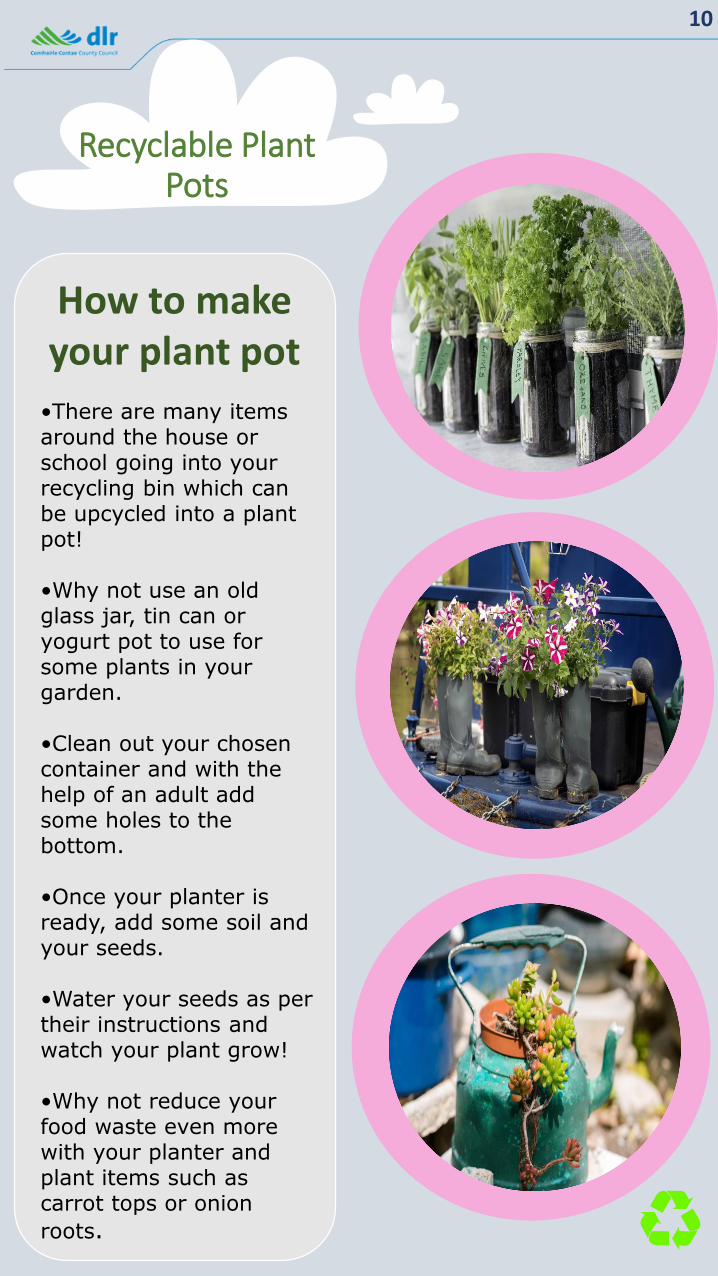
How to make your plant pot
•There are many items around the house or school going into your recycling bin which can be upcycled into a plant pot!
•Why not use an old glass jar, tin can or yogurt pot to use for some plants in your garden.
•Clean out your chosen container and with the help of an adult add some holes to the bottom.
•Once your planter is ready, add some soil and your seeds.
•Water your seeds as per their instructions and watch your plant grow!
•Why not reduce your food waste even more with your planter and plant items such as carrot tops or onion
roots.
Recyclable Plant Pots
10

My Upcycled Plant Pot
11
[Insert a photo or drawing here]

What you will need
• A milk or juice carton
• Glue• Scissors• Decorations (moss,
bark, leaves, flowers, string etc.)
How to make your Fairy House• To begin, decide where you would like to place your fairy
house, a popular spot is beside a tree.
• With the help of an adult cut any windows or doors you
would like in your milk carton, if you are choosing to hang
the fairy house, you should punch a hole in the carton at this
time.
• Now it’s time to decorate your fairy house, use items you find
in your garden such as some bark, moss, grass, flowers or
perhaps you would like to decorate your fairy house with
some recyclable items in your house such as old paper, lids,
old buttons and more.
• Once decorated, allow the glue to dry and place your fairy
house in your chosen location
Recycled Fairy House
12

My Fairy House
What materials did you use to decorate your fairy house/castle?
?
13
[Insert a photo or drawing here]

How to make your recycled Bird House
What you will need• Clean dry tetra pak (milk or juice
cartons work well)• String or Twine• Items to colour your bird house e.g.
pencils, moss, paper. • Scissors• A wooden stick for the birds to
perch on (pencil, old wooden spoon, stick found outside etc.)
**Some paints can be toxic to birds. Please don’t use beads, glitter, pom poms or any items that may sit loosely and a bird could ingest.
• To begin, clean your carton and let it dry.
• Ask an adult to help you punch a hole at the top of the
carton and thread the string or twine through the carton.
• With an adults help, cut a small square hole in the front of
the tetra pak (consider what size of bird this is to suit when
deciding the size of the cut out).
• Punch a hole below the square to thread the stick through.
• Now it’s time to decorate your birdhouse.
• Once your bird house is decorated, fill it with bird feed and
hang outside. Fix the carton firmly in place.
Recycled Bird House
14
My Bird House
Have you seen any birds using your bird house?
?
15
[Insert a photo or drawing here]

How to make your recycled watering can
What you will need
• Clean dry carton with a lid
• Thumbtack or pin• Markers or Paint
• To begin, clean your carton and let it dry.
• Ask an adult to help you punch some holes at the top of
the carton lid.
• Now its time to decorate your watering can!
• Fill your carton with water (why not use some water
collected with the rain water harvester) and attach the lid.
• Use the watering can to water the plants around your
garden.
Recycled Watering Can
16

My Recycled Watering Can
17
[Insert a photo or drawing here]

How to make your tin can wind chimes
What you will need
• Clean tin cans• String or yarn• Hammer• Nail• Paint
• Ensure that any sharp edges of the tin can are removed or taped over.
• To begin, decorate your tin cans how you please, you can use paint or perhaps upcycle some paper and tape it to the can.
• Once decorated, punch a hole in the bottom of the tin can (an adult will need to do this).
• Thread your string or yarn through the hole and tie a knot at the end, to ensure it holds in place. If you have a large hole, you may wish to tie the end of the string around an old cork to act as a secure stopper.
• Hang your tin cans to hear them chime in the wind!
Tin Can Wind Chimes
18

My Tin Can Wind Chimes
19
[Insert a photo or drawing here]

How to make your cd sun catchers
What you will need
• Old Cd’s or dvd’s• Markers, paints
etc. • String or Yarn
• CD sun catchers make a bright and colourful reflection when hanging in your garden. They also work as a great way to keep birds away from any vegetables you might have growing.
• To begin, you will need an old cd that is no longer needed (make sure that this cd is not broken and has no sharp edges).
• Decorate your cd how you wish, make sure to leave some of the reflective material showing so you have a colourfulreflection!
• Thread your string or yarn through the hole in the centre
• You can now pick a spot in your garden to hang up your cd sun catcher. Make sure you place it in an area that gets lots of sun
CD Sun Catchers
20

My Sun Catcher
21
[Insert a photo or drawing here]

How to make your eco bricks
What you will need
• Plastic Bottles• Plastic Bags,
wrappers etc. • Stick
• Eco Bricks are a great way to reduce the amount of single use plastic going into your bin! They can be used to make furniture for your school garden or classroom.
• Its important to remember that Eco Bricks should only contain clean, dry soft plastics such as plastic bags, straws, wrappers or clean cling film.
• To begin, find an empty bottle that may be going to the recycling bin. Make sure this bottle is clean and dry.
• Next look for a stick that will help you squish all the plastics into the bottle.
• Once you have chosen your stick and bottle, you are ready to make your eco brick! Overtime, collect any soft clean plastics that you think can go into your eco brick.
• Using your stick, squish the plastic into your chosen bottle.
• Its important that lots of plastic is squished into the bottle to ensure your brick is sturdy. You can ask an adult to help you ensure its packed.
• Once your bottle is full, you have an eco brick!
Eco Bricks
22

My Eco Brick
23
How much did your eco brick weigh when you finished making it?
?
[Insert a photo or drawing here]

How to make your hedgehog house
What you will need
• A cardboard box• Dry leaves• Scissors• Sticks and
branches• Shredded paper
or straw (if available)
• Pencils- To decorate
• To begin you will need to find a suitable location for your hedgehog house. It should be a quiet area with no sunlight and sheltered from wind.
• Using scissors, cut open a small entryway and add some air vents.
• Decorate you hedgehog house with some colouring pencils.
• Once decorated you will need to make the bed, put inside a layer of leaves and some shredded paper or straw (if available).
• Hedgehogs like small leaves such as oak, hawthorn or birch.
• Once the bed is made, leave dead leaves, branches and twigs on top of the roof of the hedgehog house to protect it.
• You can also add a small bit of soil on top to ensure its extra sturdy.
Hedgehog House
24

My Hedgehog House
25
[Insert a photo or drawing here]

Biodiversity in the Garden

Biodiversity
Ecosystem Services
An ecosystem service is the different benefits that an ecosystem can provide. Some examples of
ecosystem services are listed below.
• Protection from flooding• Regulate climate change• Pollination• Protection from soil erosion• Purify air• Provide goods such as food
What is BiodiversityBiodiversity is the variety of all life forms on earth.
HabitatIs the place where a plant or animal naturally or normally lives
and grows
26
EcosystemAn ecosystem is a community of animals, plants, micro organisms and fungi that live and interact with each other in the same area.
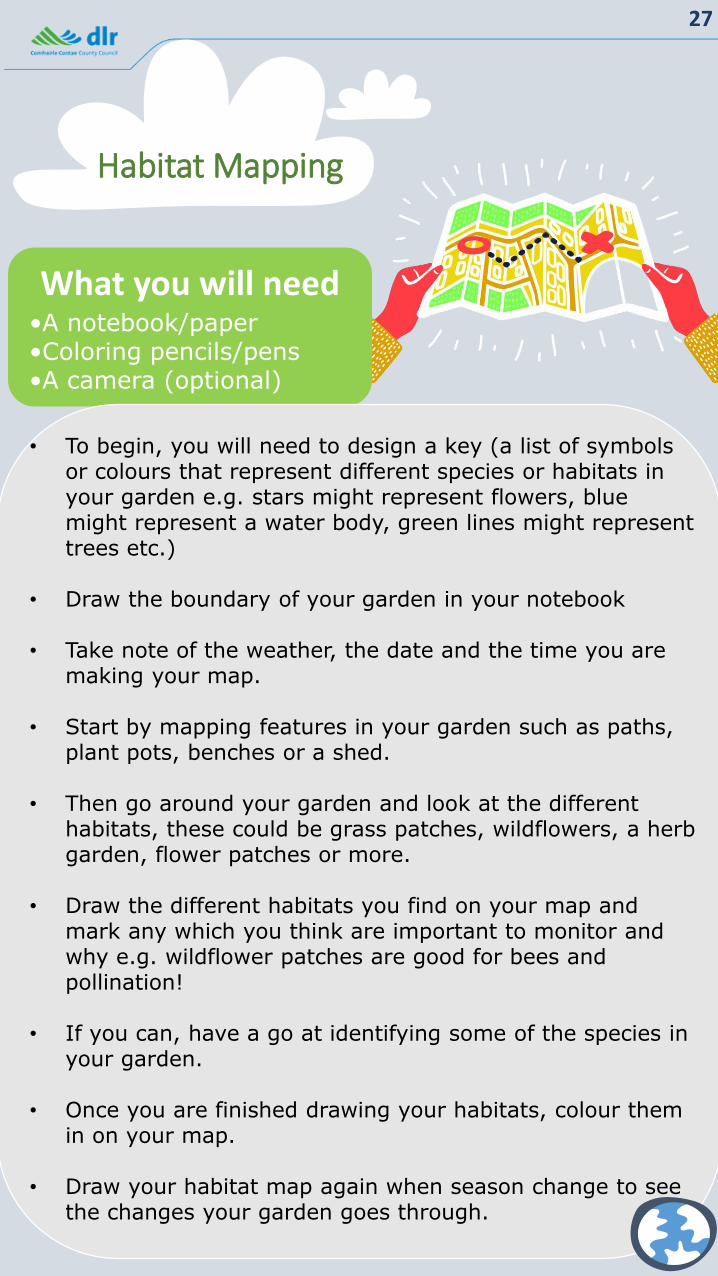
What you will need•A notebook/paper•Coloring pencils/pens•A camera (optional)
• To begin, you will need to design a key (a list of symbols or colours that represent different species or habitats in your garden e.g. stars might represent flowers, blue might represent a water body, green lines might represent trees etc.)
• Draw the boundary of your garden in your notebook
• Take note of the weather, the date and the time you are making your map.
• Start by mapping features in your garden such as paths, plant pots, benches or a shed.
• Then go around your garden and look at the different habitats, these could be grass patches, wildflowers, a herb garden, flower patches or more.
• Draw the different habitats you find on your map and mark any which you think are important to monitor and why e.g. wildflower patches are good for bees and pollination!
• If you can, have a go at identifying some of the species in your garden.
• Once you are finished drawing your habitats, colour them in on your map.
• Draw your habitat map again when season change to see the changes your garden goes through.
Habitat Mapping
27

Key
My Habitat Map
28
[Insert a photo or drawing here]

Can you find any of the
following wildflowers while
out on your walk? Use the
relevant Wildflower guide
on our website to help you
identify them.
Wildflower Hunt
29
Daisy
Dandelion
Buttercup
Gorse
Primrose
Bluebell

My Wildflowers
30
[Insert a photo or drawing here]

Can you spot any of these
trees while outside? Use
the relevant tree guide on
our website to help you
identify different leaves,
bark, flowers and fruit.
Tree Hunt
31
Sessile Oak
Ash
Beech
Silver Birch
Crab Apple
Alder

My Favourite Tree
32
[Insert a photo or drawing here]
Bird Bingo
33
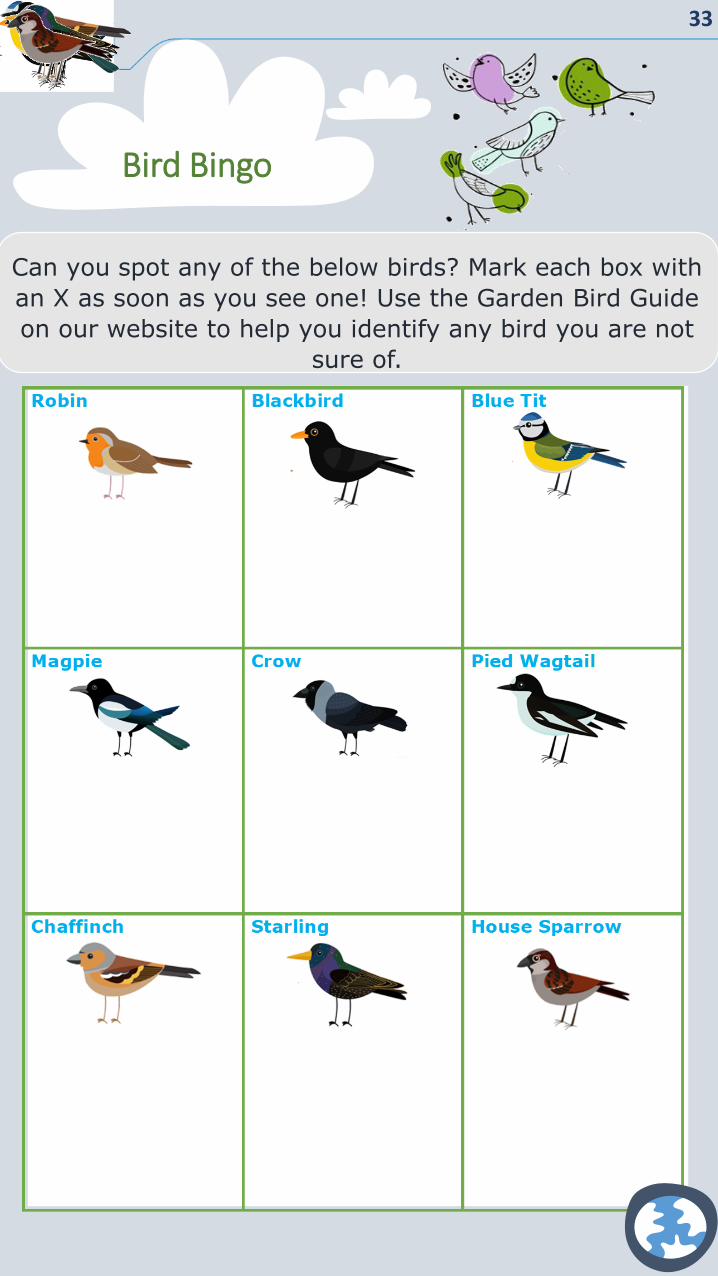
Can you spot any of the below birds? Mark each box with
an X as soon as you see one! Use the Garden Bird Guide
on our website to help you identify any bird you are not
sure of.

What you will need
• Notepad
• Pencil
• Magnifying glass
(optional)
Top Tips for finding mini beasts! • Peek under logs and large stones
• Look in the cracks of tree bark
• After rain its easier to find some slugs, snails and
worms
• Look closely at leaves
• Lots of mini beasts live in shrubs and trees. Why not try
laying a piece of paper or white cloth under a bush and
gently shake the plant. Can you see any mini beasts
landing on the sheet?
• Always remember to put your mini beasts back after
examining them!
Bug Hunt
34
Can you find any mini beasts in your garden, on
your walk or in your school? Use the below top tips
to help you on your bug hunt!

My Bug Hunt Checklist
Worm
Spider
Ladybird
Slug
Snail
Butterfly
Where did you find mini beasts??
35
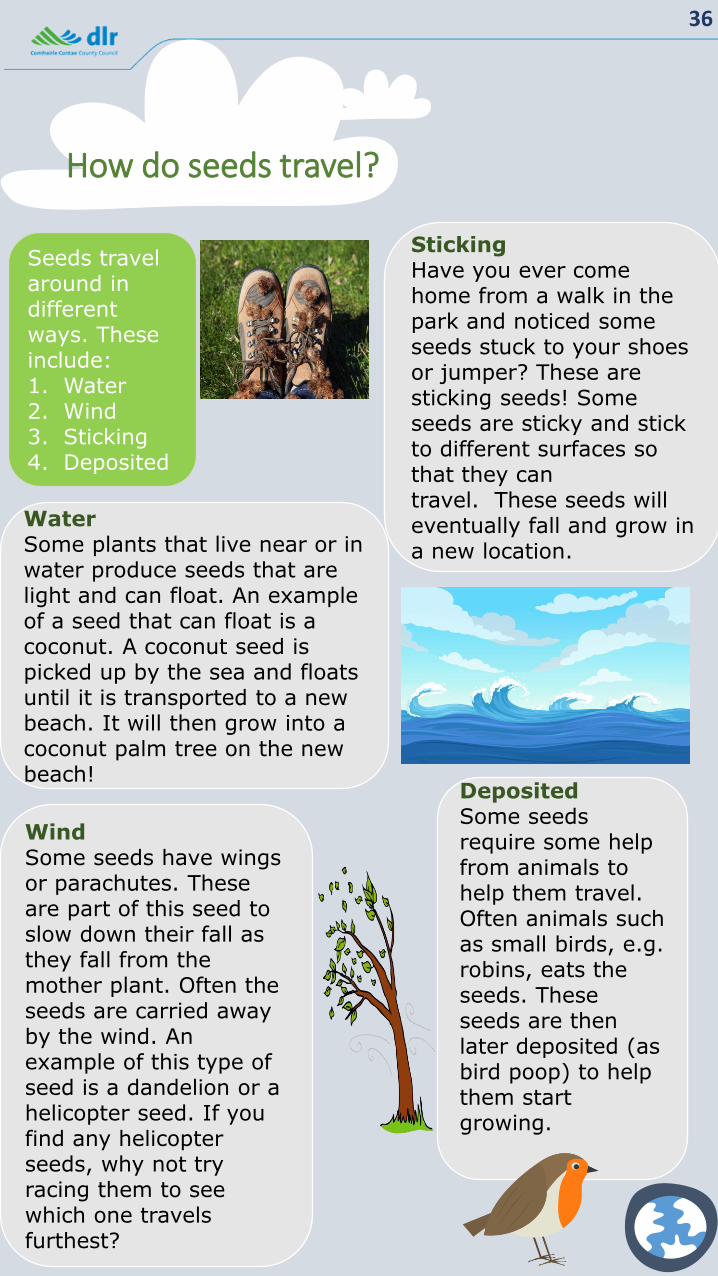
Seeds travel around in different ways. These include:1. Water2. Wind3. Sticking4. Deposited
WaterSome plants that live near or in water produce seeds that are light and can float. An example of a seed that can float is a coconut. A coconut seed is picked up by the sea and floats until it is transported to a new beach. It will then grow into a coconut palm tree on the new beach!
WindSome seeds have wings or parachutes. These are part of this seed to slow down their fall as they fall from the mother plant. Often the seeds are carried away by the wind. An example of this type of seed is a dandelion or a helicopter seed. If you find any helicopter seeds, why not try racing them to see which one travels furthest?
StickingHave you ever come home from a walk in the park and noticed some seeds stuck to your shoes or jumper? These are sticking seeds! Some seeds are sticky and stick to different surfaces so that they can travel. These seeds will eventually fall and grow in a new location.
DepositedSome seeds require some help from animals to help them travel. Often animals such as small birds, e.g. robins, eats the seeds. These seeds are then later deposited (as bird poop) to help them start growing.
How do seeds travel?
36
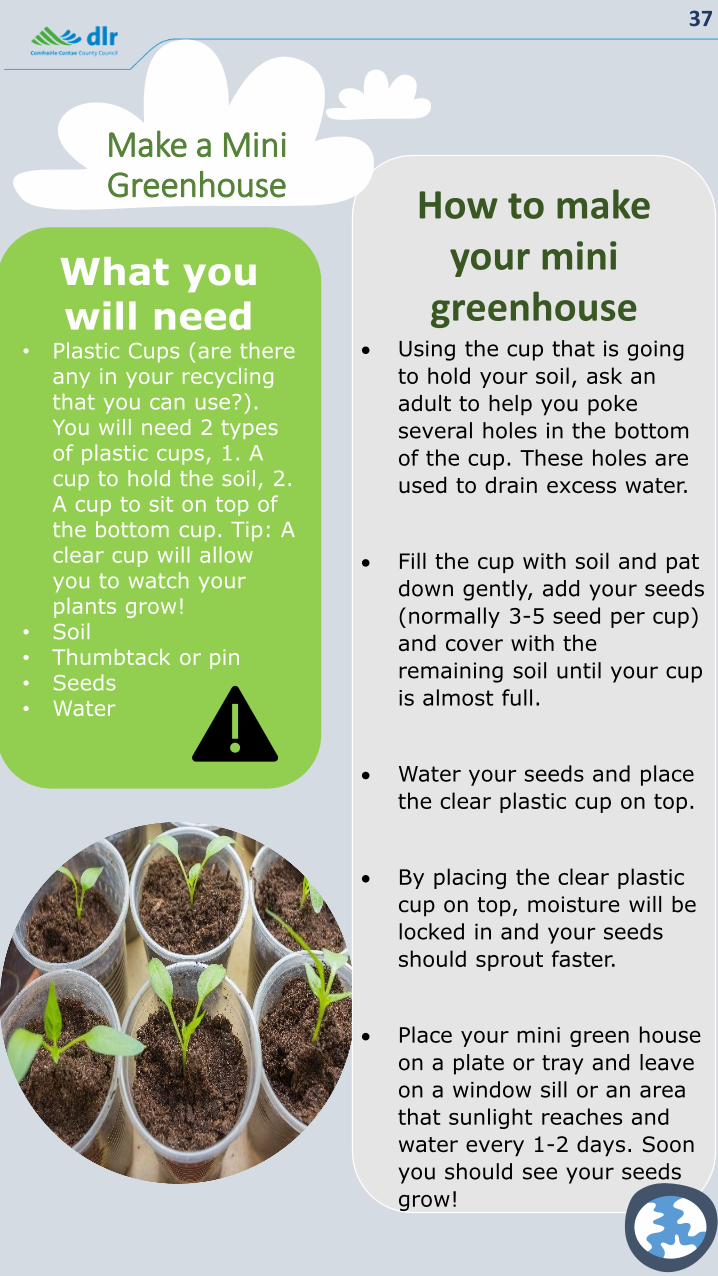
What you will need
• Plastic Cups (are there any in your recycling that you can use?). You will need 2 types of plastic cups, 1. A cup to hold the soil, 2. A cup to sit on top of the bottom cup. Tip: A clear cup will allow you to watch your plants grow!
• Soil• Thumbtack or pin• Seeds• Water
How to make your mini
greenhouse• Using the cup that is going
to hold your soil, ask an
adult to help you poke
several holes in the bottom
of the cup. These holes are
used to drain excess water.
• Fill the cup with soil and pat
down gently, add your seeds
(normally 3-5 seed per cup)
and cover with the
remaining soil until your cup
is almost full.
• Water your seeds and place
the clear plastic cup on top.
• By placing the clear plastic
cup on top, moisture will be
locked in and your seeds
should sprout faster.
• Place your mini green house
on a plate or tray and leave
on a window sill or an area
that sunlight reaches and
water every 1-2 days. Soon
you should see your seeds
grow!
Make a Mini Greenhouse
37

My Mini Greenhouse
How long did it take for your seeds to sprout?
?
38
[Insert a photo or drawing here]
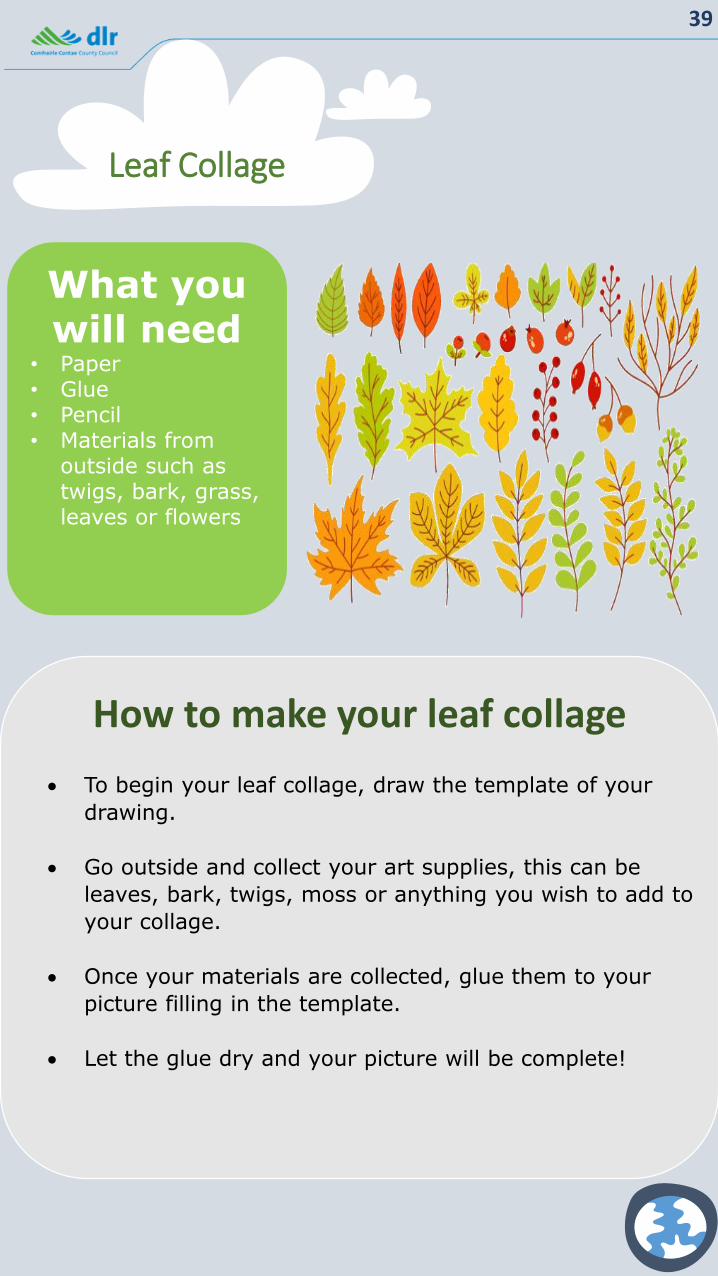
What you will need
• Paper• Glue• Pencil• Materials from
outside such as twigs, bark, grass, leaves or flowers
How to make your leaf collage
• To begin your leaf collage, draw the template of your
drawing.
• Go outside and collect your art supplies, this can be
leaves, bark, twigs, moss or anything you wish to add to
your collage.
• Once your materials are collected, glue them to your
picture filling in the template.
• Let the glue dry and your picture will be complete!
Leaf Collage
39

My Leaf Collage
40
[Insert a photo or drawing here]

What you will need
**You will need a mix of any of the below materials• Wooden pallets • Tin cans• Broken tiles or
bricks• Stone chippings• Cardboard• Dry leaves• Bark• Straw or hay• Rotting wood• Logs or twigs• Broken plant
pots• Old drain pipes• Plastic bottles• Bamboo or
hollow plant stems
How to make your insect hotel
• To make your hotel you first need to select its location, as we learnt earlier, mini beasts prefer an area that is cooler so a shady area will work well e.g. under a tree.
• You will need to create the structure; any material you have that can create a structure with some gaps will work well (pro tip, you can make mini bug hotel structures using tin cans).
• Fill in the gaps of your structure with the materials you gathered such as bark, drainpipes, leaves, stone and tiles etc.
• Once you have filled in the gaps, make sure your structure is stable and if needs be, stabilise it with some rope or ties.
Bug Hotels
41
My Bug Hotel
Have you seen mini beasts using your hotel?
?
42
[Insert a photo or drawing here]

What you will need
• Notebook• Crayons or Chalk• Paper• Trees• Leaves
Bark Tracing
• Press a sheet of thin paper up against the bark of a tree you wish to trace.
• Carefully rub the side of your crayon or chalk on the paper until the pattern of the bark shows
Bark and Leaf Tracing
Leaf Tracing
• Pick out some interesting leaves, and lay them flat on a table.
• Cover your chosen leaves with paper, and rub the side of the crayon or chalk on the paper.
• The pattern of your chosen leaves should start to show up on your piece of paper
43

My Leaf Tracing
44
[Insert a photo or drawing here]

My Bark Tracing
Can you see any difference between the barks of different trees?
?
45
[Insert a photo or drawing here]

Dún Laoghaire- Rathdown BiodiversityLearn about Dún Laoghaire- Rathdown’s
Biodiversity by visiting our Biodiversity page. This can be found here:
https://www.dlrcoco.ie/en/heritage/biodiversity
Dún Laoghaire- Rathdown Environmental Awareness
Learn about Dún Laoghaire- Rathdown’sEnvironmental Awareness projects further
information can be found here:https://www.dlrcoco.ie/en/environment/environmental-
awareness-education
46
Find Out More
This resource was created for educational andentertainment purposes. While every effort hasbeen made, the authors and dlr cannot makeany warranties or assume any liabilities of anykind. The material may not be reproduced, inwhole or in part, without the prior writtenpermission of dlr, due to image copyright.