Embed Size (px)
Citation preview
Family Fun Festival Teacher Materials Page 1 of 24
Family Fun Festival A math adventure in applying perimeter and area
Teacher Materials
Lesson Synopsis: Students will be involved in a variety of inquiry-based activities focusing on a deeper
understanding of area and perimeter. Many students do not have a clear understanding of the differences and similarities of area and perimeter and are often confused when asked to apply area and perimeter concepts. Providing experiences for them to explore and discover the relationships between area and perimeter, students will draw rectangular figures and compare their areas, applying these skills to making a floor plan model for a simulated school-wide Family Fun Festival. The lessons build on a simulated model of constructing fair booths and a feasible floor plan area that may be used for an actual Family Fun Festival, although actually putting on the festival is purely optional.
Suggested Teaching Sequence: 1. Activity One (preassessment): Students will demonstrate their current
understanding of perimeter and area with the following activity: (worksheet follows)
A. Using the data recording sheet, “Exploring Perimeter and Area,” direct students to work with a partner to measure a variety of rectangular objects within their classroom. Make available a variety of measurement tools (see Materials List.) Students will apply their current math skills in perimeter and area as they complete this activity. Note student work and levels of understanding. (TC – 1, a, b)
B. Hold a class discussion of their discoveries and understandings. (TC-2) C. Ask students to respond in writing to their observations and understandings
gained during their investigation of perimeter, using “Response Sheet for Activity One: Exploring Perimeter and Area.” (TC-3)
Before Activity Two: Communicate to students the following lesson/unit objectives:
a) The student will be able to understand and communicate the difference between perimeter and area.
b) The students will be able to understand and communicate the difference between linear units and square units.
c) The studetns will be able to apply and use formulas to calculate perimeter and area of rectangles.
d) The student will be able to understand and communicate how perimeter and area of rectangles are affected when the total linear units remain the same.
e) The students will gain a beginner’s understanding of how to find the volume of rectangular prisms.
f) The student will be able to deveop a growing understanding of how perimeter and area are used in real-world situaitons.
Family Fun Festival Teacher Materials Page 2 of 24
2. Activity Two: Same Perimeter but Different Shape; Area of Different Shaped Rectangles
A. Task One: • Divide students into groups of four. Assign a number to each group. This
number represents the perimeter of a rectangle. Provide each student with one graph card. (TC-4)
• Instruct students each to draw a rectangle with the perimeter of the assigned number, but each rectangle must be a different shape. Students verify and agree that their rectangles meet the two above criteria. Monitor and check each group’s accuracy. Then, collect all cards.
• Shuffle all the class graph cards and distribute one each to each student, along with one small sticky note. Do a Jigsaw Activity next. The student’s job here is to move around the room to find their “perimeter family.” There will be four members in each “family,” all perimeters being equal. Groups verify they have a complete “perimeter family” by finding the perimeter of each rectangle, then record their solution, and how they solved the problem, on the small sticky note. Students keep cards for Task Two.
• Groups share out with the whole class. Class should agree that all members found their appropriate “family.” Conclusions should be noted on chart paper. (TC-5)
• Students write about their conclusions, using “Response Sheet for Activity Two, Task One: Same Perimeter but Different Area.” (TC-6)
B. Task Two: (a second jigsaw activity)
• Direct students to regroup with their “perimeter family.” Direct them to draw their rectangle, labeling dimensions, and then finding the perimeters and areas. Record all math work on student “Recording Sheet for Activity Two, Task Two: Calculated Area of Rectangles.” (TC-7)
• Groups verify and discuss together how they found the area. Then, they compare the areas of each of the four rectangles. Note their discoveries and their “math talk.” (on chart paper)
• Ask students to order their cards from the least area to the greatest; display cards along with recording sheet. Ask students to do a “gallery Walk” and observe other group’s findings. Have a group discussion about what they notice and discover about the area of rectangles. (TC-8)
C. Task Three: Discrepant Event • Pose a new problem: “I have a piece of string. Let’s find out how many
ways we can make rectangles with this perimeter (string).” • Instruct students to construct a variety or rectangles on ½-inch grid paper
with their perimeter string. Draw the shape, labeling sides with accurate measurements. Calculate perimeter in linear units and area in square units. (TC-9)
• Invite students to cut around their shapes, including the necessary labels and calculations, and post on a class chart paper --- from least area to the greatest area. Goal: To find the rectangles with the largest area.
Family Fun Festival Teacher Materials Page 3 of 24
• Share out: Draw mathematical conclusions here. Students should share what they discovered and learned about the relationship between perimeter and area. Discussion should conclude by forming this Generalization: The closer the perimeter is to a square, the larger the area.
• Journal Response Activity: Ask students to write down their learning from this activity on “Response Sheet for Activity Two, Task Three: Area of Rectangles.” (TC-10)
D. Task Four: Use of Formulas for Calculating Perimeter and Area • Introduce standard formulas for calculating perimeter and area. Model
examples and nonexamples on the board; allow students to practice along; monitor and adjust learning; introduce student practice worksheet (s). (TC-11)
3. Activity Three: Real Life Problem Using Area and Perimeter
A. Overview of situation: Students will work together in small groups (2-3 students) to construct an appropriate floor plan to accommodate thirteen festival booths, built to a scale, (1/2 in. = 4 ft.) and to persuade the school’s Volunteer Team to use their plan for the upcoming Family Fun Festival. Given the gym and festival booth dimensions, direct students to determine a viable layout. They will apply perimeter and area concepts and skills throughout this activity. When the floor plan is approved (by teacher) --- NOTE THE FOLLOWING OPTIONAL REAL WORLD EXPERIENCES (Teacher Annotations) (TC-12)
B. Procedure—Part One:
• Group students into groups of 2-3 each. • Direct each student to draw the thirteen booths to scale (½ in. = 4 ft.) on
white grid paper, 11” X 17”. Label the dimensions of each, then calculate the perimeter and area, using appropriate formulas; record calculations next to the figure on grid drawing. Cut out each booth diagram.
• Record booth the perimeter and the area on the student sheet provided. • Calculate the total perimeter and area of the booths at the bottom of the
student sheet. On a colored ½-in. grid paper, 11” X 17”, draw the gym to the given scale (1/2” = 4 ft.) (TC-13)
• In small groups, work together to lay out a workable floor plan, each producing their own floor plan. The goal is for smooth flow of traffic moving from booth to booth. Do the math---once layout is complete, glue into place & direct students to calculate the area of unused floor space. Record on student sheet and on diagram.
• Analyze and explain: Direct the students to hold a group discussion to analyze their combined floor plans. After discussion, groups will select their most workable floor plan and be ready to share their reasons why with the whole class. Ask students to complete Response Sheet for Activity Three: Floor Plan for Family Fun Festival.
Family Fun Festival Teacher Materials Page 4 of 24
• Share out with the whole class each group’s selected floor plan. After discussion, class needs to determine which floor plan to submit to the Volunteer Team. (TC-14)
Modifications for Differentiated Instruction: Simplifications:
1. Some students may have difficulty finding perimeter and area accurately on their own throughout all the activities. They may still be at the concrete level of understanding and/or need continued use of manipulative units for measuring. They may struggle using formulas for calculating for perimeter and area. Identify these students and pull them into a small group for continued direct instruction and more scaffolding. Provide lots of guided practice, modeling consistently how to solve for perimeter and area, gradually weaning them off manipulatives and into using the standard formulas. These same students may find it difficult to remember what perimeter and area are. In a small group, help students make index cards with the definitions and examples of perimeter and area and how to solve for perimeter and area. Encourage them to use them during practice activities.
Extensions:
Activity Three may be used as an extension activity if students seem to need more practice with applying perimeter and area concepts to flat shapes. Some students will already know how to use formulas for finding perimeter and area of rectangles and/or pick up the concepts quickly and are ready to move on. Suggested extensions, then, might include: introducing how to find area of irregular shapes, triangles, and circles. Ask them to think and respond to why the standard formulas work. Allow them to “struggle” with this. It is always best to let students struggle with the math and the reasoning, as this is what solidifies and deepens their mathematical understanding. After introducing these concepts to these students, and allowing them to work it out, challenge them to use irregular shapes in their 3-dimensional booth construction, finding the surface area of each, then the volume. OPTIONAL: Plan the booths and floor plan for a Family Fun Festival (see subsequent pages.) (TC15)
Suggested Future Experiences: (6-7) MEO1, MEO2
GLE 1.2.1 Understand the concepts of surface area and volume of rectangular prisms. Understand how changes in one linear dimension affect other linear measurements and area of rectangles, triangles, and circles.
GLE 1.2.2: Understand the differences between area (square) units and volume (cubic) units.
Assessments: (subsequent pages)
Family Fun Festival Teacher Materials Page 5 of 24
Family Fun Festival A math adventure in applying perimeter and area
Teacher Annotations TC-1, a: Lesson Vocabulary:
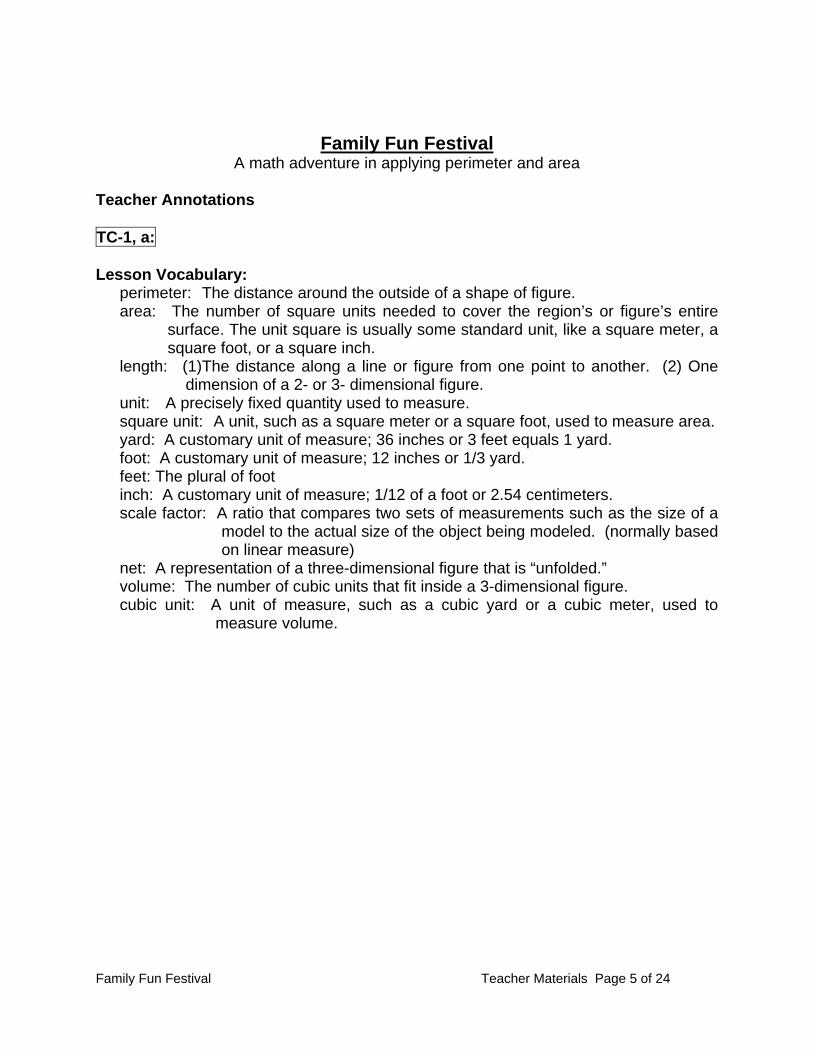
perimeter: The distance around the outside of a shape of figure. area: The number of square units needed to cover the region’s or figure’s entire
surface. The unit square is usually some standard unit, like a square meter, a square foot, or a square inch.
length: (1)The distance along a line or figure from one point to another. (2) One dimension of a 2- or 3- dimensional figure.
unit: A precisely fixed quantity used to measure. square unit: A unit, such as a square meter or a square foot, used to measure area. yard: A customary unit of measure; 36 inches or 3 feet equals 1 yard. foot: A customary unit of measure; 12 inches or 1/3 yard. feet: The plural of foot inch: A customary unit of measure; 1/12 of a foot or 2.54 centimeters. scale factor: A ratio that compares two sets of measurements such as the size of a
model to the actual size of the object being modeled. (normally based on linear measure)
net: A representation of a three-dimensional figure that is “unfolded.” volume: The number of cubic units that fit inside a 3-dimensional figure. cubic unit: A unit of measure, such as a cubic yard or a cubic meter, used to
measure volume.
Family Fun Festival Teacher Materials Page 6 of 24
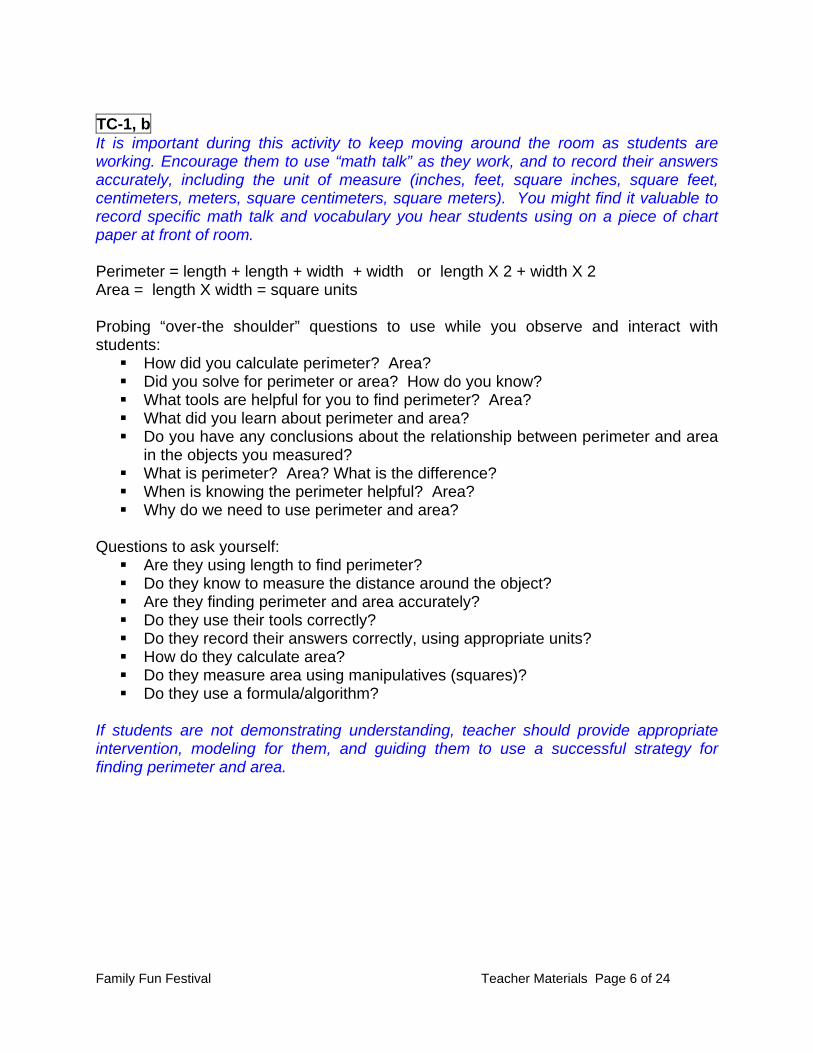
TC-1, b It is important during this activity to keep moving around the room as students are working. Encourage them to use “math talk” as they work, and to record their answers accurately, including the unit of measure (inches, feet, square inches, square feet, centimeters, meters, square centimeters, square meters). You might find it valuable to record specific math talk and vocabulary you hear students using on a piece of chart paper at front of room. Perimeter = length + length + width + width or length X 2 + width X 2 Area = length X width = square units Probing “over-the shoulder” questions to use while you observe and interact with students:
How did you calculate perimeter? Area? Did you solve for perimeter or area? How do you know? What tools are helpful for you to find perimeter? Area? What did you learn about perimeter and area? Do you have any conclusions about the relationship between perimeter and area
in the objects you measured? What is perimeter? Area? What is the difference? When is knowing the perimeter helpful? Area? Why do we need to use perimeter and area?
Questions to ask yourself:
Are they using length to find perimeter? Do they know to measure the distance around the object? Are they finding perimeter and area accurately? Do they use their tools correctly? Do they record their answers correctly, using appropriate units? How do they calculate area? Do they measure area using manipulatives (squares)? Do they use a formula/algorithm?
If students are not demonstrating understanding, teacher should provide appropriate intervention, modeling for them, and guiding them to use a successful strategy for finding perimeter and area.
Family Fun Festival Teacher Materials Page 7 of 24
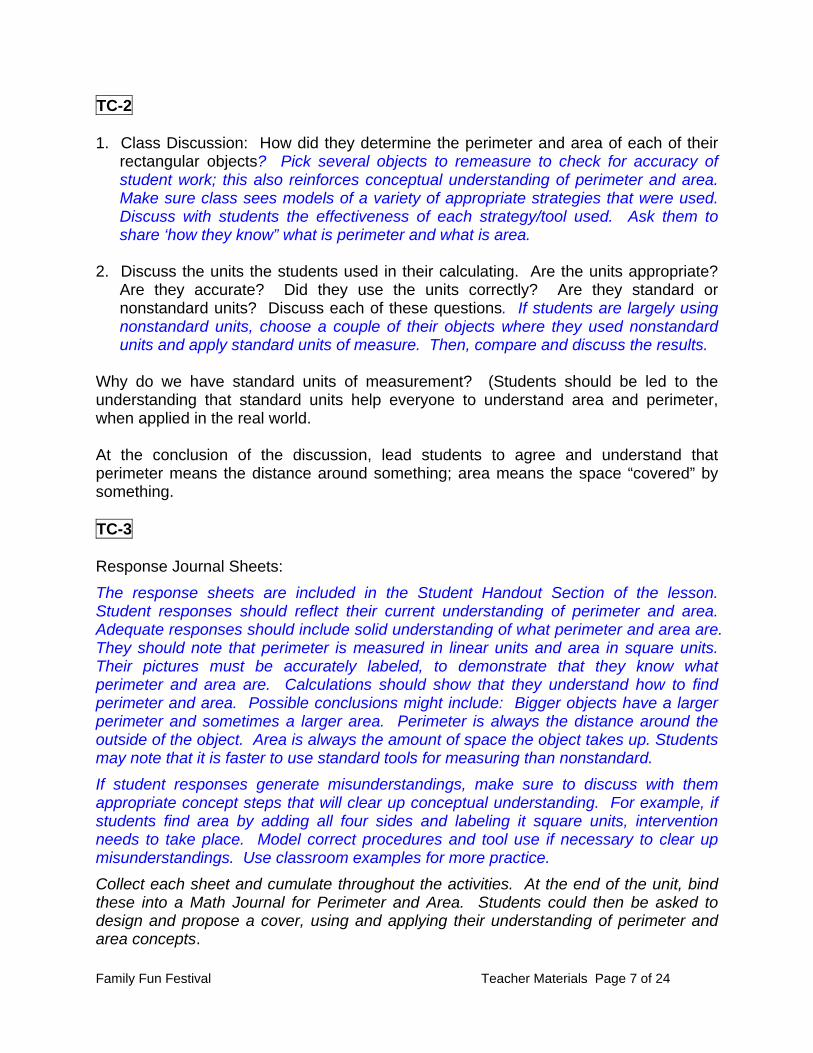
TC-2 1. Class Discussion: How did they determine the perimeter and area of each of their
rectangular objects? Pick several objects to remeasure to check for accuracy of student work; this also reinforces conceptual understanding of perimeter and area. Make sure class sees models of a variety of appropriate strategies that were used. Discuss with students the effectiveness of each strategy/tool used. Ask them to share ‘how they know” what is perimeter and what is area.
2. Discuss the units the students used in their calculating. Are the units appropriate?
Are they accurate? Did they use the units correctly? Are they standard or nonstandard units? Discuss each of these questions. If students are largely using nonstandard units, choose a couple of their objects where they used nonstandard units and apply standard units of measure. Then, compare and discuss the results.
Why do we have standard units of measurement? (Students should be led to the understanding that standard units help everyone to understand area and perimeter, when applied in the real world. At the conclusion of the discussion, lead students to agree and understand that perimeter means the distance around something; area means the space “covered” by something. TC-3 Response Journal Sheets: The response sheets are included in the Student Handout Section of the lesson. Student responses should reflect their current understanding of perimeter and area. Adequate responses should include solid understanding of what perimeter and area are. They should note that perimeter is measured in linear units and area in square units. Their pictures must be accurately labeled, to demonstrate that they know what perimeter and area are. Calculations should show that they understand how to find perimeter and area. Possible conclusions might include: Bigger objects have a larger perimeter and sometimes a larger area. Perimeter is always the distance around the outside of the object. Area is always the amount of space the object takes up. Students may note that it is faster to use standard tools for measuring than nonstandard. If student responses generate misunderstandings, make sure to discuss with them appropriate concept steps that will clear up conceptual understanding. For example, if students find area by adding all four sides and labeling it square units, intervention needs to take place. Model correct procedures and tool use if necessary to clear up misunderstandings. Use classroom examples for more practice. Collect each sheet and cumulate throughout the activities. At the end of the unit, bind these into a Math Journal for Perimeter and Area. Students could then be asked to design and propose a cover, using and applying their understanding of perimeter and area concepts.
Family Fun Festival Teacher Materials Page 8 of 24
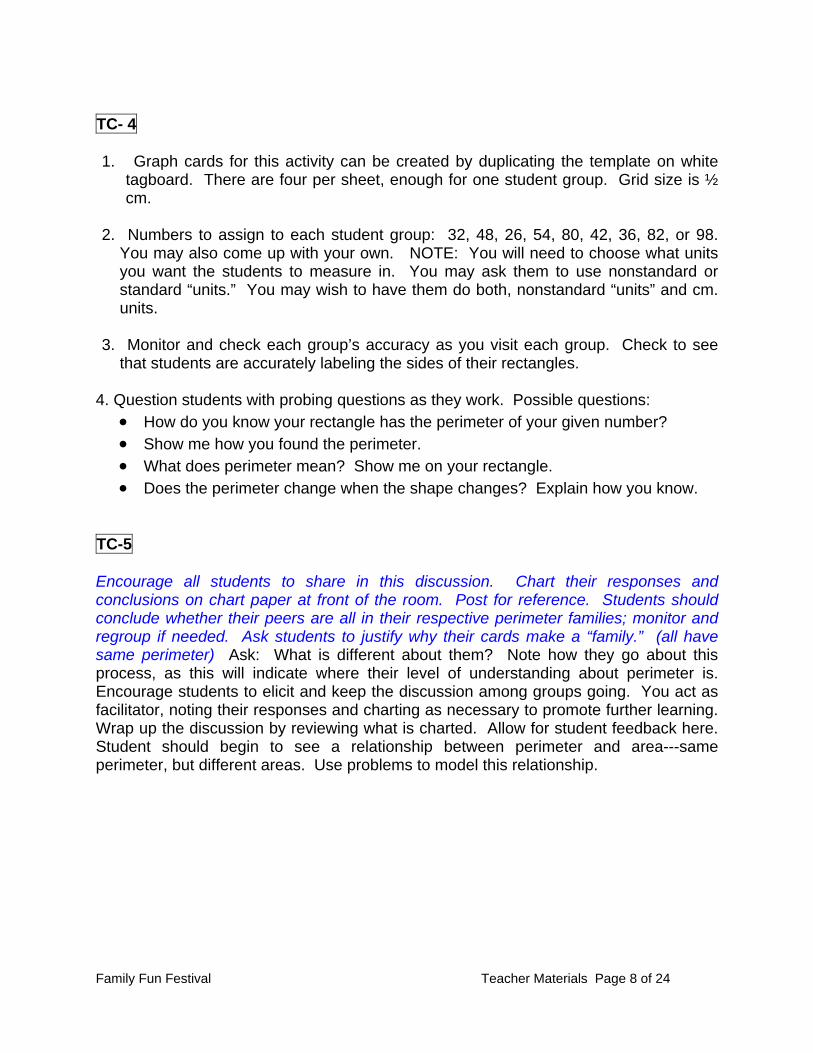
TC- 4 1. Graph cards for this activity can be created by duplicating the template on white
tagboard. There are four per sheet, enough for one student group. Grid size is ½ cm.
2. Numbers to assign to each student group: 32, 48, 26, 54, 80, 42, 36, 82, or 98.
You may also come up with your own. NOTE: You will need to choose what units you want the students to measure in. You may ask them to use nonstandard or standard “units.” You may wish to have them do both, nonstandard “units” and cm. units.
3. Monitor and check each group’s accuracy as you visit each group. Check to see
that students are accurately labeling the sides of their rectangles. 4. Question students with probing questions as they work. Possible questions:
• How do you know your rectangle has the perimeter of your given number? • Show me how you found the perimeter. • What does perimeter mean? Show me on your rectangle. • Does the perimeter change when the shape changes? Explain how you know.
TC-5 Encourage all students to share in this discussion. Chart their responses and conclusions on chart paper at front of the room. Post for reference. Students should conclude whether their peers are all in their respective perimeter families; monitor and regroup if needed. Ask students to justify why their cards make a “family.” (all have same perimeter) Ask: What is different about them? Note how they go about this process, as this will indicate where their level of understanding about perimeter is. Encourage students to elicit and keep the discussion among groups going. You act as facilitator, noting their responses and charting as necessary to promote further learning. Wrap up the discussion by reviewing what is charted. Allow for student feedback here. Student should begin to see a relationship between perimeter and area---same perimeter, but different areas. Use problems to model this relationship.
Family Fun Festival Teacher Materials Page 9 of 24
TC- 6: Possible responses may include: 1. How does area change as the shape of a rectangle changes? Perimeter does not
change. The linear measurement is always the same. Example: Rectangle one: length =15, width = 9. Perimeter = 48 (15+ 9) x 2 = 48
Rectangle two: length = 20, width = 4. Perimeter = 48 (20 + 4) X 2 = 48 2. Why do you think this happens? It doesn’t matter how you combine or break up the
addends; the four sides will always add up to the total perimeter.
3. Conclusions about the relationship between perimeters and different shaped
rectangles: ( Same idea as stated above.) Students should be able to adequately explain and give examples of why area stays the same, even though the shape changes.
Monitor that all students understand this relationship before moving to next activity. Provide more guided practice if necessary.
Family Fun Festival Teacher Materials Page 10 of 24
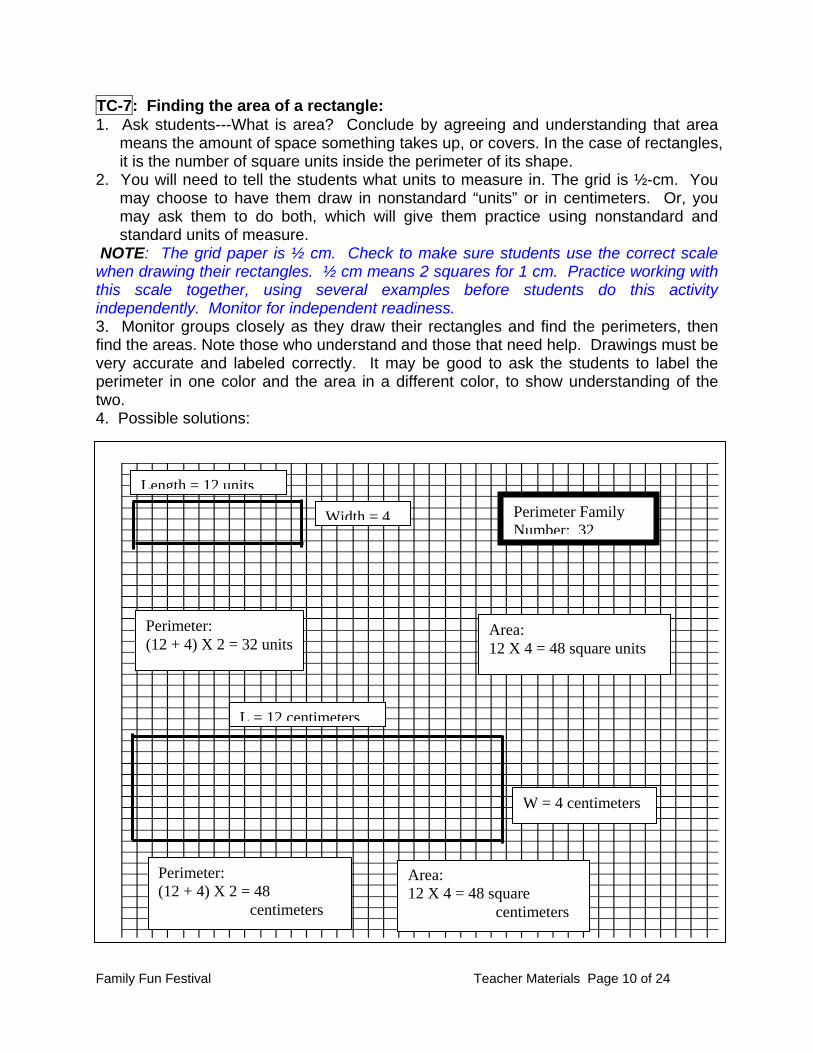
TC-7: Finding the area of a rectangle: 1. Ask students---What is area? Conclude by agreeing and understanding that area
means the amount of space something takes up, or covers. In the case of rectangles, it is the number of square units inside the perimeter of its shape.
2. You will need to tell the students what units to measure in. The grid is ½-cm. You may choose to have them draw in nonstandard “units” or in centimeters. Or, you may ask them to do both, which will give them practice using nonstandard and standard units of measure.
NOTE: The grid paper is ½ cm. Check to make sure students use the correct scale when drawing their rectangles. ½ cm means 2 squares for 1 cm. Practice working with this scale together, using several examples before students do this activity independently. Monitor for independent readiness. 3. Monitor groups closely as they draw their rectangles and find the perimeters, then find the areas. Note those who understand and those that need help. Drawings must be very accurate and labeled correctly. It may be good to ask the students to label the perimeter in one color and the area in a different color, to show understanding of the two. 4. Possible solutions:
Length = 12 units
Width = 4
Perimeter: (12 + 4) X 2 = 32 units
Area: 12 X 4 = 48 square units
L = 12 centimeters
W = 4 centimeters
Perimeter: (12 + 4) X 2 = 48 centimeters
Area: 12 X 4 = 48 square centimeters
Perimeter Family Number: 32
Family Fun Festival Teacher Materials Page 11 of 24
TC- 8: 1. Task Two is a Jigsaw activity. Groups share their results and conclusions together. Probe them to focus on the relationship between perimeter and area. • What did they discover? • Does the area remain the same if perimeter is the same, or does it change?
Students should notice that the area changes, even though the perimeter itself doesn’t change, only the shape of the rectangle changes. As the rectangle sides near “squareness,” the area increases.
• Do students notice how the area changes in relation to the changes in rectangular shape?
• Can they draw some conclusions about these relationships? Allow them to struggle here and work out their mathematical thinking as they engage in discussion. This will result in deeper math understanding.
2. “Gallery Walk”---Students walk around to the other groups and take careful note of
their findings. You may notice that some students still have misunderstandings about area. Have an “over-the-shoulder discussion with these students as you come to them. Probe their thinking to guide them to discover that area does change as the rectangle reaches “squareness.” They may not yet be ready to form their own generalization, but encourage them to continue to question their thinking and to keep practicing. The next activity will give them another opportunity to test this concept.
3. Large group discussion: Probe the discussion with questions; refrain from giving
them answers. Do not give them the generalization here (Generalization: The closer the perimeter is to a square, the larger the area.) • What happens to the area of rectangles? • Why does the area change when the perimeter stays the same? • What factor influences the change in area? • What conclusions can you make about the relationship of perimeter to area of
rectangles? • Can you make a generalization about the area of rectangles?
4. Chart student responses generated during this discussion; good reflection time. They will tend to want you to give them the answers, so be careful again not to
finalize their thinking for them. The more they “struggle” the more they will refine their “inquiry” thinking and move toward deeper understanding of area. This is the goal here.
(Ask that student show how they know to demonstrate their mathematical reasoning and understanding. Probe the discussion with questions.)
Family Fun Festival Teacher Materials Page 12 of 24
TC- 9 The purpose of this activity is to allow students to continue to question and refine their thinking about area and its relationship to the perimeter of rectangles. 1. Have a chart paper ready in front of room for students to post their labeled
rectangles, including the calculations. Direct them to cut out each sample rectangle and post from least to greatest area.
Note on unit labeling: The grid paper provided is 1/2 –inch. Make it clear to students what units they should record. You may wish for them to do both nonstandard “units” and standard inches. You may also choose to use a different size of graph paper.
• Can you make a rectangle with a larger area than this one? • How do you know your rectangle will have a larger area than that one? • How did you find the area of this rectangle? • What can you tell me now about the area of rectangles? • Can you form a generalization about the relationship between rectangle shape
and its area?
2. Be sure to monitor closely that students use their string accurately to measure out rectangular shapes and that they draw the shapes on the ½-inch grid paper accurately and neatly. Notice how soon they begin to construct shapes with more
“squareness.” Note their out loud math talk and chart on paper at front of room. They should soon discover that the largest areas are obtained when the rectangular sides are square---(all sides the same length.)
3. Continue those math discussions! (How do you know?) Keeping them talking as
they think about their thinking is powerful and an important step in developing strong understanding of the concepts of perimeter and area.
4. Challenge students to continue to construct, calculate (as above), cut out and post
until an “ah-ha” arises (the “ah-ha” being---the largest area occurs when the four sides are equal lengths, thus forming a square)---looking for the“squareness” of a rectangle.
Family Fun Festival Teacher Materials Page 13 of 24
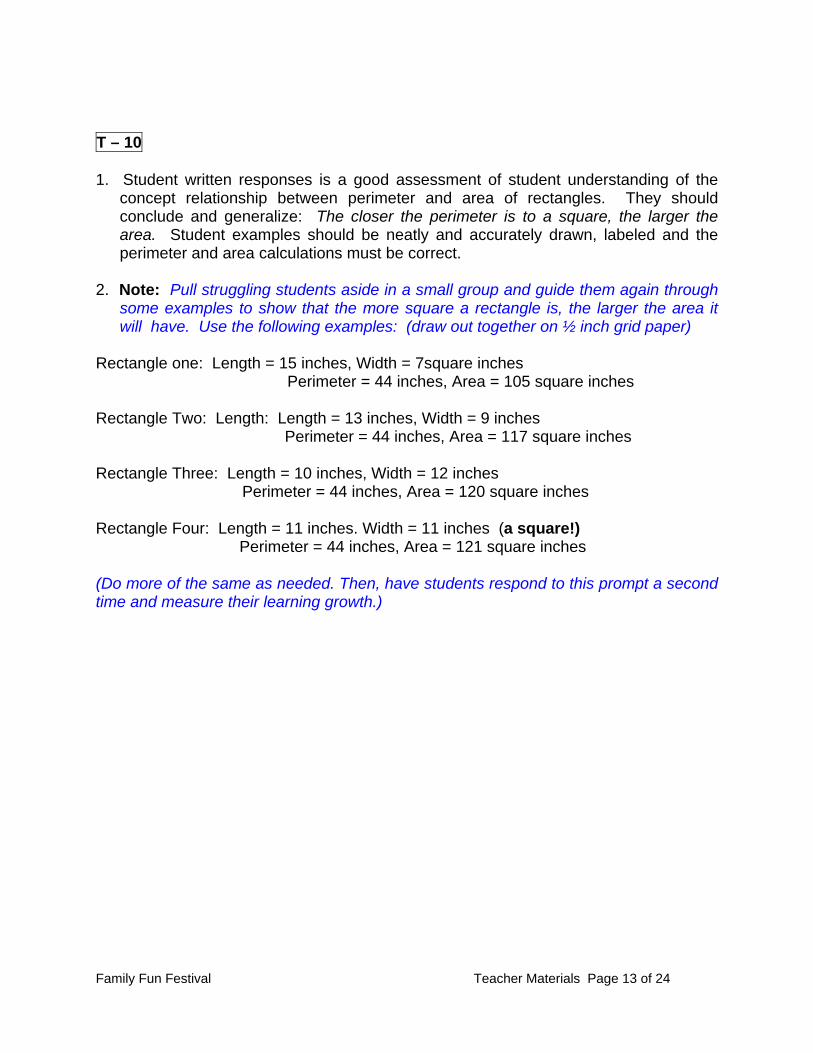
T – 10 1. Student written responses is a good assessment of student understanding of the
concept relationship between perimeter and area of rectangles. They should conclude and generalize: The closer the perimeter is to a square, the larger the area. Student examples should be neatly and accurately drawn, labeled and the perimeter and area calculations must be correct.
2. Note: Pull struggling students aside in a small group and guide them again through
some examples to show that the more square a rectangle is, the larger the area it will have. Use the following examples: (draw out together on ½ inch grid paper)
Rectangle one: Length = 15 inches, Width = 7square inches Perimeter = 44 inches, Area = 105 square inches Rectangle Two: Length: Length = 13 inches, Width = 9 inches Perimeter = 44 inches, Area = 117 square inches Rectangle Three: Length = 10 inches, Width = 12 inches Perimeter = 44 inches, Area = 120 square inches Rectangle Four: Length = 11 inches. Width = 11 inches (a square!) Perimeter = 44 inches, Area = 121 square inches (Do more of the same as needed. Then, have students respond to this prompt a second time and measure their learning growth.)
Family Fun Festival Teacher Materials Page 14 of 24
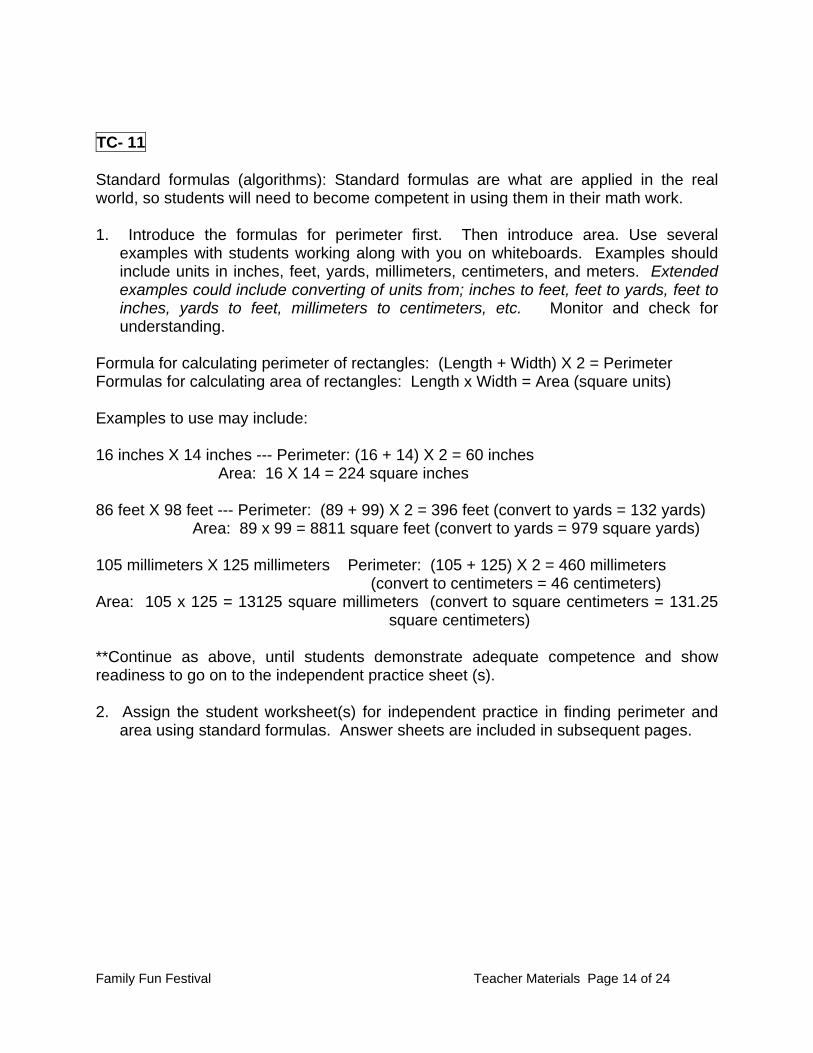
TC- 11 Standard formulas (algorithms): Standard formulas are what are applied in the real world, so students will need to become competent in using them in their math work. 1. Introduce the formulas for perimeter first. Then introduce area. Use several
examples with students working along with you on whiteboards. Examples should include units in inches, feet, yards, millimeters, centimeters, and meters. Extended examples could include converting of units from; inches to feet, feet to yards, feet to inches, yards to feet, millimeters to centimeters, etc. Monitor and check for understanding.
Formula for calculating perimeter of rectangles: (Length + Width) X 2 = Perimeter Formulas for calculating area of rectangles: Length x Width = Area (square units) Examples to use may include: 16 inches X 14 inches --- Perimeter: (16 + 14) X 2 = 60 inches Area: 16 X 14 = 224 square inches 86 feet X 98 feet --- Perimeter: (89 + 99) X 2 = 396 feet (convert to yards = 132 yards)
Area: 89 x 99 = 8811 square feet (convert to yards = 979 square yards) 105 millimeters X 125 millimeters Perimeter: (105 + 125) X 2 = 460 millimeters (convert to centimeters = 46 centimeters) Area: 105 x 125 = 13125 square millimeters (convert to square centimeters = 131.25
square centimeters) **Continue as above, until students demonstrate adequate competence and show readiness to go on to the independent practice sheet (s). 2. Assign the student worksheet(s) for independent practice in finding perimeter and
area using standard formulas. Answer sheets are included in subsequent pages.
Family Fun Festival Teacher Materials Page 15 of 24
TC-12: Activity Three: Real Life Problem Using Area and Perimeter 1. Explain to students that they will now apply what they have learned about perimeter
and area to a real world situation. Simulated Situation: Your school Volunteer Team is planning to have a Family Fun Festival in your school gym and your class has been invited to help with the planning. They have asked you to build a floor plan to accommodate thirteen booths, yet assuring that the festival guests have adequate roaming room throughout the room. You will submit your floor plan, which will be built to scale, to the Volunteer Team and persuade them that your plan will indeed meet their requirements. When your floor plan is approved, you will get to CHOOSE IF YOU WOULD LIKE TO construct and decorate your booths for Family Fun Night, following a list of guidelines and staying within budget constraints for the festival. Of course, your plan will be accurately laid out and Family Fun Guests will look forward to an evening full of fun and games. Okay, all ye mathematicians, let the planning begin! NOTE: The simulated activity for constructing the floor plan is just that---a SIMULATION ACTIVITY. The situation above may be an actual activity you choose to hold in your school, or you may use it as a mock situation and made a model for your purposes only. If your school holds a family festival of any sort, this activity would be a rewarding experience for fifth graders to use and apply what they have learned about perimeter and area. When students are involved in real-world math, their mathematical concepts, skills and logical reasoning have the greatest opportunity to strengthen. Cost and materials concerns will be real issues to deal with. In that case, students could make scale models of their booths, and construct a scale model floor plan, then team up with the school parent Volunteer Team to hold a fund raiser to raise funds for a FAMILY FUN FESTIVAL. NOTE: Plans for constructing the 3-dimensional booths and floor plan model is included with Teacher Materials. Remember: This step is OPTIONAL----but fun! Groups: Students needing a fair amount of support need to be able to work closely with students who will be able to complete these activity tasks relatively easily, to ensure that all students learning will be ongoing and they will experience success at their levels. 2. Each procedure will require a fair amount of teacher support, so be sure to involve
yourself fully while students are working in groups. Be careful not to give answers to students, but encourage their use of problem solving strategies and their understanding of perimeter and area concepts.
3. Make sure students are drawing accurate diagrams of their booths, to scale. This step may require some extra support. If you find students needing intervention here, stop and discuss the given scale, ½ in. = 4 ft. and do some practice together, using
Family Fun Festival Teacher Materials Page 16 of 24
whiteboards. Excuse them back to group work as they gain understanding of how to use and apply scale accurately.
NOTE THE FOLLOWING OPTIONAL REAL WORLD EXPERIENCES: students MAY be challenged to apply perimeter and area concepts as they construct and decorate a 3-dimensional booth model and build a floor model of the festival floor plan layout (an optional activity that may be an extension activity for challenge students only, or may include the whole class.)
Family Fun Festival Teacher Materials Page 17 of 24
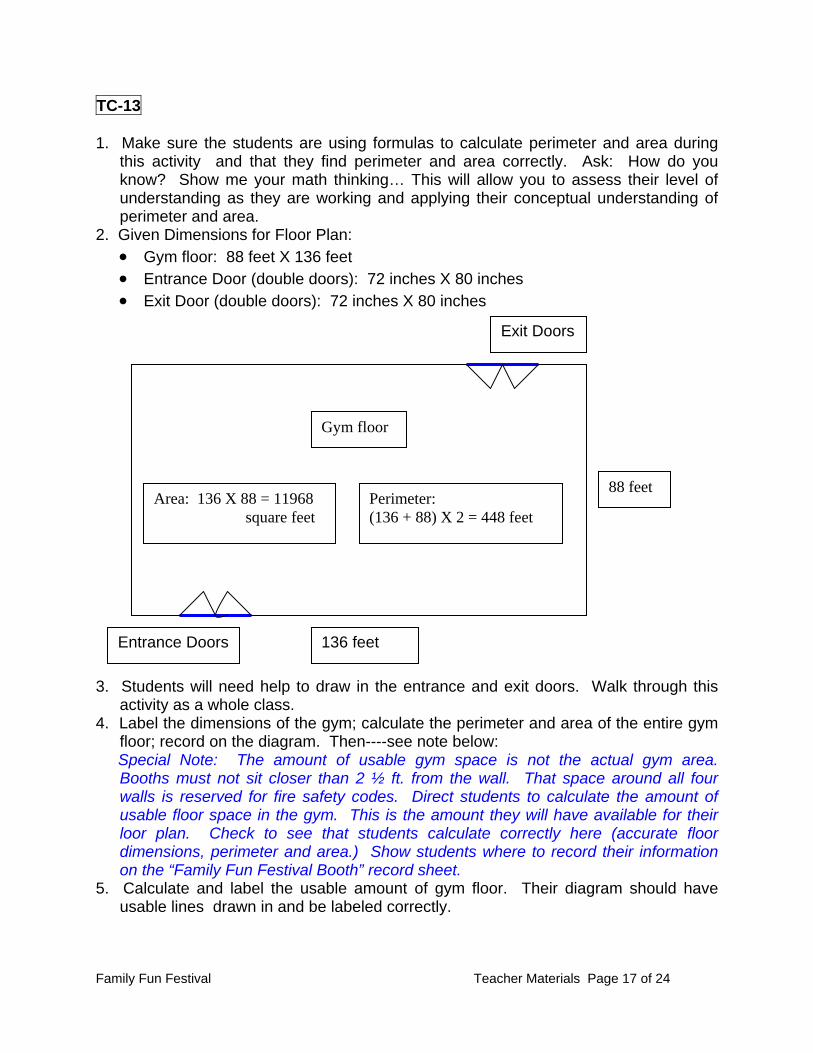
TC-13 1. Make sure the students are using formulas to calculate perimeter and area during
this activity and that they find perimeter and area correctly. Ask: How do you know? Show me your math thinking… This will allow you to assess their level of understanding as they are working and applying their conceptual understanding of perimeter and area.
2. Given Dimensions for Floor Plan: • Gym floor: 88 feet X 136 feet • Entrance Door (double doors): 72 inches X 80 inches • Exit Door (double doors): 72 inches X 80 inches
3. Students will need help to draw in the entrance and exit doors. Walk through this
activity as a whole class. 4. Label the dimensions of the gym; calculate the perimeter and area of the entire gym
floor; record on the diagram. Then----see note below: Special Note: The amount of usable gym space is not the actual gym area.
Booths must not sit closer than 2 ½ ft. from the wall. That space around all four walls is reserved for fire safety codes. Direct students to calculate the amount of usable floor space in the gym. This is the amount they will have available for their loor plan. Check to see that students calculate correctly here (accurate floor dimensions, perimeter and area.) Show students where to record their information on the “Family Fun Festival Booth” record sheet.
5. Calculate and label the usable amount of gym floor. Their diagram should have usable lines drawn in and be labeled correctly.
Gym floor
136 feet
88 feet
Entrance Doors
Exit Doors
Area: 136 X 88 = 11968 square feet
Perimeter: (136 + 88) X 2 = 448 feet
Family Fun Festival Teacher Materials Page 18 of 24
6. As students are experimenting with their booth layouts, visit each group often. Note the student’s use of mathematical reasoning and problem-solving strategies during this part.
Monitor that all students use math talk; over-the shoulder conversations will keep the level of math thinking and reasoning at its peak. 7. Note that the unusable floor space is calculated & recorded accurately.
Family Fun Festival Teacher Materials Page 19 of 24
TC-14 1. Small group discussion: Direct small groups to analyze and compare their combined
floor plans. • Which plan is the most workable? • Does the plan meet all of the criteria for Family Fun Festival? • Explain why your group’s plan is the most workable? • Be prepared to give reasons to support your choice.
2. Whole class discussion: Using one plan from each group, facilitate a math
discussion to determine which one of these will be the floor plan to submit for Family Fun Festival. Use the guiding questions above to facilitate the discussion. Choose the final plan.
3. Instruct students to write to explain what floor plan they chose and why, using
Response Sheet for Activity Three: Floor Plan for Family Fun Festival. Monitor that students fully explain their reasons using mathematical reasoning. Note the level of student understanding and application of perimeter and are in their response. Collect all response sheets.
Family Fun Festival Teacher Materials Page 20 of 24
Date ____________________ Name ____________________
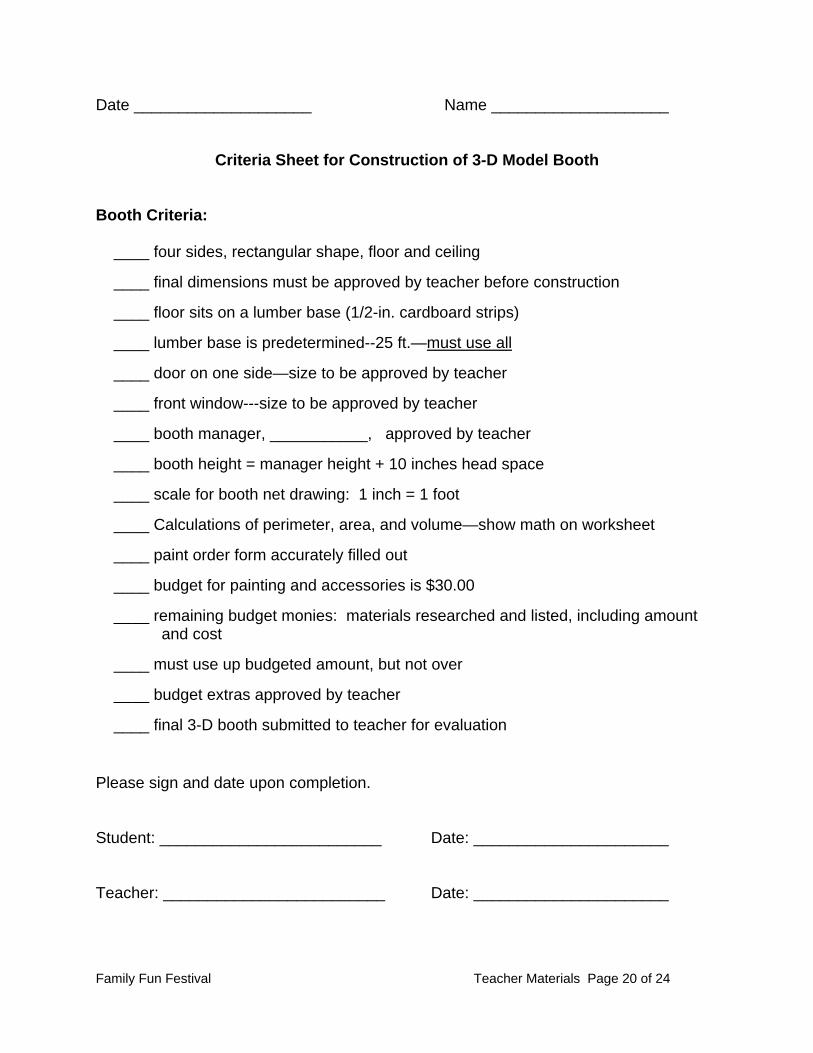
Criteria Sheet for Construction of 3-D Model Booth
Booth Criteria:
____ four sides, rectangular shape, floor and ceiling
____ final dimensions must be approved by teacher before construction
____ floor sits on a lumber base (1/2-in. cardboard strips)
____ lumber base is predetermined--25 ft.—must use all
____ door on one side—size to be approved by teacher
____ front window---size to be approved by teacher
____ booth manager, ___________, approved by teacher
____ booth height = manager height + 10 inches head space
____ scale for booth net drawing: 1 inch = 1 foot
____ Calculations of perimeter, area, and volume—show math on worksheet
____ paint order form accurately filled out
____ budget for painting and accessories is $30.00
____ remaining budget monies: materials researched and listed, including amount and cost
____ must use up budgeted amount, but not over
____ budget extras approved by teacher
____ final 3-D booth submitted to teacher for evaluation
Please sign and date upon completion.
Student: _________________________ Date: ______________________
Teacher: _________________________ Date: ______________________
Family Fun Festival Teacher Materials Page 21 of 24
Date ________________ Name _____________________
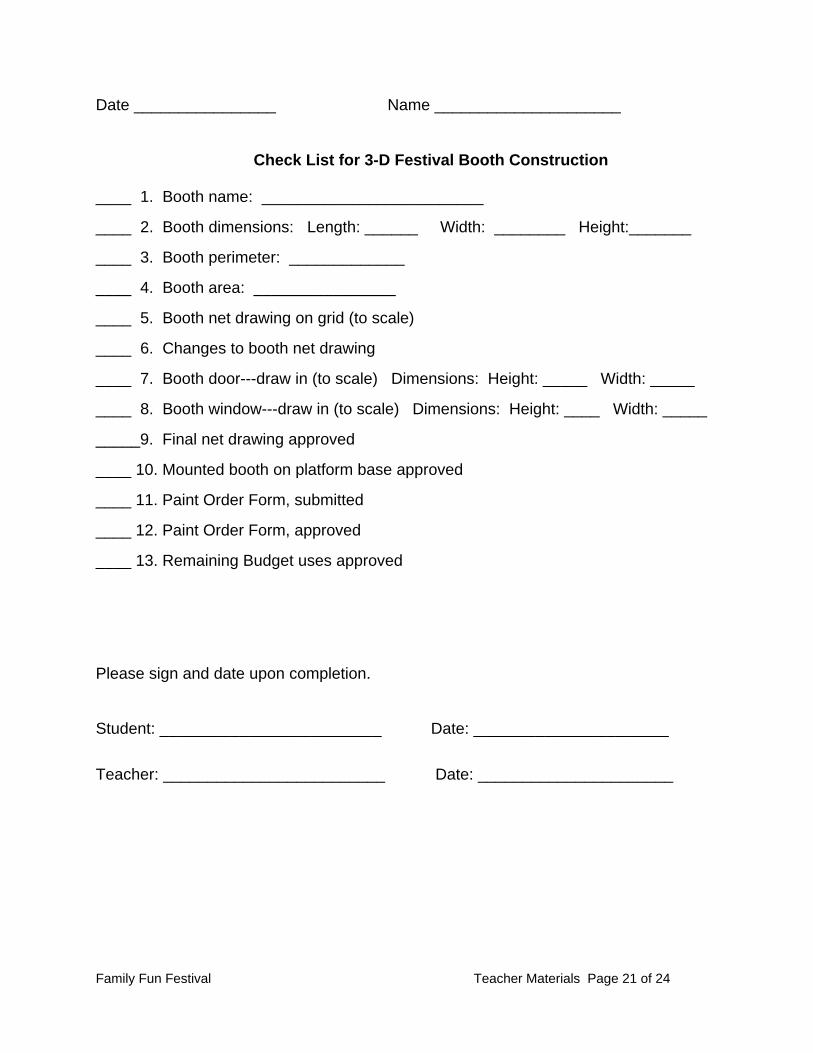
Check List for 3-D Festival Booth Construction
____ 1. Booth name: _________________________
____ 2. Booth dimensions: Length: ______ Width: ________ Height:_______
____ 3. Booth perimeter: _____________
____ 4. Booth area: ________________
____ 5. Booth net drawing on grid (to scale)
____ 6. Changes to booth net drawing
____ 7. Booth door---draw in (to scale) Dimensions: Height: _____ Width: _____
____ 8. Booth window---draw in (to scale) Dimensions: Height: ____ Width: _____
_____9. Final net drawing approved
____ 10. Mounted booth on platform base approved
____ 11. Paint Order Form, submitted
____ 12. Paint Order Form, approved
____ 13. Remaining Budget uses approved
Please sign and date upon completion.
Student: _________________________ Date: ______________________
Teacher: _________________________ Date: ______________________
Family Fun Festival Teacher Materials Page 22 of 24
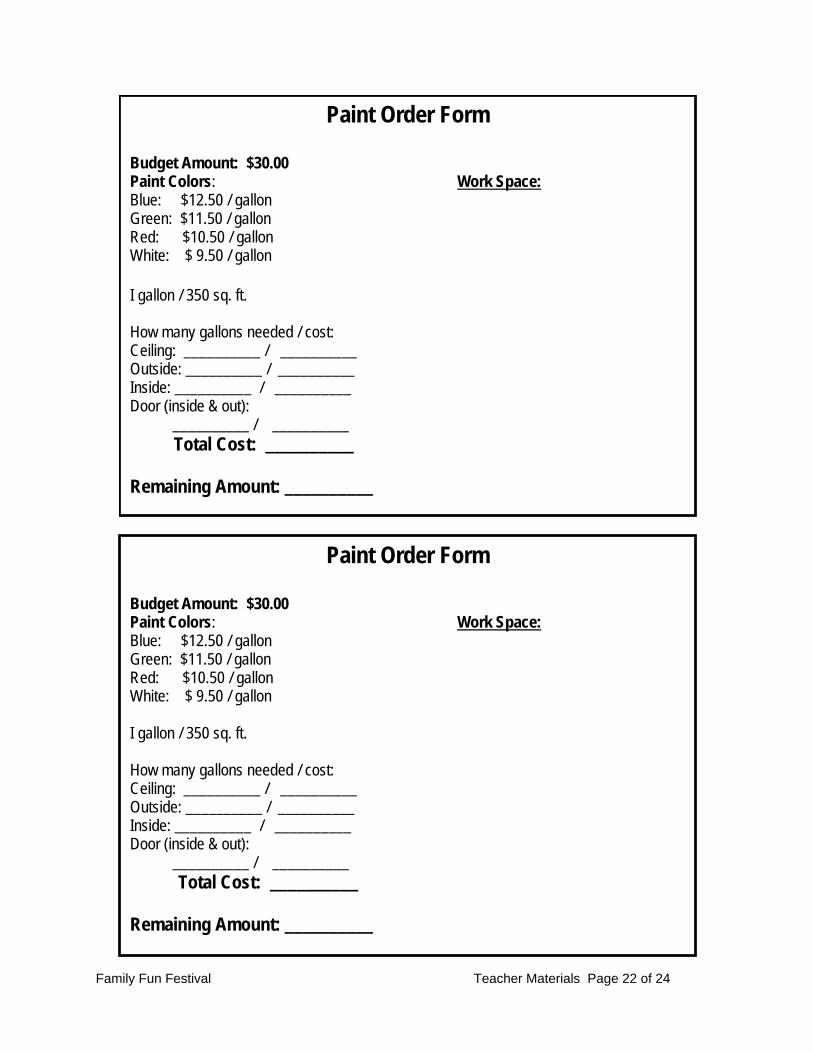
Paint Order Form
Budget Amount: $30.00 Paint Colors: Work Space: Blue: $12.50 / gallon Green: $11.50 / gallon Red: $10.50 / gallon White: $ 9.50 / gallon I gallon / 350 sq. ft. How many gallons needed / cost: Ceiling: __________ / __________ Outside: __________ / __________ Inside: __________ / __________ Door (inside & out): __________ / __________ Total Cost: __________ Remaining Amount: __________

Family Fun Festival Teacher Materials Page 23 of 24
Date _______________ Name _____________________
Final Response Sheet: 3-D Model Booth & Reflection
Explain how you applied the concepts of perimeter, area and volume to construct your 3-dimensional Model Booth. Your response should include examples to support your mathematical thinking and reasoning. ______________________________________________________________________
______________________________________________________________________
______________________________________________________________________
______________________________________________________________________
______________________________________________________________________
______________________________________________________________________
______________________________________________________________________
______________________________________________________________________
______________________________________________________________________
______________________________________________________________________
______________________________________________________________________
______________________________________________________________________
What have you learned about perimeter and area, specifically, during the activities in this unit. Give reasons for your thinking, using pictures, numbers, and words. ________________________________________________________________________________________________________________________________________________________________________________________________________________________________________________________________________________________________________________________________________________________________________________________________________________________________________________________________________________________________________________________________________________________________________________________________________________________________________________________________________________________________________________________________________________________________________________________________________________________________________________________________
Family Fun Festival Teacher Materials Page 24 of 24
TC-15 1. Construction of the 3-dimensional model booths is a very challenging activity that will
stretch the students to begin to understand the concept of volume. Begin this lesson by introducing some 3-dimensional rectangular objects. Shoeboxes and cereal boxes work well. Remember that this activity is a beginner’s exploration of how to find the surface area and volume of a 3-dimensional rectangular object. Students who found the previous activities easy will be ready for and will experience a high level of motivation and success in this activity. Most students will be successful with guided support. Be sure to group students strategically to ensure that all students will have the level of support they need and will be successful at their level of understanding.
2. Teach how to find the volume of 3-dimensional rectangular objects. Model some examples of finding area of a 3-dimensional shape. Ask students to practice with you, using whiteboards for recording. Check for understanding.
Formula for finding volume of a 3-dimensional rectangular shape: Volume: Length X Width X Height = cubic units
Example: Cereal box: Dimensions: Length = 12 in., Width = 3 inches, Height = 14 in. Volume = 12 X 3 X 14 = 504 cubic inches
3. Determining booth dimensions: Instruct students to determine the dimensions of their booth, reminding them that they must use their entire pre-determined lumber base. They should keep in mind what the booth will be used for as they decide what shape it will be. They should be strongly encouraged to draw several examples on their grid paper, and then choose their best one to construct. Students may need initial help to draw a net of their booth. Draw a couple of nets with the class before they try drawing one on their own. This step is a good opportunity for students to practice drawing an accurate net and to practice finding perimeter, area and volume. Monitor student drawing and calculations for neatness and accuracy. Ask students to tell you why they chose their booth design for construction. Note their math reasoning; help those who need interventions by working together with them, moving their thinking along via probing questions, but refraining from giving out blanket answers.
4. Once the final net is drawn and accurately labeled with dimensions (length, width, height, volume), direct students to cut out the net and mount on their lumber base (cardboard strips—see Materials List). Use tape for mounting. Help as needed. Once booth has been constructed, tell students they need to paint their booth. Direct them to fill out the given Paint Order Form and submit to you for approval when they are ready.
5. Any money left may be spent on other desired and/or recommended needs. These may include: A sign for the front of the booth, trim or lights to border the front window, etc. Students may come up with their own ideas. They should research the cost for their needed materials and submit their request to you for approval.
6. Final assessment of the 3-dimensional booth: You will need to evaluate each booth and give appropriate feedback to students. Fill out final Evaluation Sheet (included with worksheet pages), then conference with each student for final closure. Assign a final grade when you hold the student conference