Embed Size (px)
Citation preview

Fiber Optic Star Ceiling Installation Guide
Copyright © 2006

Install the fiber optic strands - The rule is anywhere from 4 to 6 stars per square foot. Spacing and the
different sizes of star really makes a difference. You can achieve different size stars by purchasing the fiber in different widths (Starpak48
Provide electricity for the illuminator – All illuminators will require electricity. Our LED illuminator
modular panels
The 5 basic steps to creating a custom fiber optic star ceiling
1. Create the panel to be your canvas for your star ce iling - If you don’t decide to purchase our pre-wired , you will need to create your own. To do this, large sheets of rigid insulation work very well.
They can be found at any major hardware store. To complete the panel, you will need to wrap the insulation
with a black fabric (velvet, canvas, etc.). requires
standard household power (110v). X10 products are a good solution for challenging situations. Please consult
with a licensed electrician.
) or by cutting the fiber at different angles. A large needle works very well for creating the hole through the panel. Poke the hole from the backside and run the fiber allowing it stick out the other side about an inch. Add constellations (templates below) to really give your star ceiling a custom look. Once all the strands are run, secure the fiber at the backside of the hole. A silicone adhesive or a hot glue gun work great. Once secure, trim the fiber on the finished side to leave them exposed about an eighth of an inch.
Connect the fiber strands to the illuminator – insert all the fiber optic ends into the LED illuminator tighten the connector to secure. Mount the panel to the ceiling – you will need a 2-3 inches of space between the top of the panel and the
existing ceiling for the fiber runs and the illuminator. I find that creating a simple box frame is the easiest way to attach the panel to the ceiling. Dress it up with some decorative crown molding and it will look great.
Disclaimer of Liability. The reader of this installation guide assumes all responsibility and risk. Under no circumstances shall the creator of this document be liable for any DIRECT, INDIRECT, INCIDENTAL, SPECIAL or CONSEQUENTIAL DAMAGES that result from the use of this document.
2.
3.
4. and
5.

Ursa Major – The Big Dipper
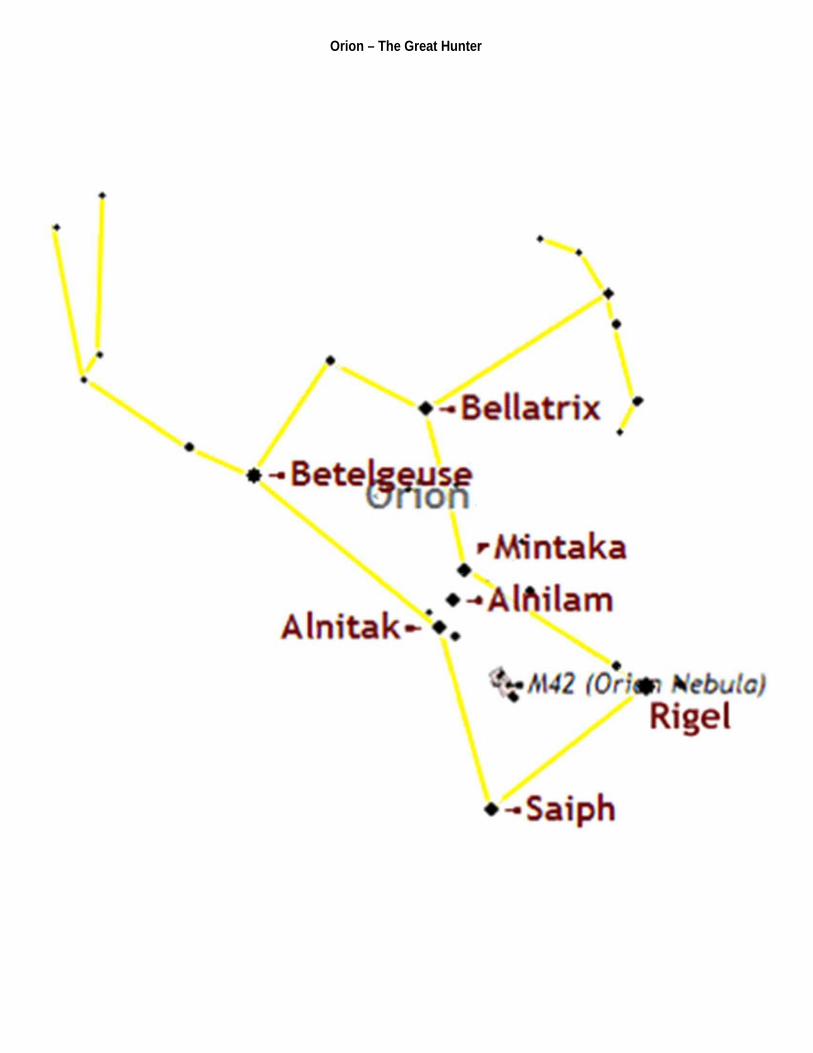
Orion – The Great Hunter

Andromeda

Canis Major – The Great Dog
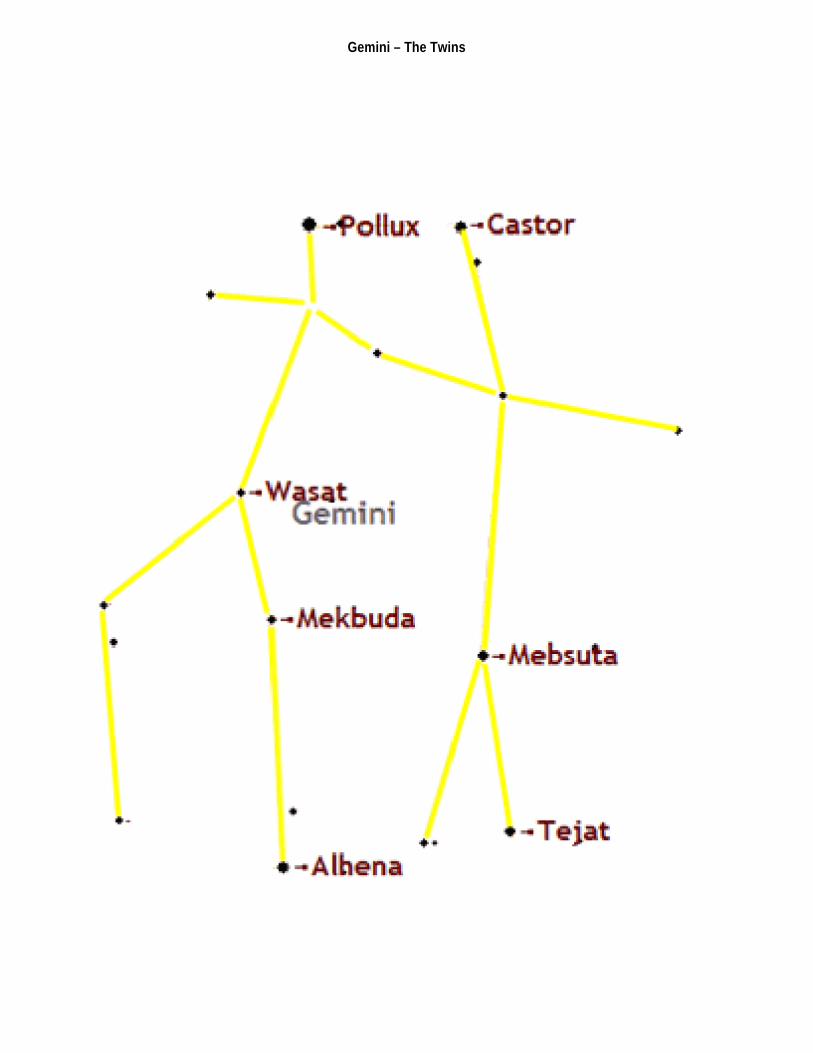
Gemini – The Twins
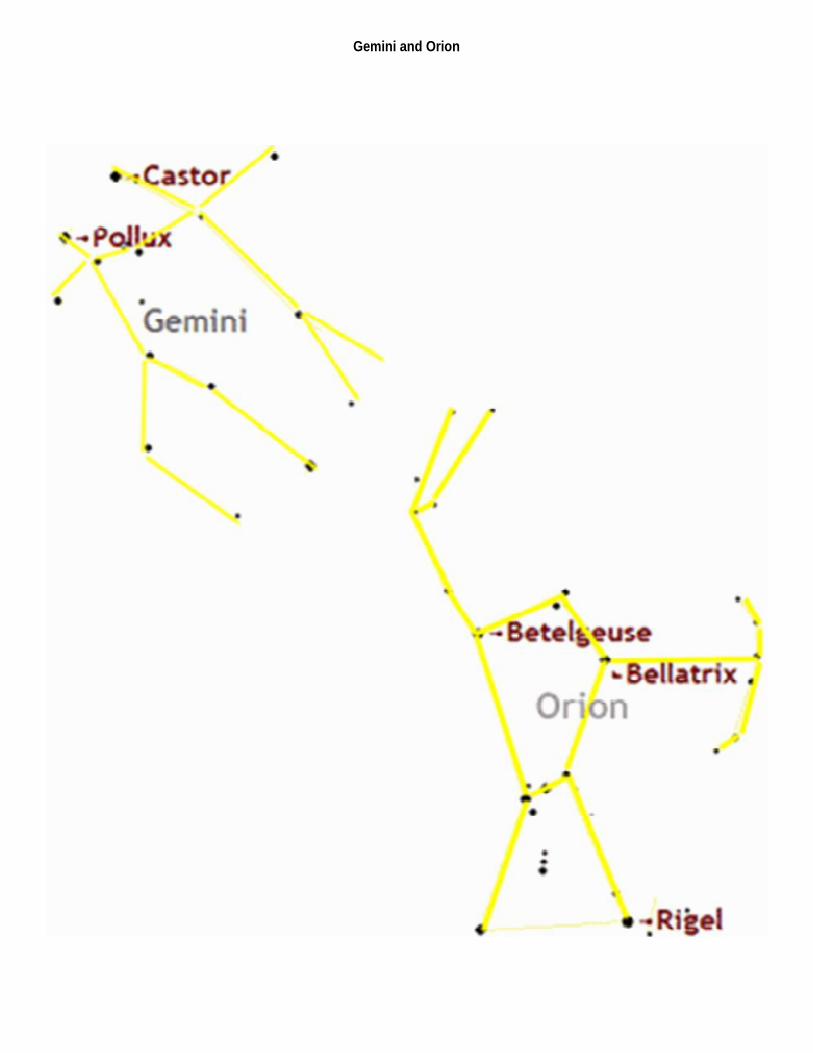
Gemini and Orion

Leo – The Lion
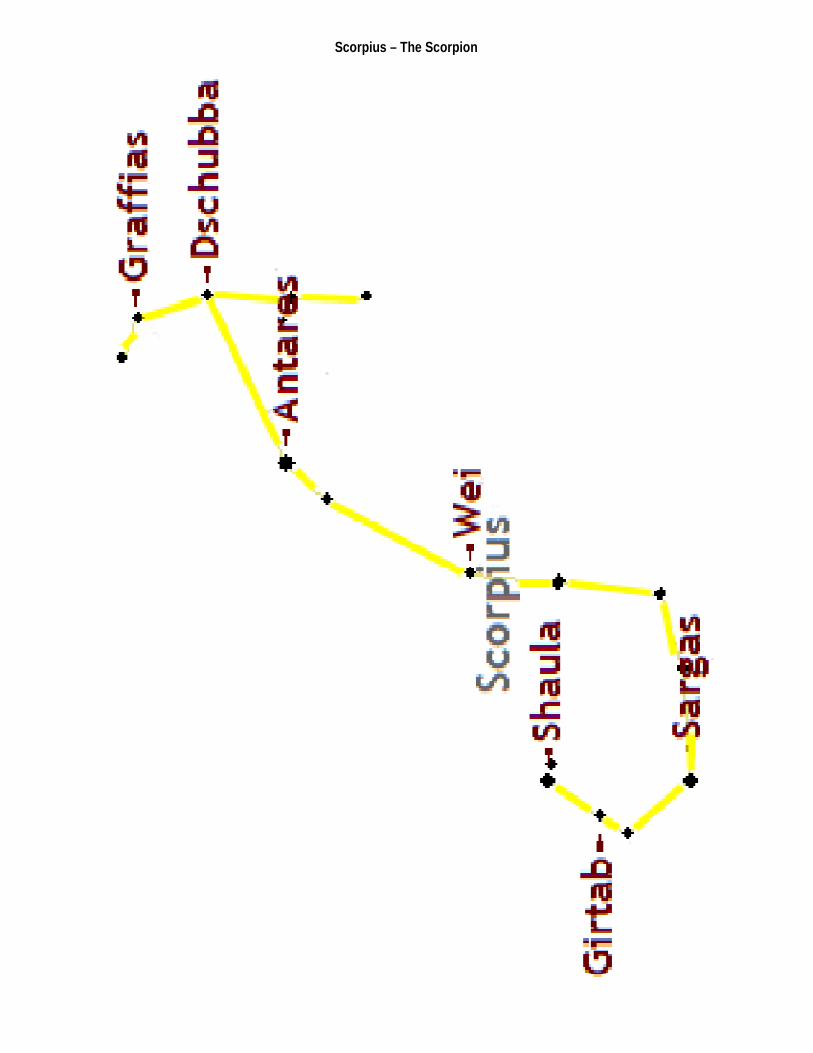
Scorpius – The Scorpion

Taurus – The Bull

Cygnus – The Swan