Embed Size (px)
Citation preview
File management &
Layers and effects
File management
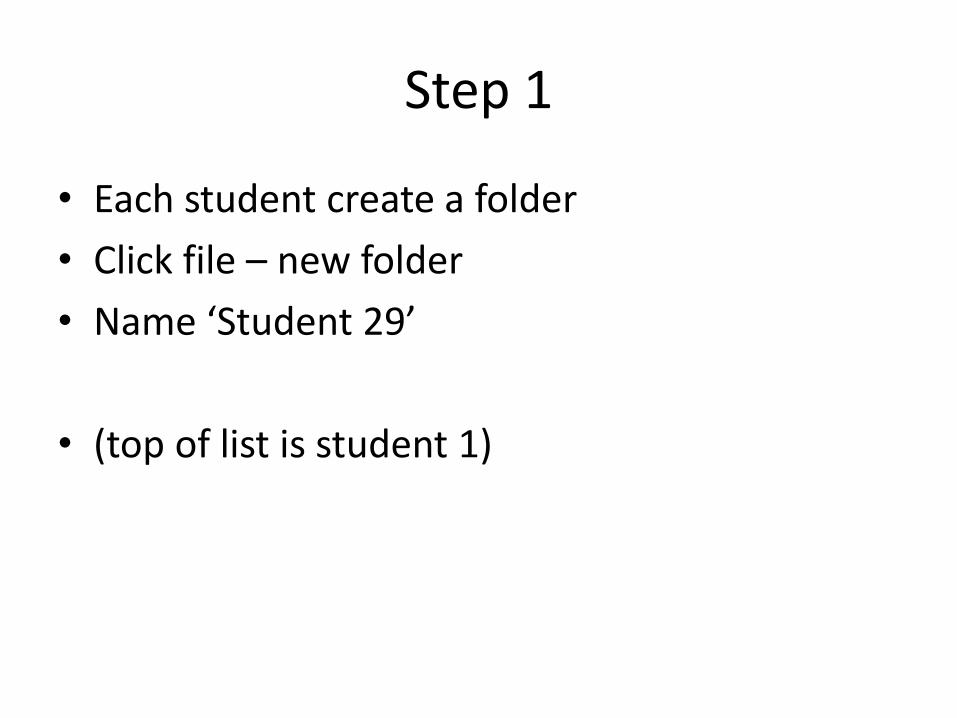
Step 1
• Each student create a folder
• Click file – new folder
• Name ‘Student 29’
• (top of list is student 1)
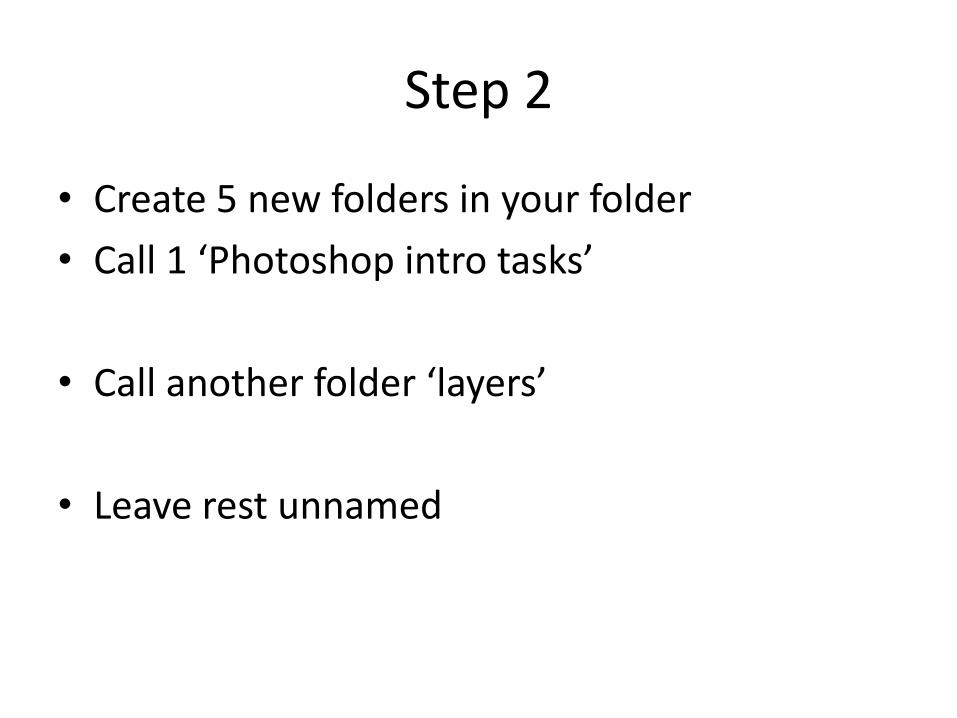
Step 2
• Create 5 new folders in your folder
• Call 1 ‘Photoshop intro tasks’
• Call another folder ‘layers’
• Leave rest unnamed
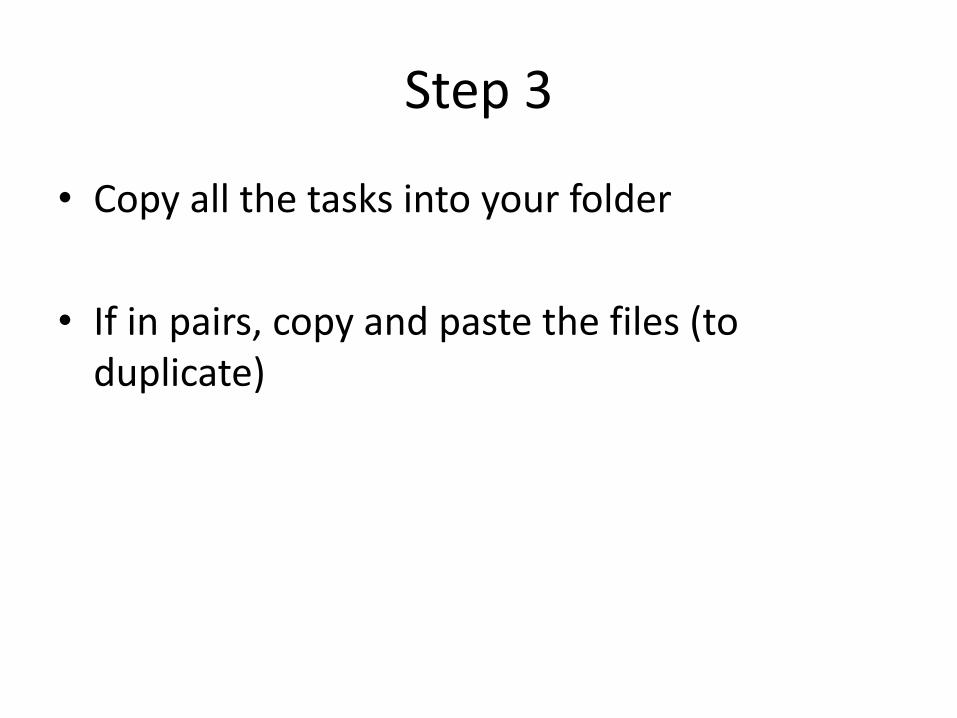
Step 3
• Copy all the tasks into your folder
• If in pairs, copy and paste the files (to duplicate)
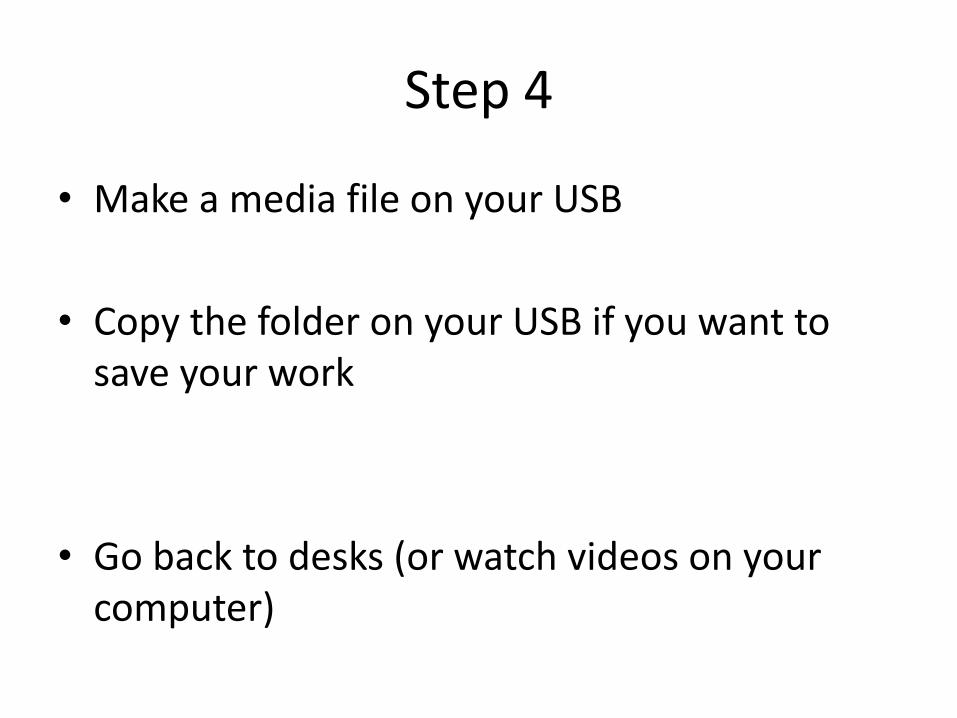
Step 4
• Make a media file on your USB
• Copy the folder on your USB if you want to save your work
• Go back to desks (or watch videos on your computer)
Layers and effects

Step 1
• Go back onto computers
Step 2
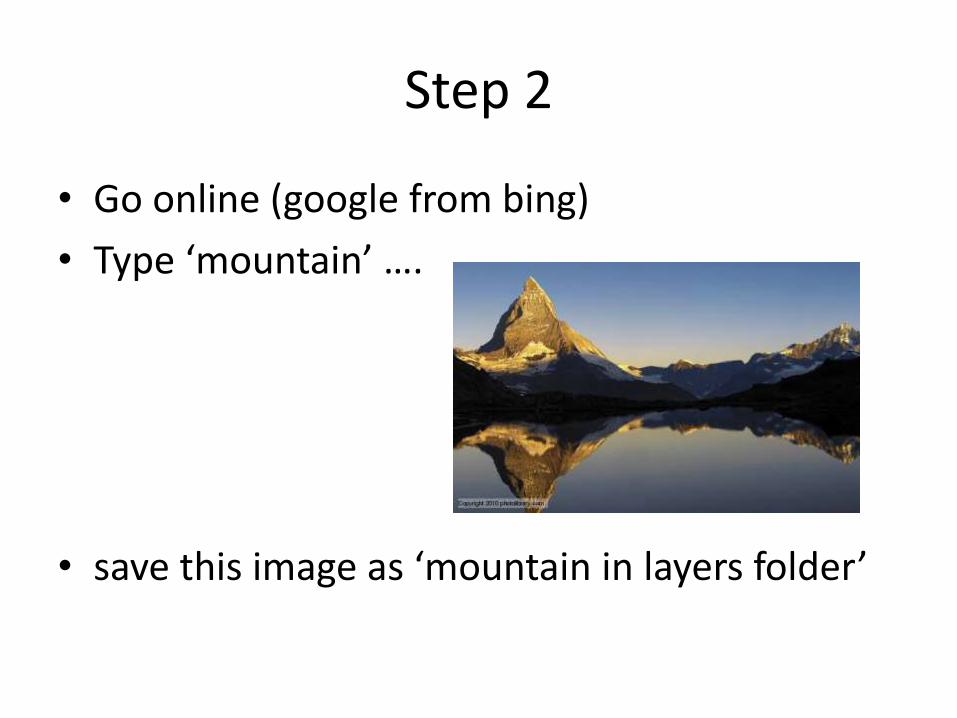
• Go online (google from bing)
• Type ‘mountain’ ….
• save this image as ‘mountain in layers folder’
Step 3
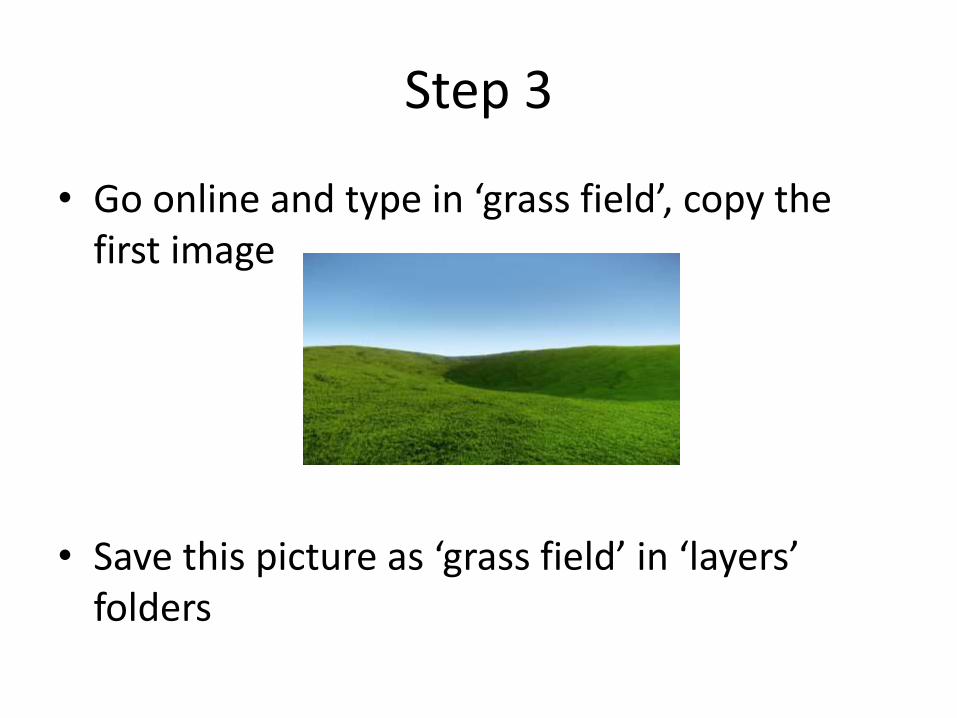
• Go online and type in ‘grass field’, copy the first image
• Save this picture as ‘grass field’ in ‘layers’ folders
Step 3
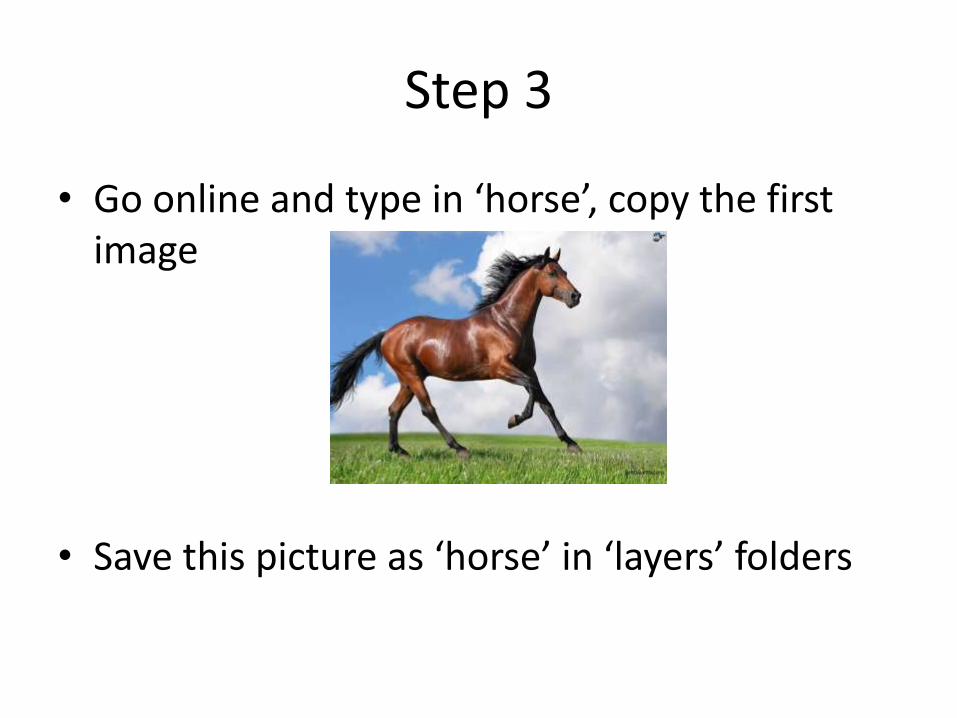
• Go online and type in ‘horse’, copy the first image
• Save this picture as ‘horse’ in ‘layers’ folders
Step 4
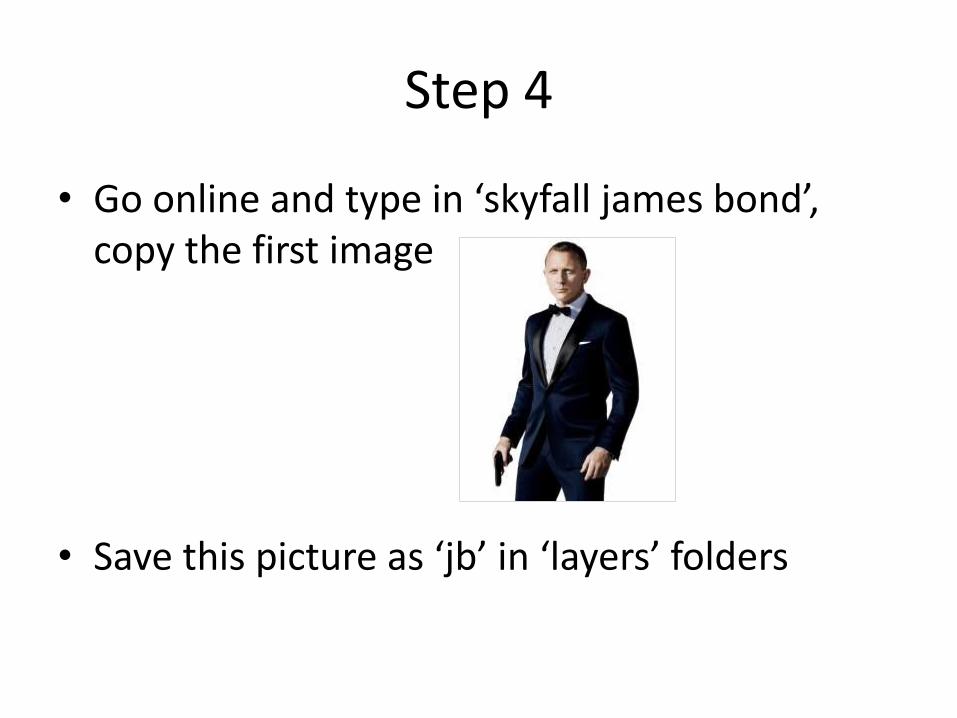
• Go online and type in ‘skyfall james bond’, copy the first image
• Save this picture as ‘jb’ in ‘layers’ folders
Step 5
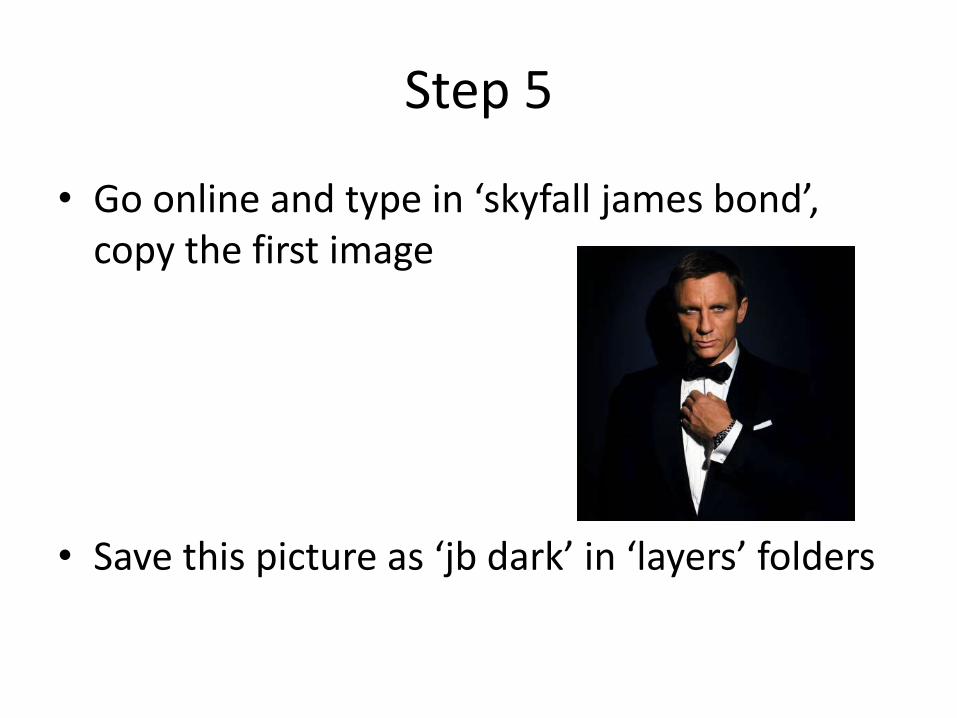
• Go online and type in ‘skyfall james bond’, copy the first image
• Save this picture as ‘jb dark’ in ‘layers’ folders
Step 6
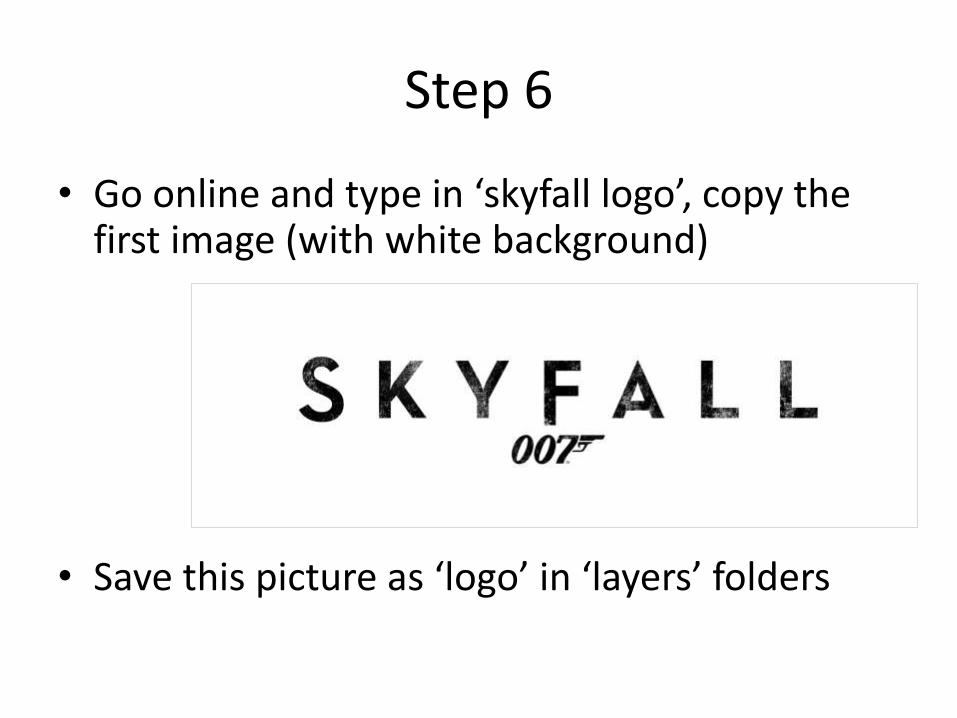
• Go online and type in ‘skyfall logo’, copy the first image (with white background)
• Save this picture as ‘logo’ in ‘layers’ folders

• Go back to desks…….
Step 1
• Watch this
https://www.youtube.com/watch?v=eIcYWEQH4z4
Step 2
• Open photoshop
• Open mountain photo
• Use the paintbrush/healing brush tool to get rid of the logo in bottom corner
Step 3
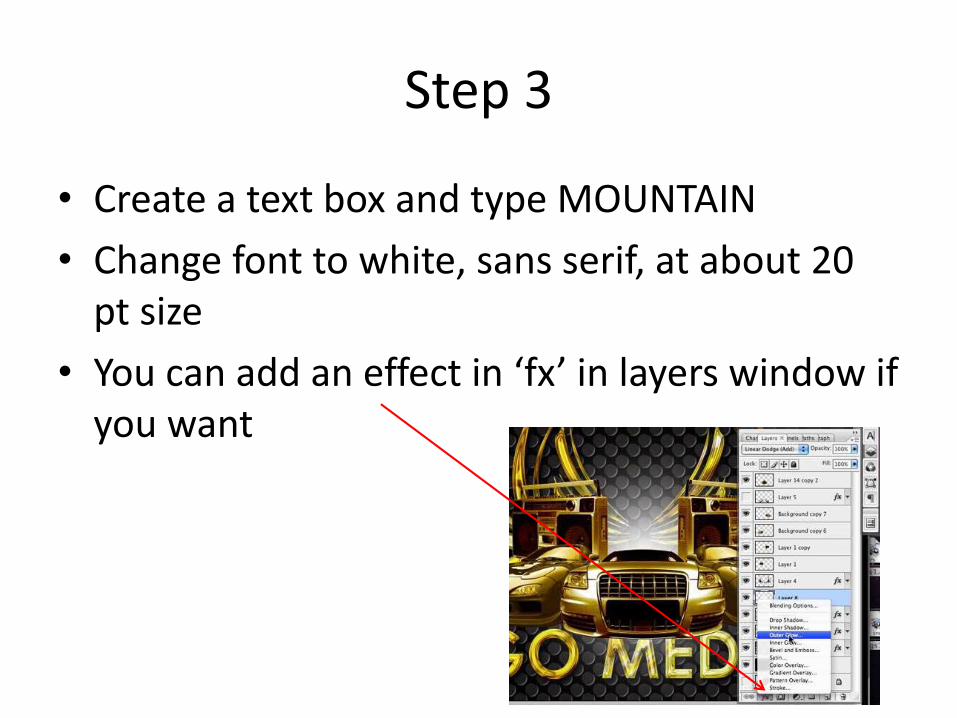
• Create a text box and type MOUNTAIN
• Change font to white, sans serif, at about 20 pt size
• You can add an effect in ‘fx’ in layers window if you want
Step 4
• With marquee, create a sqaure and paint it black
• Then move your text layer under the black box so the text fits on top

Step 5
• layer……flatten image
• (or shortcut)
• SAVE AS ‘mountain with text layer’ in your folder
Further layering skills
Step 1
• Watch https://www.youtube.com/watch?v=fx_YR5-k1Ko

Step 2
• Open photoshop
• Open ‘grass field’ (background)
• Put ‘horse’ on another layer (layer 1)
• On layer 2 create text saying ‘Horse’
• Change the colour/size/font as you wish
Step 3
• Play around with layer styles and apply one/a few of your choice
Step 4
• Type ‘horse’ and create an effect on the text that matches the effect on the horse
• Flatten image
• Save as ‘horse layers’
Main layer task
Step 1
• Watch
• https://www.youtube.com/watch?v=ACed8qlThFE
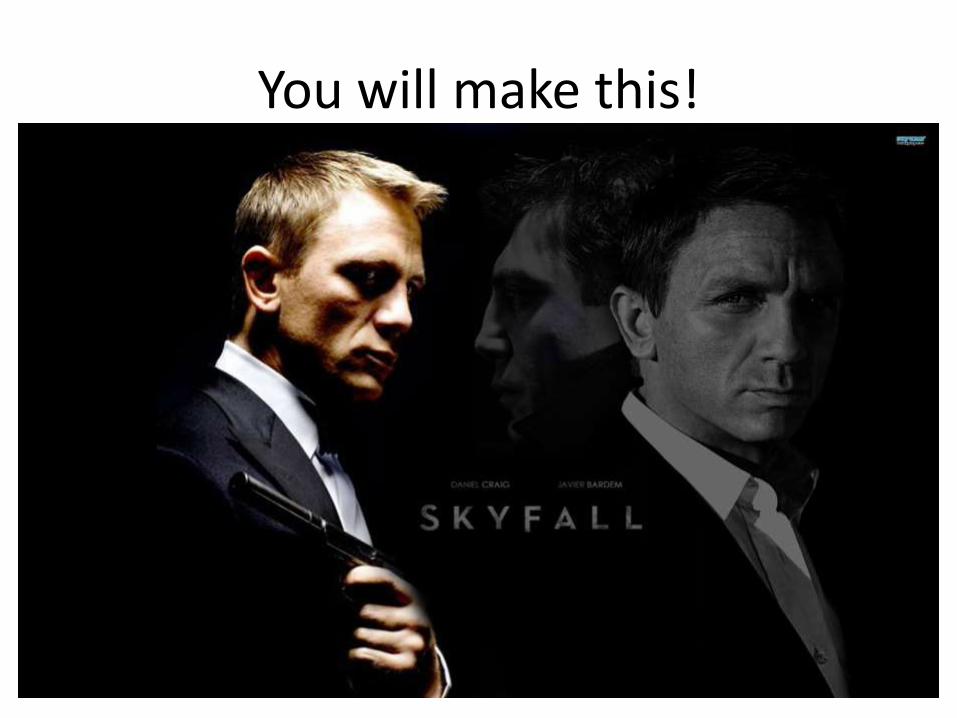
You will make this!
Step 2
• Create new file, A4 landscape
• Make the background layer all black
• (by painting it)
Step 3
• Jb layer – burn and add drastic shadows and blend into black
Step 4
• Jb layer – burn and add drastic shadows and blend into black
• This must be the 2nd top layer
Step 5
• Darken and desaturate the ‘jb dark’
• Bring the opacity down so it’s see through
Step 6
• You will have to delete the white from the skyfall logo for it to be transparent
• This must be the top layer
Step 7
• With type tool type Daniel Craig and Javier Bardem
• In white and change the font/size to look like original ….you might need to bring opacity down
Step 8
• Flatten image
• Save as ‘skyfall poster’