Embed Size (px)
Citation preview
FlexibilityMuscle Strength
SMD 24918/04/2012
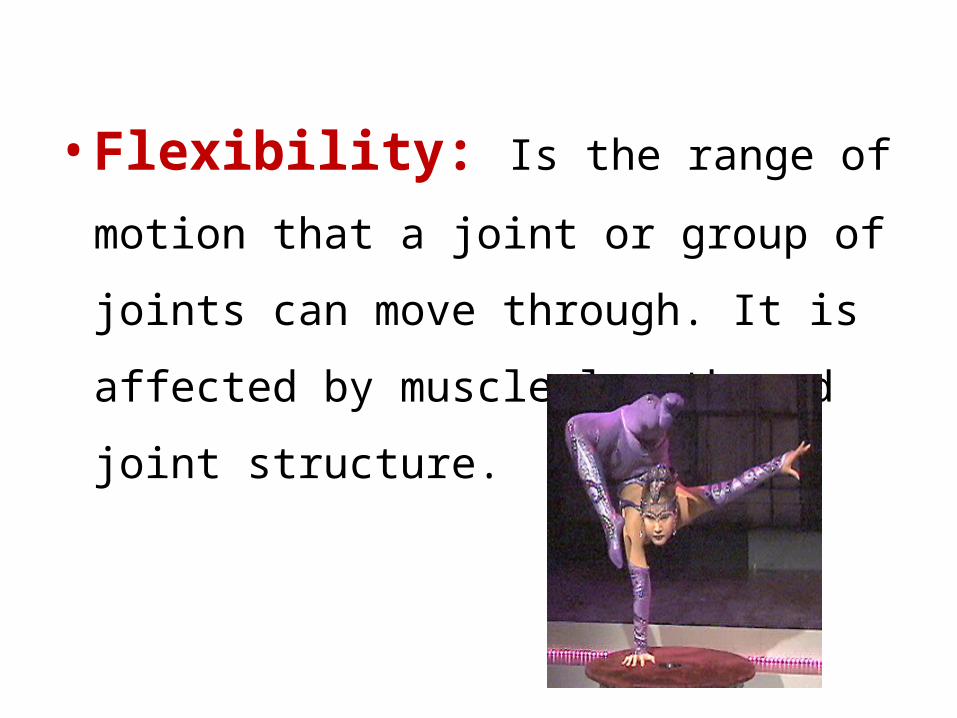
• Flexibility: Is the range of motion that a
joint or group of joints can move through. It is
affected by muscle length and joint structure.

Sit and Reach Flexibility Test
• Purpose: The sit and reach test is a
common measure of flexibility, and specifically
measures the flexibility of the lower back and
hamstring muscles.
• Equipment required: sit and reach
box.
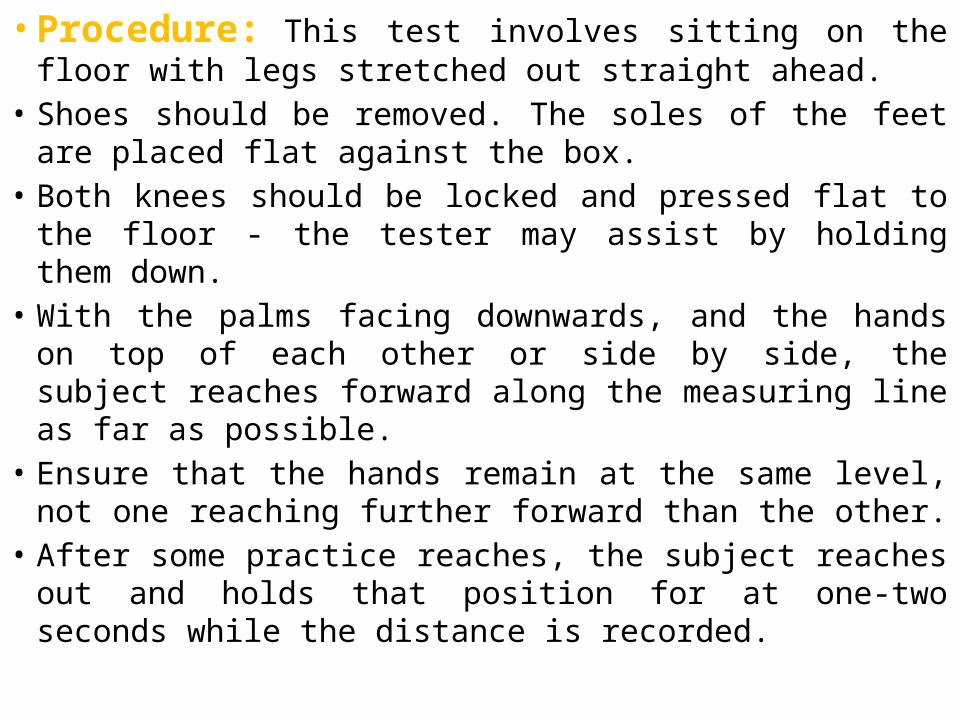
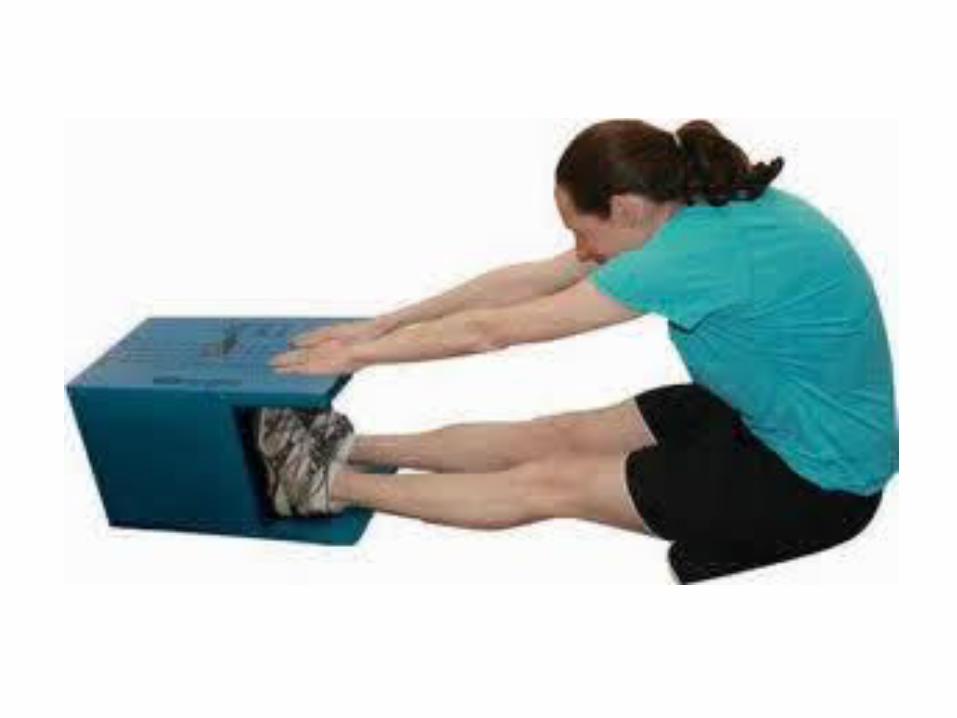
• Procedure: This test involves sitting on the floor with legs stretched out straight ahead.
• Shoes should be removed. The soles of the feet are placed flat against the box.
• Both knees should be locked and pressed flat to the floor - the tester may assist by holding them down.
• With the palms facing downwards, and the hands on top of each other or side by side, the subject reaches forward along the measuring line as far as possible.
• Ensure that the hands remain at the same level, not one reaching further forward than the other.
• After some practice reaches, the subject reaches out and holds that position for at one-two seconds while the distance is recorded.
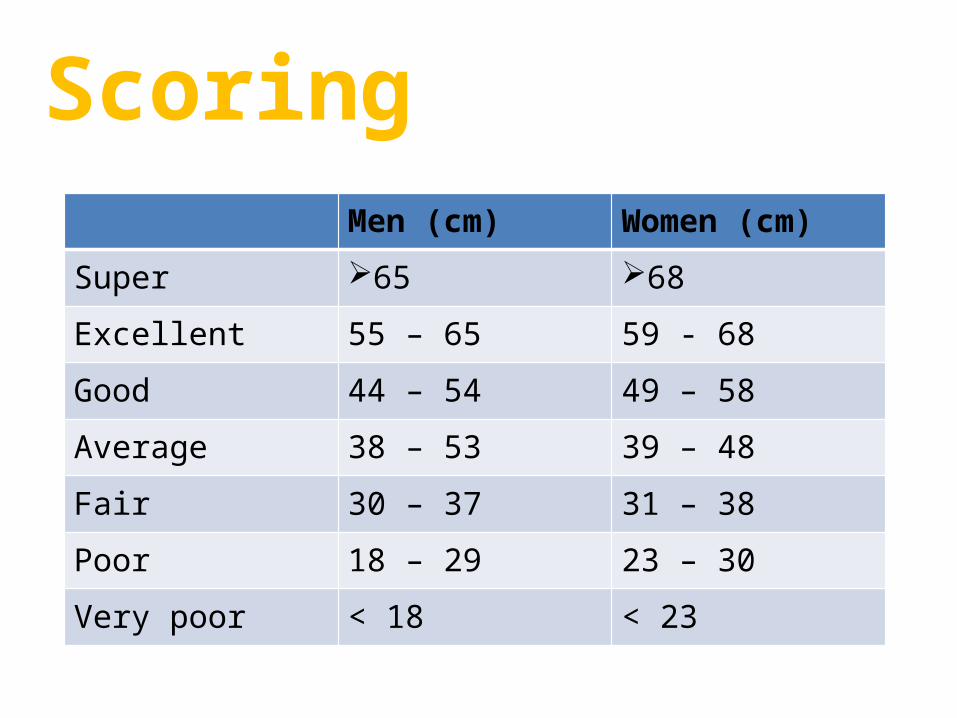
Men (cm) Women (cm)
Super 65 68
Excellent 55 – 65 59 - 68
Good 44 – 54 49 – 58
Average 38 – 53 39 – 48
Fair 30 – 37 31 – 38
Poor 18 – 29 23 – 30
Very poor < 18 < 23
Scoring
• Advantages: The sit and reach test is a common test of
flexibility, and is an easy and quick test to perform. If using the
standard testing procedure, there is a lot of published data to use
for comparison.
• Disadvantages: Variations in arm, leg and trunk
length can make comparisons between individuals misleading. This
test is specific to the range of motion and muscles and joints of the
lower back and hamstrings, and may not be relevant to other parts
of the body.
Calf Muscle Flexibility Test• Equipment required: ruler or tape measure.
• Procedure: stand the maximum distance you can stand flat footed away
from the wall, and also be able to bend your knee to touch the wall. Repeat
for each leg.
• Scoring: measure the maximum distance from toe to the wall. There are
no norms available for this test.
• Disadvantages: Variations in leg length can make comparisons between
individuals misleading. Unless you are testing a fairly homogenous group, it
is best to use this test to monitor changes over time in the same individual
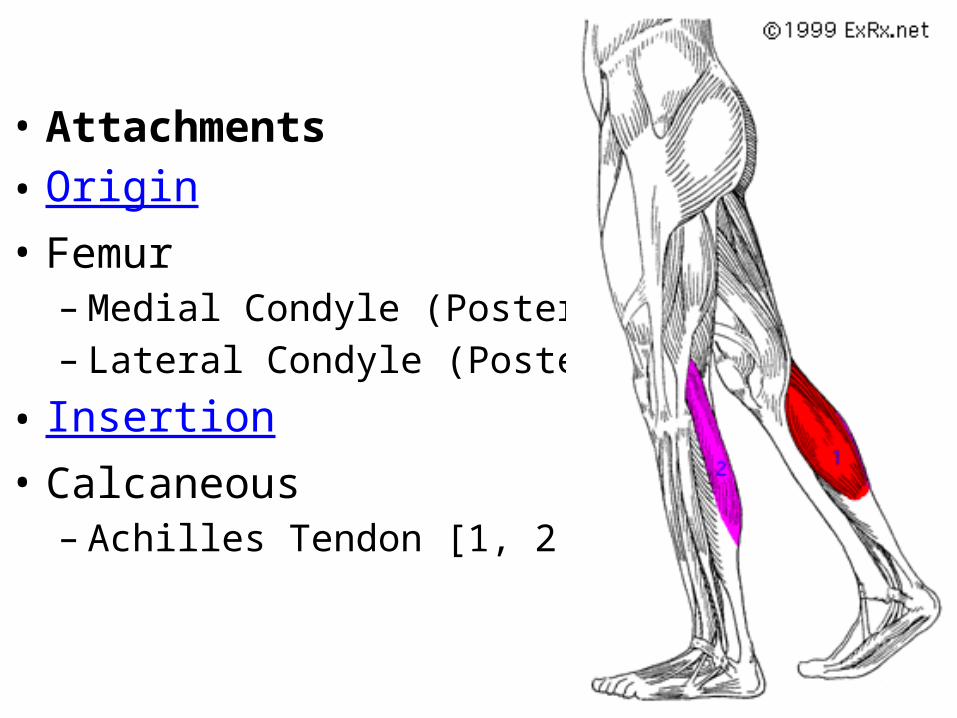
• Attachments• Origin• Femur
– Medial Condyle (Posterior) [1 ]– Lateral Condyle (Posterior) [2 ]
• Insertion• Calcaneous
– Achilles Tendon [1, 2 ]
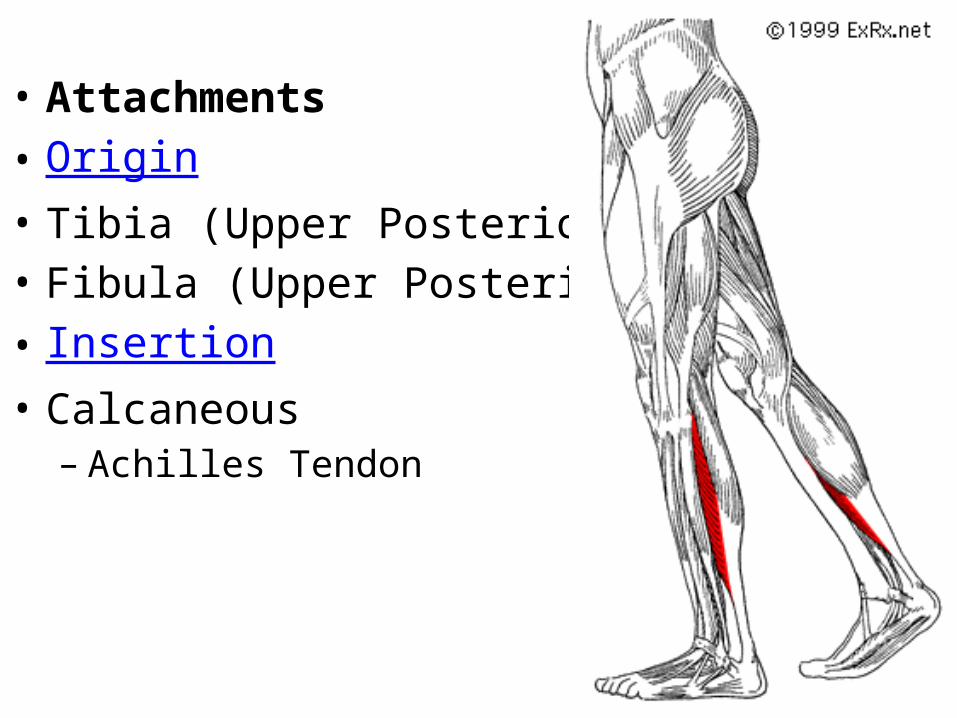
• Attachments• Origin• Tibia (Upper Posterior)• Fibula (Upper Posterior)• Insertion• Calcaneous
– Achilles Tendon
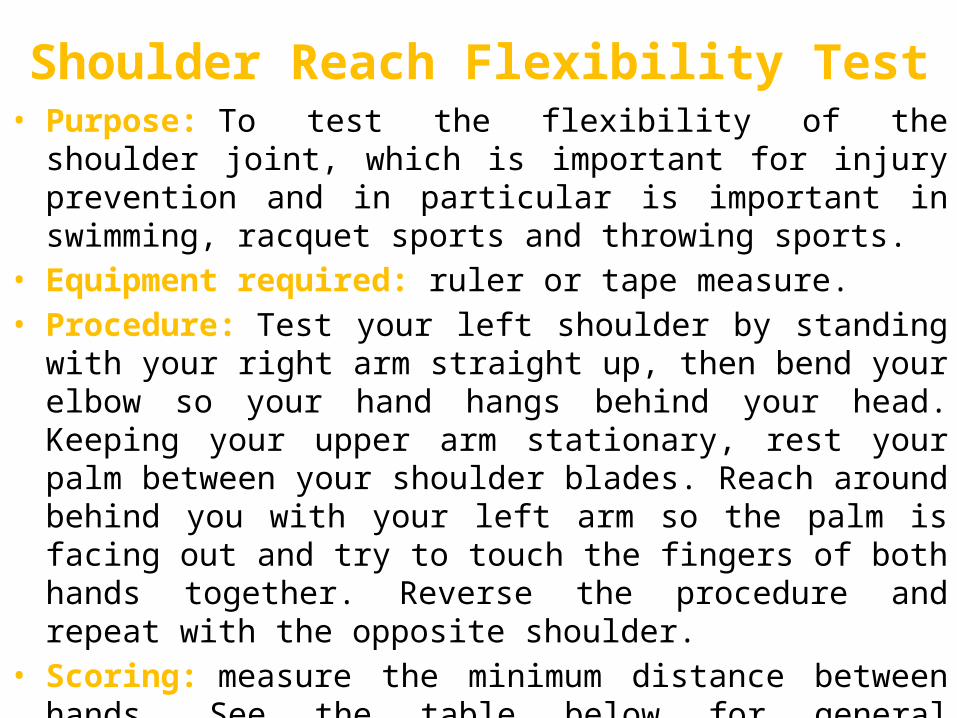
Shoulder Reach Flexibility Test• Purpose: To test the flexibility of the shoulder joint, which is
important for injury prevention and in particular is important in swimming, racquet sports and throwing sports.
• Equipment required: ruler or tape measure.• Procedure: Test your left shoulder by standing with your right
arm straight up, then bend your elbow so your hand hangs behind your head. Keeping your upper arm stationary, rest your palm between your shoulder blades. Reach around behind you with your left arm so the palm is facing out and try to touch the fingers of both hands together. Reverse the procedure and repeat with the opposite shoulder.
• Scoring: measure the minimum distance between hands. See the table below for general guidelines for interpreting the results
• Disadvantages: Variations in arm length can make comparisons between individuals misleading.
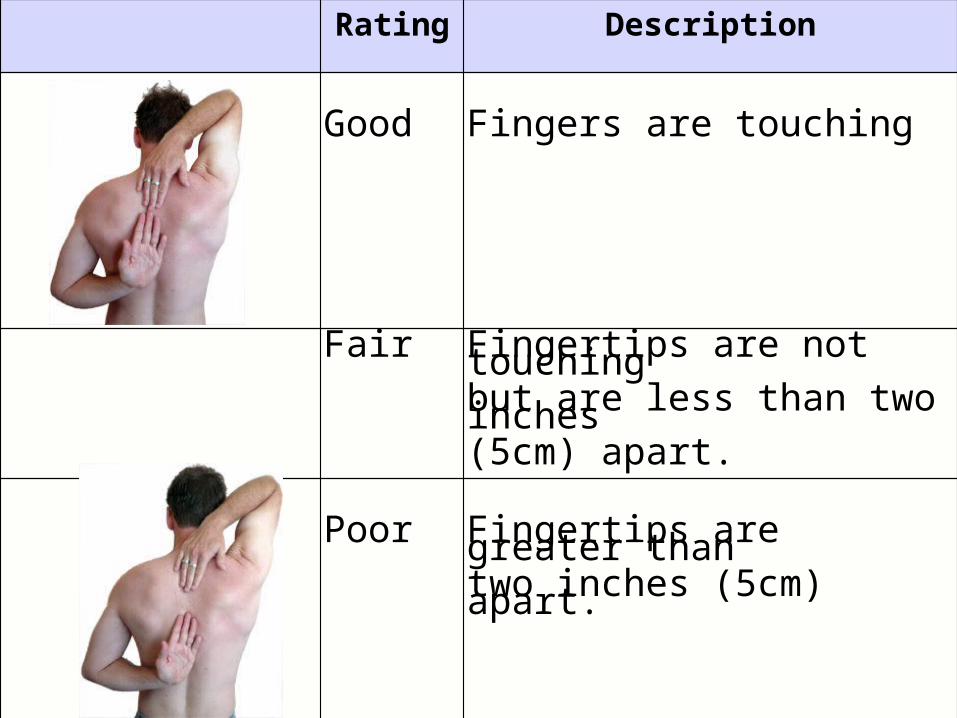
Rating Description
Good Fingers are touching
Fair Fingertips are not touching but are less than two inches (5cm) apart.
Poor Fingertips are greater than two inches (5cm) apart.
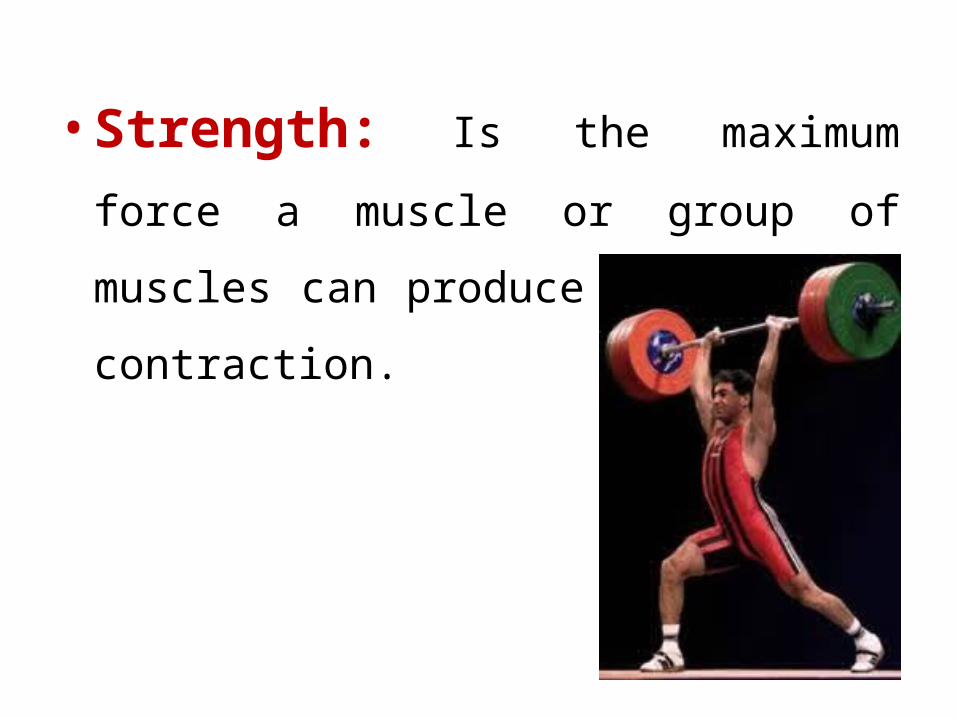
• Strength: Is the maximum force a muscle or
group of muscles can produce in a single
contraction.
1-RM Tests (Repetition maximum tests)
• Purpose: to measure maximum strength of
various muscle and muscle groups.
• Equipment required: Free weights (barbells,
dumbbells) or other gym equipment.
• Procedure: One repetition maximum tests (1-RM) is a
popular method of measuring muscle strength.
• It is a measure of the maximal weight a subject can lift with one
repetition.
• It is important to reach the maximum weight without prior
fatiguing the muscles.
• After a warm up, choose a weight that is achievable.
• Then after a rest of at least several minutes, increase the weight
and try again.
• The athletes chooses subsequent weights until they can only
repeat one full and correct lift of that weight.
• Scoring: the maximum weight lifted is recorded. The
sequence of lifts should also be recorded as these can be
used in subsequent tests to help in determining the lifts to
attempt. To standardize the score it may be useful to
calculate a score proportional to the person's bodyweight.
• Advantages: the required equipment is readily available
in most gyms.
• Disadvantages: performing a maximum weight lift is
only for advanced weight trainers. It is important to have
good technique before attempting this test.
7 Stage Abdominal Strength Test
• Purpose: The 8-level sit up test measures
abdominal strength, which is important in
back support and core stability.
• Equipment required: flat surface, 2.5 kg and 5
kg weight, recording sheet and pen.
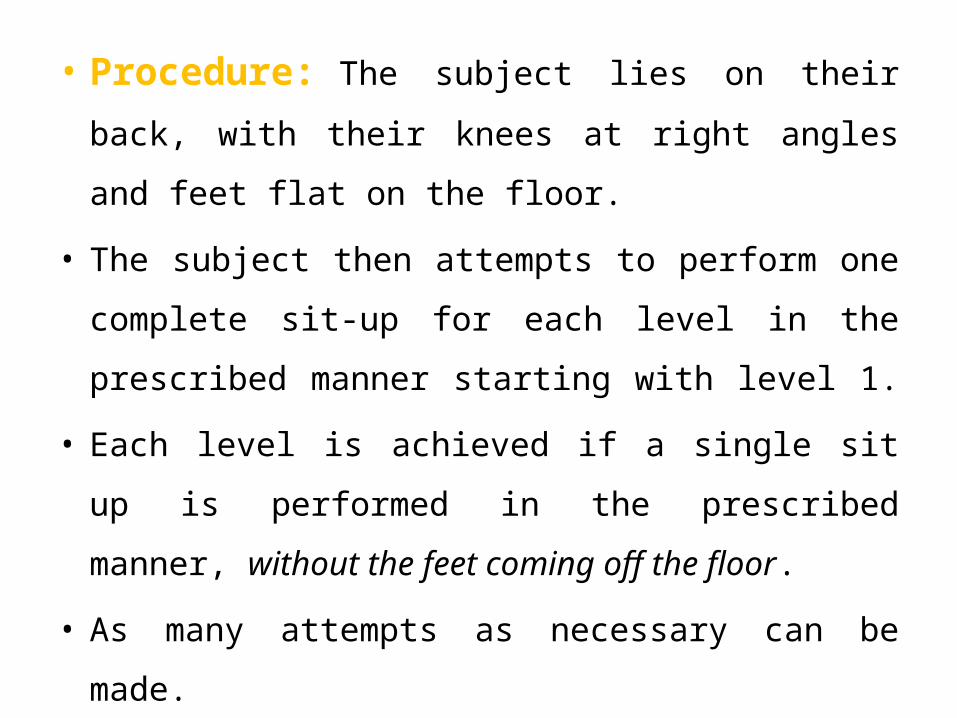
• Procedure: The subject lies on their back, with
their knees at right angles and feet flat on the floor.
• The subject then attempts to perform one complete
sit-up for each level in the prescribed manner
starting with level 1.
• Each level is achieved if a single sit up is performed in
the prescribed manner, without the feet coming off
the floor.
• As many attempts as necessary can be made.
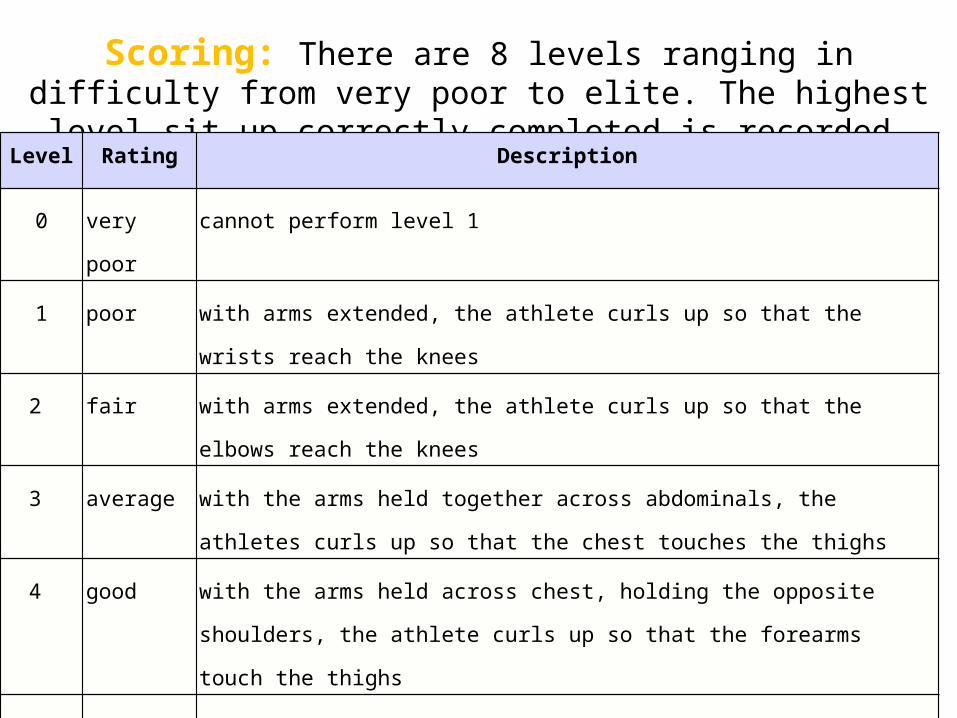
Scoring: There are 8 levels ranging in difficulty from very poor to elite. The highest level sit-up correctly completed is recorded.
Level Rating Description
0 very poor cannot perform level 1
1 poor with arms extended, the athlete curls up so that the wrists reach the knees
2 fair with arms extended, the athlete curls up so that the elbows reach the knees
3 average with the arms held together across abdominals, the athletes curls up so that the chest touches the thighs
4 good with the arms held across chest, holding the opposite shoulders, the athlete curls up so that the forearms touch the thighs
5 very good with the hands held behind head, the athlete curls up so that the chest touches the thighs
6 excellent as per level 5, with a 2.5 kg weight held behind head, chest touching the thighs
7 elite as per level 5, with a 5 kg weight held behind head, chest touching the thighs
• Advantages: moderate sized groups can be
tested at once, with minimal equipment
required.
• Disadvantages: People with very heavy upper
body find this exercise difficult to perform, as
they find it hard to keep their feet on the
ground.
Handgrip Strength Test
• Purpose: to measure the maximum isometric
strength of the hand and forearm muscles.
• Equipment required: handgrip dynamometer.
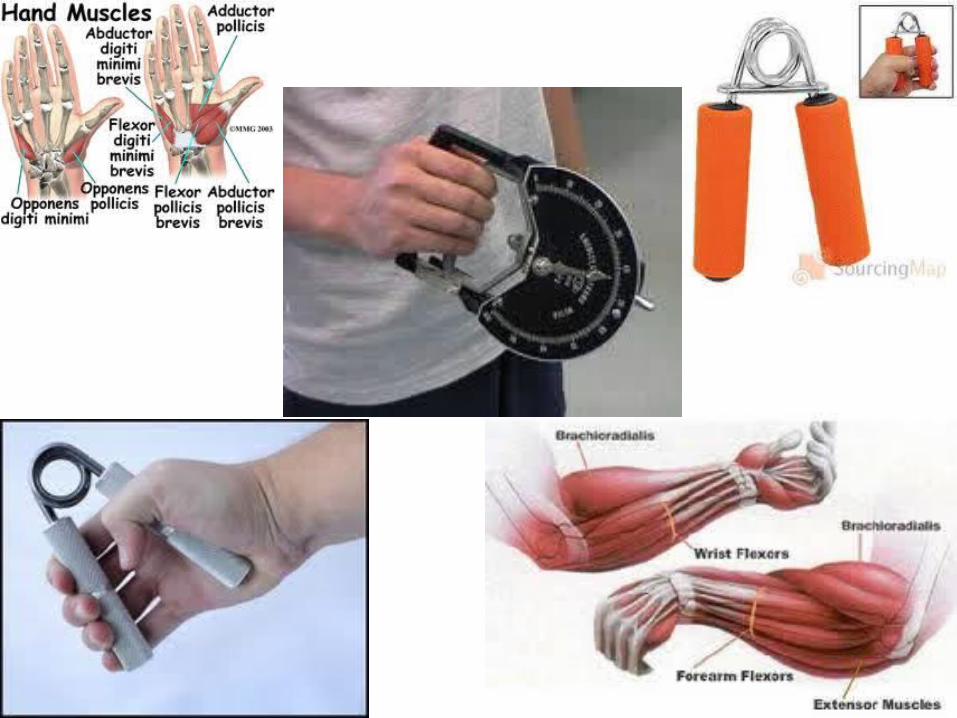
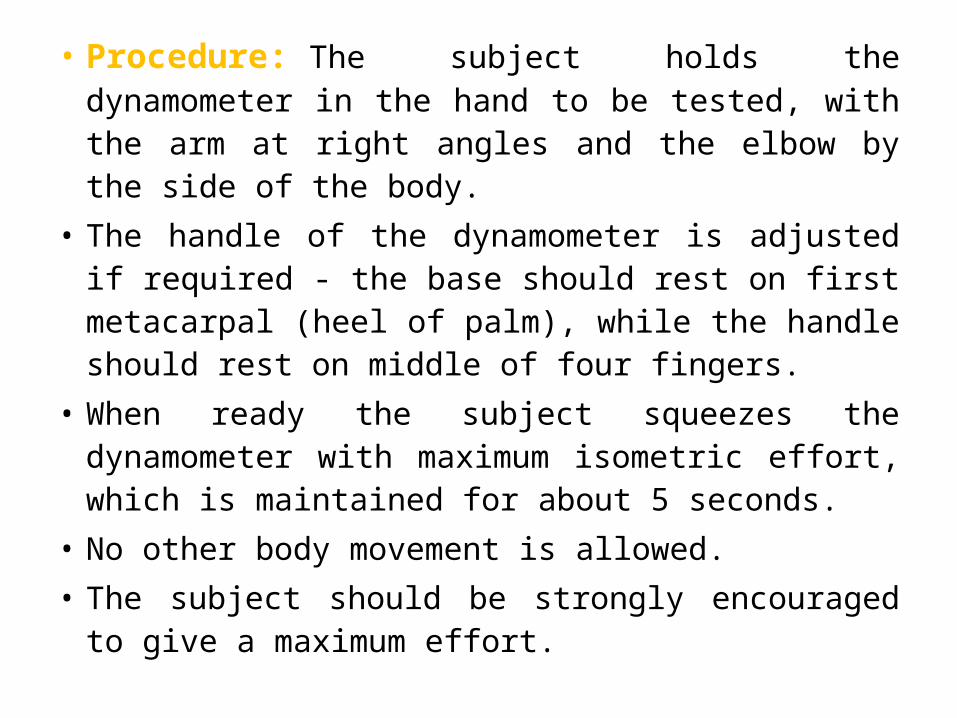
• Procedure: The subject holds the dynamometer in the hand to be tested, with the arm at right angles and the elbow by the side of the body.
• The handle of the dynamometer is adjusted if required - the base should rest on first metacarpal (heel of palm), while the handle should rest on middle of four fingers.
• When ready the subject squeezes the dynamometer with maximum isometric effort, which is maintained for about 5 seconds.
• No other body movement is allowed. • The subject should be strongly encouraged to
give a maximum effort.
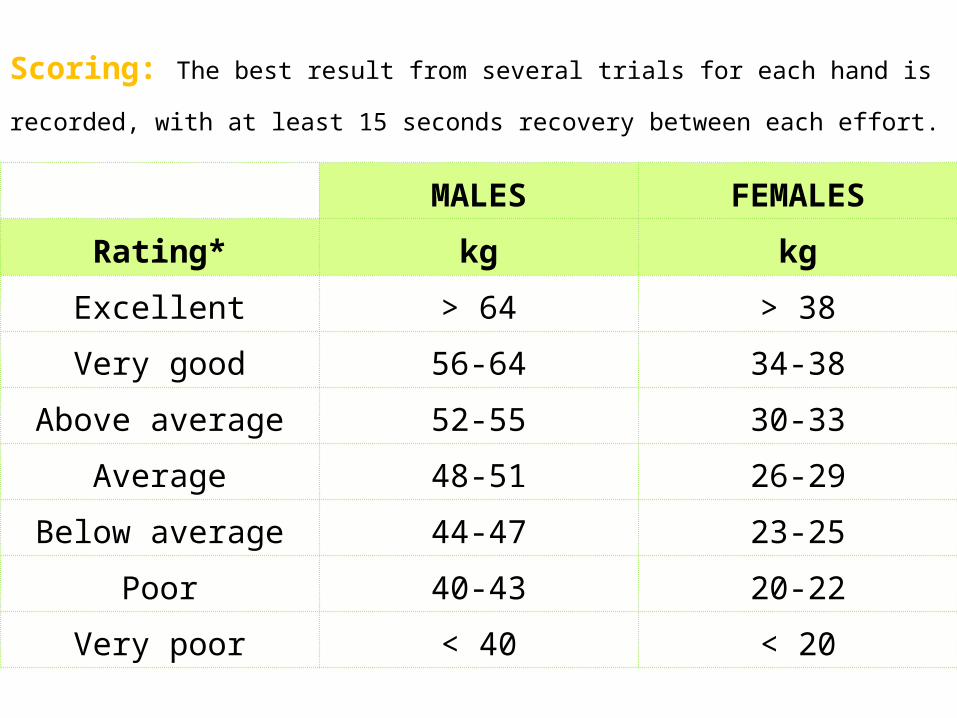
Scoring: The best result from several trials for each hand is recorded,
with at least 15 seconds recovery between each effort.
MALES FEMALES
Rating* kg kg
Excellent > 64 > 38
Very good 56-64 34-38
Above average 52-55 30-33
Average 48-51 26-29
Below average 44-47 23-25
Poor 40-43 20-22
Very poor < 40 < 20

• Advantages: This is a simple and commonly used test of general strength level, well researched and many norms are available.
• Disadvantages: The dynamometer must be adjusted for hand size, how successfully this is done will affect the accuracy of the measurement.
• Comments: It is also useful to record whether the athlete is left or right handed, as this may help in the interpretation of results. The non-dominant hand usually scores about 10% lower. The forearm muscles are easily fatigued, so the best scores are usually achieved in the first or second trial.