Embed Size (px)
Citation preview

FrontPage Basics
• Contributed by Richard Truxall, The Library Network
• Community Information Toolkit
• www.mel.org/citoolkit• Copyright © 1999,
Library of Michigan Foundation
Re-use of these materials for non-profit training purposes is allowed without further permission, provided this notice is prominently displayed

Creating a FrontPage Web from Existing HTML Documents

You will then see...
Change to...

You will need to browse for HTML files on your computer or on a floppy...

Browsing for your HTML Files...
Once You Find the Directory… just highlight it...

Showing You the Directory Location… If it’s Ok, just click on Next...

You will then see a list of the files in that directory… If they’re ok, just hit the Next Button...

The Finish Button Should Finish the Process...

Navigation View

Folder View

All Files View

Hyperlink View

Editing Pages from Navigation View

The FrontPage Editor In Normal View

The FrontPage Editor in HTML View

Format Toolbar

Changing Font Size
Highlight the Text to be Changed
The result after clicking on the Increase Text Size button

The Same Page Viewing the HTML

Changing Other Font StylesHighlight the Text to be Changed
The result after clicking on the Bold, Italics and Underline buttons

The Same Page Viewing the HTML

Seeing the Results of Your Changes

If you haven’t saved the document you’re previewing, you will be prompted to save.
If you click on Cancel, you will be taken back to the FrontPage Editor

The Results in Your Default Browser
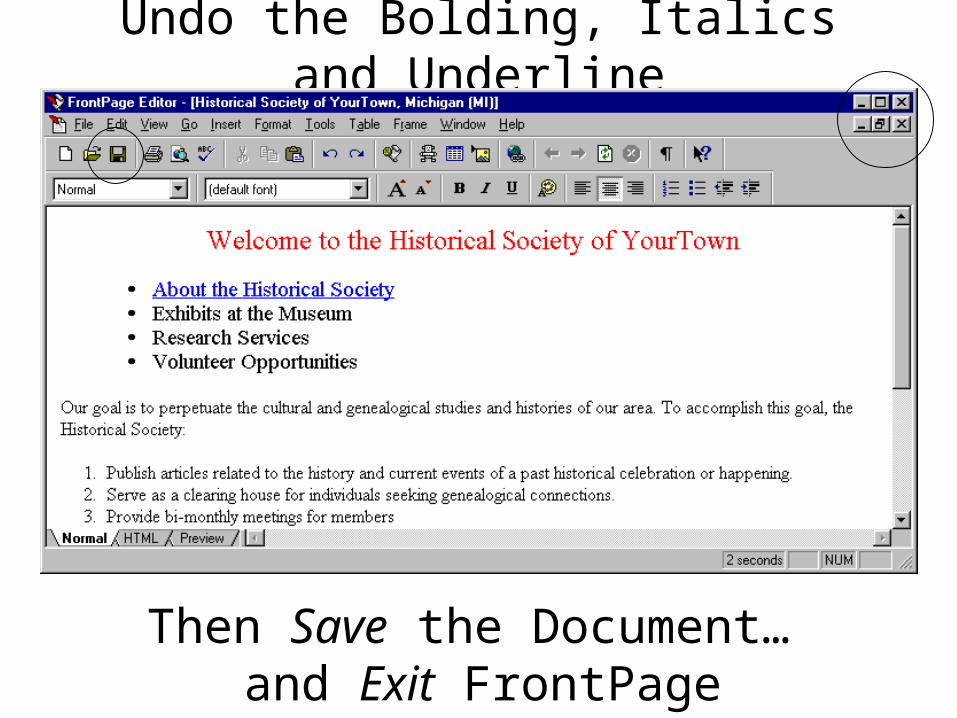
Undo the Bolding, Italics and Underline
Then Save the Document… and Exit FrontPage

Opening an Existing FrontPage Web

An Opened FrontPage Web in Folder View

You will now be viewing your document and can make any desired changes...

Creating a Link to an internal document

Highlight the Item You want to Link to...
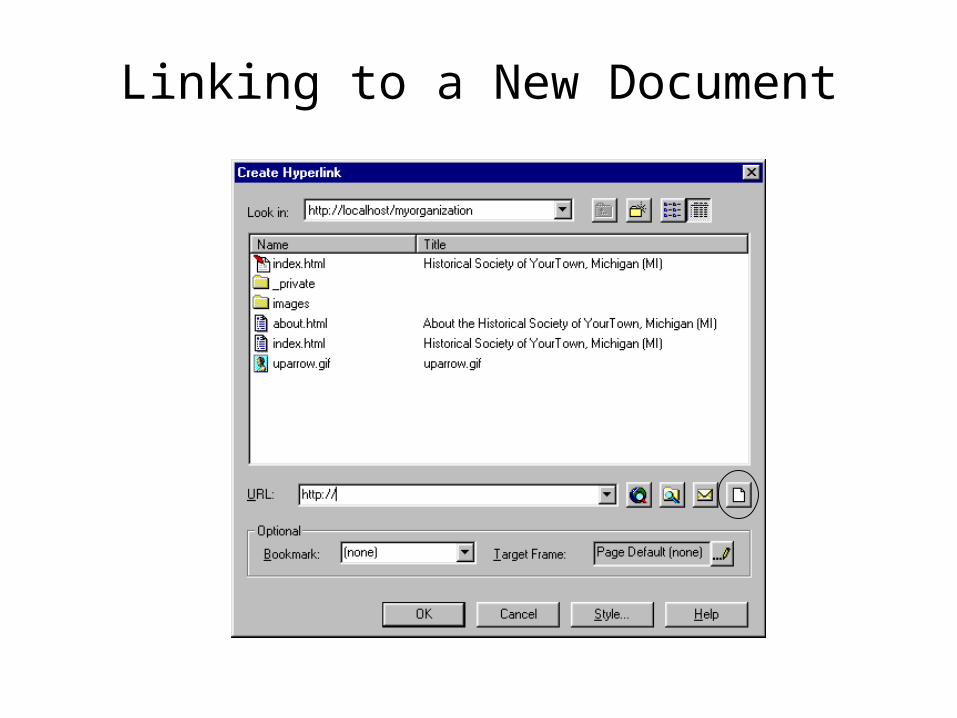
Linking to a New Document

List of Pre-Created Templates

A New Web Document, without any information
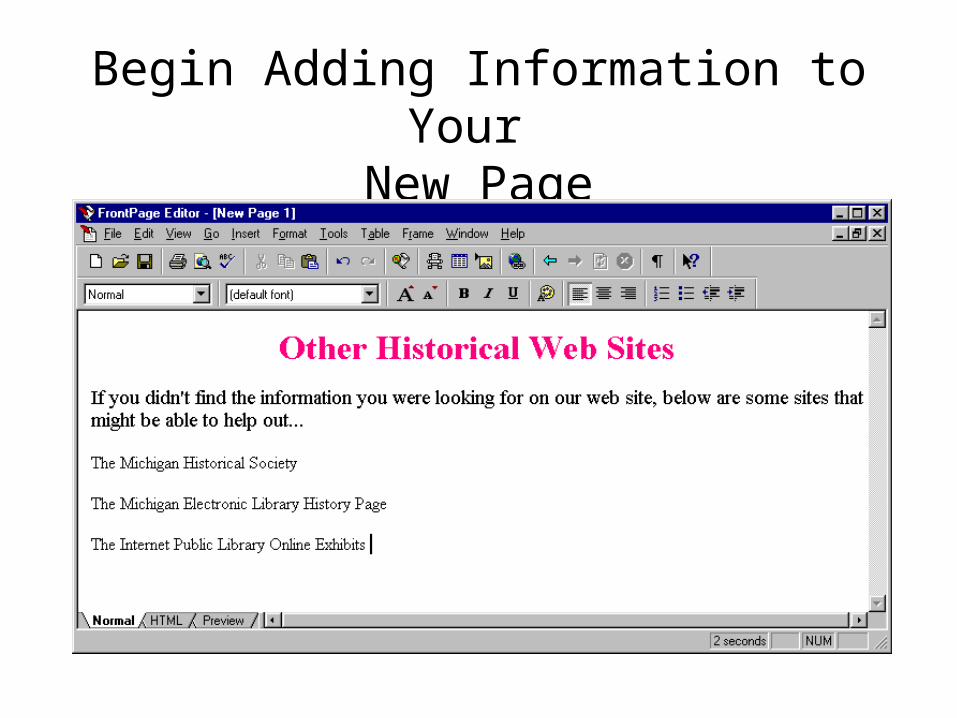
Begin Adding Information to Your New Page

Saving Your New Document

Changing the Name of the Document
Be sure to give the document a logical, but short, name.

Close your newly created document, and you will see your original document with a new link...

Preview Your Document in Your Browser

Be Sure to Test Your New Link!

Inserting a Link to an External Web Page

Inserting an External LinkTo create a link to the Michigan Historical Center… the address is: http://www.sos.state.mi.us/history/history.html
Highlight the Item that you want to link to…
and click on the link icon...

You will see the same window as with an internal link
Put the address for the site in the URL line and click on the OK button.

You will now have a link on the page, which (hopefully) goes to the desired address...

Create a second link to the Michigan Electronic Library History Page using the following address:
http://mel.lib.mi.us/michigan/MI-history.html

Inserting Images with FrontPage
The end result we’re aiming for with the example document...

Saving the Image to Your Computer
Click the Right Mouse Button, Select Save Image As...

Pick A Location on Your Computer for the Image
The Location is very important with FrontPage! The path should be like the example image above. The path is as follows:
C:\Webshare\Wwwroot\myorganization\images

Write Down the File Name!!
In this case, the file name is bl_diam.gif
Don’t forget the extension! (.gif in this case)

Click on the Save Button...
Very briefly, you will see the Saving Location Window…
The image is now saved on your computer and can be used on your web document.

Once you’ve got the image saved, you will need to insert it into the document...
1. Place the cursor where you want the image to appear in your document...
2. Click on the Insert Image Button...

Locate the image on your computer
The location of the image should be exactly the same as where it was save to, as in the example below:
C:\Webshare\Wwwroot\myorganization\images
Double click the image to insert it into your document...

An image should be inserted into your document

Using an Image as a Link

Using an Image as a Link
Insert the address of the web page that you want to link to in the Location line. In the example, the address being used is: http://www.sos.state.mi.us/ history/history.html
Click on the OK button to make the image a link

Using an Image as a Link
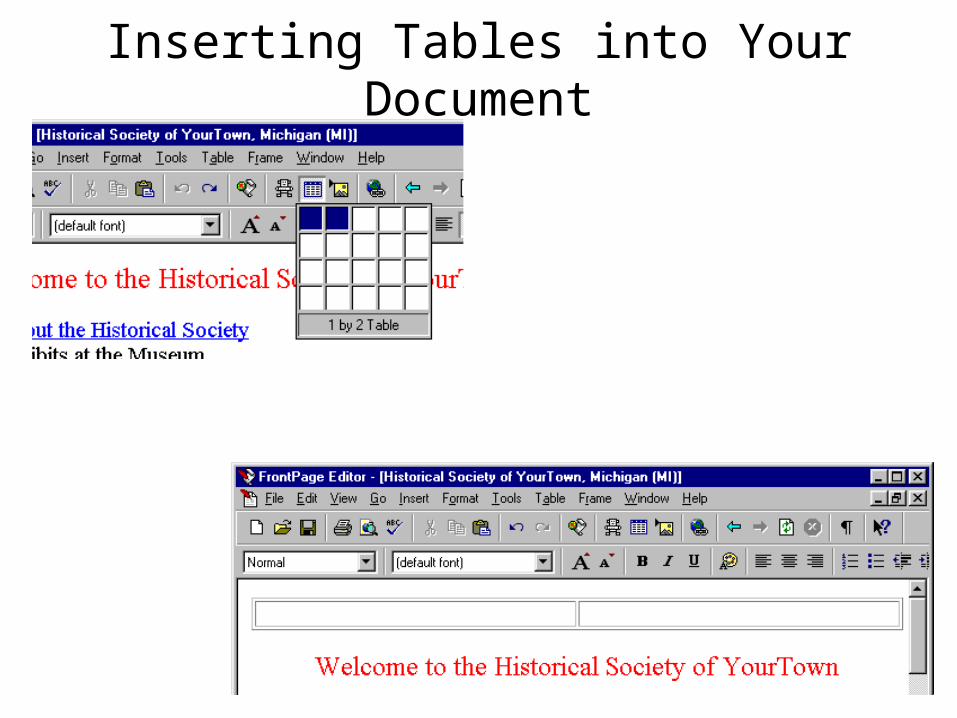
Inserting Tables into Your Document

Changing Table Properties

Changing the Size of the Cells

Inserting a Line Break