1
Fun Physics – PHYS 306: Interfacing Physics with Arduinos G. Matthew Siner and Dr. Joseph West Department of Chemistry and Physics, Indiana State University, Terre Haute, IN, 47809 PURPOSE/GOAL Design an applied physics course (PHYS 306) centered around use of the Arduino microcontroller. Pre-requisites: Physics 105 and 106 (circuits and electronics). 3 rd semester, 2 days a week, 2 hours each day. Each student will have an Arduino UNO Super Starter Kit. Several smaller projects using components/sensors. One big final project – Solar Panel Project! USING AN ARDUINO Choose the components/sensors you will need and determine how will you connect them. (Circuit Design) Wire them to the Arduino via breadboard. (The Build) Write your program to control the components in, and read the data. (The Sketch – C++) COMPONENTS & SENSORS Humidity Barometric Pressure Radioactivity Ultrasonic Sensor IR Sensor Soil Moisture Sensor Gas Detection (CH 4 /C 4 H 10 ) Speed Sensor PIR Sensor Accelerometer Temp Sensor Wi-Fi Module Rocket Launcher Light Sensor THE SKETCH SMALLER PROJECTS SOLAR PANEL PROJECT CONCLUSIONS ACKNOWLEDGEMENTS Michelle Baltz-Knorr For Funding: Indiana State University, Department of Chemistry and Physics Learning Basic Interactions Components and Sensors Measuring Voltages Using I/O pins for components and sensors Serial Monitor (output) Ohmmeter Capacitance Meter Simple Harmonic Motion Figure 1. Arduino Microcontroller Sketches always include: Global Variables, a Setup, and a Loop. For the final project around 15-100 Lines of code. Figure 2. Arduino Sketch (program) Figure 3. Turning on an LED with a push button (Input pin) The Third semester course will teach students skills related to: Coding Circuit building Problem solving Biggest challenge: overcoming experimental failure (learning how to fail, and building from that). Skills learned will make students more marketable. Compare energy output for 3 mounting options: Static, timed, and tracking. Challenges: Determine the I-V characters of the Solar Panels. Determine optimal load resistance. Design the circuitry and hardware. Build the Solar Panel mount (see Fig. 4) Write the Sketch. Fig 5. IV/PV Curves of Solar Panels Wiring Experimental design Creativity Global Variables Setup Loop Figure 4. Solar panel-servo mounting used for the Solar Panel Project Measuring I, Calculating P, and E tot Control Panel The Sketch Measured by Arduino Calculated Values Fig. 6. Students compare Total Energy data from the 3 mounting options to determine which is most efficient

Fun Physics – PHYS 306: Interfacing Physics with Arduinos

  • Upload
    others

  • View
    11

  • Download
    0

Embed Size (px)

Citation preview

Fun Physics – PHYS 306: Interfacing Physics with ArduinosG. Matthew Siner and Dr. Joseph West

Department of Chemistry and Physics, Indiana State University, Terre Haute, IN, 47809

PURPOSE/GOAL• Design an applied physics course (PHYS 306) centered around use of the

Arduino microcontroller. • Pre-requisites: Physics 105 and 106 (circuits and electronics). • 3rd semester, 2 days a week, 2 hours each day. • Each student will have an Arduino UNO Super Starter Kit.• Several smaller projects using components/sensors.• One big final project – Solar Panel Project!

USING AN ARDUINO• Choose the components/sensors you will need and determine how will

you connect them. (Circuit Design)• Wire them to the Arduino via breadboard. (The Build)• Write your program to control the components in, and read the data.

(The Sketch – C++)

COMPONENTS & SENSORS• Humidity• Barometric Pressure• Radioactivity • Ultrasonic Sensor• IR Sensor• Soil Moisture Sensor• Gas Detection (CH4/C4H10)• Speed Sensor

• PIR Sensor• Accelerometer• Temp Sensor• Wi-Fi Module• Rocket Launcher• Light Sensor

THE SKETCH

SMALLER PROJECTS

SOLAR PANEL PROJECT

CONCLUSIONS

ACKNOWLEDGEMENTS• Michelle Baltz-Knorr• For Funding: Indiana State University, Department of Chemistry and Physics

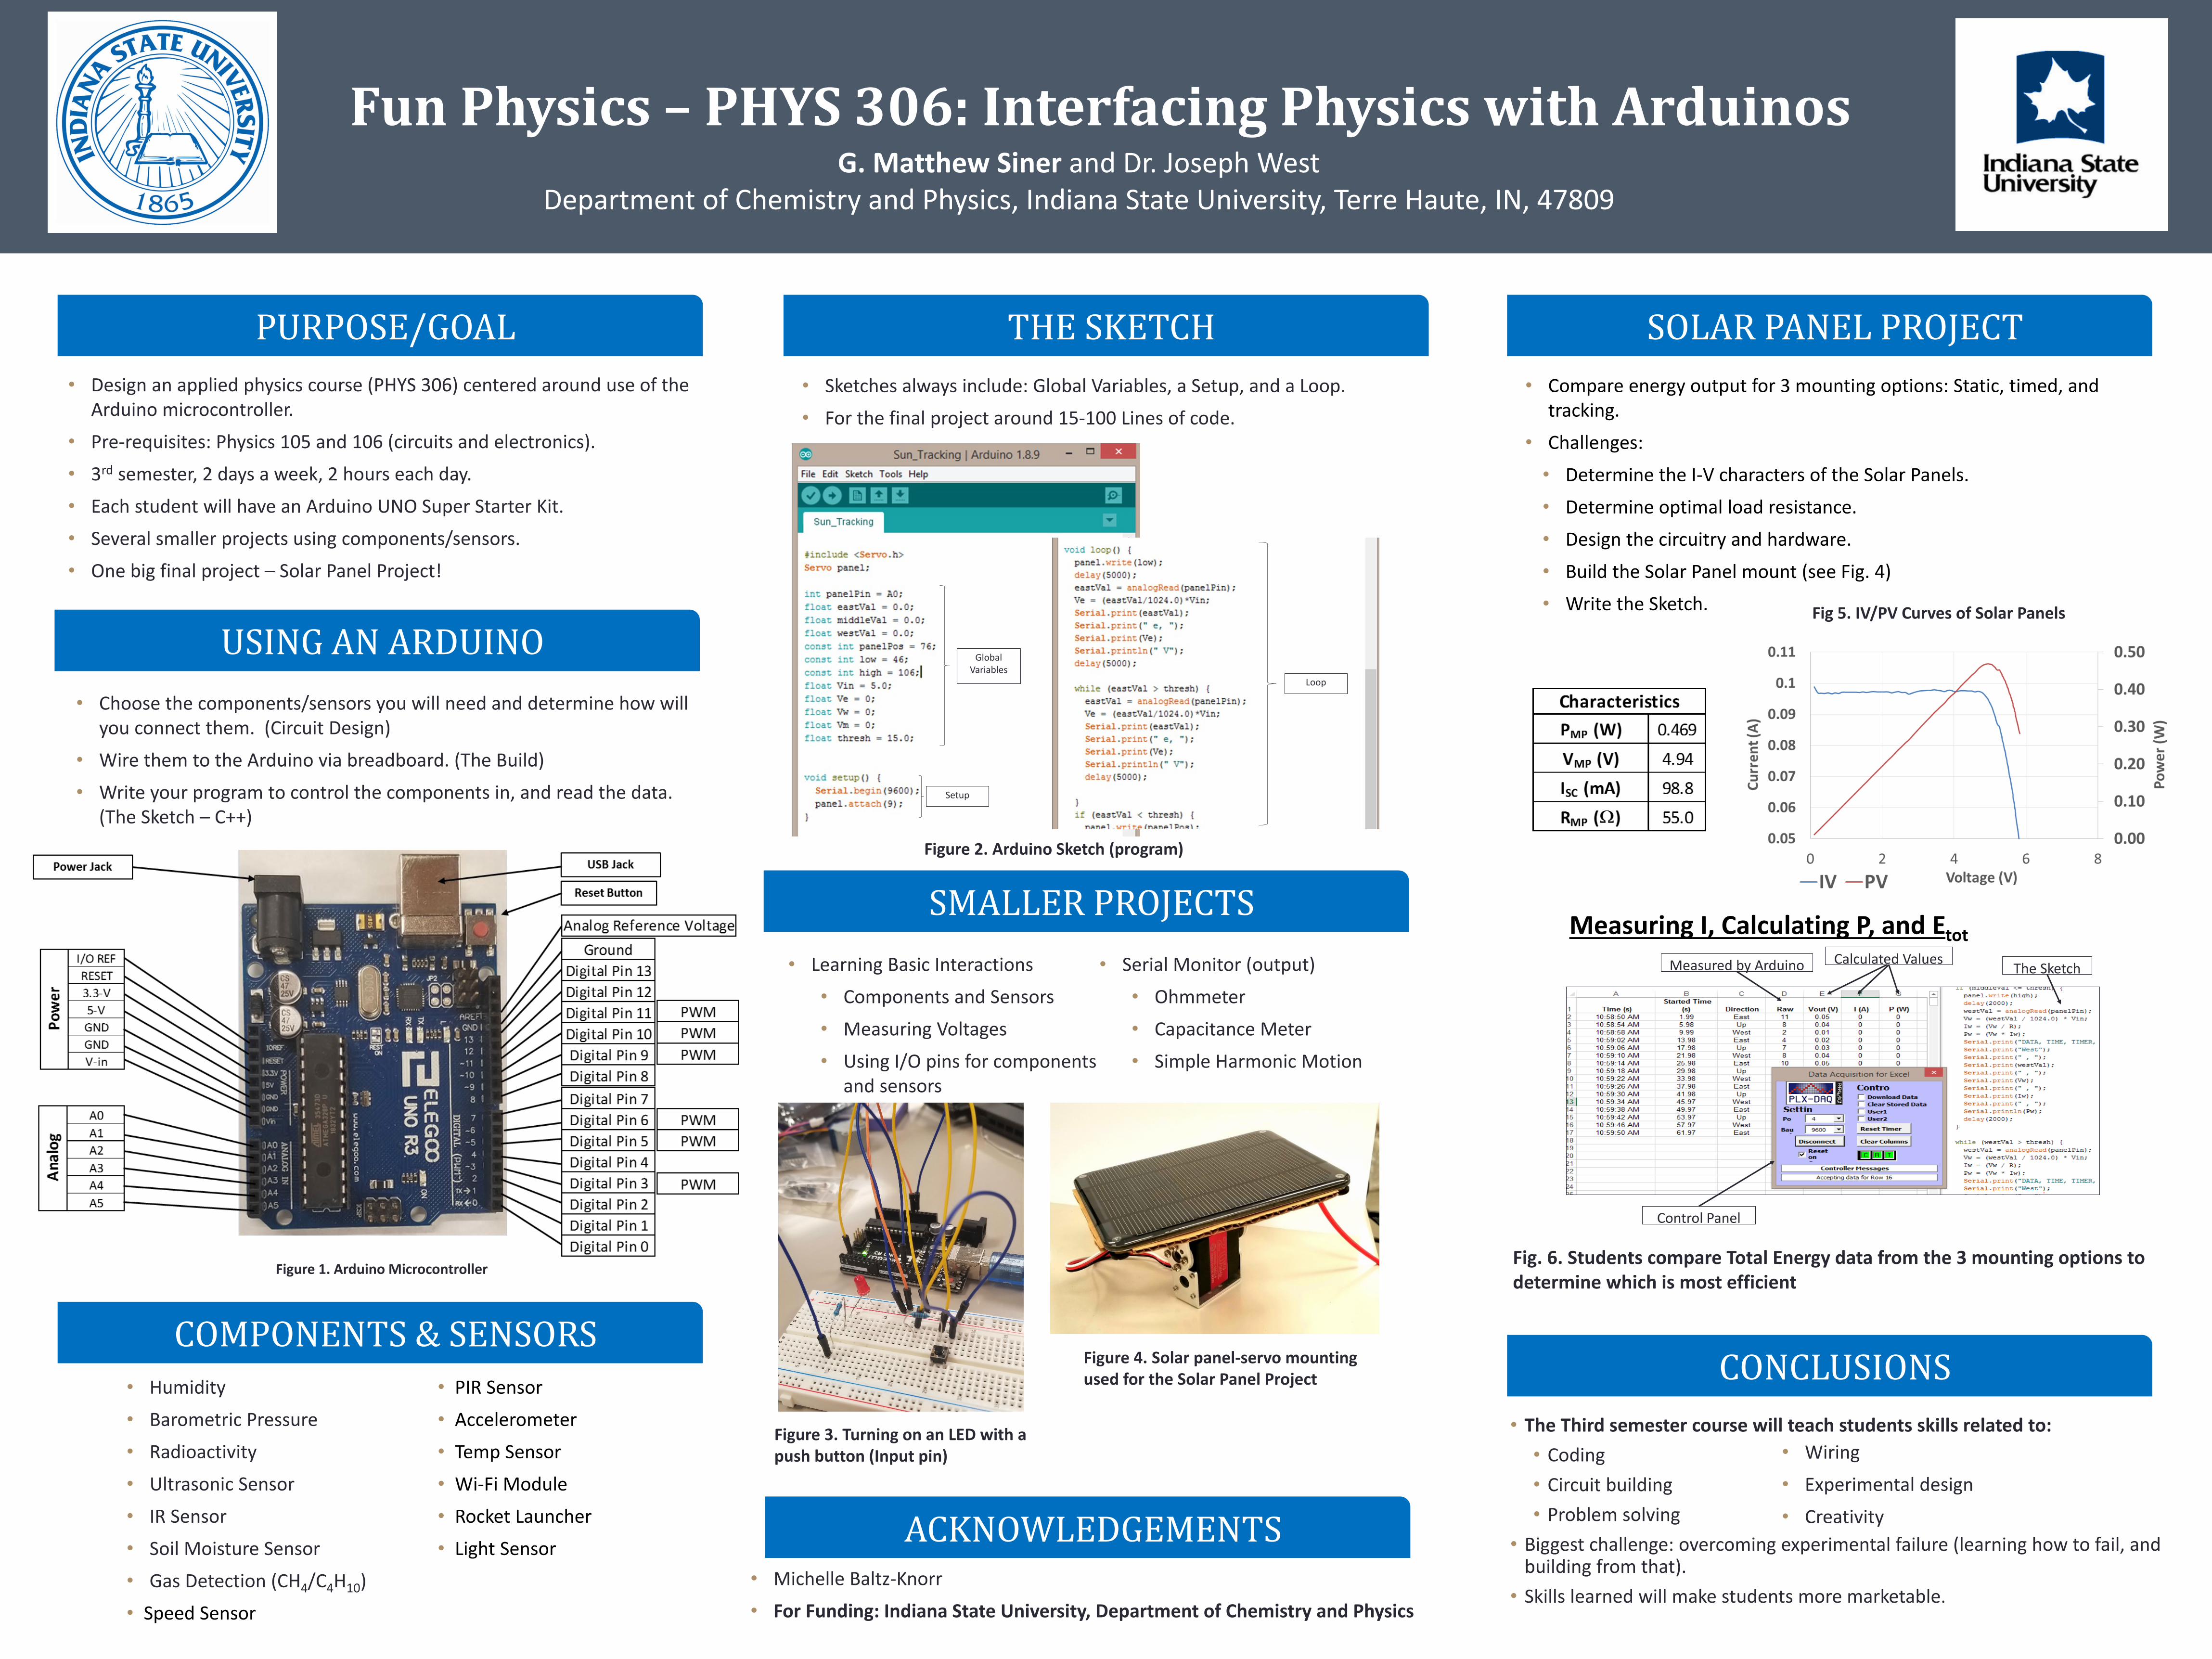
• Learning Basic Interactions• Components and Sensors• Measuring Voltages• Using I/O pins for components

and sensors

• Serial Monitor (output)• Ohmmeter• Capacitance Meter• Simple Harmonic Motion

Figure 1. Arduino Microcontroller

• Sketches always include: Global Variables, a Setup, and a Loop.• For the final project around 15-100 Lines of code.

Figure 2. Arduino Sketch (program)

Figure 3. Turning on an LED with a push button (Input pin)

• The Third semester course will teach students skills related to:• Coding• Circuit building• Problem solving

• Biggest challenge: overcoming experimental failure (learning how to fail, and building from that).

• Skills learned will make students more marketable.

• Compare energy output for 3 mounting options: Static, timed, and tracking.

• Challenges:• Determine the I-V characters of the Solar Panels.• Determine optimal load resistance. • Design the circuitry and hardware. • Build the Solar Panel mount (see Fig. 4)• Write the Sketch. Fig 5. IV/PV Curves of Solar Panels

• Wiring• Experimental design• Creativity

Global Variables

Setup

Loop

Figure 4. Solar panel-servo mounting used for the Solar Panel Project

Measuring I, Calculating P, and Etot

Control Panel

The SketchMeasured by Arduino Calculated Values

Fig. 6. Students compare Total Energy data from the 3 mounting options to determine which is most efficient