Embed Size (px)
Citation preview
GetStarted
All you need to know to get going.
2
Welcome!Thanks for choosing Sprint. This booklet introduces you to the basics of getting started with Sprint Prepaid and your Samsung Galaxy Core Prime™.
For ongoing support and resources, visit sprint.com/prepaidsupport. There, you’ll find guides, tutorials, and more to help you get the most out of your phone.Note: Available applications and services are subject to change at any time.
Usi
ng T
his
Gui
de
3
This Get Started guide is designed to help you set up and use your new Galaxy Core Prime. It’s divided into four sections to help you find the information you need quickly and easily.
Using This Guide
Get Ready − page 5 − Find out what you need to do before you use your phone the first time, including charge battery and activating Sprint Prepaid service on your phone.
Android™ Basics − page 8 − Learn some basics about how to move around on your phone, use the home screen, and enter text. If you’re familiar with Android phones, you can probably skip these pages (although a refresher course never hurt anyone).
Use Your Phone − page 11 − Take advantage of your phone’s features and Sprint services, from the basics (Making Calls) to the more advanced (using Google Play™, Wi-Fi®, and more).
Tools & Resources − page 22 − Find useful tips for your phone and discover resources and other helpful Sprint information. For additional information including the full User Guide, videos, tutorials, and community forums, visit sprint.com/prepaidsupport.
4
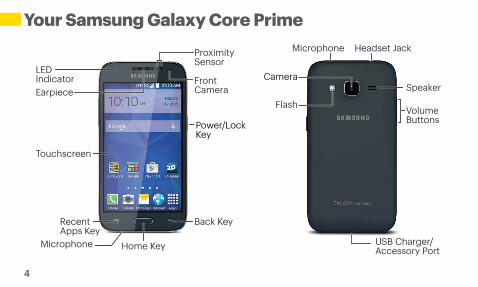
Power/LockKey
Speaker
USB Charger/Accessory Port
Flash
Headset Jack
Volume Buttons
Camera
Proximity Sensor
Earpiece
Touchscreen
RecentApps Key
Back Key
FrontCamera
Home Key
Microphone
Microphone
LEDIndicator
Your Samsung Galaxy Core Prime
Get
Rea
dy
visit sprint.com/prepaidsupport for guides, tutorials and more 5
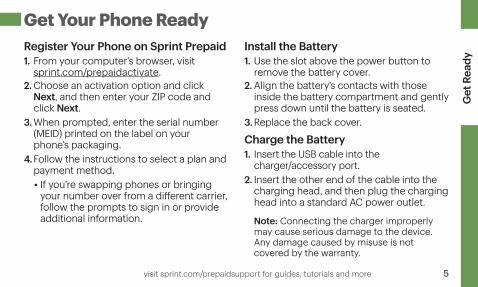
Register Your Phone on Sprint Prepaid1. From your computer’s browser, visit
sprint.com/prepaidactivate.2. Choose an activation option and click
Next, and then enter your ZIP code and click Next.
3. When prompted, enter the serial number (MEID) printed on the label on your phone’s packaging.
4. Follow the instructions to select a plan and payment method.• If you’re swapping phones or bringing
your number over from a different carrier, follow the prompts to sign in or provide additional information.
Install the Battery1. Use the slot above the power button to
remove the battery cover.2. Align the battery’s contacts with those
inside the battery compartment and gently press down until the battery is seated.
3. Replace the back cover.
Charge the Battery1. Insert the USB cable into the
charger/accessory port.2. Insert the other end of the cable into the
charging head, and then plug the charging head into a standard AC power outlet.
Note: Connecting the charger improperly may cause serious damage to the device. Any damage caused by misuse is not covered by the warranty.
Get Your Phone Ready
6
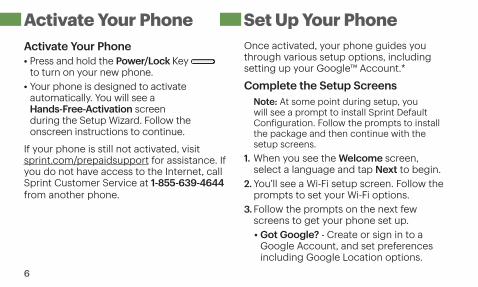
Set Up Your PhoneActivate Your Phone• Press and hold the Power/Lock Key
to turn on your new phone.• Your phone is designed to activate
automatically. You will see a Hands-Free-Activation screen during the Setup Wizard. Follow the onscreen instructions to continue.
If your phone is still not activated, visit sprint.com/prepaidsupport for assistance. If you do not have access to the Internet, call Sprint Customer Service at 1-855-639-4644 from another phone.
Once activated, your phone guides you through various setup options, including setting up your Google™ Account.*
Complete the Setup ScreensNote: At some point during setup, you will see a prompt to install Sprint Default Configuration. Follow the prompts to install the package and then continue with the setup screens.
1. When you see the Welcome screen, select a language and tap Next to begin.
2. You’ll see a Wi-Fi setup screen. Follow the prompts to set your Wi-Fi options.
3. Follow the prompts on the next few screens to get your phone set up. • Got Google? - Create or sign in to a
Google Account, and set preferences including Google Location options.
Activate Your Phone
Get
Rea
dy
visit sprint.com/prepaidsupport for guides, tutorials and more 7
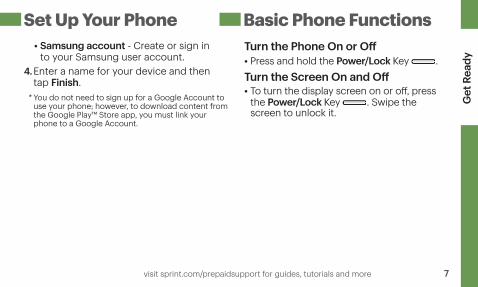
Set Up Your Phone Basic Phone Functions• Samsung account - Create or sign in
to your Samsung user account.4. Enter a name for your device and then
tap Finish.* You do not need to sign up for a Google Account to
use your phone; however, to download content from the Google Play™ Store app, you must link your phone to a Google Account.
Turn the Phone On or Off• Press and hold the Power/Lock Key .Turn the Screen On and Off• To turn the display screen on or off, press
the Power/Lock Key . Swipe the screen to unlock it.
8
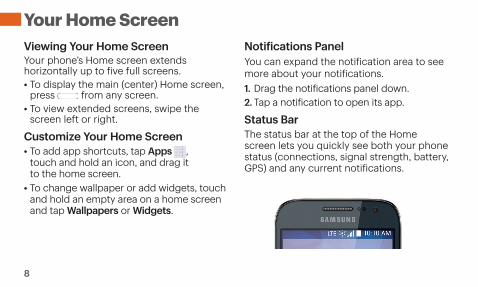
Viewing Your Home ScreenYour phone’s Home screen extends horizontally up to five full screens.• To display the main (center) Home screen,
press from any screen.• To view extended screens, swipe the
screen left or right.
Customize Your Home Screen• To add app shortcuts, tap Apps ,
touch and hold an icon, and drag it to the home screen.
• To change wallpaper or add widgets, touch and hold an empty area on a home screen and tap Wallpapers or Widgets.
Notifications PanelYou can expand the notification area to see more about your notifications.1. Drag the notifications panel down.2. Tap a notification to open its app.
Status BarThe status bar at the top of the Home screen lets you quickly see both your phone status (connections, signal strength, battery, GPS) and any current notifications.
Your Home Screen
visit sprint.com/prepaidsupport for guides, tutorials and more 9
And
roid
Bas
ics
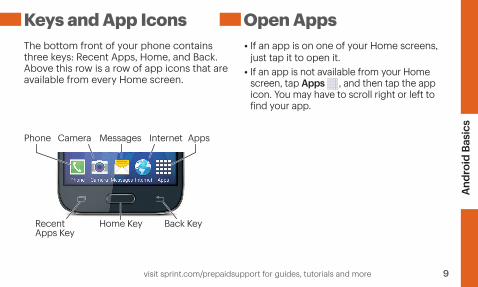
Keys and App Icons Open AppsThe bottom front of your phone contains three keys: Recent Apps, Home, and Back. Above this row is a row of app icons that are available from every Home screen.
• If an app is on one of your Home screens, just tap it to open it.
• If an app is not available from your Home screen, tap Apps , and then tap the app icon. You may have to scroll right or left to find your app.
Back KeyHome KeyRecent Apps Key
Phone AppsInternetMessagesCamera
10
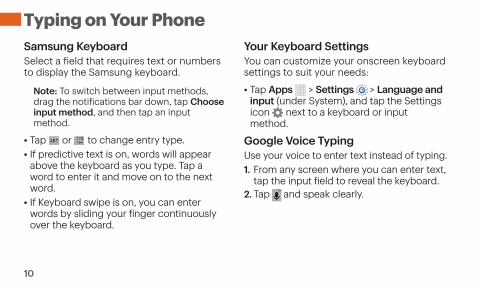
Samsung KeyboardSelect a field that requires text or numbers to display the Samsung keyboard.
Note: To switch between input methods, drag the notifications bar down, tap Choose input method, and then tap an input method.
• Tap or to change entry type.• If predictive text is on, words will appear
above the keyboard as you type. Tap a word to enter it and move on to the next word.
• If Keyboard swipe is on, you can enter words by sliding your finger continuously over the keyboard.
Your Keyboard SettingsYou can customize your onscreen keyboard settings to suit your needs:
• Tap Apps > Settings > Language and input (under System), and tap the Settings icon next to a keyboard or input method.
Google Voice TypingUse your voice to enter text instead of typing.1. From any screen where you can enter text,
tap the input field to reveal the keyboard.2. Tap and speak clearly.
Typing on Your Phone
visit sprint.com/prepaidsupport for guides, tutorials and more 11
Use
You
r Pho
ne
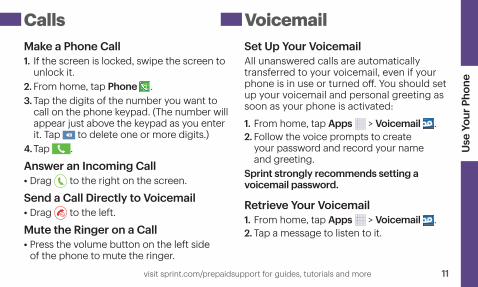
Calls VoicemailMake a Phone Call1. If the screen is locked, swipe the screen to
unlock it.2. From home, tap Phone .3. Tap the digits of the number you want to
call on the phone keypad. (The number will appear just above the keypad as you enter it. Tap to delete one or more digits.)
4. Tap .
Answer an Incoming Call• Drag to the right on the screen.
Send a Call Directly to Voicemail• Drag to the left.
Mute the Ringer on a Call• Press the volume button on the left side
of the phone to mute the ringer.
Set Up Your VoicemailAll unanswered calls are automatically transferred to your voicemail, even if your phone is in use or turned off. You should set up your voicemail and personal greeting as soon as your phone is activated:
1. From home, tap Apps > Voicemail .2. Follow the voice prompts to create
your password and record your name and greeting.
Sprint strongly recommends setting a voicemail password.
Retrieve Your Voicemail1. From home, tap Apps > Voicemail .2. Tap a message to listen to it.
12
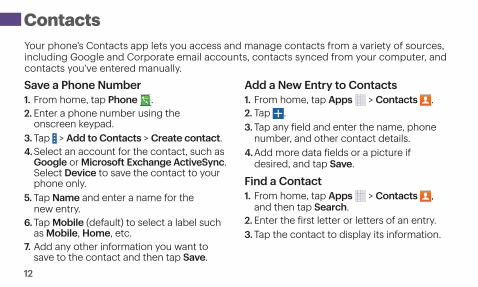
Your phone’s Contacts app lets you access and manage contacts from a variety of sources, including Google and Corporate email accounts, contacts synced from your computer, and contacts you’ve entered manually.
Save a Phone Number1. From home, tap Phone .2. Enter a phone number using the
onscreen keypad.3. Tap > Add to Contacts > Create contact. 4. Select an account for the contact, such as
Google or Microsoft Exchange ActiveSync. Select Device to save the contact to your phone only.
5. Tap Name and enter a name for the new entry.
6. Tap Mobile (default) to select a label such as Mobile, Home, etc.
7. Add any other information you want to save to the contact and then tap Save.
Add a New Entry to Contacts1. From home, tap Apps > Contacts .2. Tap .3. Tap any field and enter the name, phone
number, and other contact details.4. Add more data fields or a picture if
desired, and tap Save.
Find a Contact1. From home, tap Apps > Contacts ,
and then tap Search.2. Enter the first letter or letters of an entry.3. Tap the contact to display its information.
Contacts
visit sprint.com/prepaidsupport for guides, tutorials and more 13
Use
You
r Pho
ne
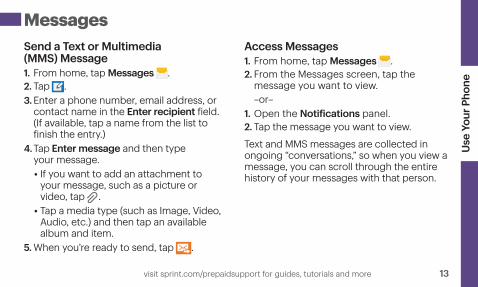
Send a Text or Multimedia (MMS) Message1. From home, tap Messages .2. Tap .3. Enter a phone number, email address, or
contact name in the Enter recipient field. (If available, tap a name from the list to finish the entry.)
4. Tap Enter message and then type your message.• If you want to add an attachment to
your message, such as a picture or video, tap .
• Tap a media type (such as Image, Video, Audio, etc.) and then tap an available album and item.
5. When you’re ready to send, tap .
Access Messages1. From home, tap Messages .2. From the Messages screen, tap the
message you want to view.–or–
1. Open the Notifications panel.2. Tap the message you want to view.
Text and MMS messages are collected in ongoing “conversations,” so when you view a message, you can scroll through the entire history of your messages with that person.
Messages
14
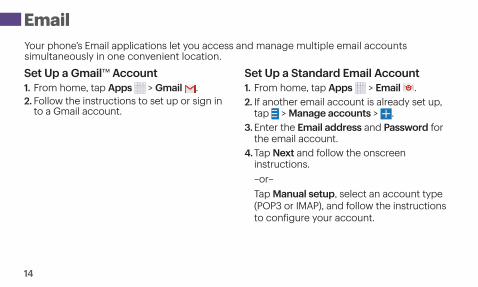
EmailYour phone’s Email applications let you access and manage multiple email accounts simultaneously in one convenient location.
Set Up a Gmail™ Account1. From home, tap Apps > Gmail .2. Follow the instructions to set up or sign in
to a Gmail account.
Set Up a Standard Email Account1. From home, tap Apps > Email .2. If another email account is already set up,
tap > Manage accounts > .3. Enter the Email address and Password for
the email account.4. Tap Next and follow the onscreen
instructions.–or–Tap Manual setup, select an account type (POP3 or IMAP), and follow the instructions to configure your account.
visit sprint.com/prepaidsupport for guides, tutorials and more 15
Use
You
r Pho
ne
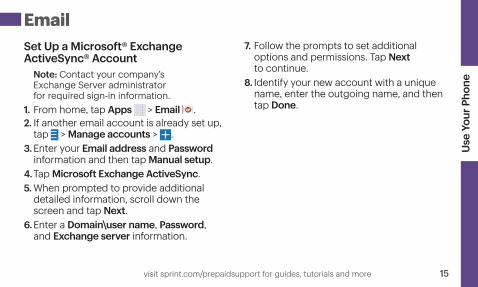
EmailSet Up a Microsoft® Exchange ActiveSync® Account
Note: Contact your company’s Exchange Server administrator for required sign-in information.
1. From home, tap Apps > Email .2. If another email account is already set up,
tap > Manage accounts > .3. Enter your Email address and Password
information and then tap Manual setup.4. Tap Microsoft Exchange ActiveSync.5. When prompted to provide additional
detailed information, scroll down the screen and tap Next.
6. Enter a Domain\user name, Password, and Exchange server information.
7. Follow the prompts to set additional options and permissions. Tap Next to continue.
8. Identify your new account with a unique name, enter the outgoing name, and then tap Done.

16
EmailAccess Email Messages1. From home, tap Apps > Email .
• To view a different inbox, tap the inbox name at the top of the screen and then tap the inbox you want to view.
2. From the inbox, tap the message you want to view.
Send an Email Message1. From home, tap Apps > Email .2. If necessary, select the email account you
want to use.3. Tap .4. Enter an email address in the To: field.5. Enter a subject and a message.
• To add attachments, tap (on the top of the screen) and select an attachment.
6. Tap .
Access Gmail Messages1. From home, tap Apps > Gmail .2. Select the inbox you want to view.3. Tap a message to view it.
Send a Gmail Message1. From home, tap Apps > Gmail .2. Tap .3. Enter an email address or contact name.4. Enter a subject and a message.
• To add attachments, tap > Attach file.5. Tap to send the message.
visit sprint.com/prepaidsupport for guides, tutorials and more 17
Use
You
r Pho
ne
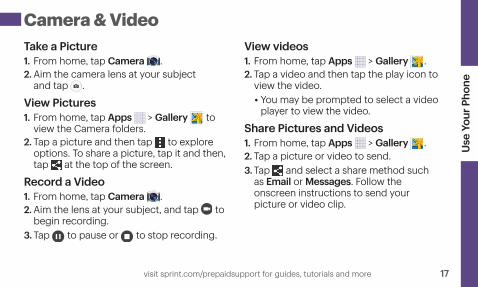
Camera & VideoTake a Picture1. From home, tap Camera .2. Aim the camera lens at your subject
and tap .
View Pictures1. From home, tap Apps > Gallery to
view the Camera folders.2. Tap a picture and then tap to explore
options. To share a picture, tap it and then, tap at the top of the screen.
Record a Video1. From home, tap Camera .2. Aim the lens at your subject, and tap to
begin recording.3. Tap to pause or to stop recording.
View videos1. From home, tap Apps > Gallery .2. Tap a video and then tap the play icon to
view the video.• You may be prompted to select a video
player to view the video.
Share Pictures and Videos1. From home, tap Apps > Gallery .2. Tap a picture or video to send.3. Tap and select a share method such
as Email or Messages. Follow the onscreen instructions to send your picture or video clip.
18
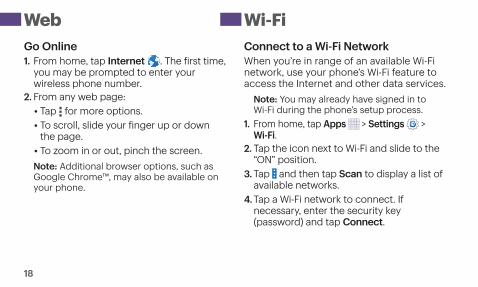
Wi-FiGo Online1. From home, tap Internet . The first time,
you may be prompted to enter your wireless phone number.
2. From any web page:• Tap for more options.• To scroll, slide your finger up or down
the page.• To zoom in or out, pinch the screen.Note: Additional browser options, such as Google Chrome™, may also be available on your phone.
Connect to a Wi-Fi NetworkWhen you’re in range of an available Wi-Fi network, use your phone’s Wi-Fi feature to access the Internet and other data services.
Note: You may already have signed in to Wi-Fi during the phone’s setup process.
1. From home, tap Apps > Settings > Wi-Fi.
2. Tap the icon next to Wi-Fi and slide to the “ON” position.
3. Tap and then tap Scan to display a list of available networks.
4. Tap a Wi-Fi network to connect. If necessary, enter the security key (password) and tap Connect.
Web
visit sprint.com/prepaidsupport for guides, tutorials and more 19
Use
You
r Pho
ne
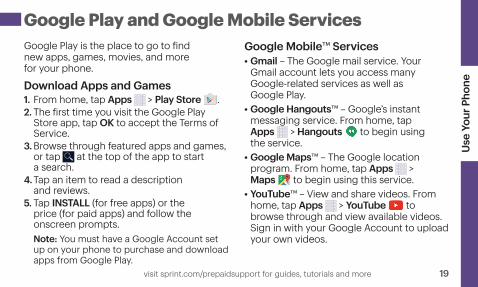
Google Play and Google Mobile ServicesGoogle Play is the place to go to find new apps, games, movies, and more for your phone.
Download Apps and Games1. From home, tap Apps > Play Store .2. The first time you visit the Google Play
Store app, tap OK to accept the Terms of Service.
3. Browse through featured apps and games, or tap at the top of the app to start a search.
4. Tap an item to read a description and reviews.
5. Tap INSTALL (for free apps) or the price (for paid apps) and follow the onscreen prompts. Note: You must have a Google Account set up on your phone to purchase and download apps from Google Play.
Google Mobile™ Services• Gmail – The Google mail service. Your
Gmail account lets you access many Google-related services as well as Google Play.
• Google Hangouts™ – Google’s instant messaging service. From home, tap Apps > Hangouts to begin using the service.
• Google Maps™ – The Google location program. From home, tap Apps > Maps to begin using this service.
• YouTube™ – View and share videos. From home, tap Apps > YouTube to browse through and view available videos. Sign in with your Google Account to upload your own videos.
20
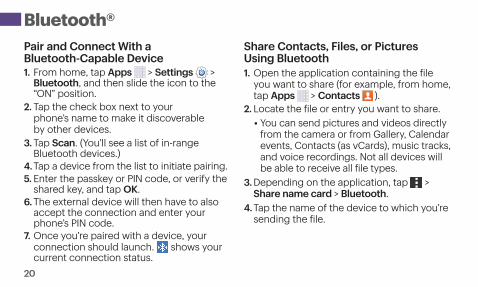
Pair and Connect With a Bluetooth-Capable Device1. From home, tap Apps > Settings >
Bluetooth, and then slide the icon to the “ON” position.
2. Tap the check box next to your phone’s name to make it discoverable by other devices.
3. Tap Scan. (You’ll see a list of in-range Bluetooth devices.)
4. Tap a device from the list to initiate pairing.5. Enter the passkey or PIN code, or verify the
shared key, and tap OK.6. The external device will then have to also
accept the connection and enter your phone’s PIN code.
7. Once you’re paired with a device, your connection should launch. shows your current connection status.
Share Contacts, Files, or Pictures Using Bluetooth1. Open the application containing the file
you want to share (for example, from home, tap Apps > Contacts ).
2. Locate the file or entry you want to share.• You can send pictures and videos directly
from the camera or from Gallery, Calendar events, Contacts (as vCards), music tracks, and voice recordings. Not all devices will be able to receive all file types.
3. Depending on the application, tap > Share name card > Bluetooth.
4. Tap the name of the device to which you’re sending the file.
Bluetooth®
visit sprint.com/prepaidsupport for guides, tutorials and more 21
Use
You
r Pho
ne
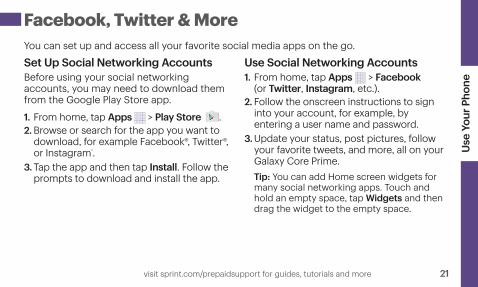
Facebook, Twitter & More
Set Up Social Networking AccountsBefore using your social networking accounts, you may need to download them from the Google Play Store app.
1. From home, tap Apps > Play Store .2. Browse or search for the app you want to
download, for example Facebook®, Twitter®, or Instagram®.
3. Tap the app and then tap Install. Follow the prompts to download and install the app.
Use Social Networking Accounts1. From home, tap Apps > Facebook
(or Twitter, Instagram, etc.).2. Follow the onscreen instructions to sign
into your account, for example, by entering a user name and password.
3. Update your status, post pictures, follow your favorite tweets, and more, all on your Galaxy Core Prime.Tip: You can add Home screen widgets for many social networking apps. Touch and hold an empty space, tap Widgets and then drag the widget to the empty space.
You can set up and access all your favorite social media apps on the go.
22
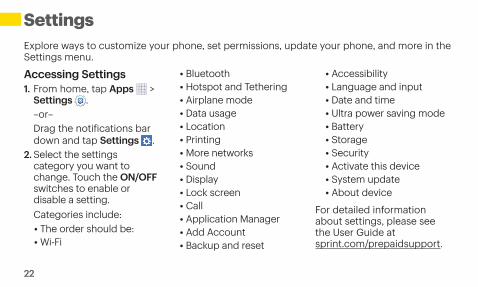
Settings
Accessing Settings1. From home, tap Apps >
Settings .–or–Drag the notifications bar down and tap Settings .
2. Select the settings category you want to change. Touch the ON/OFF switches to enable or disable a setting.Categories include:• The order should be:• Wi-Fi
• Bluetooth• Hotspot and Tethering• Airplane mode• Data usage• Location• Printing• More networks• Sound• Display• Lock screen• Call• Application Manager• Add Account• Backup and reset
• Accessibility• Language and input• Date and time• Ultra power saving mode• Battery• Storage• Security• Activate this device• System update• About device
For detailed information about settings, please see the User Guide at sprint.com/prepaidsupport.
Explore ways to customize your phone, set permissions, update your phone, and more in the Settings menu.
Battery-Saving Tips
Tool
s &
Res
ourc
es
visit sprint.com/prepaidsupport for guides, tutorials and more 23
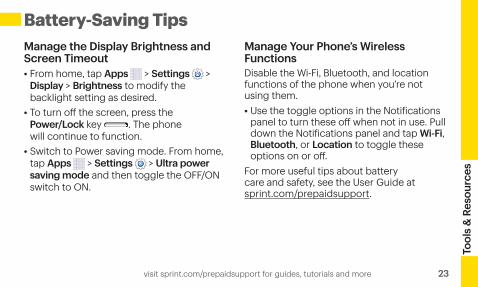
Battery-Saving TipsManage the Display Brightness and Screen Timeout• From home, tap Apps > Settings >
Display > Brightness to modify the backlight setting as desired.
• To turn off the screen, press the Power/Lock key . The phone will continue to function.
• Switch to Power saving mode. From home, tap Apps > Settings > Ultra power saving mode and then toggle the OFF/ON switch to ON.
Manage Your Phone’s Wireless Functions Disable the Wi-Fi, Bluetooth, and location functions of the phone when you’re not using them. • Use the toggle options in the Notifications
panel to turn these off when not in use. Pull down the Notifications panel and tap Wi-Fi, Bluetooth, or Location to toggle these options on or off.
For more useful tips about battery care and safety, see the User Guide at sprint.com/prepaidsupport.
24
Manage Your AccountOnline: sprint.com/prepaidmysprint• View cash balance and/or payment date• Check minute usage (if not on an
unlimited voice plan)• Add a credit/debit card to set up
AutoPay or make one-time payments• See or modify your price plan• Change your Account PIN
From a Phone• Sprint Customer Service:
Dial 1-855-639-4644
Refill Your AccountVisit sprint.com/prepaidrefill to refill your cash balance by making a one-time payment with a credit or debit card.
Refill Resources
Tool
s &
Res
ourc
es
visit sprint.com/prepaidsupport for guides, tutorials and more 25
ResourcesResources For Your Phone• This Get Started Guide to get you up
and running.• Online Support – For ongoing help
over the life of your phone, visit sprint.com/prepaidsupport to find videos, tutorials, troubleshooting tips, and the complete User Guide for your Galaxy Core Prime.
• Community – Visit community.sprint.com to join the discussion about all things Sprint. Here people help each other make the most of their wireless services with tips, forums, blogs, and the latest news.
Sprint ZoneEnhance your Sprint experience. The free Sprint Zone application makes it a snap to manage your account, get tips and tricks for your phone, find recommended apps, and more.• From home, tap Apps > Sprint Zone
to access account services, Sprint news, phone information, suggested applications, troubleshooting, and more.
26
SustainabilityAt Sprint, environmental responsibility is more than talk. We’re continuously working to reduce our carbon footprint and decrease our use of natural resources.
So where is my User Guide?We took the full printed user guide out of the box and put it, along with expanded support resources, online for you. Less paper, more and better information. Just visit sprint.com/prepaidsupport from any computer to access your complete user guide and the rest of our support materials.
What else has Sprint been doing?Plenty. To find out just what we’ve been up to, visit sprint.com/green for more information.
Tool
s &
Res
ourc
es
visit sprint.com/prepaidsupport for guides, tutorials and more 27
Survey Galaxy Core PrimeWe are interested in your initial impressions of this new Sprint phone.Within two weeks of your phone purchase, please go to the website http://labs.sprint.com/sprintphonesurvey to complete a brief survey. Your feedback will help us provide the wireless features and services you want most.
Thank you for choosing Sprint.
By registering your Galaxy Core Prime phone at samsung.com, you are entitled to:• Premium service through your choice of
live chat, email and/or phone• Access to specialized call center staff• Extended call center hours• Galaxy Core Prime product user manualAs an owner, you can write a product review, shop for accessories and receive exclusive Samsung offers.
The services described in this guide may require a subscription to a service plan and/or may incur additional charges. Not all services will work on all phones. See sprint.com/prepaidcoverage for more details.Portions of this guide are reproductions of work created and shared by Google and used according to terms described in the Creative Commons 3.0 Attribution License.Important Privacy Message. This phone is capable of determining its/your geographical location. To set controls for access and use of your location information by others, from home, tap Apps > Settings > Location, tap the OFF/ON icon so it’s in the ON position, and then tap Mode. Select your location options from the list and follow any applicable prompts. These settings for the use of location information can be turned on and off. For some applications and services you select, a phone must be turned on and set to allow collection of location information in order to function.Please be advised that if you use a third party application, the application may collect your personal information or require Sprint to disclose your customer information, including location information (when applicable), to the application provider or some other third party. Sprint’s policies do not apply to these third party applications. Please carefully review the application’s terms of use and/or the application provider’s policies for more information about how the application will collect, access, use or disclose your information before using a third-party application. Terms of use and other policies usually are available on the application provider’s website.©2015 Sprint. Sprint and the logo are trademarks of Sprint. Samsung, Galaxy, and Core Prime are all trademarks of Samsung Electronics Co., Ltd. Gmail, Google+, Hangouts, Google Maps, YouTube, Android, Google, Photos, Google Maps, Google Mobile Services, and Google Play are trademarks of Google, Inc. Other marks are property of their respective owners. Screen images simulated. Appearance of device may vary.