Embed Size (px)
Citation preview
Getting Started with Movie Maker
Where to find it
Starting Movie Maker
Adding pictures
Adding movie clips
Adding music
Adding effects
Adding transitions
Working with the timeline
Creating the movie
Where to find it You can find Movie Maker by clicking on the Start button, it is installed automatically on your
computer with Windows (both XP and Vista)
(see below)
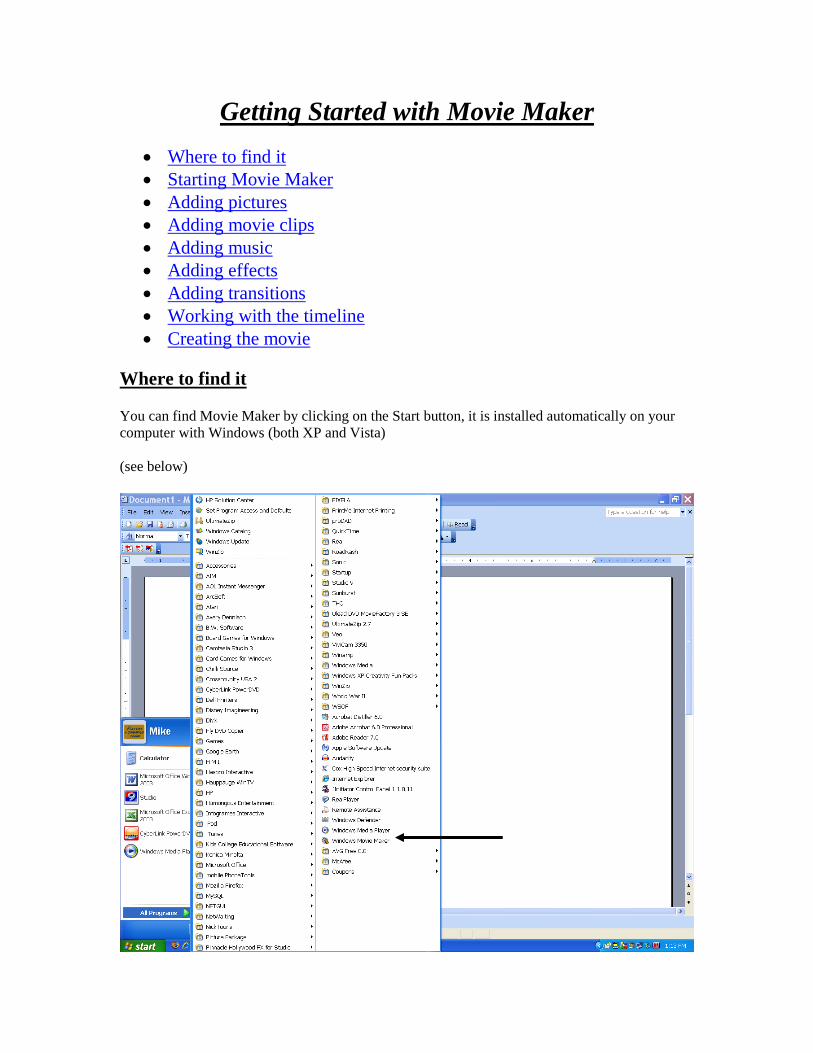
Starting Movie Maker When you start Movie Maker initially it will look like the image below. If you do not see the task
pane on the left of the screen, select View from the menu and choose task pane to activate it. The
main areas of the screen you want to focus on are the collections area (this is where the media
you insert will be displayed) and the storyboard (this is where your movie will be constructed)
Adding Pictures The first step in creating your movie is to add media content. In this section you will add pictures
(or clipart if you do not have any pictures to import) to the storyboard.
Once you know where your pictures are stored, select import pictures from the task pane on the
left. A dialog box asking you for the location (folder) and showing the pictures available based
on the folder you select will appear (see below)

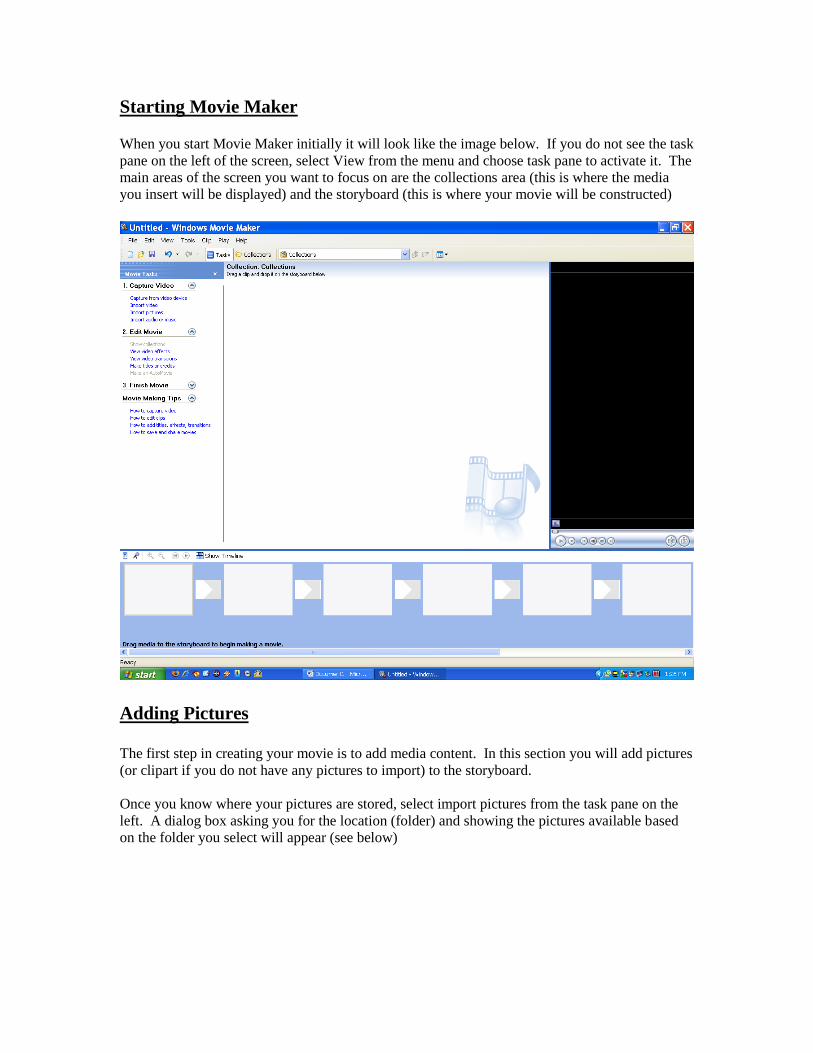
From this select the pictures you wish to work with (by holding down the Ctrl key you can select
multiple pictures at a time), they will appear in the collection part of the screen (see below)

The last step is to drag the pictures from the collection area into the frames located on the
storyboard at the bottom of the screen (see below). Repeat this for any pictures you wish to add
to your movie.

Adding Movie Clips
Adding movie clips is just like add pictures except you select import video instead of import
pictures from the task pane.
Adding Music
To add music to your movie, you will need to add it to your collection area just like you did with
your pictures and video. Make sure you know you’re the location of your music (it may be on
your computer or on a CD) before you start the process.
Select import audio or music from the task pane on the left, and just as you did with pictures
locate the directory and select the song or songs you wish to add (see below). You can add songs
and/or sound effect files as you desire.

Once you have added your audio files they will also be displayed in the collections area of the
screen (see below)
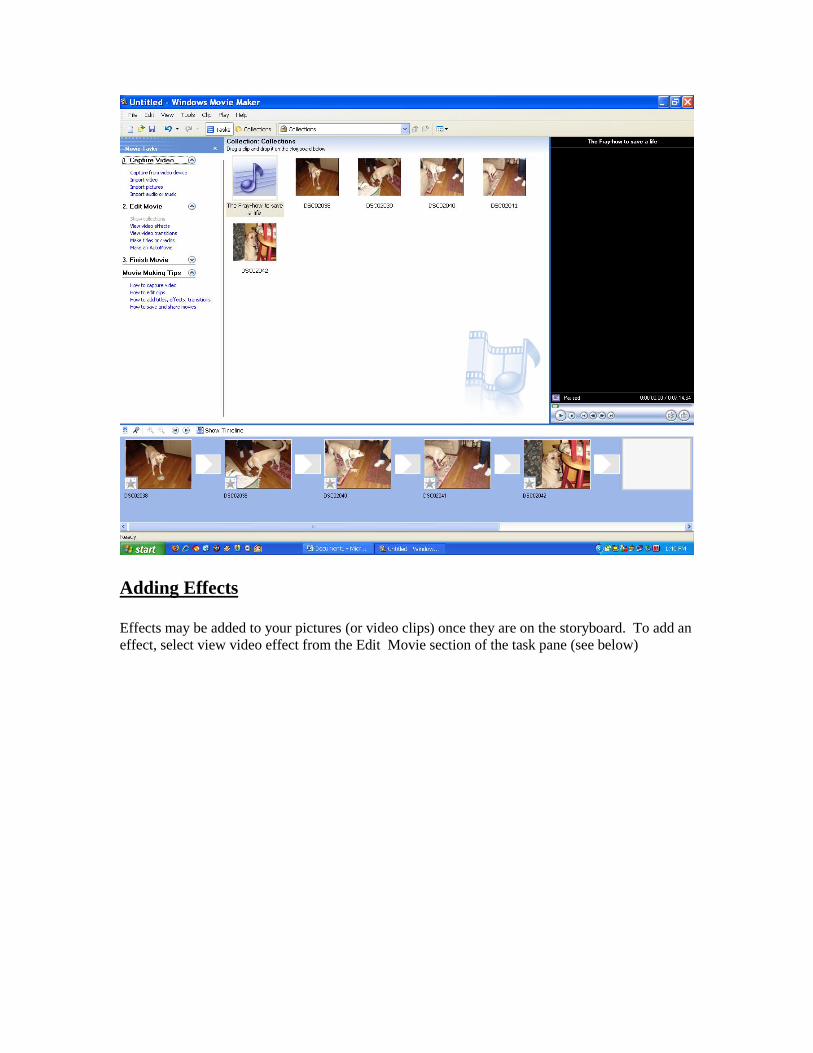
Adding Effects
Effects may be added to your pictures (or video clips) once they are on the storyboard. To add an
effect, select view video effect from the Edit Movie section of the task pane (see below)

To see how the effects will look, you can double click the effect and it will be demonstrated for
you in the preview section of the screen (on the right)
Once you have added an effect to a clip the star on the lower left corner will be highlighted (see
the second picture on the image below)

Adding transitions
Transitions control the animation for exiting and entering your clips, to create transitions select
view video transitions from the Edit section of the task pane. (see below)
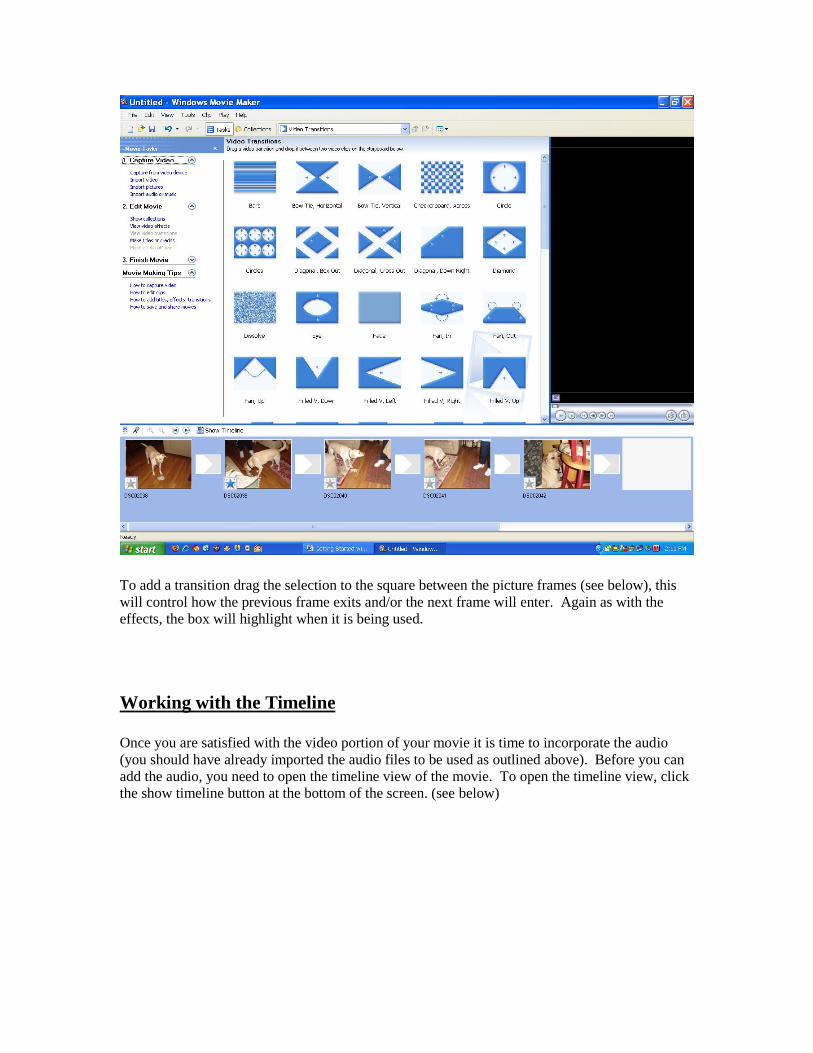
To add a transition drag the selection to the square between the picture frames (see below), this
will control how the previous frame exits and/or the next frame will enter. Again as with the
effects, the box will highlight when it is being used.
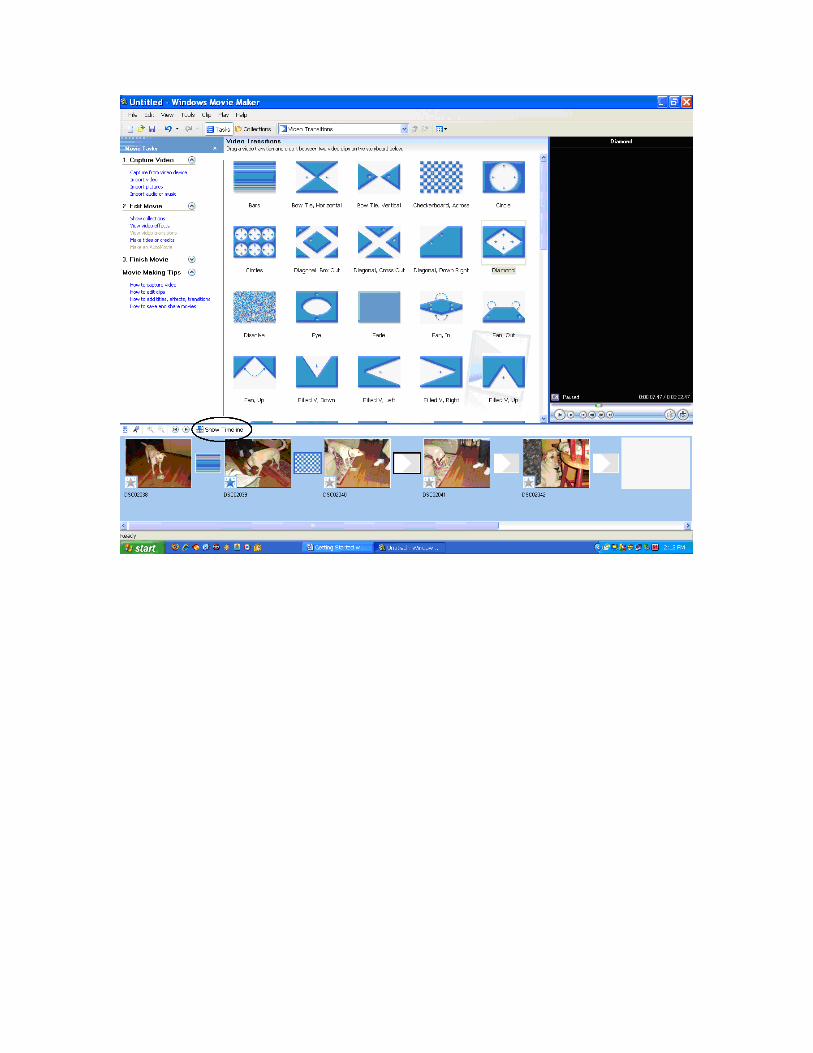
Working with the Timeline
Once you are satisfied with the video portion of your movie it is time to incorporate the audio
(you should have already imported the audio files to be used as outlined above). Before you can
add the audio, you need to open the timeline view of the movie. To open the timeline view, click
the show timeline button at the bottom of the screen. (see below)

Once you are in the timeline mode, you can drag the audio selection into the timeline to add it to
your movie. First, make sure the collections area on the menu at the top of the screen is set to
collections (it may still be set to transitions from the previous step), if it is not, select the drop
down arrow next to the dialog box and choose collections.
To add the audio clip, drag it from the collections area onto the audio/music area of the timeline.
(see below)

Audio files (especially songs) are typically longer than the length of your movie. To shorten the
length of your audio file, scroll to the end of the audio clip and select the right edge. Holding the
mouse button, drag the arrow to the left of the timeline to line it up with your video clips. (see
below)

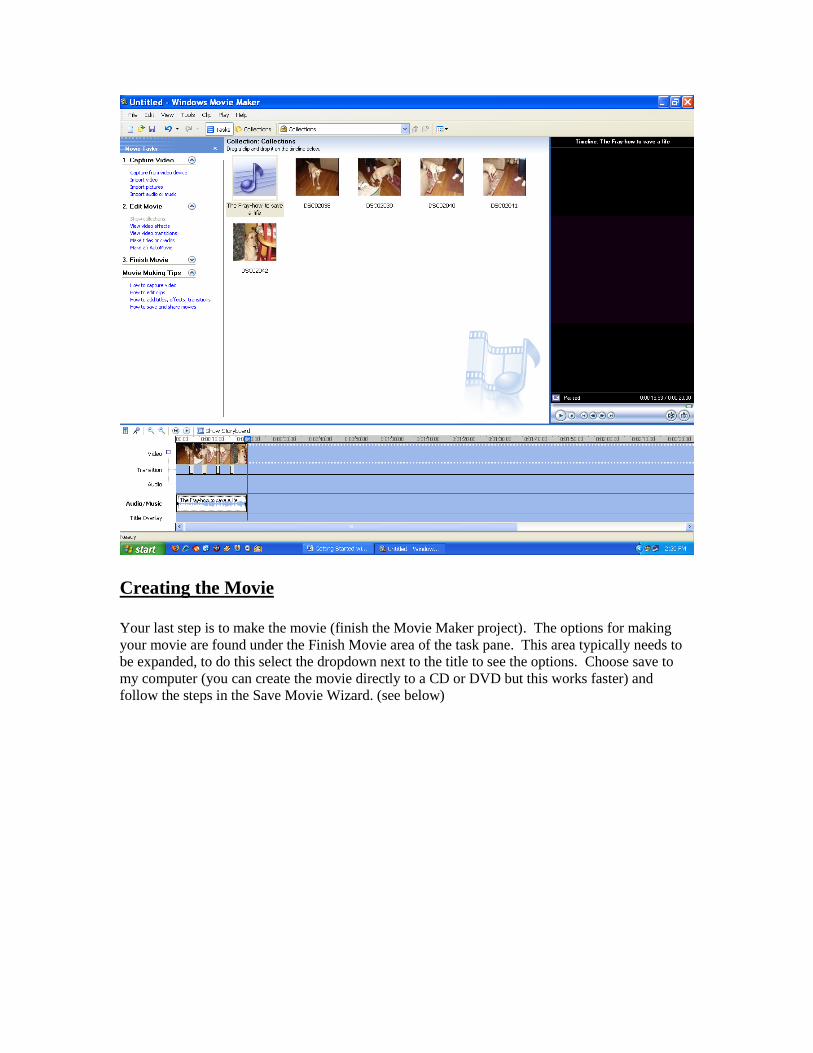
Creating the Movie
Your last step is to make the movie (finish the Movie Maker project). The options for making
your movie are found under the Finish Movie area of the task pane. This area typically needs to
be expanded, to do this select the dropdown next to the title to see the options. Choose save to
my computer (you can create the movie directly to a CD or DVD but this works faster) and
follow the steps in the Save Movie Wizard. (see below)