Embed Size (px)
Citation preview
Star Wars
Battle Reports from Historicon2007
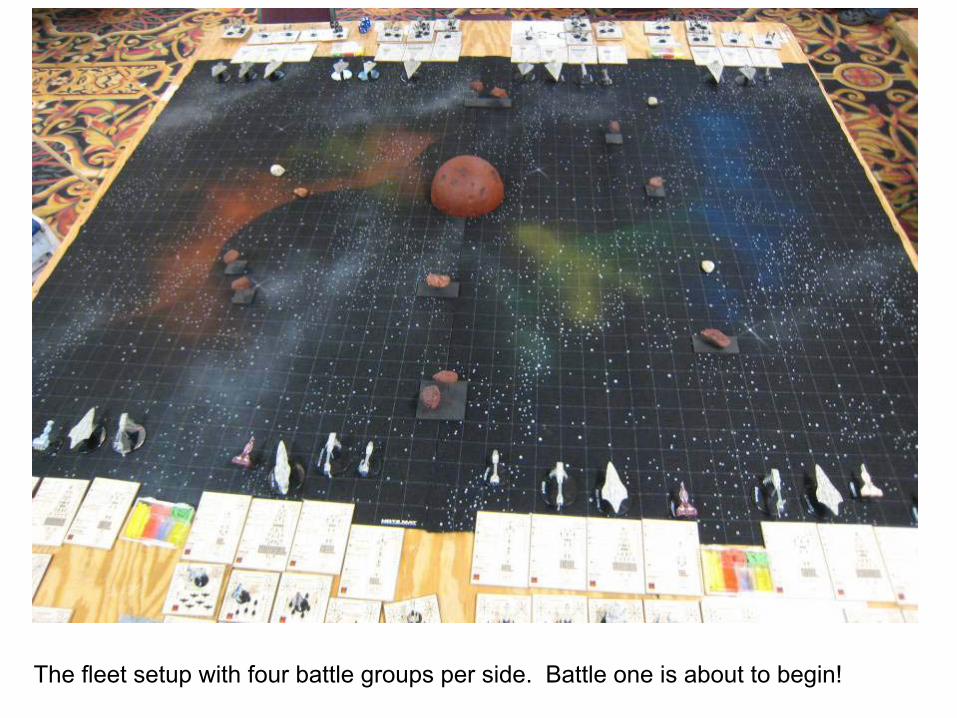
The fleet setup with four battle groups per side. Battle one is about to begin!
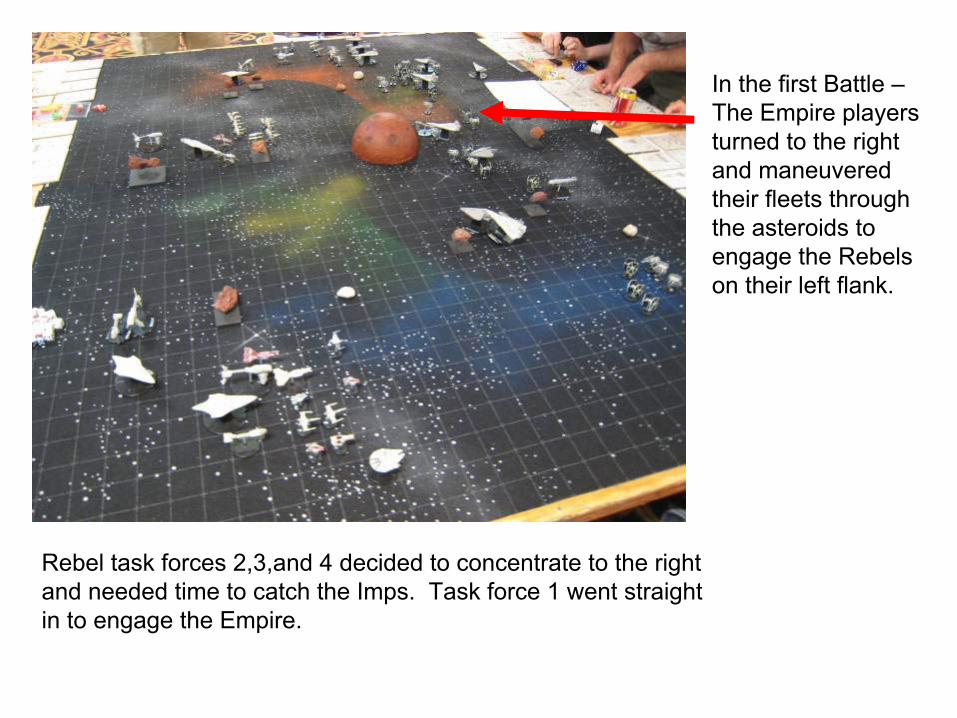
Rebel task forces 2,3,and 4 decided to concentrate to the right and needed time to catch the Imps. Task force 1 went straight in to engage the Empire.
In the first Battle –The Empire players turned to the right and maneuvered their fleets through the asteroids to engage the Rebels on their left flank.
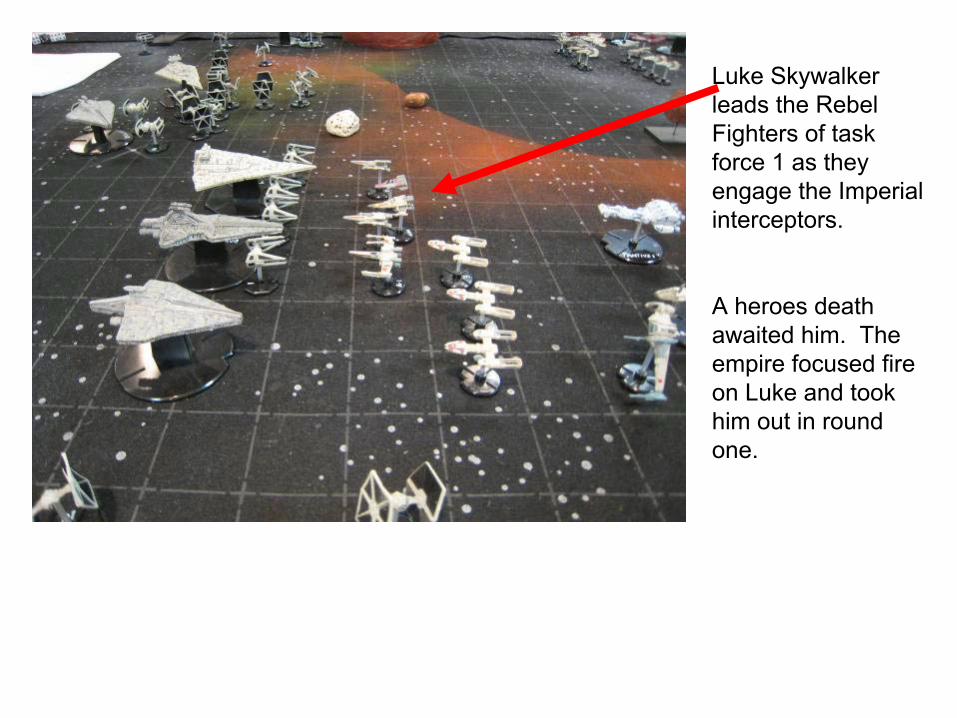
Luke Skywalker leads the Rebel Fighters of task force 1 as they engage the Imperial interceptors.
A heroes death awaited him. The empire focused fire on Luke and took him out in round one.
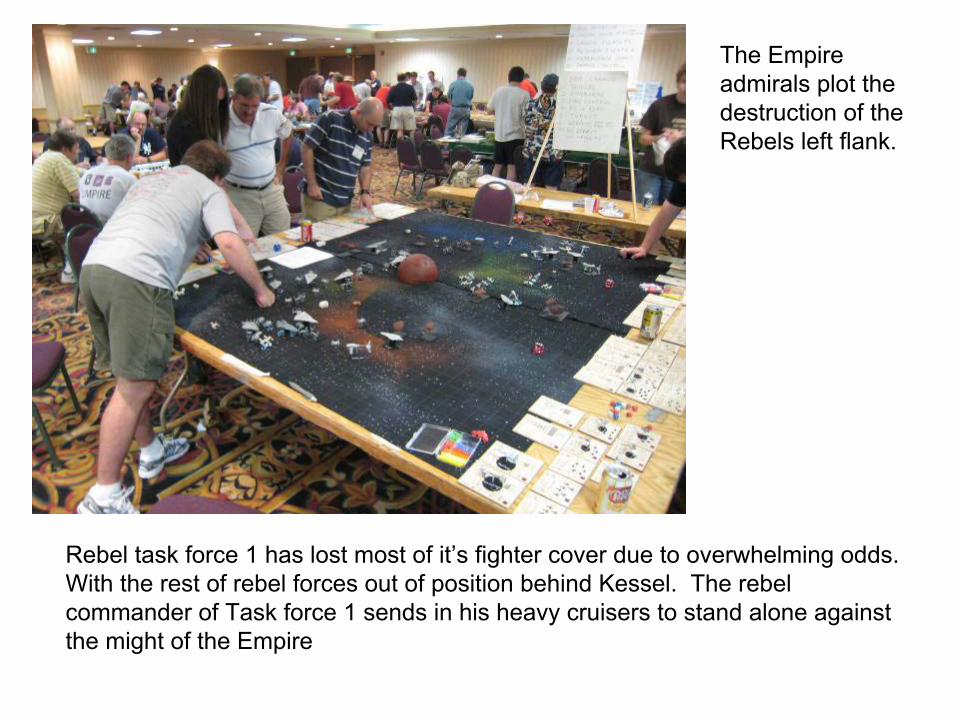
The Empire admirals plot the destruction of the Rebels left flank.
Rebel task force 1 has lost most of it’s fighter cover due to overwhelming odds. With the rest of rebel forces out of position behind Kessel. The rebel commander of Task force 1 sends in his heavy cruisers to stand alone against the might of the Empire
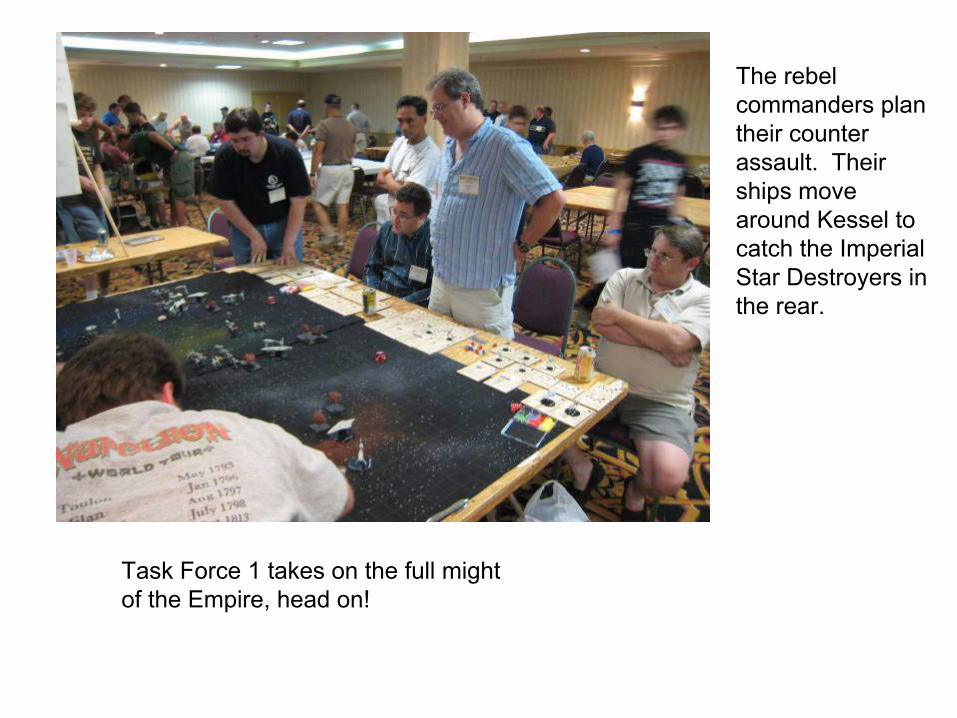
The rebel commanders plan their counter assault. Their ships move around Kessel to catch the Imperial Star Destroyers in the rear.
Task Force 1 takes on the full might of the Empire, head on!
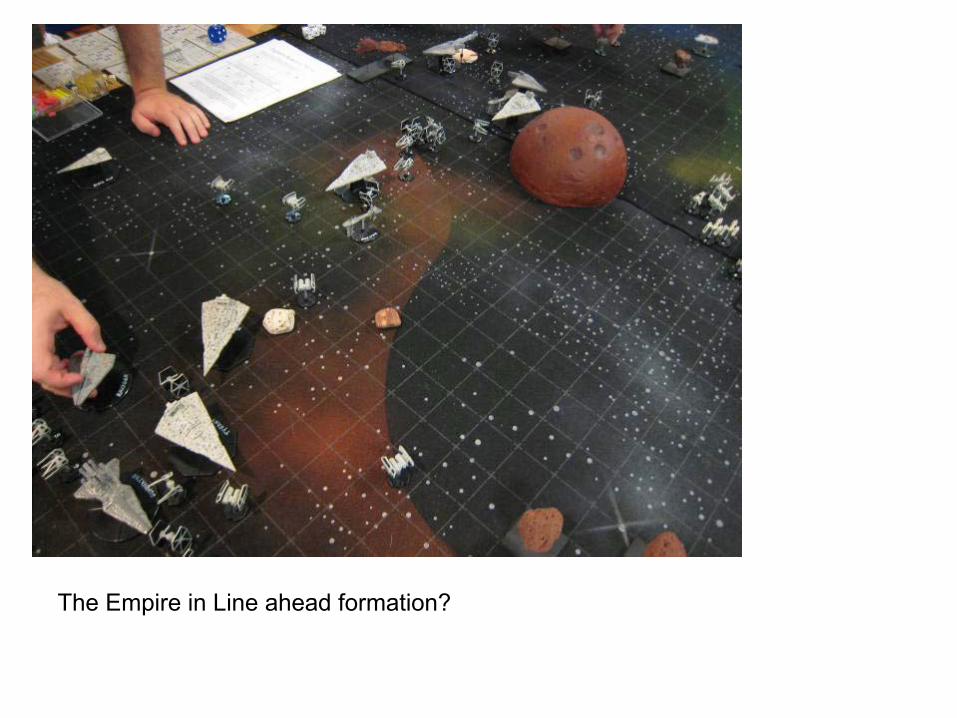
The Empire in Line ahead formation?

The Empire positions a large fighter force to block the rebels. The Enforcer bravely charges Home One.
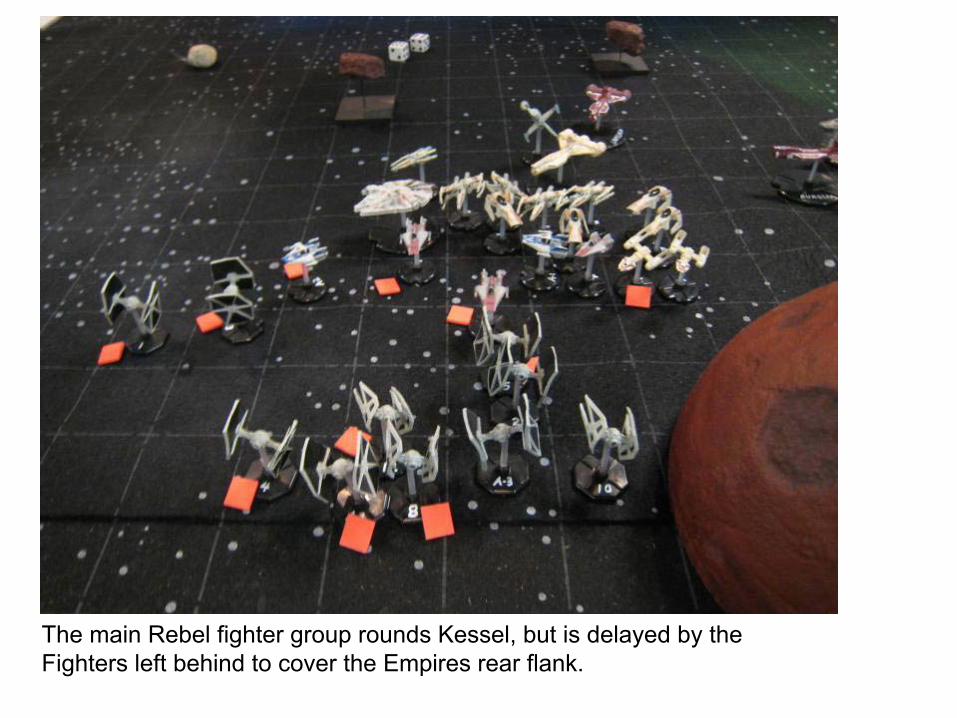
The main Rebel fighter group rounds Kessel, but is delayed by the Fighters left behind to cover the Empires rear flank.
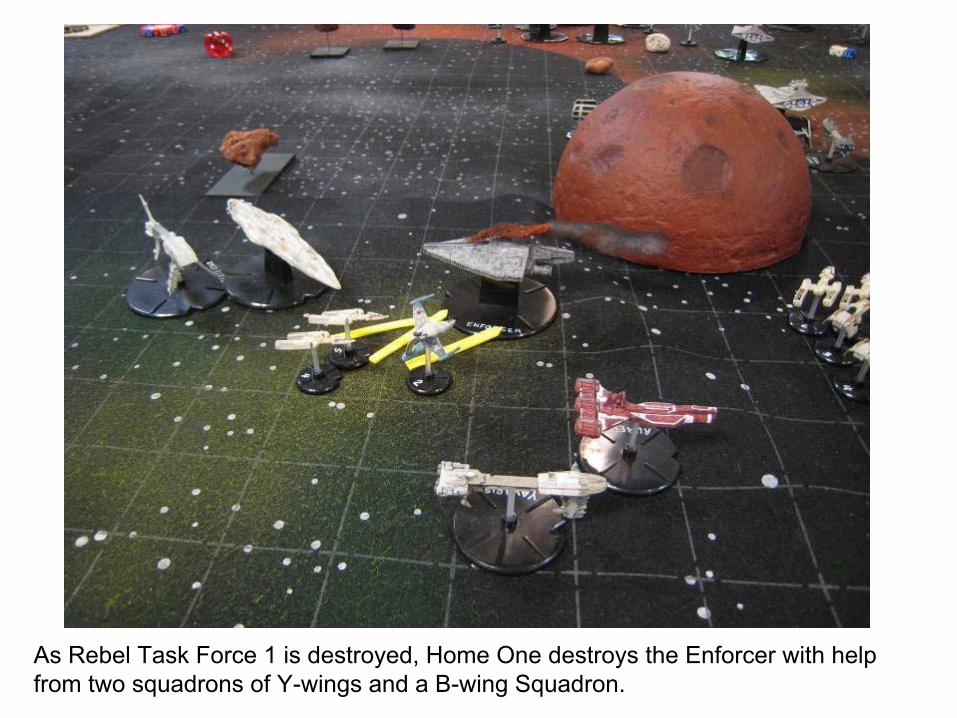
As Rebel Task Force 1 is destroyed, Home One destroys the Enforcer with help from two squadrons of Y-wings and a B-wing Squadron.
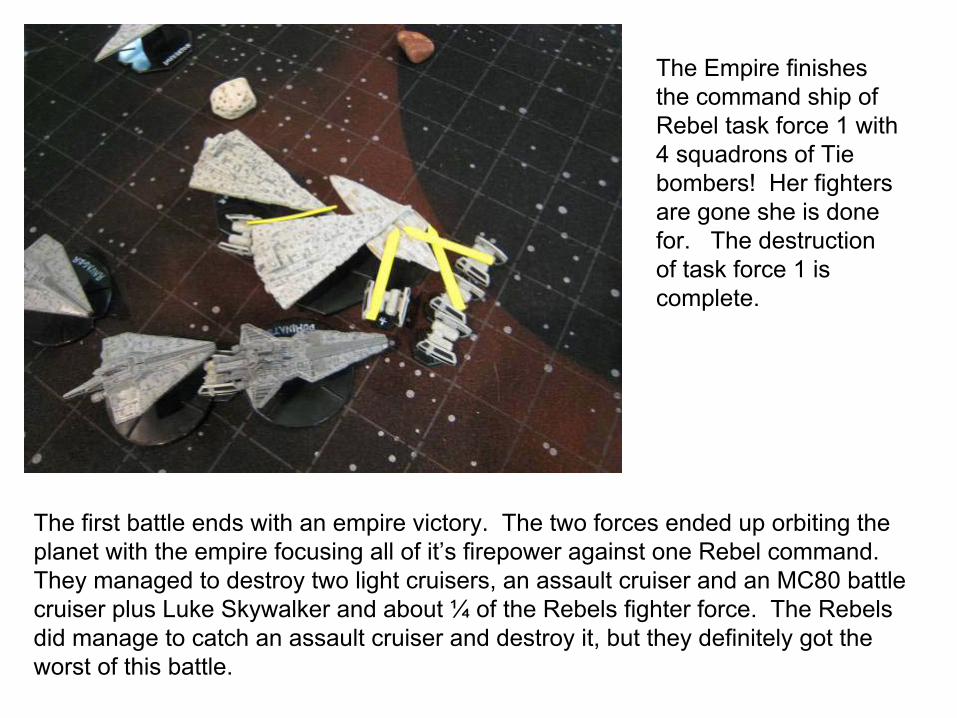
The Empire finishes the command ship of Rebel task force 1 with 4 squadrons of Tie bombers! Her fighters are gone she is done for. The destruction of task force 1 is complete.
The first battle ends with an empire victory. The two forces ended up orbiting the planet with the empire focusing all of it’s firepower against one Rebel command. They managed to destroy two light cruisers, an assault cruiser and an MC80 battle cruiser plus Luke Skywalker and about ¼ of the Rebels fighter force. The Rebels did manage to catch an assault cruiser and destroy it, but they definitely got the worst of this battle.
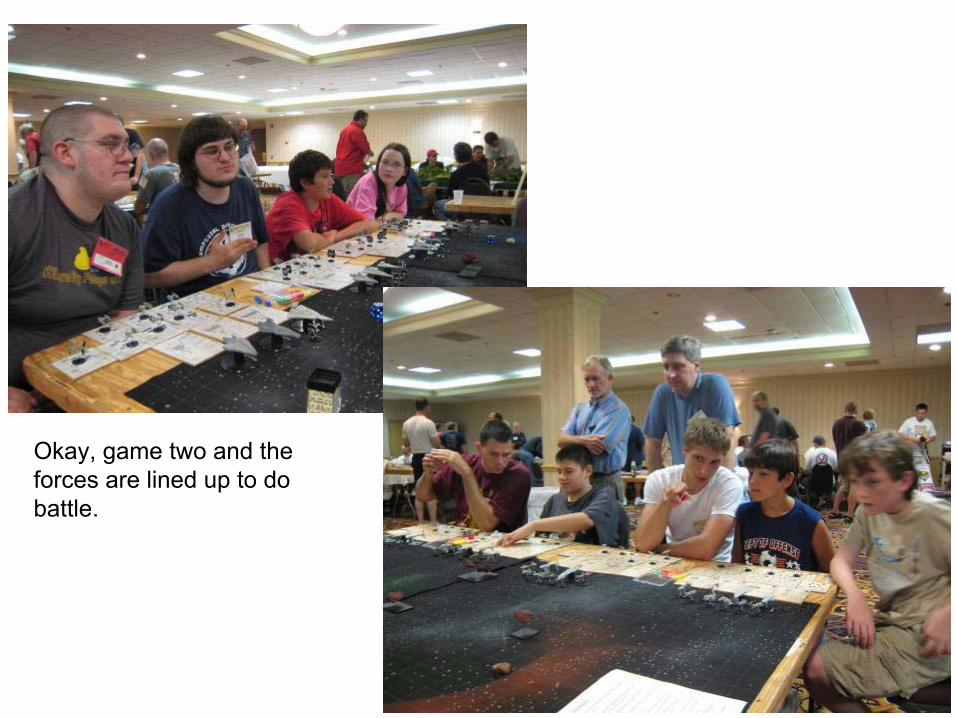
Okay, game two and the forces are lined up to do battle.
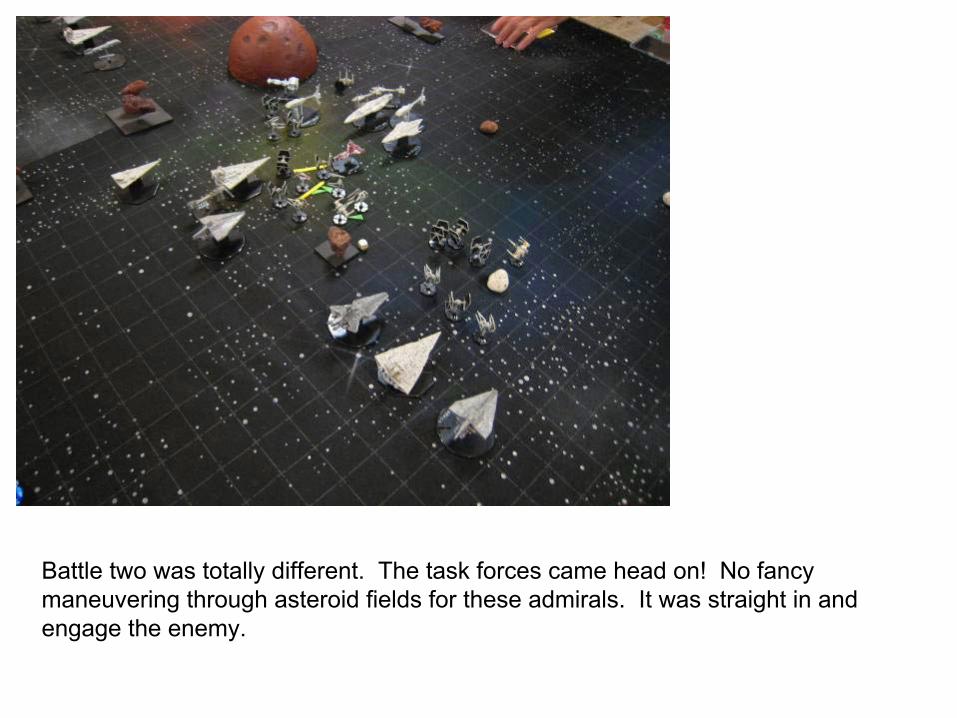
Battle two was totally different. The task forces came head on! No fancy maneuvering through asteroid fields for these admirals. It was straight in and engage the enemy.
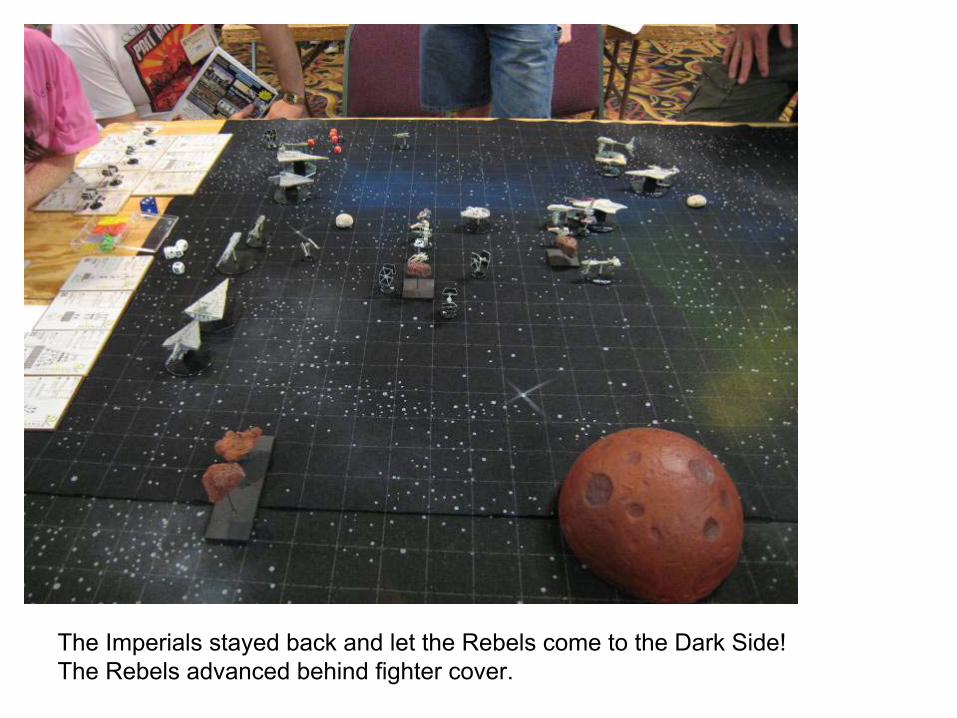
The Imperials stayed back and let the Rebels come to the Dark Side! The Rebels advanced behind fighter cover.
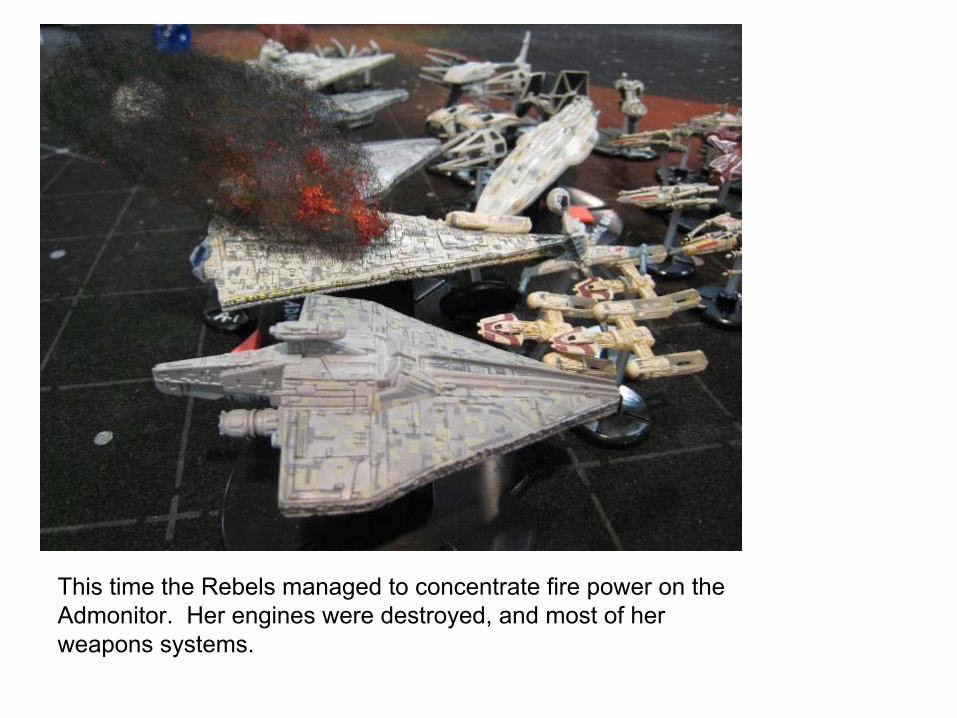
This time the Rebels managed to concentrate fire power on the Admonitor. Her engines were destroyed, and most of her weapons systems.
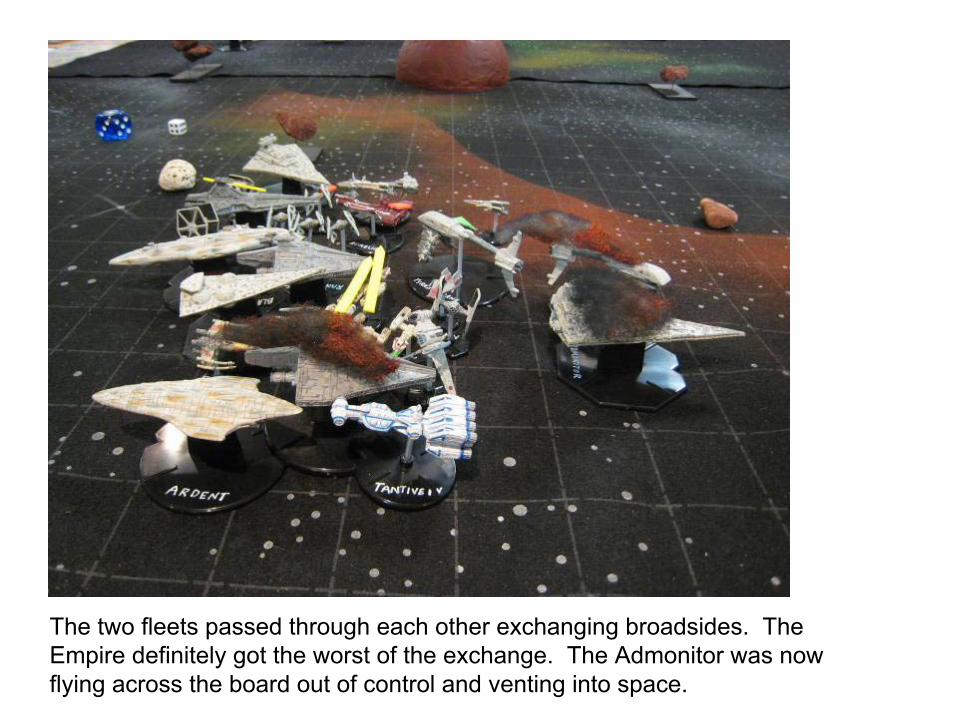
The two fleets passed through each other exchanging broadsides. The Empire definitely got the worst of the exchange. The Admonitor was now flying across the board out of control and venting into space.
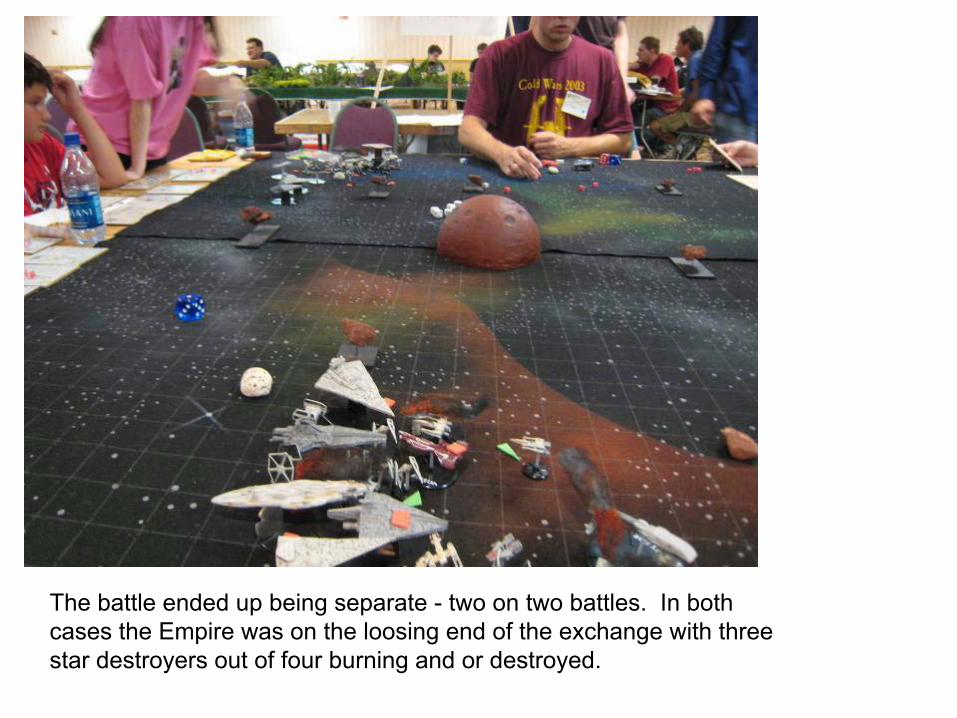
The battle ended up being separate - two on two battles. In both cases the Empire was on the loosing end of the exchange with three star destroyers out of four burning and or destroyed.
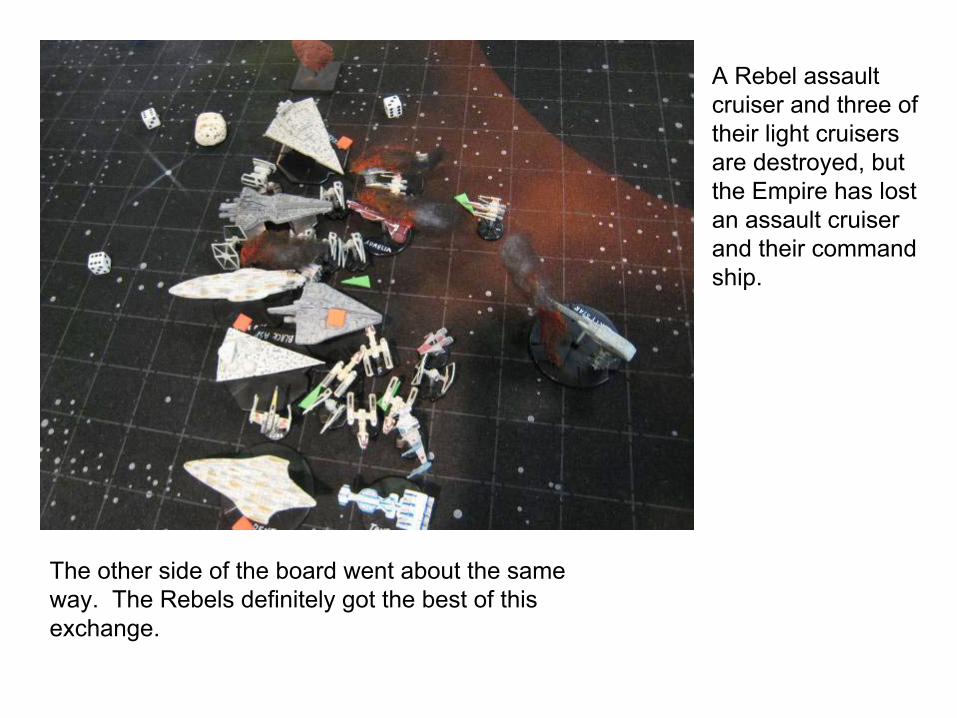
A Rebel assault cruiser and three of their light cruisers are destroyed, but the Empire has lost an assault cruiser and their command ship.
The other side of the board went about the same way. The Rebels definitely got the best of this exchange.
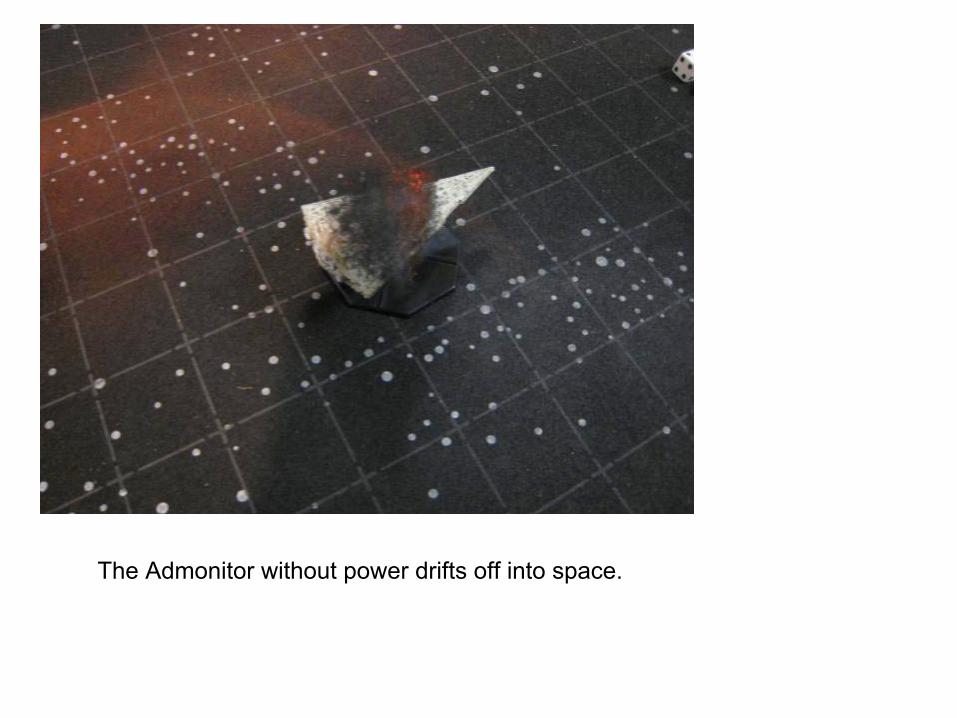
The Admonitor without power drifts off into space.

Special thanks to Hotz Mats for sponsoring our Game!


![[Sutton Publishing] - Battle Zone Normandy 11 - Battle for Caen](https://img.pdfslide.net/doc/110x75/563db85b550346aa9a92f2b0/sutton-publishing-battle-zone-normandy-11-battle-for-caen.jpg)