Embed Size (px)
Citation preview

Howdy!Welcome to…
How to zip a file in Windows
Navigation of lesson
To navigate:
• Click on the arrows at the bottom right of each screen to move to previous or next screen.
• Click on the “Home” button on the bottom right of each screen, beginning at the menu screen, to return to the menu at any time.
Complete in designated order. Activities follow each section. Uponsuccessful completion of all module activities, you should have a basicknowledge of zip files.
Overview
This lesson will help you to create and use acompressed (or zipped) folder in a Windowsapplication.
Prerequisites:• Computer with Windows application• Basic knowledge of folder and documents• Basic computer navigation abilities• Familiarity with Windows
• Estimated time to complete: 15 minutes
Introduction to zip files
• Compressing (zipping) files can help organize lots of information in one place.
• Zip files hold a large amount of information in a compressed form. This allows greater space on your computer.
• Compressed files are easier to send to others than individual files.
Menu
Upon completion of this lesson, you will
able to:
Create a zip file
Add various files into a zip file
Unzip a file
Send a zip file as an e-mail attachment
Review

Creating a zip file (compressed folder)
There are two ways to create a compressed folder
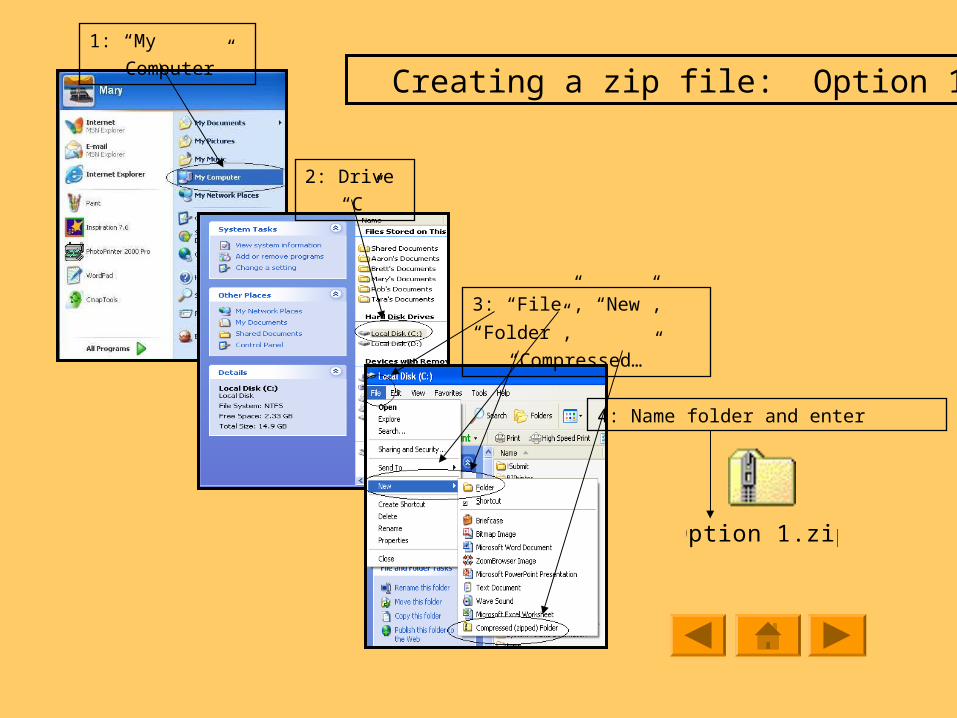
Option 1: Compressing from your computer• Open “My Computer” and folder you want to compress• Double click on “My Computer” • Double-click (left) on drive C to open the root folder• Select “File” menu• Select “New” • Click “Compressed (zipped) Folder”• Name the new folder and press “enter.” Your new folder will appear as an
icon: a folder with a zipper.
Click here for a step by step visual
Option 1.zip
1: “My Computer”
2: Drive “C”
3: “File”, “New”,
“Folder”, “Compressed…”
4: Name folder and enter
Creating a zip file: Option 1
Creating a zip file (compressed folder) (cont’d)
Option 2: Compressing from your desktop
• Right-click in a folder or over a blank area on the desktop screen• Select “New”• Click “Compressed (zipped) Folder”• Name the new folder• Press “Enter”
The new compressed folder will appear as a folder icon with a zipper on it.
Click here for a step by step visual
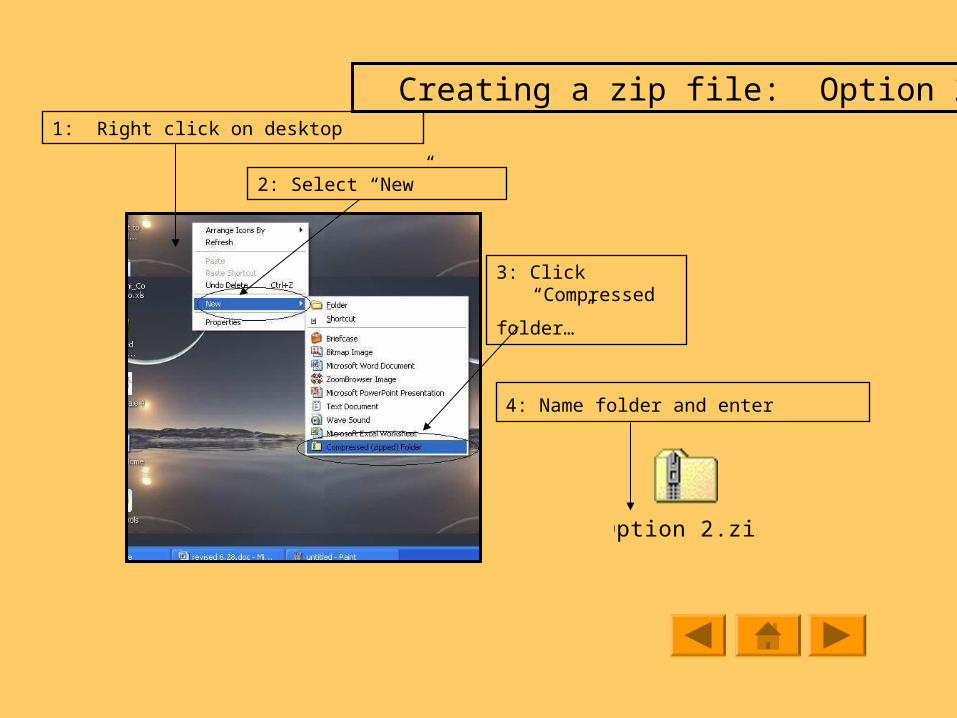
Option 2.zip
1: Right click on desktop
2: Select “New”
3: Click “Compressed
folder…”
4: Name folder and enter
Creating a zip file: Option 2
What’s next?
“Hang on…let’s zip over and see!”
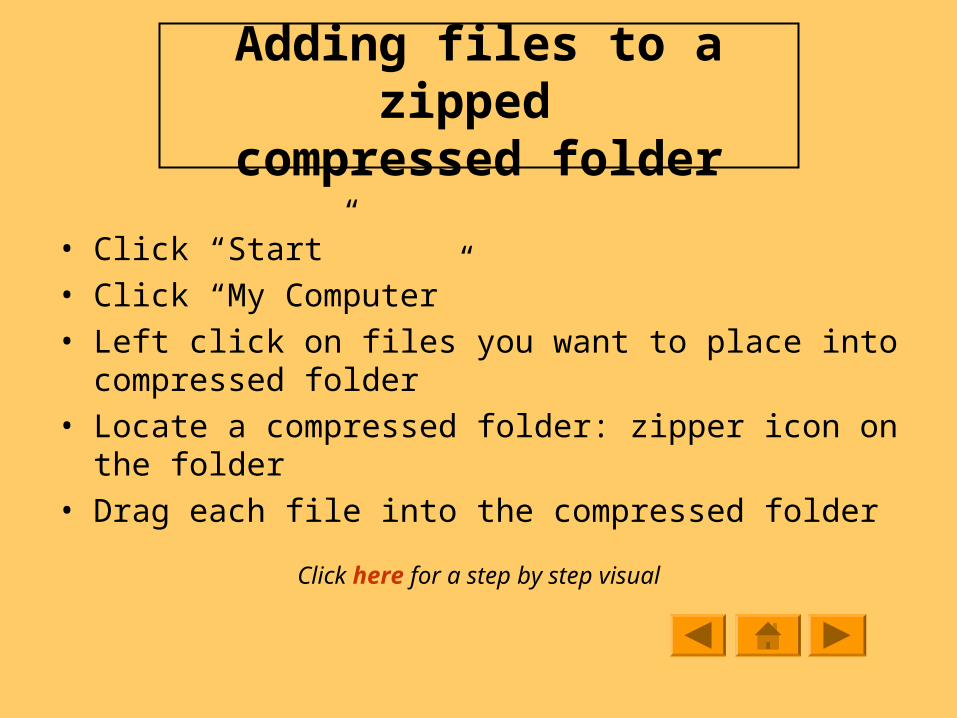
Adding files to a zipped compressed folder
• Click “Start” • Click “My Computer”• Left click on files you want to place into compressed
folder• Locate a compressed folder: zipper icon on the folder• Drag each file into the compressed folder
Click here for a step by step visual
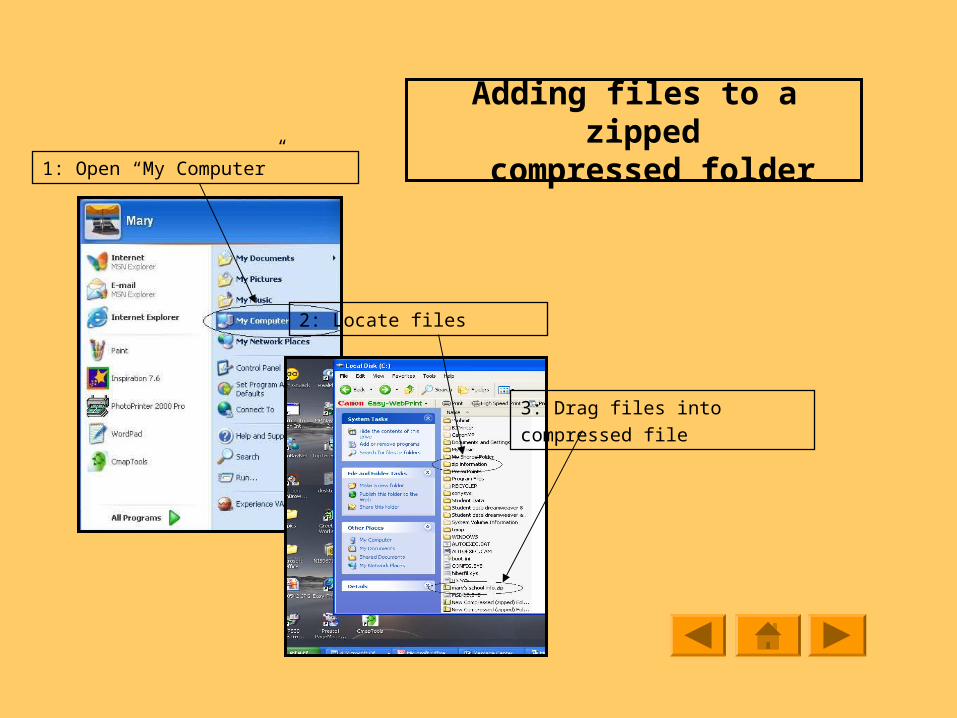
1: Open “My Computer”
2: Locate files
3: Drag files into
compressed file
Adding files to a zipped compressed folder
How can I unzip a file?
“Just as easy as this!”
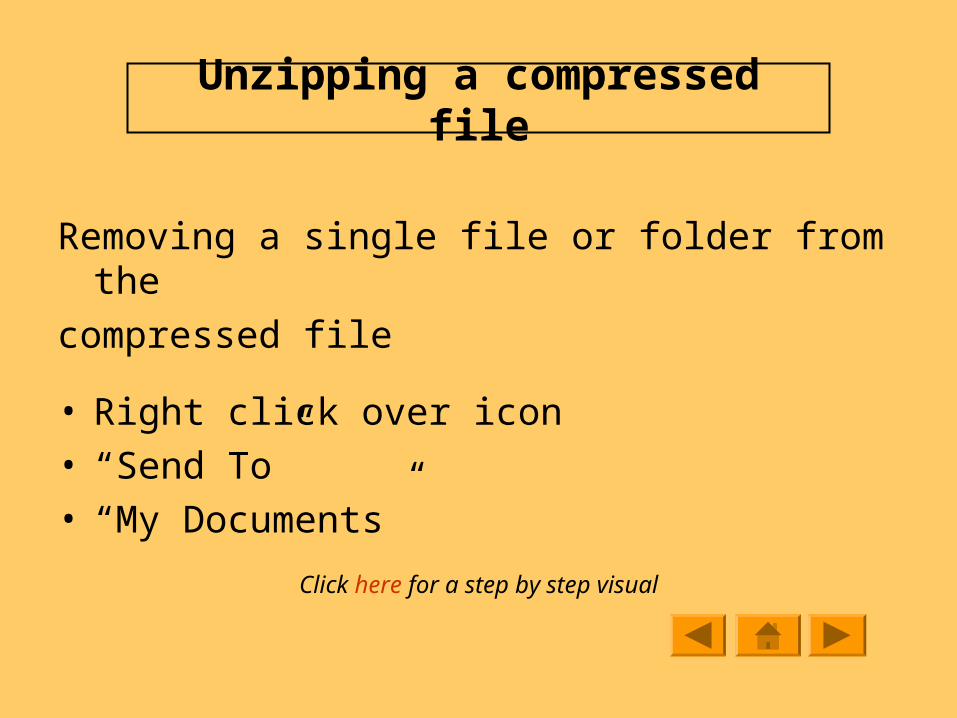
Unzipping a compressed file
Removing a single file or folder from the
compressed file
• Right click over icon• “Send To”• “My Documents”
Click here for a step by step visual
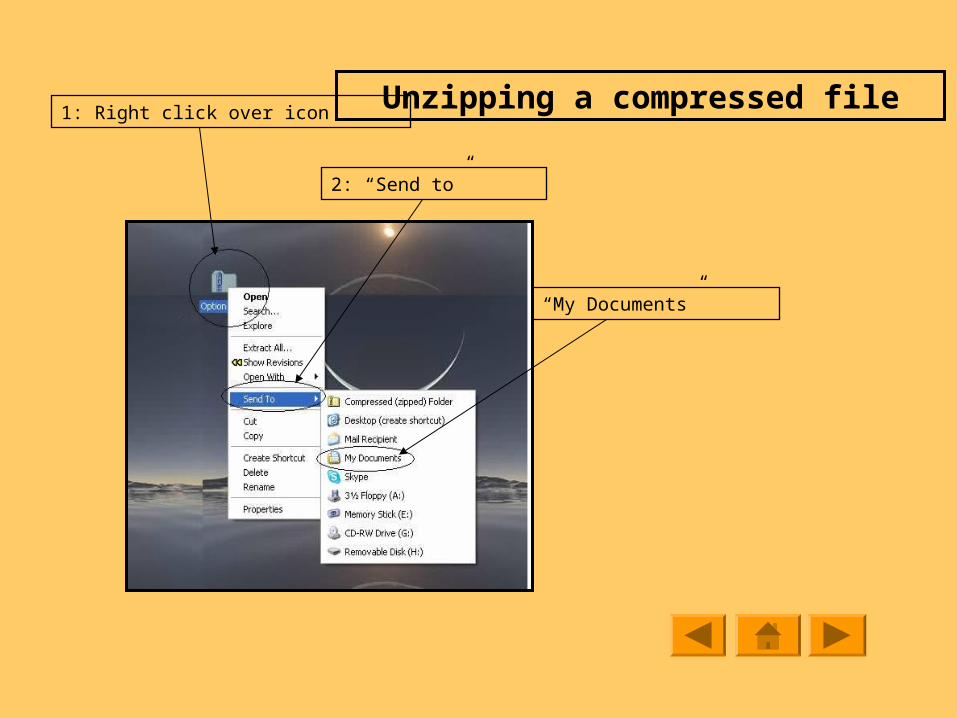
1: Right click over icon
2: “Send to”
3: “My Documents”
Unzipping a compressed file
Unzipping a compressed file (cont’d)
Removing all files or folders
• Right click the compressed folder to open• Click “Extract All”• Specify where you want to store the files
that you are removing
Click here for step by step visual
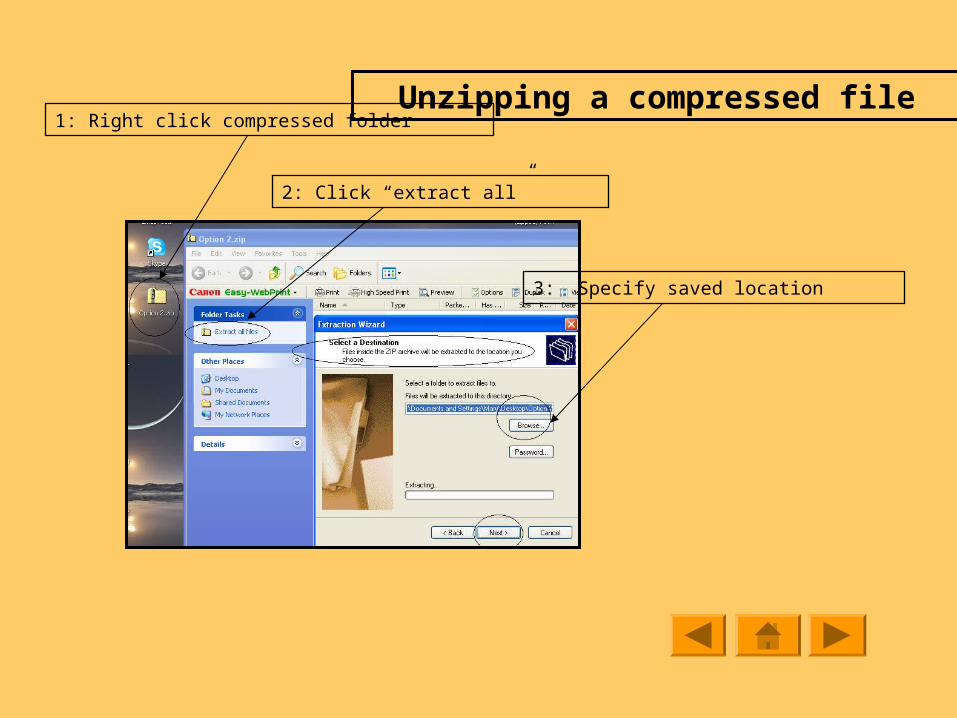
1: Right click compressed folder
2: Click “extract all”
3: Specify saved location
Unzipping a compressed file
Is there more you can do?
“This ‘a way’ for one more function!”
“You bet your boots there is!”
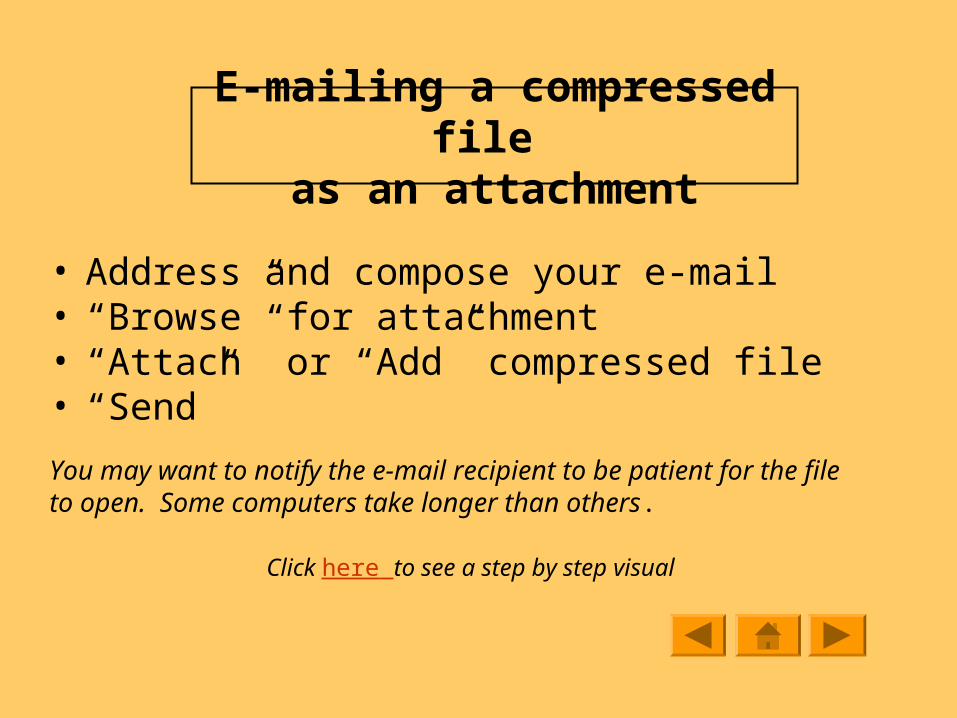
E-mailing a compressed file as an attachment
• Address and compose your e-mail• “Browse” for attachment• “Attach” or “Add” compressed file• “Send”
You may want to notify the e-mail recipient to be patient for the file to open. Some computers take longer than others.
Click here to see a step by step visual
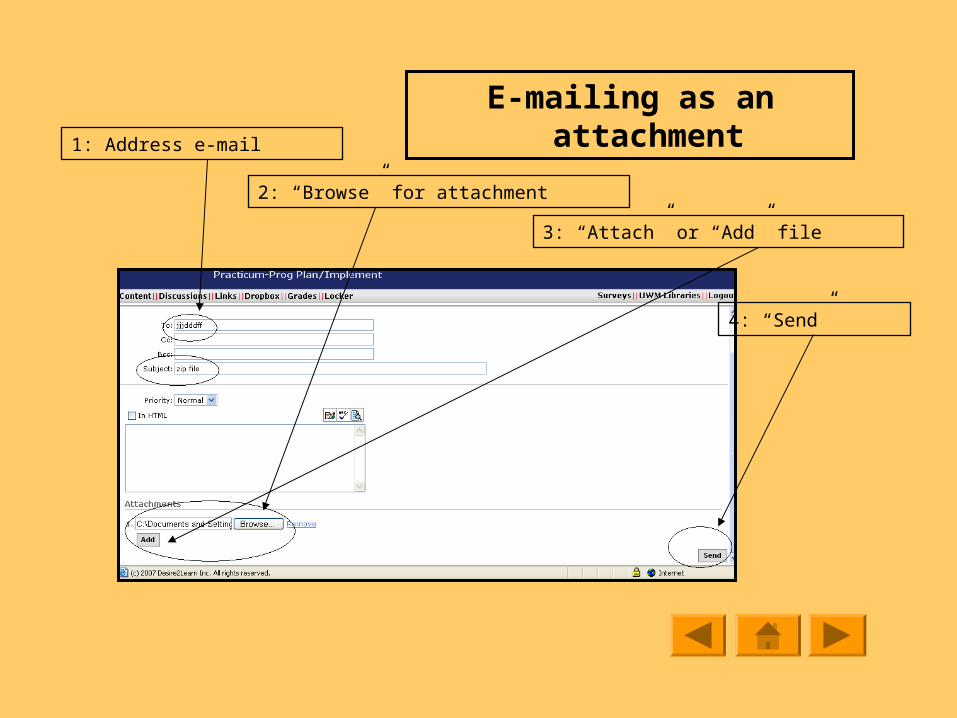
1: Address e-mail
2: “Browse” for attachment
3: “Attach” or “Add” file
4: “Send”
E-mailing as an attachment
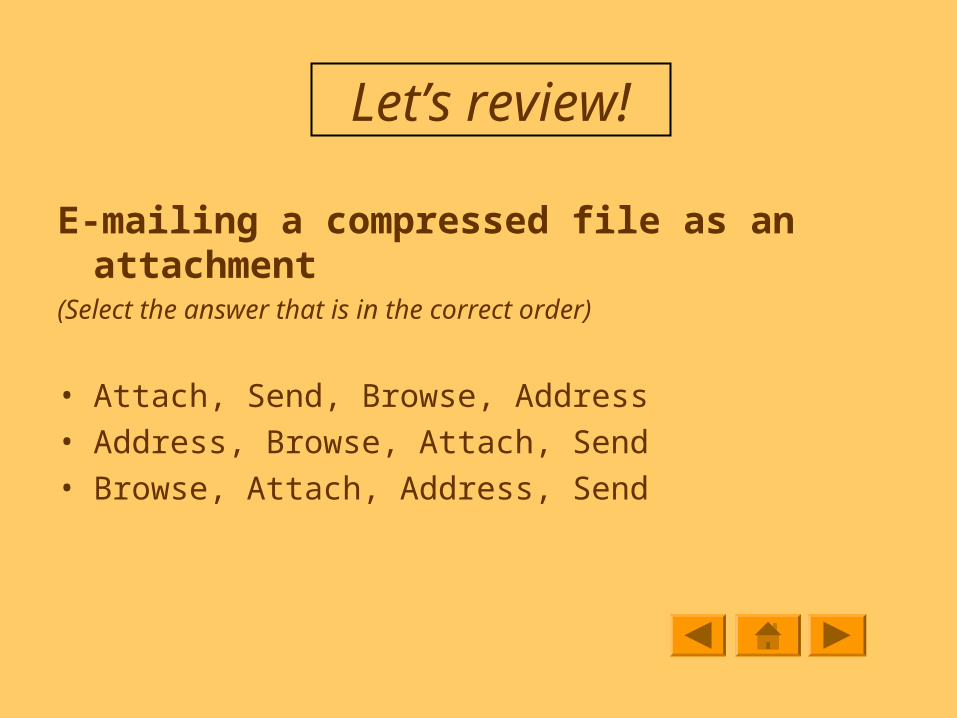
Let’s review!
E-mailing a compressed file as an attachment (Select the answer that is in the correct order)
• Attach, Send, Browse, Address• Address, Browse, Attach, Send• Browse, Attach, Address, Send

Sorry ‘bout that friend. Try again.

Nice job. Don’t that beat all!

Sorry friend. You were close though. Try again.
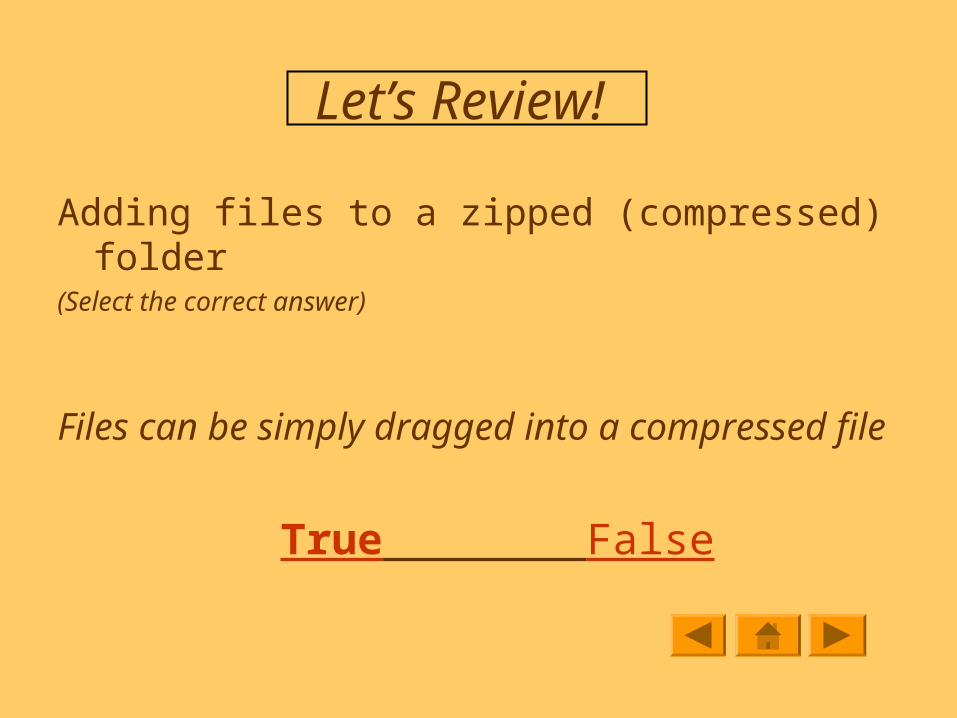
Let’s Review!
Adding files to a zipped (compressed) folder(Select the correct answer)
Files can be simply dragged into a compressed file
True False

Yee Haa! You got it. Now don’t that beat all!

Sorry buck shot. Try again.
Let’s review!
There are two ways to create a zip file. (Select the two correct answers)
• Compressing from my I-pod
• Compressing from my computer
• Compressing from my desktop

Sorry! Us cowboys don’t even know what that
means. Try again.

Nice job! You sure are on your toes to get that
right.

Right again! Way to go buckaroo.
You are almost done!
“Follow me for a trick, I mean quick, review.
Come on…this way pardner!”
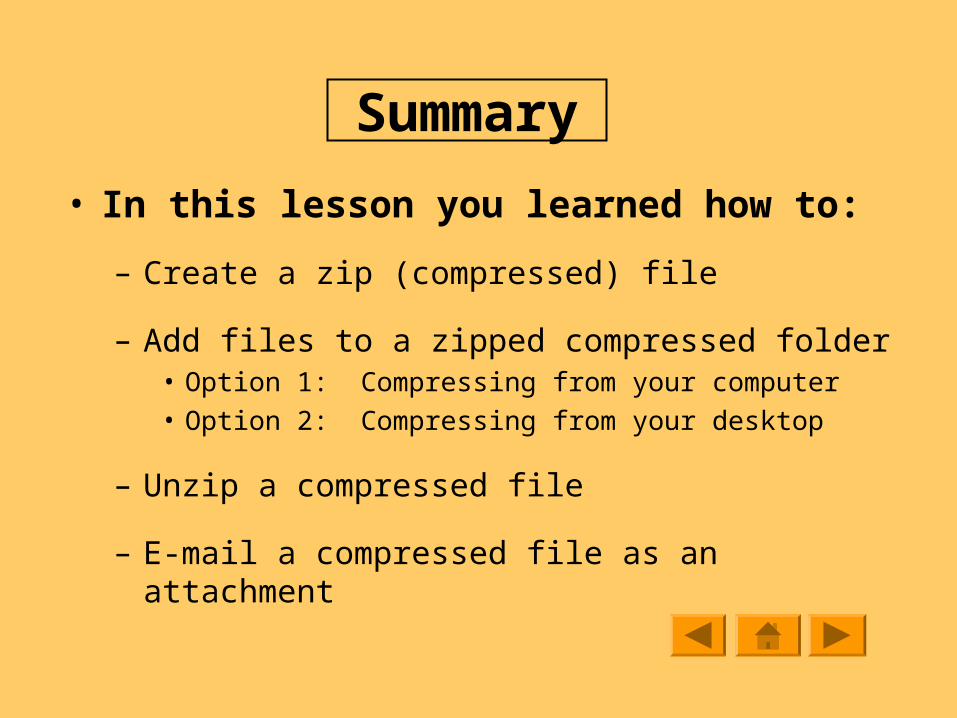
Summary
• In this lesson you learned how to:
– Create a zip (compressed) file
– Add files to a zipped compressed folder• Option 1: Compressing from your computer• Option 2: Compressing from your desktop
– Unzip a compressed file
– E-mail a compressed file as an attachment

Zip, Zip, Hooray!!!
“Dag nab it…you hung on there mighty fine buckaroo. You done real good!”
Credits
Author: Mary Kelly
Graphics: Animation Factory
Instructor: Simone Conceicao
Special thanks to James Brown
This learning object was developed as a project for ADLDSP 767 Practicum in Program Planning and Implementation.
Copyright © July 2007