Embed Size (px)
Citation preview
HTML/XML
XHTML Authoring

©Nina Bresnihan, School of Computer Science & Statistics, TCD, 2013.2
Adding Images The most commonly used graphics file formats found on
the Web are GIF and JPEG.
JPEG (Joint Photographic Experts Group) format is primarily used for realistic, photographic-quality images.
GIF (Graphics Interface Format) used for almost everything else
Also PNG (Portable Network Graphics) format - gaining in popularity. Designed to replace GIF.
All of these are simply the names of different ways of compressing bitmaps.
©Nina Bresnihan, School of Computer Science & Statistics, TCD, 2013.3
Image File Formats Choosing the right file format to save your images
in is of vital importance.
Each is suited to a specific type of image, and matching your image to the correct format should result in a small, fast-loading graphic.
When choosing the format for your image, you should always be conscious of both the image’s quality and filesize.
©Nina Bresnihan, School of Computer Science & Statistics, TCD, 2013.4
GIF — Graphics Interchange Format Compuserve’s 8-bit GIF format has long been the
most popular on the Internet, mainly because of its small size.
It is ideal for small navigational icons and simple diagrams and illustrations where accuracy is required, or graphics with large blocks of a single colour.
The format is lossless, meaning it does not get blurry or messy.
GIFs use a simple technique called LZW (Lempel-Ziv-Welch) compression to reduce the file sizes of images by finding repeated patterns of pixels.
©Nina Bresnihan, School of Computer Science & Statistics, TCD, 2013.5
GIF — Graphics Interchange Format GIF files can be saved with a maximum of
256 colours. This makes it a poor format for photographic
images. Because this can sometimes be tight, GIFs have
the option to dither, and will mix pixels of two different available colours to create a suggestion of another colour.
©Nina Bresnihan, School of Computer Science & Statistics, TCD, 2013.6
GIF — Graphics Interchange Format GIFs can be animated.
A lot of animated banner ads are GIFs. You will need an animation program to make your own animations.
GIFs allow single-bit transparency. This means when you are creating your image,
you can specify one colour to be transparent. This allows the background colours of the web page to show through the image.
©Nina Bresnihan, School of Computer Science & Statistics, TCD, 2013.7
GIF — Graphics Interchange Format GIFs can be interlaced.
This is a way of saving a graphic so that it loads progressively — first a blurry, low-detail version is loaded, and then successive layers of detail are added.
This usually means a larger overall file size, but it means that a version of the image gets placed onto the viewer’s screen much quicker, and so is beneficial in many situations, as it gives the impression of a speedier download.

©Nina Bresnihan, School of Computer Science & Statistics, TCD, 2013.8
GIF Examples This first image is indicative of the optimum properties of a
GIF image — small, low on colours, and containing large areas of continuous colour.
This is the same graphic, but the number of available colours has been reduced. The file size is improved, but it doesn't look quite as smooth.
To remedy this, we can add some dithering (which does add a bit to the file size), to produce the image below. The loss of colours becomes less obvious, and the file size overall is about half as big.
©Nina Bresnihan, School of Computer Science & Statistics, TCD, 2013.9
JPEG - Joint Photographic Experts Group The 16-bit JPEG format (usually written without
the E), was designed with photographs in mind.
It is capable of displaying millions of colours at once, without the need for dithering, allowing for the complex blend of hues that occur in photographic images.
JPEGs use a complex compression algorithm, which can be applied on a sliding scale.
©Nina Bresnihan, School of Computer Science & Statistics, TCD, 2013.10
JPEG - Joint Photographic Experts Group Compression is achieved by ‘forgetting’ certain
details about the image, which the JPG will then try to fill in later when it is being displayed.
You can save a JPG with 0% compression for a perfect image with a large file size; or with 80% compression for a small but noticeably degraded image.
In practical use, a compression setting of about 60% will result in the optimum balance of quality and file size, without letting the lossy compression do too much damage.
©Nina Bresnihan, School of Computer Science & Statistics, TCD, 2013.11
JPEG - Joint Photographic Experts Group Though JPGs can be interlaced, they lack many of
the other special abilities of GIFs, like animation and transparency.
Simple graphics with large blocks of colour should not be saved as JPGs because the edges get all smudgy.
©Nina Bresnihan, School of Computer Science & Statistics, TCD, 2013.12
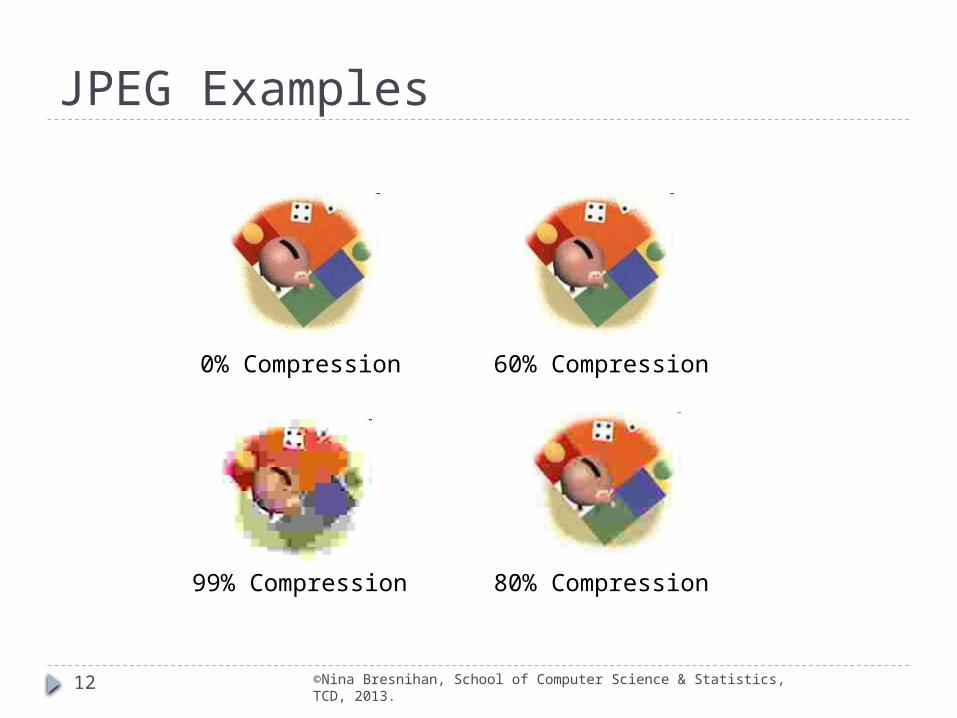
JPEG Examples
0% Compression 60% Compression
80% Compression99% Compression
©Nina Bresnihan, School of Computer Science & Statistics, TCD, 2013.13
PNG — Portable Network Graphics PNG is a format invented specifically for the web
in response to a licensing scheme introduced which meant the creators of any software that supported the GIF format had to pay royalties to Unisys(this has since expired).
While they were at it however, the creators of PNG (“ping”) went ahead and created a format superior to GIF in almost every way.
©Nina Bresnihan, School of Computer Science & Statistics, TCD, 2013.14
PNG — Portable Network Graphics One version of the format, PNG-8, is similar to the
GIF format. It can be saved with a maximum of 256 colours and supports 1-bit transparency.
File sizes can be noticeably smaller than the GIF counterpart, as PNGs save their colour data more efficiently.
PNG-24 has 24-bit colour support, allowing ranges of colour akin to a high colour JPG. (PNG-24 is in no way a replacement format for JPG, however, because it is a loss-less compression format. This means that file sizes can be big against a comparable JPG. )
©Nina Bresnihan, School of Computer Science & Statistics, TCD, 2013.15
PNG — Portable Network Graphics PNG’s main draw are alpha-channels. Instead of
the rudimentary transparency options in other formats (where a pixel is either transparent or opaque), an alpha channel can specify the opacity of any pixel from 0–255, where 0 is fully transparent and 255 is fully opaque.
This allows you to create a graphic that can be placed on top of any background colour and will retain a translucent effect, with the background showing through the pixels that are not opaque.
©Nina Bresnihan, School of Computer Science & Statistics, TCD, 2013.16
PNG — Portable Network Graphics The problem with this is that browser support for
alpha channels can be patchy.
And what of animation? PNG does not support multi-image files (MNG, whoch is similar does though, but browser support is even more patchy for this format). Stick with GIFs for your animations.
PNG is now in widespread usage.
©Nina Bresnihan, School of Computer Science & Statistics, TCD, 2013.17
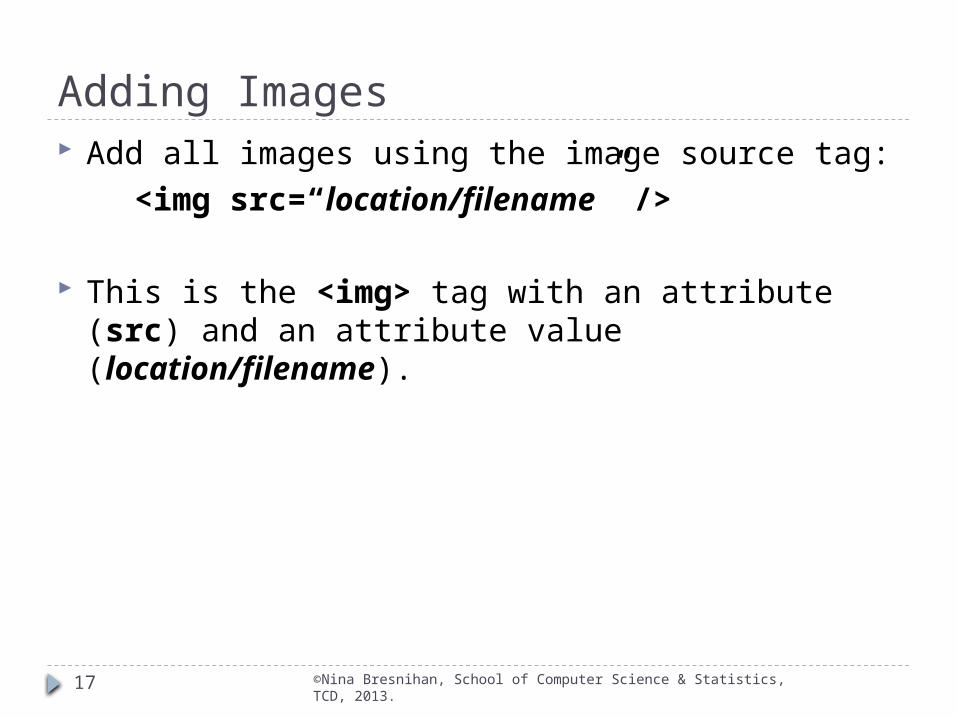
Adding Images Add all images using the image source tag:
<img src=“location/filename” />
This is the <img> tag with an attribute (src) and an attribute value (location/filename).
©Nina Bresnihan, School of Computer Science & Statistics, TCD, 2013.18
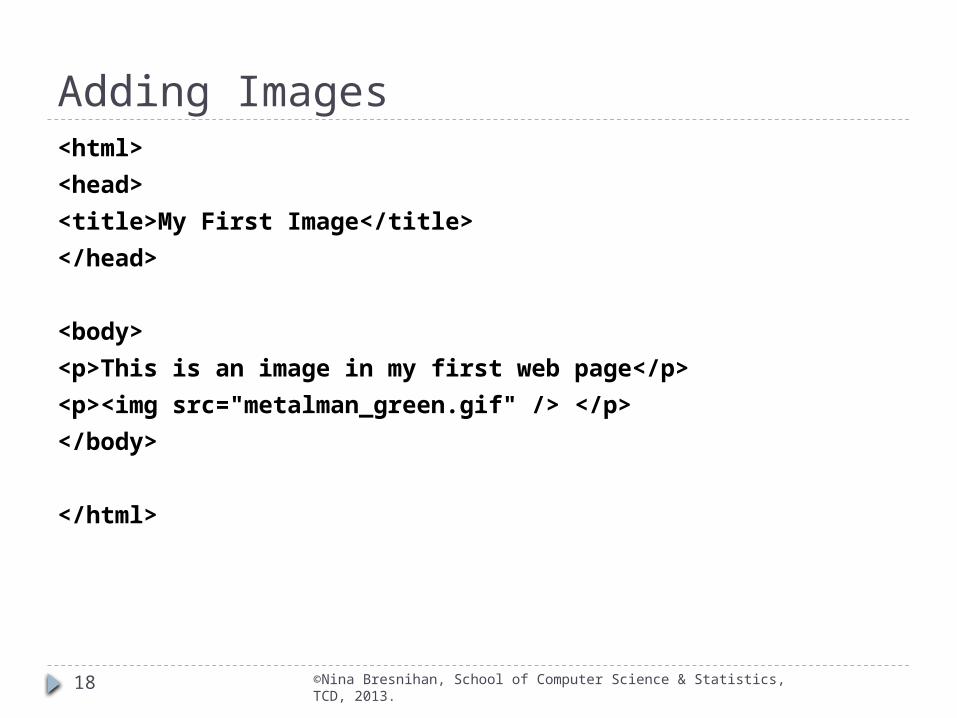
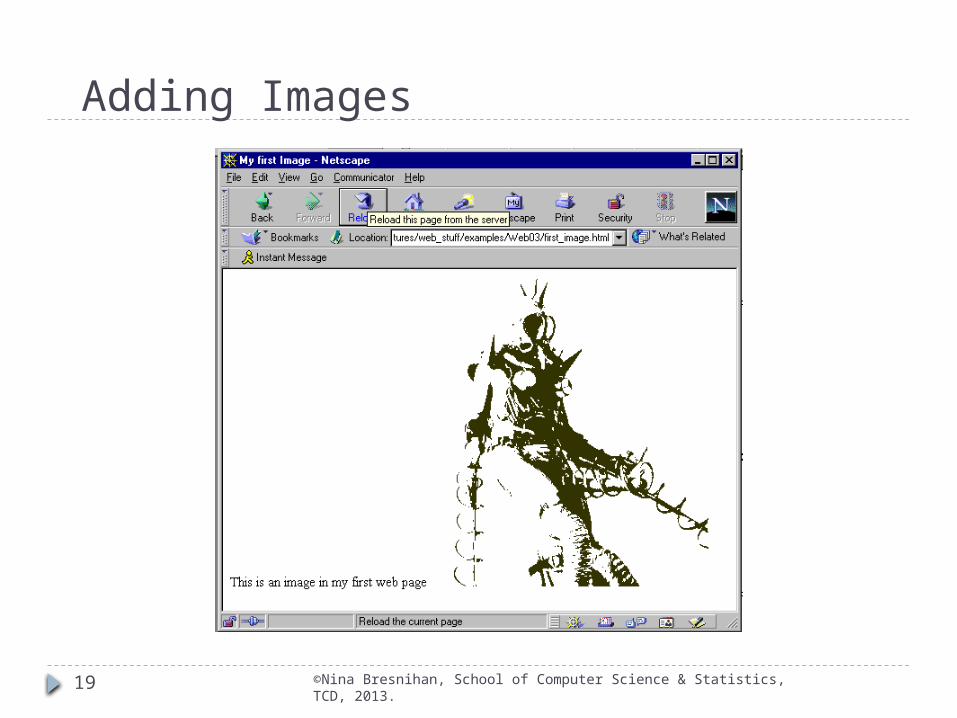
Adding Images<html>
<head>
<title>My First Image</title>
</head>
<body>
<p>This is an image in my first web page</p>
<p><img src="metalman_green.gif" /> </p>
</body>
</html>
©Nina Bresnihan, School of Computer Science & Statistics, TCD, 2013.19
Adding Images

©Nina Bresnihan, School of Computer Science & Statistics, TCD, 2013.20
Adding Images
Adding Alternate Text - Required
Text pop-up that describes the image or tells you more about the Web site that image represents.
Use the alt attribute with the <img /> tag.
Like the src attribute the alt attribute tells the browser more information about the image.
<img src= “metalman_green.gif” alt=“scary green man” />

©Nina Bresnihan, School of Computer Science & Statistics, TCD, 2013.21
Adding Images Adding Alternate Text
Important because Some people choose to customise their browsers to ignore
images Identifies images for the visually impaired Search engine optimisation
The alt attribute ensures that people who can’t see your graphics can still understand their context. It is required, your page won’t validate without it.
©Nina Bresnihan, School of Computer Science & Statistics, TCD, 2013.22
Adding Images Image Attributes
Without any other attributes the browser displays the image at its original size and aligns the bottom of the graphic with the bottom of the text.
Adjusting the Width and Height Use the width and height attributes. Can be set to a fixed pixel size or a percentage of the page
size. If you want to ensure that an image takes up the full screen or
half the screen use percentages - must specify. If you want the image to be a certain size use the pixel setting
- default.
©Nina Bresnihan, School of Computer Science & Statistics, TCD, 2013.23
Adding Images
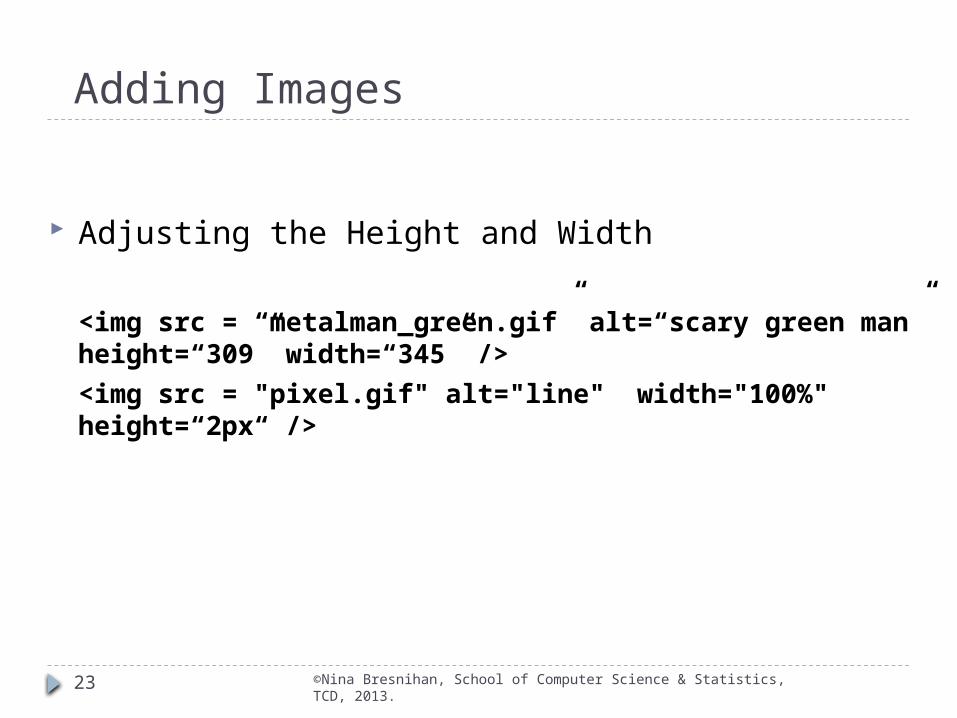
Adjusting the Height and Width
<img src = “metalman_green.gif” alt=“scary green man” height=“309” width=“345” />
<img src = "pixel.gif" alt="line" width="100%" height=“2px“ />
©Nina Bresnihan, School of Computer Science & Statistics, TCD, 2013.24
Adding Images
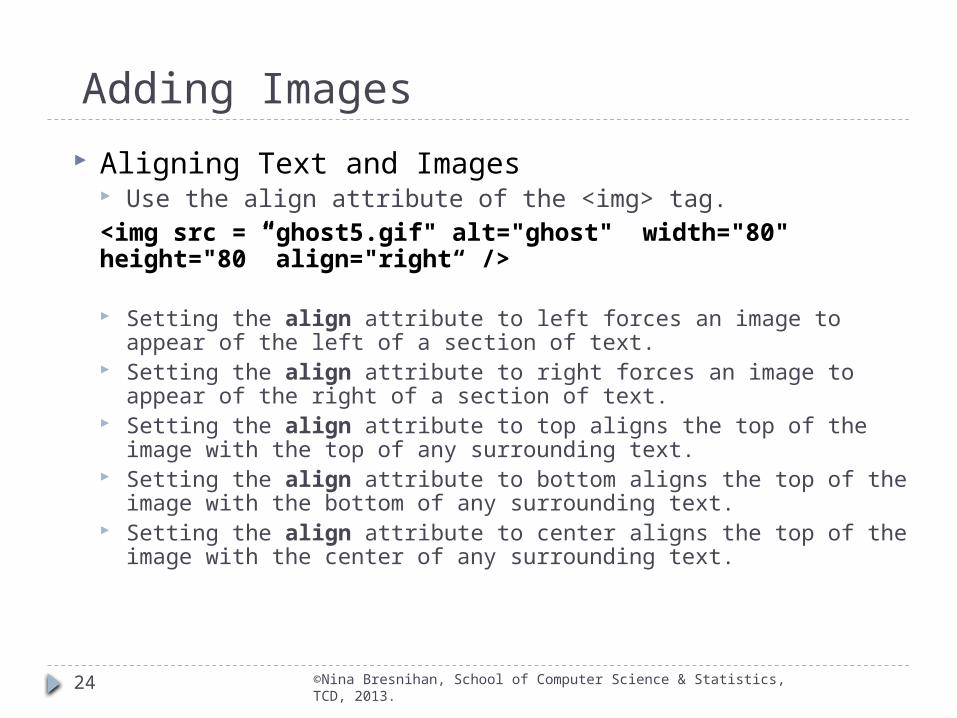
Aligning Text and Images Use the align attribute of the <img> tag.<img src = “ghost5.gif" alt="ghost" width="80" height="80” align="right“ />
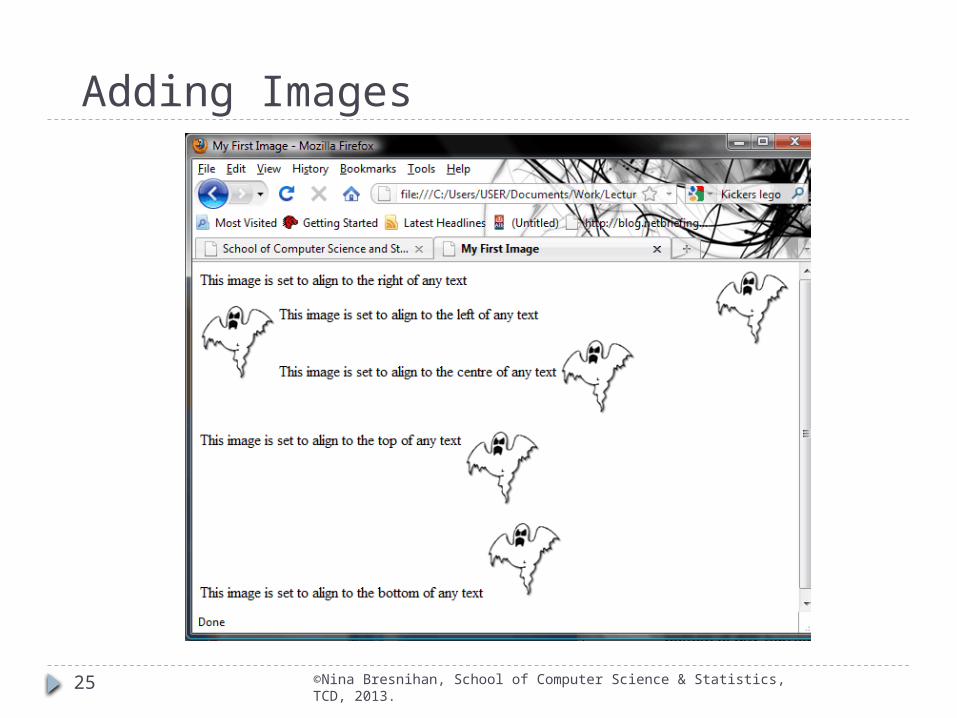
Setting the align attribute to left forces an image to appear of the left of a section of text.
Setting the align attribute to right forces an image to appear of the right of a section of text.
Setting the align attribute to top aligns the top of the image with the top of any surrounding text.
Setting the align attribute to bottom aligns the top of the image with the bottom of any surrounding text.
Setting the align attribute to center aligns the top of the image with the center of any surrounding text.
©Nina Bresnihan, School of Computer Science & Statistics, TCD, 2013.25
Adding Images
©Nina Bresnihan, School of Computer Science & Statistics, TCD, 2013.26
Adding Images Using Images as Links
Exactly the same as using text Use the anchor tag <a> to surround the item you want
to act as your hyperlink.
<a href=“ghost_story.htm”><img src = “ghost.gif”alt = “click here for more ghostly tales” width="80" height="80” /></a>
©Nina Bresnihan, School of Computer Science & Statistics, TCD, 2013.27
Adding Images Image Etiquette
Use small images whenever possible. The larger an image’s file size, the longer it will take to load in the browser - remember a user’s time is precious.
The more images you add the more the total file size of your HTML will increase. Preview your page in several browsers and on several machines - if you find it too slow so will your users.
Make sure that the text for the alt attribute is relevant to the image - anything less will frustrate your users.
Make sure your images are relevant to the text/content.
There are plenty of free images on the Web - don’t use copyrighted material.
©Nina Bresnihan, School of Computer Science & Statistics, TCD, 2013.28
Lab Exercise
Download exercise_images.zip from the course webpage.
Open the homepage.htm you created previously.
Replace your list of text links with the images provided and link them up to the relevant pages.
Don’t forget your alt attributes and to provide a width and height attribute for each image (250px x 50px).