Embed Size (px)
Citation preview

1
Entrinsik Informer
Running Reports Instructions

1
Index Subject Page Logging In ……………………………………………………………………………. 1 - 2 Basic Navigation …………………………………………………………………….. 3 Run A Report ………………………………………………………………………… 4 - 5 1. Export A Report To SCREEN …………………………………..….. 6 - 7 2. Export A Report To PDF ……………………………………………. 8 3. Export A Report To Excel ............................................................. 9 - 10 4. Export A Report To Tab-Delimited or XML ................................... 11 Customizations ................................................................................................... 12 1. Customize Fields .......................................................................... 13 2. Customize Column Headings ....................................................... 14 3. Customize Sorts ........................................................................... 15 4. Customize Groups ....................................................................... 16 - 17 5. Removing Customizations ............................................................ 18 Exporting A Report From Screen Output ........................................................... 19 1. Saved-List Option ......................................................................... 20 2. Printable Option ............................................................................ 20 Logging Out ........................................................................................................ 21

1
Logging In Open any web browser (e.g. Internet Explorer, Firefox, Safari)*. Type in the following URL (or simply click the link): http://www.lclark.edu/~infosys/informer.html This link takes you to the Informer page of the Information Systems website. The page provides a link to the Informer accounts for Colleague and Benefactor, and additional Informer information/documentation. The Informer page of the Information Systems website
To access Informer, click either on the Colleague Live or Benefactor Live link on the bottom of the page (circled). *Note: Firefox is preferable: it seems to work the most consistently with Informer.
2
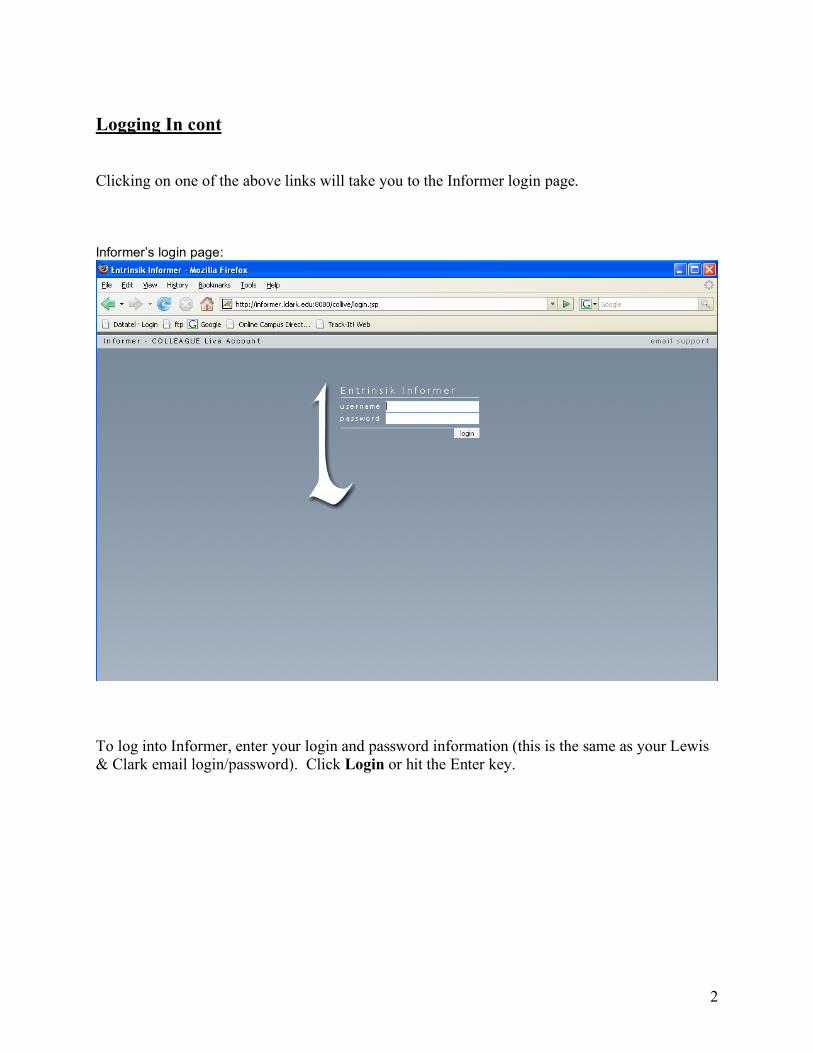
Logging In cont Clicking on one of the above links will take you to the Informer login page. Informer’s login page:
To log into Informer, enter your login and password information (this is the same as your Lewis & Clark email login/password). Click Login or hit the Enter key.

3
Basic Navigation Once you log in, you are taken to the default Informer page: the Report Home page. Report Home
You can return to this page from any other area of Informer by clicking on the Report Home link on the left menu bar or the Home link in the upper left corner. Most reports are filed under the folder name that corresponds to the department the report was created for. (For example, Majors and Minors reports are under the CAS Registrar folder.) When you have been given access to a report, you will be told which folder your report is under. Note: if you are told your report is on the main Report Home page, it will be towards the bottom of the home page, under the Reports section.

4
Run A Report Click on the title of the folder in which your report resides. (The following example uses a report in the Watzek Library folder.) Report Home showing the Watzek Library folder
5
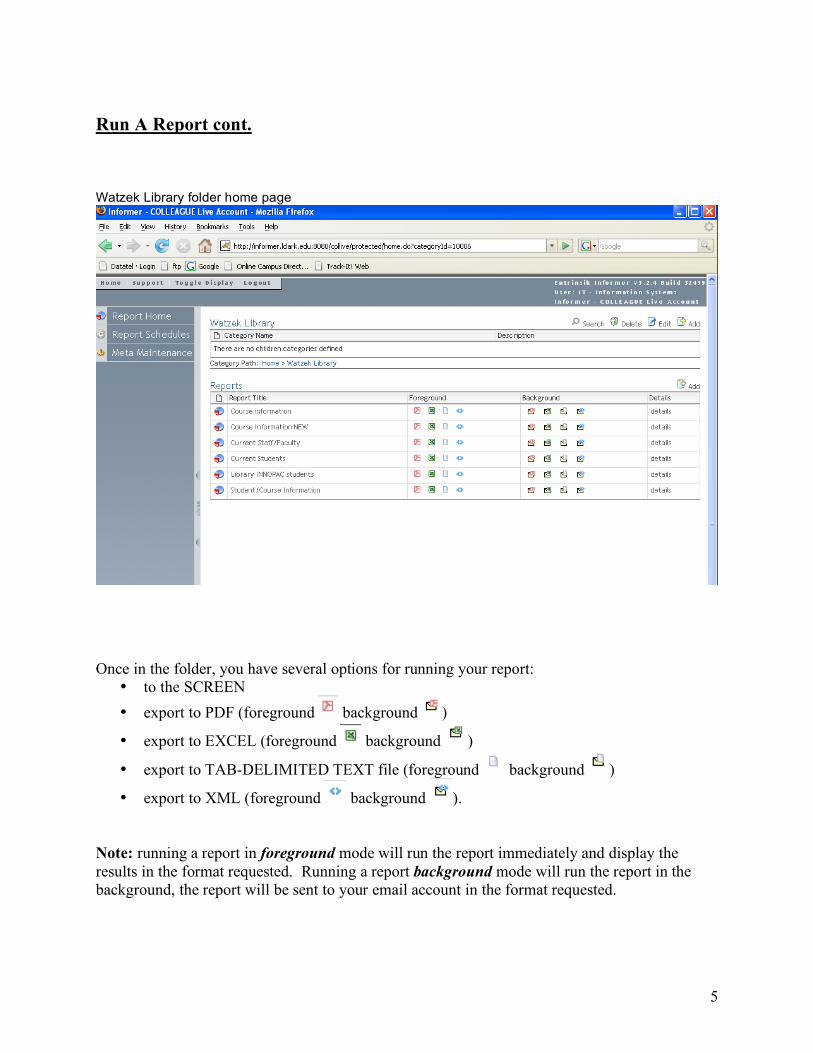
Run A Report cont. Watzek Library folder home page
Once in the folder, you have several options for running your report:
• to the SCREEN • export to PDF (foreground background )
• export to EXCEL (foreground background )
• export to TAB-DELIMITED TEXT file (foreground background )
• export to XML (foreground background ). Note: running a report in foreground mode will run the report immediately and display the results in the format requested. Running a report background mode will run the report in the background, the report will be sent to your email account in the format requested.

6
1. Run Report To SCREEN To run a report to the screen click on the report title (this example uses the Course Information New report). Watzek Library folder home page, showing the Course Information NEW report
The report will prompt you to enter the necessary information. Prompt page for the Course Information NEW report (a term must be entered for this report, in this example 08/SP was entered)
After entering any necessary information, click Submit.

7
1. Run Report To SCREEN cont. The entire report will display within the web browser:

8
2. Export Report To PDF To run a report to PDF in the foreground, click on the icon to the right of the report title.
To run a report to PDF in the background, click on the icon to the right of the report title. Informer will prompt for the necessary information.
After entering the required information, the report will run, the output will display as a PDF document. (If running the report in background mode the PDF document will be emailed to you.)

9
3. Export Report To Excel To run a report to Excel in the foreground, click on the icon to the right of the report title.
To run a report to Excel in the background, click on the icon to the right of the report title. Informer will prompt for the necessary information.
If running the report in foreground mode, the browser will display a dialogue box that allows you to select whether you want to open the report immediately or Save To Disk.

10
3. Export Report To Excel cont By choosing to open it immediately, the report will run and display the output in Excel. (If running the report in background mode the Excel document will be emailed to you.)
11
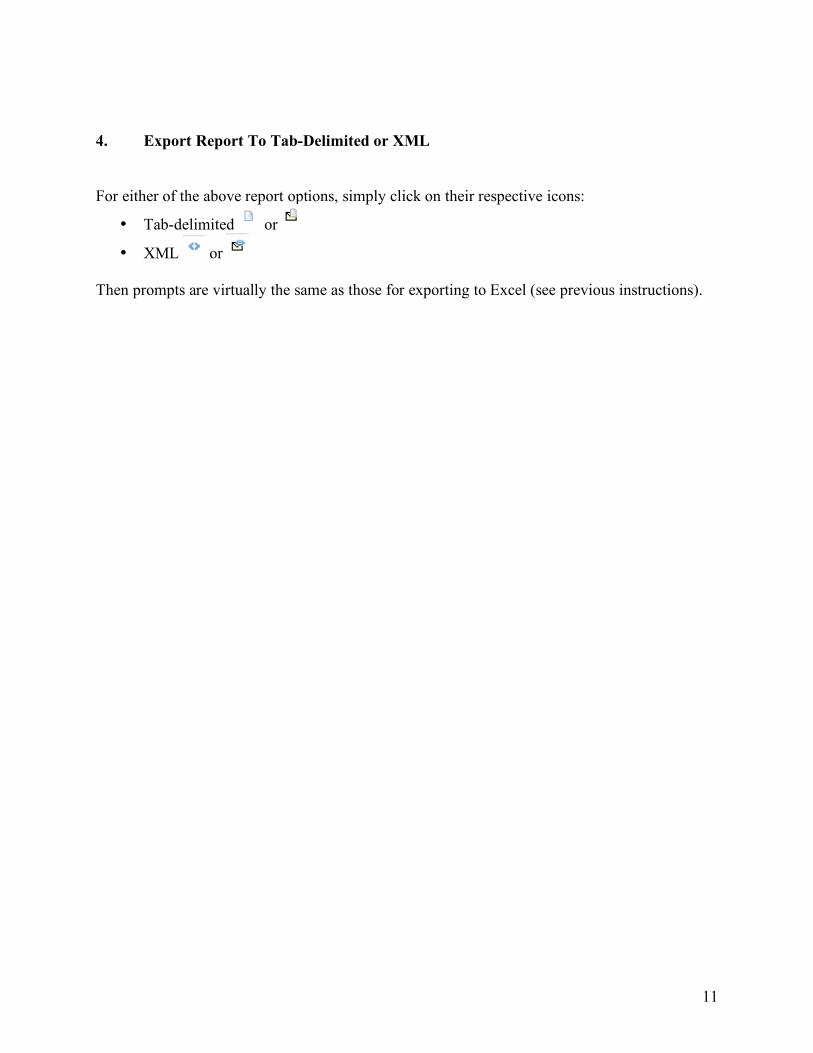
4. Export Report To Tab-Delimited or XML For either of the above report options, simply click on their respective icons:
• Tab-delimited or
• XML or Then prompts are virtually the same as those for exporting to Excel (see previous instructions).

12
Customizations The easiest way to create your own report customizations is to start by running the report to the SCREEN (see previous instructions). Once the report is displayed on the screen, the Report Option drop-down menu allows you to customize fields, column headings, and sorts.* SCREEN output with Report Options
* Note: The Report Details and Normalize options will not be discussed in this documentation.

13
1. Customize Fields Select Customize Fields from the Report Option drop-down menu. Customize Fields page
This page allows you to customize which fields are displayed in your report. To show/hide fields on a report, simply click/un-click the check boxes to the left of the field names in the Display Fields area (circled). Note: If you have been granted access to fields that are not contained in the report but show as available on this page, you may add those fields to the report. This is done in the upper portion of the page, by selecting a field from the Available Fields column and clicking on the Add button. It will then show in the Selected Fields column and will display on the report. These changes will only apply to YOUR version of the report and will be applied to all formats (PDF, Excel, etc.) of the report. A sample of the report displays in the lower part of the screen to show what your changes will look like. Click the Submit button to save any changes you have made.

14
2. Customize Column Headings Select Customize Column Headings from the Report Option drop-down menu. Customize Header page
This page allows you to customize the headers for the columns in your report. The pre-defined Colleague headers are displayed on the left side of the page, under the Column header. The customizations are displayed on the right side (circled). As you can see, this report already contains header customizations, but you may still implement your own headers. Simply type your customized header in the box to the right of the field you want customized (in the area circled). These changes will only apply to YOUR version of the report and will be applied to all formats of the report. A sample of the report displays in the lower part of the screen to show what your changes will look like. Click the Submit button to save any changes you have made.

15
3. Customize Sorts Select Customize Sorts from the Report Option drop-down menu. Customize Sorts page
This page allows you to customize which field(s) you want your report sorted by. All fields in the report are available to sort by. To select which field you want to sort by, simply click on the first drop-down box and select the field. You may sort in ascending or descending order. You may also select additional fields that you would like as your 2nd, 3rd, etc. sort criteria. These changes will only apply to YOUR version of the report and will apply to the report in all formats. A sample of the report displays in the lower part of the screen to show what your changes will look like. Click the Submit button to save any changes you have made.

16
4. Customize Groups Select Customize Groups from the Report Option drop-down menu. Customize Groups page
This page allows you to select which fields you would like to group your report by. Informer allows you to group by field, then displays the report in groups of that field. Each field value may be expanded within the report to show the data under each grouping (see the following example). These changes will only apply to YOUR version of the report and will apply to the report in all formats. A sample of the report displays in the lower part of the screen to show what your changes will look like. Click the Submit button to save any changes you have made.

17
4. Customize Groups cont Course Information New report example, grouped by the Course Number field

18
5. Removing Customizations To remove any customized settings you added, simply select Restore Original Settings from the Report Option drop-down menu.

19
Exporting A Report From SCREEN Output After you have run a report to the SCREEN, you have the additional option of exporting the report into these formats: PDF, Excel, Text, XML, Saved-List, and Printable. Any of these options may be selected from the Export Options drop-down menu from the report output page. SCREEN output showing Export Options
To export to PDF, Excel, Text, or XML, simply select that option from the drop-down menu and the report will pop up in the requested format (no additional prompting will be displayed—Informer assumes that you want the same report that has already been run to the screen, just in a different format).

20
1. Saved-List Option To create a Colleague saved list from your Informer report, select the Saved-List option from the Export Options menu. Informer will prompt you to enter a saved list name (the name must use the same naming convention that you would use in Colleague, i.e. the saved-list name cannot contain spaces). After submitting the name, the list will be available for use in Colleague. Create a saved-list prompt
2. Printable Option To display the SCREEN output in a more printer-friendly format, select the Printable option. The report will be displayed on the browser screen without the usual Informer toolbars. Printable output

21
Logging Out When you are done running Informer reports, make sure to log out. Do this by simply clicking the Logout link on the top of the page.