Embed Size (px)
Citation preview

Ing. Elton Domnori December 7, 2011

Mobile OS
Symbian BlackBerry iOS
Window mobile Android

Mobile OS
OS First release Last release Owner
Android Android 1.0September 2008
Android 4.0May 2011
Open Handset Alliance
BlackBerryBlackBerry 1.0January 1999
BlackBerry 7.0May 2011
Research In Motion
iOSiOS 1.x
June 2007iOS 5.x
June 2011Apple
SymbianSymbian 1
October 2008Symbian BelleAugust 2011
Nokia(Accenture)
Windows Mobile
Pocket PC 2000April 2000
Windows PhoneOctober 2010
Microsoft

Some history
● Oct/2003: Born of Android Inc.
● Aug/2005: Google acquire Android Inc.
● Nov/2007: OHA (Open Handset Alliance)● TelecomItalia, Vodafone● Acer, Asus, Dell, Samsung, HTC, Toshiba etc.● Android Open Source Project (AOSP)
● Sep/2008: release of Android 1.0
● May/2011: release of Android 4.0

What is ANDROID?
Operating System for mobile devices
Kernel based on the Linux kernel
Middleware, libraries and APIs written in C
Application framework includes Javacompatible libraries
Dalvik Virtual Machine to run Dalvik dexcode
Why ANDROID?
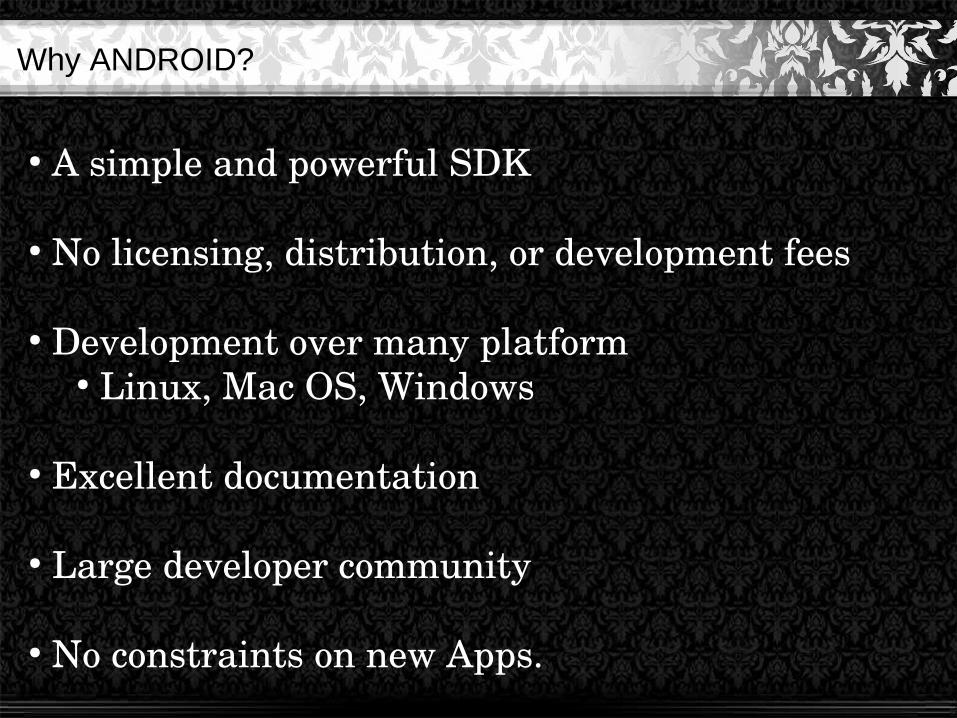
● A simple and powerful SDK
● No licensing, distribution, or development fees
● Development over many platform● Linux, Mac OS, Windows
● Excellent documentation
● Large developer community
● No constraints on new Apps.

Why ANDROID?

Why ANDROID?

ANDROID architecture

ANDROID Tools > SDK
To simplify development Google provides the Android Development Tools (ADT) for Eclipse.
The applications are written in Java.
Android applications are packed into an .apk (Android Package) file by the program aapt (Android Asset Packaging Tool)
The Android NDK is a companion tool to the Android SDK that lets you build portions of your apps in native code (C/C++).
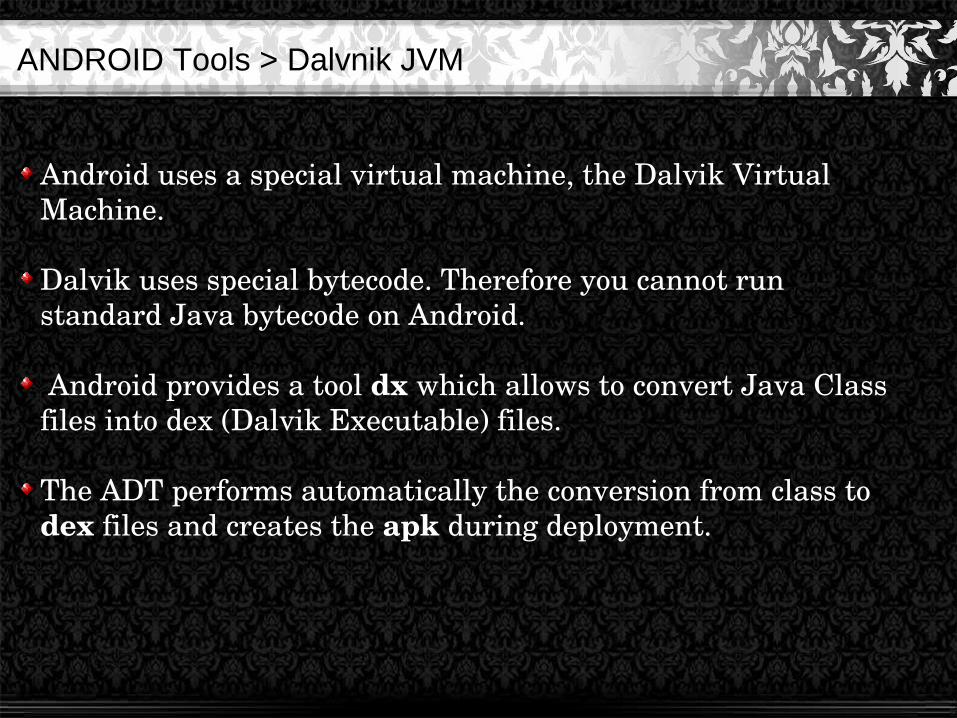
ANDROID Tools > Dalvnik JVM
Android uses a special virtual machine, the Dalvik Virtual Machine.
Dalvik uses special bytecode. Therefore you cannot run standard Java bytecode on Android.
Android provides a tool dx which allows to convert Java Class files into dex (Dalvik Executable) files.
The ADT performs automatically the conversion from class to dex files and creates the apk during deployment.

ANDROID Tools > Emulator
Implementation of the Android virtual machine Test and debug your android applications.

ANDROID Tools > Android Virtual Device Manager
Create and monitor the Virtual Machines
Windows > Android SDK and AVD Manager

ANDROID Tools > Dalvik Debug Monitoring Service
Monitor and Control the Dalvik virtual machines Logcat (see logged msgs) Windows > Perspectives > DDMS

ANDROID Tools > Android Debug Bridge
Manage the state of an emulator or device Run shell commands on a device Manage port forwarding on an emulator or device Copy files to/from an emulator or device

Component > Activity
Is a single application entity that is used to perform actions.
An application may have many separate activities, but the user interacts with them one at a time.
Is not required to have a user interface.
Are divided in three categories: Foreground Activity: suspended when invisible Background Service: Little interaction Intermittent Activity

Component > Activity

Component > View
User interface of an Activity.
Is built with:
Widget classes: Layout: linear, grid, tab, list, etc. TextView, EditText, Button, Form, TimePicker, etc. AutoCompletition, MapView, WebView etc.
Menu

Component > View > Layout
Layout: linear, grid, tab, list, etc.
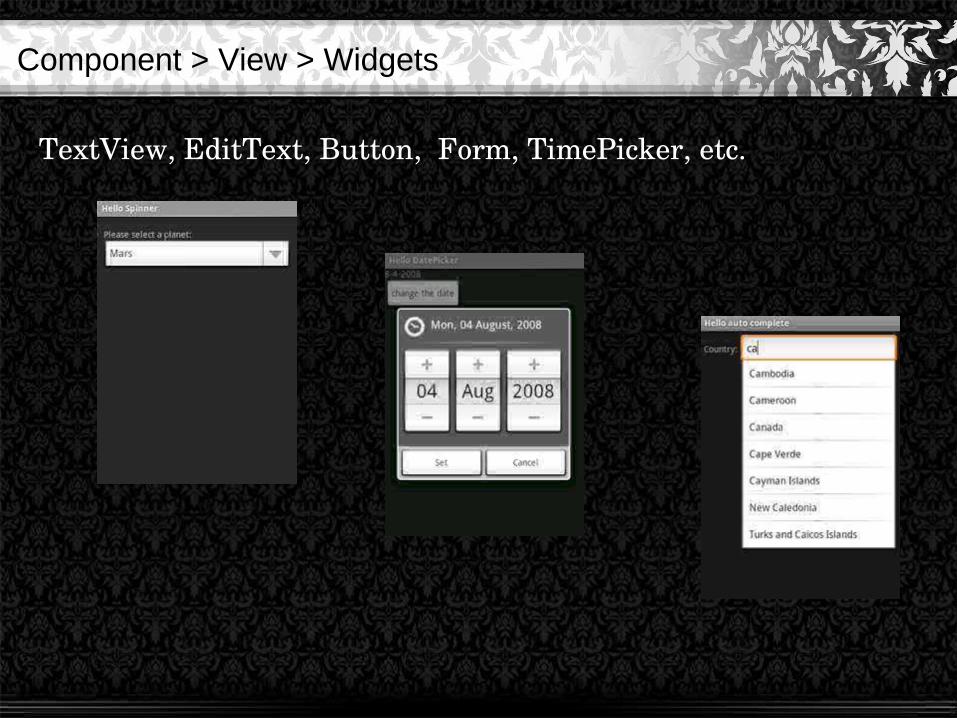
Component > View > Widgets
TextView, EditText, Button, Form, TimePicker, etc.

Component > View > Menu

Component > View > Intent
Are asynchronous messages which allow the application to request functionality from other services or activities.
An application can call directly a service or activity (explicit intent) or ask the Android system for registered services and applications for an intent (implicit intents).
Component > View > Service
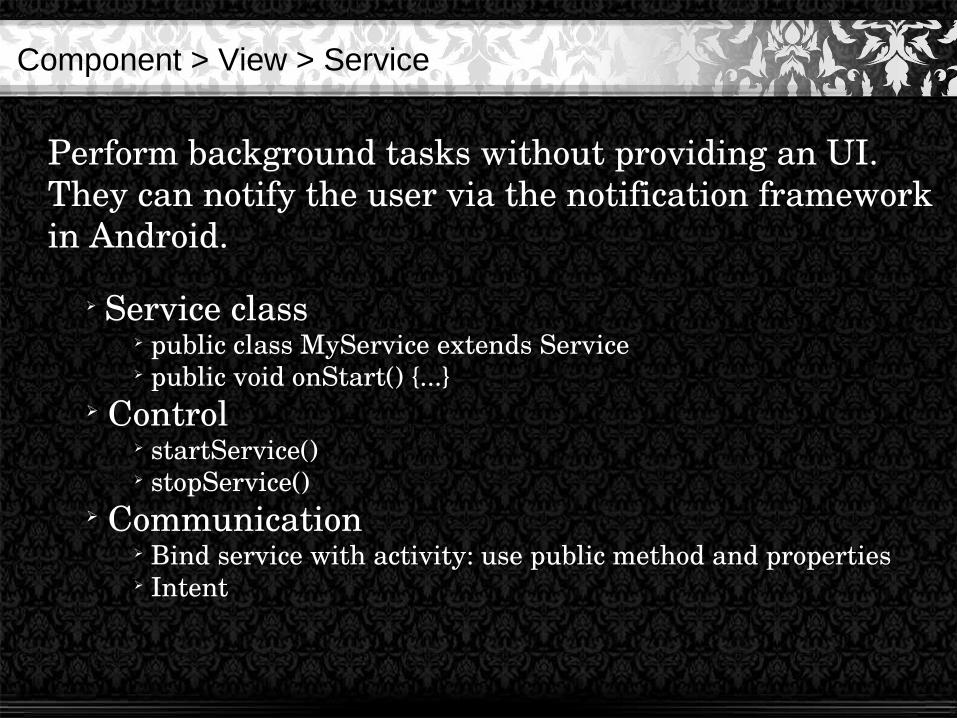
Perform background tasks without providing an UI. They can notify the user via the notification framework in Android.
➢ Service class➢ public class MyService extends Service➢ public void onStart() {...}
➢ Control➢ startService()➢ stopService()
➢ Communication➢ Bind service with activity: use public method and properties➢ Intent

Component > View > ContentProvider
Provides data to applications, via a content provider your application can share data with other applications. Android contains a SQLite DB which can serve as data provider
Resources
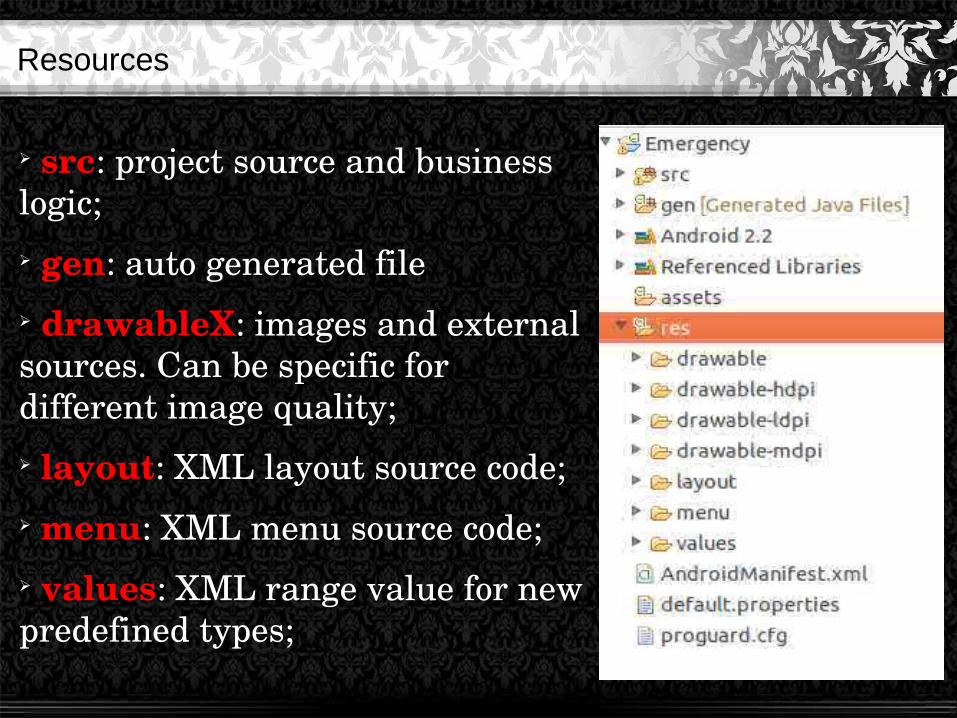
➢ src: project source and business logic;➢ gen: auto generated file➢ drawableX: images and external sources. Can be specific for different image quality;➢ layout: XML layout source code;➢ menu: XML menu source code;➢ values: XML range value for new predefined types;

Resources (2)
➢ bin/: contains the final .apk file and other compiled resources.
➢ jni/: contains native code sources developed using the Android NDK
➢ assets/: this is empty, can be used to store raw asset files.
➢ res/anim: store the animation files.➢ res/color: For XML files that describe colors.➢ res/xml: for miscellaneous XML files that configure application components;
➢ libs/: contains private libraries.

Resources (3)
➢ AndroidManifest.xml: The control file that describes the nature of the application and each of its components.➢ project.properties: contains project settings, such as the build target. ➢ local.properties: customizable computerspecific properties for the build system.➢ ant.properties: customizable properties for the build system.➢ build.xml: the Ant build file for your project. This is only applicable for projects that you build with Ant.
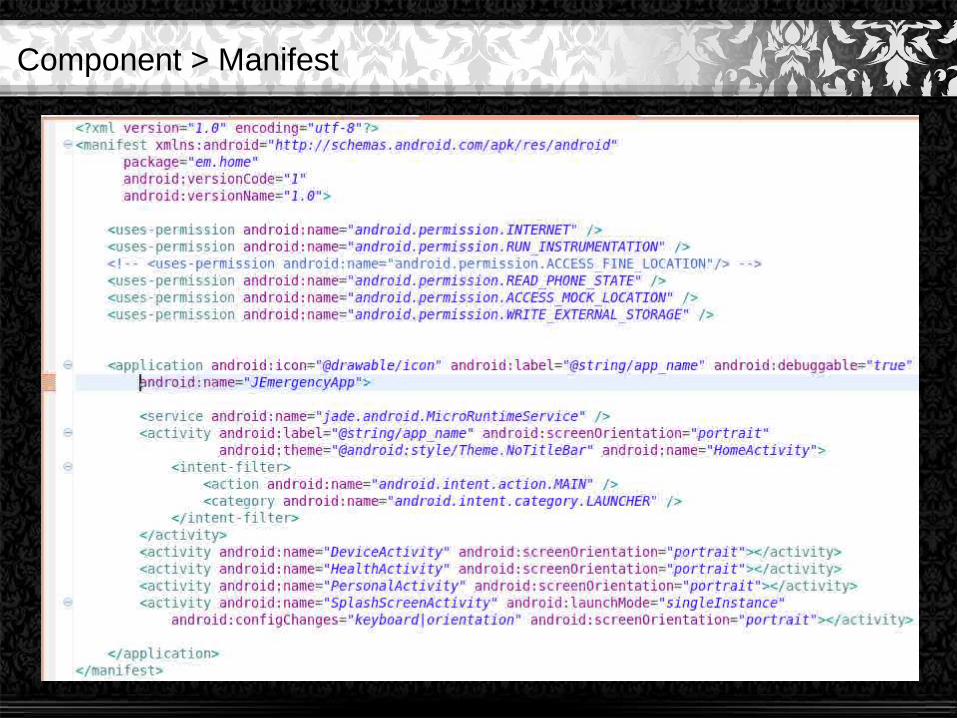
Component > Manifest

src\
project source codeActivityServiceContentProvider
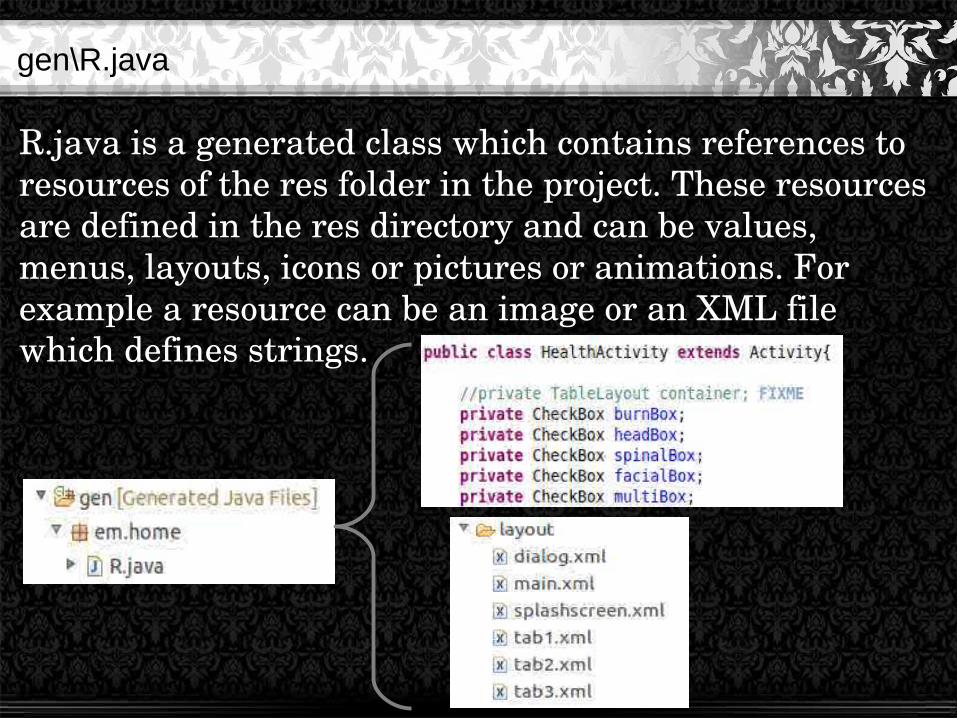
gen\R.java
R.java is a generated class which contains references to resources of the res folder in the project. These resources are defined in the res directory and can be values, menus, layouts, icons or pictures or animations. For example a resource can be an image or an XML file which defines strings.

res\drawable
.xml: instruction file about the use of the images in different condition;
.png/.jpg/...: image file;

res\layout

res\menu

res\values

The development process > Setup
Set up the development environment
Set up AVD and devices for testing
Install:Android SDKAndroid Development ToolAndroid Platforms
Create Android Virtual Devices and connect hardware services that will be used for testing.

The development process > Development
Create you application
Create Android project with you source code, resource files, and Android manifest file.

The development process > Debug & Test
Build & run your application
Build and run your application in debug mode.
Debug your application
Debug your application using the Android debugging and logging tools.
TestYour application
Test your application using the Android testing and instrumental framework.
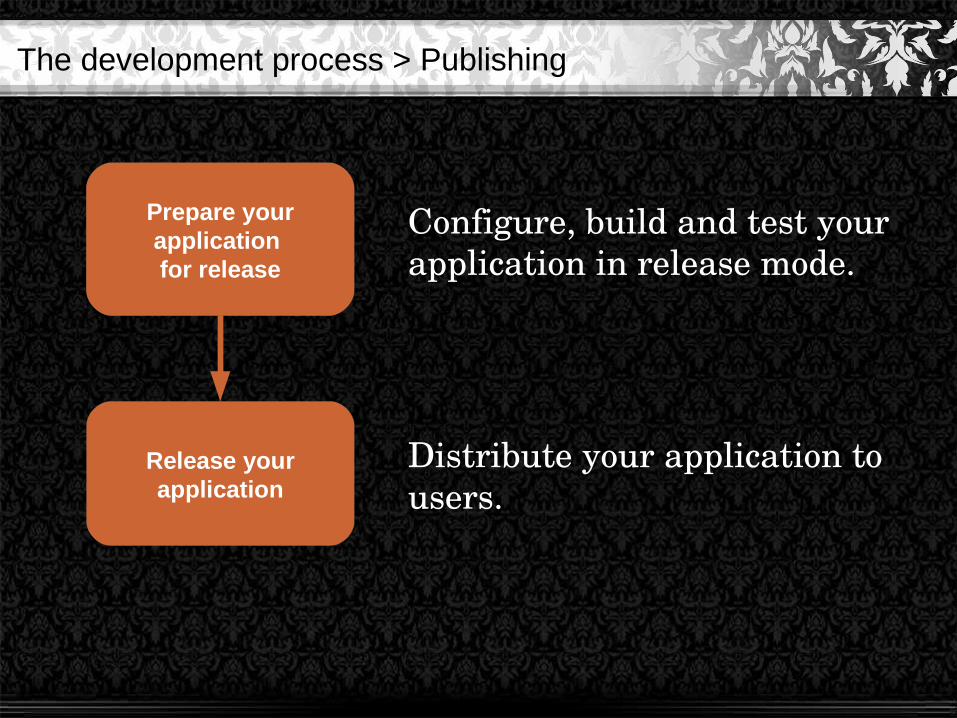
The development process > Publishing
Prepare yourapplication for release
Release yourapplication
Configure, build and test your application in release mode.
Distribute your application to users.
Release application
To release an application means to make available the “.apk” file.
Applications can be released in: Android MarketPersonal websiteMail / p2p system, etc.

Release application
Before you release an application you must:
Choose an application Icon Prepare the Enduser License Agreement (EULA) Turn off logging and debugging Clean up your project directories Review and update your manifest settings
if release on Android Market
Version you application Sign you application with an electronic certificate

References
http://androidtutorial.com/
http://www.androidtutorials.org/
http://developer.android.com/
http://www.vogella.de/android.html
.
![iMobilis - Android te rico [Modo de Compatibilidade] · Android –Google = grande impacto! Motorola, LG, Samsung, Sony Ericsson: Open Handset Alliance Android Baseada no SO Linux](https://img.pdfslide.net/doc/110x75/5e3d3ea5b2f1aa479e0d8fd2/imobilis-android-te-rico-modo-de-compatibilidade-android-agoogle-grande.jpg)


![Huawei U8500 Android Handset Presentation V1.3[1]](https://img.pdfslide.net/doc/110x75/5430fea7219acdd64e8b51df/huawei-u8500-android-handset-presentation-v131.jpg)