Embed Size (px)
Citation preview

Instructions
Usable instructions
IDG's Dummies guides reveals how most of us feel when we read instructions: like dummies. We read and reread complex sentences, we flip back and forth between pages to relate a picture to a certain point in the text, we scratch our heads and (cursing) fling the book against the wall on the other side of the room.

Who’s to blame for bad instructions
The simple fact is, if users feel like idiots when they read instructions, it's usually the writer's fault.
Task analysis
Define the set of actions– Start with the actions, not the equipment– How to know the step was completed
Define the context– What else is happening
Define the environment– Design difference for plant floor vs office

Is this how you enter text?

Audience analysis
Who is the user– User goals– Attitude toward use– Level of knowledge
Audience analysis
Exercise to identify appropriate audience
Use expected actions
Use menus and mouse clicks.Don’t user expert/power user short cuts.
Be consistent in terms.
Writing instructions
Use imperative mood (commands)– First word is an action verb
Examples– Turn the knob to 5– NOT: Then you should turn the knob to 5
– Set the switch to ON– NOT: The switch should now be turned ON
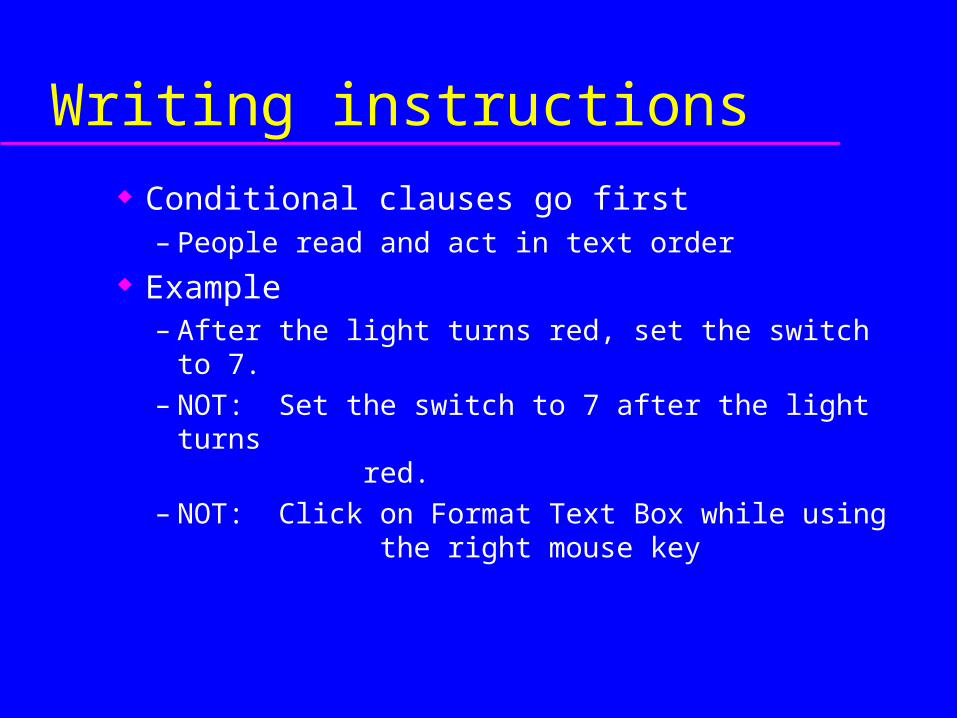
Writing instructions
Conditional clauses go first– People read and act in text order
Example– After the light turns red, set the switch to 7.– NOT: Set the switch to 7 after the light turns
red.– NOT: Click on Format Text Box while using
the right mouse key
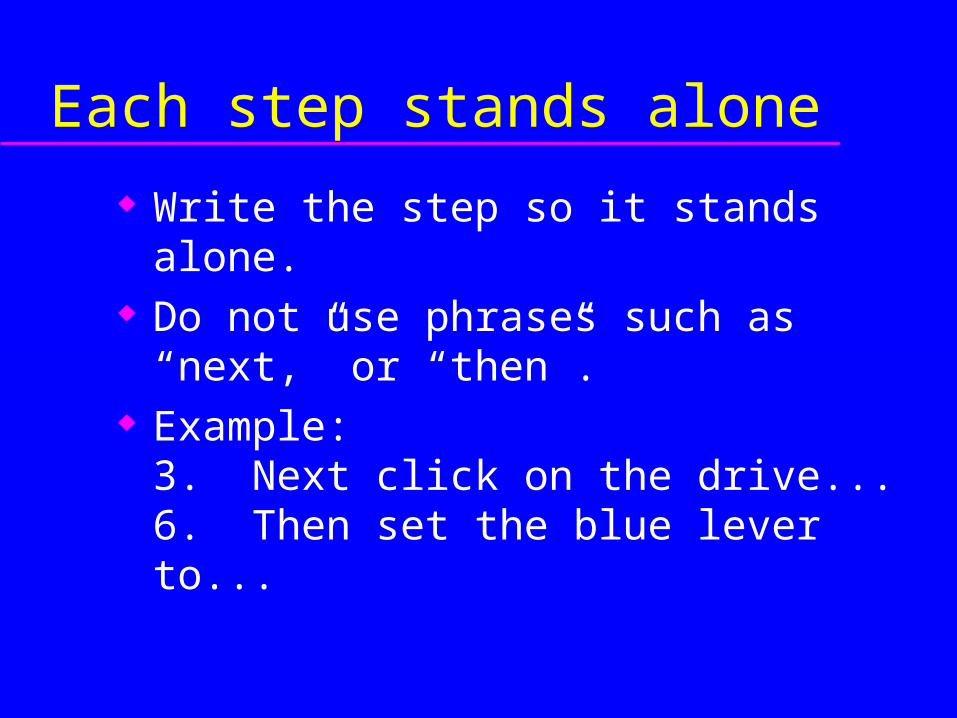
Each step stands alone
Write the step so it stands alone. Do not use phrases such as
“next,” or “then”. Example:
3. Next click on the drive...6. Then set the blue lever to...
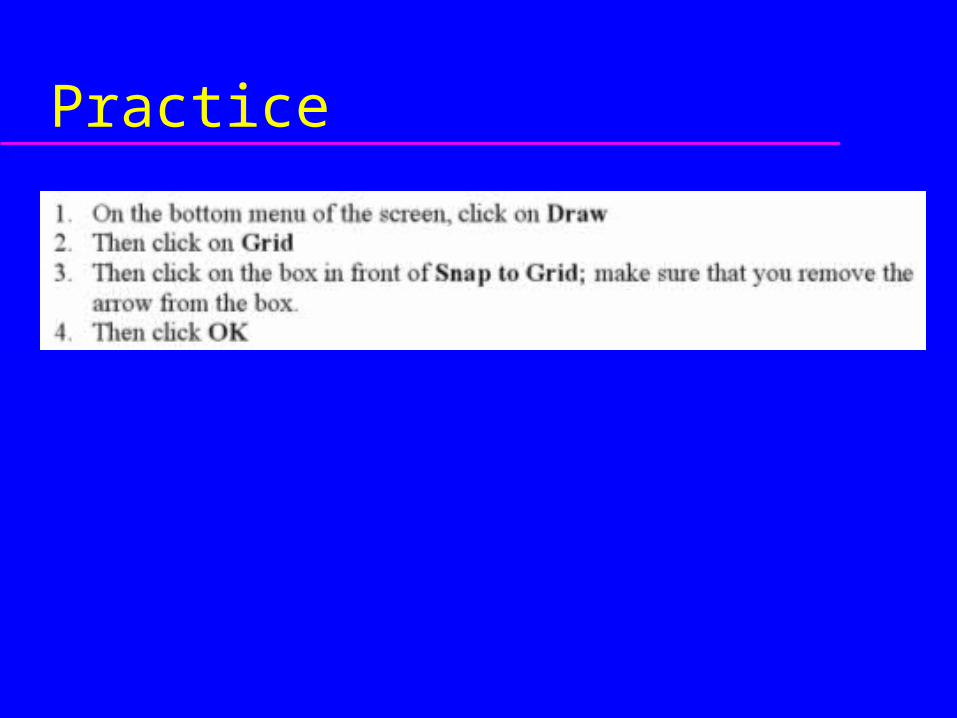
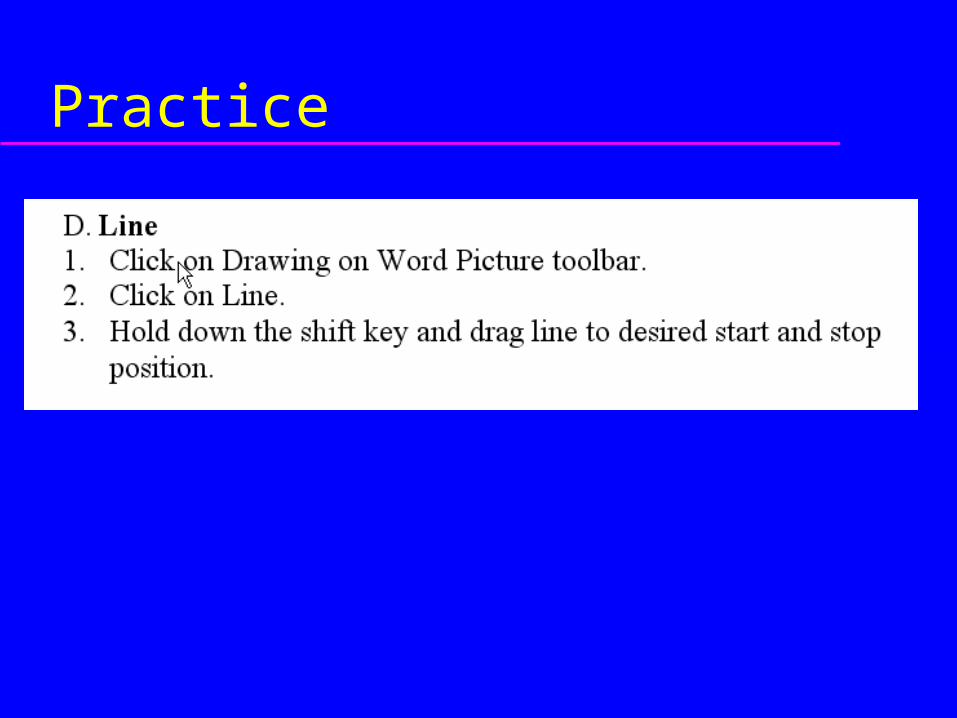
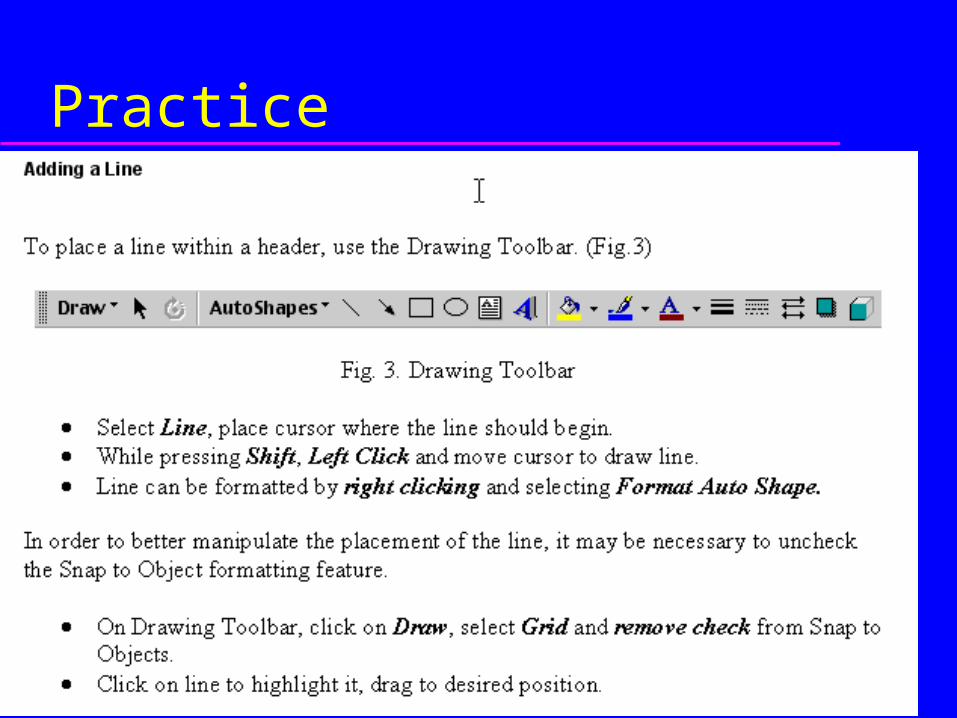
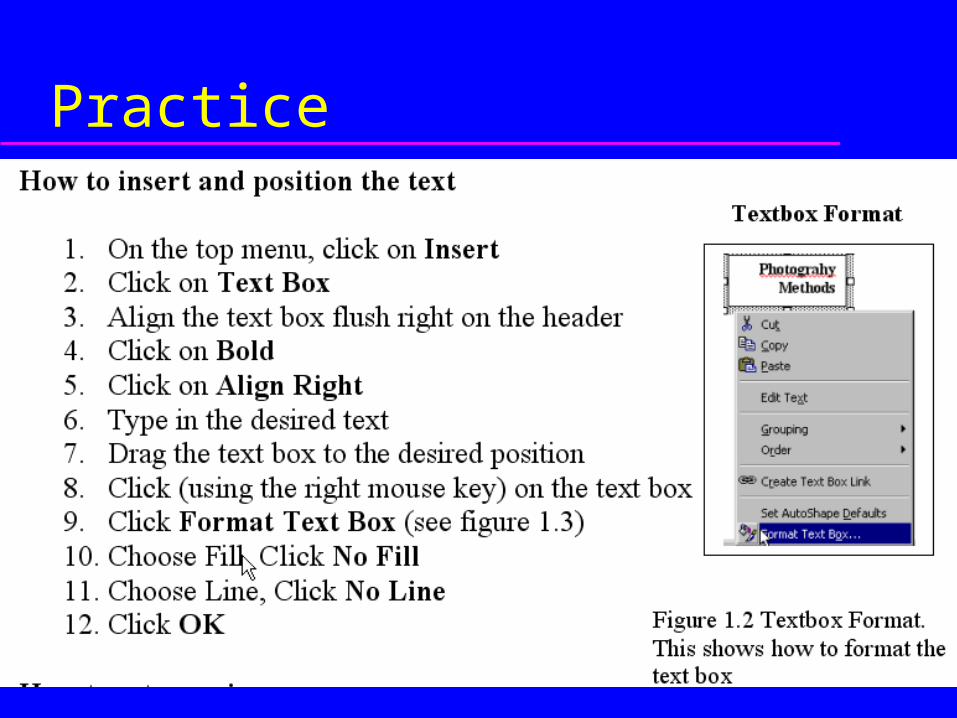
Practice
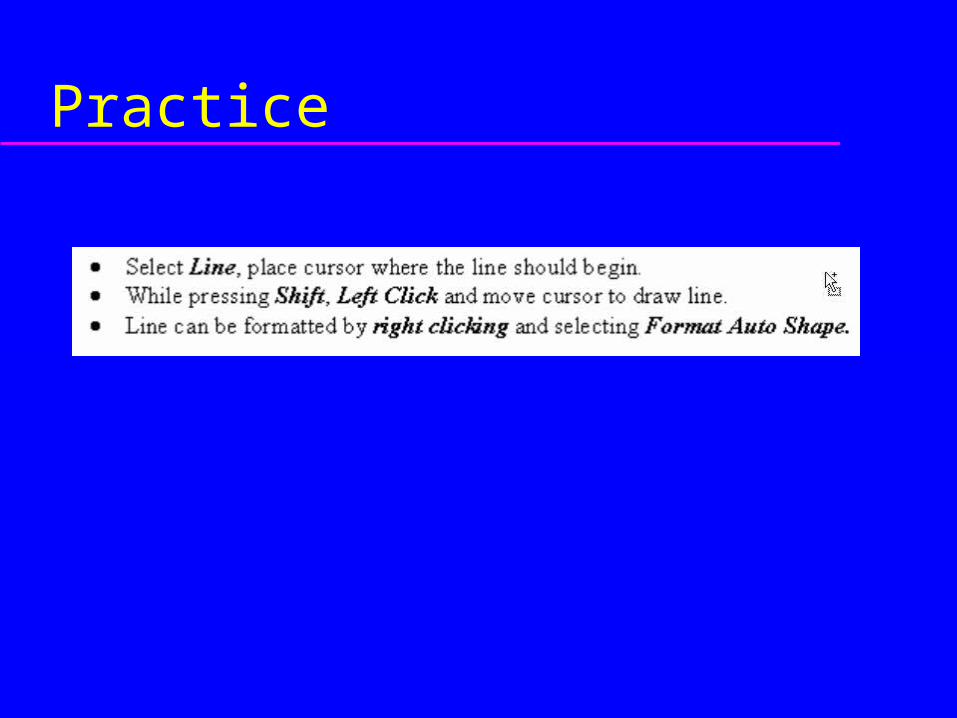
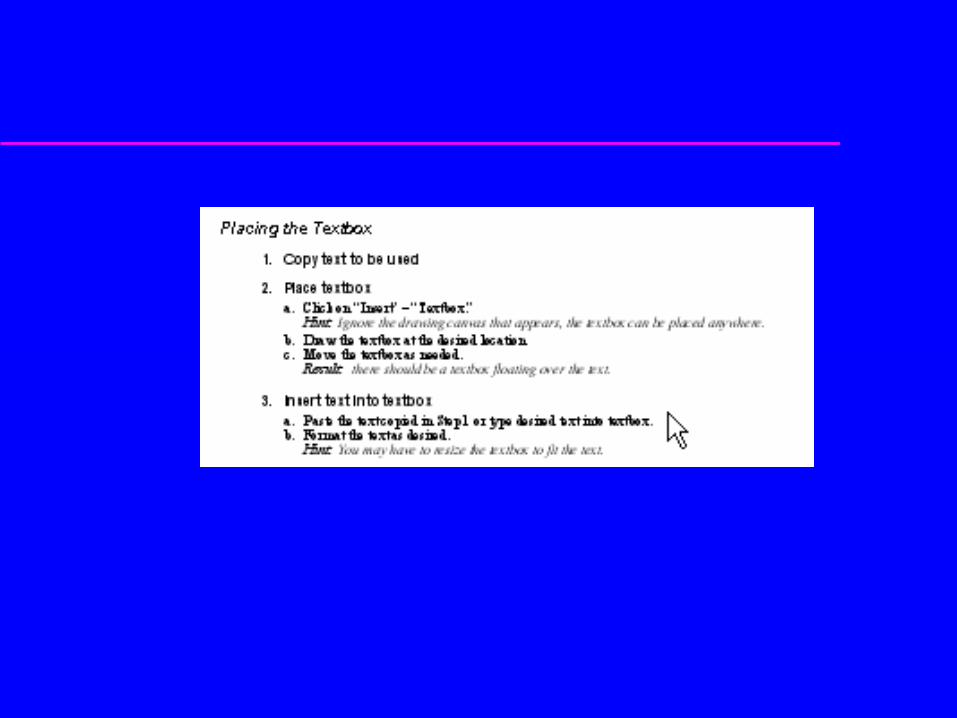
Practice
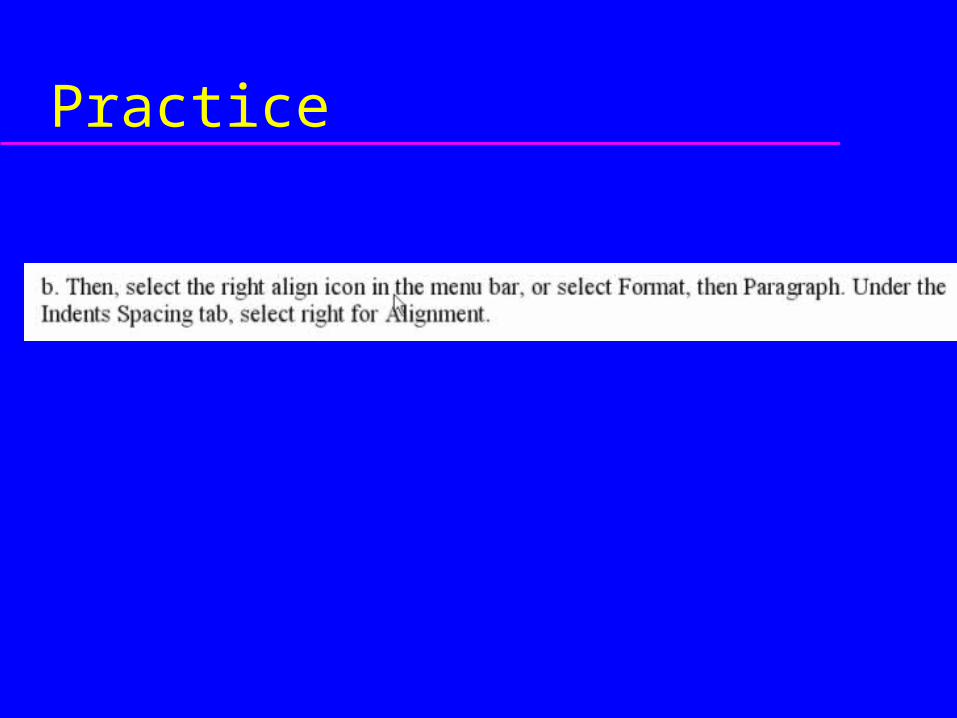
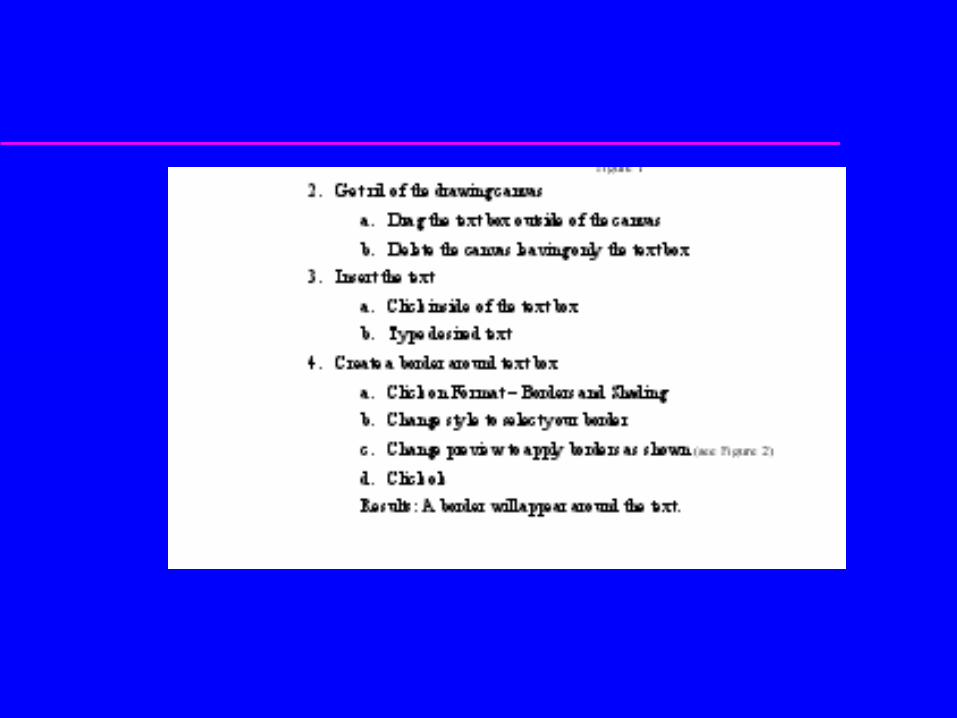
Practice
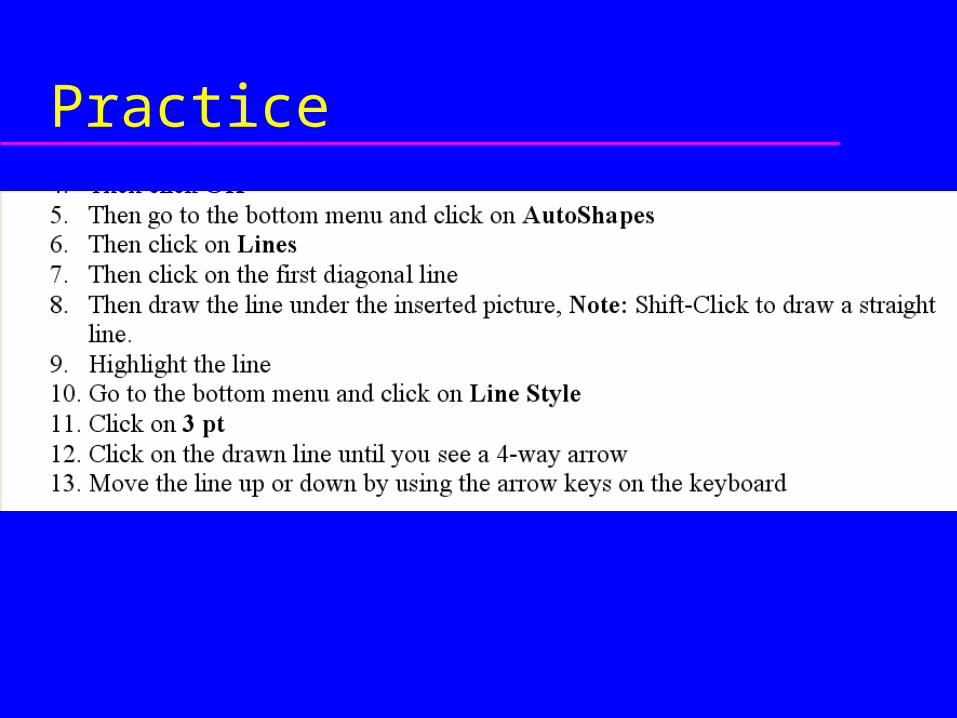
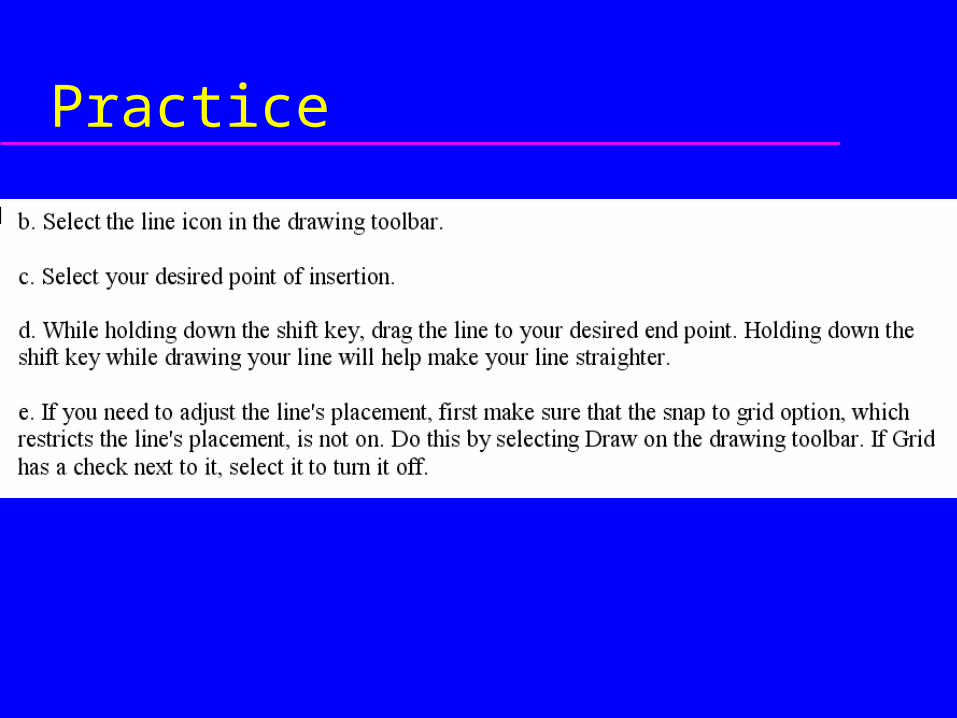
Practice

Practice

Instructions – Day 2
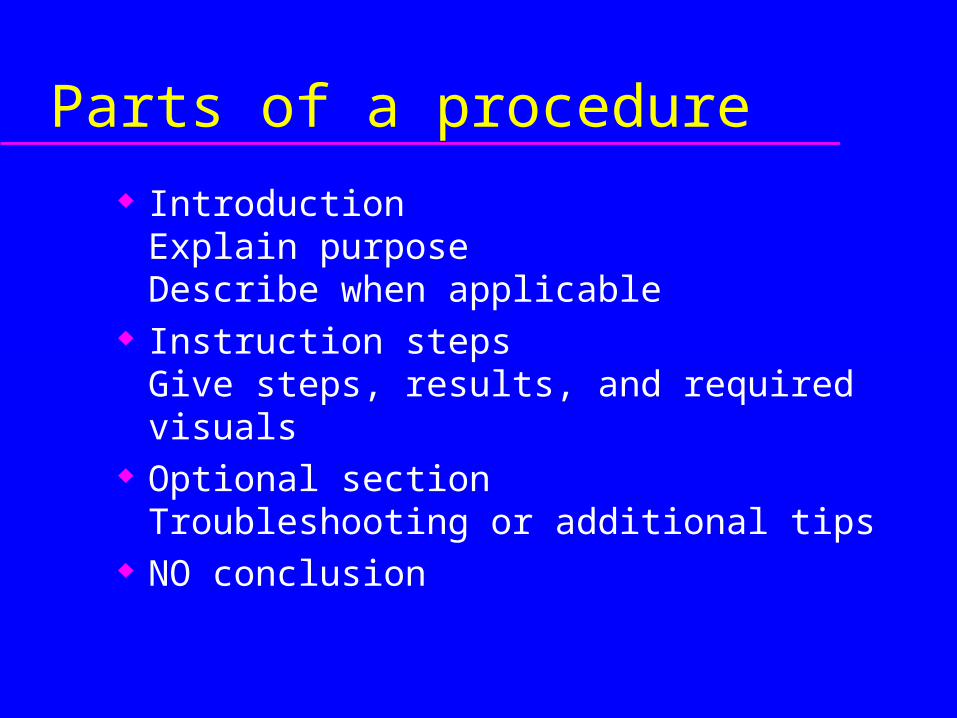
Parts of a procedure
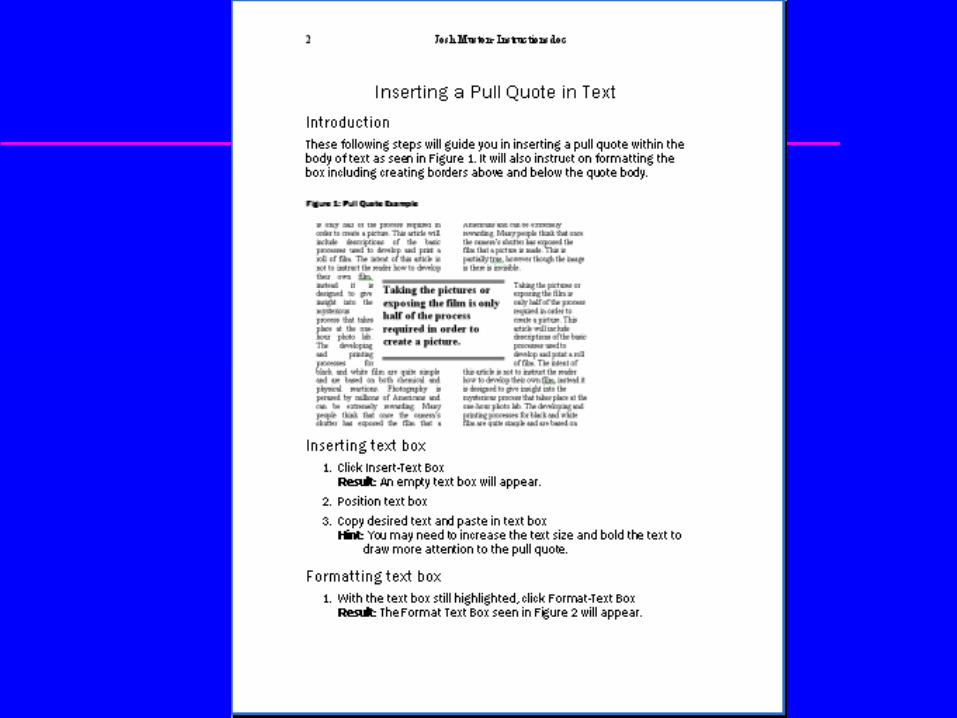
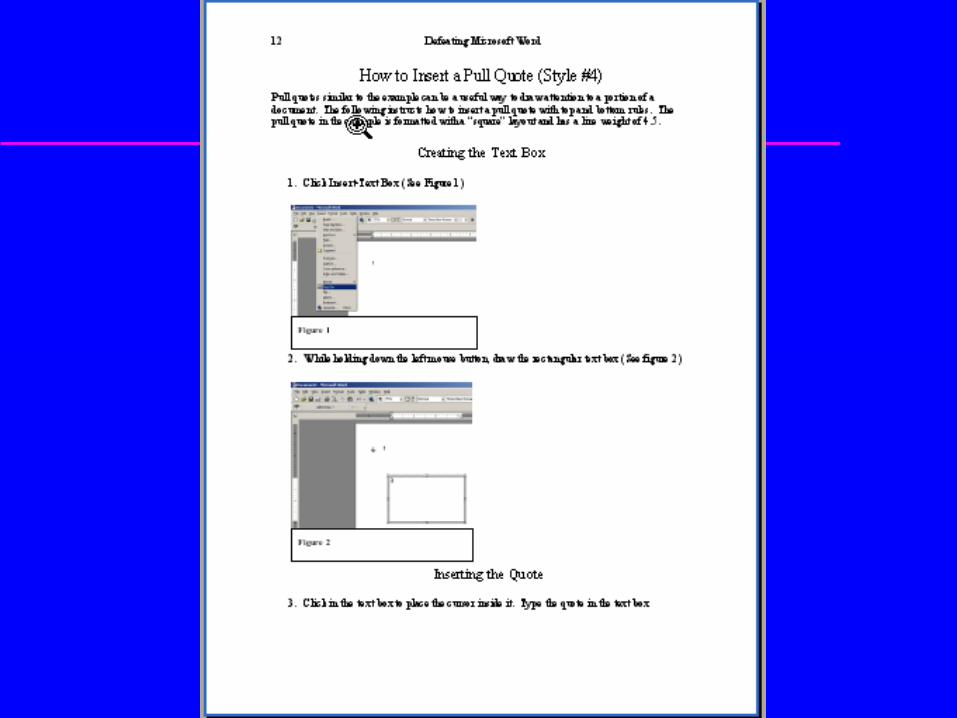
IntroductionExplain purposeDescribe when applicable
Instruction stepsGive steps, results, and required visuals
Optional sectionTroubleshooting or additional tips
NO conclusion
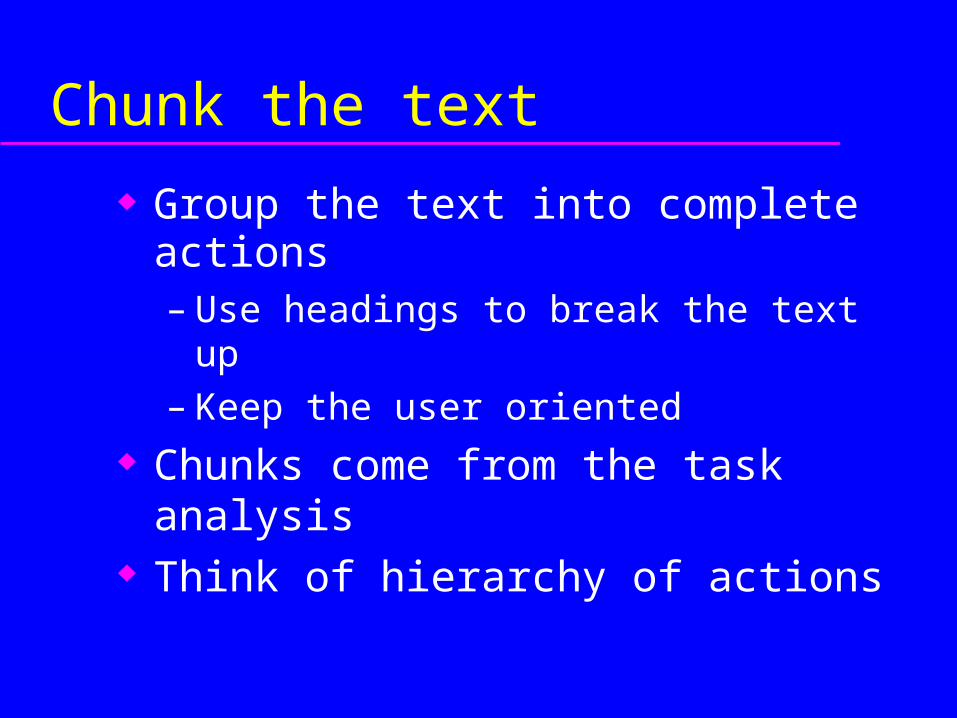
Chunk the text
Group the text into complete actions– Use headings to break the text up– Keep the user oriented
Chunks come from the task analysis Think of hierarchy of actions
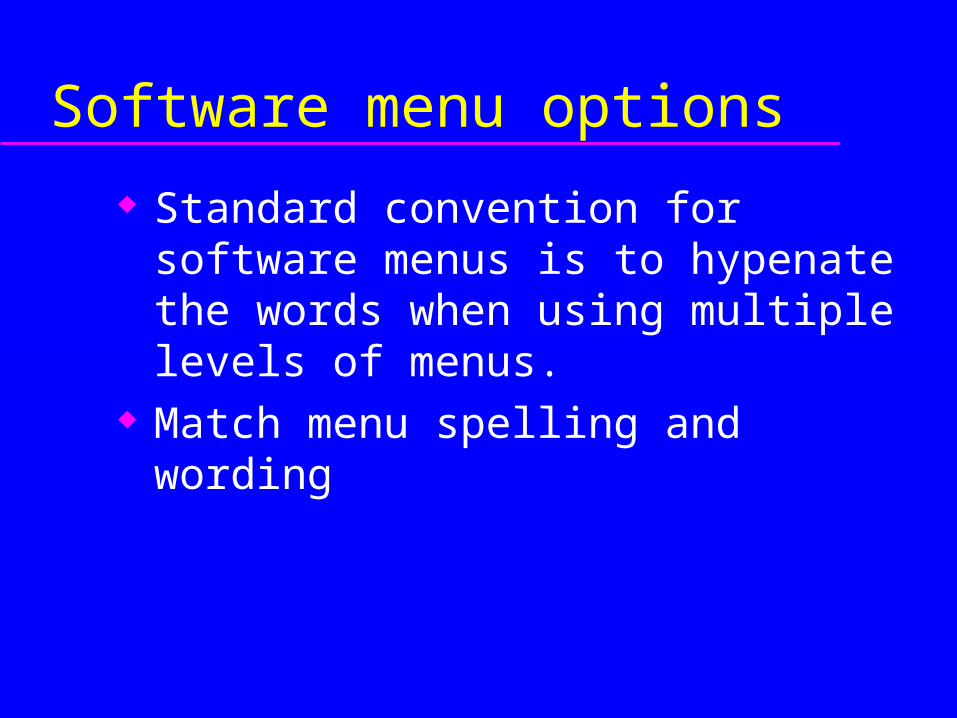
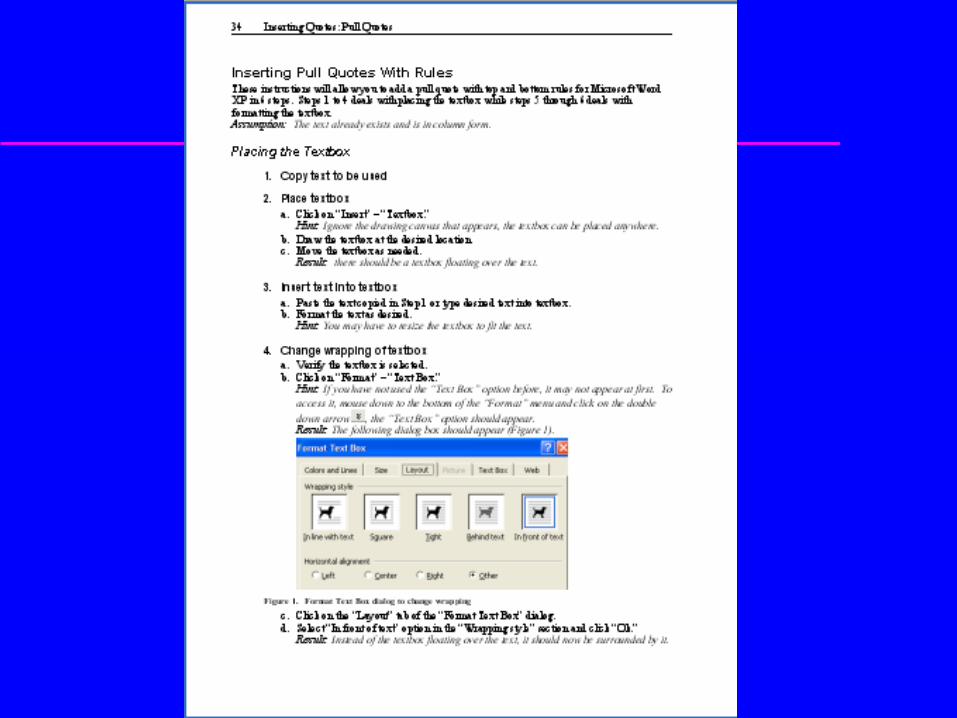
Software menu options
Standard convention for software menus is to hypenate the words when using multiple levels of menus.
Match menu spelling and wording
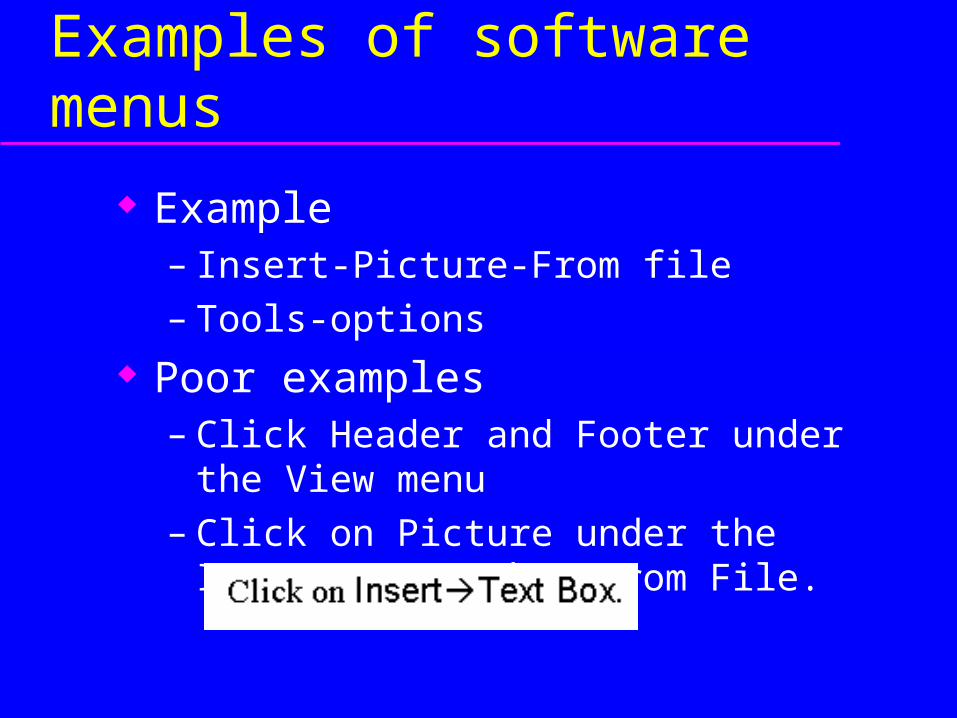
Examples of software menus
Example– Insert-Picture-From file– Tools-options
Poor examples– Click Header and Footer under the View menu– Click on Picture under the Insert menu, then
From File.
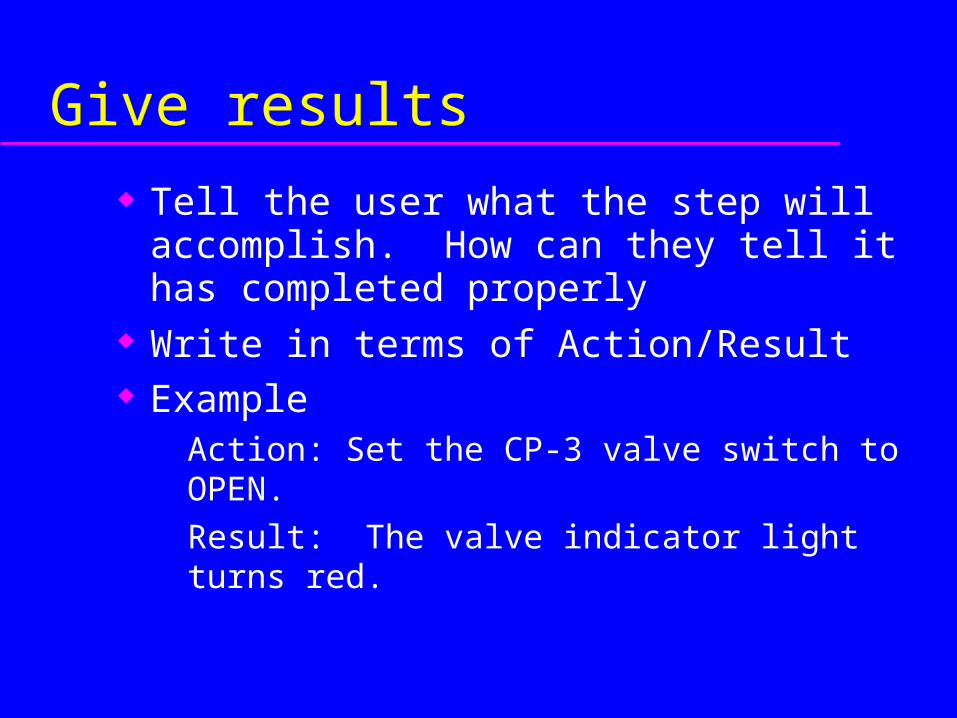
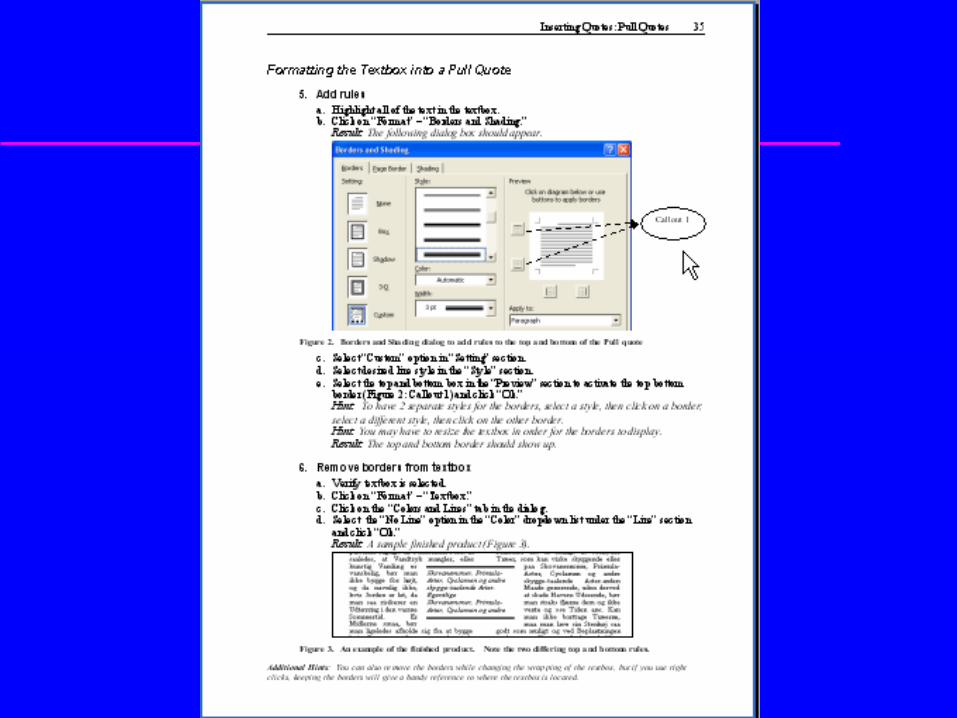
Give results
Tell the user what the step will accomplish. How can they tell it has completed properly
Write in terms of Action/Result Example
Action: Set the CP-3 valve switch to OPEN.
Result: The valve indicator light turns red.
Multiple levels of instructions
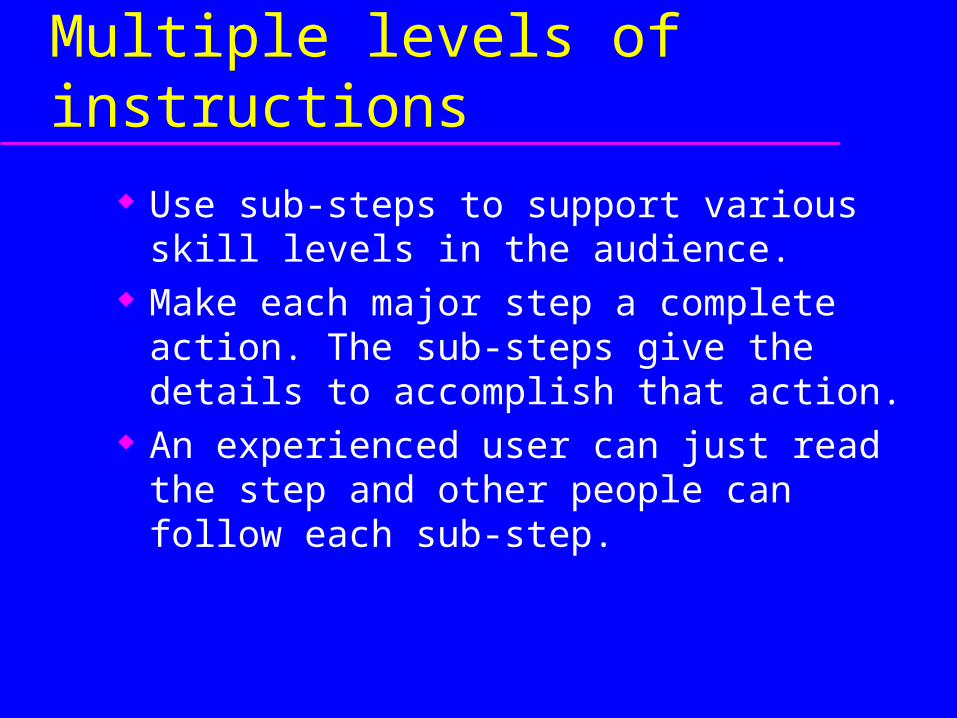
Use sub-steps to support various skill levels in the audience.
Make each major step a complete action. The sub-steps give the details to accomplish that action.
An experienced user can just read the step and other people can follow each sub-step.
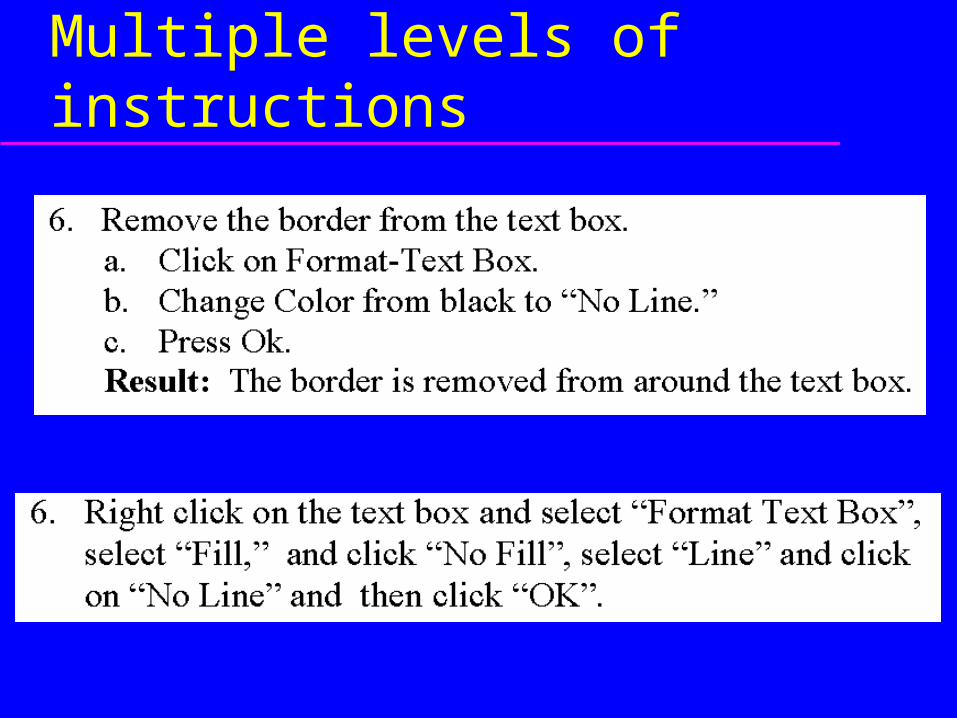
Multiple levels of instructions
Supporting text
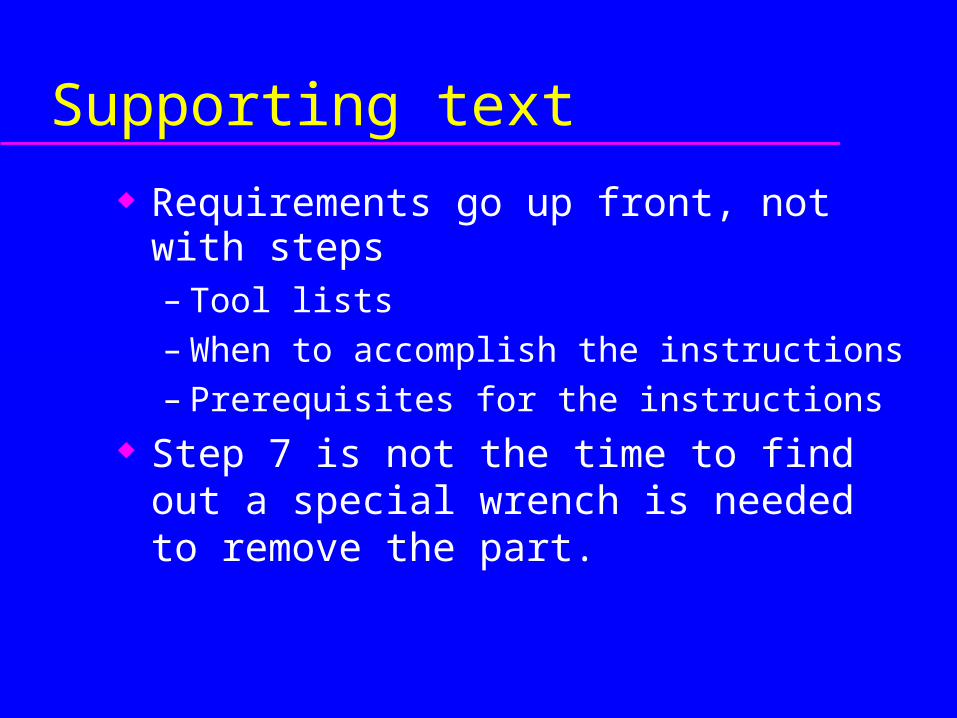
Requirements go up front, not with steps– Tool lists– When to accomplish the instructions– Prerequisites for the instructions
Step 7 is not the time to find out a special wrench is needed to remove the part.
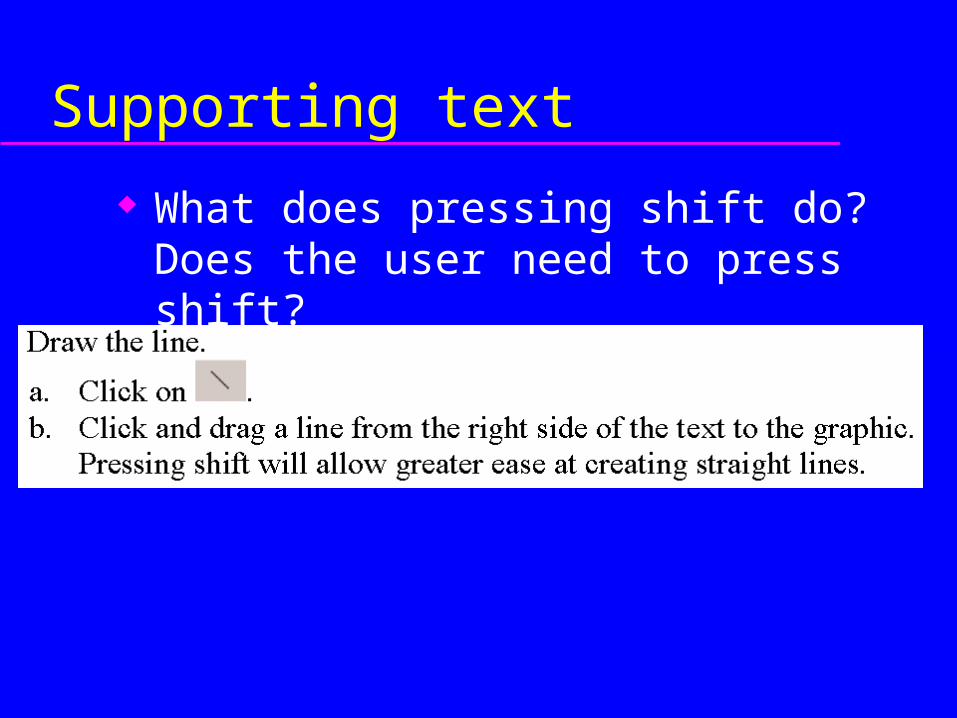
Supporting text
What does pressing shift do?Does the user need to press shift?
Explanatory information
Provide explanations at the beginning Include minimal explanations of why the
steps are performed with the steps. Any explanations must be obviously
explanations, so users don’t think they are steps.
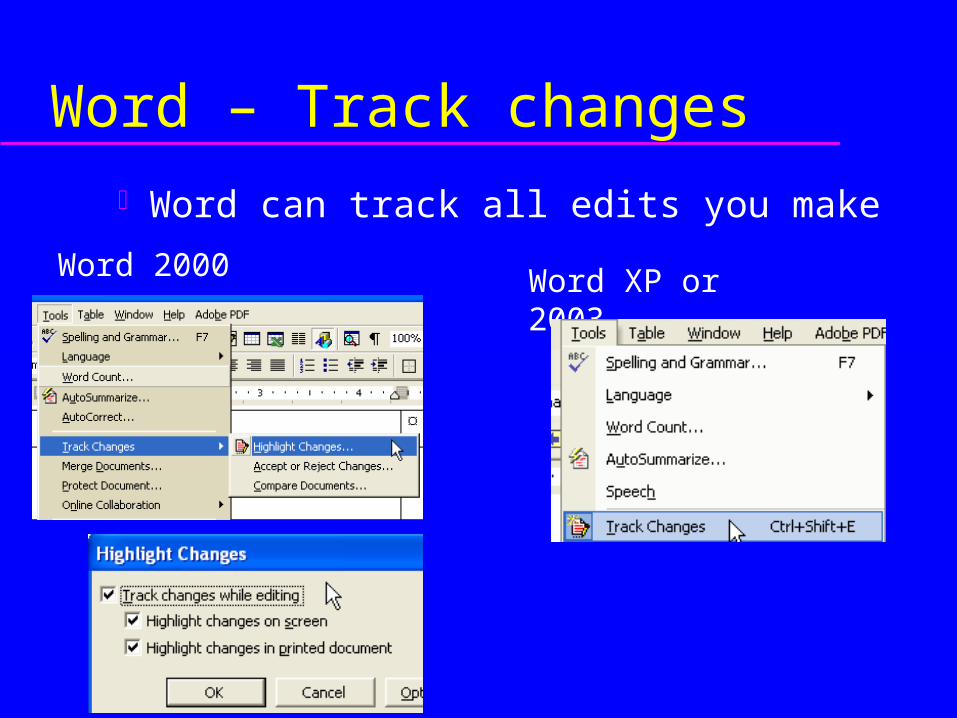
Word – Track changes
Word can track all edits you makeWord 2000 Word XP or 2003
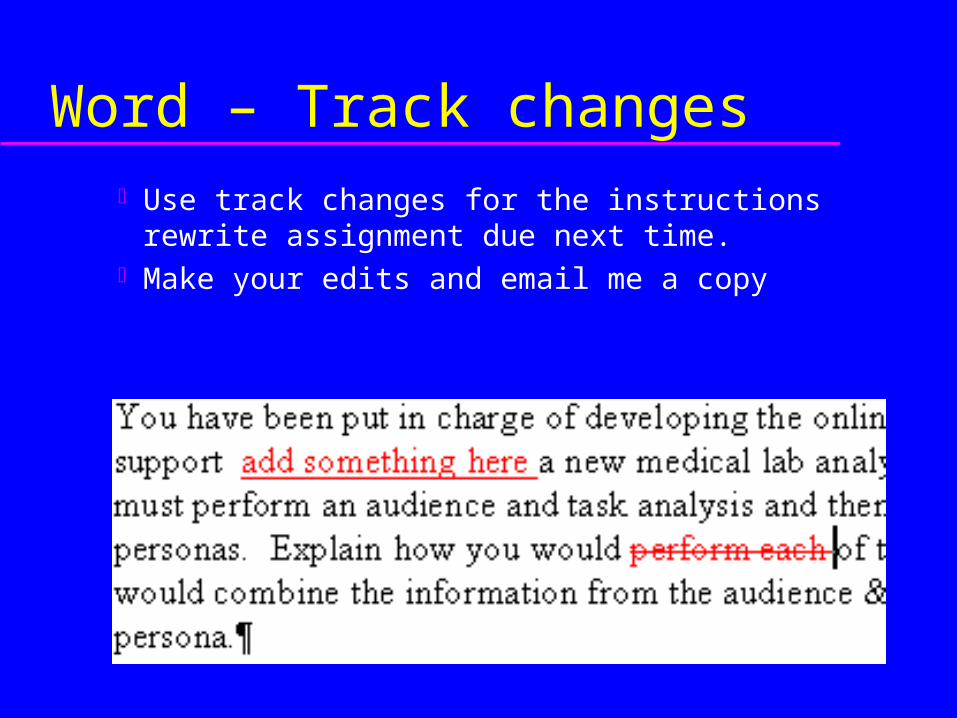
Word – Track changes Use track changes for the instructions rewrite assignment
due next time. Make your edits and email me a copy
Practice
Practice

Practice
Practice
Instructions – Day 3
Visuals
Show visual of the action May show the result of the step Don’t include extraneous visuals.
Each step does not require onePoor example: showing a drop down menu
Respect the page margins
Visuals
Place the visual with the step Step should come first, then the visual Crop the visual to the smallest size
– Use multiple small images – One large visual can be confusing
Visual design must be consistent– Beware of copying from multiple sources

Which visual works best
Full screen capture
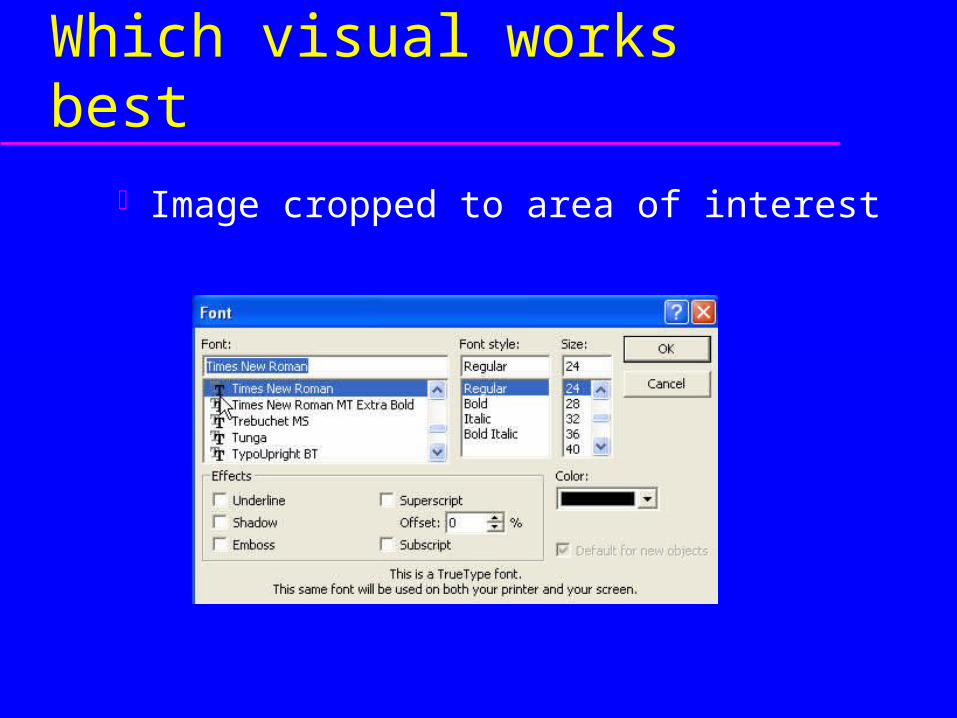
Which visual works best
Image cropped to area of interest

Problems with text and visual

Problems with text and visual
Color in graphics
Web has lots of colored figures, but most technical documents are produced in black and white.
Loss of color can create a gray blob. Convert the graphic to BW with a image
program, do not let the copier do it.
Snag-it
30 day trial program on your CD Only for use at home.
It cannot be installed on a school PC Provides you with the ability to capture
screen areas
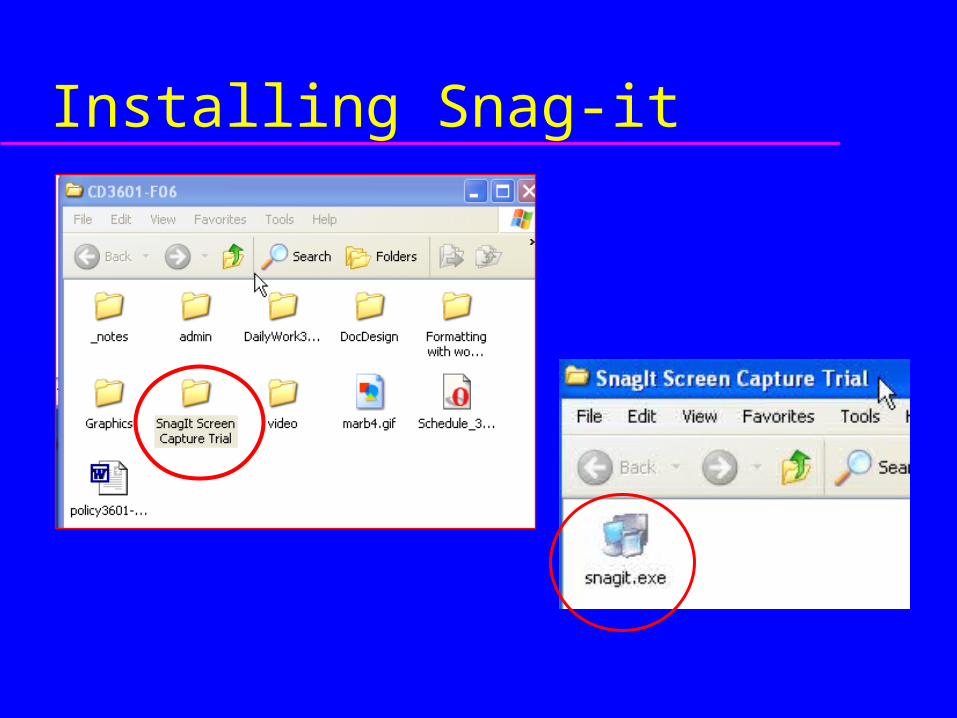
Installing Snag-it
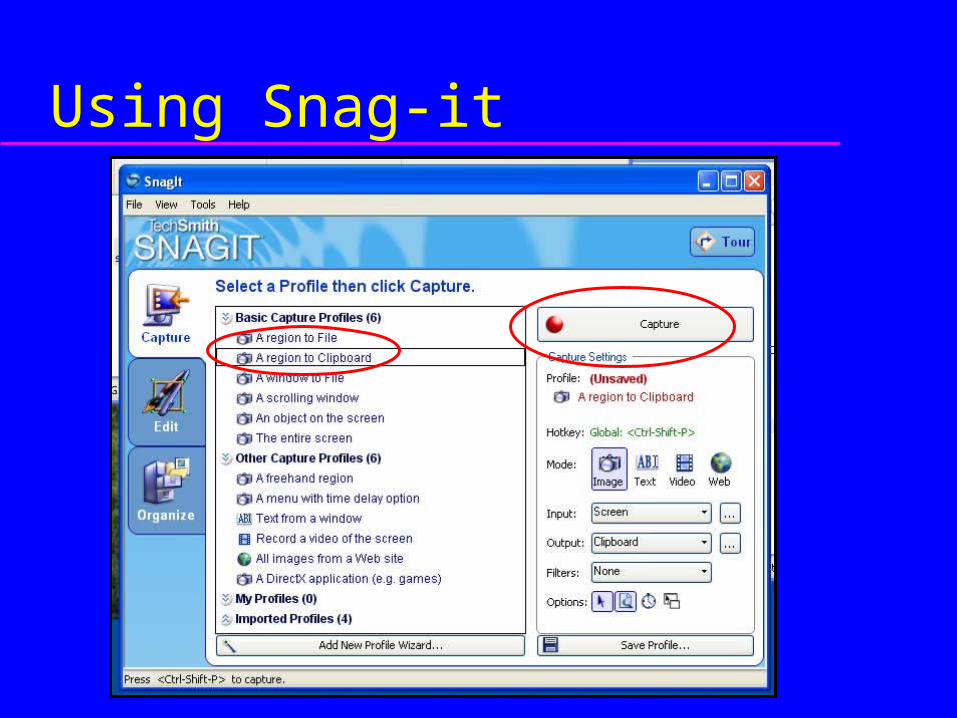
Using Snag-it
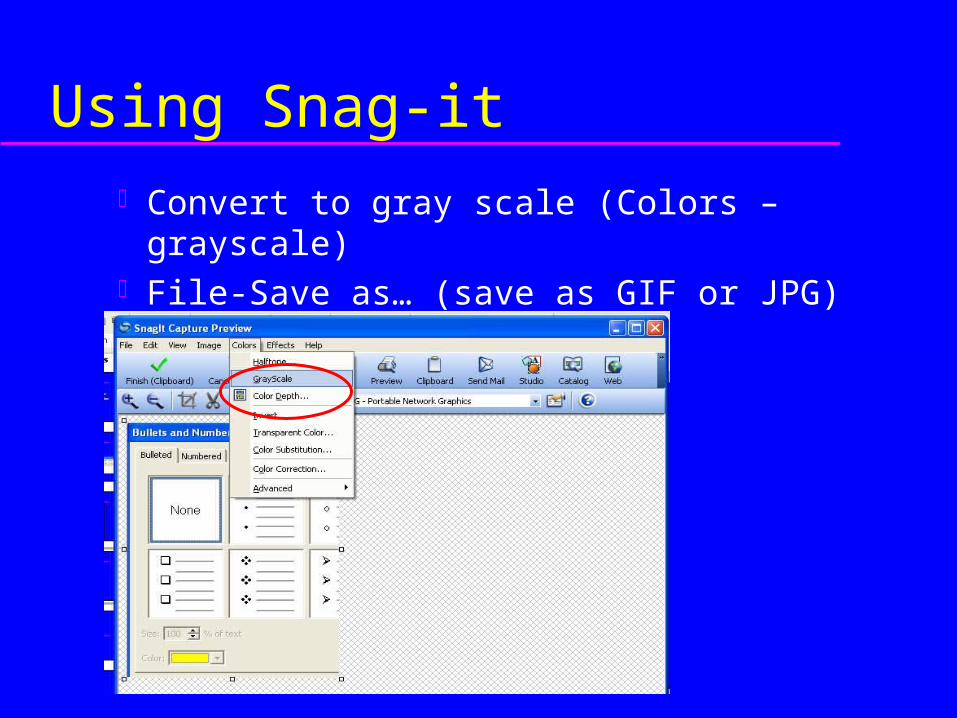
Using Snag-it
Convert to gray scale (Colors – grayscale) File-Save as… (save as GIF or JPG)
Practice


Instructions – Day 4
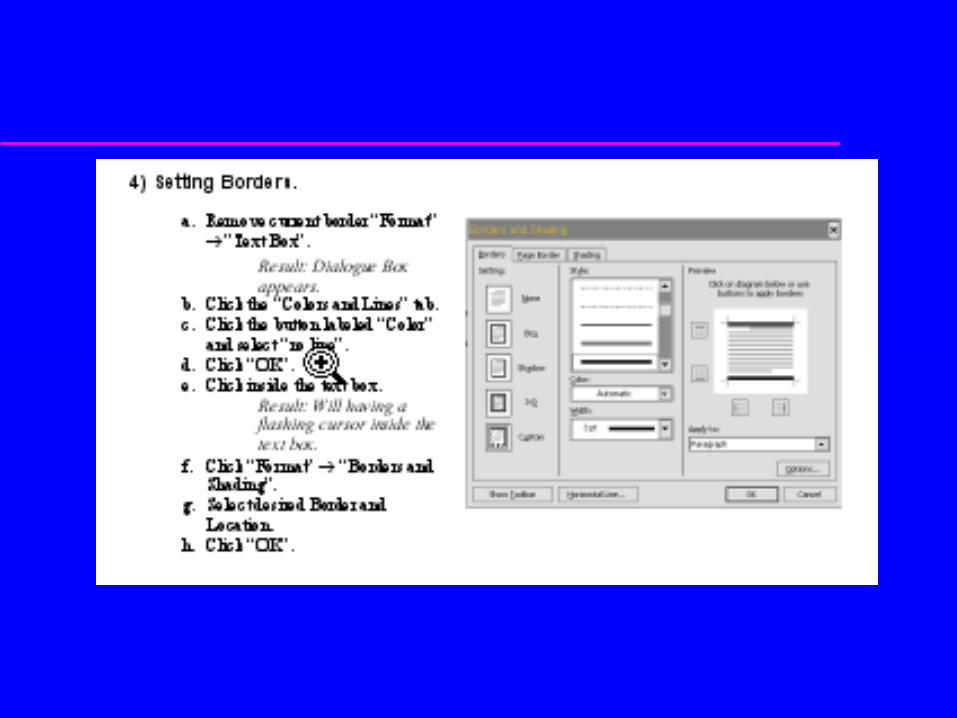
Layout of instructions

Running headers in Word
For your instruction assignment, the running headers and the overall page layout must be for a front-back spread.
The instructions are on the two facing pages when you open the book.
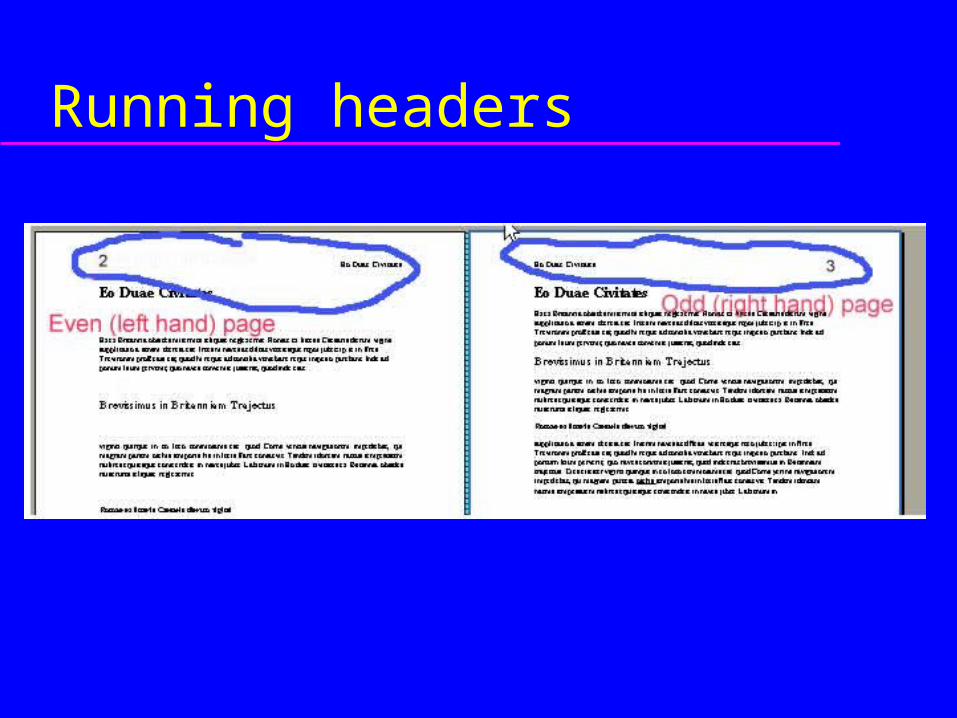
Running headers
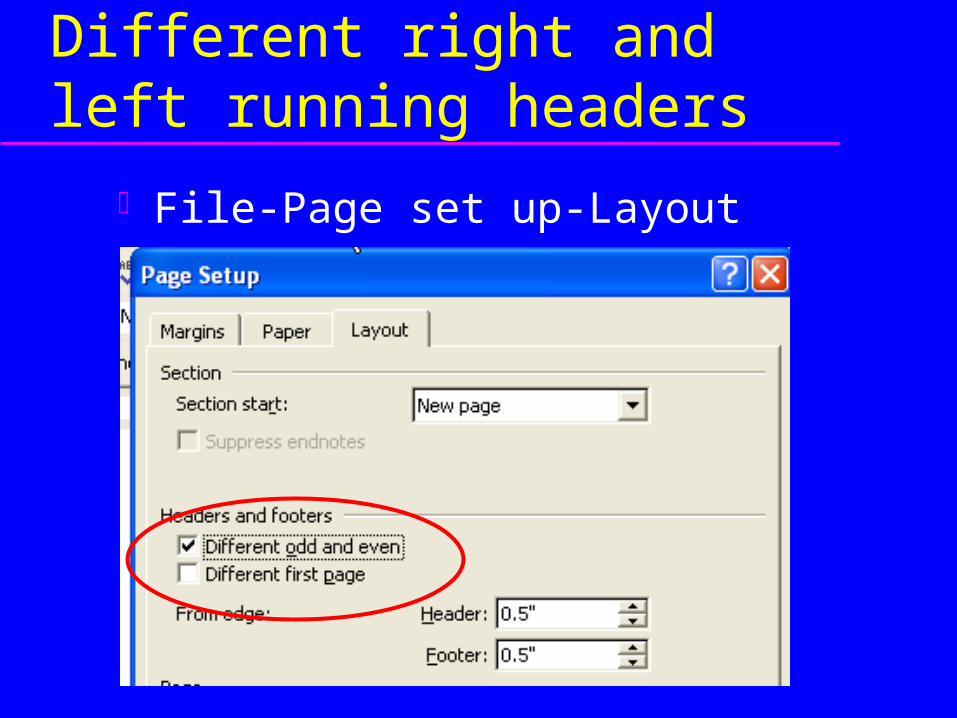
Different right and left running headers
File-Page set up-Layout
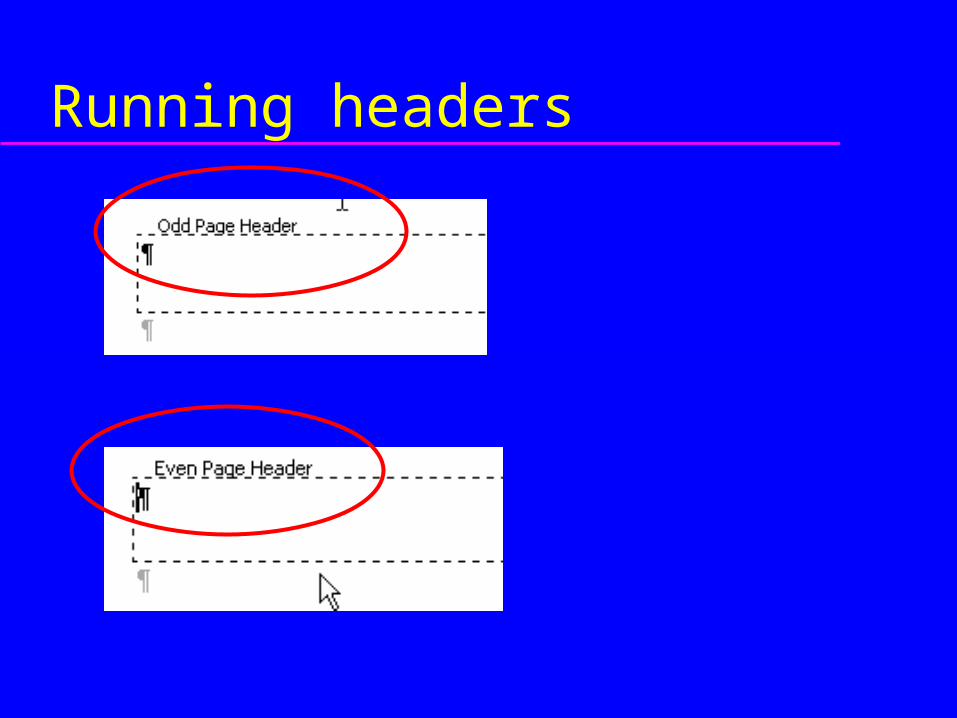
Running headers
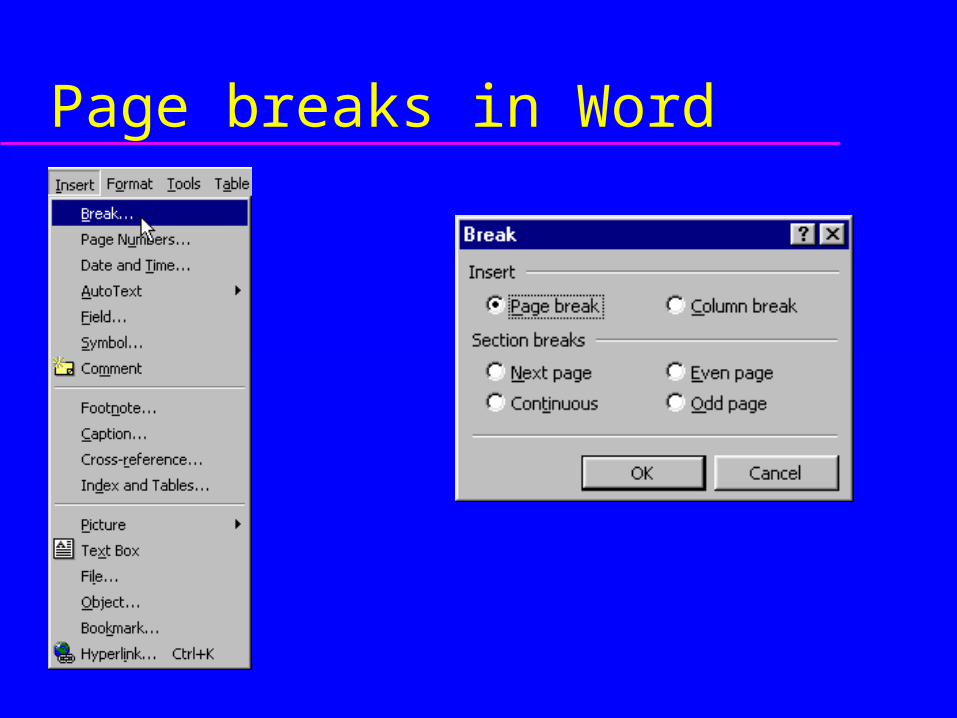
Page breaks in Word

Instructions – Day 5

User test set up
Group assignments
End