Embed Size (px)
Citation preview

Introduction to Beekeeping
David Hoag

The Craft of Beekeeping
• Bee keeping is complicated!
• There is no single correct approach to beekeeping
• Continuously learn from your bees
• Continuously learn from other beekeepers.
• Get involved, develop your knowledge and your network!

Keeping Bees – First Steps
• Check restrictions for beekeeping in your area
• Talk with your family and neighbors before getting bees– Are there swimming pools nearby?
– Does a neighbor have a strong allergic reaction to bee stings?
• Select your hive location carefully– Select a sunny location to set up your hives
– Use fences, walls, or plants to direct your bees up!
– Make sure it is easy to access and work on!

Strong bees starts withSetting up the Bee Hive
• Sunny & warm
• Wind break
• Morning sun on the hive opening
• Easily able to access hive from sides or back

Beekeeping supplies
• There is an overwhelming selection of options for the beekeeper
• There is no one “best” solution
• But there is a toolkit used by most beekeepers, and that is what we will look at today…
Langstroth Hive• Telescoping cover and
inner cover
• Honey supers
• Queen excluder
• Hive body
• Bottom board (screened or solid)
• Hive stand
Box options
• Hive bodies and honey supers come in 8 and 10 frame options– They are not interchangeable!
– 8 frames are 20% lighter and are much easier to manage for the hobby bee keeper
• Hive bodies come in 3 depths: 9 5/8”, 7 5/8” and 6 5/8”– My backyard choice was to standardize on the 8 frame,
9 5/8 option• All equipment is interchangeable
• I pull my honey frames one at a time (vs. pulling an entire box off), so honey super weight was not a problem.

Beekeeper’s Toolkit
• Smoker
• Hive tools
• Frame rest, and other tools
• Personal protection– Veils
– Bee suits
– gloves

Purchasing Equipment tips• Local stores and on line catalog options
• Stick with one supplier for hive components– Sizes differ a little between companies, so
different parts of a hive may not fit well together
– Some companies offer discounts for larger purchases.
• You can save money by building your own– Many good plans on line
– Need table saw and hand tools
– Time consuming, but very rewarding
Getting bees
• Get your equipment up and running before you get your bees!
• Three options for getting bees– Purchase a package of bees
– Purchasing an existing hive or a nuc
– Collect a Swarm

Bee Packages• What you get:
– 3lb of bees and a queen
– Bees are bred to bepredictable and easy to work with
– When:• Once a year only
• Order before March for delivery in April
– How to get one:• Contact your local bee guild
• Carrier Bees or other local bee supply business
– Cost: Around $170

Purchase a Hive or Nuc• What you may get:
– Queen, bees & larvae
– Pulled frames
– Unknown temperamentand origin
• When:– Any time available
• How to get one:– Craigslist or contacts at a bee guild
– You swap out new frames for “pulled” frames and must have all other equipment ready to go
• Cost: 5 frame colony $180 (craigslist quote)

Catch a Swarm• What you get:
– Local bees
– Unknown temperament
– Unknown queen
• When:– March through April
• How to get one– Join your local bee guild and get on the swarm list
– Join your local bee guild and join the swarm team
– Craigslist
• Cost: Free to $110

Now that you are all set up,Let’s talk a little bit about Bees

The Queen• Queens are “made” by the
workers– To replace a failed queen
– Or to swarm
• The queen as the ovaries of the “super organism”– Can lay up to 1500 eggs per day
– Can “choose” to lay worker eggs or drone eggs
• “The queen is dead! Long Live the Queen!!”– Unproductive queens are replaced by the colony
– She can live up to 7 years (but 2yrs is more normal)

The Worker• All female bees
• Any worker bee had the potential to become a queen– All bees are fed royal jelly for
the first 3 days of life
– Worker bees are switched to pollen and nectar diet.
– Queen bees are fed royal jelly their entire life
• Workers live around 6 weeks
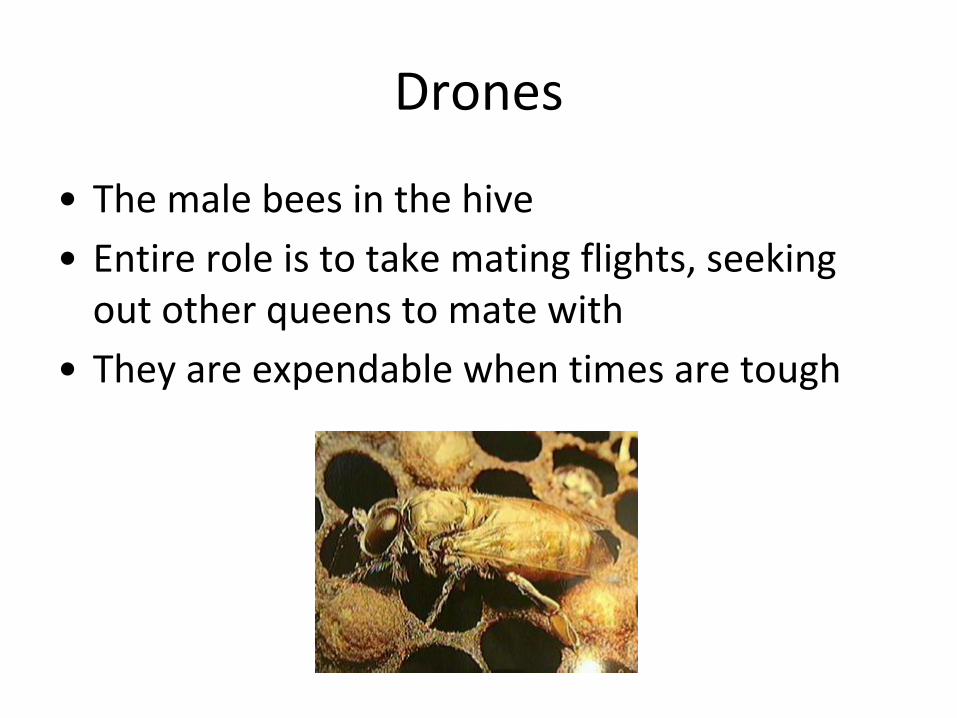
Drones
• The male bees in the hive
• Entire role is to take mating flights, seeking out other queens to mate with
• They are expendable when times are tough

Honey Bee Lifecycle

Foraging
• Worker bees forage for pollen, nectar, water and tree resins (propolis)
• Food that is not consumed by the colony is stored and consumed when no food is available
Trophallaxis
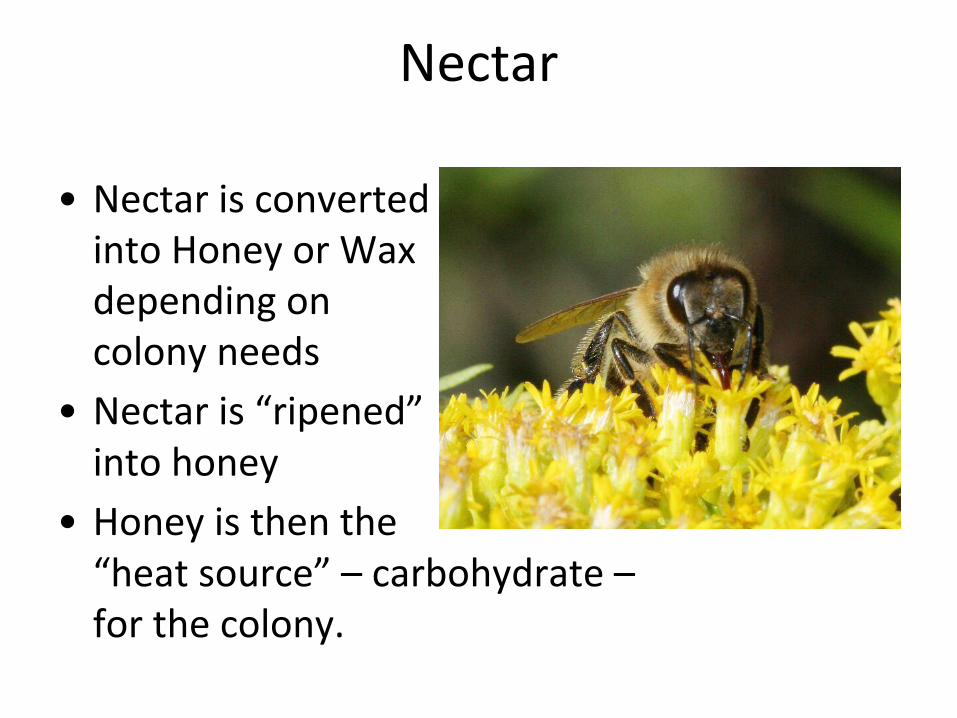
Nectar
• Nectar is converted into Honey or Wax depending on colony needs
• Nectar is “ripened” into honey
• Honey is then the “heat source” – carbohydrate – for the colony.

Pollen
• Pollen is the protein for the colony and is essential for colony survival
• Pollen is a key trigger for colony expansion or contraction throughout the year.

Water
• Water is essential to the bee, the bee colony, and to honey production.
• A bee colony can consume up to 1 liter of water per day

Propolis
• Bees collect plant resins (sap) and use it to seal small gaps in the hive

Hive Inspections• Use a checklist
• Start with the outside– Activity level
– Pollen coming in
– Dead bees on the ground (type? Age? Cause?)
– Signs of ants or other predators
– Condition of equipment
• Inside– Seasonally predictable
– Brood patterns
• Be respectful, be intentional, be quick

When to Open a Hive
• Best to inspect when most of the bees are out foraging.
• Sunny, warm, and wind free days– 65 to 95 degrees
• Mid day is best. Target 10am to 4pm
• If your bees are happily going about their business, they are less likely to be concerned with you.

Preparations before Opening
• Smoker is full, lit and smoking before you open a hive.
• Bee suit is clean and your veil is on.– You don’t want to have bees flying before you put
that veil over your head.
• All supplies you might need are with you and ready to be used– Do not leave an open hive unattended
– Do not leave your smoker unattended
– Do not leave the hive open longer than absolutely necessary

Calm Bees: Tips When Opening a Colony
• Stand on the side or the back of the hive, not the front.– Standing at the front will prevent foragers from
returning
• Be gentle. Avoid bumping or snapping sounds which will alarm the bees
• Use enough smoke to make the worker bees comfortable
• Avoid crushing bees!

Strong colonies: Let the bees do the fighting for you
• A focus on STRONG colonies will reduce impact of disease.– Good colony location (sunny and warm)
– Room to grow when they need it
– Feed when they need it
Colony health• Strong colonies maximize new bees (recruitment)
– The queen has sufficient room to lay eggs
– Plenty of nurse bees to take care of brood
– Adequate food stores in the hive
• Strong colonies minimize death (Attrition).– Loss of bees through wear and tear, disease, and
starvation,
– Attrition is reduced average lifespan of the worker
• Our task is to maximize recruitment potential while minimizing attrition.

Maximizing New Bees
• Good colony location
• Equipment in good shape– No cracks or gaps that would let predators or bad
weather into the hive
– Equipment is serviceable (safe for you)
• Room to grow when they need it
• Feed when they need it. – Don’t take too much when harvesting honey.

Room to Grow:Seasonal Changes in the Hive
Typical colony population growth curve (very approximate)

Adding a Second Brood Box• Colony growth happens very fast!
– One bee takes roughly 5 times the space of a brood cell.
– The colony needs to take full advantage of nectar and pollen flows in order to survive the winter.
• Colony is telling you they need more room when:– There are lots of bees
– The hive is heavy
– White wax
Two Brood Boxes, Lots of BeesAdding a Honey Super
• Just another name for a box with frames– Often a Medium or Shallow box
– Consider weight when determining what you are going to use for honey supers
• Use a Queen Excluder to keep the honey free from brood
• Don’t mix honey frames with brood frames

Two Brood Boxes, Lots of BeesOther Options
• Check to see if there are bees in both boxes – Bees may have entirely moved up – leaving the
lower box empty.
– You may want to swap box positions.
• Check for queen cells, especially if both boxes are stuffed with bees– They may be preparing to swarm
– Options may be to split the hive or let them swarm

Too Few Bees• Queenless hive or failing queen
– Hive inspection reveals no brood, or spotty brood.
– Hive inspection reveals no queen
– Hive inspection reveals queen cells.
– Bees are loud and agitated
– Possible solutions:• Requeen
• Combine colonies
• Disease, starvation…– Increase bee longevity

Increasing Bee Longevity
• Focus on the big items
• Focus on those items we can control
• Learn from your bees and learn from other bee keepers.

Colony Threat: Starvation• Spring is a high risk
– Lots of new brood
– Low food stores
– Winter bees too tired to forage
– Spring rains or frost can kill food supply or prevent foraging.
• Watch carefully!– Heft the box to check weight
– Look for capped honey
– Feed if at risk!

Colony Threat: Ants and Wasps• Strong, healthy colonies are
rarely killed by ants and wasps – Ants can push a weak colony
out of the hive
– Wasps feed on brood and can overrun a colony
• Simple preventative maintenance usually does the trick – Set wasp traps out early in the year
– Use ant barriers or traps if needed
– Don’t use spray insecticides around your hives!

Colony Threat: Varroa destructor• Breeds in capped brood cells and
feeds on larva and adult bees.• Mite infestation can kill a bee
colony. • Biggest risk is in late autumn
through early spring• Infested colonies will often have
large number of bees with deformed wing virus.
• Try to keep mite levels below a 1% infestation rate in adult bees
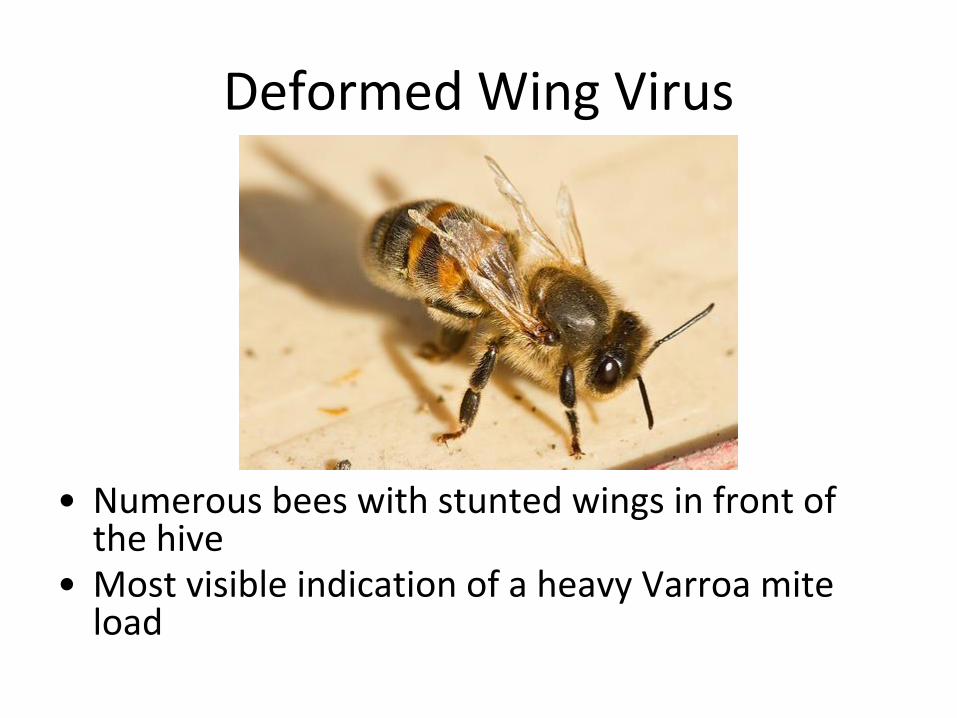
Deformed Wing Virus
• Numerous bees with stunted wings in front of the hive
• Most visible indication of a heavy Varroa mite load

Testing for Varroa• Slide in a solid bottom board for 24 hours
– Recommendation is to use white board with cooking spray so mites stick.
– Carefully remove board and count mites
– This is a crude measurement, but may be sufficient to determine any action needed
• Bottom board count tolerances:– Spring: > 10 mites
– Fall: >50 mites (personally, I think this is way too high)

Closer look at Infestation Rate
Varroa population
• Rate affected by bee population changes
• A manageable mite load in one month could quickly turn into a major issue later on.

Bottom line with Varroa
• Your colonies will have Varroa mites
• They become a serious risk to colony health when the ratio of mites to bees is too high
• Your task is to learn how to read the signs and take appropriate action

Treating for Varroa
• Large, healthy colony in a good location is your best defense!
• Use screened bottom boards so mites naturally fall out of the hive
• Treat with formic, oxalic acid, or with a miticide in fall and spring.
• Rotate treatments to reduce resistance.
• As a beekeeper, continue to learn and adapt
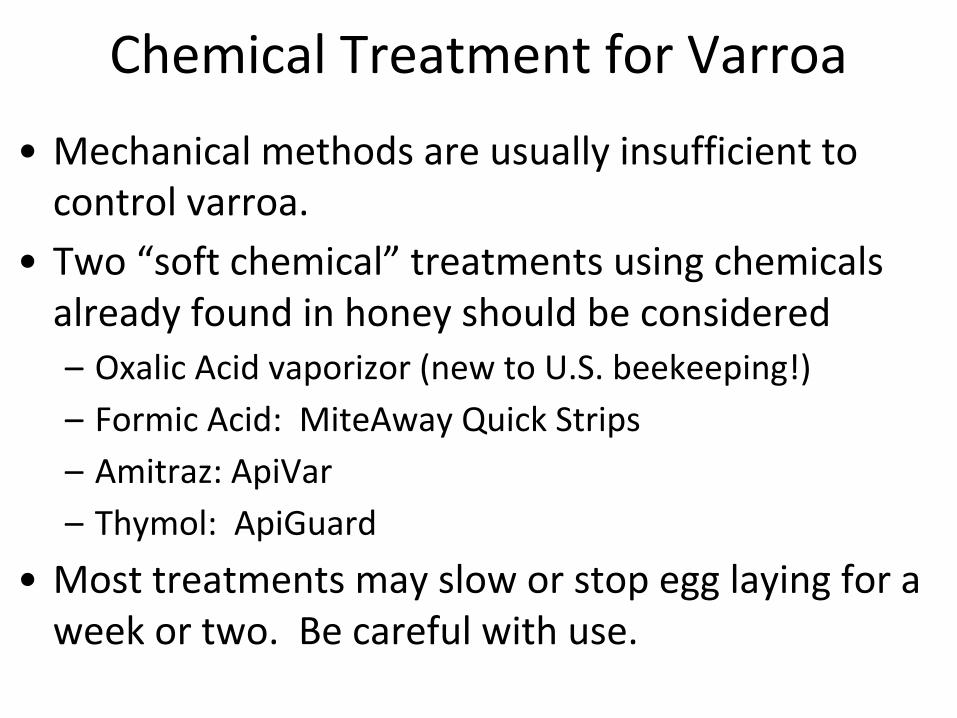
Chemical Treatment for Varroa
• Mechanical methods are usually insufficient to control varroa.
• Two “soft chemical” treatments using chemicals already found in honey should be considered– Oxalic Acid vaporizor (new to U.S. beekeeping!)
– Formic Acid: MiteAway Quick Strips
– Amitraz: ApiVar
– Thymol: ApiGuard
• Most treatments may slow or stop egg laying for a week or two. Be careful with use.
Colony Health Summary…
• There are many pressures on bee colonies, and will likely be more over time
• A focus on STRONG colonies will reduce impact– Good colony location (sunny and warm)
– Room to grow when they need it
– Feed when they need it
– Stay on top of varroa
• Continue to learn and adapt

Maintenance schedule
• Late winter / Early spring – check reserves. Feed pollen or sugar if necessary
– Treat for mites
– Give additional brood space as needed
• Spring through summer– Treat for mites
– Give additional brood space if needed
– When the bees are ready, use queen excluders and add honey supers

Maintenance schedule• Late summer into fall
– Test for mite load
– Treat for mites as needed
– Pay attention to pollen flow and feed as needed
– Remove supers
• Winter– Prepare for the early spring build
– If needed, reduce them down to one hive body.
– Don’t feed (fruitless foraging)