Embed Size (px)
Citation preview

Introduction to Game Mode
2
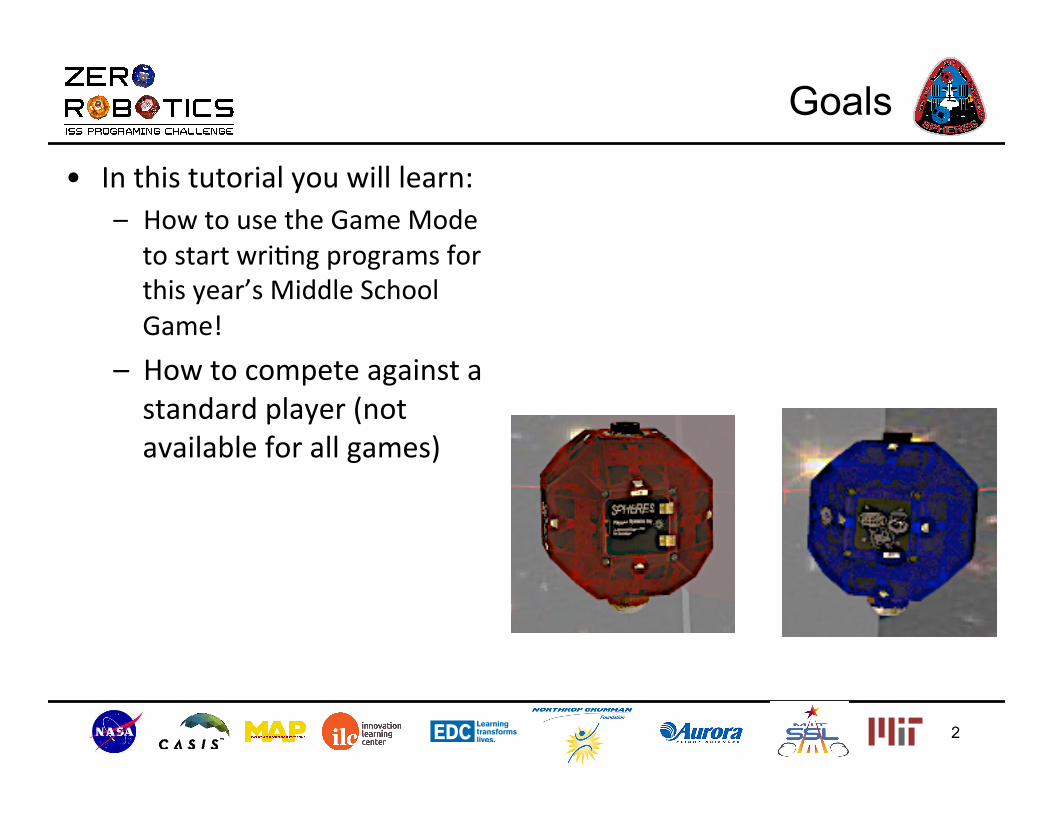
Goals
• In this tutorial you will learn: – How to use the Game Mode to start wri8ng programs for this year’s Middle School Game!
– How to compete against a standard player (not available for all games)
3
Welcome to Game Mode
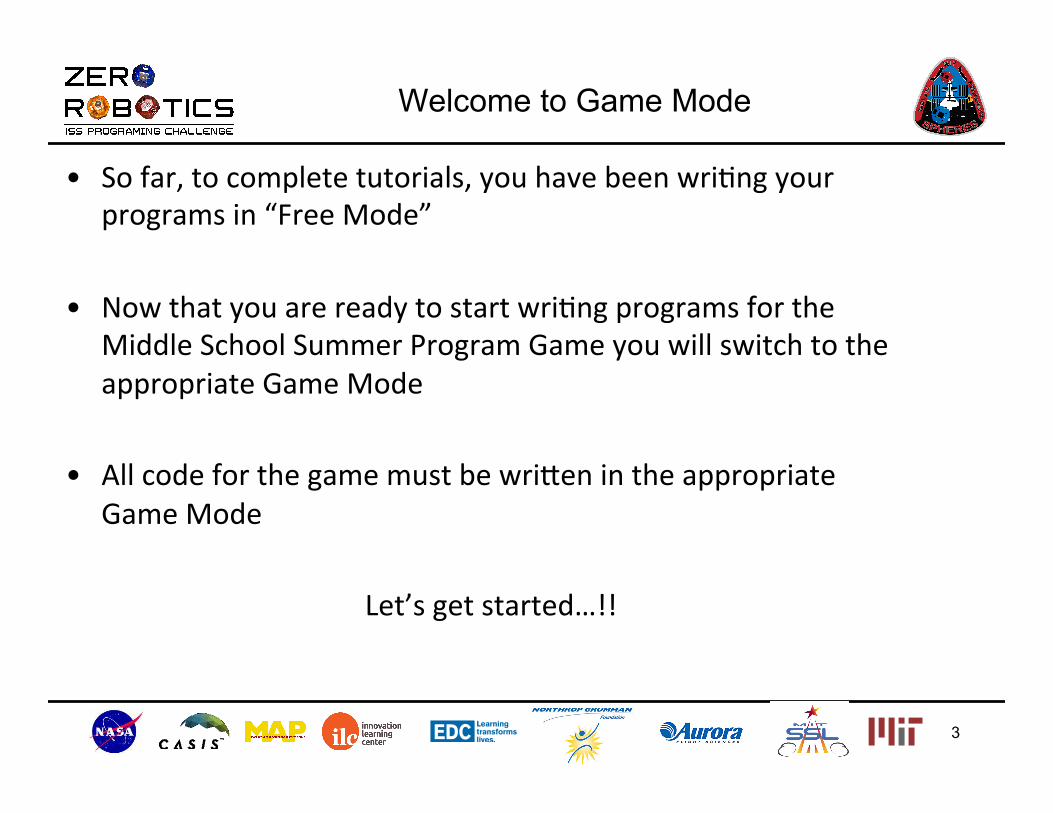
• So far, to complete tutorials, you have been wri8ng your programs in “Free Mode”
• Now that you are ready to start wri8ng programs for the Middle School Summer Program Game you will switch to the appropriate Game Mode
• All code for the game must be wriKen in the appropriate Game Mode
Let’s get started…!!

4
Creating a Project in Game Mode
• Select the IDE drop down menu on top ribbon
• Select “ New Project”: • In the popup window enter:
– Project Name • Enter an name. Example: Team ABC1
– Select “Graphical Editor” – Game
• Select the name of this year’s game (ask your teacher!)
• Click “Create Project”
5
Introduction to Game Mode
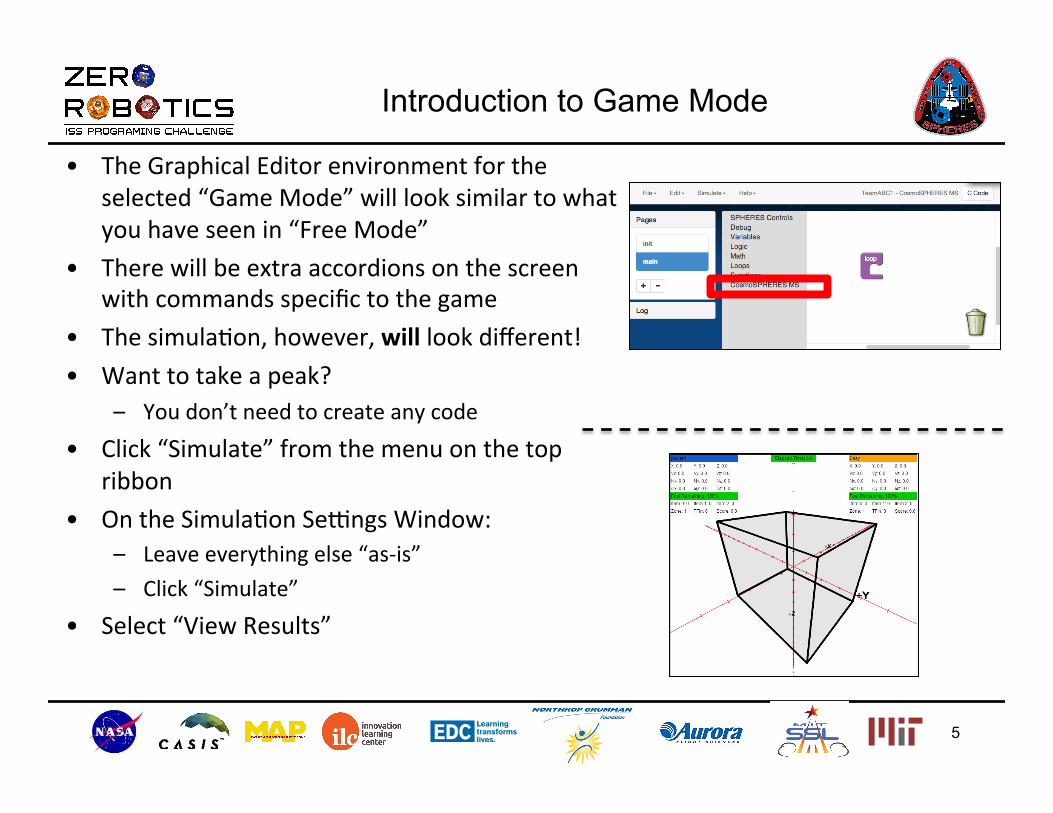
• The Graphical Editor environment for the selected “Game Mode” will look similar to what you have seen in “Free Mode”
• There will be extra accordions on the screen with commands specific to the game
• The simula8on, however, will look different! • Want to take a peak?
– You don’t need to create any code • Click “Simulate” from the menu on the top
ribbon • On the Simula8on Se^ngs Window:
– Leave everything else “as-‐is” – Click “Simulate”
• Select “View Results”

6
Introduction to Game Mode, continued
Note: These images are game specific and will vary from year to year
• When you click the arrow to start the simulation you will see the initial positions for the two satellites.
• Nothing else will happen because you have not written any code yet.
• Take a look at the scoring boxes. – Some extra, game-specific information is
included • Based on your understanding of the game,
can you guess why the information is there?
• Close the simulation window

7
Playing a Standard Player
• Another feature of “Game Mode” is that you sometimes have the option to test your code against “Standard Players”
• Even though you don’t have any code to test yet, you can try it right now
• From the Graphical Editor select “Simulate” from the top ribbon menu – Leave everything else “as-‐is” except
opponent – Click “Select Opponent”
• In the project window you can select a “Standard Player” for your game
• Click the check box • Click on Select

8
Playing a Standard Player, continued
• The name of the opponent will appear on the Simulation settings window
• Simulate and View Results!

9
Playing a Standard Player, continued
• You will see: – The “Opponent” move though the game course – Various elements of the game will appear – Your SPHERE will remain stationary since you have not created any code
• Check the scoring boxes at the end of the match to see how well the “Opponent” scored
Blue sphere: 5 vs Red Sphere: 7
Note: This image is game specific and will vary from year to year

10
Review
• Congratula8ons! – You have learned how to select the appropriate “Game Mode” to create a project for your game
– You have learned how to test your code against a “Standard Player”
• Now it is 8me to get started! Have fun wri8ng code!