Embed Size (px)
Citation preview

INTRODUCTION TO AND
INSTALLATION OF THE
ARDUINO UNO Milwaukee School of Engineering
Created: June 2011
Last Update: 22 August 2013
Author: Cory J. Prust, Ph.D.
ARDUINO UNO OVERVIEW
Open-source single-board electronics prototyping and design platform
Atmel ATmega328p microcontroller 32 KB Flash Memory
2 KB SRAM
1 KB EEPROM
16 MHz CPU clock
14 Digital I/O Pins
6 Analog Input Pins
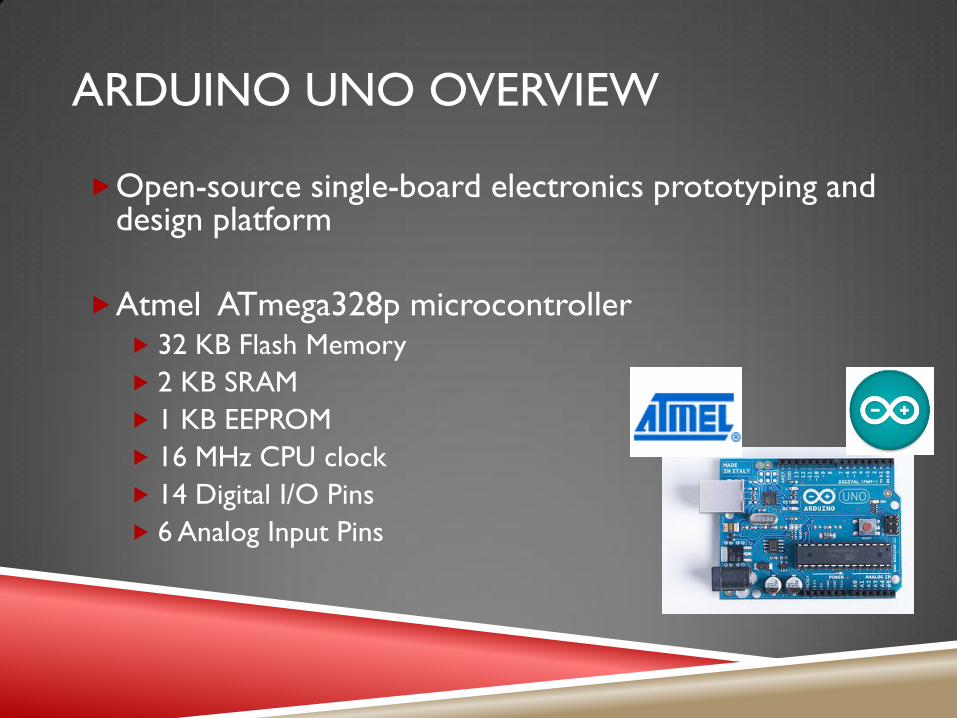
ARDUINO UNO LAYOUT
Digital I/O Pins
Reset
USB Connector
Analog Input Pins
ATmega328p
Power/GND Connections
DC Power

PROGRAMMING – OPTION 1
Arduino IDE
Compiles programs and uploads to UNO board
“Wiring” language – a C/C++ hybrid
Programs are called “sketches”
PROGRAMMING – OPTION 2
WinAVR + Eclipse IDE
Can program in C or C++
Can upload programs to microcontroller board
Allows full control of microcontroller subsystems
INSTALLATION OVERVIEW
Step 1: Installing the Arduino IDE
Step 2: Connecting the Arduino to your PC
Step 3: Driver installation
Step 4: Testing the UNO

INSTALLING THE ARDUINO IDE
Download the latest release of the Arduino IDE from
https://faculty-web.msoe.edu/prust/arduino
Extract the .zip file to your D:\ drive. After extraction, your directory
structure should appear as follows:
D:\arduino-1.0.5
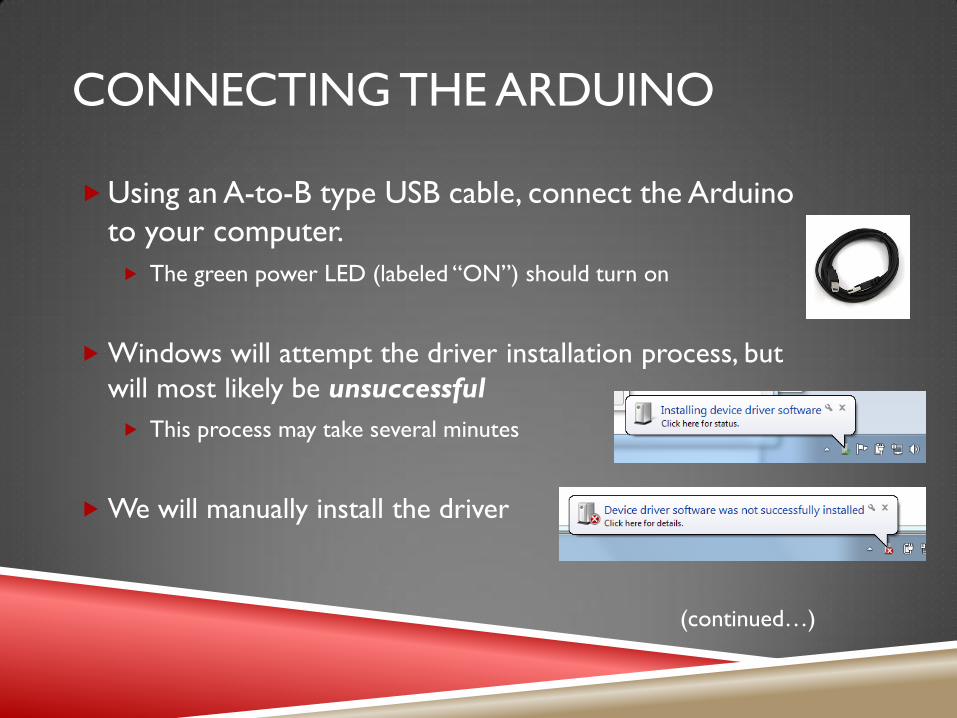
CONNECTING THE ARDUINO
Using an A-to-B type USB cable, connect the Arduino
to your computer.
The green power LED (labeled “ON”) should turn on
Windows will attempt the driver installation process, but
will most likely be unsuccessful
This process may take several minutes
We will manually install the driver
(continued…)
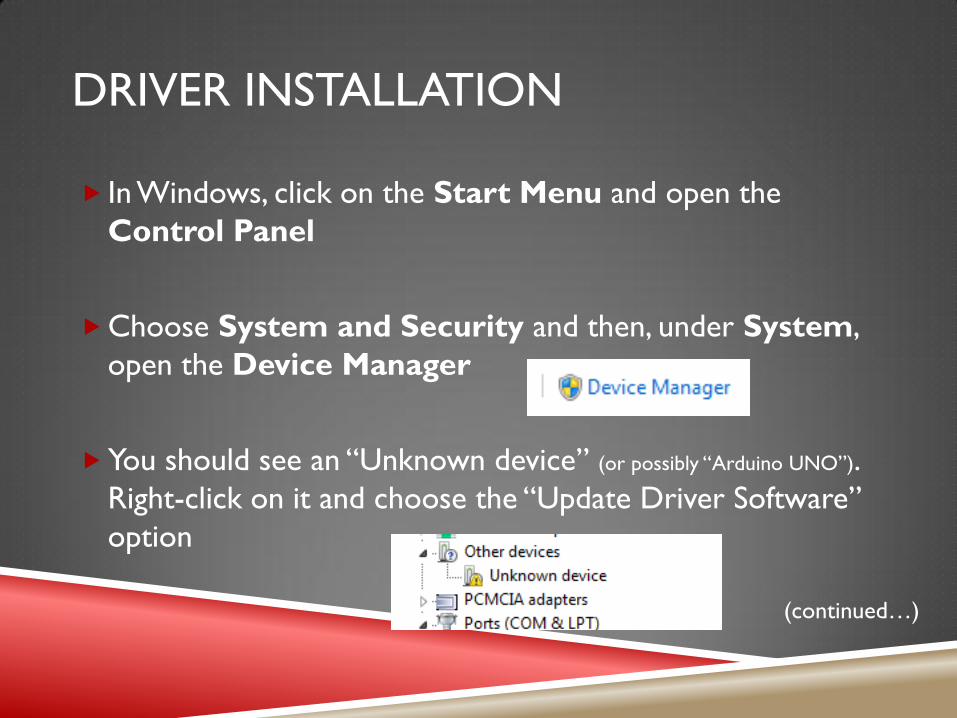
DRIVER INSTALLATION
In Windows, click on the Start Menu and open the
Control Panel
Choose System and Security and then, under System,
open the Device Manager
You should see an “Unknown device” (or possibly “Arduino UNO”).
Right-click on it and choose the “Update Driver Software”
option
(continued…)
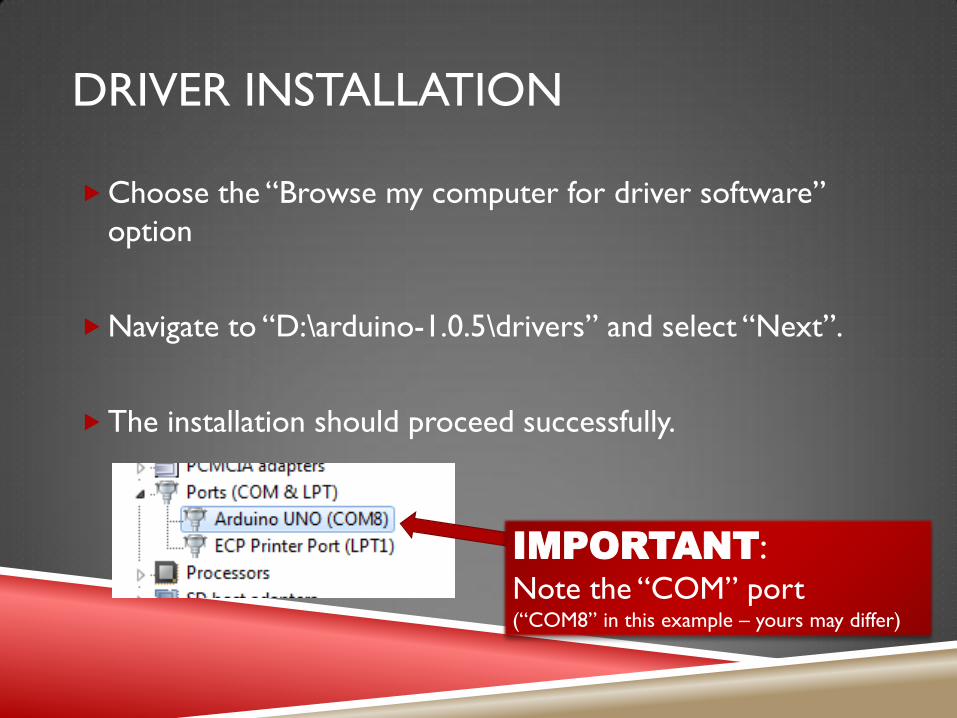
DRIVER INSTALLATION
Choose the “Browse my computer for driver software”
option
Navigate to “D:\arduino-1.0.5\drivers” and select “Next”.
The installation should proceed successfully.
IMPORTANT: Note the “COM” port (“COM8” in this example – yours may differ)
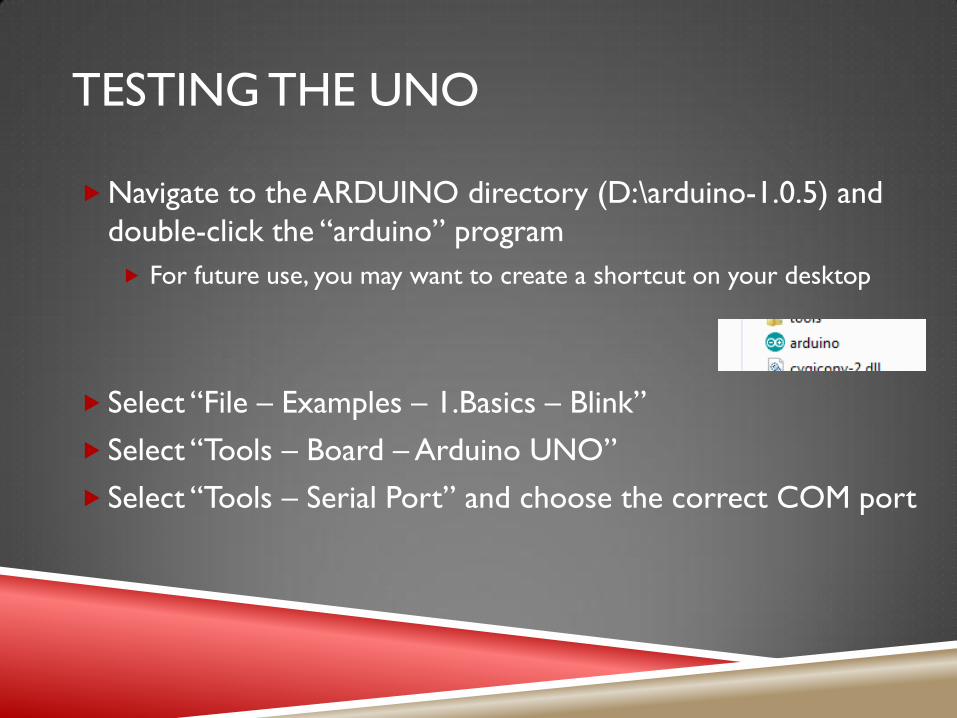
TESTING THE UNO
Navigate to the ARDUINO directory (D:\arduino-1.0.5) and
double-click the “arduino” program
For future use, you may want to create a shortcut on your desktop
Select “File – Examples – 1.Basics – Blink”
Select “Tools – Board – Arduino UNO”
Select “Tools – Serial Port” and choose the correct COM port

Compile the program by clicking the “Verify” button
When finished, you will see a “Done compiling” message
Program the UNO by clicking the “Upload” button
When finished, you will see a “Done uploading” message
The yellow LED (marked “L”) should be blinking!
TESTING THE UNO
Verify
Checks for errors and compiles code
Upload
Programs the microcontroller board

TESTING THE UNO
You can change the blink rate by modifying the
software
After modifying the code, you must always “Verify” and
“Upload” for the changes to take effect
Adjust the “delays”
(e.g., change “1000” to “100”)

CONGRATULATIONS!!!
You now have a fully functioning Arduino UNO
development system!
Select “Help – Reference” to view the complete Arduino
Language Reference
If you are curious how the “Blink” program works:
review the “pinMode()”, “digitalWrite()”, and “delay()” entries
review the “setup()” and “loop()” entries
See the Arduino website for more information:
http://arduino.cc/en/