Embed Size (px)
DESCRIPTION
Edit your photos with irfanview like rotating, flipping, adjusting color contrasts, changing image size, convert to mono, sepia etc
Citation preview
IrfanView Photo Edit Program
Free off the Internet

Use This Program to do following • Rotate pictures 90 degrees left or right • Flip pictures horizontal or vertically • Rotate pictures Left or Right by increments to straighten • Resize picture • Convert picture type to any other type e.g. .bmp to .jpg • Crop parts of Picture • Adjust colours and brightness • Remove red eye • Convert to mono or sepia • Add Text lines and shapes • Add Borders and Frames • Remove unwanted items by cloning or painting • Change colours • Convert from negative to positive • Create Panoramas horizontally or vertically
Groups of Photos
• Create Slide Shows with various functions
• Write Slideshows to CD or DVD
• Batch Convert pictures from different formats
• Rename and resize batches
• Scan pictures from your scanner
• Get pictures from your Web Camera
• Copy Pictures from your scanner to your printer
Irfanview Tutorials
• By using a search engine such as Google you can easily find some How To guides for Irfanview in various forms (Utube )but there are several in Acrobat Reader format which you can download and save on your computer.
• Put your keywords such as
• Irfanview Tutorial or User Guide into Google
• Click here for Download of program and Plug-in
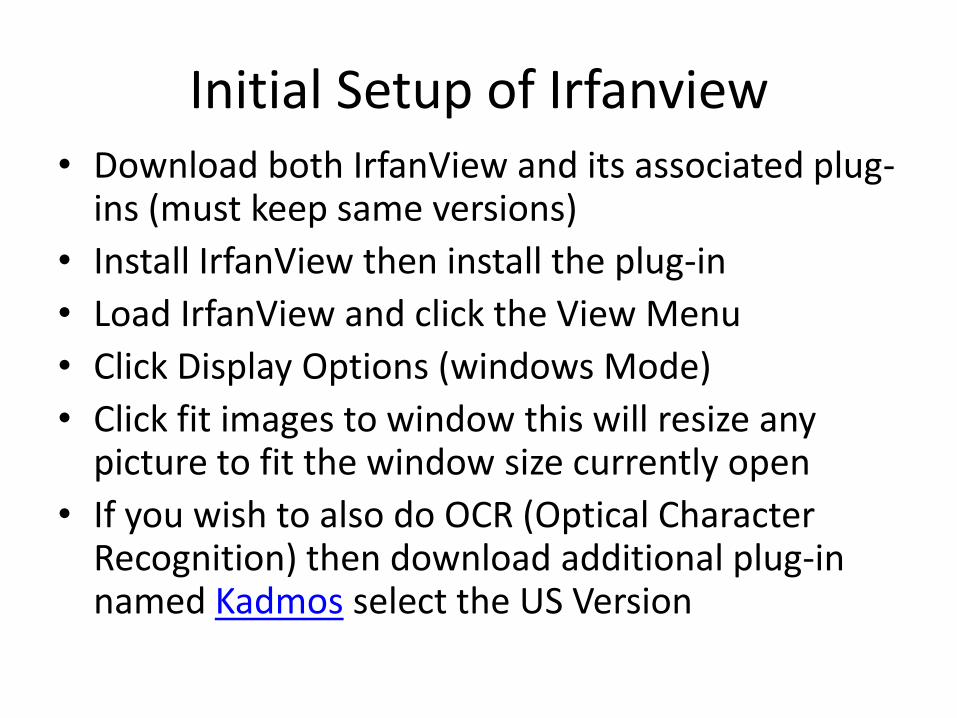
Initial Setup of Irfanview • Download both IrfanView and its associated plug-
ins (must keep same versions)
• Install IrfanView then install the plug-in
• Load IrfanView and click the View Menu
• Click Display Options (windows Mode)
• Click fit images to window this will resize any picture to fit the window size currently open
• If you wish to also do OCR (Optical Character Recognition) then download additional plug-in named Kadmos select the US Version
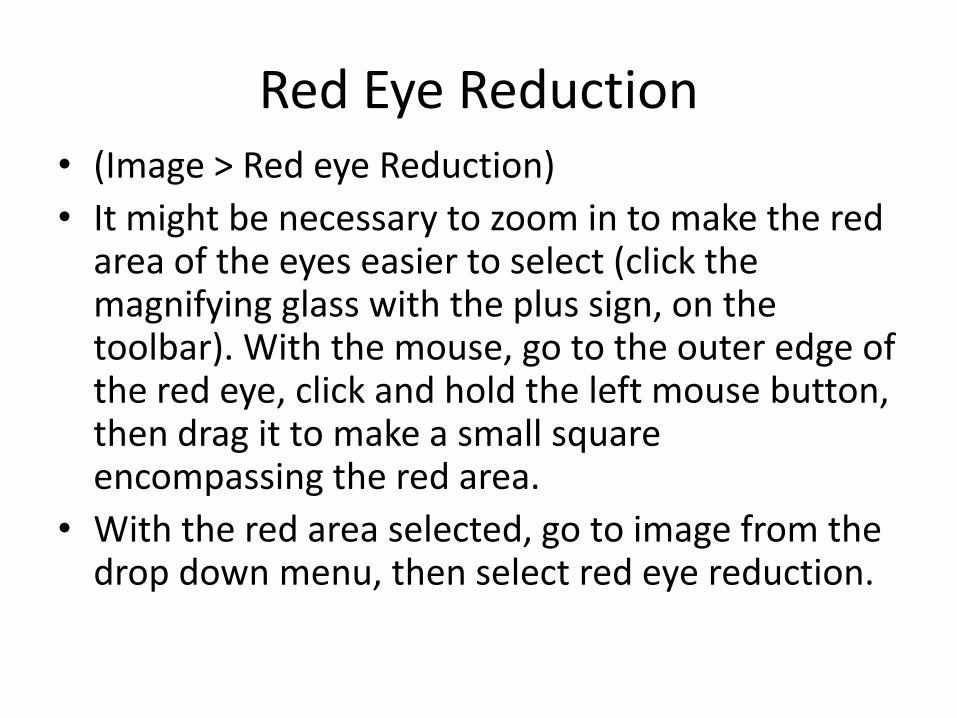
Red Eye Reduction • (Image > Red eye Reduction)
• It might be necessary to zoom in to make the red area of the eyes easier to select (click the magnifying glass with the plus sign, on the toolbar). With the mouse, go to the outer edge of the red eye, click and hold the left mouse button, then drag it to make a small square encompassing the red area.
• With the red area selected, go to image from the drop down menu, then select red eye reduction.
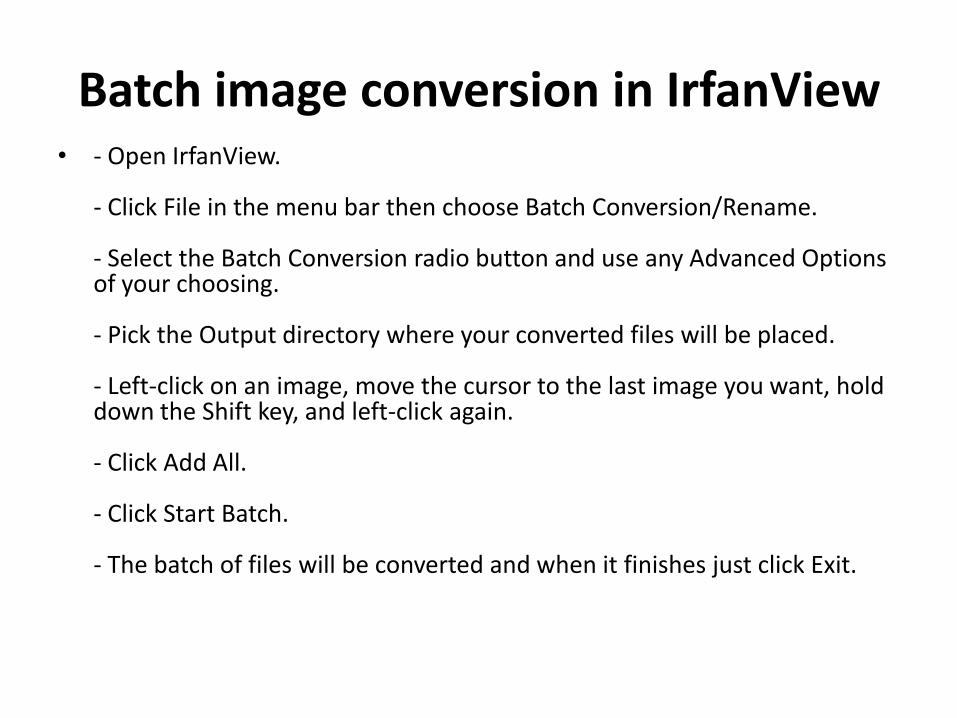
Batch image conversion in IrfanView • - Open IrfanView.
- Click File in the menu bar then choose Batch Conversion/Rename. - Select the Batch Conversion radio button and use any Advanced Options of your choosing. - Pick the Output directory where your converted files will be placed. - Left-click on an image, move the cursor to the last image you want, hold down the Shift key, and left-click again. - Click Add All. - Click Start Batch. - The batch of files will be converted and when it finishes just click Exit.

Resize Image • This is probably one of the most used features in Irfanview; maybe any
image viewer. It's always a good idea to have 'preserve aspect ratio' selected, unless the original picture needs to be distorted. Preserving aspect ratio will equally resize the image.
• Two quick ways to resize an image: • Set new size in width and height (pixels) • If the image is 1024 width x 768 height and it needs to be changed to 800
width x 600 height, first change the 1024 width to 800. If you have checked 'preserve aspect ratio', 768 pixels in height will automatically change to 600 pixels.
• Set new size as percentage of original • An even quicker way to resize the image is to 'set new size as percentage
of original'. If the image is too large but 50% smaller might be just right, enter 50 in the width percentage. Again, if you have preserve aspect ratio selected, the change will carry over to the height automatically.
• If you don't like the resulting image size, go to Edit > Undo, from the drop down menu or hit ctrl+Z for the shortcut key combination.
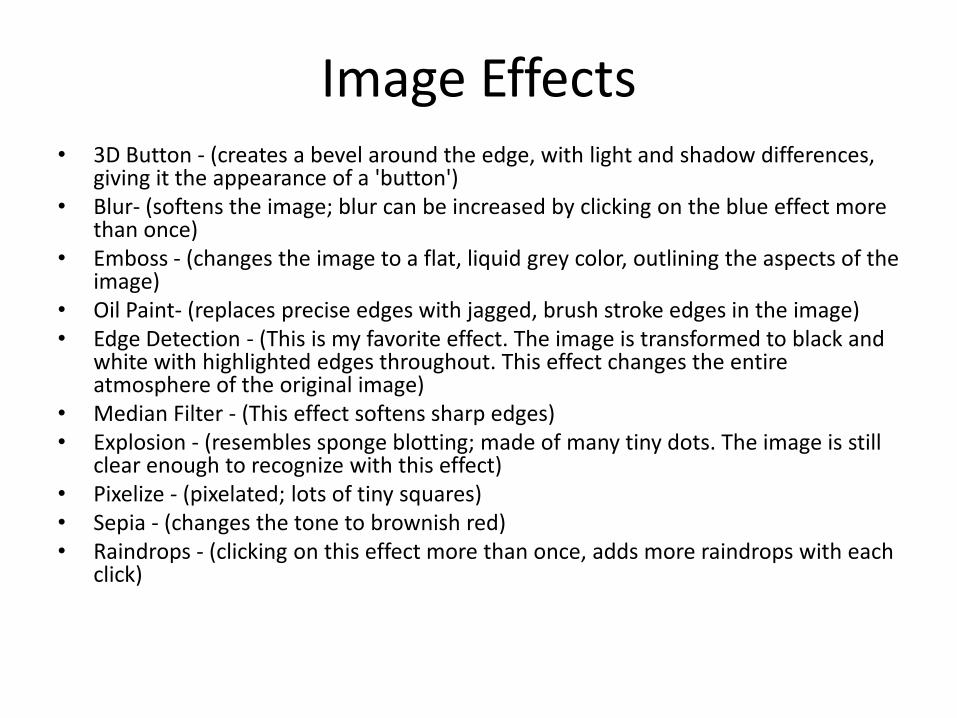
Image Effects • 3D Button - (creates a bevel around the edge, with light and shadow differences,
giving it the appearance of a 'button') • Blur- (softens the image; blur can be increased by clicking on the blue effect more
than once) • Emboss - (changes the image to a flat, liquid grey color, outlining the aspects of the
image) • Oil Paint- (replaces precise edges with jagged, brush stroke edges in the image) • Edge Detection - (This is my favorite effect. The image is transformed to black and
white with highlighted edges throughout. This effect changes the entire atmosphere of the original image)
• Median Filter - (This effect softens sharp edges) • Explosion - (resembles sponge blotting; made of many tiny dots. The image is still
clear enough to recognize with this effect) • Pixelize - (pixelated; lots of tiny squares) • Sepia - (changes the tone to brownish red) • Raindrops - (clicking on this effect more than once, adds more raindrops with each
click)

Working with effects in IrfanView • - Open IrfanView and click Image, Effects, Effects Browser.
- Select the effect you want in the left-hand side and look at the effect in the right-hand view window. - With some effects you can drastically alter the effect by moving the slider for that effect. - You can apply multiple effects to an image if you wish. - When you have your image just the way you want it click Apply. - If you find you're not happy with it simply click Undo. - Don't forget to save your new image by clicking File and Save As and giving it a unique name.
Screen captures with IrfanView • - In IrfanView click Options, then Capture/Screenshot.
- Select what portion of the screen you want to capture. - Elect to include the mouse cursor in your screen shot, or not. - Select whether to open your image in the main window or to automatically save it as a file. - If you're going to save your captured images, click Browse to pick a directory to save them in. - Select the graphics format you want to save the resulting images in. - Pick your capture method of either hot key or timer. - Click Start and capture the screen. - Then click File and Save As and give your capture a name.

Using the paint tools in IrfanView • - Open IrfanView.
- Click on Edit and then on Show Paint Dialog. - You can click on the brush icon to draw freehand on your image. - Click on the eraser icon to erase portions of your image. - You can draw lines and arrows, ellipses and rectangles. - You can fill areas with colour and pick colours from areas of your image. - You can rotate or straighten an image. - The pen and brush settings let you alter those defaults. - You can increase or decrease the width of the pen in pixels. - Remember to click File and Save As if you want to keep your altered image but not over-write your original.
Altering images in IrfanView Pt.1 • - Open IrfanView and click Image in the menu bar.
- Click Rotate Left or Rotate Right to rotate you image in the direction you want. - Click Custom/fine rotation to alter the degree of rotation and the background colour. - Click Vertical Flip or Horizontal Flip to turn your images in those directions. - Click Resize/Resample to change the size of your image. - Click Canvas Size to create a border or frame around your images of the size and colour you want. - Click Decrease or Increase colour depth to alter the brightness and saturation of colours in your image.
Altering images in IrfanView pt.2 • - Open IrfanView and click Image in the top menu bar.
- Click Convert to greyscale to turn your colour image into black and white. - Click Negative to turn your image into a negative or reverse. - Click Enhance Colours to go in and adjust the levels of Red, Blue, and Green to get custom effects with colours. - Click Auto Adjust Colours to have the program fine tune the colour of your image. - Click Sharpen to smooth out pixels. This is especially handy after resizing an image. - Click red-eye reduction to remove red-eye from photos. - Click Swap Colours to alter your images in strange and sometimes beautiful but always interesting ways. - Click Palette to change or import new colour palettes.
Creating a slideshow • - In IrfanView click File, then Slideshow.
- Click on the type of advancement you want, automatic, after input and so on. Also set the time in seconds if using automatic mode. - Click options you want like adding an MP3 as background music. - Determine the play mode, either full screen or a size you specify. - Note that you can save your slideshow as an EXE, a SCR screen saver file and you can save the file names as a text file. - On the right side of the display navigate to your pictures and select the ones you want in the slideshow. - When you've set all your options click Start Slideshow. Easy, right?
Options in IrfanView pt.1 • - Open IrfanView, click Options in the menu bar then select Properties/Settings.
- You'll note there are 12 tabs available. Click on the one that says Video/Sound. We'll cover seven tabs in that row here and the others in the next tutorial. - On the Video/Sound tab you can set an external sound player, setup QuickTime and select settings for internally handling video and sound. - Click on the Language tab where you can select a language. - Tabs Misc 1, Misc 2, and Misc 3 contain a wealth of features that make IrfanView amazingly flexible. - Items on the Misc 1 tab generally help you control program performance and how it behaves in different circumstances. - Items on the Misc 2 tab let you control program startup, window position among other settings options. - Items on the Misc 3 tab let you configure external editors, control default font options, background colours, and other text-related items. - Click on the Toolbar tab and you can configure what items appear on the IrfanView toolbar. There are even some pre-configured toolbar variations to pick from. - Click on the Plug-ins tab to control the behaviour of some plug-ins
Options in IrfanView pt.2 • - Open IrfanView, click Options, then Properties/Settings.
- Once again you'll note there are 12 tabs available. Click on the one that says JPG/PCD/GIF. We'll cover these last 5 tabs that we didn't cover in the last segment. - On the JPG/PCD/GIF tab you can control the loading size of photo CDs, elect to play animated GIF files, load files as greyscale (black and white) and more. - Click on the Extensions tab and you can personally select exactly what graphics file extensions IrfanView will handle. - Click on the File Handling tab and you can set default directories for both copying and moving images, in addition to be able to define how deletions are handled. - Click on the Viewing tab and you can set the default colour for the main window, as well as functions for PNG, TGA, and other files. - Click on the Full Screen tab to configure how IrfanView operates when you go to full screen mode.
Taking the wide view with IrfanView • - Open IrfanView
- Click Image and then click Create panorama image. - Panorama is used to join together photos you've taken of a large image like a mountain. For our example I'm using three images of a mountain area in Colorado. - Click Add Pictures and select the images you want to join. - You can move photos up or down, have them lined up horizontally or vertically, and you can also sort the order in which they are stitched into the panoramic picture.. - When you have everything how you want it just click Create panorama. - Your result comes up in IrfanView to give you one large, panoramic image.
Slide Show • There are several options for viewing a slideshow. Use the default options until you are more
comfortable with Irfanview.
• On the top right of the slideshow options, choose the folder where your images are located with the drop down menu. (Example: from the file-browsing drop down menu- My Documents>My Pictures)
• Add each image separately by double left clicking those individual images or add an entire folder by clicking the 'add all' button below.
• If you have twenty image files in the folder but only need fifteen of them, do this:
• As an alternative to double-clicking each of these fifteen files (they must be listed together for this to work), left click once to highlight the first image you want to include; go to the last image, then while hold down the shift key, left click. With all fifteen files highlighted, click the 'add' button. These fifteen images will be listed in the 'slideshow files' box (slideshow files: (15).
• When you have all the images you want to include in your slideshow, click the 'play slideshow' button. Your images will play in full screen mode as per the default options.
• The 'slide advancement' rate can be changed in the slideshow options.
Saving A Screen Shot • With Irfanview, getting the screenshot is simpler. Instead of needing
to Edit > Paste the screenshot into Irfanview, it's done for you. • If you want to capture a screenshot of your desktop, make sure
nothing is behind Irfanview. Go to Options > Capture/Screenshot. The default hotkey capturing method is CTRL+F11.
• When you are ready to begin the capture, press start on the capture setup (Options > Capture/Screenshot). Pressing start minimizes Irfanview to the taskbar. What's left after Irfanview is minimized is what your screenshot will show.
• Now use the capture hotkey, CTRL+F11. Irfanview will come back to the front of your windows (if you have any others up) with your desired screenshot loaded.
• Now you can save your screenshot as an image file to your desktop or preferred location for emailing.
• Note: Using the irfanview method of capturing a screenshot does not incorporate the clipboard viewer located in the windows folder.
In Depth with IrfanView
Nine Video Tutorials in using IrfanView See Frequently Asked Questions Note Click FAQ in left hand menu


![24 IrfanView.ppt [Način kompatibilnosti]gsurina/Vjezbenica_IrfanView.pdf · IrfanView Tomislav Debeljak, dipl.ing.geod. Geodetska tehnička škola IrfanView • IrfanView je besplatni](https://img.pdfslide.net/doc/110x75/605a5b542cda424d2d6ca5e9/24-nain-kompatibilnosti-gsurinavjezbenicairfanviewpdf-irfanview-tomislav.jpg)