Embed Size (px)
Citation preview
Y!5tCлу···!
USER MANUAL
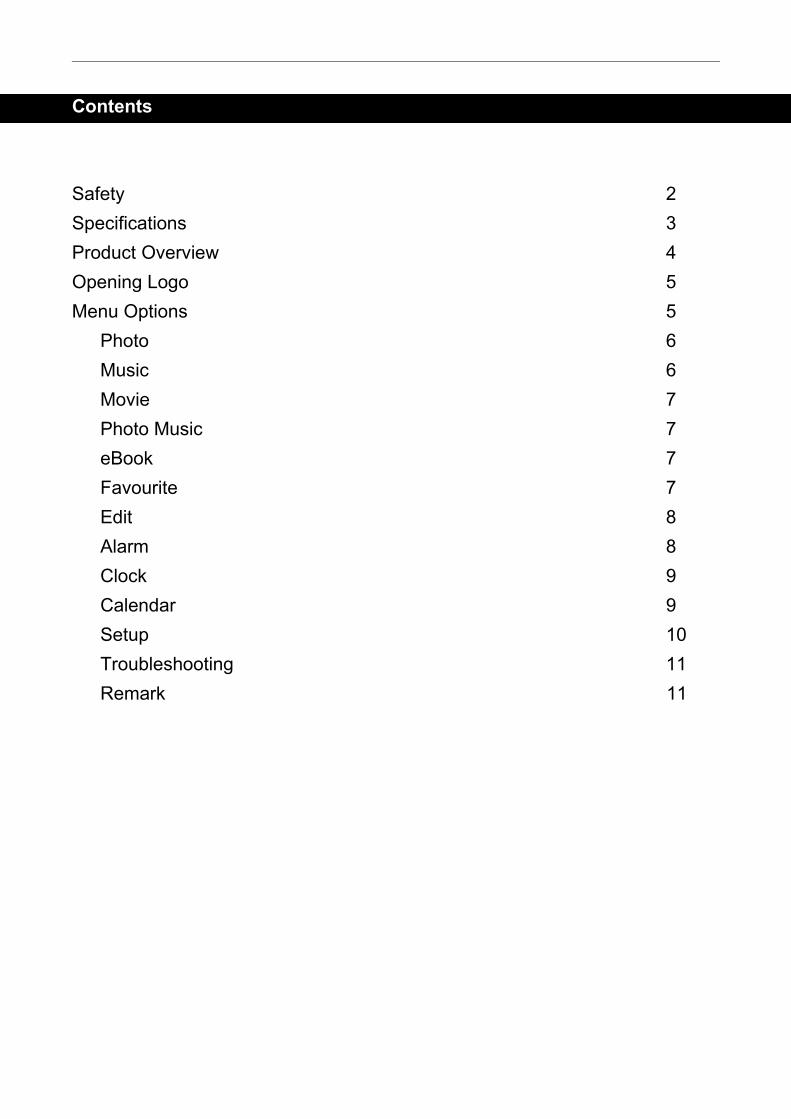
Contents
Safety 2
Specifications 3
Product Overview 4
Opening Logo 5
Menu Options 5
Photo 6
Music 6
Movie 7
Photo Music 7
eBook 7
Favourite 7
Edit 8
Alarm 8
Clock 9
Calendar 9
Setup 10
Troubleshooting 11
Remark 11
Safety
● Clean only with a damp cloth. ● Do not block any of the ventilation openings. Install in accordance with the manufacturer’s instructions. ● Do not install near any heat sources such as radiators, heat registers, stoves or other apparatus (including amplifiers) that produce heat. ● Only use attachments/accessories specified by the manufacturer. ● Unplug this apparatus during lightning storms or when unused for long periods of time. ● Refer all servicing to the Kogan customer service team. Service is required when the apparatus is damaged in any way, such as when the power-supply cord or plug is damaged, liquid has been spilled or objects have fallen into the apparatus, the apparatus has been exposed to rain or moisture, does not operate normally, or has been dropped. ● Operating ambient temperature 0~40°C. ● To reduce the risk of fire or electric shock, do not expose to rain. ● The marking plate is located on the bottom enclosure of the main unit.
Package Contents
1. Power Adapter 2. Stand 3. Remote Control4. Digital Photo Frame
2
Specifications
Display 8” digital TFT LCD PanelView Area 800 x 600 pixels, 4:3 ratioBrightness 220 cd/m2Contrast Contrast 400:1Stand Design Detachable ( for Portrait and
Landscape )Memory Card Slot
MMC / SD / MS / XD
I/O Ports DC-in / USB 2.0 hostFile Format JPEG, BMP, MPEG 1, MPEG 2,
MPEG4, VOB, AVI, DIVX 6, XVid, 3ivX, M4S2, MP4S, MJPGMP3, WMA, TXT
Power Adapter Input: 100-240V ~ 50/60Hz Output: 5V, 2A
OSD Language English, Deutsch, Français, Español, Italiano, Nederlands, Português, Polski
Dimensions 218mm x 172mm x 24 mm (with stand)
Weight 400g
Features
Picture playback
Music Playback
Movie Playback
Calendar, Clock functions
Alarm clock
Product Overview
3
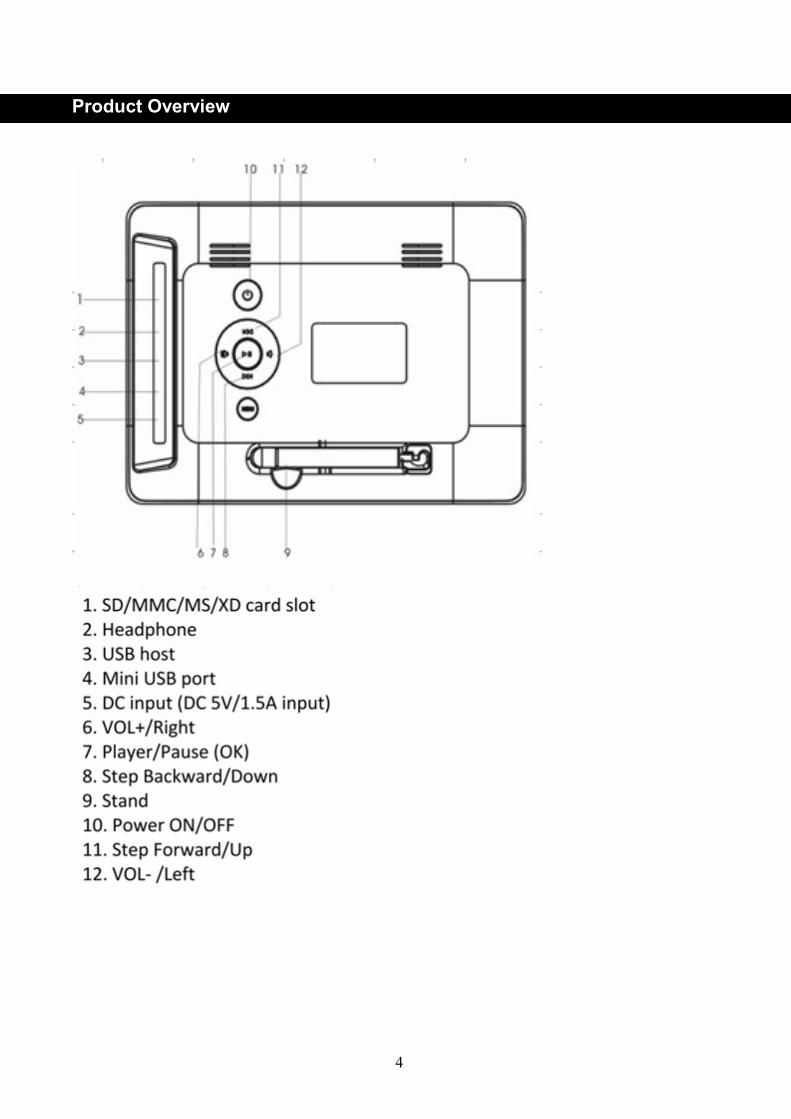
Product Overview
4

Opening Logo
Follow the steps below to operate the photo frame:
Connect the supplied power adaptor (5V, 2A) to the DC IN jack.
Plug the other end of the power adaptor to the power socket.
At the back of the photo frame pivot the stand so it is at right angles with the digital photo frame, and then place it on a flat surface.
Hold down the Power Key to turn on / off the unit
After turning on the unit, the Kogan logo will be displayed as below
5
Menu Options
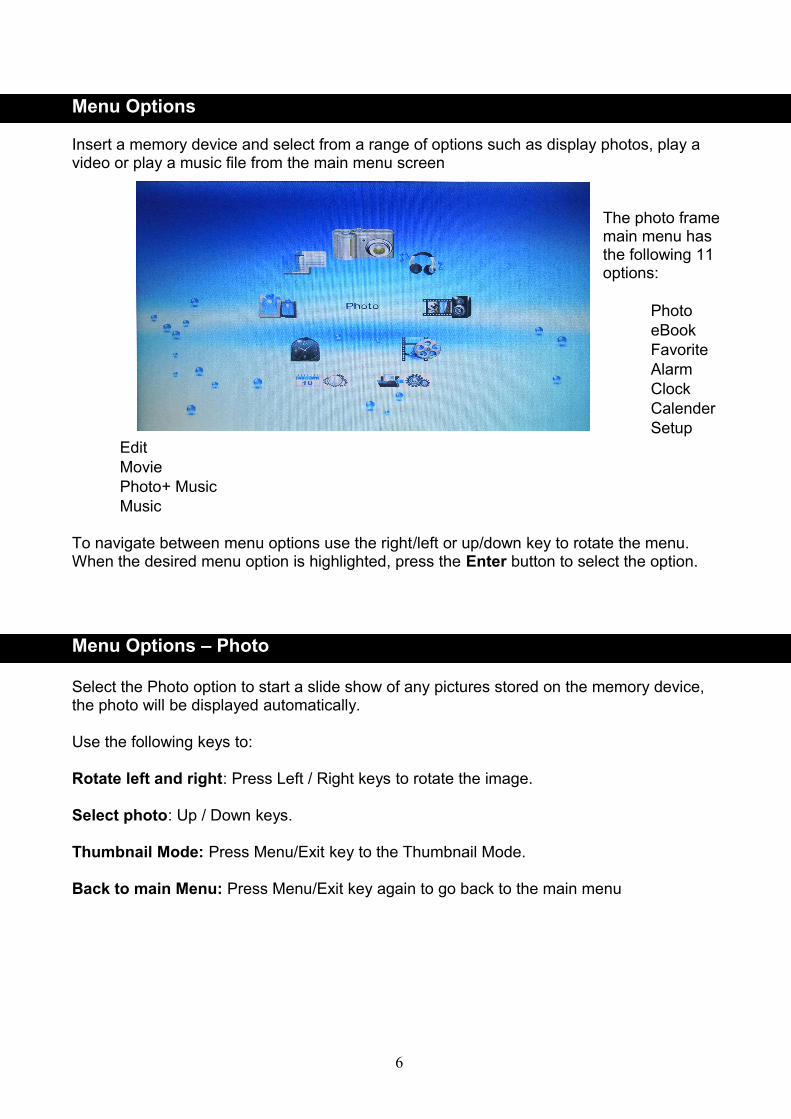
Insert a memory device and select from a range of options such as display photos, play a video or play a music file from the main menu screen
The photo frame main menu has the following 11 options:
PhotoeBookFavoriteAlarmClockCalenderSetup
EditMoviePhoto+ MusicMusic
To navigate between menu options use the right/left or up/down key to rotate the menu.When the desired menu option is highlighted, press the Enter button to select the option.
Menu Options – Photo
Select the Photo option to start a slide show of any pictures stored on the memory device, the photo will be displayed automatically.
Use the following keys to:
Rotate left and right: Press Left / Right keys to rotate the image.
Select photo: Up / Down keys.
Thumbnail Mode: Press Menu/Exit key to the Thumbnail Mode.
Back to main Menu: Press Menu/Exit key again to go back to the main menu
6

Menu Options – Music
Select the Music option to start any music stored on the memory device.
Use the following keys to:
Switch between memory device selection and file list: Left / Right keys.
Select music file: Up / Down keys.
Volume +/-: Left / Right keys.
Play: Press Play key to pause the music.
Back to main Menu: Press Menu/Exit key to go back to the main menu
.Menu Options – Movie
Select the Movie option to start a movie stored on the memory device.
Use the following keys to:
Switch between memory device selection and file list: Left / Right keys.
Select video file: Up / Down keys.
Volume +/-: Left / Right keys.
Back to main Menu: Press Menu/Exit key to go back to the main menu
Menu Options – Photo + Music
Select the Photo + Music option to start a slide show of any pictures stored on the memory device while playing music. As soon as a Photo is selected, the slide show will begin.
Use the following keys to:
Select picture: Up / Down keys.
Volume+/-: Left / Right keys.
Back to main Menu: Press Menu/Exit key to go back to the main menu
7

Menu Options – eBook
Select the eBook option to start displaying any eBooks on your storage device. Use the following keys to:
Move the eBook display up or down the page: Press Up / Down keys.
Menu Options – Favorite
The Favourite menu option allows you to display any pictures you have saved to the frames internal memory.
Use the following keys to:
Rotate left and right: Press Left / Right keys to rotate
Select picture: Up / Down keys.
Thumbnail Mode: Press Menu key to the Thumbnail Mode.
Back to main Menu: Press Menu/Exit key again to go back to the main menu
8

Menu Options – Edit
The Edit menu option allows you to copy or delete files from your memory device or internal memory. When you select the Edit function from the main menu, there are four options: Copy, Delete, New Folder and Exit. Use the arrow keys to make your selection.
Copy: Use the copy function to save pictures between your memory device or onto the photo frame (when both USB and SD card are inserted the machine will default to USB, move out of USB to display the photo list in the SD card). To save pictures use the following steps:
Use the up and down arrow keys to select the file your wish to save. Press the Play button to highlight the file with a yellow box. Press the right key to move the cursor to the bottom of the screen. Select the copy button to save your file. Press the left / up / down key to select the folder your wish to paste and save
in the folder, create a new folder in case you need.
Delete:The delete option allows you to delete files from the photo frame internal memory or your memory device. To delete a picture use the following steps:
Use the up and down arrow keys to select the file your wish to delete. Press the Play button to highlight the file with a yellow box. Press the right key to move the curser to the bottom of the screen. Select the delete button to delete your file.
Menu Options – Alarm
The Alarm setting menu has three options:
Enable. Set time. Exit.
Simply use the left/right/up/down keys to navigate between the options and then the enter key to make and save the selection.
To set the alarm time select SET TIME from the menu.
A new screen will be displayed for you to set the alarm time. The time is set by using the up and down keys to change the hours then pressing the right key to move across to the minutes.
• Please note that the clock is in 24 hour time.
9

Menu Options – Clock
The Clock setting menu has three options:
Display Set time Exit
Simply use the arrow keys to navigate between the options and then the enter key to make and save the selection.
Selecting display will give you the option to display either the clock or the clock and calendar
To set the time select SET TIME from the menu.
A new screen will be displayed for you to set the time. The time is set by using the up and down arrow keys to change the hours then pressing the right arrow key to move across to the minutes.
* Please note that the clock is in 24 hour time
Menu Options – Calendar
The Calender setting menu has three options:
Date Display Set date Exit
Simply use the arrow keys to navigate between the options and then the enter key to make and save the selection.
Selecting display will display the calendar.
To set the date, select SET DATE from the menu.
A new screen will be displayed for you to set the date. The date is set by using the up and down arrow keys to change the year then pressing the right arrow key to move across to change the month and then day.
Please note that the clock is in 24 hour time
10
Menu Options – Setup
The setup menu has five categories:
Photo SettingAuto-PlayDisplay SetupCustom SetupExit
Simply use the left/right/up/down keys to navigate between the options and then use the Enter key to make and save the selection.
Photo Setting
Interval Time: Set the time photos are displayed; between 5 Sec to 3 Min or off.
Transition Effect: Set the effect shown between photo changes.
Show type: Set how your photos are displayed. Fit to screen; the photo will be stretched or compressed to fit. Full Screen will show the picture at its native resolution.
Slide Mode: Select between normal or a slide show with the date and time.
Browse: Set how your pictures can be browsed either by a thumbnail picture or via the file manager.
Auto-Play
Photo: Allow photos to be played automatically when a memory device is inserted.
Music: Allow music files to be played automatically when a memory device is inserted.
Movie: Allow video files to be played automatically when a memory device is inserted.
Menu Options – SetupDisplay Setup
Brightness: Set the brightness of the screen. Select Normal, Bright or Soft.
Contrast: Set the picture contrast between 4 and -4
TFT Brightness: Set the display brightness between 7 and -7
TFT Contrast: Set the display contrast between 7 and -7
TFT Saturation: Set the display saturation between 7 and -7
11

Custom Setup
OSD Language: Set the on screen display language
Encoding: Select the subtitle type (for compatible movie files).
Logo Type: Select a background picture from internal memory to use as the default background.
Repeat Mode: Select how you wish your pictures to repeat. Select one to repeat the same file, folder to only repeat the contents of the current folder or all to repeat all available files.
USB Source: Set the USB port as a “host” if you are connecting to a USB memory device or “device” if you are connecting it to a computer.
Default: Reset the photo frame back to factory defaults.
Exit: Return back to the Start-up menu.
Troubleshooting
Issue Cause Solution
No Power
The power adapter isn’t plugged in correctly.
Check the power cable is properly connected and the power point is turned on.
The photo frame is not turned onTurn the photo frame on at the back of the unit.
Pictures will not play
Files are in the wrong formatCheck the files types you are using are compatible with the photo frame.
Memory device is incorrectly formatted
Ensure that the memory device you are using is formatted as FAT32.
Memory device is incorrectly inserted Ensure that your memory device is correctly inserted.
Black lines around some
pictures
Aspect ratio of the picture does not match the photo frame
This is the digital frames way of displaying a picture without stretching/distorting it.
Note : Unit with built-in 2GB flash memory, supports max JPEG file size 64M, max Video file size 720*576, supports up to 16GB USB/SD capacity.
12