Embed Size (px)
Citation preview
© 2015 Cisco and/or its affiliates. All rights reserved. This document is Cisco Public. Page 1 of 12
Lab - Configure Wireless Router in Windows
Introduction In this lab, you will configure and test the wireless settings on a wireless router.
Recommended Equipment • A computer with Windows installed
• A Wireless NIC installed
• An Ethernet NIC installed
• A wireless Router
• Ethernet patch cable
Note: All wireless settings in this lab are for a 2.4 GHz wireless connection. Follow the same steps for setting up a 5 GHz wireless connection or when setting up both 2.4 GHz and 5 GHz connections.
Step 1: Gathering Information Ask the instructor for the following information:
Router IP Information (IP address and subnet mask):
Router name:
DHCP Server Information (start IP address and maximum number of hosts):
Static DNS 1 (optional):
SSID:
Channel number:
Router Username/Password:
Wireless Security (passphase key):
Note: Only use configurations assigned by the instructor.
Step 2: Connecting to the Wireless Router a. Plug in the power of the wireless router. Boot the computer and log in as an administrator.
b. Connect the computer to one of the Ethernet ports on the wireless router with an Ethernet patch cable.
Note: If this is the first time connecting to the lab router, you must set the network location in Windows.
c. Open the command prompt. Type ipconfig /renew to force the computer to request an IP address from the wireless router via DHCP.
What is the IP address of the default gateway for the computer?
What device took the role of default gateway?
Lab - Configure Wireless Router in Windows
© 2015 Cisco and/or its affiliates. All rights reserved. This document is Cisco Public. Page 2 of 12
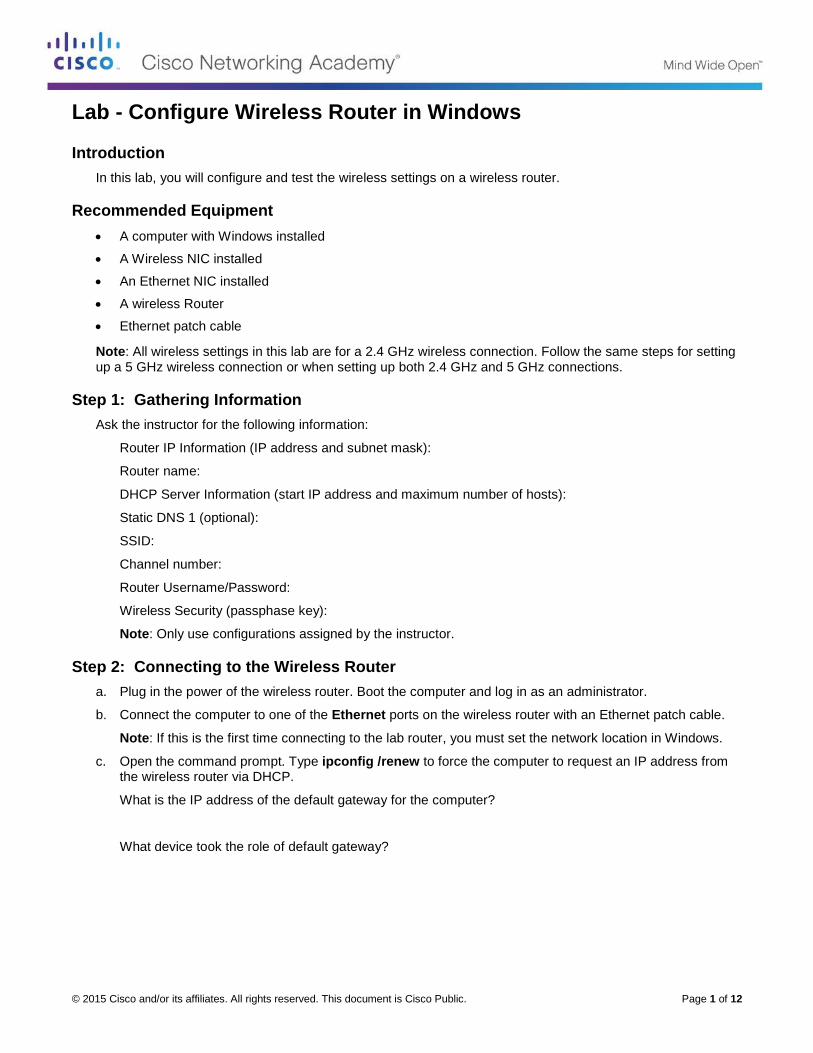
Step 3: Logging into the Wireless Router a. Open a web browser, type the IP address of your default gateway in the URL field, and then press Enter.
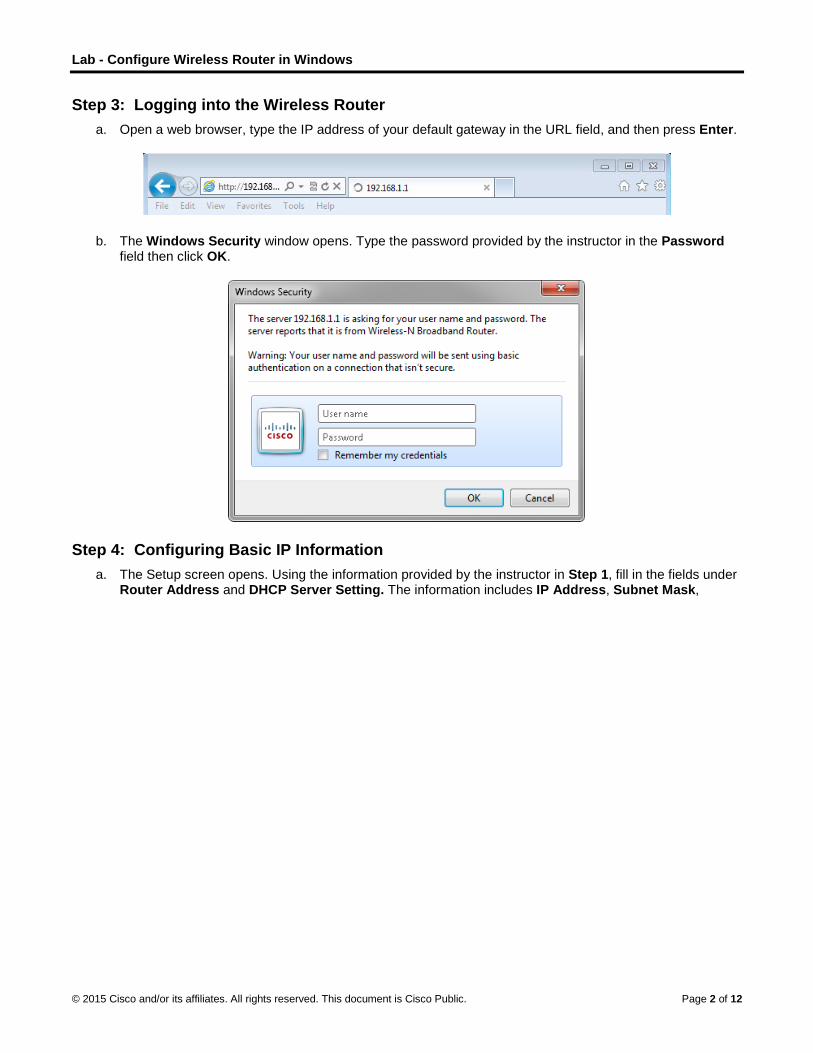
b. The Windows Security window opens. Type the password provided by the instructor in the Password field then click OK.
Step 4: Configuring Basic IP Information a. The Setup screen opens. Using the information provided by the instructor in Step 1, fill in the fields under
Router Address and DHCP Server Setting. The information includes IP Address, Subnet Mask,
Lab - Configure Wireless Router in Windows
© 2015 Cisco and/or its affiliates. All rights reserved. This document is Cisco Public. Page 3 of 12
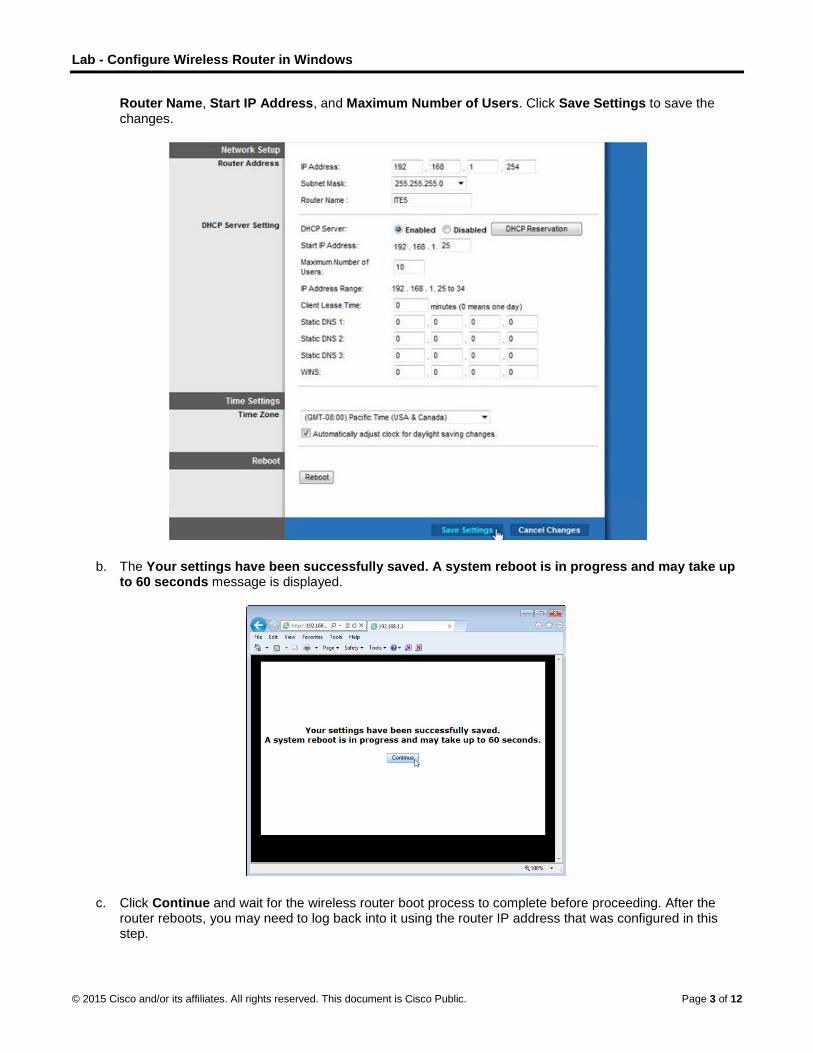
Router Name, Start IP Address, and Maximum Number of Users. Click Save Settings to save the changes.
b. The Your settings have been successfully saved. A system reboot is in progress and may take up to 60 seconds message is displayed.
c. Click Continue and wait for the wireless router boot process to complete before proceeding. After the router reboots, you may need to log back into it using the router IP address that was configured in this step.
Lab - Configure Wireless Router in Windows
© 2015 Cisco and/or its affiliates. All rights reserved. This document is Cisco Public. Page 4 of 12
Step 5: Configuring Wireless Settings a. In a web browser, enter the router IP address that you had configured in step 4 in the URL field. When
prompted, enter the username and password.
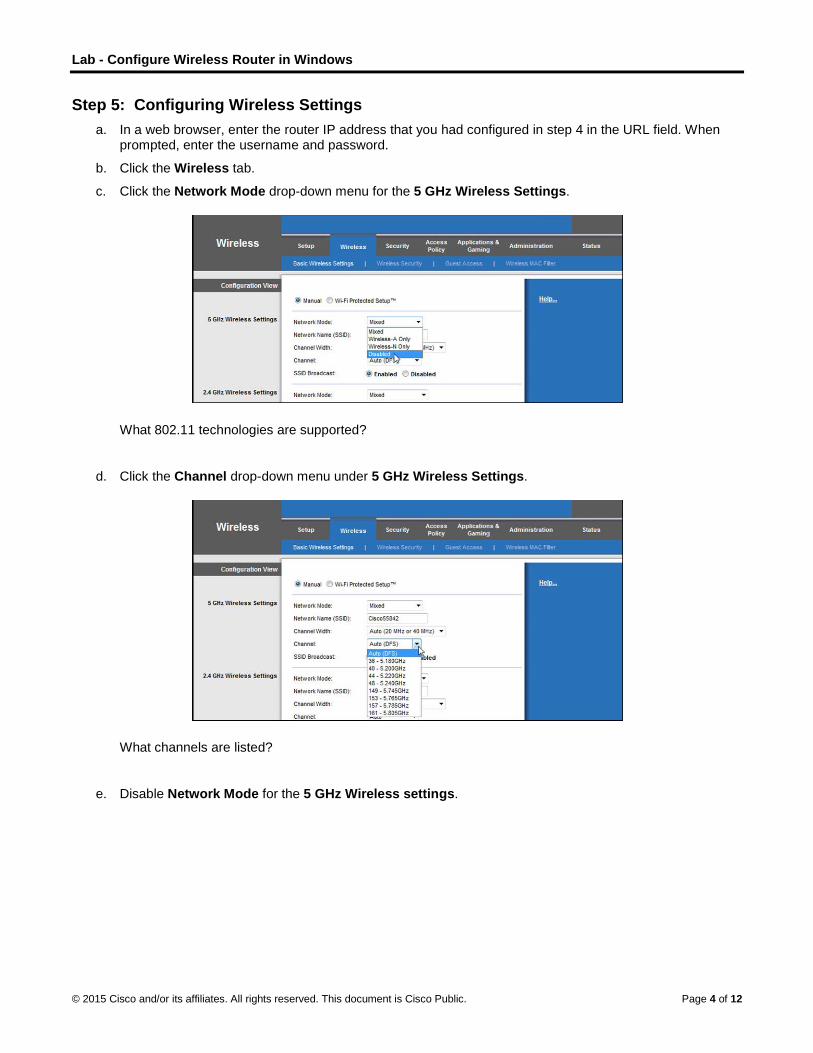
b. Click the Wireless tab.
c. Click the Network Mode drop-down menu for the 5 GHz Wireless Settings.
What 802.11 technologies are supported?
d. Click the Channel drop-down menu under 5 GHz Wireless Settings.
What channels are listed?
e. Disable Network Mode for the 5 GHz Wireless settings.
Lab - Configure Wireless Router in Windows
© 2015 Cisco and/or its affiliates. All rights reserved. This document is Cisco Public. Page 5 of 12
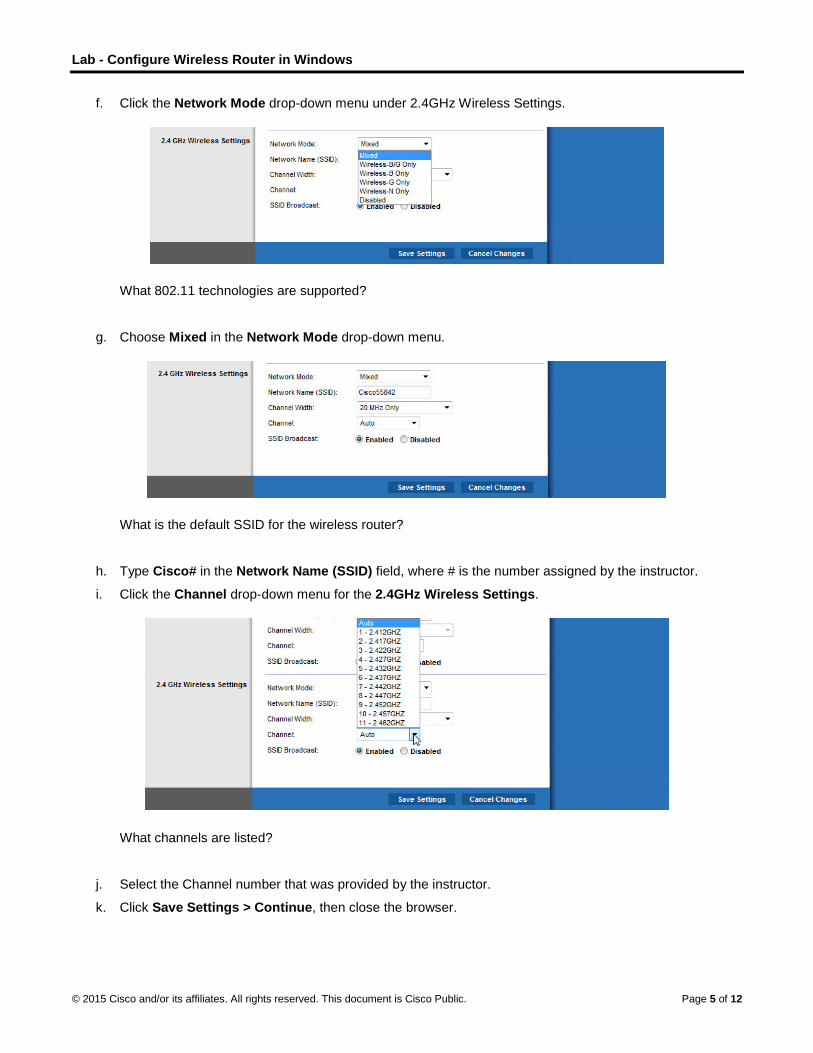
f. Click the Network Mode drop-down menu under 2.4GHz Wireless Settings.
What 802.11 technologies are supported?
g. Choose Mixed in the Network Mode drop-down menu.
What is the default SSID for the wireless router?
h. Type Cisco# in the Network Name (SSID) field, where # is the number assigned by the instructor.
i. Click the Channel drop-down menu for the 2.4GHz Wireless Settings.
What channels are listed?
j. Select the Channel number that was provided by the instructor.
k. Click Save Settings > Continue, then close the browser.

Lab - Configure Wireless Router in Windows
© 2015 Cisco and/or its affiliates. All rights reserved. This document is Cisco Public. Page 6 of 12
Step 6: Connecting the Computer to the Wireless Network a. Unplug the Ethernet cable from the computer.
b. View wireless networks associated with the wireless adapter configured for the computer by following the path:
Start > Control Panel > Network and Sharing Center > Connect to a network
A list of available wireless networks is displayed.
What wireless network(s) are available?
Lab - Configure Wireless Router in Windows
© 2015 Cisco and/or its affiliates. All rights reserved. This document is Cisco Public. Page 7 of 12
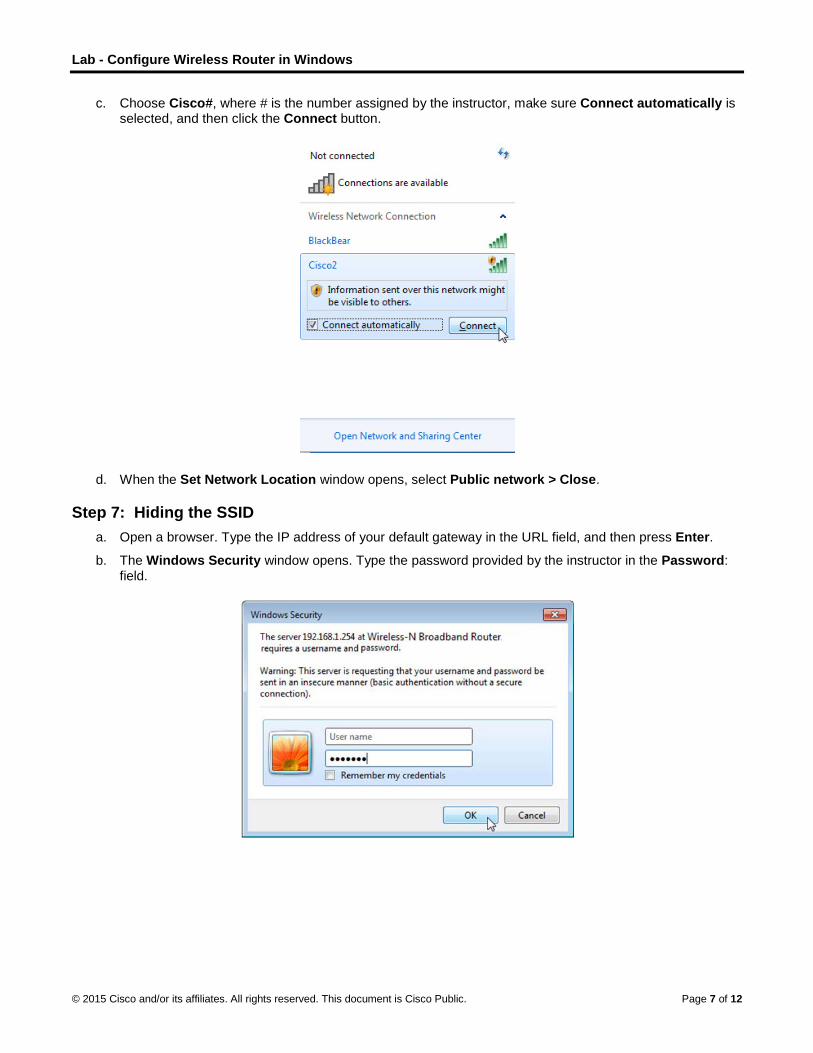
c. Choose Cisco#, where # is the number assigned by the instructor, make sure Connect automatically is selected, and then click the Connect button.
d. When the Set Network Location window opens, select Public network > Close.
Step 7: Hiding the SSID a. Open a browser. Type the IP address of your default gateway in the URL field, and then press Enter.
b. The Windows Security window opens. Type the password provided by the instructor in the Password: field.
Lab - Configure Wireless Router in Windows
© 2015 Cisco and/or its affiliates. All rights reserved. This document is Cisco Public. Page 8 of 12
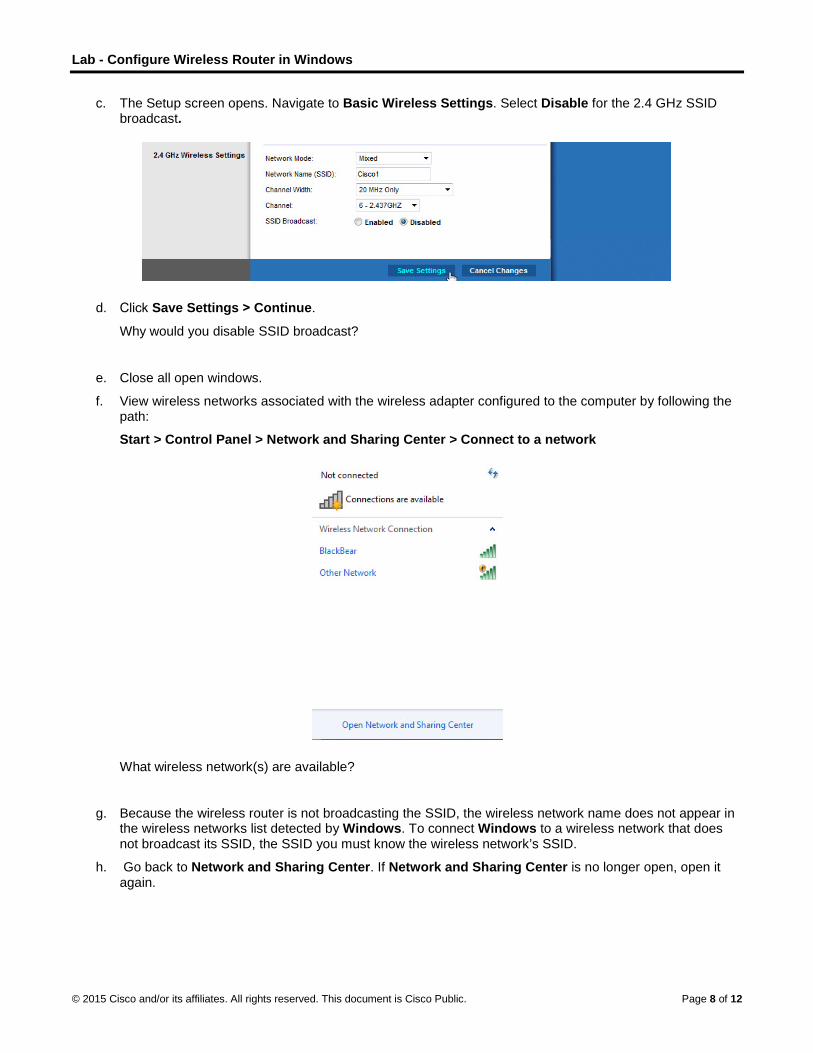
c. The Setup screen opens. Navigate to Basic Wireless Settings. Select Disable for the 2.4 GHz SSIDbroadcast.
d. Click Save Settings > Continue.
Why would you disable SSID broadcast?
e. Close all open windows.
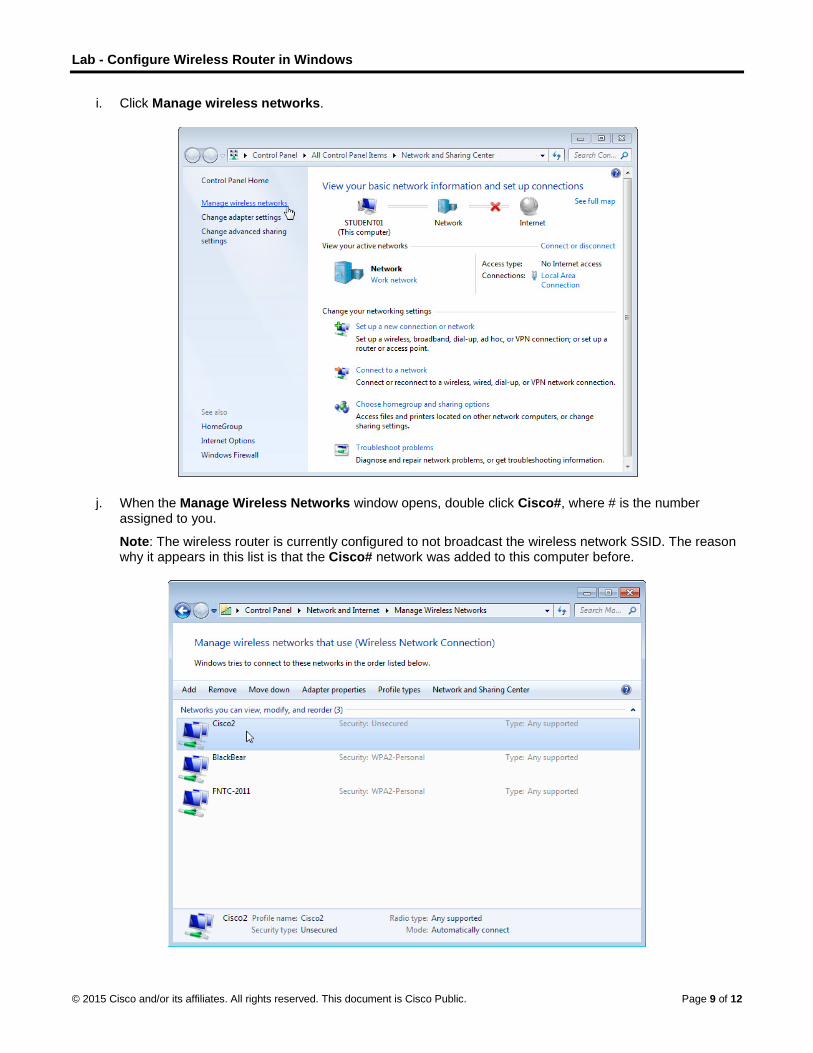
f. View wireless networks associated with the wireless adapter configured to the computer by following thepath:
Start > Control Panel > Network and Sharing Center > Connect to a network
What wireless network(s) are available?
g. Because the wireless router is not broadcasting the SSID, the wireless network name does not appear inthe wireless networks list detected by Windows. To connect Windows to a wireless network that doesnot broadcast its SSID, the SSID you must know the wireless network’s SSID.
h. Go back to Network and Sharing Center. If Network and Sharing Center is no longer open, open itagain.
Lab - Configure Wireless Router in Windows
© 2015 Cisco and/or its affiliates. All rights reserved. This document is Cisco Public. Page 9 of 12
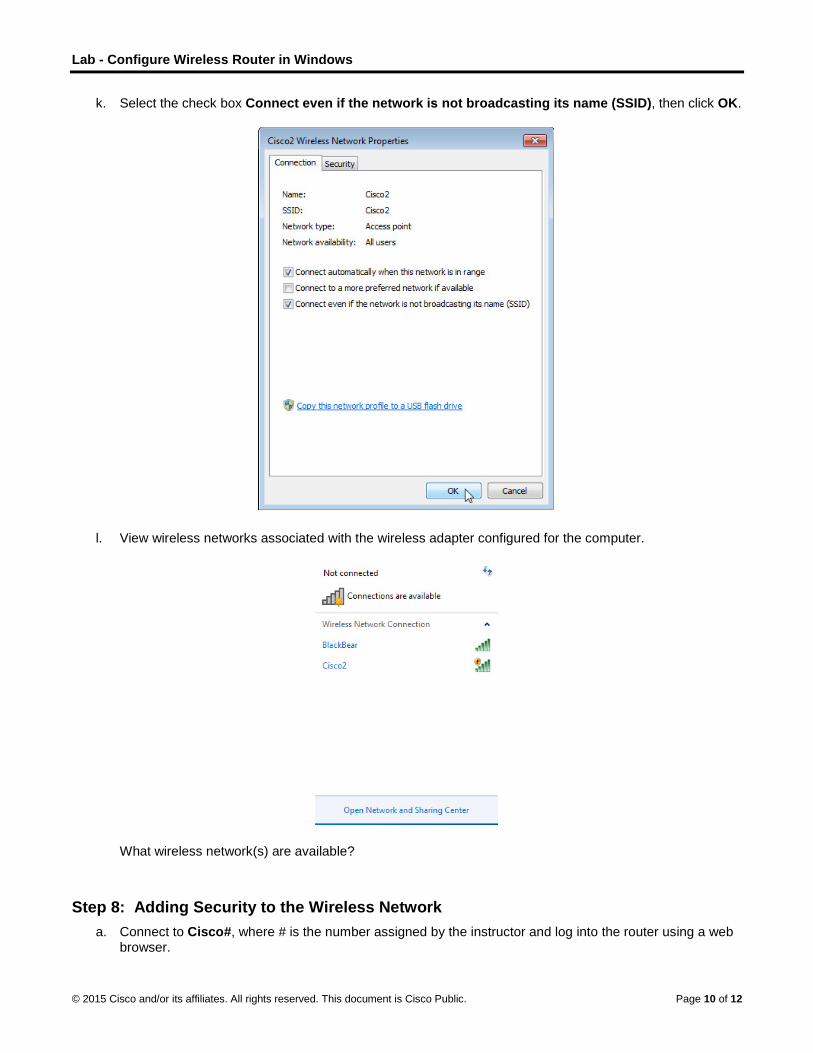
i. Click Manage wireless networks.
j. When the Manage Wireless Networks window opens, double click Cisco#, where # is the number assigned to you.
Note: The wireless router is currently configured to not broadcast the wireless network SSID. The reasonwhy it appears in this list is that the Cisco# network was added to this computer before.
Lab - Configure Wireless Router in Windows
© 2015 Cisco and/or its affiliates. All rights reserved. This document is Cisco Public. Page 10 of 12
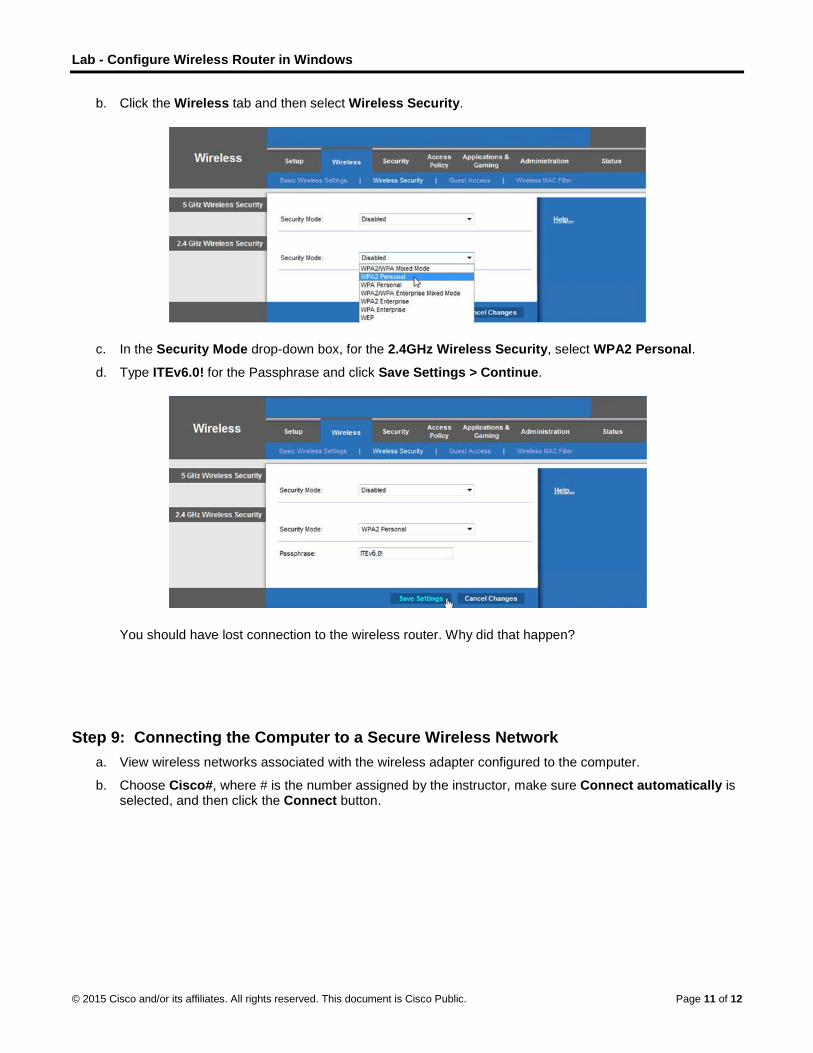
k. Select the check box Connect even if the network is not broadcasting its name (SSID), then click OK.
l. View wireless networks associated with the wireless adapter configured for the computer.
What wireless network(s) are available?
Step 8: Adding Security to the Wireless Network a. Connect to Cisco#, where # is the number assigned by the instructor and log into the router using a web
browser.
Lab - Configure Wireless Router in Windows
© 2015 Cisco and/or its affiliates. All rights reserved. This document is Cisco Public. Page 11 of 12
b. Click the Wireless tab and then select Wireless Security.
c. In the Security Mode drop-down box, for the 2.4GHz Wireless Security, select WPA2 Personal.
d. Type ITEv6.0! for the Passphrase and click Save Settings > Continue.
You should have lost connection to the wireless router. Why did that happen?
Step 9: Connecting the Computer to a Secure Wireless Network a. View wireless networks associated with the wireless adapter configured to the computer.
b. Choose Cisco#, where # is the number assigned by the instructor, make sure Connect automatically is selected, and then click the Connect button.
Lab - Configure Wireless Router in Windows
© 2015 Cisco and/or its affiliates. All rights reserved. This document is Cisco Public. Page 12 of 12
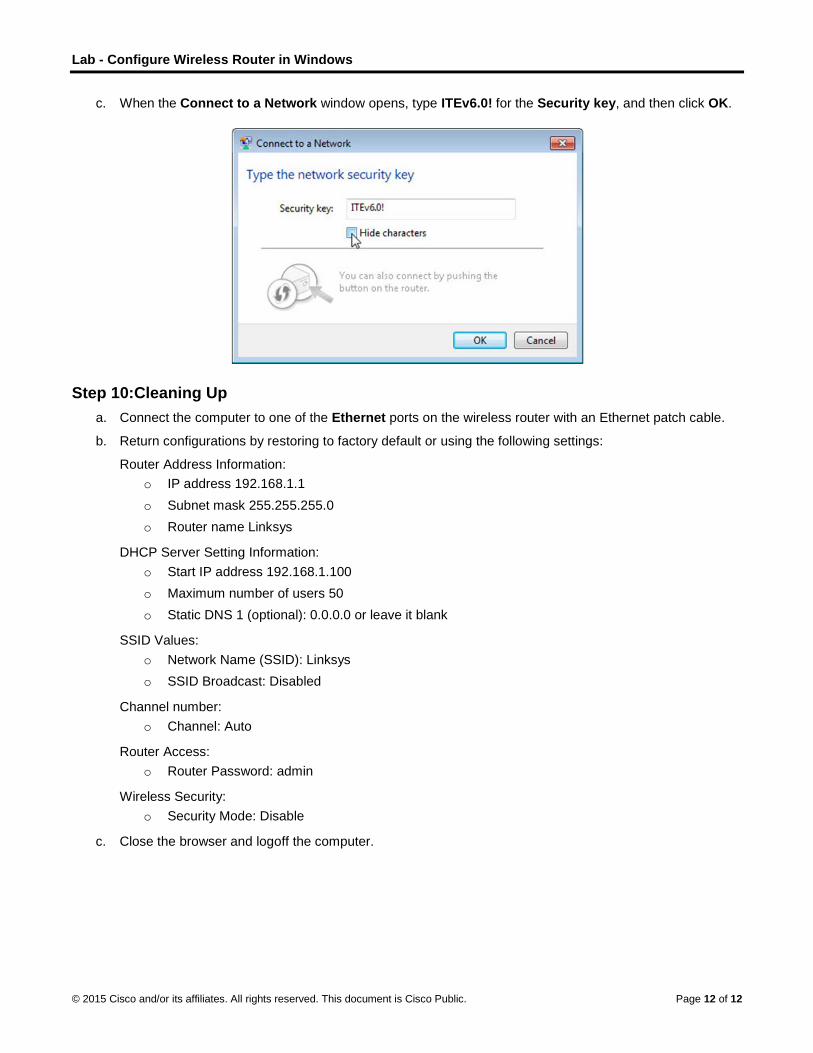
c. When the Connect to a Network window opens, type ITEv6.0! for the Security key, and then click OK.
Step 10: Cleaning Up a. Connect the computer to one of the Ethernet ports on the wireless router with an Ethernet patch cable.
b. Return configurations by restoring to factory default or using the following settings:
Router Address Information: o IP address 192.168.1.1 o Subnet mask 255.255.255.0 o Router name Linksys
DHCP Server Setting Information: o Start IP address 192.168.1.100 o Maximum number of users 50 o Static DNS 1 (optional): 0.0.0.0 or leave it blank
SSID Values: o Network Name (SSID): Linksys o SSID Broadcast: Disabled
Channel number: o Channel: Auto
Router Access: o Router Password: admin
Wireless Security: o Security Mode: Disable
c. Close the browser and logoff the computer.