Embed Size (px)
Citation preview

Lesson 11: Maximizing Site Design
Introduction to Adobe Dreamweaver CS6Adobe Certified Associate:
Web Communication using Adobe Dreamweaver CS6
© 2013 John Wiley & Sons, Inc. 2
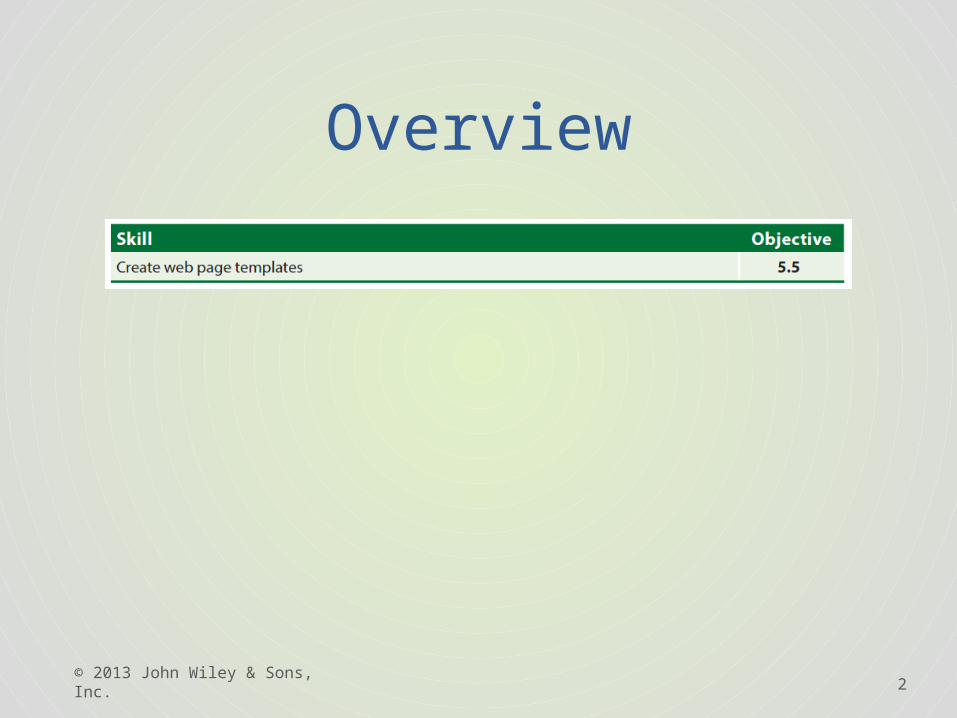
Overview
3
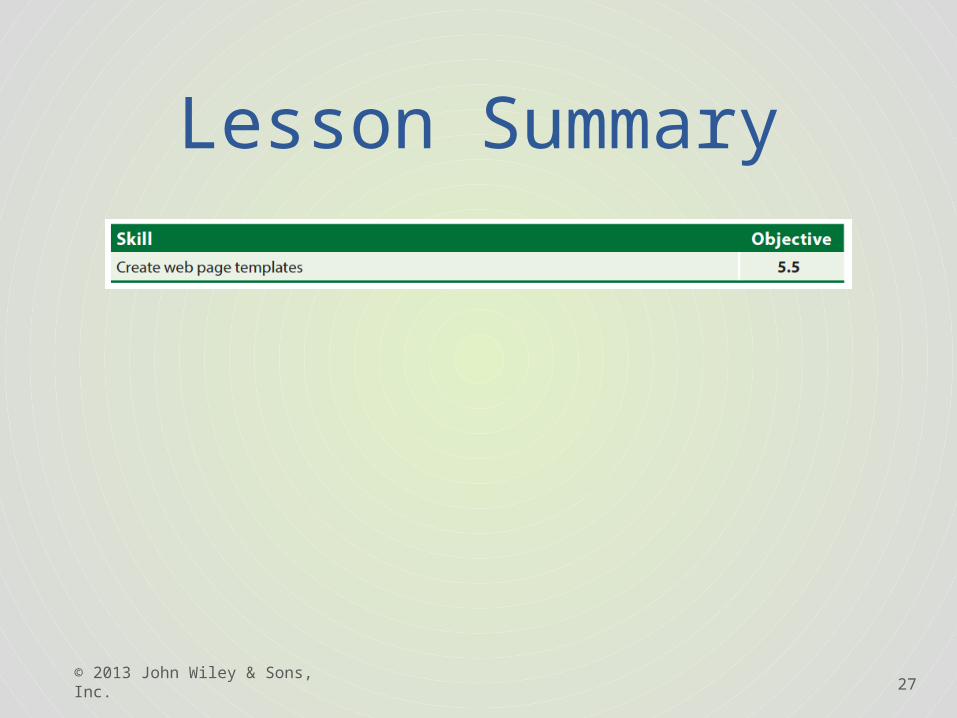
5.5 Create Web Page Templates
• A Dreamweaver template is a master document from which other pages can be created. These pages inherit all the elements from the original template, but you can modify each page to include unique content and elements.
• As with library items, when you edit a template, all pages based on that template update.
• When you create a template, you specify editable regions, or areas of the page that can be modified.
• If you need to provide editing ability to others, you can lock out important page elements and give users access to only certain sections.
• Templates are site-specific and are stored in a Templates folder under your site’s root folder. You open, edit, or create templates from the Templates list in the Assets panel.
© 2013 John Wiley & Sons, Inc.
4
5.5 Create Web Page Templates
Follow these steps to create a new Dreamweaver template:1. In the Files panel (Window > Files), locate and
double-click the product_detail.html page. This page has generic text and a placeholder image that will serve as your template.
2. Click on your Assets panel, and then click on the library item. Click and drag the GlobalNav item onto the header. This page will shortly serve as a template, and by including a library item, you are maximizing automation.
© 2013 John Wiley & Sons, Inc.
5
5.5 Create Web Page Templates
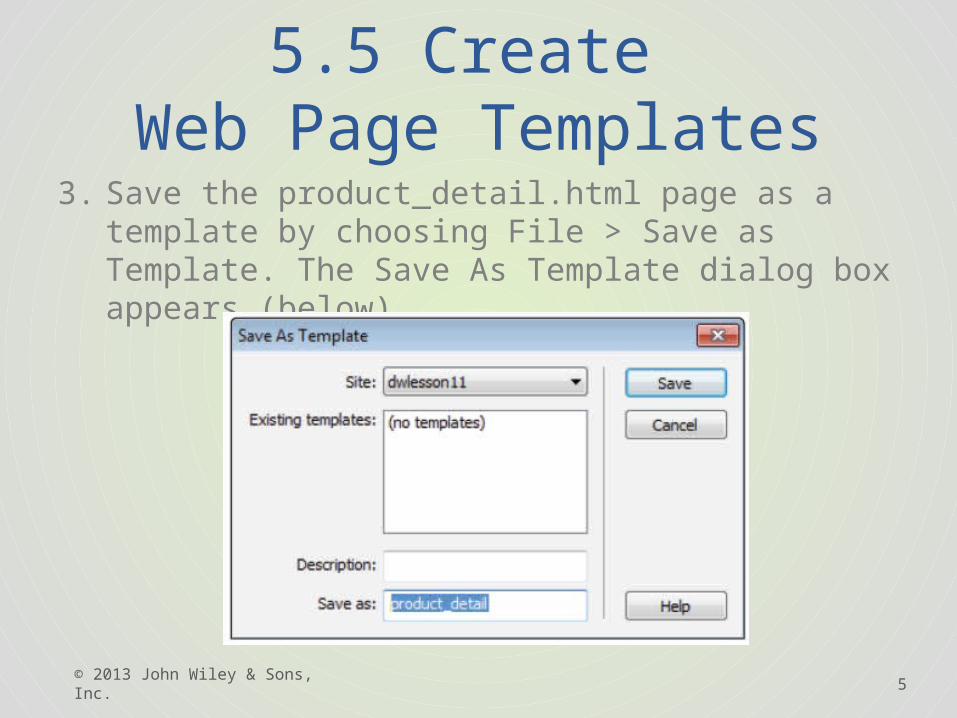
3. Save the product_detail.html page as a template by choosing File > Save as Template. The Save As Template dialog box appears (below).
© 2013 John Wiley & Sons, Inc.
6
5.5 Create Web Page Templates
4. Choose Save to save the template. If prompted, allow Dreamweaver to update links by choosing Yes from the dialog box.
© 2013 John Wiley & Sons, Inc.
7
5.5 Create Web Page Templates
• Once you create a template, you can add template objects, which are special features only available to this page type.
• The most common template object is the editable region.
• When new HTML pages are generated from templates, the editable region defines the section of a page you would like to be editable and all other areas will remain non-editable.
© 2013 John Wiley & Sons, Inc.

8
5.5 Create Web Page Templates
Follow these steps to create an editable region:1. Select the placeholder text in the product_detail
template that reads Product Category. Choose Insert > Template Objects > Editable Region. The New Editable Region dialog box appears.
2. Name the new editable region ProductCategory and click OK. The placeholder text now appears inside a black box with a blue tab at the top. This portion of the page and the content within it will now be editable in any pages created from this template.
© 2013 John Wiley & Sons, Inc.
9
5.5 Create Web Page Templates
3. Select the placeholder text in the product_detail template that reads Product Name. Choose Insert > Template Objects > Editable Region. The New Editable Region dialog box appears. Name this ProductName and click OK.
© 2013 John Wiley & Sons, Inc.
10
5.5 Create Web Page Templates
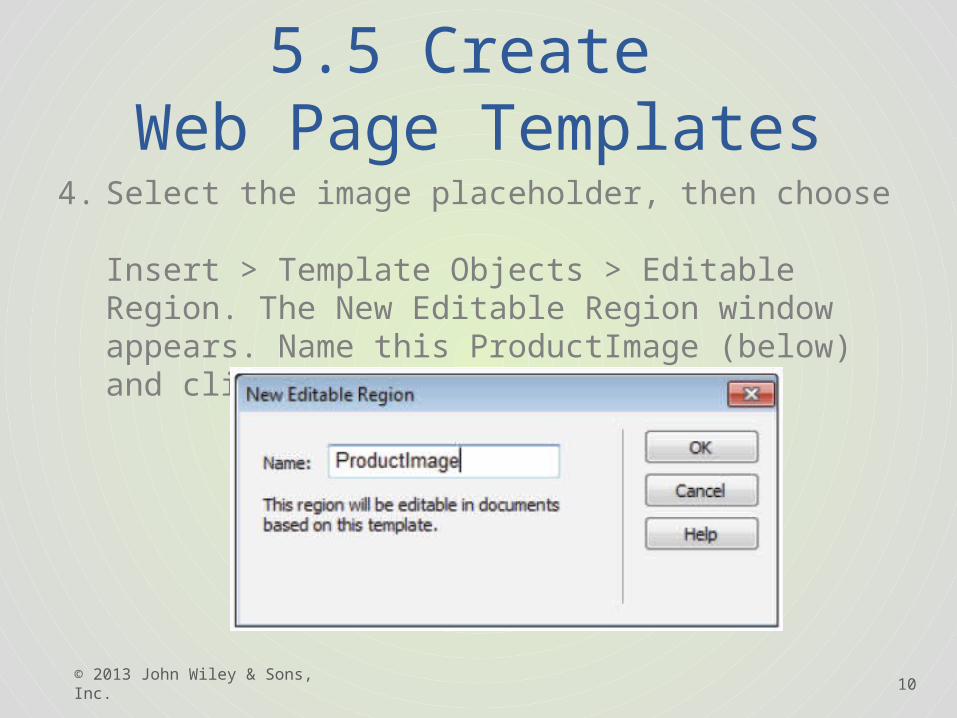
4. Select the image placeholder, then choose Insert > Template Objects > Editable Region. The New Editable Region window appears. Name this ProductImage (below) and click OK.
© 2013 John Wiley & Sons, Inc.
11
5.5 Create Web Page Templates
5. Finally, select all the text in the sidebar. Choose Insert > Template Objects > Editable Region. The New Editable Region dialog box appears. Name this ProductDescription and click OK.
6. Choose File > Save to save the template. You may see a warning about putting the editable region within a block tag; click OK.
© 2013 John Wiley & Sons, Inc.
12
5.5 Create Web Page Templates
Follow these steps to create a new page from a template:1. Choose File > New. In the New Document dialog
box, click the Page from Template option. Click the dw11lessons site. In the second column, the product_detail template should be selected. Press Create. This opens a new, untitled document based on the template. Choose File > Save.
© 2013 John Wiley & Sons, Inc.
13
5.5 Create Web Page Templates
2. Click inside the header of your page and notice that you are unable to select or move anything. This section is uneditable. Notice, in the upper-right corner, the yellow highlighted box that reads Template:product_detail. This indicates that the page is based on a template.
© 2013 John Wiley & Sons, Inc.
14
5.5 Create Web Page Templates
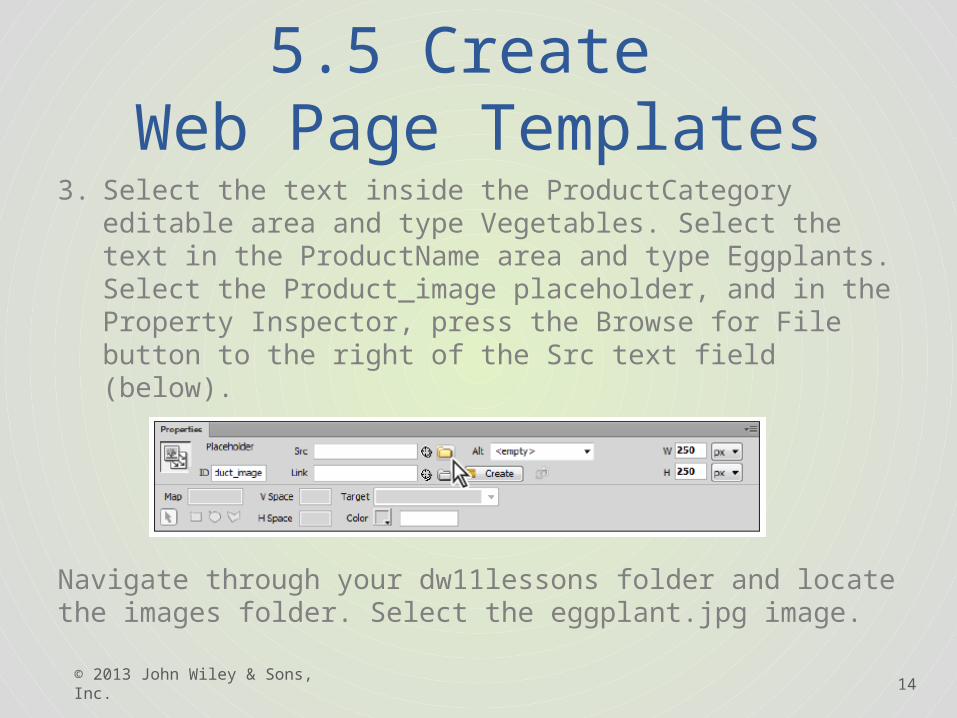
3. Select the text inside the ProductCategory editable area and type Vegetables. Select the text in the ProductName area and type Eggplants. Select the Product_image placeholder, and in the Property Inspector, press the Browse for File button to the right of the Src text field (below).
Navigate through your dw11lessons folder and locate the images folder. Select the eggplant.jpg image.
© 2013 John Wiley & Sons, Inc.
15
5.5 Create Web Page Templates
4. Double-click on the products folder in the Files panel, and then double-click on the eggplants.txt file. Select all the text, choose Edit > Copy, and then close the text file.
5. Select the text in the Product Description area of the sidebar, then choose Edit > Paste. Place your cursor after the word Eggplant in the first line, and press Return to add a new line to separate the heading from the paragraph. Choose File > Save.
© 2013 John Wiley & Sons, Inc.
16
5.5 Create Web Page Templates
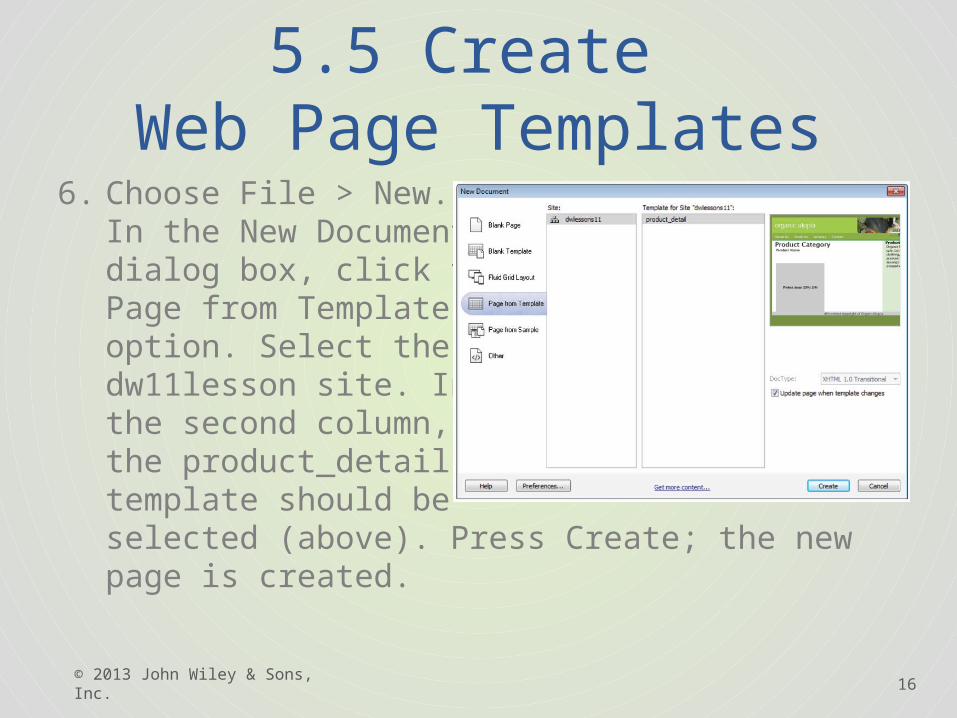
6. Choose File > New. In the New Document dialog box, click the Page from Template option. Select the dw11lesson site. In the second column, the product_detail template should be selected (above). Press Create; the new page is created.
© 2013 John Wiley & Sons, Inc.
© 2013 John Wiley & Sons, Inc. 17
5.5 Create Web Page Templates
7. Choose File > Save, and save this file as beets.html in your Products folder. Select the text inside the ProductCategory editable area and type Vegetables. Select the text in the ProductName area and type Beets. Select the Product_image placeholder, and in the Property Inspector, press the Browse for File button to the right of the Src text field.
• Navigate through your dw11lessons folder and locate the images folder. Select the beets.jpg image and press OK (Windows) or Choose (Mac OS).
© 2013 John Wiley & Sons, Inc. 18
5.5 Create Web Page Templates
8. In the Files panel, double-click on the products folder and double-click on the beets.txt file. Select all the text, choose Edit > Copy. Close the file.
9. Select the text in the Product Description area of the sidebar, and choose Edit > Paste. Place your cursor after the word Beets in the first line, and then press Return to add a line separating the description from the heading. Choose File > Save.
© 2013 John Wiley & Sons, Inc. 19
5.5 Create Web Page Templates
• If you want to modify a template-based page beyond what the editable regions allow, you can.
• Use the Modify > Templates > Detach from Template command, which breaks the current page away from the master template, allowing you to edit it freely.
• Keep in mind that a page detached from a template will no longer be updated if you make any changes to the original template.
© 2013 John Wiley & Sons, Inc. 20
5.5 Create Web Page Templates
Follow these steps to modify an existing template:1. In the Templates list in the Assets panel, double-
click the product_detail template. You may need to select Refresh Site List from the Assets panel menu to see the product_detail template.
© 2013 John Wiley & Sons, Inc. 21
5.5 Create Web Page Templates
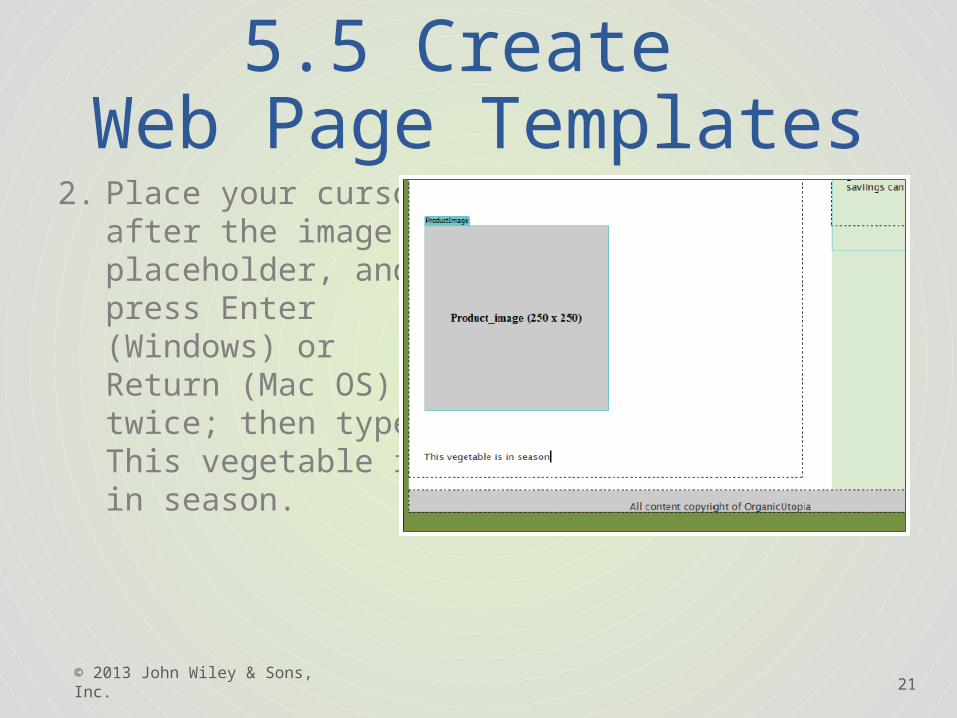
2. Place your cursor after the image placeholder, and press Enter (Windows) or Return (Mac OS) twice; then type This vegetable is in season.
© 2013 John Wiley & Sons, Inc. 22
5.5 Create Web Page Templates
3. If you were to save right now, your text would be updated and locked on your two linked pages. You need to convert it to an editable item.
4. Select the text and choose Insert > Template Objects > Editable Region. Name this region inseason and press OK. Choose File > Save.
© 2013 John Wiley & Sons, Inc. 23
5.5 Create Web Page Templates
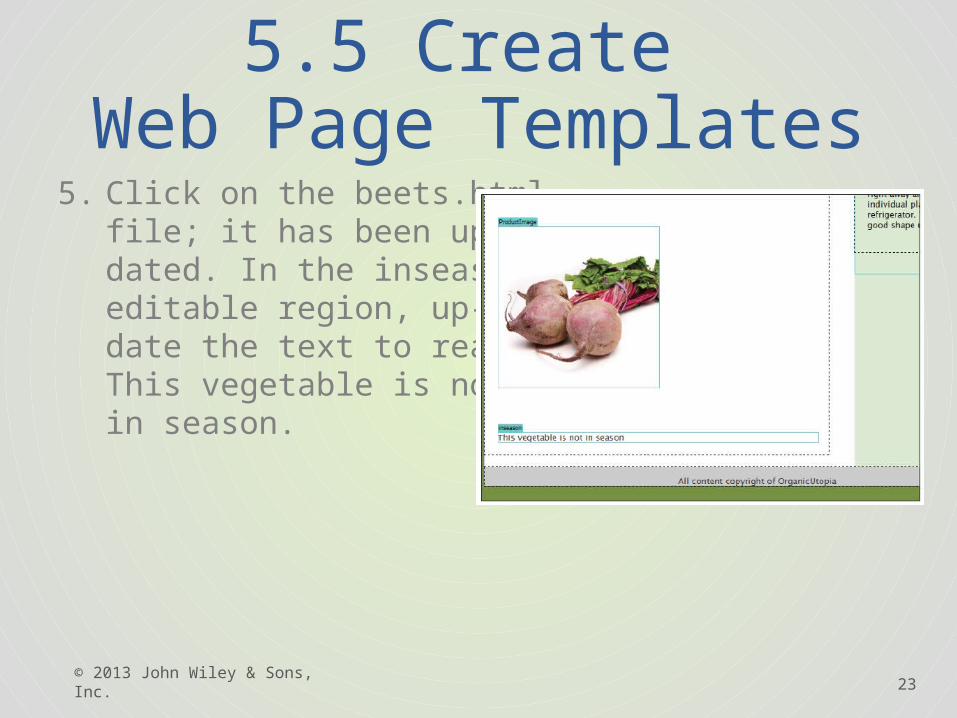
5. Click on the beets.html file; it has been up-dated. In the inseason editable region, up-date the text to read This vegetable is not in season.
© 2013 John Wiley & Sons, Inc. 24
5.5 Create Web Page Templates
• Follow these steps to add a repeating region to your template:
1. Open the category.html page.2. Click on the edge of the table to select it.3. Choose Insert > Template Objects > Repeating
Region.
© 2013 John Wiley & Sons, Inc. 25
5.5 Create Web Page Templates
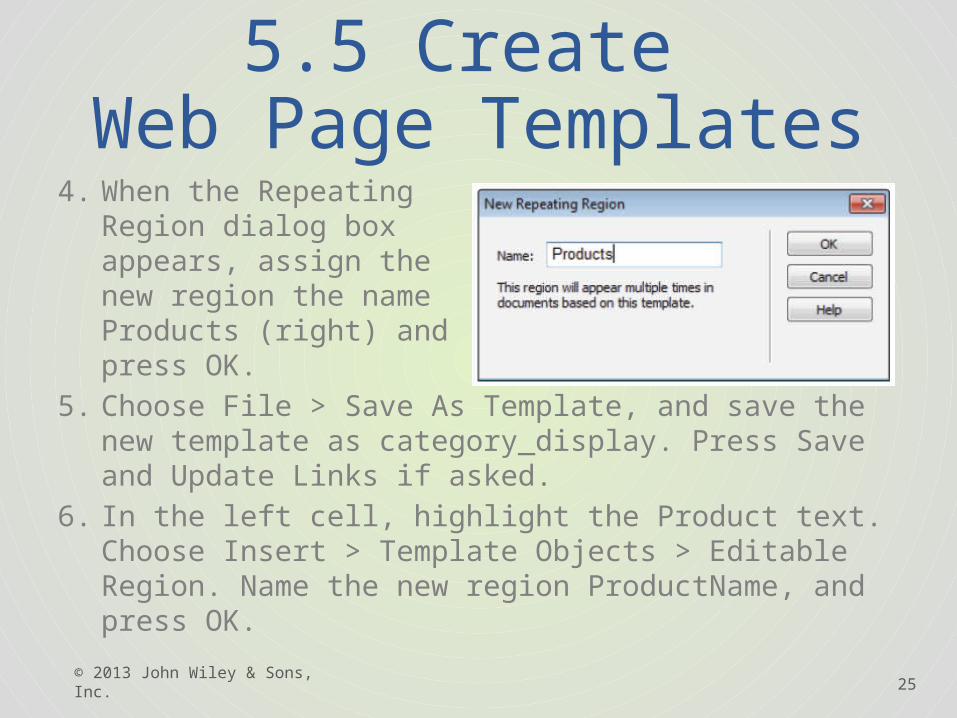
4. When the Repeating Region dialog box appears, assign the new region the name Products (right) and press OK.
5. Choose File > Save As Template, and save the new template as category_display. Press Save and Update Links if asked.
6. In the left cell, highlight the Product text. Choose Insert > Template Objects > Editable Region. Name the new region ProductName, and press OK.
© 2013 John Wiley & Sons, Inc. 26
5.5 Create Web Page Templates
7. Select the placeholder image below the new editable region, and choose Insert > Template Objects > Editable Region. Name the new region ProductImage, and press OK.
8. In the right cell, highlight the Product text. Choose Insert > Template Objects > Editable Region. Name the new region ProductName2, and press OK.
9. Select the placeholder image below the new editable region, and choose Insert > Template Objects > Editable Region. Name the new region ProductImage2, and press OK.
© 2013 John Wiley & Sons, Inc. 27
Lesson Summary
Copyright 2013 John Wiley & Sons, Inc.. All rights reserved. Reproduction or translation of this work beyond that named in Section 117 of the 1976 United States Copyright Act without the express written consent of the copyright owner is unlawful. Requests for further information should be addressed to the Permissions Department, John Wiley & Sons, Inc.. The purchaser may make back-up copies for his/her own use only and not for distribution or resale. The Publisher assumes no responsibility for errors, omissions, or damages, caused by the use of these programs or from the use of the information contained herein.