Embed Size (px)
Citation preview

LESSON 7- APPLETS and GUI -Graphical User Interface
JAVA PROGRAMMING
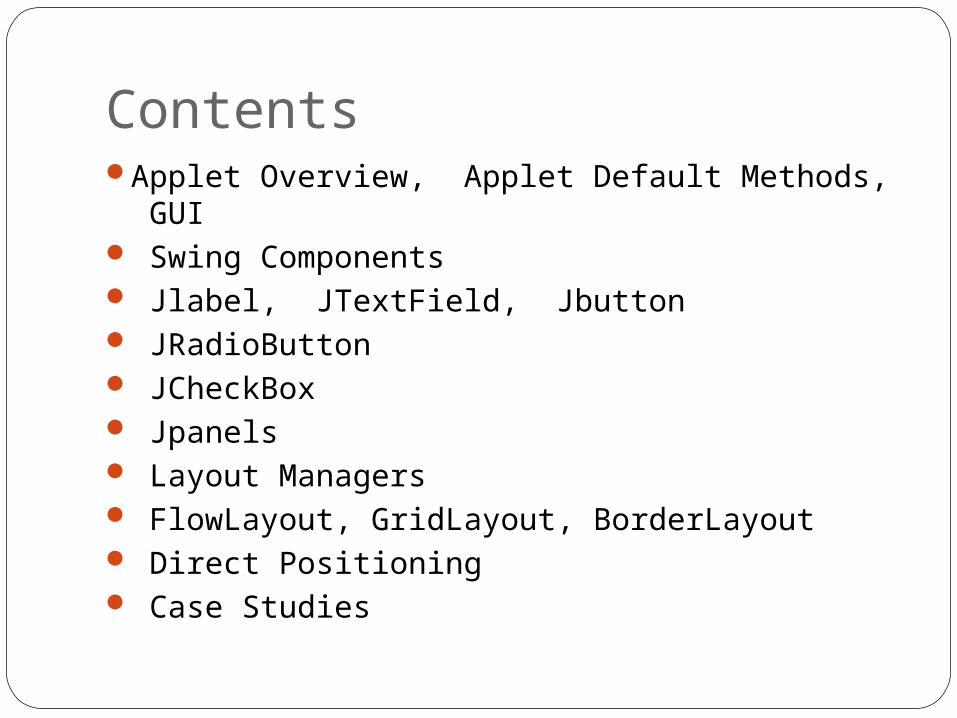
ContentsApplet Overview, Applet Default Methods, GUI Swing Components Jlabel, JTextField, Jbutton JRadioButton JCheckBox Jpanels Layout Managers FlowLayout, GridLayout, BorderLayout Direct Positioning Case Studies
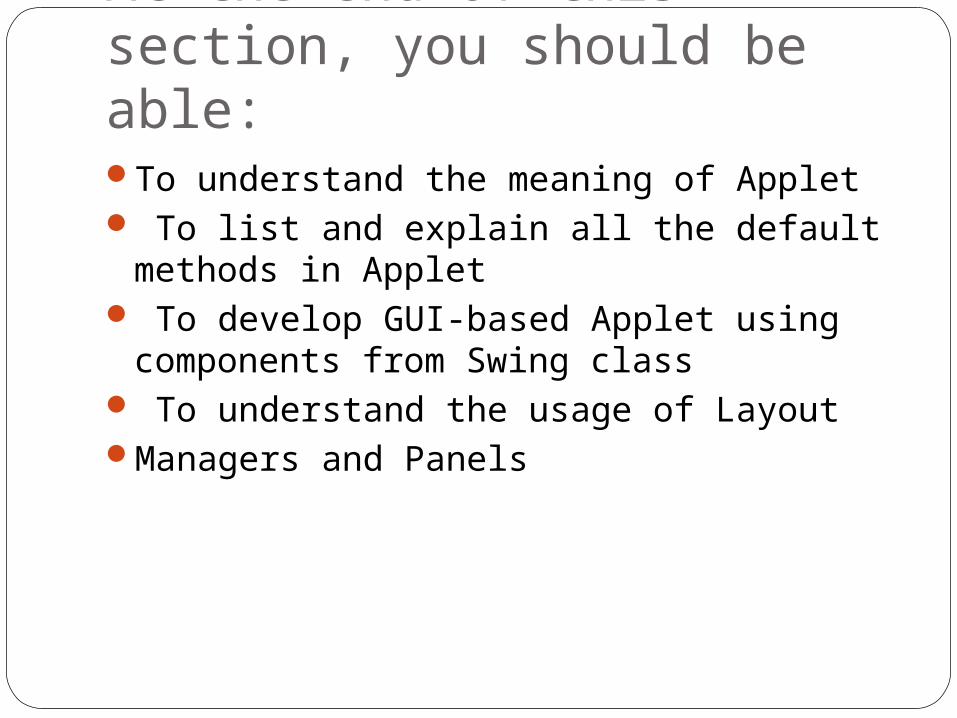
At the end of this section, you should be able:To understand the meaning of Applet To list and explain all the default methods
in Applet To develop GUI-based Applet using
components from Swing class To understand the usage of LayoutManagers and Panels
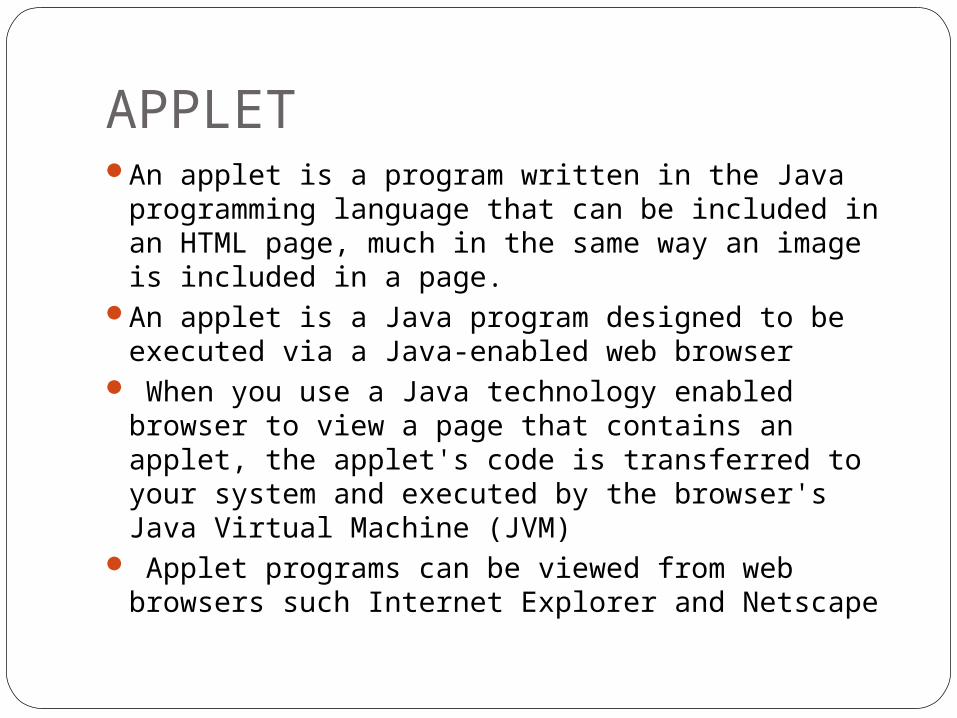
APPLETAn applet is a program written in the Java
programming language that can be included in an HTML page, much in the same way an image is included in a page.
An applet is a Java program designed to be executed via a Java-enabled web browser
When you use a Java technology enabled browser to view a page that contains an applet, the applet's code is transferred to your system and executed by the browser's Java Virtual Machine (JVM)
Applet programs can be viewed from web browsers such Internet Explorer and Netscape
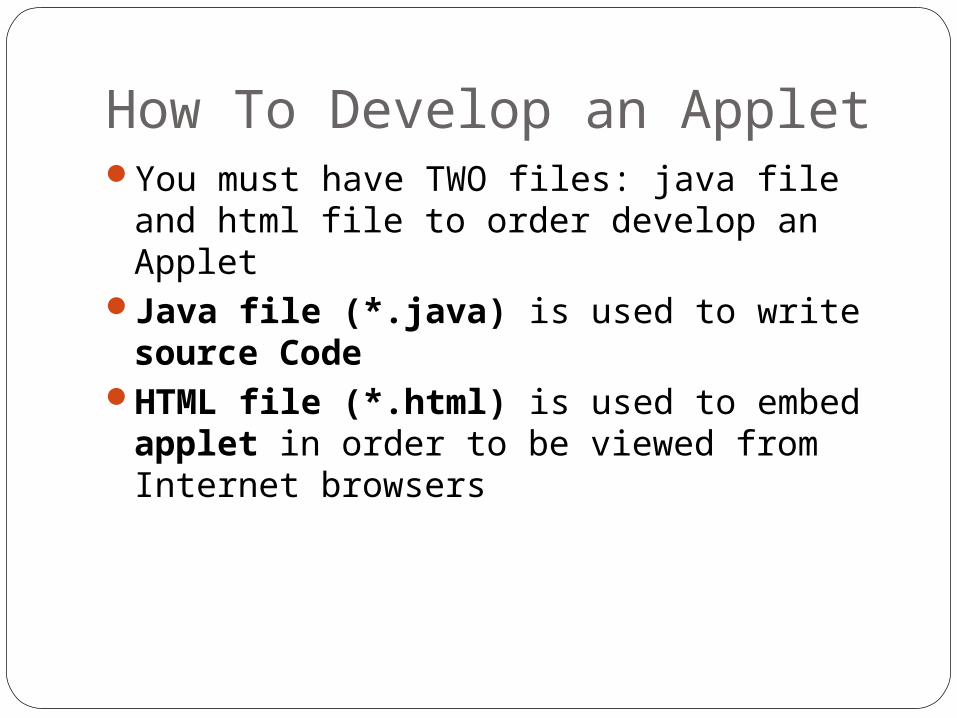
How To Develop an AppletYou must have TWO files: java file and html
file to order develop an AppletJava file (*.java) is used to write source
CodeHTML file (*.html) is used to embed
applet in order to be viewed from Internet browsers
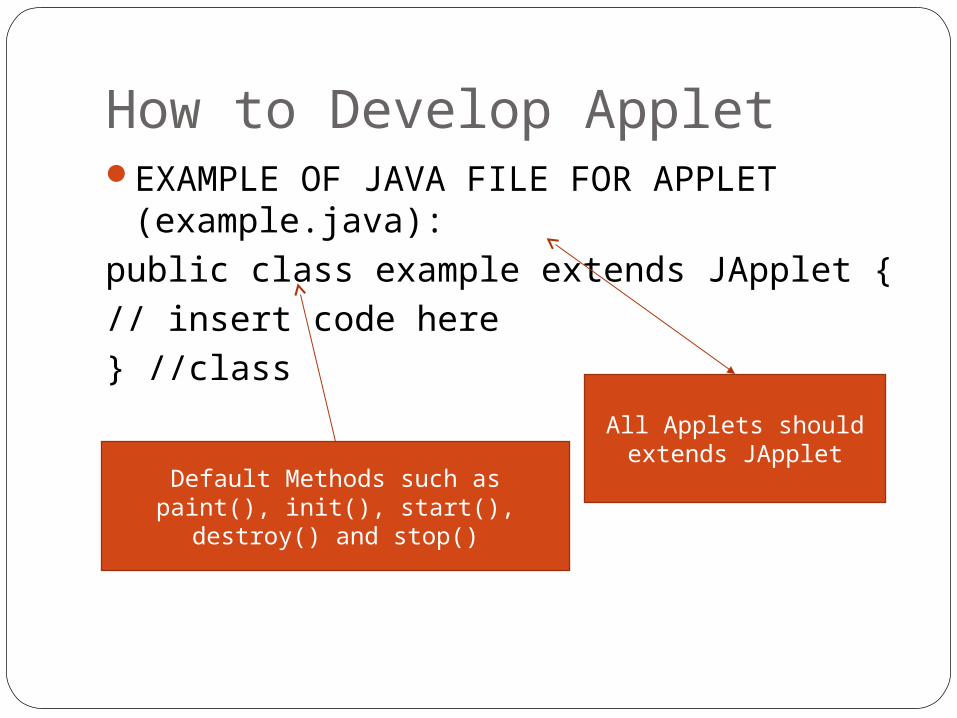
How to Develop AppletEXAMPLE OF JAVA FILE FOR APPLET
(example.java):public class example extends JApplet {// insert code here} //class
All Applets should extends JApplet
Default Methods such as paint(), init(), start(), destroy() and stop()
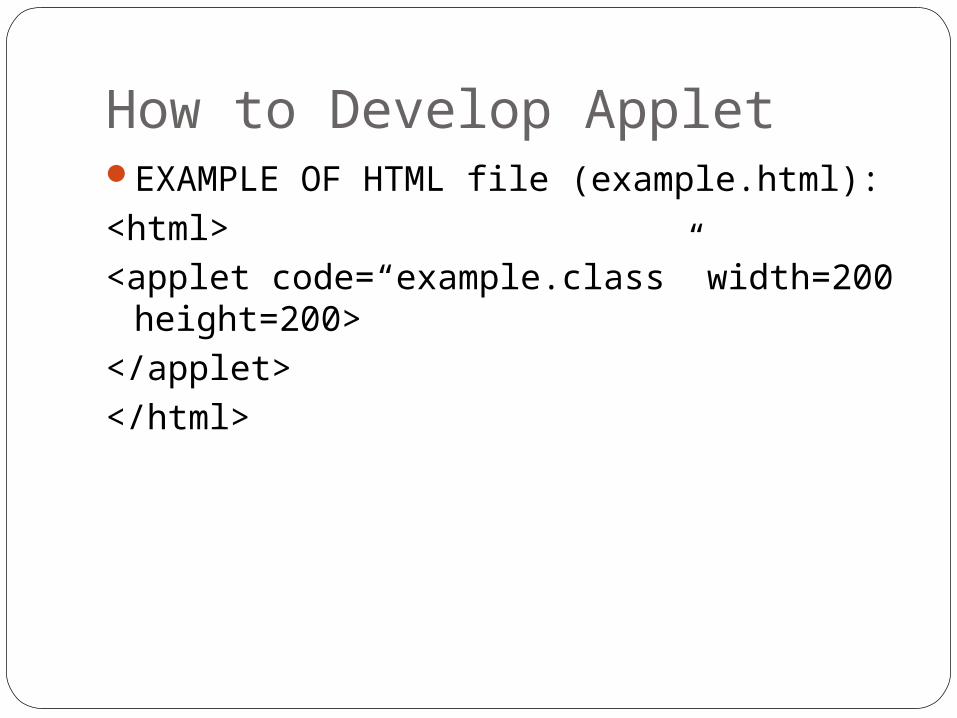
How to Develop AppletEXAMPLE OF HTML file (example.html):<html><applet code=“example.class” width=200
height=200></applet></html>
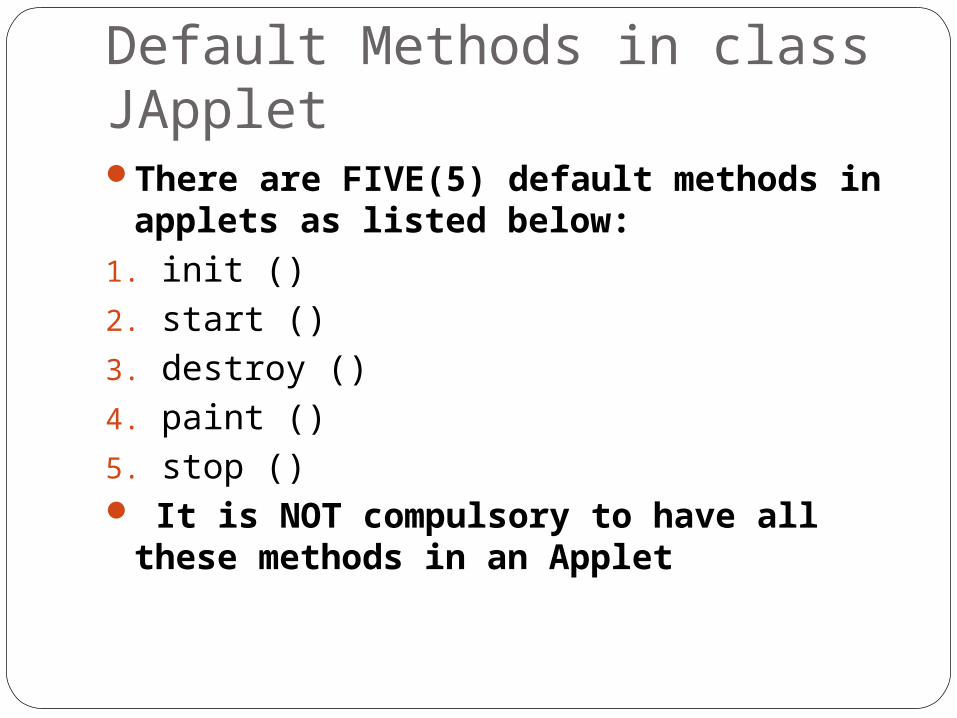
Default Methods in class JAppletThere are FIVE(5) default methods in
applets as listed below:1. init ()2. start ()3. destroy ()4. paint ()5. stop () It is NOT compulsory to have all these
methods in an Applet
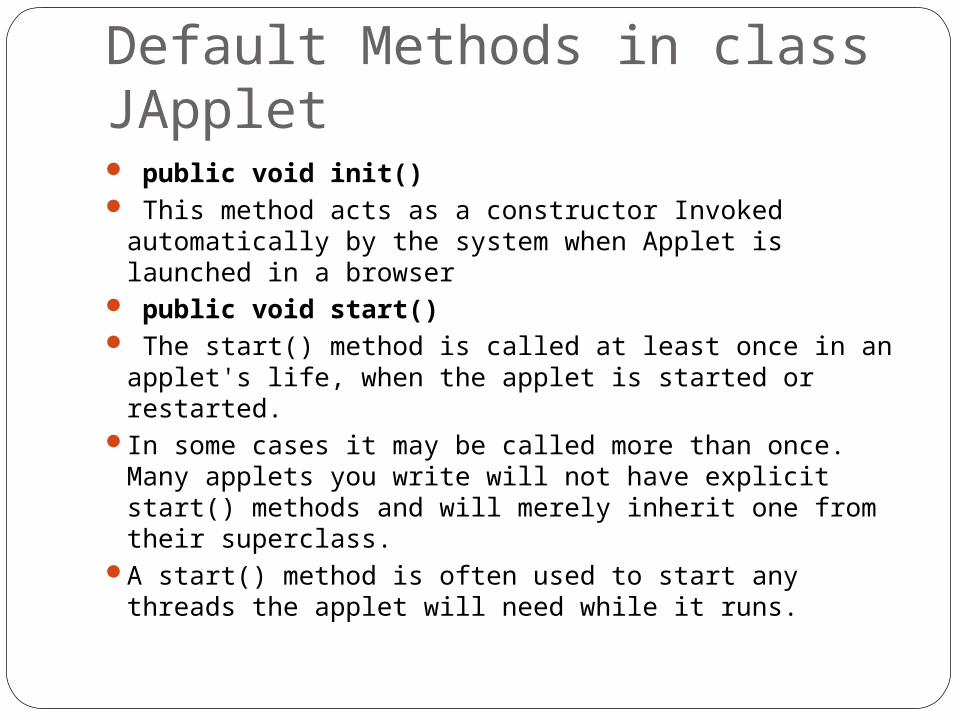
Default Methods in class JApplet public void init() This method acts as a constructor Invoked
automatically by the system when Applet is launched in a browser
public void start() The start() method is called at least once in an
applet's life, when the applet is started or restarted.In some cases it may be called more than once.
Many applets you write will not have explicit start() methods and will merely inherit one from their superclass.
A start() method is often used to start any threads the applet will need while it runs.
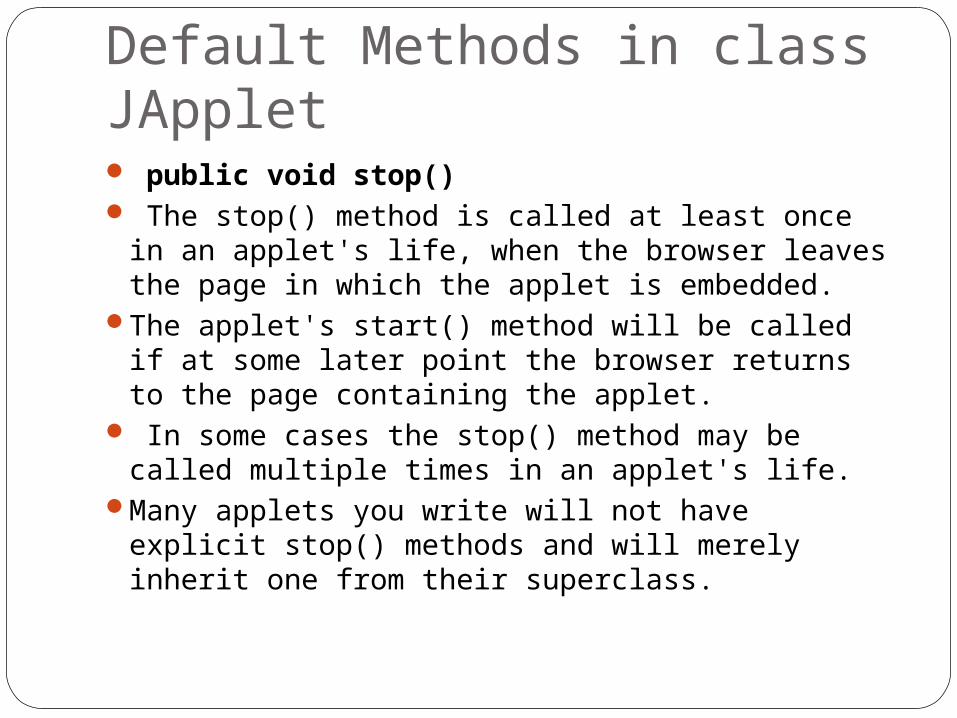
Default Methods in class JApplet public void stop() The stop() method is called at least once in an
applet's life, when the browser leaves the page in which the applet is embedded.
The applet's start() method will be called if at some later point the browser returns to the page containing the applet.
In some cases the stop() method may be called multiple times in an applet's life.
Many applets you write will not have explicit stop() methods and will merely inherit one from their superclass.
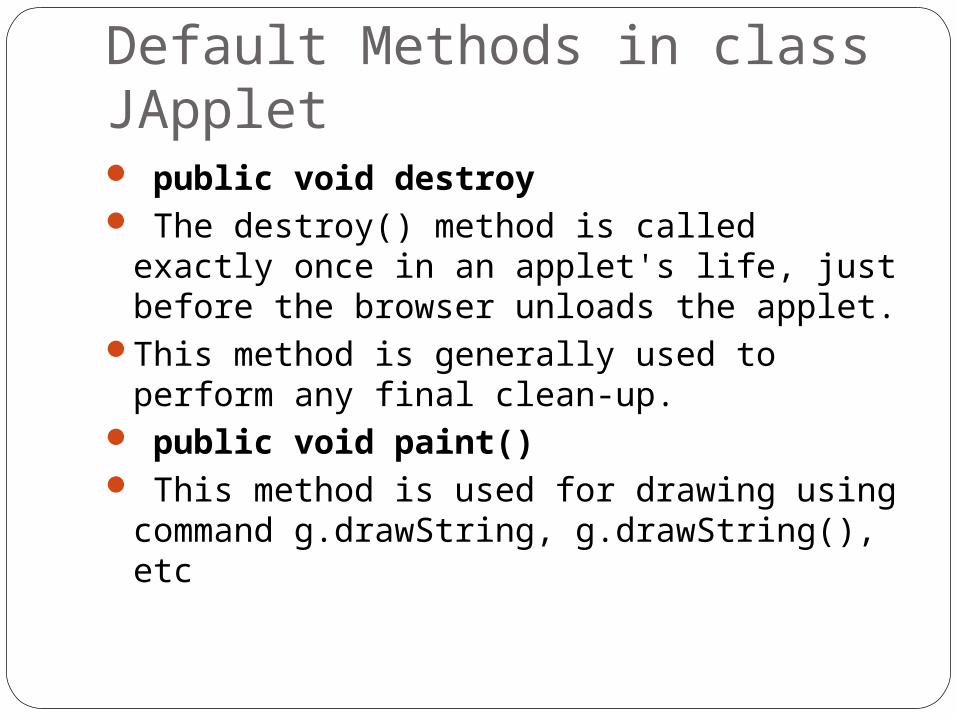
Default Methods in class JApplet public void destroy The destroy() method is called exactly
once in an applet's life, just before the browser unloads the applet.
This method is generally used to perform any final clean-up.
public void paint() This method is used for drawing using
command g.drawString, g.drawString(), etc
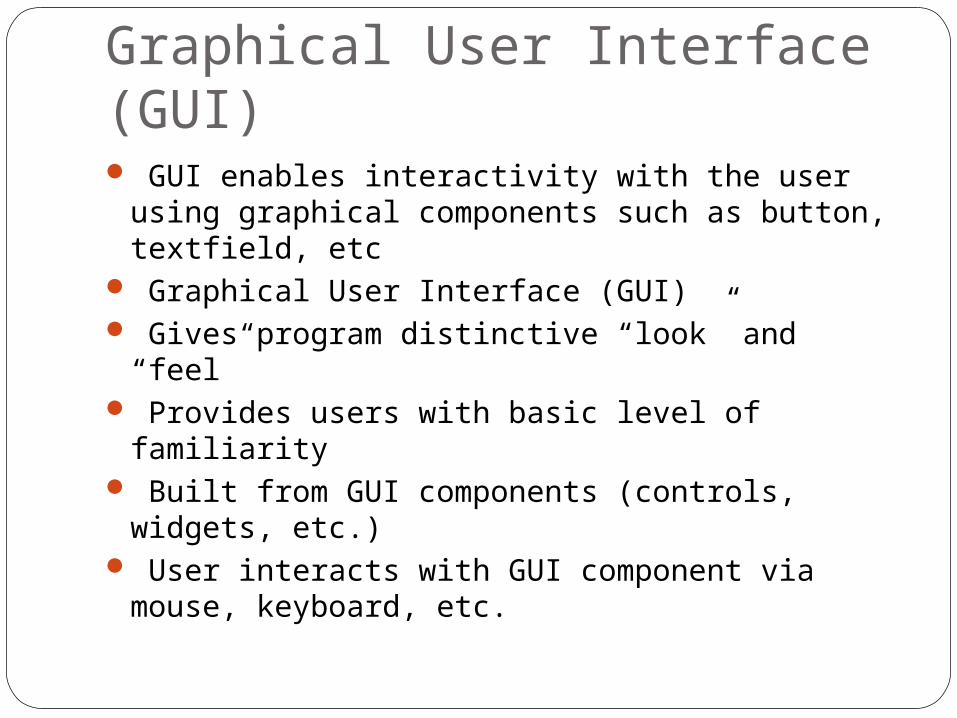
Graphical User Interface (GUI) GUI enables interactivity with the user using
graphical components such as button, textfield, etc
Graphical User Interface (GUI) Gives program distinctive “look” and “feel” Provides users with basic level of familiarity Built from GUI components (controls,
widgets, etc.) User interacts with GUI component via
mouse, keyboard, etc.
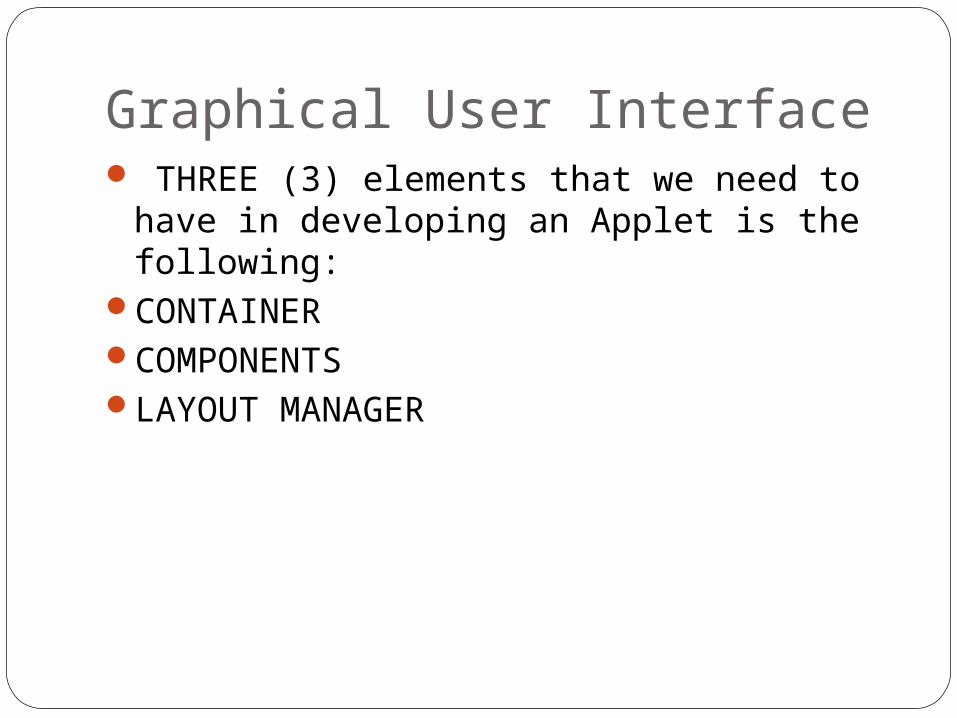
Graphical User Interface THREE (3) elements that we need to have
in developing an Applet is the following:CONTAINERCOMPONENTSLAYOUT MANAGER

Graphical User Interface Components: Graphical components (such as button,
label, etc) that enables interactivity between user and computer/machine.
Components should be created in method init() of an applet
Container: A space where we put all the components above
Example: Container container = getContentPane(); All Applet programs that has GUI must have container
to hold the components Command add is used to place components in a
containerLayout Manager: To determine how we are going
arrange the components in the container
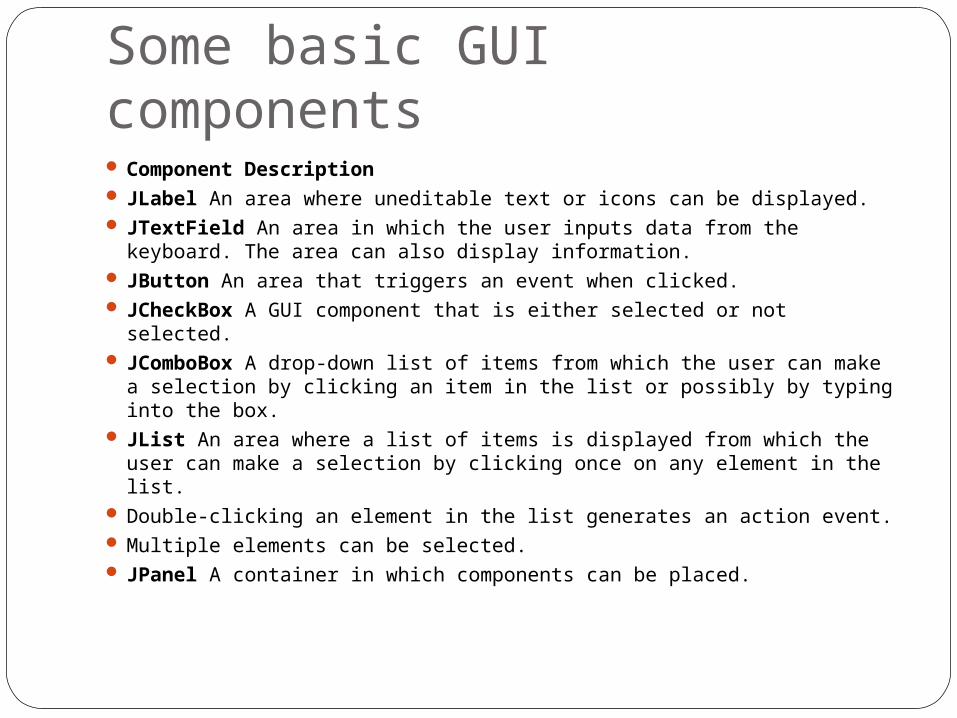
Some basic GUI components Component Description JLabel An area where uneditable text or icons can be displayed. JTextField An area in which the user inputs data from the
keyboard. The area can also display information. JButton An area that triggers an event when clicked. JCheckBox A GUI component that is either selected or not
selected. JComboBox A drop-down list of items from which the user can
make a selection by clicking an item in the list or possibly by typing into the box.
JList An area where a list of items is displayed from which the user can make a selection by clicking once on any element in the list.
Double-clicking an element in the list generates an action event. Multiple elements can be selected. JPanel A container in which components can be placed.
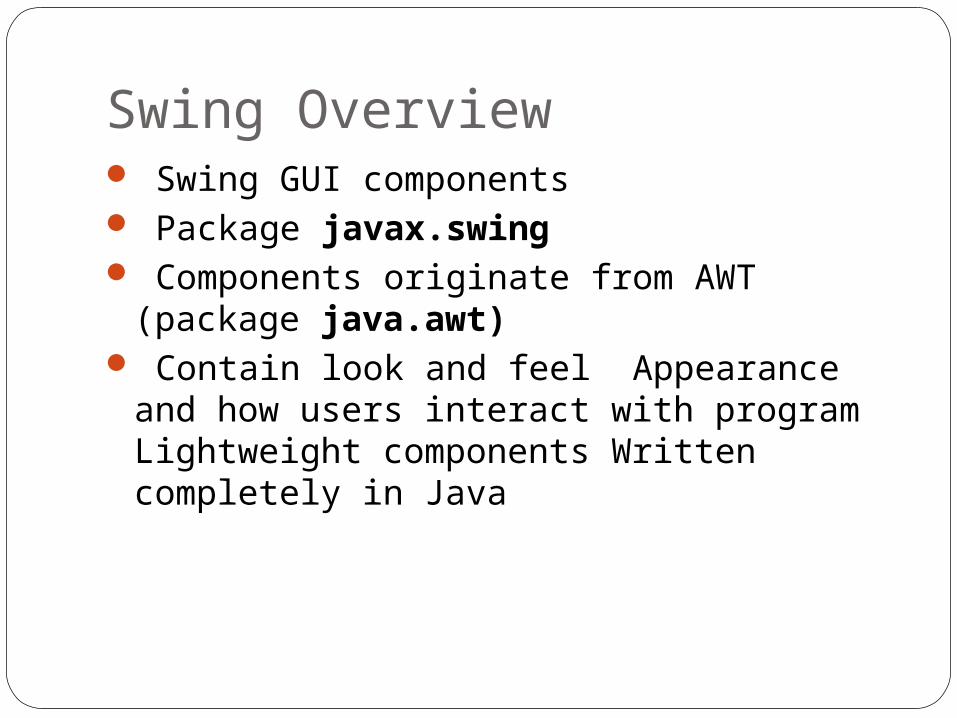
Swing Overview Swing GUI components Package javax.swing Components originate from AWT (package
java.awt) Contain look and feel Appearance and
how users interact with program Lightweight components Written completely in Java
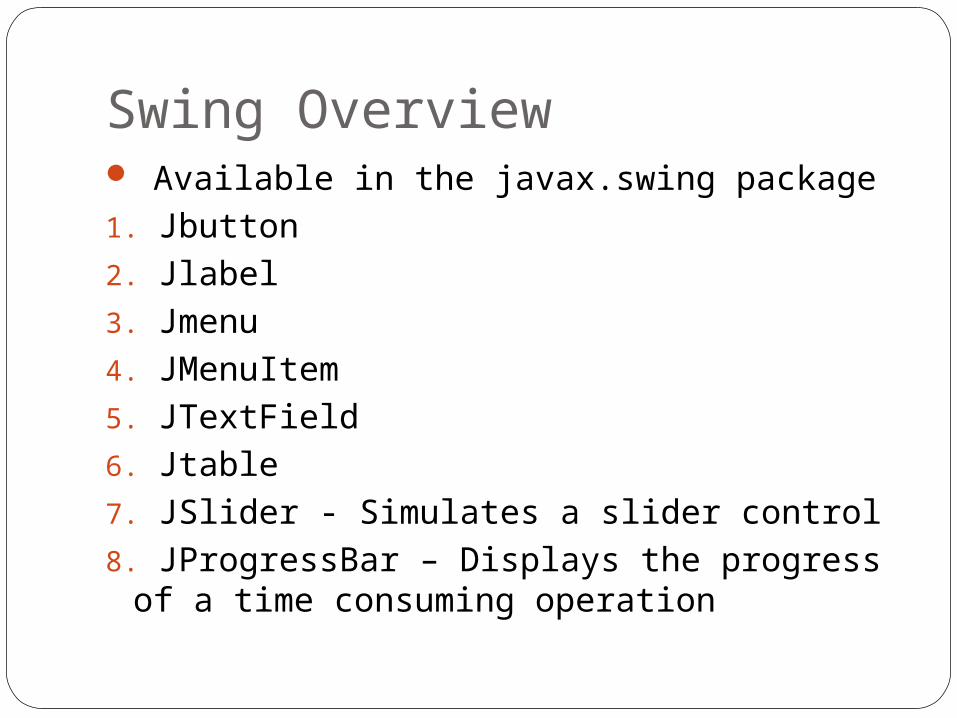
Swing Overview Available in the javax.swing package1. Jbutton2. Jlabel3. Jmenu4. JMenuItem5. JTextField6. Jtable7. JSlider - Simulates a slider control8. JProgressBar – Displays the progress of a
time consuming operation
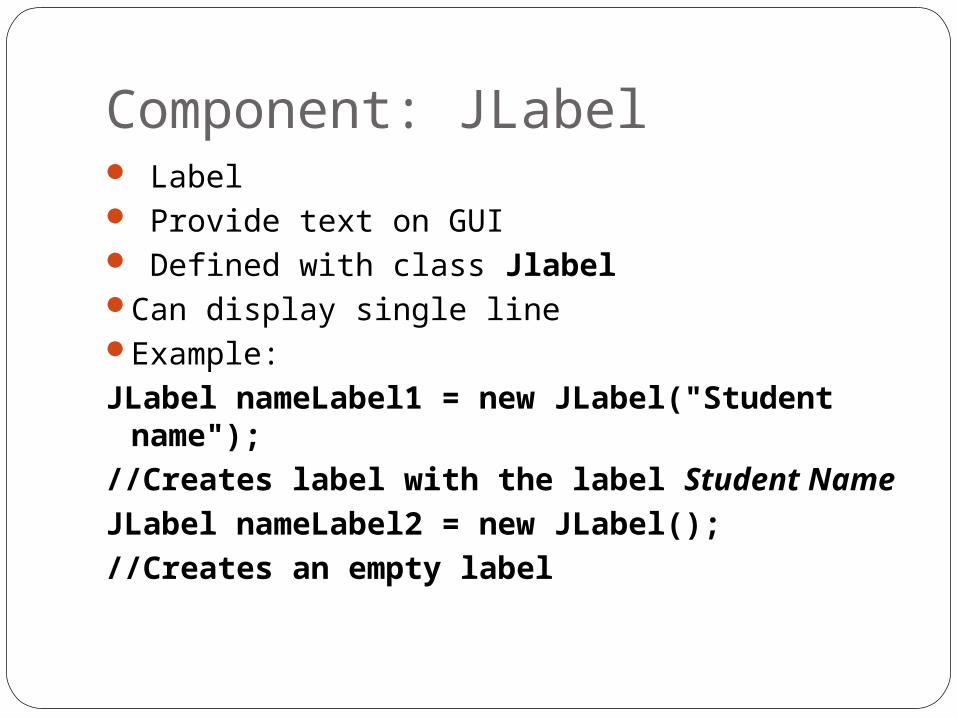
Component: JLabel Label Provide text on GUI Defined with class Jlabel Can display single lineExample:JLabel nameLabel1 = new JLabel("Student
name");//Creates label with the label Student
NameJLabel nameLabel2 = new JLabel();//Creates an empty label
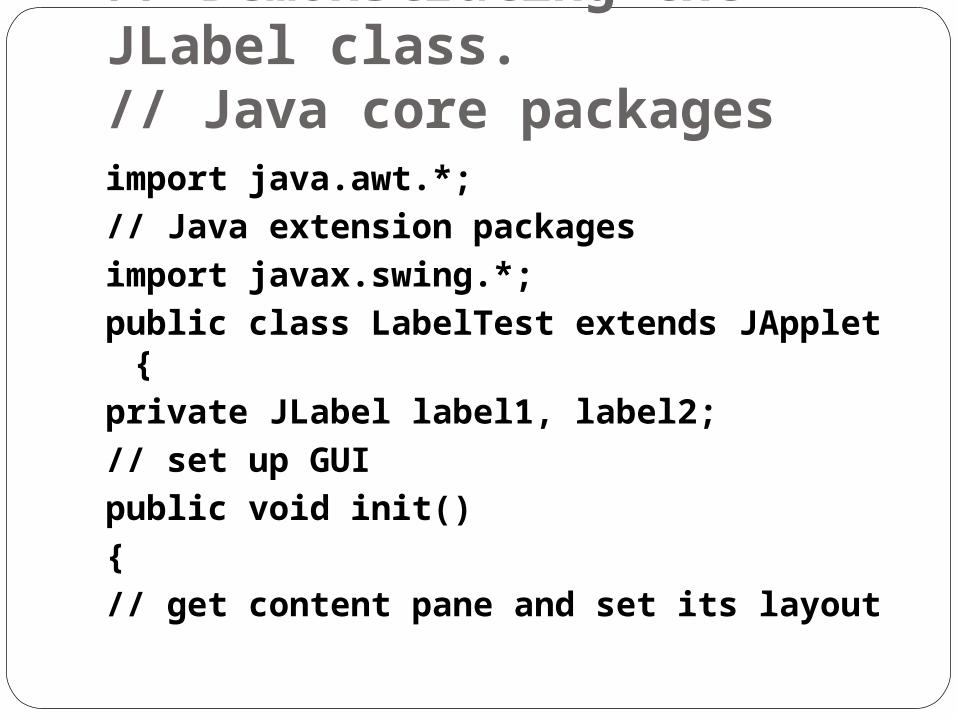
// Demonstrating the JLabel class.// Java core packagesimport java.awt.*;// Java extension packagesimport javax.swing.*;public class LabelTest extends JApplet {private JLabel label1, label2;// set up GUIpublic void init(){// get content pane and set its layout
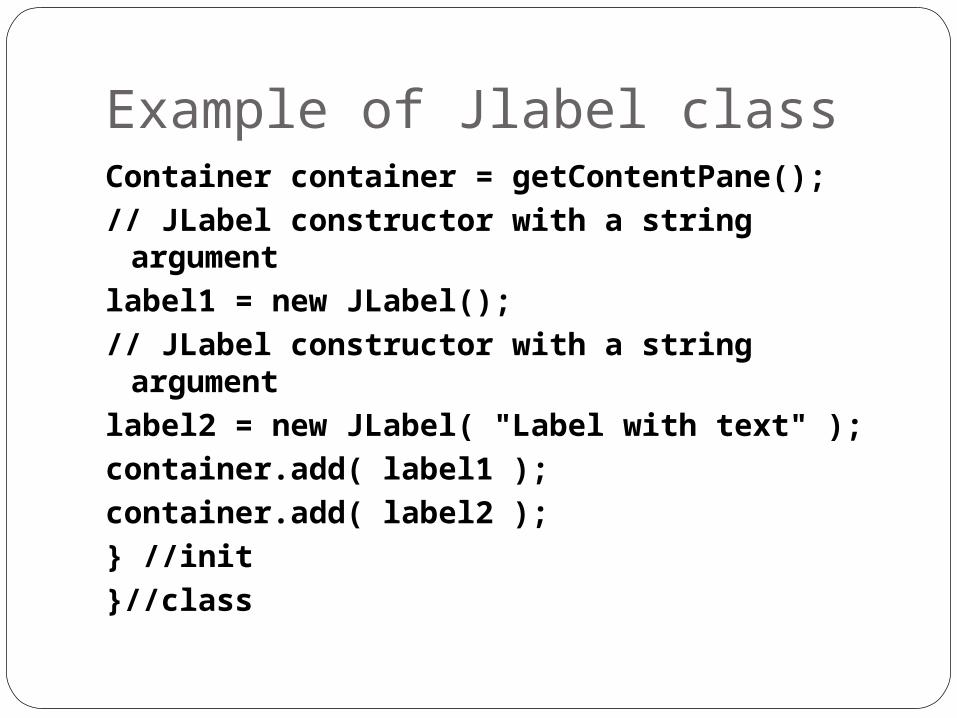
Example of Jlabel classContainer container = getContentPane();// JLabel constructor with a string argumentlabel1 = new JLabel();// JLabel constructor with a string argumentlabel2 = new JLabel( "Label with text" );container.add( label1 );container.add( label2 );} //init}//class
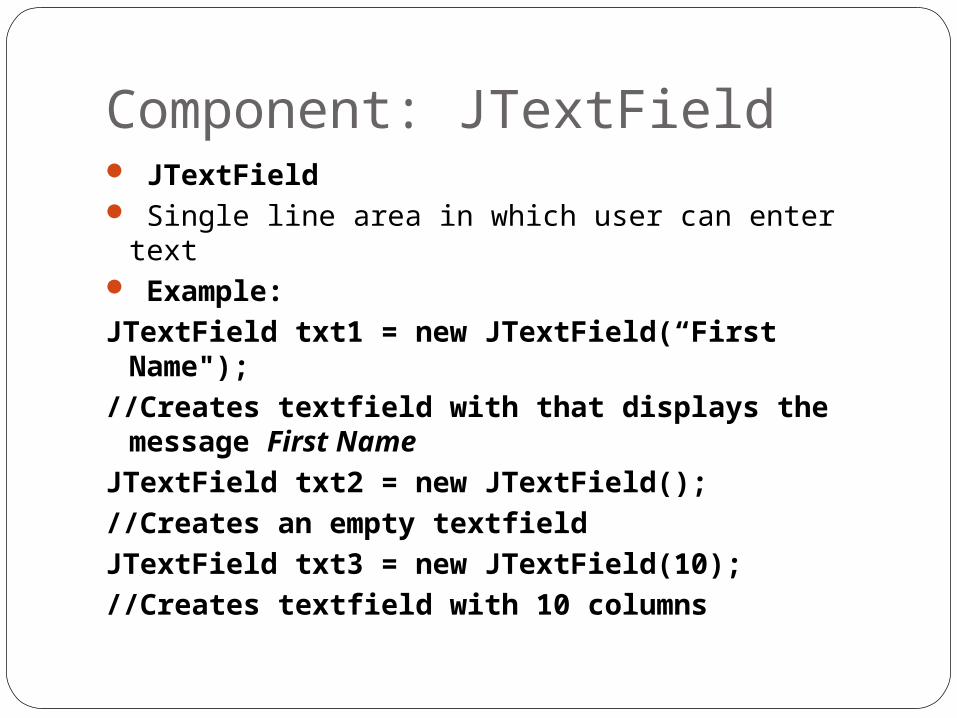
Component: JTextField JTextField Single line area in which user can enter text Example:JTextField txt1 = new JTextField(“First
Name");//Creates textfield with that displays the
message First NameJTextField txt2 = new JTextField();//Creates an empty textfieldJTextField txt3 = new JTextField(10);//Creates textfield with 10 columns
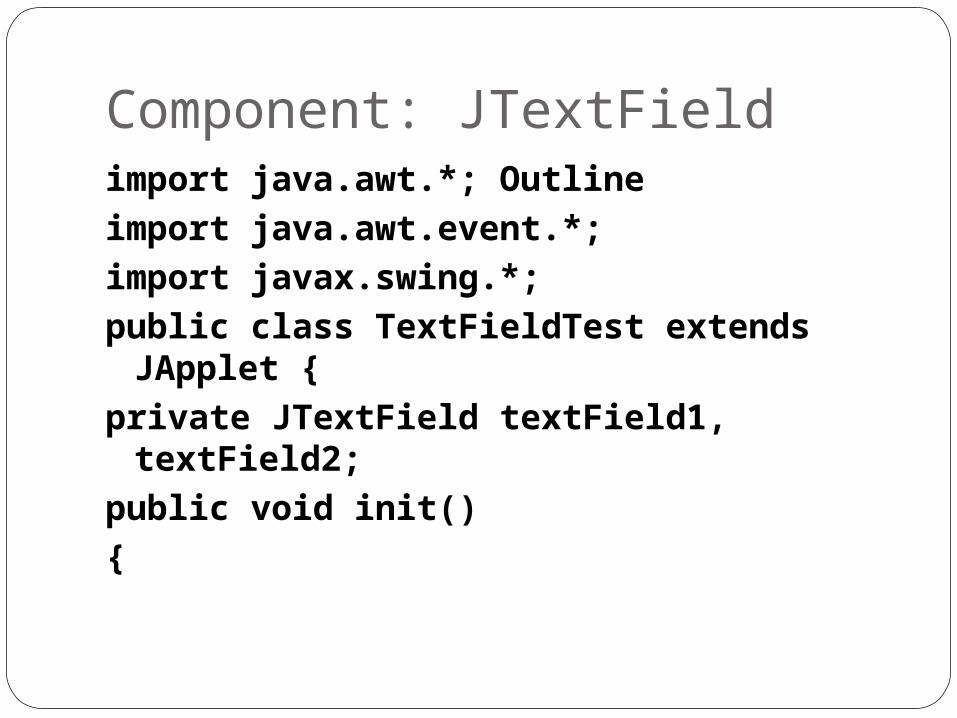
Component: JTextFieldimport java.awt.*; Outlineimport java.awt.event.*;import javax.swing.*;public class TextFieldTest extends
JApplet {private JTextField textField1, textField2;public void init(){

Component: JTextFieldContainer container = getContentPane();// construct textfield with default sizingtextField1 = new JTextField( 10 );// construct textfield with default texttextField2 = new JTextField( "Enter text
here" );container.add( textField1 );container.add( textField2 );}}
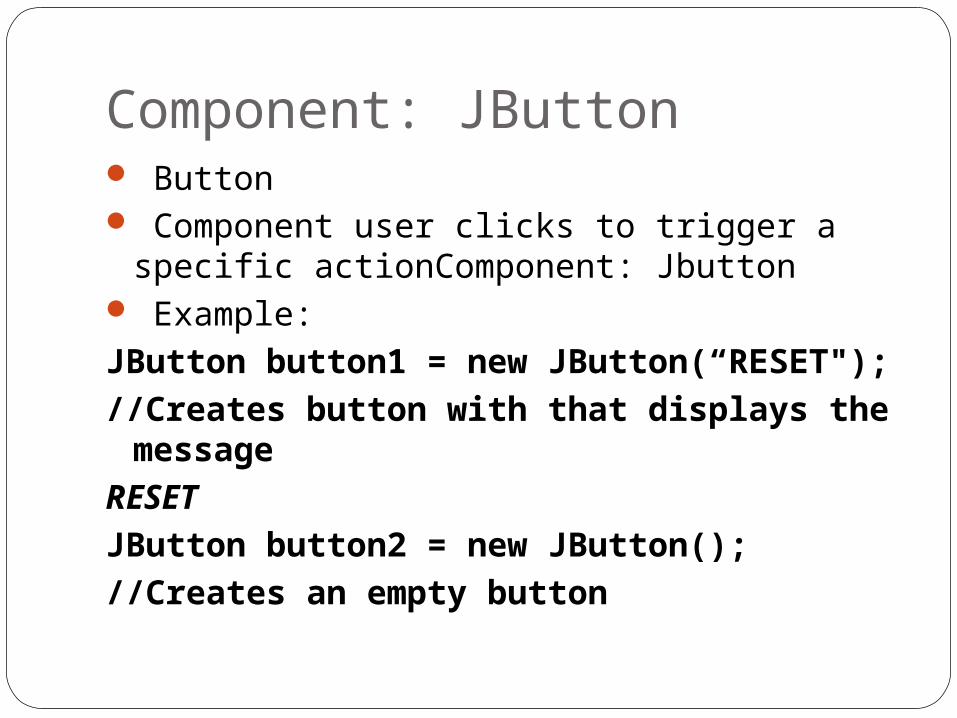
Component: JButton Button Component user clicks to trigger a specific
actionComponent: Jbutton Example:JButton button1 = new JButton(“RESET");//Creates button with that displays the
messageRESETJButton button2 = new JButton();//Creates an empty button
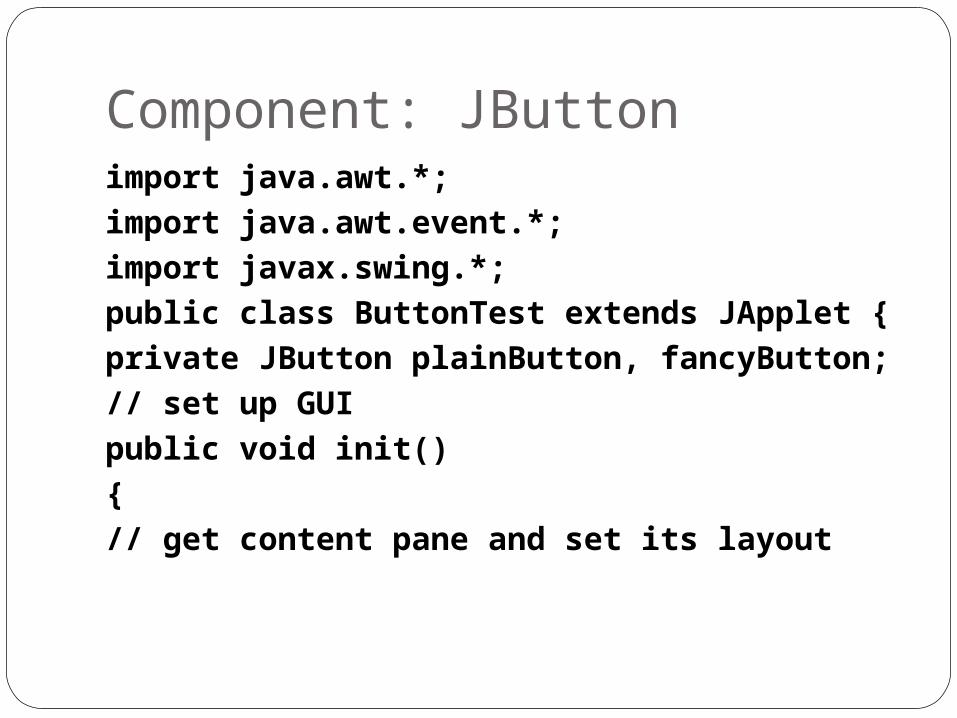
Component: JButtonimport java.awt.*;import java.awt.event.*;import javax.swing.*;public class ButtonTest extends JApplet {private JButton plainButton, fancyButton;// set up GUIpublic void init(){// get content pane and set its layout
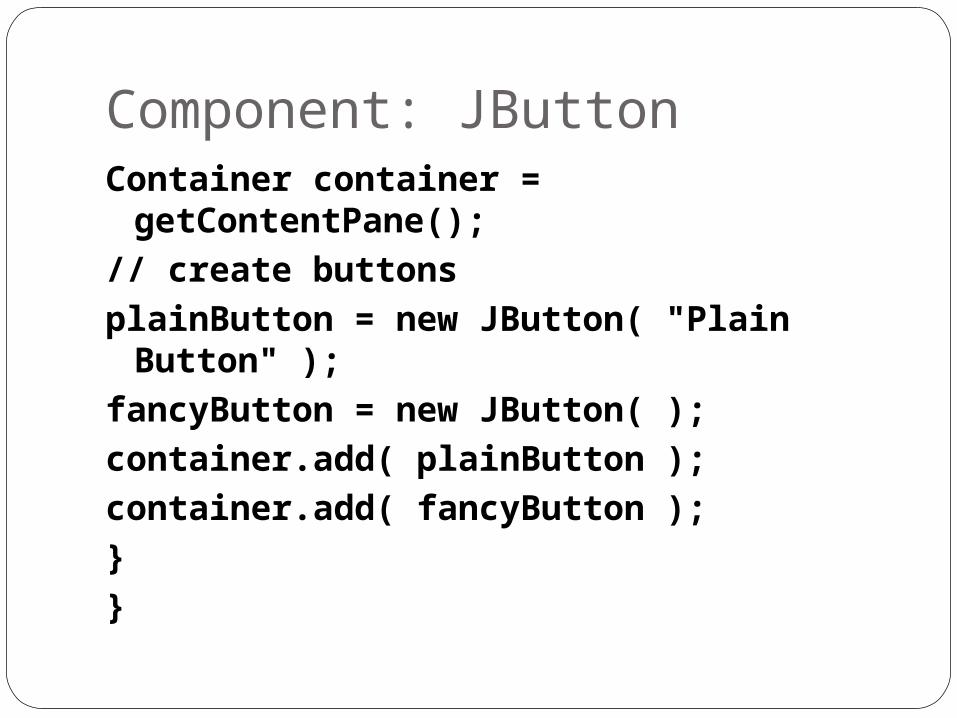
Component: JButtonContainer container =
getContentPane();// create buttonsplainButton = new JButton( "Plain
Button" );fancyButton = new JButton( );container.add( plainButton );container.add( fancyButton );}}
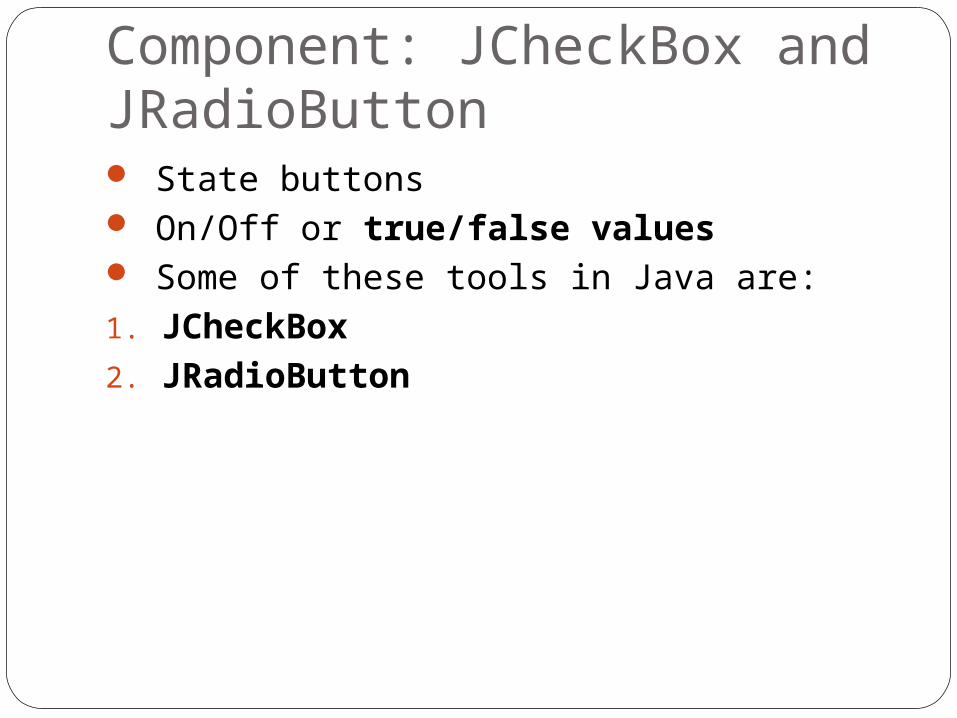
Component: JCheckBox andJRadioButton State buttons On/Off or true/false values Some of these tools in Java are:1. JCheckBox2. JRadioButton
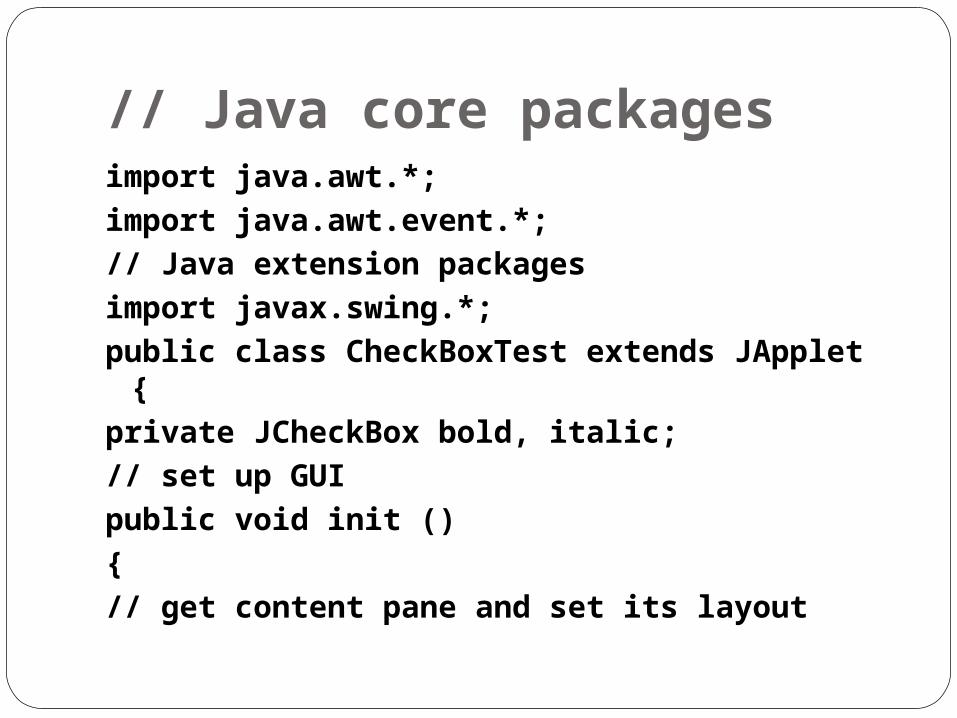
// Java core packagesimport java.awt.*;import java.awt.event.*;// Java extension packagesimport javax.swing.*;public class CheckBoxTest extends JApplet
{private JCheckBox bold, italic;// set up GUIpublic void init (){// get content pane and set its layout
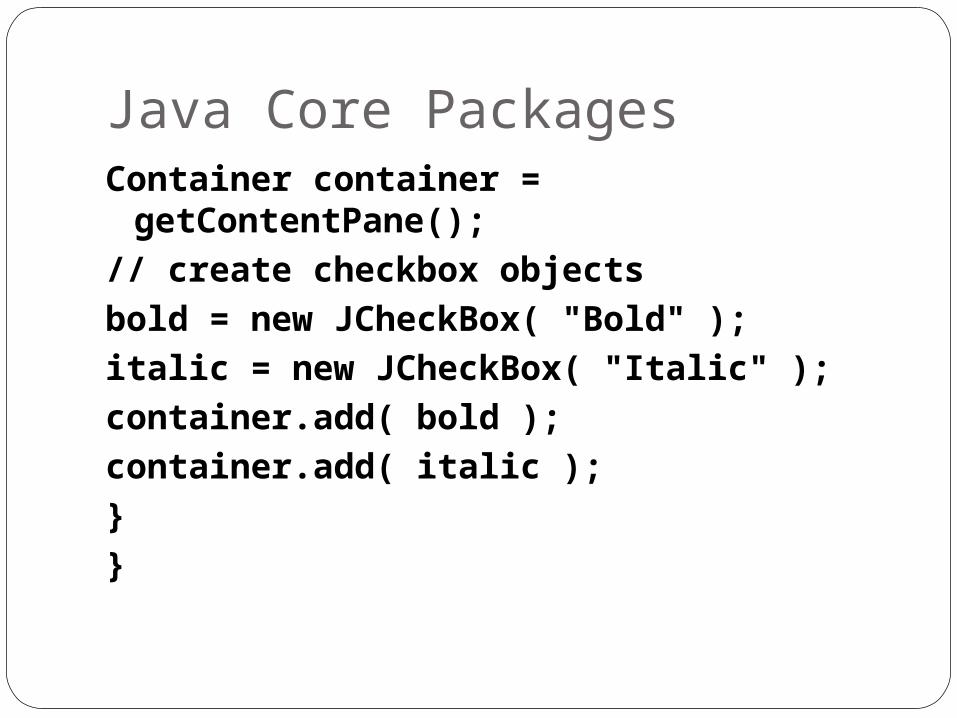
Java Core PackagesContainer container =
getContentPane();// create checkbox objectsbold = new JCheckBox( "Bold" );italic = new JCheckBox( "Italic" );container.add( bold );container.add( italic );}}
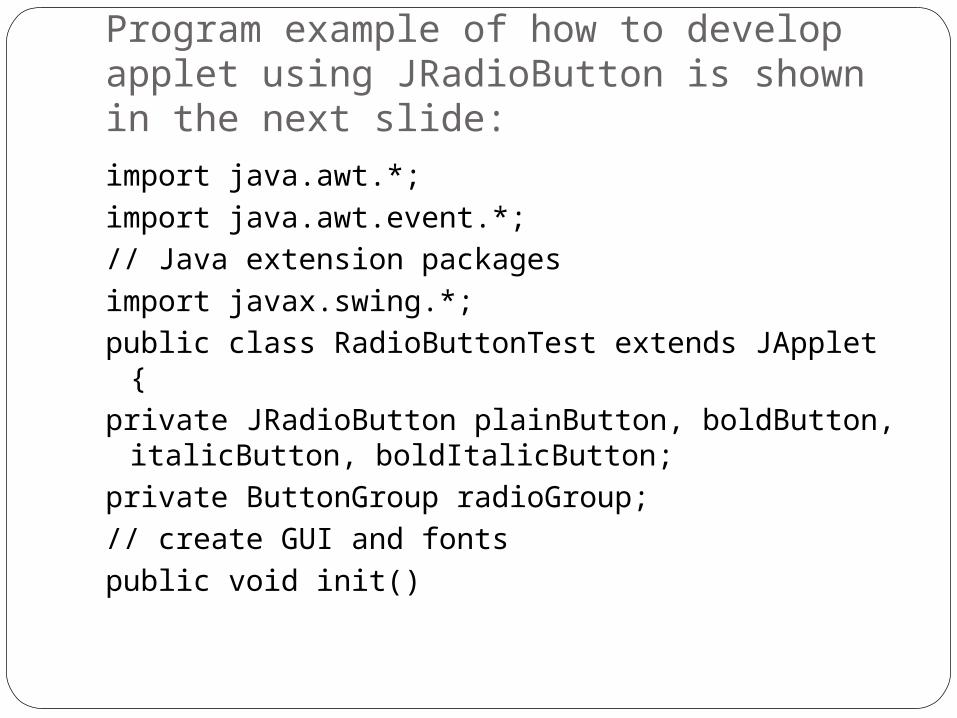
Program example of how to develop applet using JRadioButton is shown in the next slide:
import java.awt.*;import java.awt.event.*;// Java extension packagesimport javax.swing.*;public class RadioButtonTest extends JApplet {private JRadioButton plainButton, boldButton,
italicButton, boldItalicButton;private ButtonGroup radioGroup;// create GUI and fontspublic void init()
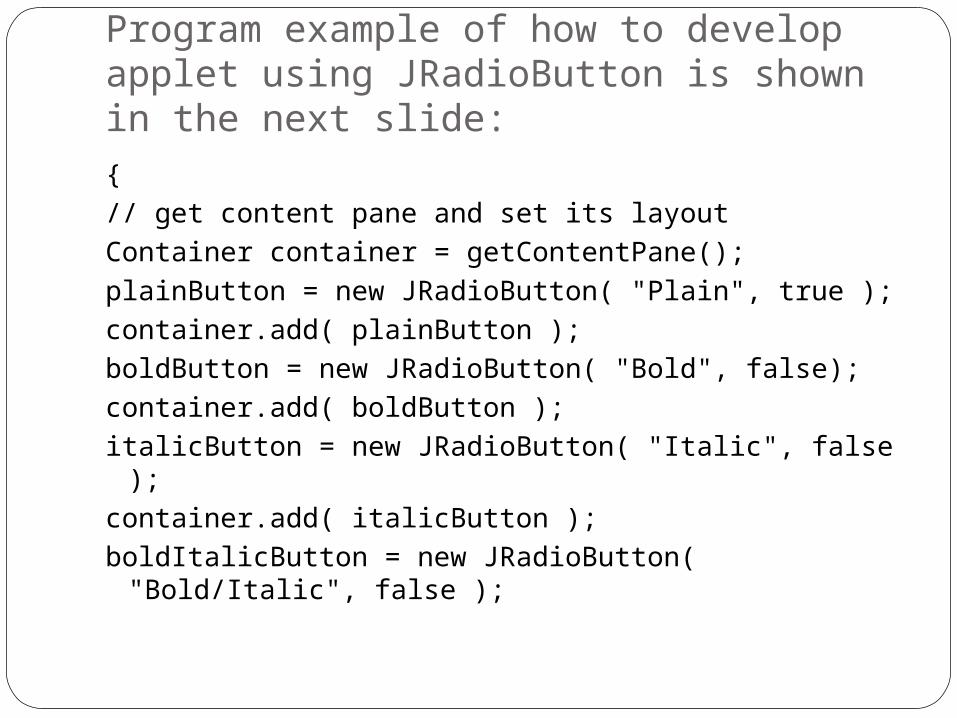
Program example of how to develop applet using JRadioButton is shown in the next slide:
{// get content pane and set its layoutContainer container = getContentPane();plainButton = new JRadioButton( "Plain", true );container.add( plainButton );boldButton = new JRadioButton( "Bold", false);container.add( boldButton );italicButton = new JRadioButton( "Italic", false );container.add( italicButton );boldItalicButton = new JRadioButton( "Bold/Italic",
false );
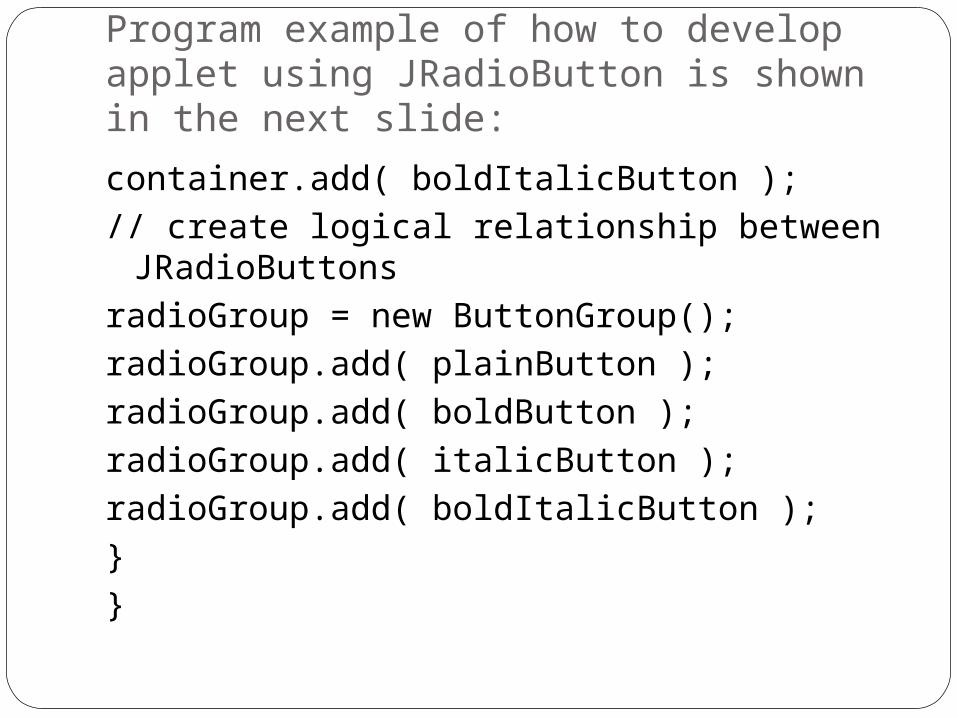
Program example of how to develop applet using JRadioButton is shown in the next slide:
container.add( boldItalicButton );// create logical relationship between
JRadioButtonsradioGroup = new ButtonGroup();radioGroup.add( plainButton );radioGroup.add( boldButton );radioGroup.add( italicButton );radioGroup.add( boldItalicButton );}}
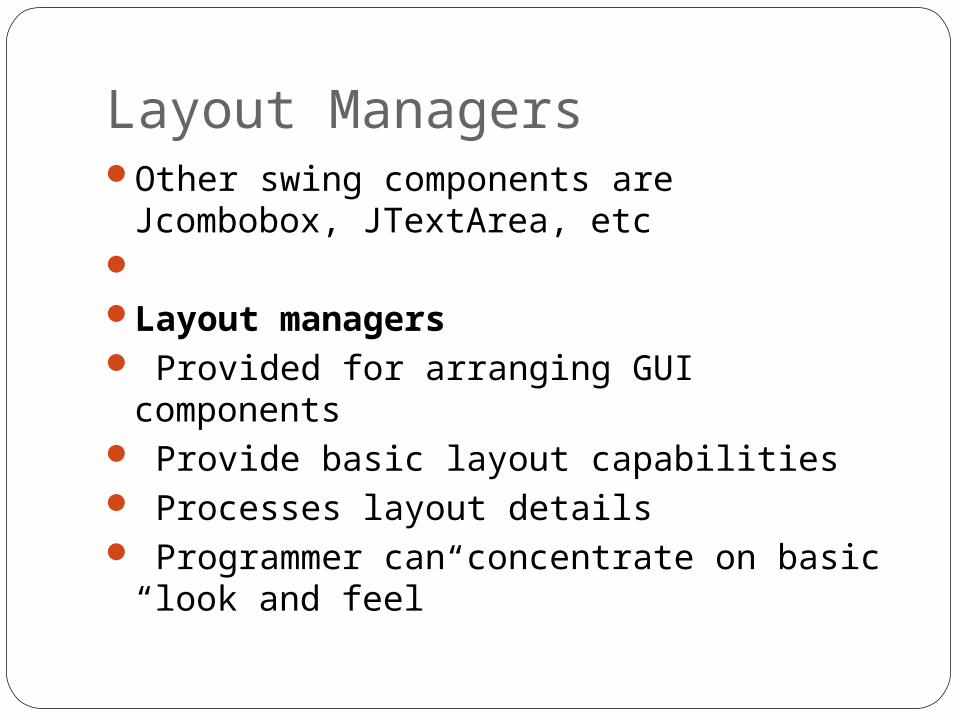
Layout ManagersOther swing components are Jcombobox,
JTextArea, etc Layout managers Provided for arranging GUI components Provide basic layout capabilities Processes layout details Programmer can concentrate on basic
“look and feel”
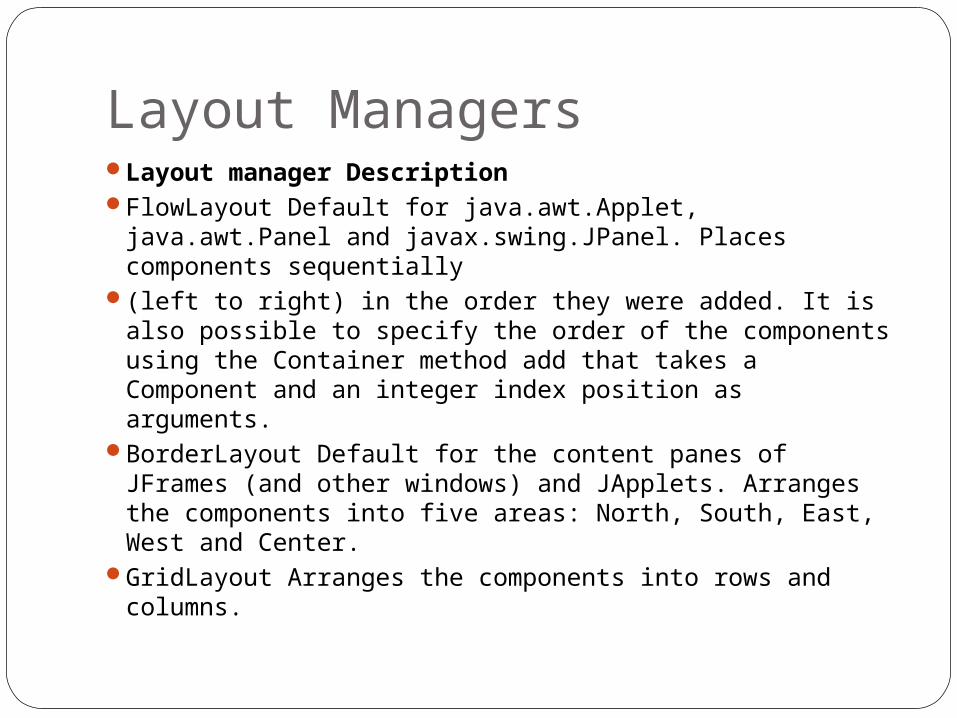
Layout ManagersLayout manager DescriptionFlowLayout Default for java.awt.Applet, java.awt.Panel
and javax.swing.JPanel. Places components sequentially(left to right) in the order they were added. It is also
possible to specify the order of the components using the Container method add that takes a Component and an integer index position as arguments.
BorderLayout Default for the content panes of JFrames (and other windows) and JApplets. Arranges the components into five areas: North, South, East, West and Center.
GridLayout Arranges the components into rows and columns.
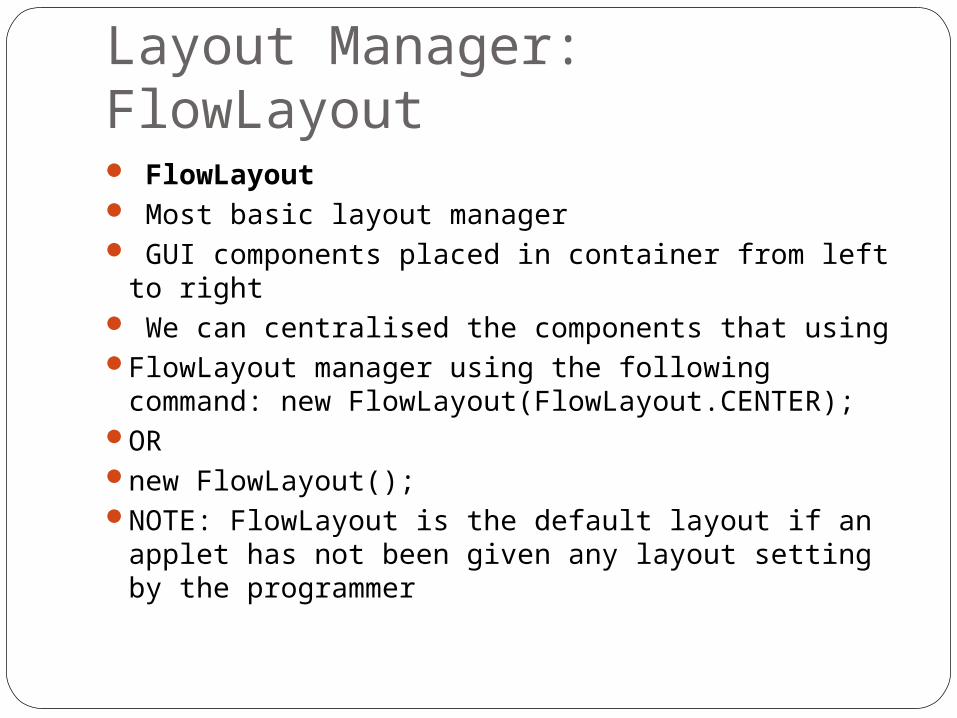
Layout Manager: FlowLayout FlowLayout Most basic layout manager GUI components placed in container from left to
right We can centralised the components that usingFlowLayout manager using the following
command: new FlowLayout(FlowLayout.CENTER);ORnew FlowLayout();NOTE: FlowLayout is the default layout if an applet
has not been given any layout setting by the programmer
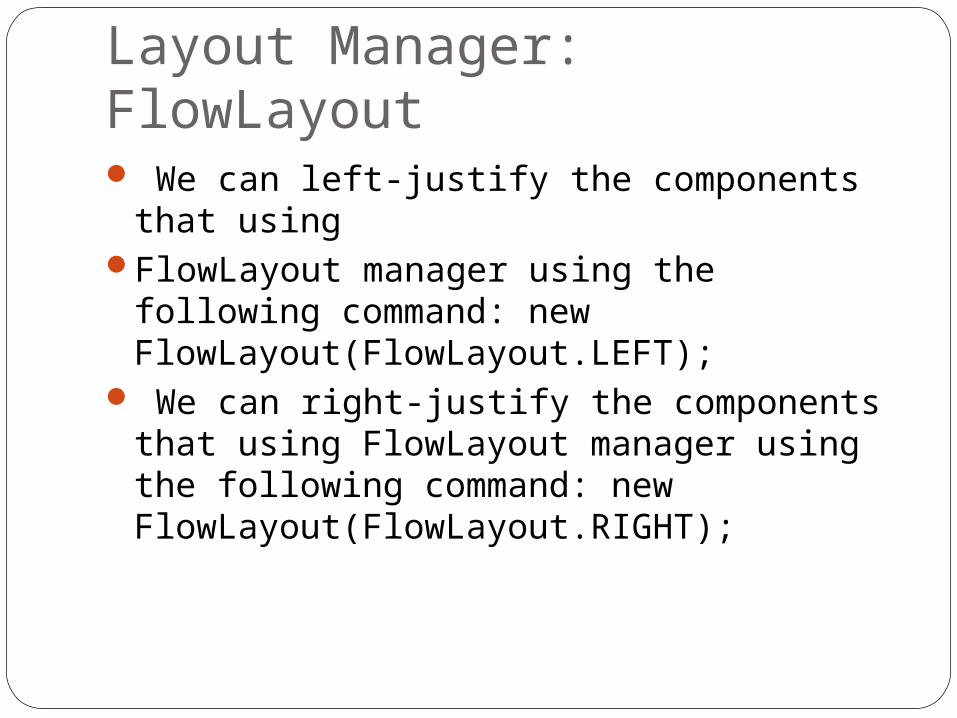
Layout Manager: FlowLayout We can left-justify the components that
usingFlowLayout manager using the following
command: new FlowLayout(FlowLayout.LEFT);
We can right-justify the components that using FlowLayout manager using the following command: new FlowLayout(FlowLayout.RIGHT);

Flow Layoutimport javax.swing.*;import java.awt.*;public class Channels extends JApplet{private Button channel1, channel2, channel3,
channel4;public void init( ){Container con = getContentPane( );con.setLayout( new FlowLayout( ) );
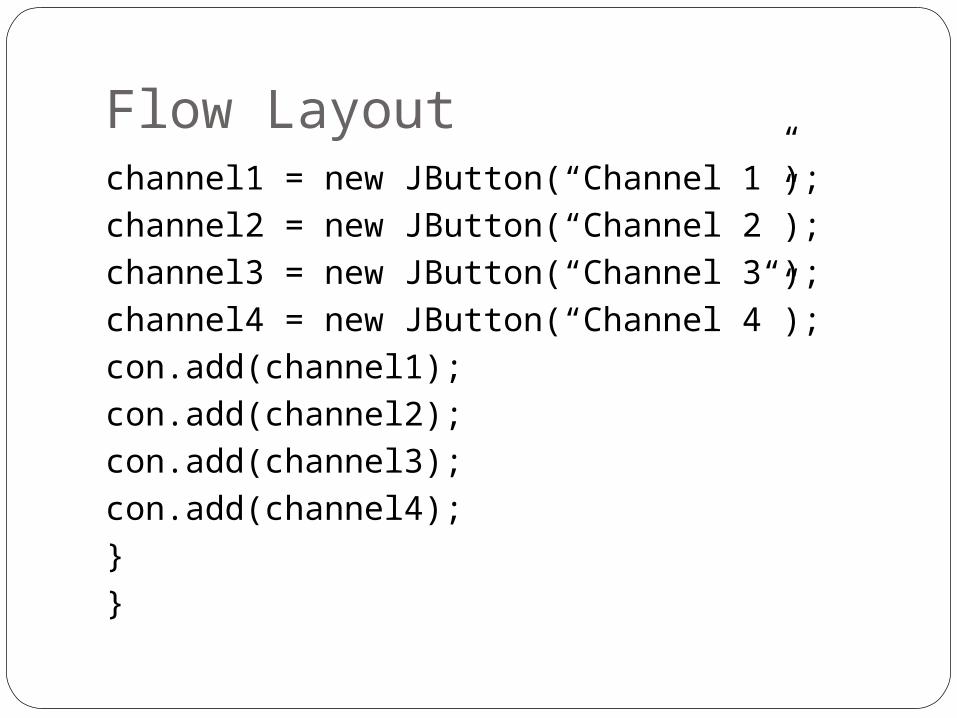
Flow Layoutchannel1 = new JButton(“Channel 1”);channel2 = new JButton(“Channel 2”);channel3 = new JButton(“Channel 3“);channel4 = new JButton(“Channel 4”);con.add(channel1);con.add(channel2);con.add(channel3);con.add(channel4);}}
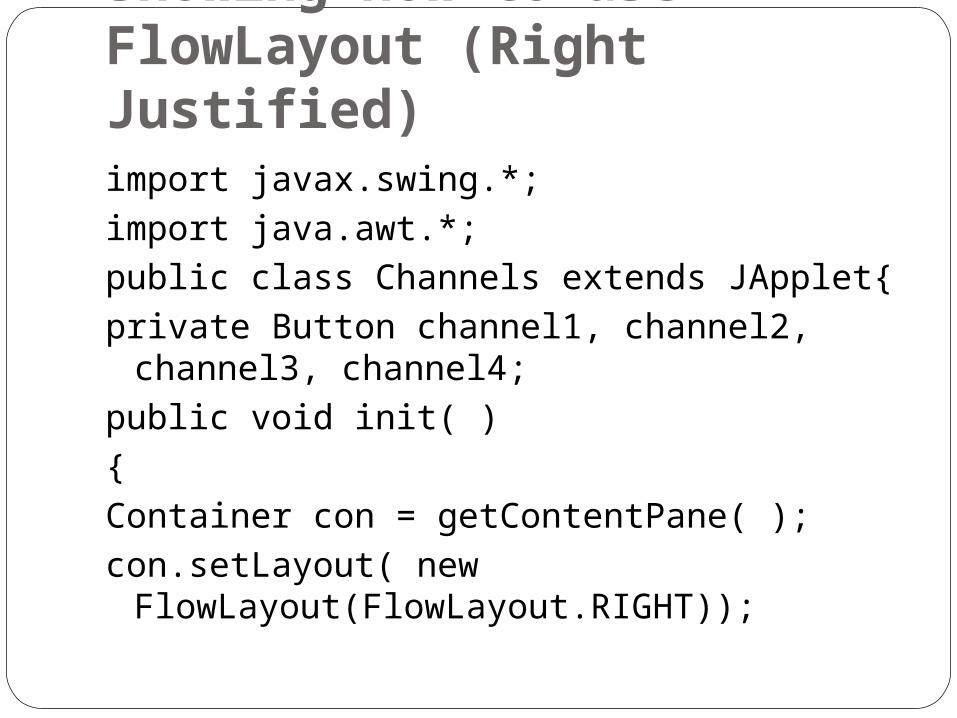
//The program below showing how to use FlowLayout (Right Justified)import javax.swing.*;import java.awt.*;public class Channels extends JApplet{private Button channel1, channel2, channel3,
channel4;public void init( ){Container con = getContentPane( );con.setLayout( new
FlowLayout(FlowLayout.RIGHT));
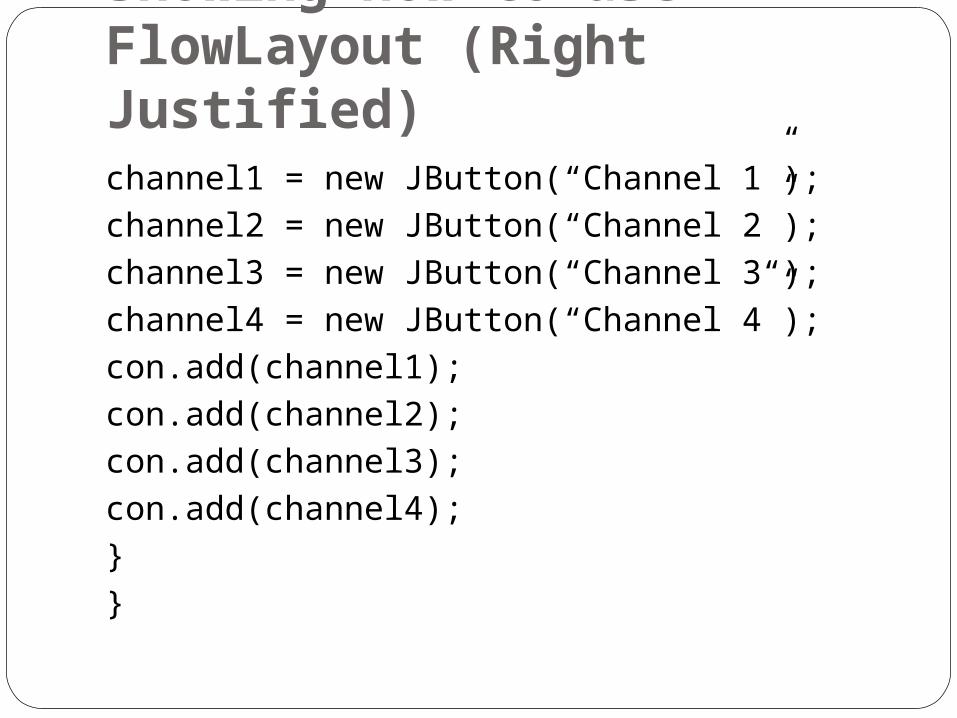
//The program below showing how to use FlowLayout (Right Justified)channel1 = new JButton(“Channel 1”);channel2 = new JButton(“Channel 2”);channel3 = new JButton(“Channel 3“);channel4 = new JButton(“Channel 4”);con.add(channel1);con.add(channel2);con.add(channel3);con.add(channel4);}}
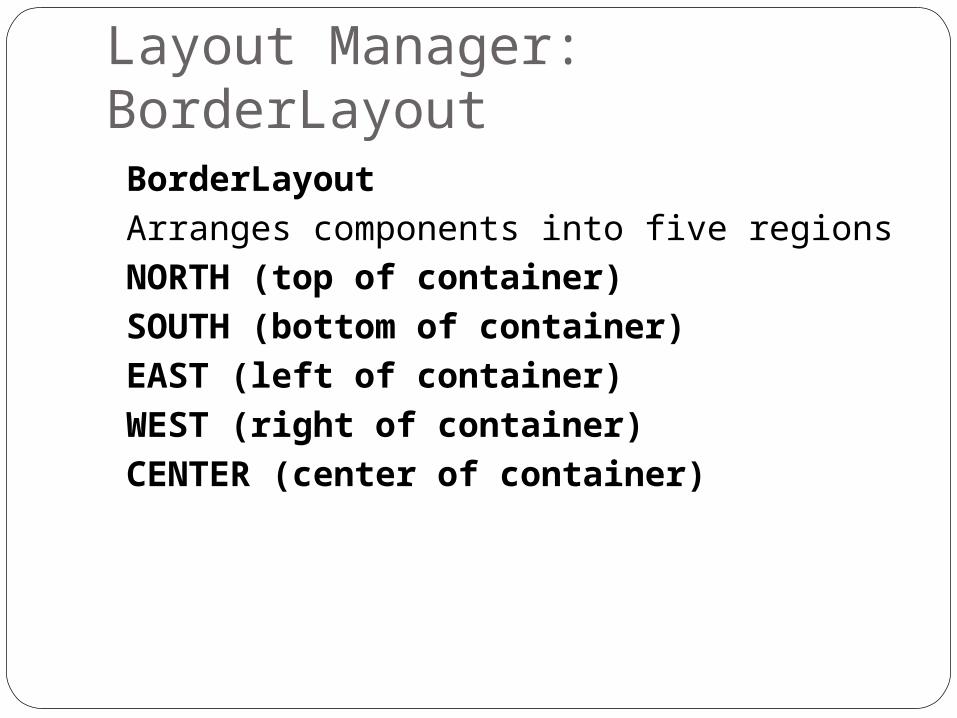
Layout Manager: BorderLayout BorderLayout Arranges components into five regions NORTH (top of container) SOUTH (bottom of container) EAST (left of container) WEST (right of container) CENTER (center of container)

BorderLayoutimport javax.swing.*;import java.awt.*;public class Bordertest extends JApplet{private JButton button1, button2, button3,
button4, button5;public void init( ){Container con = getContentPane( );con.setLayout( new BorderLayout( ) );button1 = new JButton(“Channel 1”);
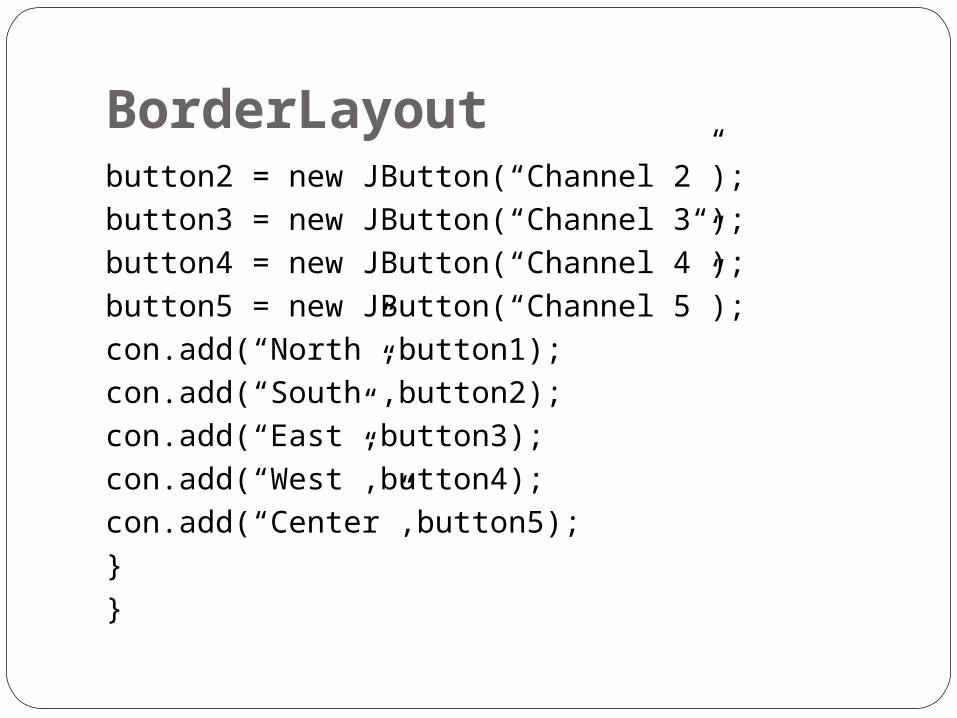
BorderLayoutbutton2 = new JButton(“Channel 2”);button3 = new JButton(“Channel 3“);button4 = new JButton(“Channel 4”);button5 = new JButton(“Channel 5”);con.add(“North”,button1);con.add(“South”,button2);con.add(“East”,button3);con.add(“West”,button4);con.add(“Center”,button5);}}
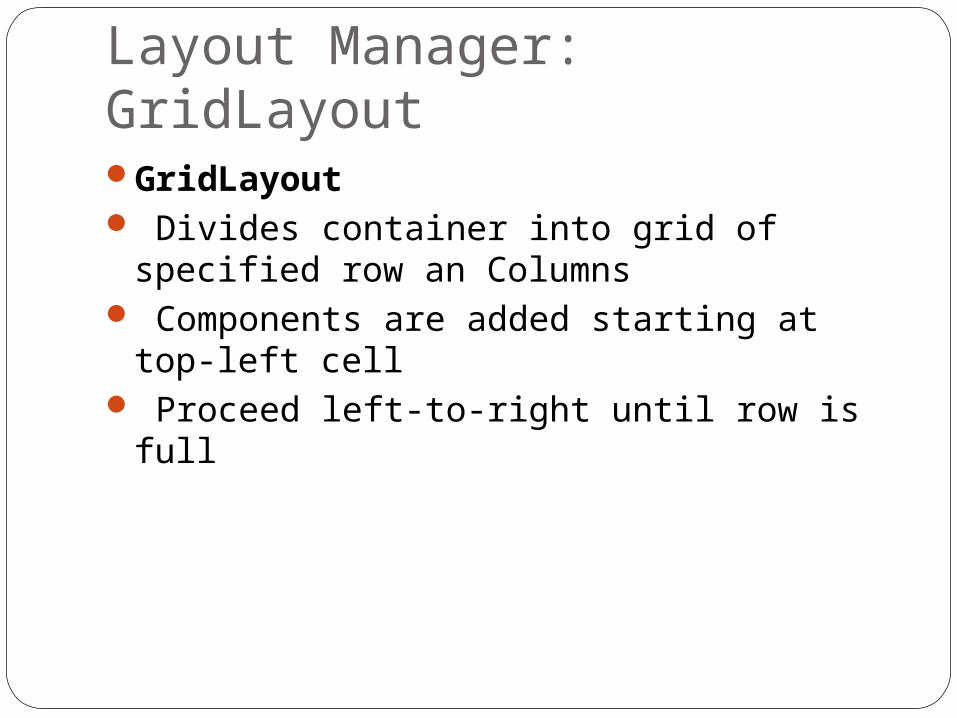
Layout Manager: GridLayoutGridLayout Divides container into grid of specified row
an Columns Components are added starting at top-left
cell Proceed left-to-right until row is full
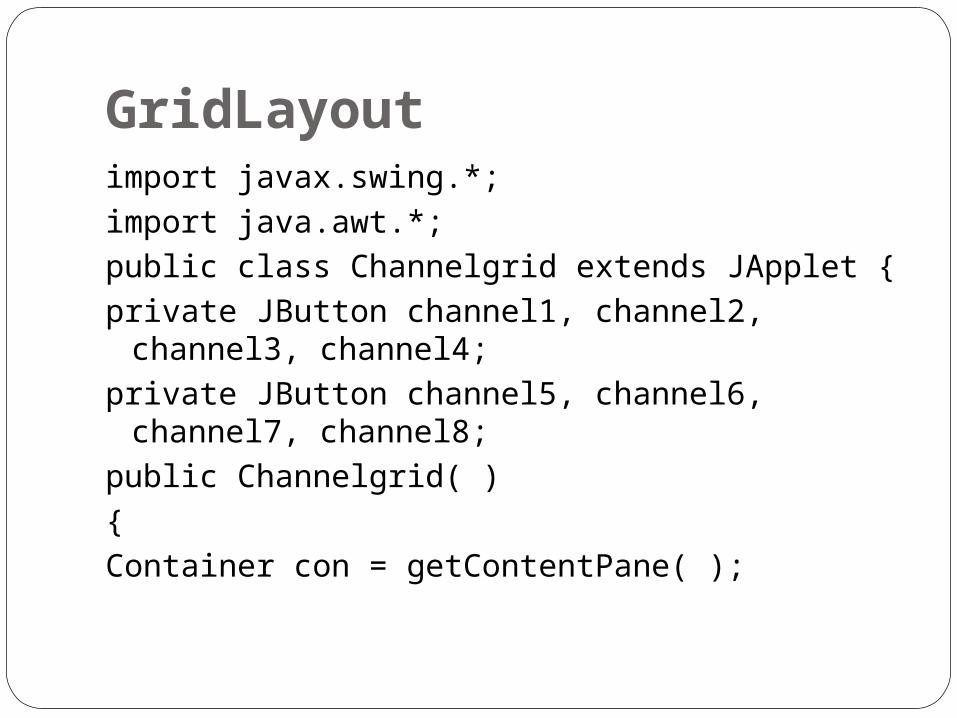
GridLayoutimport javax.swing.*;import java.awt.*;public class Channelgrid extends JApplet {private JButton channel1, channel2,
channel3, channel4;private JButton channel5, channel6,
channel7, channel8;public Channelgrid( ){Container con = getContentPane( );
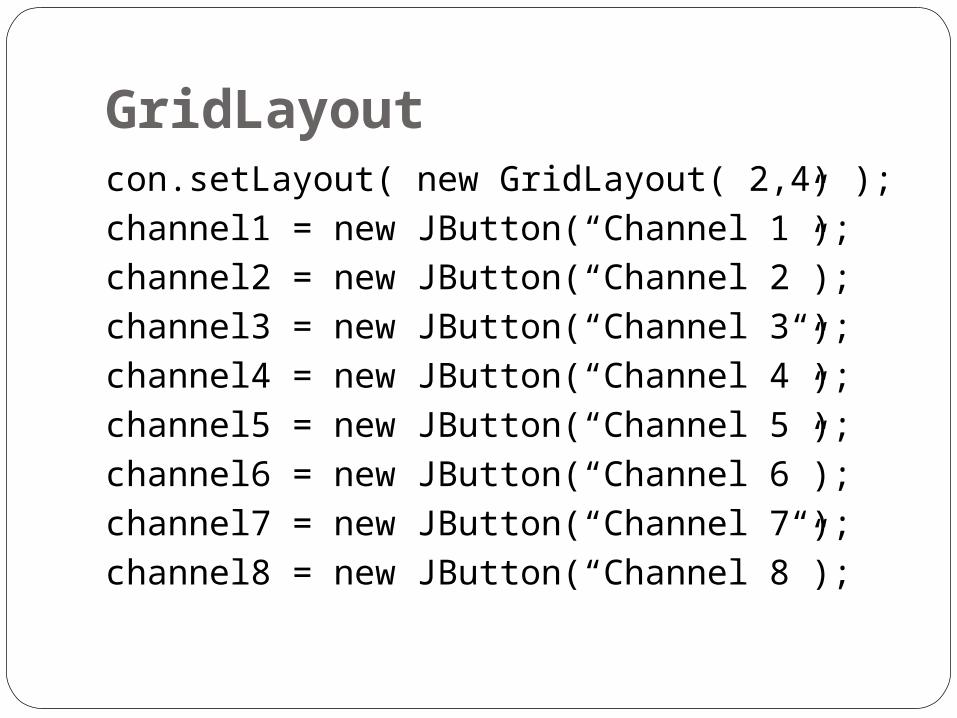
GridLayoutcon.setLayout( new GridLayout( 2,4) );channel1 = new JButton(“Channel 1”);channel2 = new JButton(“Channel 2”);channel3 = new JButton(“Channel 3“);channel4 = new JButton(“Channel 4”);channel5 = new JButton(“Channel 5”);channel6 = new JButton(“Channel 6”);channel7 = new JButton(“Channel 7“);channel8 = new JButton(“Channel 8”);

GridLayoutcon.add(channel1);con.add(channel2);con.add(channel3);con.add(channel4);con.add(channel5);con.add(channel6);con.add(channel7);con.add(channel8);}}
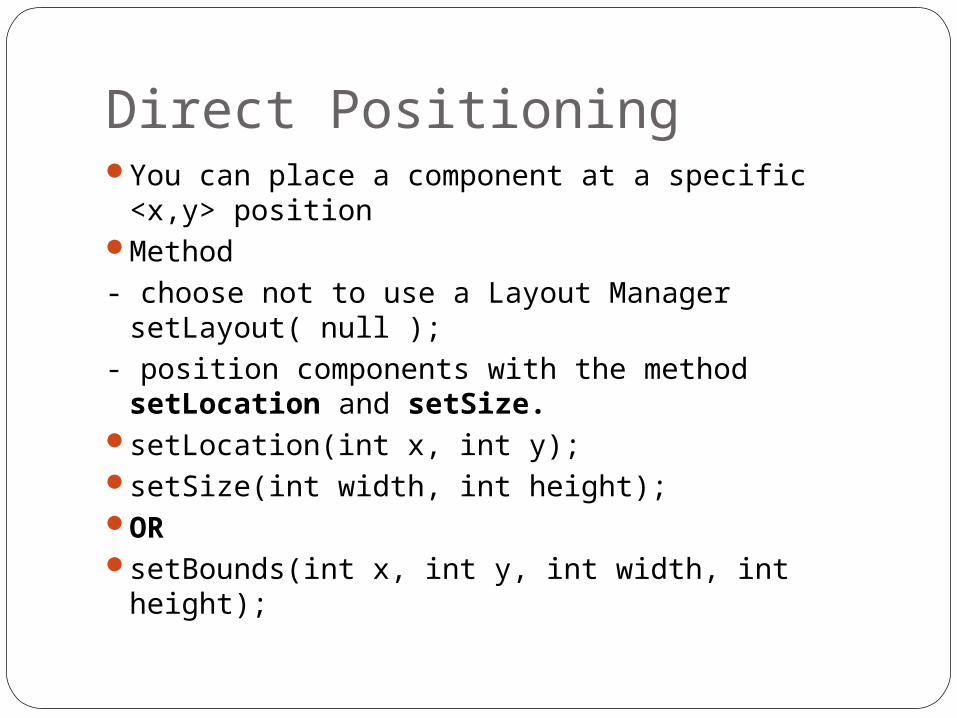
Direct PositioningYou can place a component at a specific
<x,y> positionMethod- choose not to use a Layout Manager
setLayout( null );- position components with the method
setLocation and setSize.setLocation(int x, int y);setSize(int width, int height);ORsetBounds(int x, int y, int width, int height);
AssignmentCreate 3 buttons.1.Place one at position 20,40. 2.Place another at 70, 200. 3.Place the last one at 140,70.

Assignmentimport javax.swing.*;import java.awt.*;public class Nolayout extends JFrame{private JButton button1, button2, button3;public void init( ) {Container con = getContentPane( );con.setLayout(null );button1 = new JButton("Channel 1");button2 = new JButton("Channel 2");button3 = new JButton("Channel 3");
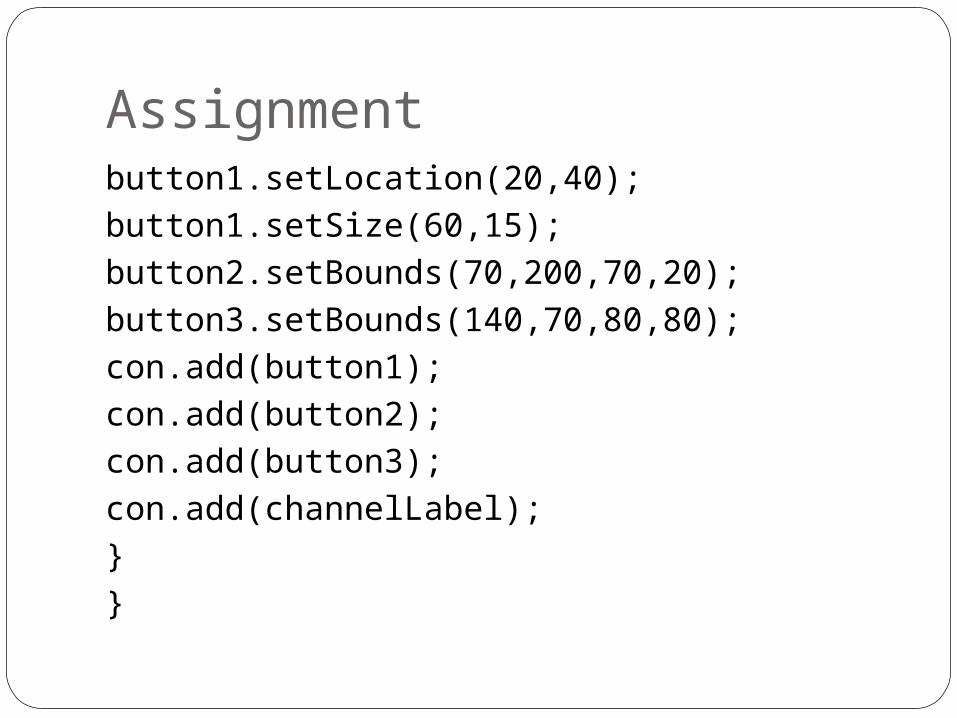
Assignmentbutton1.setLocation(20,40);button1.setSize(60,15);button2.setBounds(70,200,70,20);button3.setBounds(140,70,80,80);con.add(button1);con.add(button2);con.add(button3);con.add(channelLabel);}}
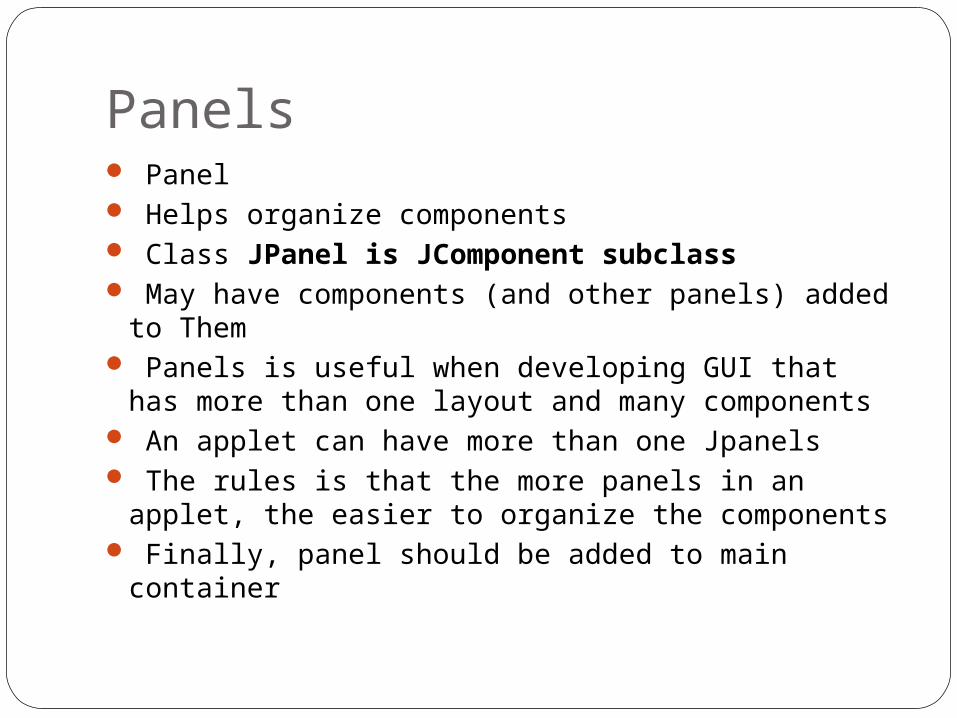
Panels Panel Helps organize components Class JPanel is JComponent subclass May have components (and other panels) added
to Them Panels is useful when developing GUI that has
more than one layout and many components An applet can have more than one Jpanels The rules is that the more panels in an applet,
the easier to organize the components Finally, panel should be added to main container
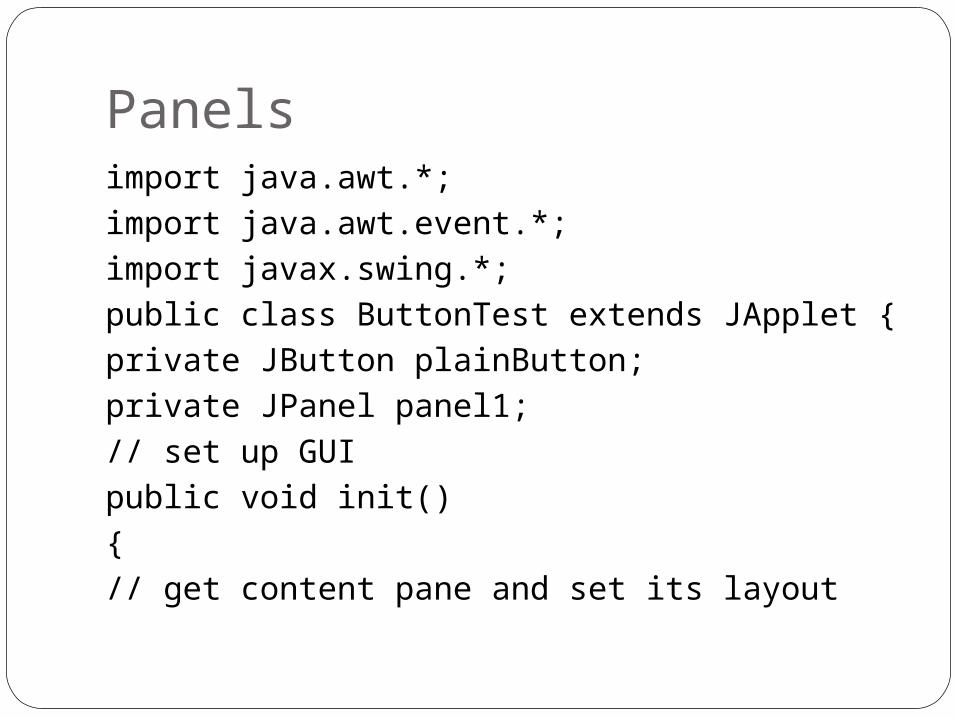
Panelsimport java.awt.*;import java.awt.event.*;import javax.swing.*;public class ButtonTest extends JApplet {private JButton plainButton;private JPanel panel1;// set up GUIpublic void init(){// get content pane and set its layout
PanelsContainer container = getContentPane();container.setLayout(new
FlowLayout(FlowLayout.CENTER));pane11= new JPanel();panel1.new GridLayout(1,1);// create buttonsplainButton = new JButton( "Plain Button" );panel1.add(plainButton);container.add(panel1 );}}
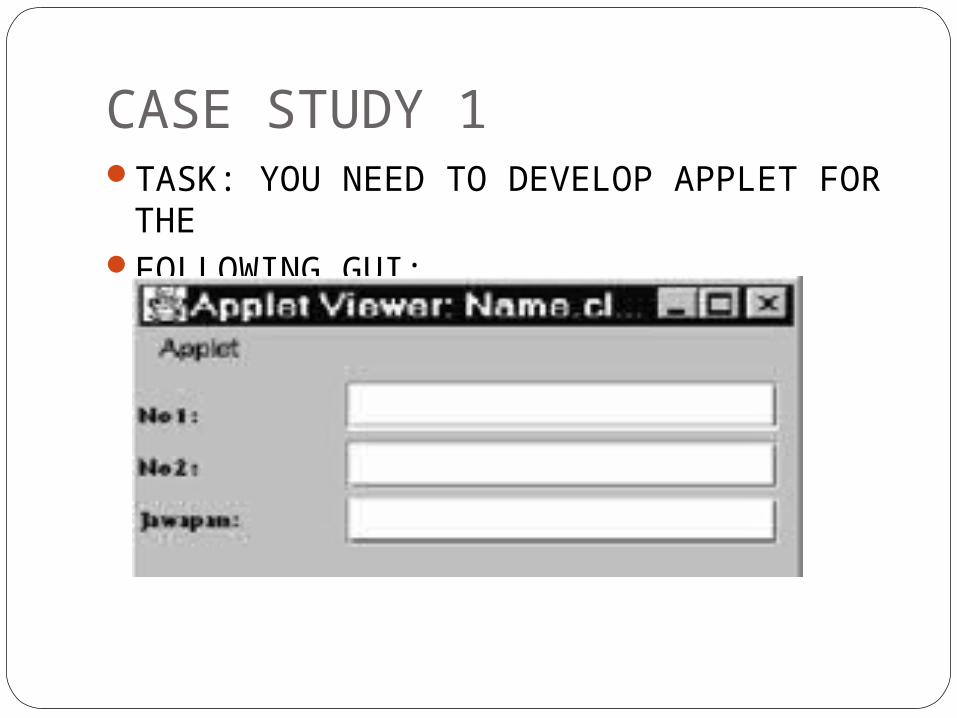
CASE STUDY 1TASK: YOU NEED TO DEVELOP APPLET FOR
THEFOLLOWING GUI:
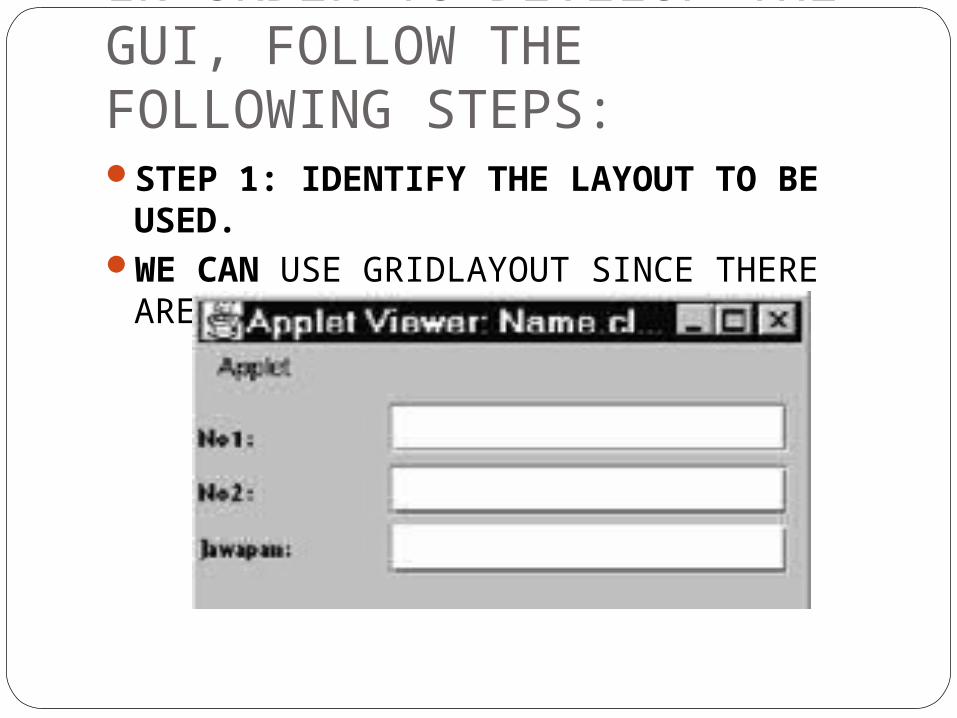
IN ORDER TO DEVELOP THE GUI, FOLLOW THE FOLLOWING STEPS:STEP 1: IDENTIFY THE LAYOUT TO BE
USED. WE CAN USE GRIDLAYOUT SINCE THERE
ARE 3 ROWS AND 2 COLUMNS
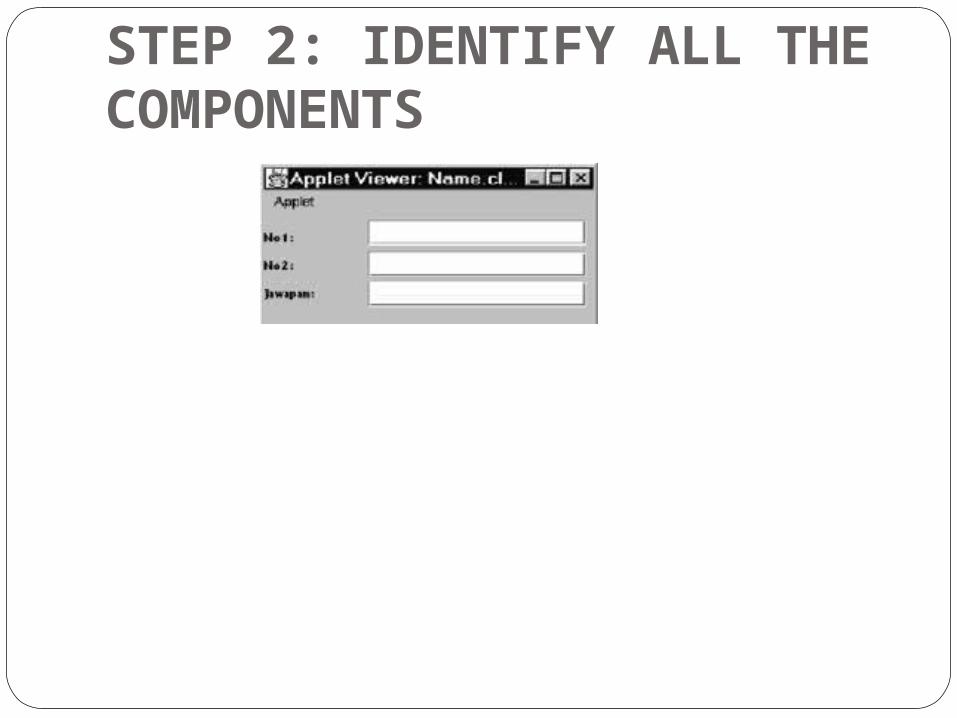
STEP 2: IDENTIFY ALL THE COMPONENTS
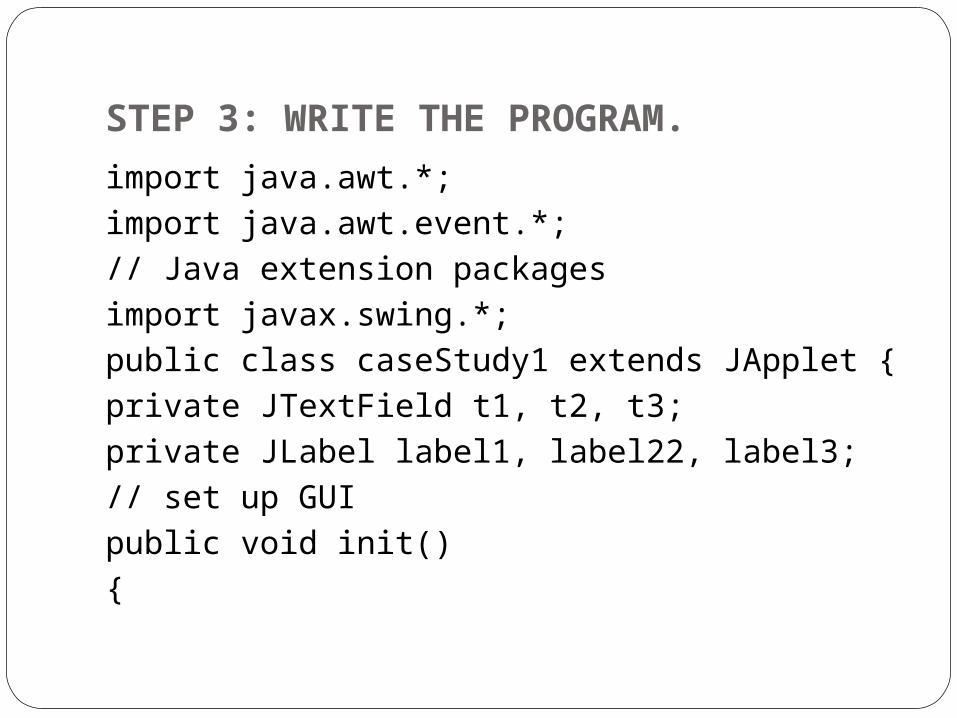
STEP 3: WRITE THE PROGRAM.
import java.awt.*;import java.awt.event.*;// Java extension packagesimport javax.swing.*;public class caseStudy1 extends JApplet {private JTextField t1, t2, t3;private JLabel label1, label22, label3;// set up GUIpublic void init(){
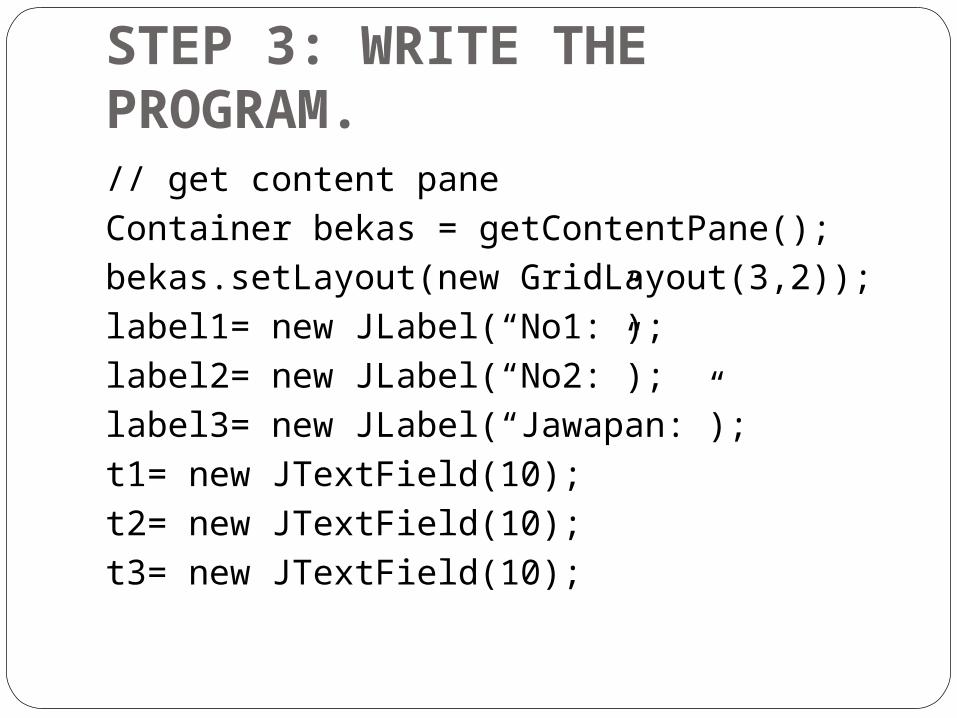
STEP 3: WRITE THE PROGRAM. // get content paneContainer bekas = getContentPane();bekas.setLayout(new GridLayout(3,2));label1= new JLabel(“No1:”);label2= new JLabel(“No2:”);label3= new JLabel(“Jawapan:”);t1= new JTextField(10);t2= new JTextField(10);t3= new JTextField(10);
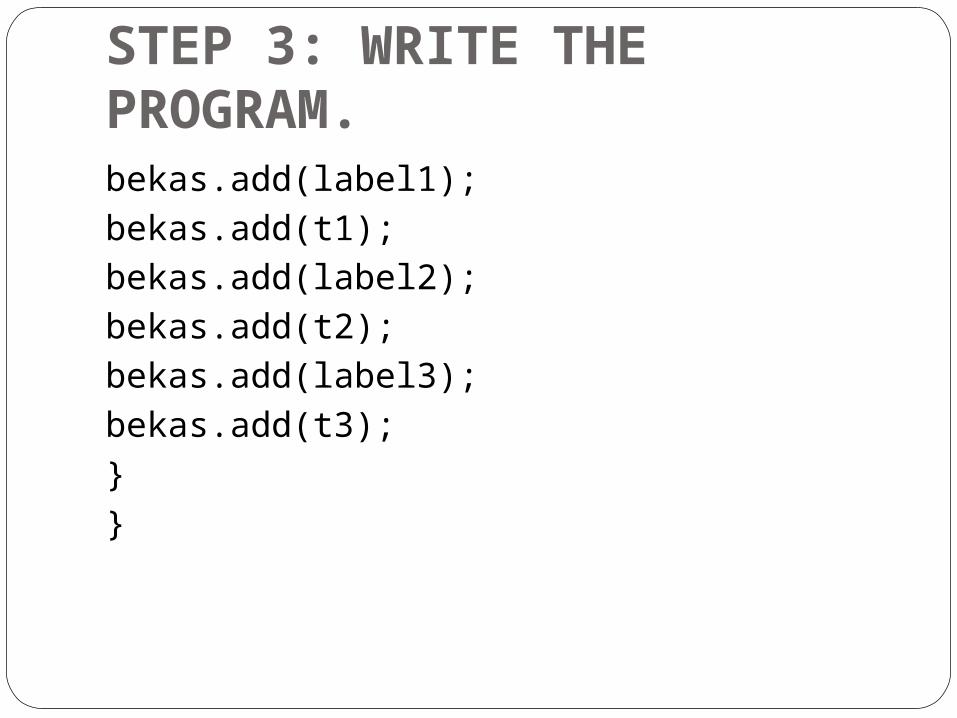
STEP 3: WRITE THE PROGRAM. bekas.add(label1);bekas.add(t1);bekas.add(label2);bekas.add(t2);bekas.add(label3);bekas.add(t3);}}
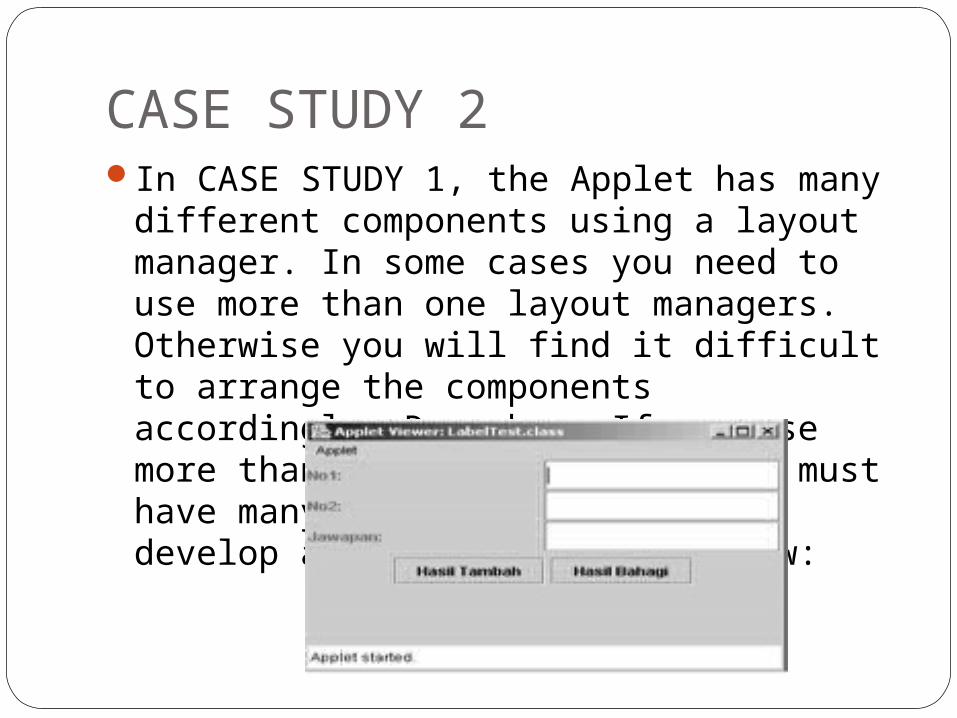
CASE STUDY 2In CASE STUDY 1, the Applet has many
different components using a layout manager. In some cases you need to use more than one layout managers. Otherwise you will find it difficult to arrange the components accordingly. Remember: If you use more than one layouts, then you must have many JPanels. Now let us develop applet for the GUI below:
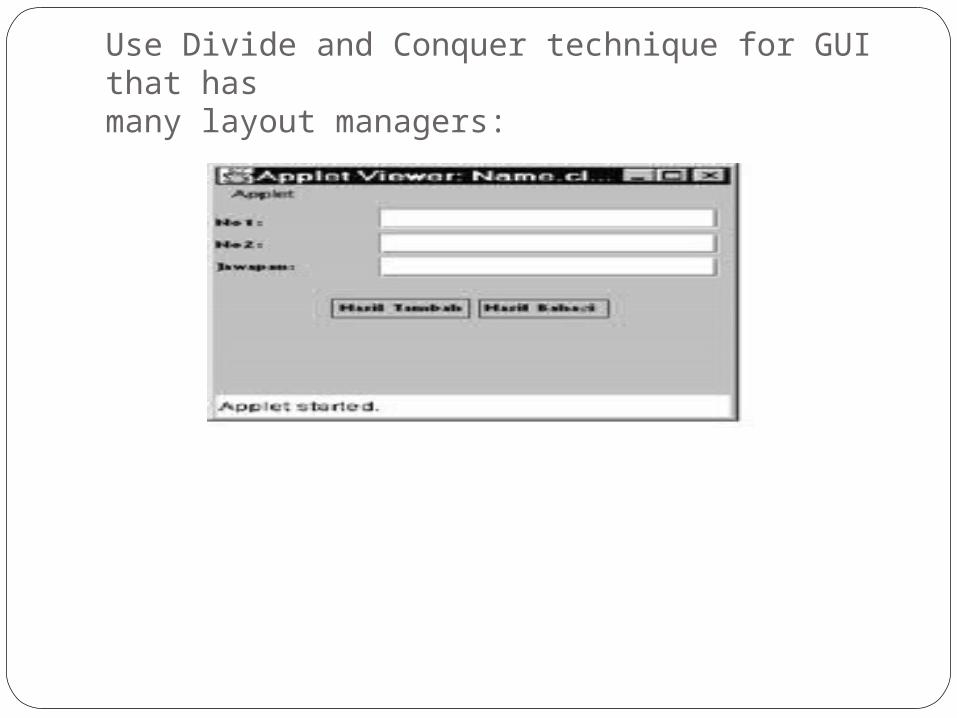
Use Divide and Conquer technique for GUI that hasmany layout managers:
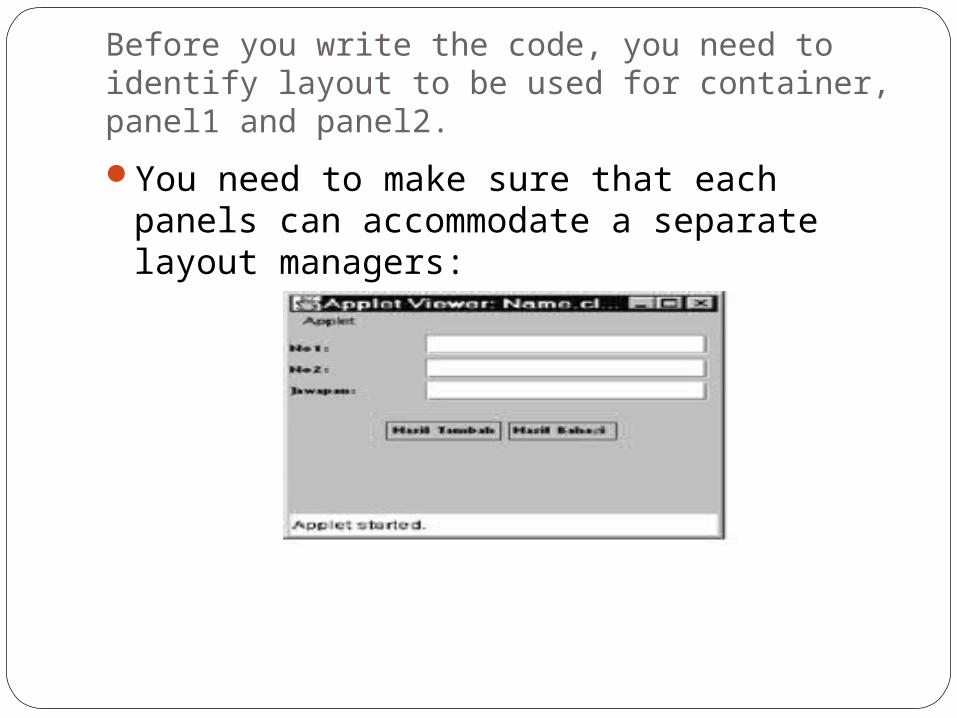
Before you write the code, you need to identify layout to be used for container, panel1 and panel2.
You need to make sure that each panels can accommodate a separate layout managers:
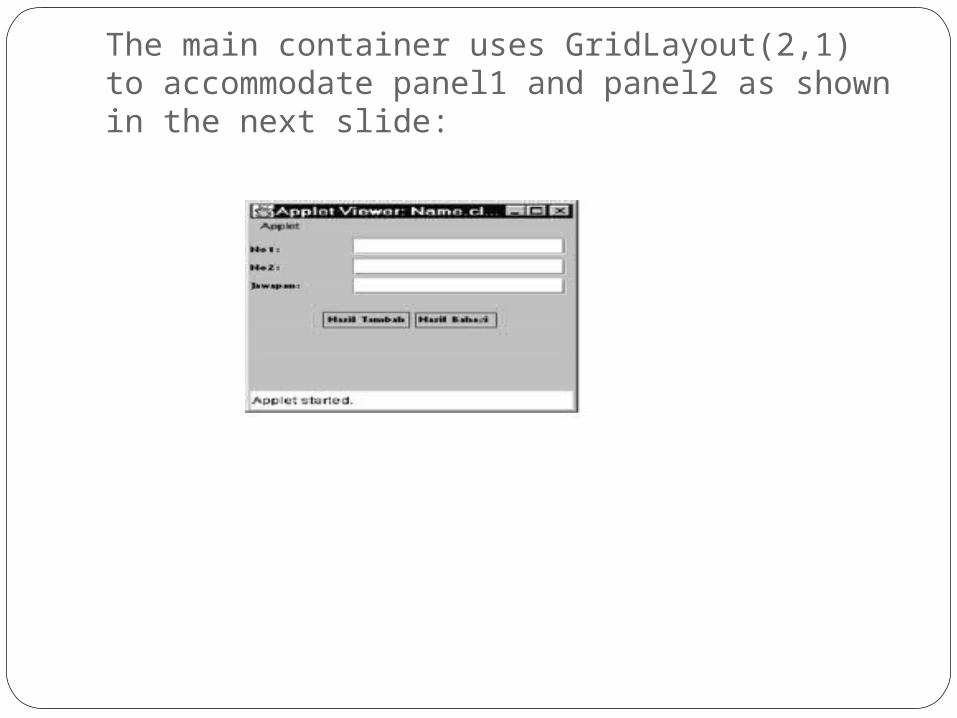
The main container uses GridLayout(2,1) to accommodate panel1 and panel2 as shown in the next slide:
Code for case Study 2import java.awt.*;import java.awt.event.*;// Java extension packagesimport javax.swing.*;public class caseStudy2 extends JApplet {private JTextField t1, t2, t3;private JLabel label1, label2, label3;JButton b1,b2;JPanel panel1, panel2;// set up GUI

Code for case Study 2public void init(){// get content paneContainer bekas = getContentPane();bekas.setLayout(new GridLayout(2,1));panel1 = new JPanel();panel1.setLayout(new GridLayout(3,2));panel2 = new JPanel();panel2.setLayout(new
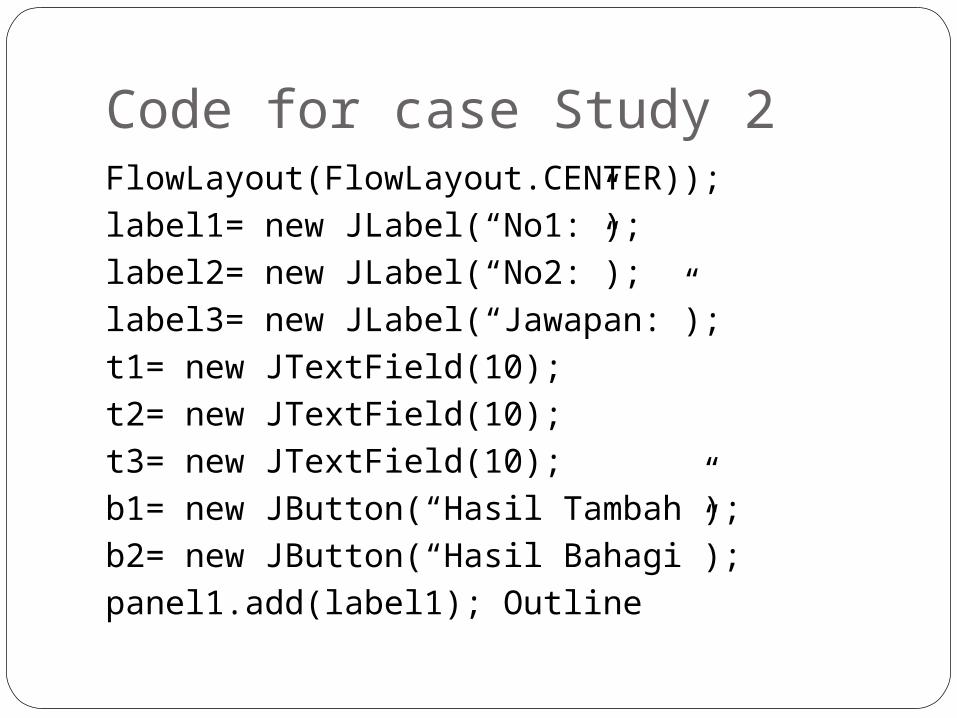
Code for case Study 2FlowLayout(FlowLayout.CENTER));label1= new JLabel(“No1:”);label2= new JLabel(“No2:”);label3= new JLabel(“Jawapan:”);t1= new JTextField(10);t2= new JTextField(10);t3= new JTextField(10);b1= new JButton(“Hasil Tambah”);b2= new JButton(“Hasil Bahagi”);panel1.add(label1); Outline
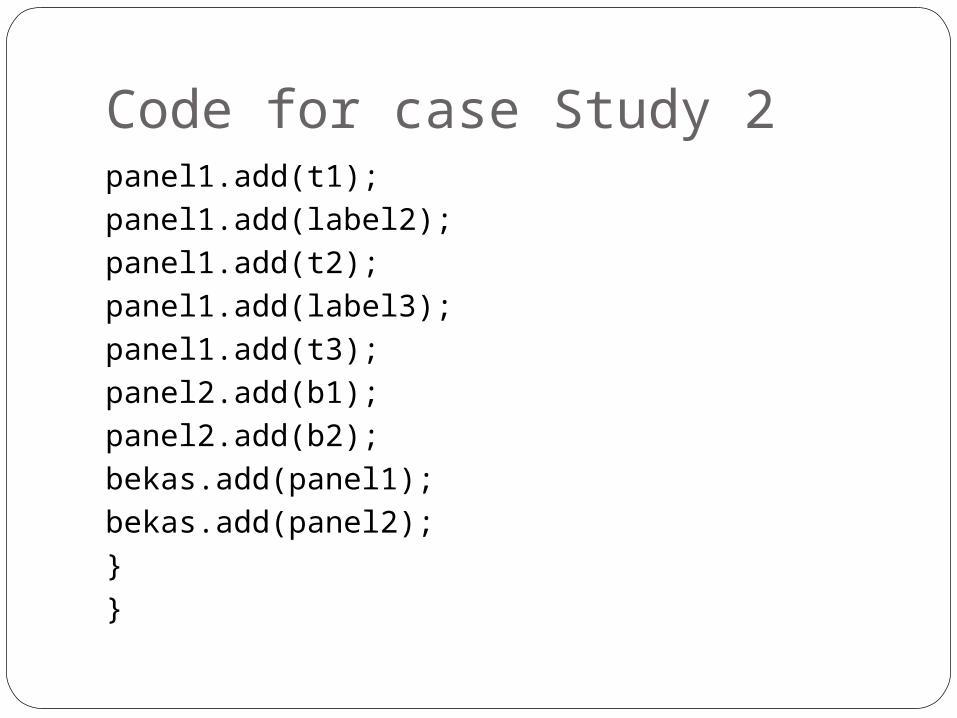
Code for case Study 2panel1.add(t1);panel1.add(label2);panel1.add(t2);panel1.add(label3);panel1.add(t3);panel2.add(b1);panel2.add(b2);bekas.add(panel1);bekas.add(panel2);}}
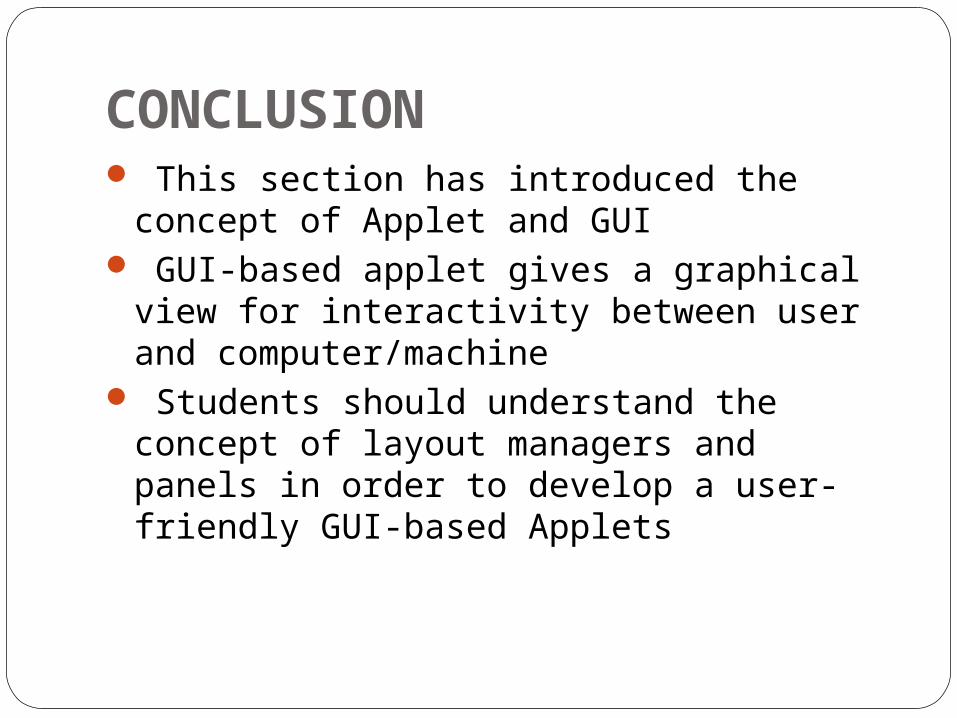
CONCLUSION This section has introduced the concept of
Applet and GUI GUI-based applet gives a graphical view
for interactivity between user and computer/machine
Students should understand the concept of layout managers and panels in order to develop a user-friendly GUI-based Applets
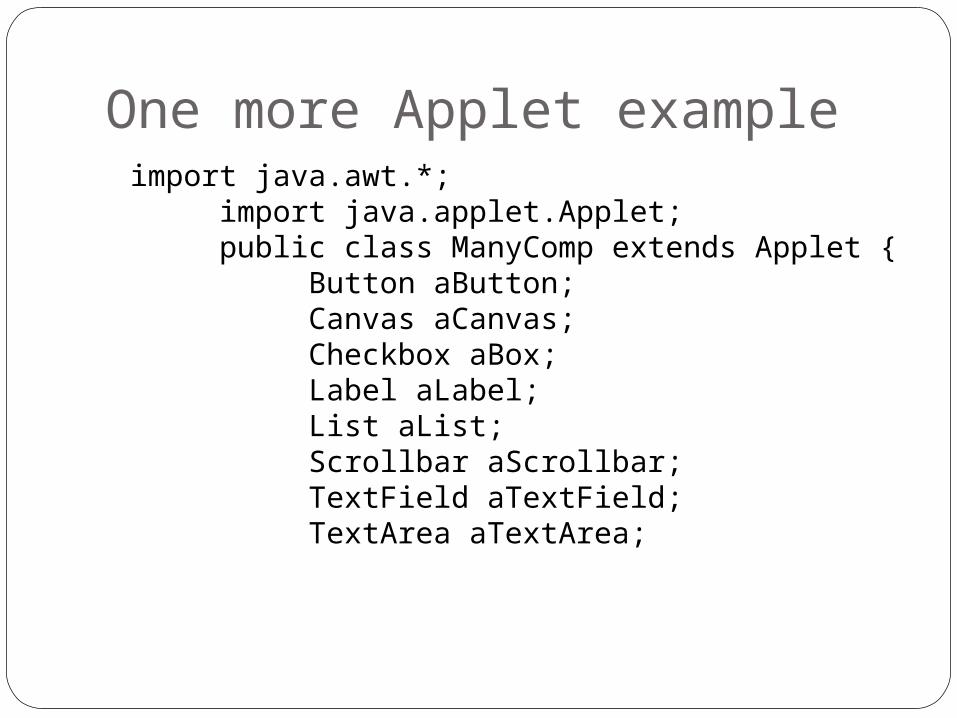
One more Applet example import java.awt.*;
import java.applet.Applet; public class ManyComp extends Applet { Button aButton; Canvas aCanvas; Checkbox aBox; Label aLabel; List aList; Scrollbar aScrollbar; TextField aTextField; TextArea aTextArea;

One more Applet examplepublic void init() {
aButton = new Button(“Ok”); aCanvas = new Canvas(); aBox = new Checkbox(“Show”); aLabel = new Label(“Hello!”); aList = new List(); aScrollbar = new Scrollbar(Scrollbar.HORIZONTAL); aTextField = new TextField(“37”, 5); aTextArea = new TextArea(“Ok”, 5, 40); aList.addItem(“First”); aList.addItem(“Second”);
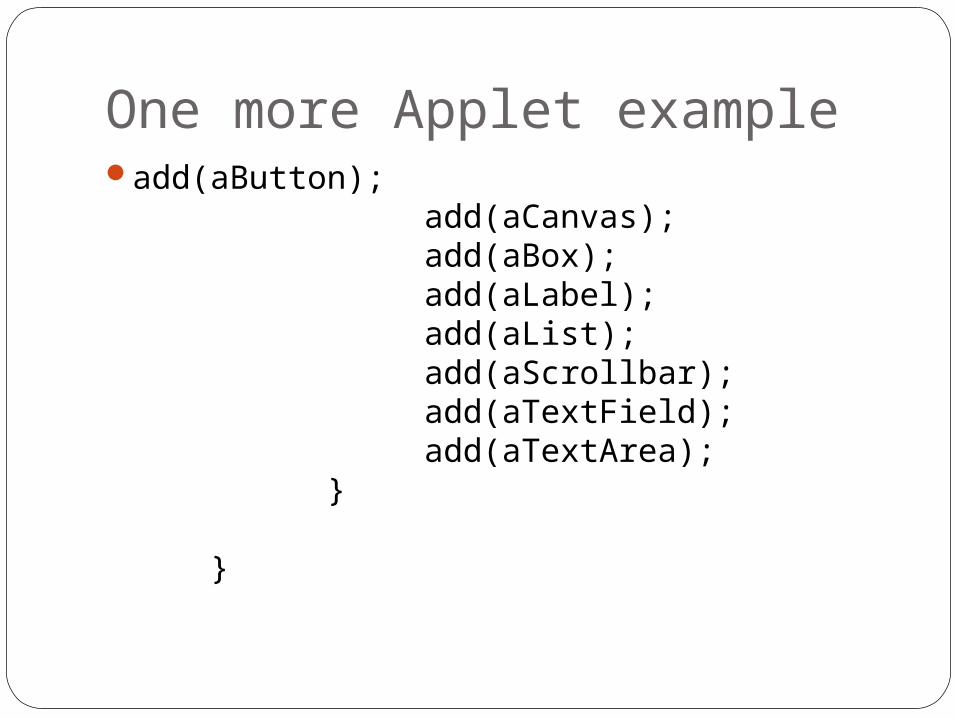
One more Applet exampleadd(aButton);
add(aCanvas); add(aBox); add(aLabel); add(aList); add(aScrollbar); add(aTextField); add(aTextArea); } }
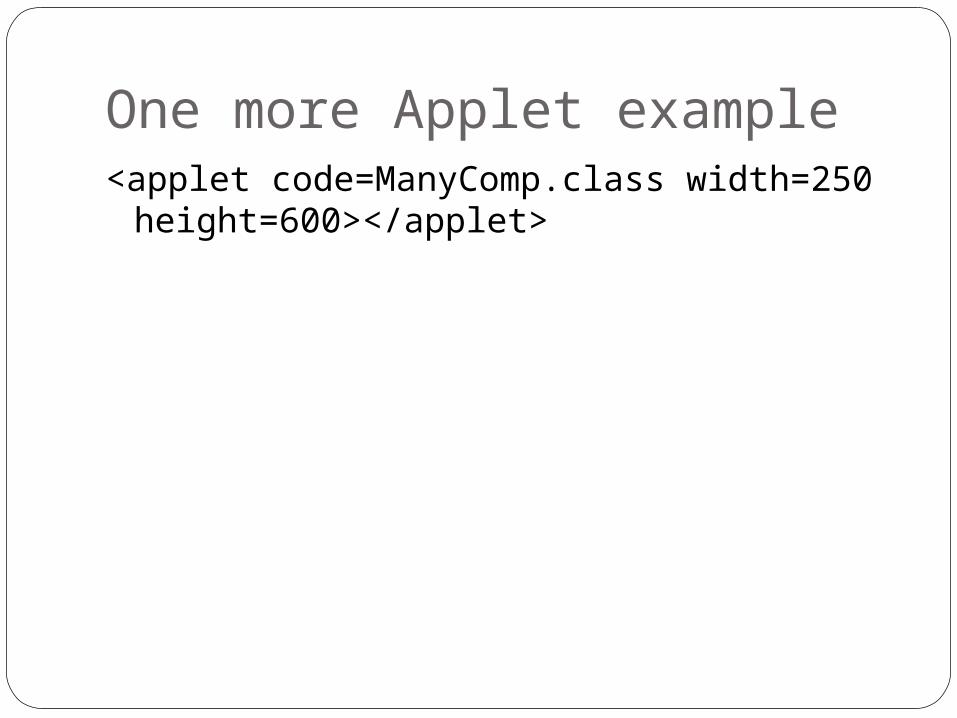
One more Applet example<applet code=ManyComp.class width=250
height=600></applet>
END OF LESSON 7
THE END