Embed Size (px)
Citation preview
Live@edu Services CourseGetting Started Participant Guide
2 Getting Started
Introducing your Windows Live ID
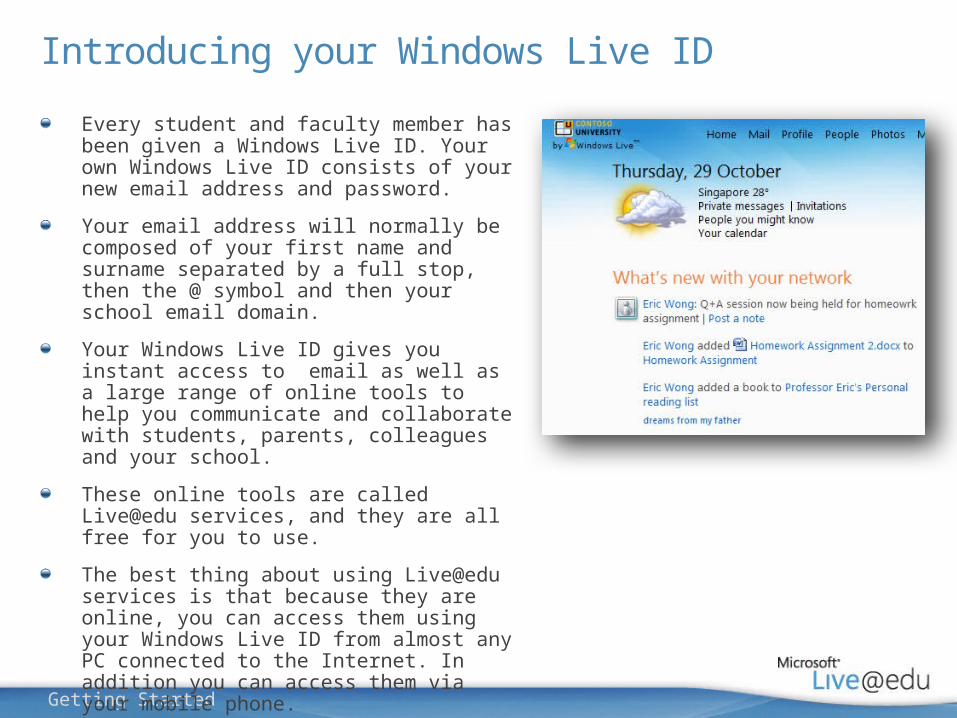
Every student and faculty member has been given a Windows Live ID. Your own Windows Live ID consists of your new email address and password.
Your email address will normally be composed of your first name and surname separated by a full stop, then the @ symbol and then your school email domain.
Your Windows Live ID gives you instant access to email as well as a large range of online tools to help you communicate and collaborate with students, parents, colleagues and your school.
These online tools are called Live@edu services, and they are all free for you to use.
The best thing about using Live@edu services is that because they are online, you can access them using your Windows Live ID from almost any PC connected to the Internet. In addition you can access them via your mobile phone.
This means you and your students can access email, files, resources and photos whether at school, at home, or on the go.
3 Getting Started
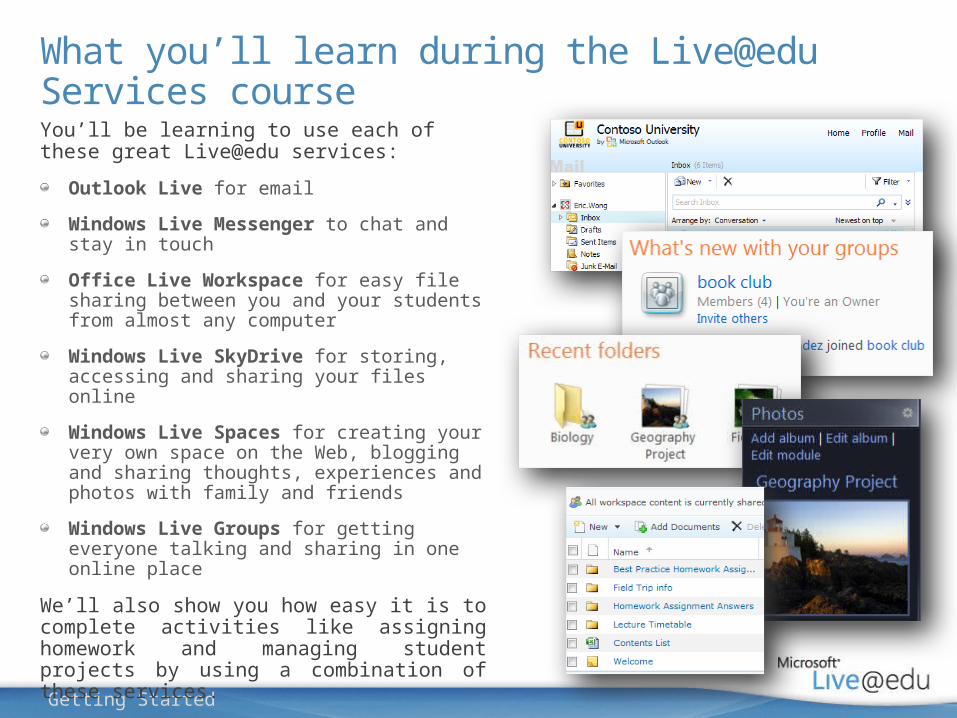
What you’ll learn during the Live@edu Services courseYou’ll be learning to use each of these great Live@edu services:
Outlook Live for email
Windows Live Messenger to chat and stay in touch
Office Live Workspace for easy file sharing between you and your students from almost any computer
Windows Live SkyDrive for storing, accessing and sharing your files online
Windows Live Spaces for creating your very own space on the Web, blogging and sharing thoughts, experiences and photos with family and friends
Windows Live Groups for getting everyone talking and sharing in one online place
We’ll also show you how easy it is to complete activities like assigning homework and managing student projects by using a combination of these services.
4 Getting Started
Live@edu services explained
Outlook Live
Send and receive emails, as well as schedule appointments and meetings in the calendar.
Windows Live Messenger
Stay in touch and chat using instant messaging, and share photos and documents.
Windows Live Sky Drive
Store, access, and share files with students –, it’s 25GB of free online storage that can be password-protected.
5 Getting Started
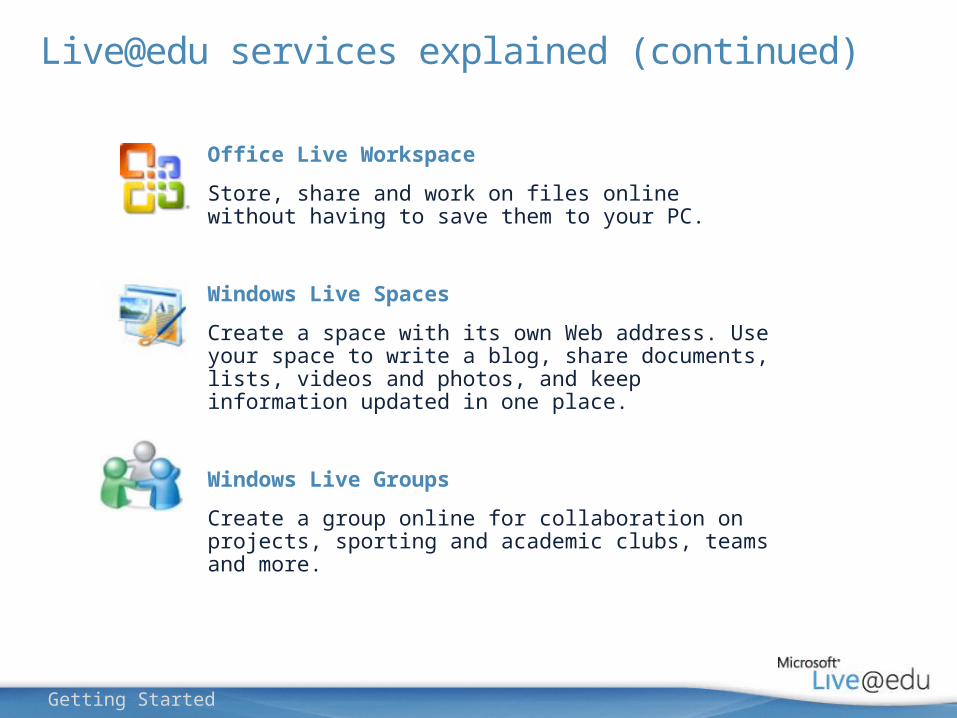
Live@edu services explained (continued)
Office Live Workspace
Store, share and work on files online without having to save them to your PC.
Windows Live Spaces
Create a space with its own Web address. Use your space to write a blog, share documents, lists, videos and photos, and keep information updated in one place.
Windows Live Groups
Create a group online for collaboration on projects, sporting and academic clubs, teams and more.

6 Getting Started
Live@edu course curriculum
Outlook Live
Write and send email
Manage Your
Calendar
Add Contacts
Create a Group
Access Multiple Accounts
Access Outlook
from your Mobile
Practice Discuss
Windows Live
Hotmail
Write and send email
Manage Your
Calendar
Add Contacts
Create a Group
Access Multiple Accounts
Access Outlook
from your Mobile
Practice Discuss
Windows Live
Messenger
Add a contact
Send an instant
message
Manage buddy list
Personalize
Messenger
Access Multiple Accounts
Share a file
Access Messenger
from Mobile
Practice Discuss
Windows Live
SkyDrive
Create a folder
Add a comment to a file
Share a folder
Change Permission
sMove a file Edit a file
Link to a file on a
Web page or blog
Practice Discuss
Office Live Workspace
Manage files and
documents
Create a new note
or document
Share a workspace
Stop sharing a
workspace
Add comment
to workspace
Practice Discuss
Windows Live
Spaces
Create your space
Upload and share
photos
Write a blog entry
Create a list
Customize your space Practice Discuss
Windows Live
Groups
Create a group
Invite people to
join a group
Send an instant
message
Start a discussion
Share photos
Share document
sPractice Discuss
Assign Homework
Upload homework
to SkyDrive
Set a homework reminder
Set up a Q&A
session
Share best practices Practice Discuss
Set up a student project
Create a project group
Create a group
Organize group
discussions
Share photos Practice Discuss
Track I
: C
ore
In
str
ucti
on
II:
Pu
ttin
g I
t A
ll T
og
eth
er
Evaluation
Getting Started
7 Getting Started
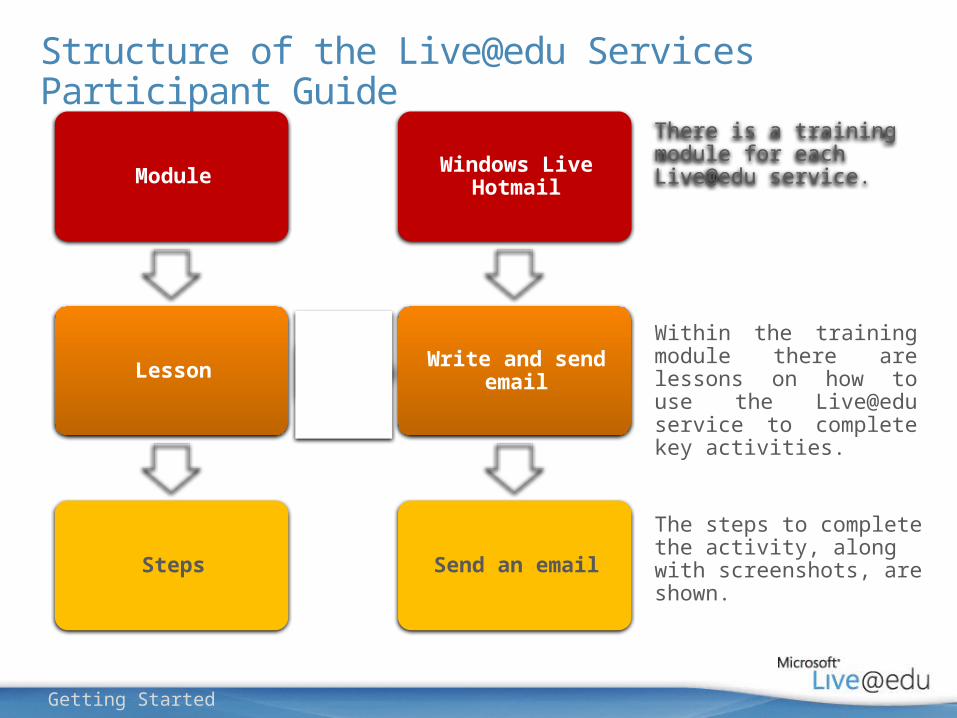
Structure of the Live@edu Services Participant Guide
Module
Lesson
Steps
There is a training module for each Live@edu service.
Within the training module there are lessons on how to use the Live@edu service to complete key activities.
The steps to complete the activity, along with screenshots, are shown.
Windows Live Hotmail
Write and send email
Send an email
8 Getting Started
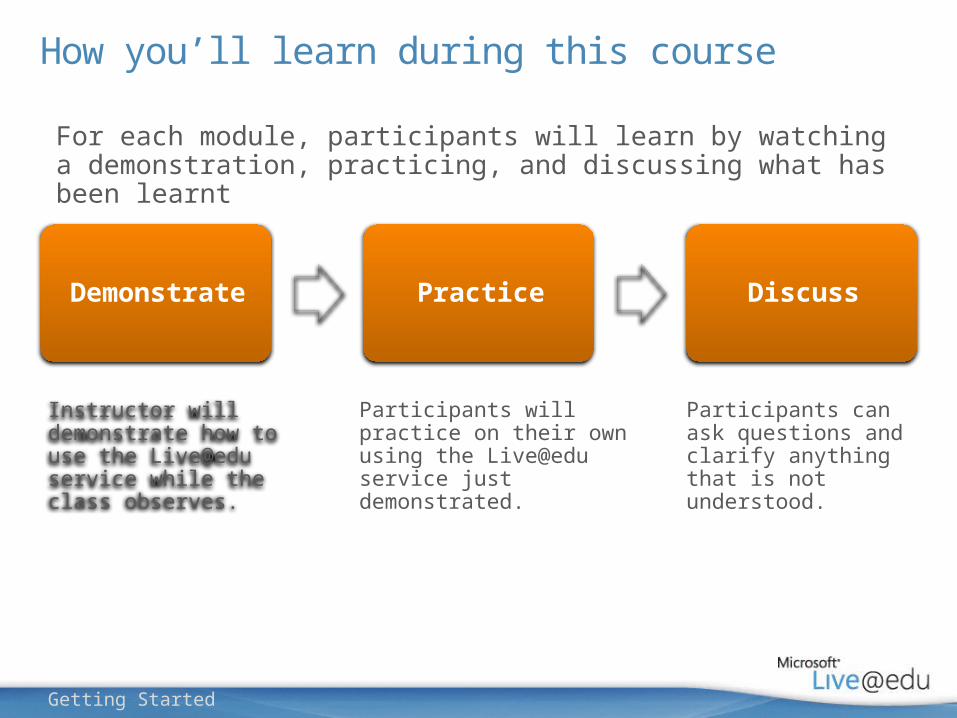
How you’ll learn during this course
Demonstrate Practice Discuss
Instructor will demonstrate how to use the Live@edu service while the class observes.
Participants will practice on their own using the Live@edu service just demonstrated.
Participants can ask questions and clarify anything that is not understood.
For each module, participants will learn by watching a demonstration, practicing, and discussing what has been learnt
9 Getting Started
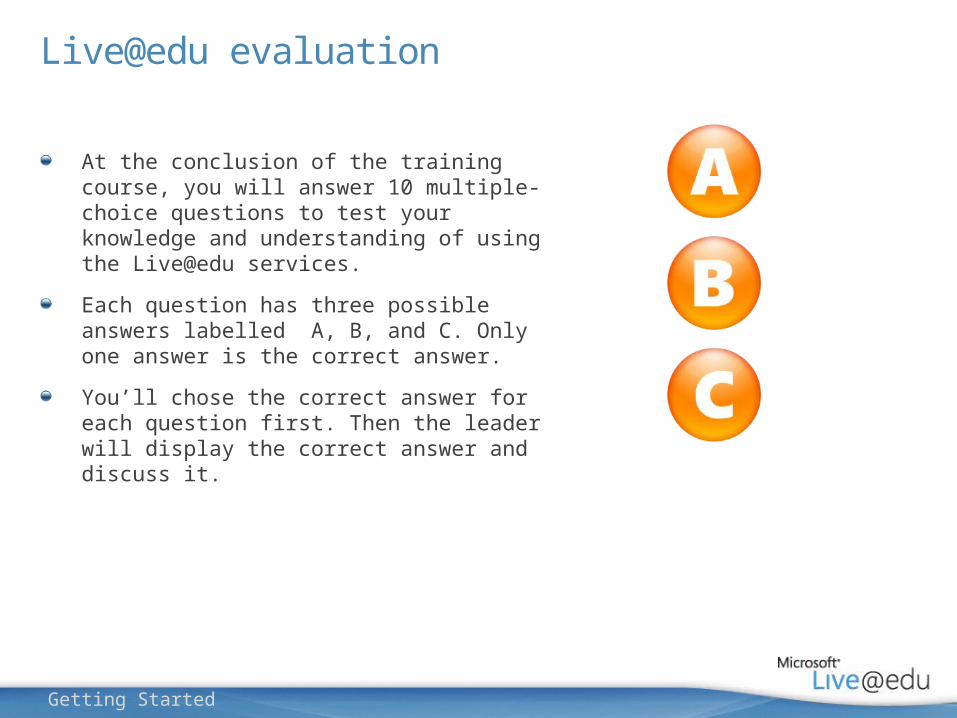
Live@edu evaluation
At the conclusion of the training course, you will answer 10 multiple-choice questions to test your knowledge and understanding of using the Live@edu services.
Each question has three possible answers labelled A, B, and C. Only one answer is the correct answer.
You’ll chose the correct answer for each question first. Then the leader will display the correct answer and discuss it.

10 Getting Started
Let’s get started!


![[BBB-PET research group UMCG] - BBBNedwork participant... · LACDR- Pharmacology- Target Sitde Equilibration group Background • Group started in 2004 • Aim : Prediction of human](https://img.pdfslide.net/doc/110x75/5eb803b6639e110b1e2217d8/bbb-pet-research-group-umcg-participant-lacdr-pharmacology-target-sitde.jpg)


![January 10, 2012 [Participant Name] [Participant Street ......January 10, 2012 [Participant Name] [Participant Street Address] [Participant City, State Zip code] Dear [Participant](https://img.pdfslide.net/doc/110x75/5f8ad691c7ddf87a4309ec05/january-10-2012-participant-name-participant-street-january-10-2012.jpg)